


If you are looking for a self-hosted whiteboard tool that is great for the home lab, there is one that I highly recommend and that is Excalidraw. It has one of the coolest looks I think for the shapes and symbols that look like they look sort of like brush strokes. The great thing about Excalidraw is that you can self-host it in a Docker container easily in your home lab.
What is Excalidraw?
If you haven’t heard about Excalidraw, it is a free and open source solution that can be used for free online, at excalidraw.com. It allows you to have instant access to sketching tools that really look like hand-drawn diagrams. Again, I really like the look of Excalidraw drawings.
It lets you visualize your ideas very easily, but it also has a large number of shapes across free libraries that let you add many different popular shapes into your canvas. Also, you can use the whiteboard for collaborating with others and you can even do real-time interaction with colleagues. But in the realm of home lab, I think it makes one of the best diagramming tools out there.
Excalidraw Editor
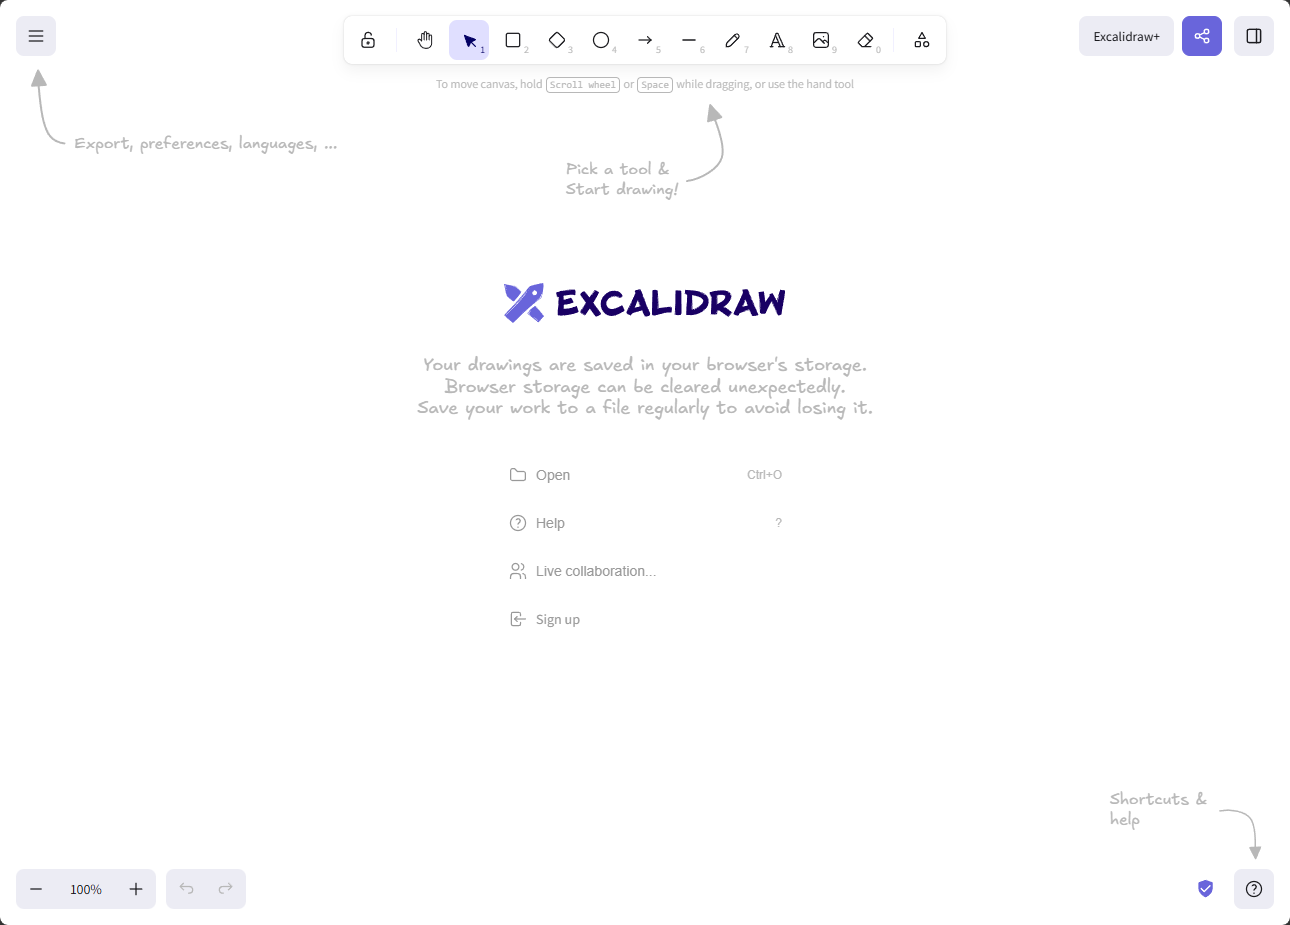
One thing I like about the Excalidraw editor is that when you first visit, you get a nice illustrated diagram of where things are located. For me, the drawing panel is extremely intuitive and just makes since if you have used a drawing app before.
Installing Excalidraw in Docker
This is one of the cool things that I like about Excalidraw is how easy it is to self-host. You can just spin it up easily inside a Docker container, either using compose or just using a simple Docker run command. Self-hosting means that you have total control over your data, your drawings, and anything else you use with Excalidraw.
Using Docker run
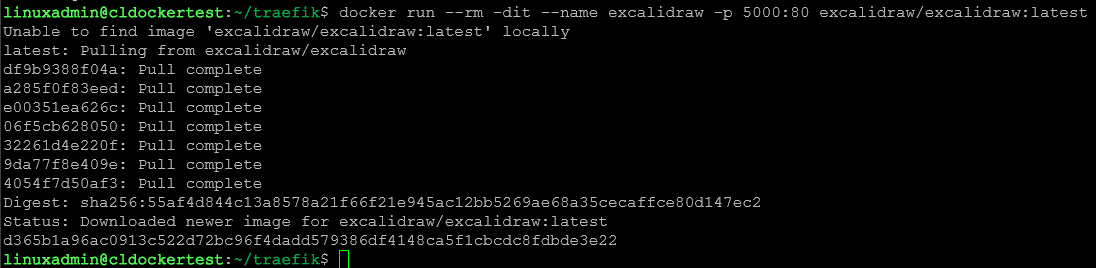
The easiest way to use it with Docker is just by using a simple docker run command.
To self-host Excalidraw client in a Docker container, just run this command:
docker run -d -p 8080:80 --name my-excalidraw-instance excalidraw/excalidraw:latestThis command will create and run a new Excalidraw container, mapping port 80 inside the container to port 8080 on your host machine. You can replace “8080” with the port you want to use.
Using Docker Compose
If you are using Docker Compose for your home lab services, and I highly recommend that you do, you can use the below compose code to get Excalidraw up and running. Put the following in a docker-compose.yml file:
services:
  excalidraw:
    image: excalidraw/excalidraw:latest
    restart: always
    ports:
      - 80:80
    container_name: excalidraw
You can also combine this code with Traefik to connect using a secure connection and have proper SSL certificates. You can do that with example code that looks something like this with traefik v3:
services:
  traefik:
    image: traefik:latest
    container_name: traefik
    restart: unless-stopped

    command:
      - "--log.level=INFO"
      - "--accesslog=true"

      # Traefik dashboard/API
      - "--api.dashboard=true"
      - "--api.insecure=false"

      # Docker provider
      - "--providers.docker=true"
      - "--providers.docker.exposedbydefault=false"
      - "--providers.docker.network=traefik"

      # HTTP and HTTPS entry points
      - "--entrypoints.web.address=:80"
      - "--entrypoints.websecure.address=:443"

      # Redirect HTTP to HTTPS
      - "--entrypoints.web.http.redirections.entrypoint.to=websecure"
      - "--entrypoints.web.http.redirections.entrypoint.scheme=https"
      - "--entrypoints.web.http.redirections.entrypoint.permanent=true"

    ports:
      - "80:80"
      - "443:443"

    networks:
      - traefik

    volumes:
      - "/var/run/docker.sock:/var/run/docker.sock:ro"

    labels:
      - "traefik.enable=true"

      # Traefik dashboard router
      - "traefik.http.routers.traefik-dashboard.rule=Host(`traefik.cloud.local`)"
      - "traefik.http.routers.traefik-dashboard.entrypoints=websecure"
      - "traefik.http.routers.traefik-dashboard.tls=true"
      - "traefik.http.routers.traefik-dashboard.service=api@internal"

  excalidraw:
    image: excalidraw/excalidraw:latest
    container_name: excalidraw
    restart: unless-stopped

    networks:
      - traefik

    environment:
      LOG_LEVEL: debug

    labels:
      - "traefik.enable=true"
      - "traefik.docker.network=traefik"

      # Excalidraw HTTPS router
      - "traefik.http.routers.excalidraw.rule=Host(`excalidraw.cloud.local`)"
      - "traefik.http.routers.excalidraw.entrypoints=websecure"
      - "traefik.http.routers.excalidraw.tls=true"
      - "traefik.http.routers.excalidraw.service=excalidraw"

      # Excalidraw listens on port 80 inside the container
      - "traefik.http.services.excalidraw.loadbalancer.server.port=80"

networks:
  traefik:
    external: true
    name: traefik
Once you have your docker-compose.yml file created, simply issue the command:
docker-compose up -d
Customizing Your Excalidraw Instance
By self-hosting Excalidraw, you can customize various aspects of the application to suit your needs. For instance, you could potentially fork the official GitHub project and vibe code the app’s source code to add new features, or make changes to the UI to fit your needs.
Also, you can integrate Excalidraw with other tools and services in your home lab setup to create your own customized workflows and such. You can check out the source code for the project here: excalidraw/excalidraw: Virtual whiteboard for sketching hand-drawn like diagrams.
Updating Your Excalidraw Docker Container
To keep your self-hosted Excalidraw client updated, there are just a few simple steps. You can periodically update the Docker image and recreate the container. That may sound difficult, but it is actually pretty easy. Follow the steps below.
Pull the new container image:
docker pull excalidraw/excalidraw:latestStop your original container and remove it:
docker stop my-excalidraw-instance docker rm my-excalidraw-instanceThen recreate the container using the new image:
docker run -d -p 8080:80 --name my-excalidraw-instance excalidraw/excalidraw:latest
Excalidraw libraries and extra templates
One of the cool features of Excalidraw is that you can easily add additional shapes and templates to the solution using libraries of prebuilt shapes that are easy to search for and add in. I have found most of what I have been looking for, by just searching for things like networking, computing, storage, and other key words in the library search. Once you find what you are looking for, there is no complicated install process. You just click and add the library in.
So, the nice thing is that you don’t have to download a Visio template pack, install it in your Visio folder, and search for the shapes. With Excalidraw, they have made integrating libraries really easy which is very cool
These libraries that are available make it easy to create diagrams for your home lab setups, virtualization environments, and other infrastructure. To find the new libraries to be able to add these to your instance, navigate to the Library in the upper right-hand corner.
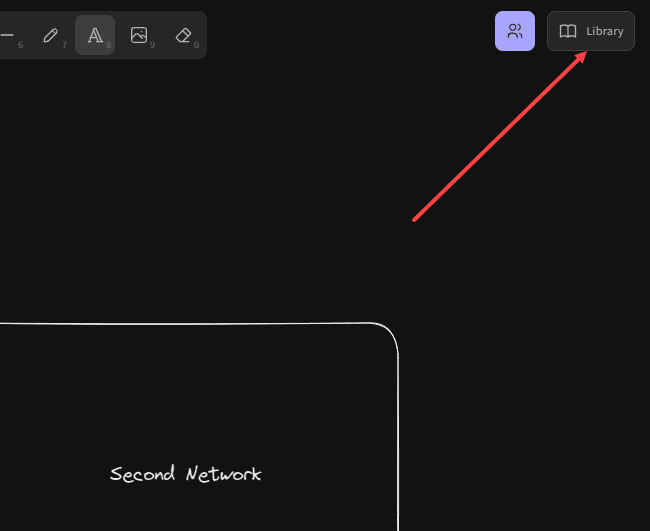
You can then select the Browse Libraries button.
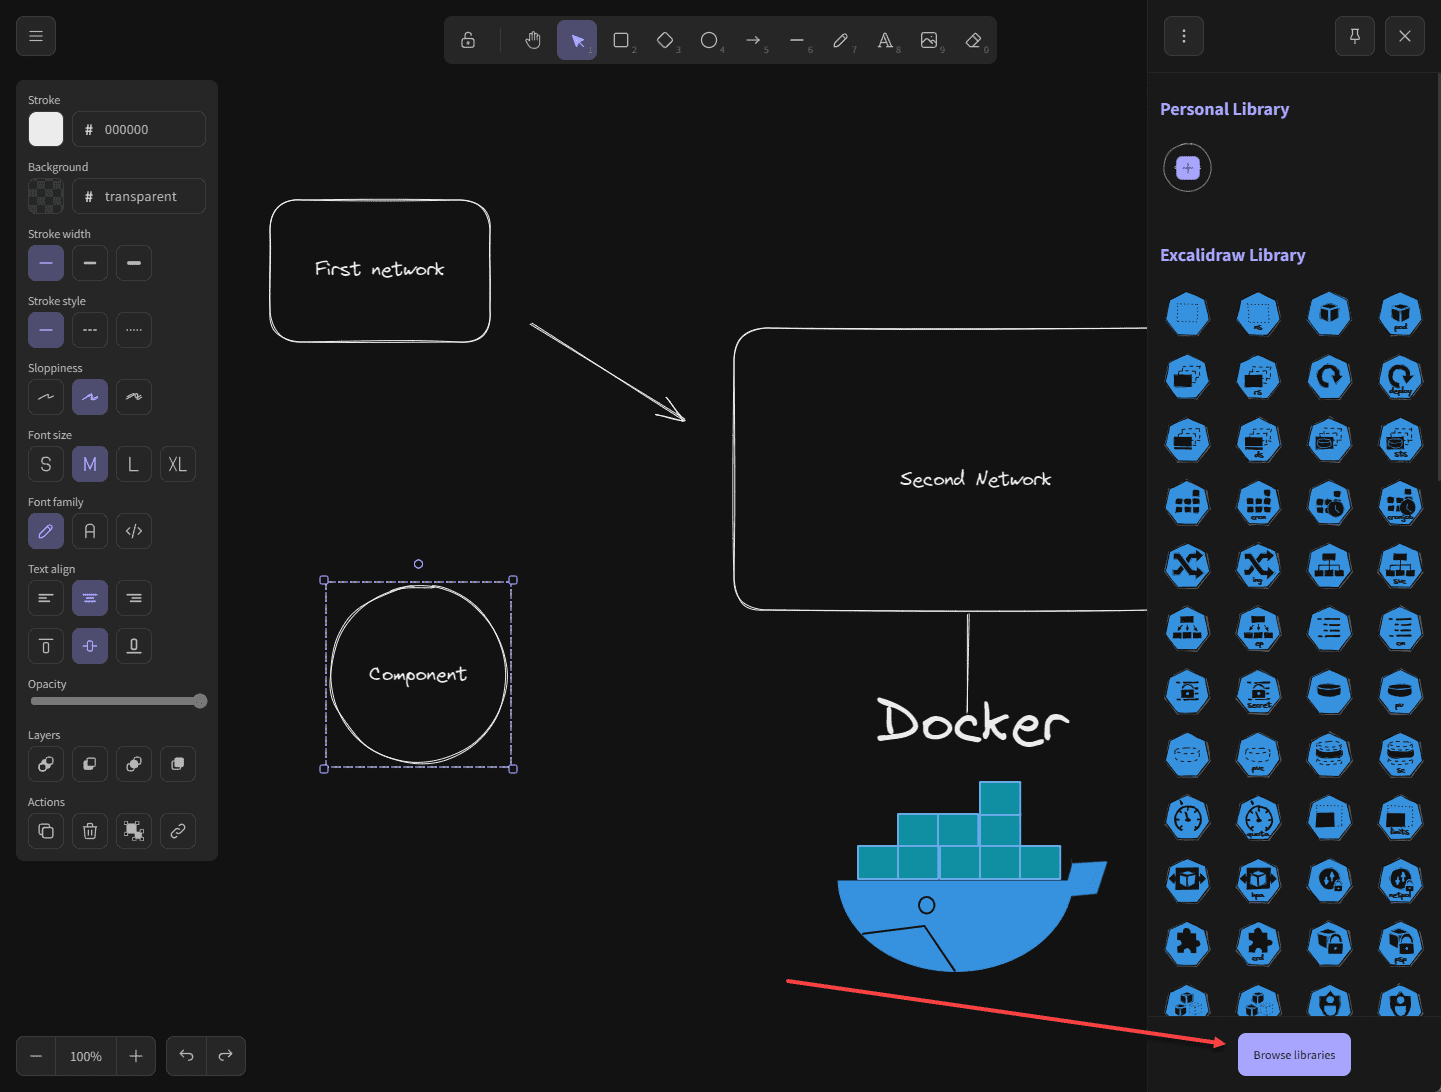
Here, you can search for the type of library you are looking for. Once you see the library you want, you can simply click Add to Excalidraw to immediately add it to your web session to be stored in your browser.

Live collaboration with Excalidraw Whiteboard
Excalidraw Whiteboard does support real-time collaboration, but it is different and limited based on what you are using, like the self-hosted OSS version, the free online version, or the paid online version. Here is a comparison of the features and capabilities that you get between the free self-hosted OSS version, online free version or online paid version:
| Feature | Self-hosted OSS | Free online | Excalidraw+ |
|---|---|---|---|
| Self-hostable | Yes | No | No |
| Drawing canvas | Yes | Yes | Yes |
| Local file storage | Yes | Yes | Yes |
| Cloud workspace | No | No | Yes |
| Real-time collaboration | No* | Yes | Yes |
| AI diagram generation | No | No | Yes |
| Bring your own AI API key | No | No | Yes |
| Connect to local Ollama or OpenAI-compatible endpoint | No | No | No |
| MCP support | No | No | Yes |
| Public API | No | No | Yes |
| Team workspaces | No | No | Yes |
| Presentation mode | No | No | Yes |
To compare the other general features between the paid Excalidraw+ version, take a look at the table down below.
Basic home lab diagram with Excalidraw
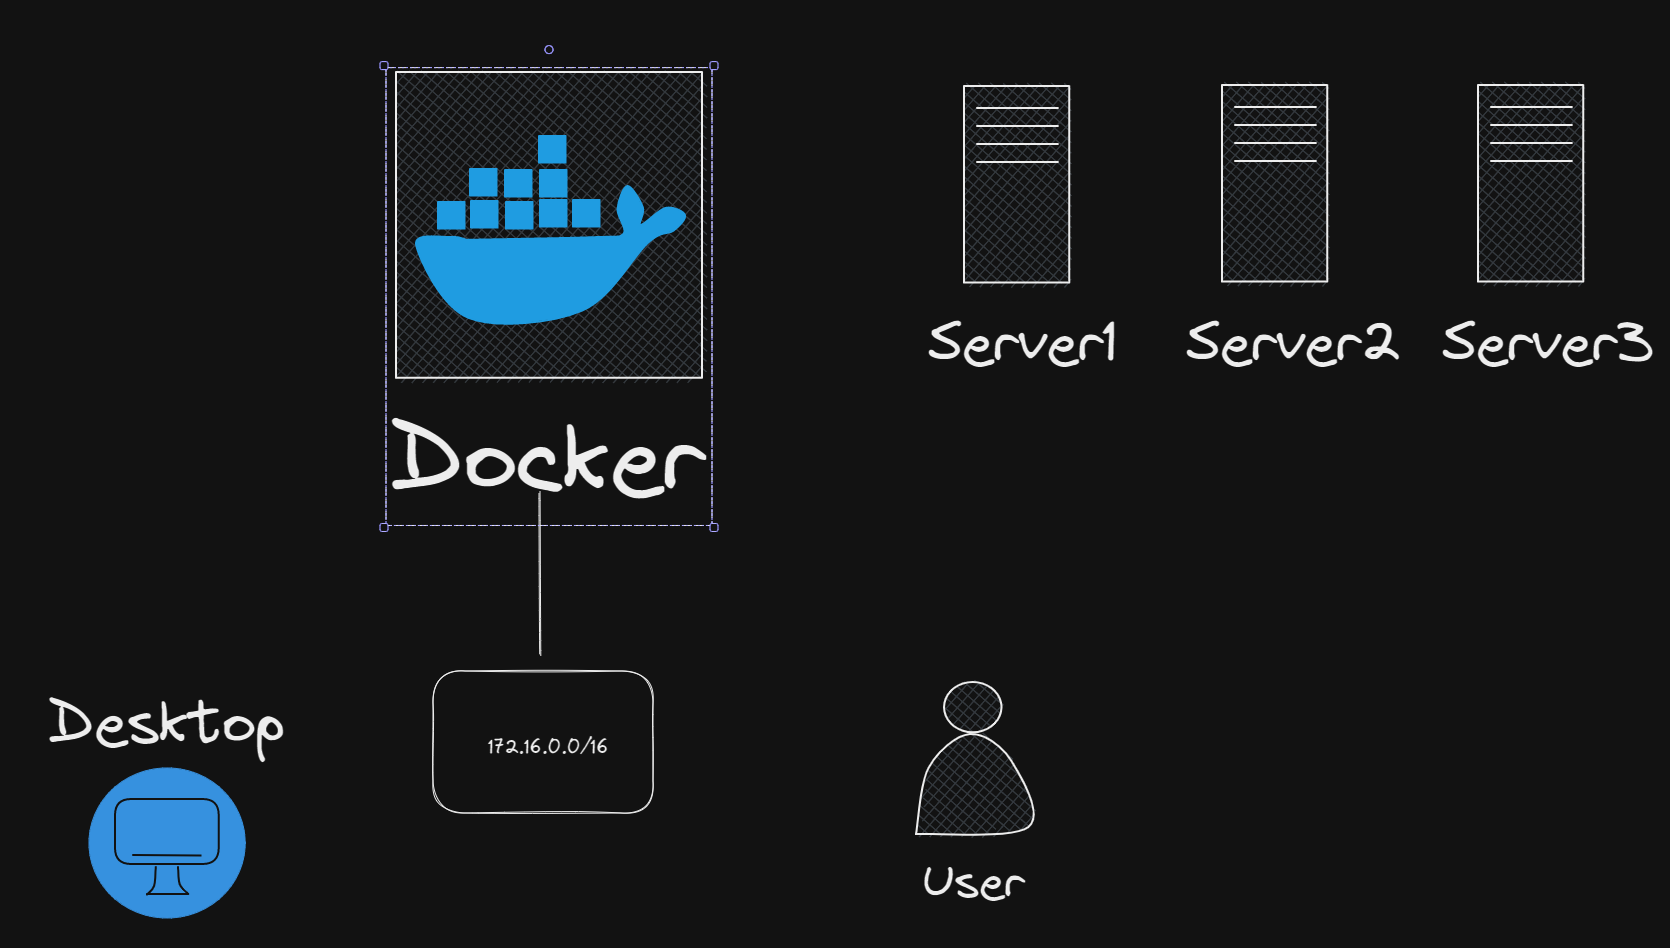
I think one of the best first steps when you are getting into creating your first home lab is creating your home lab documentation along the way. There is never a better time to create documentation and diagram your setup than while you are building out your lab. When you add your servers, networking, and any other configuration, open your excalidraw diagram and modify the diagram to reflect your current state.
You can also keep a desired state documentation that may show where you want your home lab to get to eventually. This is a great way to plan your next home lab project, addition, or change across your infrastructure.
Comparing Excalidraw self-hosted OSS with Excalidraw+
Unfortunately, there are still features with Excalidraw that you need to have a paid subscription to Excalidraw+ to utilize. One thing that struck me was even though the self-hosted container has references to AI “text to drawing”, you can’t really plug in your own API key or point it to something like your Ollama instance to use your self-hosted AI infrastructure.
Here is a comparison of features between them:
| Feature | Self-hosted OSS | Excalidraw+ |
|---|---|---|
| Self-hostable | Yes | No |
| Drawing canvas | Yes | Yes |
| Local file storage | Yes | Yes |
| Real-time collaboration | Limited | Yes |
| AI diagram generation | No | Yes |
| Bring your own AI API key | No | Yes |
| Connect to local Ollama or OpenAI-compatible endpoint | No | No (but caveat is + allows you to bring your own cloud AI key) |
| MCP server | No | Yes |
| Public API | No | Yes |
| Cloud sync | No | Yes |
| Team workspaces | No | Yes |
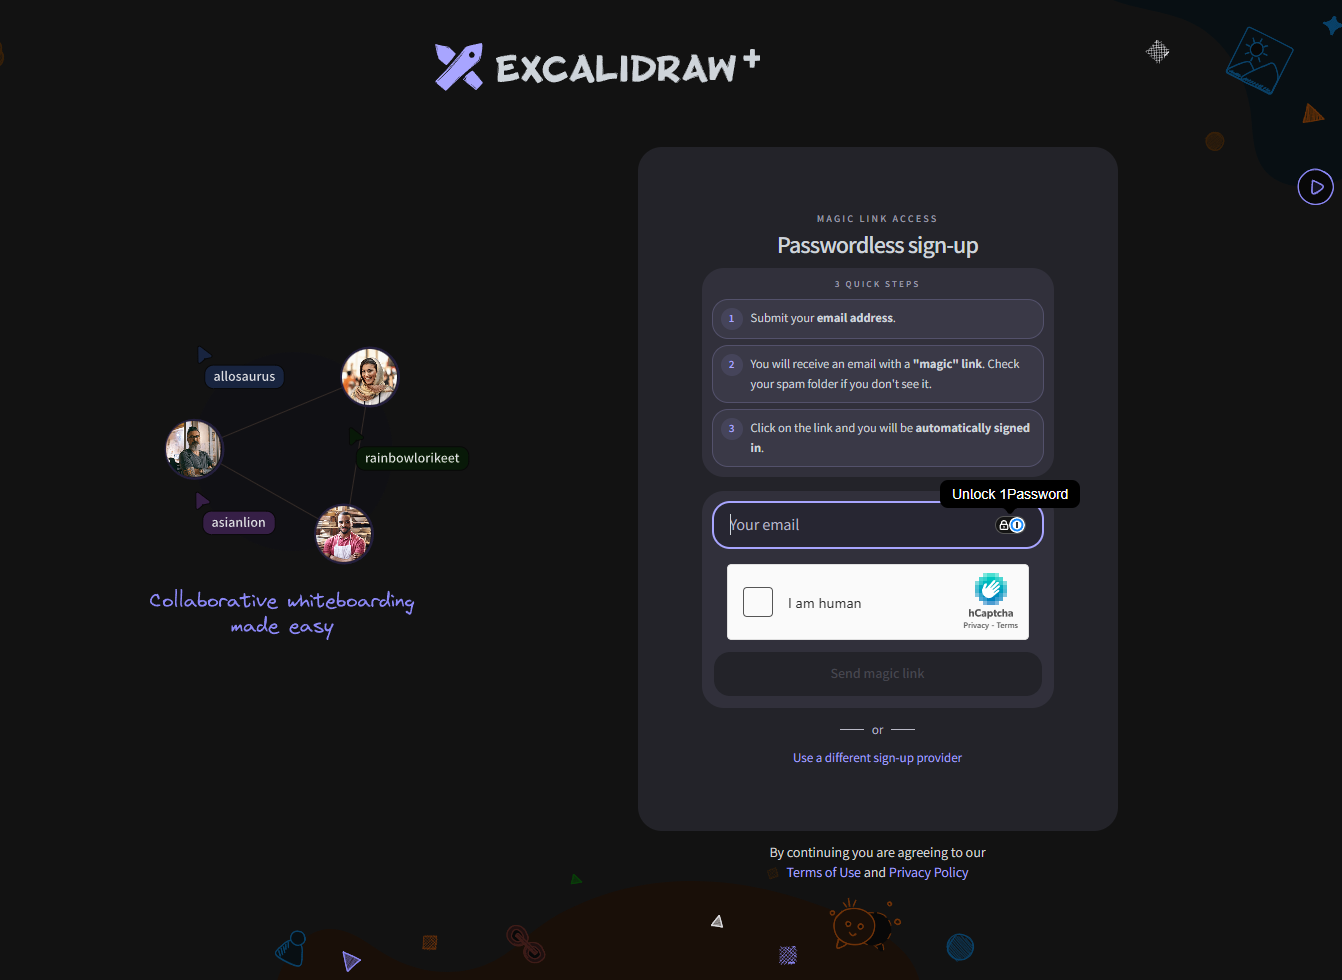
Even in the free OSS version you will see the Excalidraw+ signup. But as far as I can tell, the Excalidraw+ offering is only their cloud offering and not anything you can upgrade your OSS self-hosted option to benefit from. Check out the Reddit post here: AI features without hostage pricing: Bring Your Own Key : r/Excalidraw.
Wrapping up
I think out of the solutions that I have tried in the home lab for a free and easy to access drawing whiteboard that is easy to self-host, Excalidraw is still my favorite. There are a lot of good ones out there like Draw.io and others that are free. But I love the ability to self-host this solution and many of the others that are free, are cloud only. Keep in mind there are features with Excalidraw that you only get with the Excalidraw+ offering, like generative AI diagrams. You can bring your own API key if you are on the Excalidraw+ offering in the cloud, but not the self-hosted version. Neither allows you to point to a self-hosted Ollama or other instance. How about you? Have you tried out Excalidraw as of yet in your home lab? Are you self-hosting it?
More in this topic


Google is updating how articles are shown. Don’t miss our leading home lab and tech content, written by humans, by setting Virtualization Howto as a preferred source.
About The Author

Hi! How to I handle storage/persistence of the excalidraw board?
It’s browser based storage.