



There are some home lab projects that teach you a few things, and are great to incorporate. However, there are some projects that looking back on my journey, really taught me the most and are foundational I think. Over the years I have built and rebuilt my home lab countless times. I have broken it, trashed it, migrated it, documented, automated, and overcomplicated/simplified things. Let me show you the lessons these projects have taught me the most, and how they influence the way I build my lab out today.
Building a real virtualization cluster
Absolutely one of the best projects that I have incorporated in my home lab and really is the basis for a proper home lab was building a real virtualization cluster. All of us generally start out with a single host. There is nothing wrong with doing this and it is what allows most of us to get started.
But, once you build out a real virtualization “cluster”, this opens doors that just can’t be opened with a single server running all of your workloads. It allows you to start thinking and seeing things operate like enterprise environments.
You then stop asking what can this one server do? You can then ask, “what can my environment do?”. This is a pretty major shift and it helps to teach you that compute is only part of the picture. You start thinking about shared storage, migration of virtual machines, backups, networking, and other things in a completely new light.
The practical lesson is that a home lab feels much more professional when the hosts are configured in a cluster setup. That does not mean every node has to be identical which sometimes in the home lab is hard to do. My lab has had plenty of mixed hardware over the years. But the configuration needs to make sense. Naming, networking, storage, and backup expectations need to be clear. When those pieces are consistent, the cluster operates consistently and will serve you well, providing high availability for your workloads.
My current virtualization cluster is a (5) node Proxmox VE Server 9.2 cluster running Ceph HCI storage. You can read all about my configuration here: I Built a 5-Node Proxmox and Ceph Home Lab with 17TB and Dual 10Gb LACP.
Learning Kubernetes the hard way
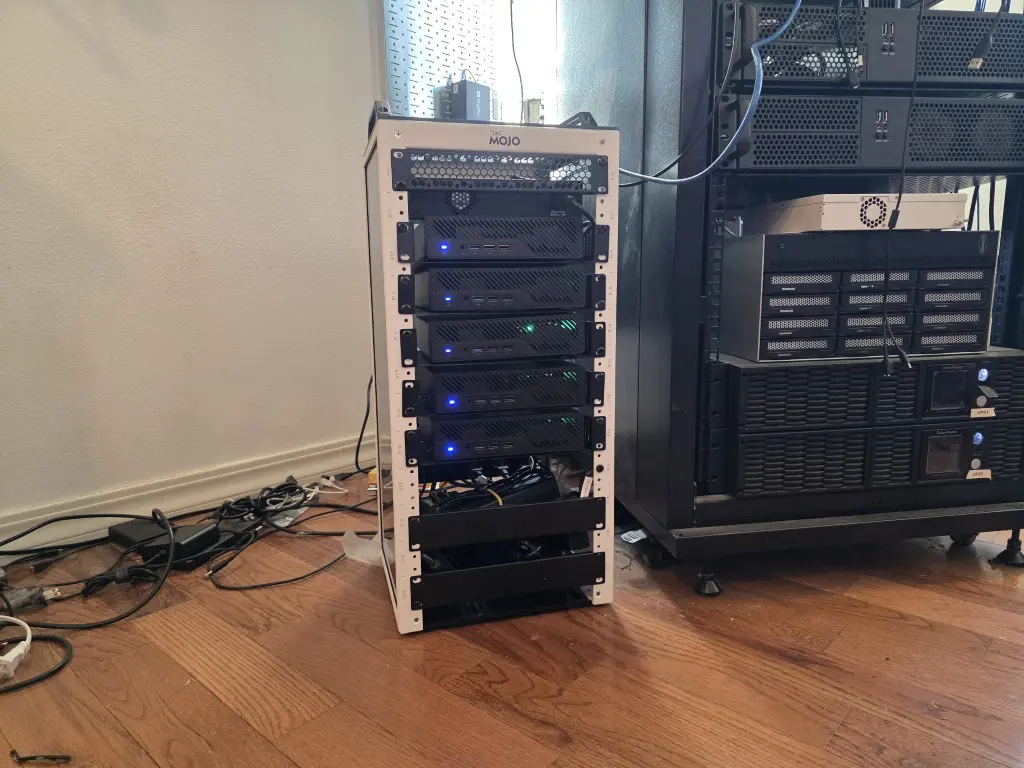
Kubernetes is one of those projects that we tend to tackle later in our home lab journey. I think it is a great goal for everyone to get some experience with Kubernetes in their home lab. You may even decide to run your “production” workloads there. I made the pivot to running my production workloads in Kubernetes at the start of this year.
Kubernetes teaches you that complexity is usually only worth it if it solves real problems. It is a powerful platform, but it isn’t necessarily magic. You have to think about EVERYTHING in a new way. This includes your apps, storage, networking, ingress, secrets, certificates, updates, etc. When you use it in the right way, there isn’t anything better to be honest.
Learn Kubernetes the “hard way”. Get your hands dirty standing up a cluster in a few virtual machines running in Proxmox and load the components by hand using something like Kubeadm (not exactly totally by hand but this is a great way to do it). This helps you understand what is required for the archtiecture and infrastructure of Kubernetes.
Then, move on to something like Talos Linux Kubernetes. This is what I run today and it is absolutely a great platform to run your production workloads on from a security and operations standpoint. It will also help you to get into the “cloud-native” mindset and understand a lot of these concepts right in your home lab.
Running my own DNS
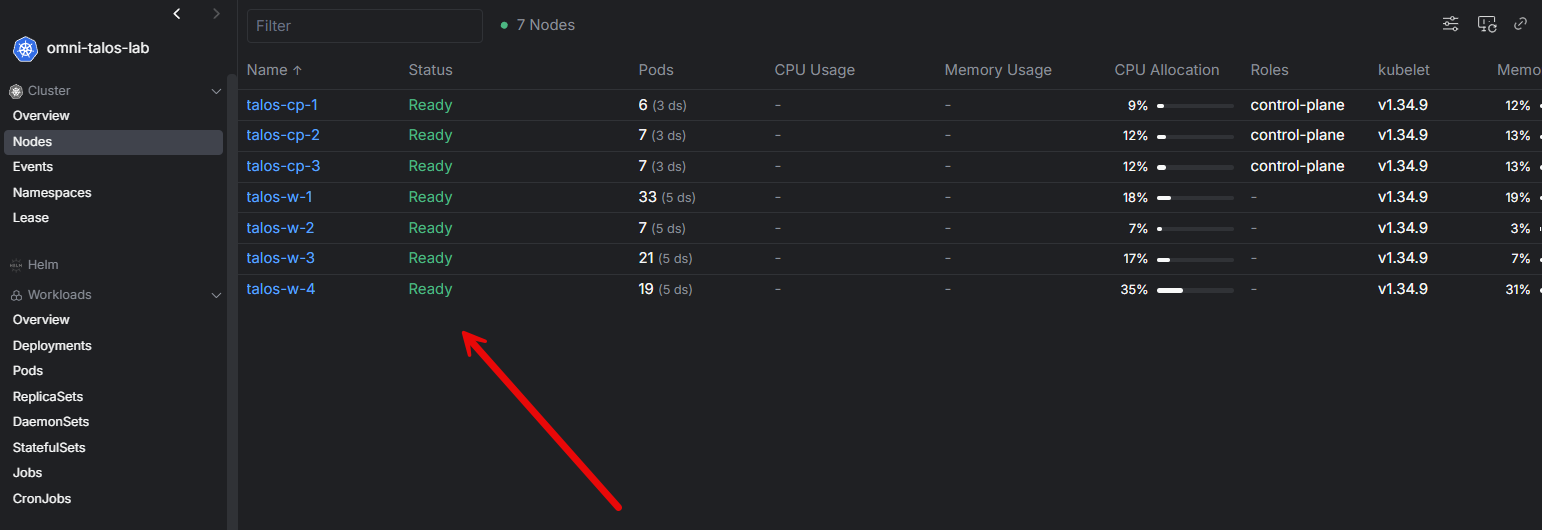
This was absolutely one of the best projects looking back that I spun up in the home lab. It is easy to just rely on public DNS for things, but you can’t really self-host internally in an effective way. Having your own DNS server allows you to run an internal zone that you can locally resolve things like “home.lab” or similar.
Getting your own DNS server up and running in your home lab is absolutely one of the first projects that is worth it once you have a virtualization server up and running. This allows you to start getting your feet wet with name resolution, etc. When you run your own DNS server, it teaches you how to consciously think about hostnames when it comes to things like reverse proxies, certificates, monitoring, authentication, container stacks, Kubernetes ingress, VPN, etc. The list could go on and on.
It forces you to learn a lot more about DNS zones, lookups, split horizon DNS, TTLs, and how DNS changes affect everything else you do in the home lab.
The mistake I made early on was treating DNS like a convenience feature. I would add a record here and there when I needed it. Over time, though, DNS became part of the foundation. DNS redundancy is super important as well. When you have redundant DNS servers, it makes sure that you have name resolution still available if one of the servers goes down or you need to do maintenance.
Check out my posts on DNS clustering details in my home lab:
- Stop Using Pi-Hole Sync Tools and Use Technitium DNS Clustering Instead
- I Thought I Needed an Unbound Cluster. The Solution Was Much Simpler
Standing up a reverse proxy
When you start running lots of containerized services, you get tired of and confused by trying to connect to and memorize connections to your containerized apps with URLs like 10.1.149.25:3000. This isn’t very human-memorable. However, something like monitor.cloud.local is easy to remember.
This is where a combination of DNS and reverse proxies come into play. When you have an internal DNS server, you can create records that point to your internal IP addresses inside your home lab. Then a reverse proxy is able to use your DNS resolution to create ingresses to your internal applications that are running as containers on your container host.
You can even take advantage of something called split-horizon DNS where you can answer some queries with hosts internally and then send the rest of the queries to your external DNS servers for real domains. Check out my full post on how I do this with Unbound here: Split Horizon DNS: How I Resolve a Subset of DNS Records locally.
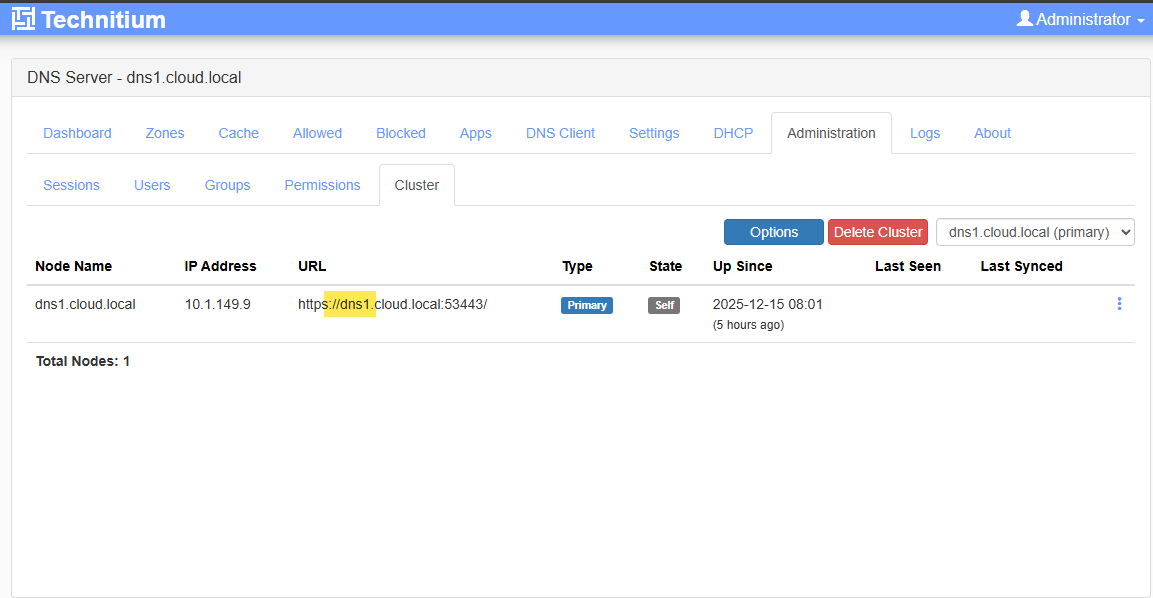
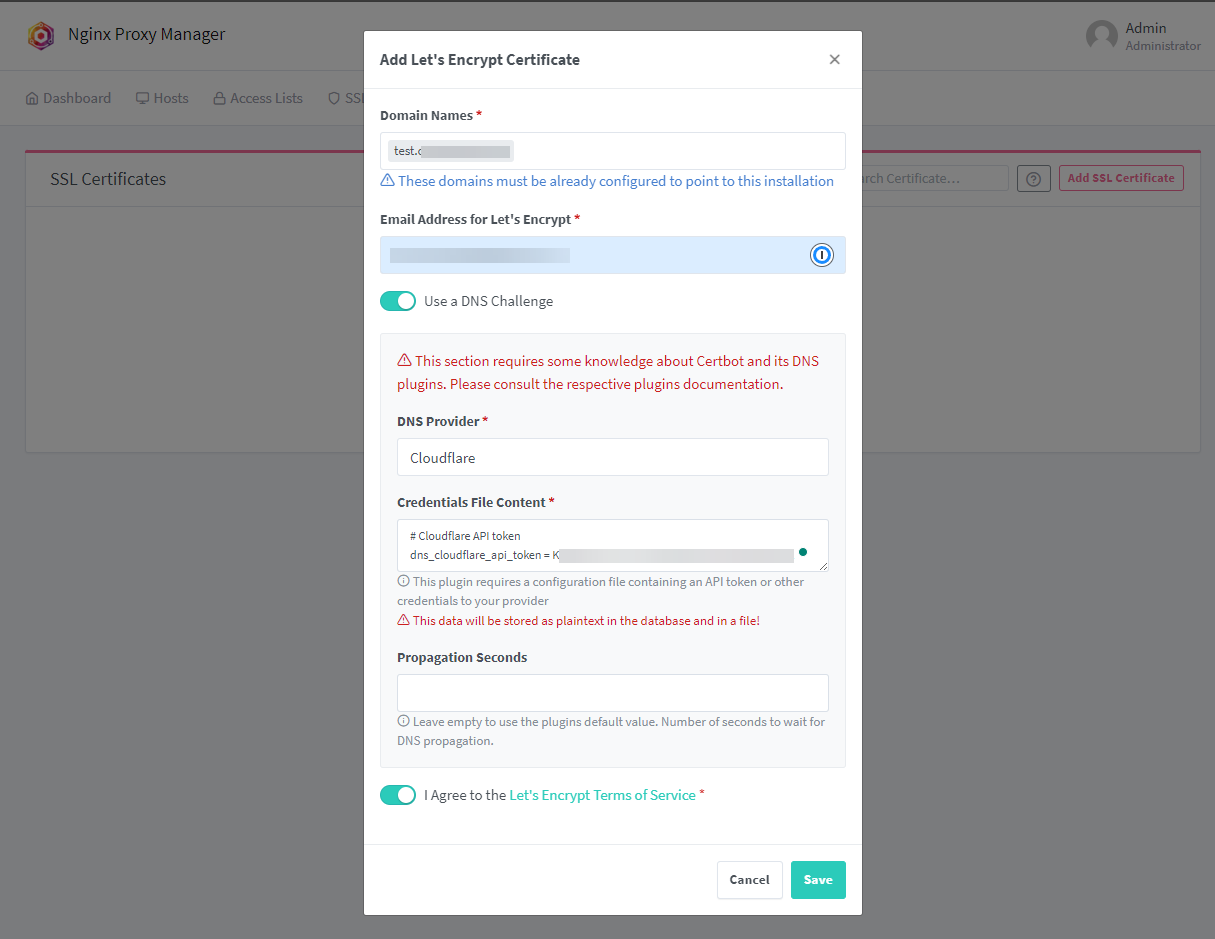
Using these solutions and techniques you can then have fully trusted SSL certificates by way of Let’s Encrypt certs that show up correctly without warnings and errors in modern browsers and that resolve to your internal Docker container hosts.
Check out my posts here that you can use to get quickly up to speed on that front:
- Setting Up Nginx Proxy Manager on Docker with Easy LetsEncrypt SSL
- I Replaced Nginx Proxy Manager with Traefik in My Home Lab and It Changed Everything
- Nginx Proxy Manager vs NPMplus Which One is Better for Your Home Lab?
Git version control for my home lab infrastructure
This has absolutely been a game changer for me and my learning. It started out as small baby steps where I stood up a self-hosted Git server in my home lab using GitLab. Then I started off moving Docker Compose code into a self-hosted repository.
This taught me a great deal about git commands and versioning and handling my code inside a git repository. Also, Git remembers what it changed and when it changed. You can also see by commit messages what was changed with a particular commit and why it was updated. You can even roll back your commits to a specific commit if you need to.
The big lesson here is not just to use git. The bigger lesson is that your infrastructure should have a source of truth. That source of truth is git. If a script is not documented and versioned, it is easy to lose. If rebuilding a service requires you to rely on your memory, the process is too fragile.
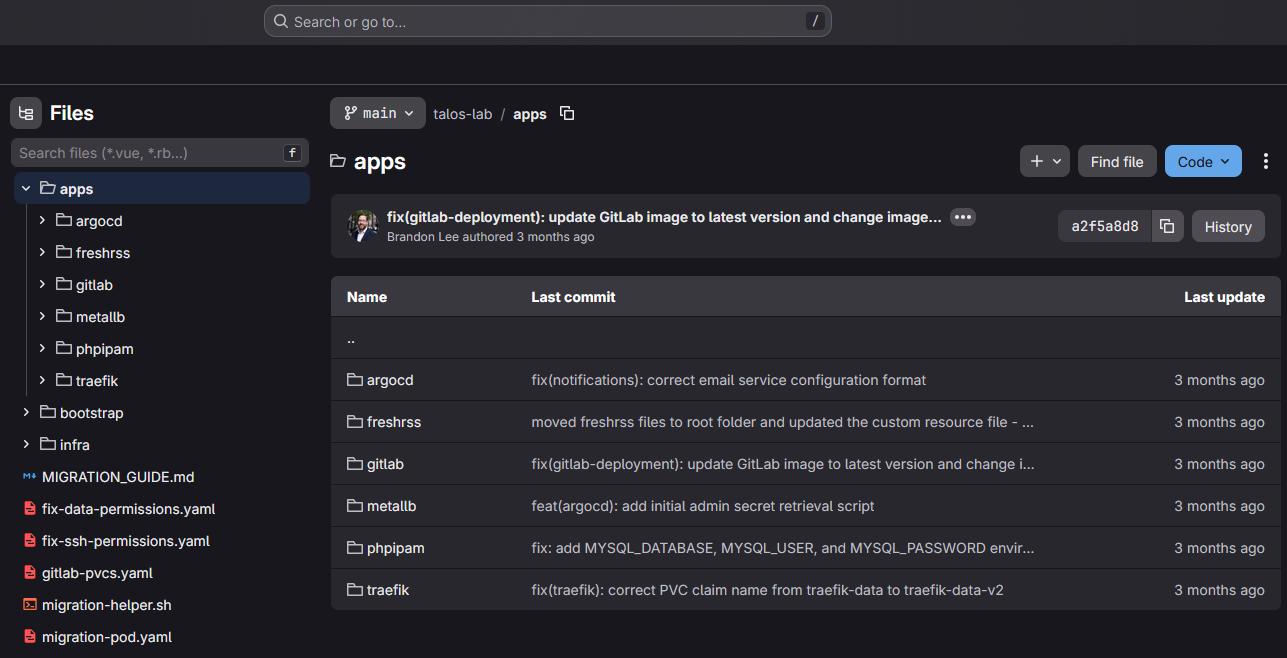
Git has become the difference for me between rebuilding quickly and trying to reverse engineer my own home lab if something goes wrong or goes down.
Switching to immutable operating systems for servers
This has been a tremendous learning experience for me. Before I used operating systems like Ubuntu Server 26.04 LTS. And, there is nothing wrong with Ubuntu Server. It will serve you well. But with an operating system like Ubuntu, it is an all encompassing operating system that can do it all. This is great in one respect. But it also means that there is more to update and more to possibly break or have security vulnerabilities.
I started out the home lab project of moving workloads towards immutable or image-based systems. This taught me another lesson I needed to learn. I needed to stop treating everything like “pets” and more like “cattle”. Traditional Linux OS’s require you to tinker with things. You SSH in, edit files manually, install packages, change permissions, restart services, and you likely will forget half of what you have changed.
You literally can stand up two identical servers and a couple of days later they will have drifted far apart from one another. Now, I lean into immutable server operating systems like Flatcar Linux.
This is an image-based Linux distro that you can have as immutable in your home lab. And, it is purpose-built for containers. So it makes a great Docker host or Kubernetes host.
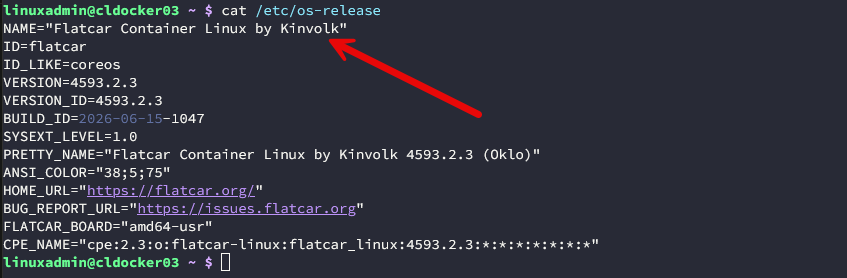
Check out my posts on Flatcar here:
- I Installed Flatcar Linux on Proxmox and It’s Not Like a Normal Linux VM
- I Deployed My Own Flatcar Linux Update Server and Here’s What Actually Happened
Learning distributed storage
This home lab project has been a huge one, especially since I have move over to Proxmox VE Server for the home lab from VMware vSphere. Distributed storage is one of the coolest things you can work with from an infrastructure perspective. It is so cool to me to see that local disks are protected across a pool of software-defined storage.
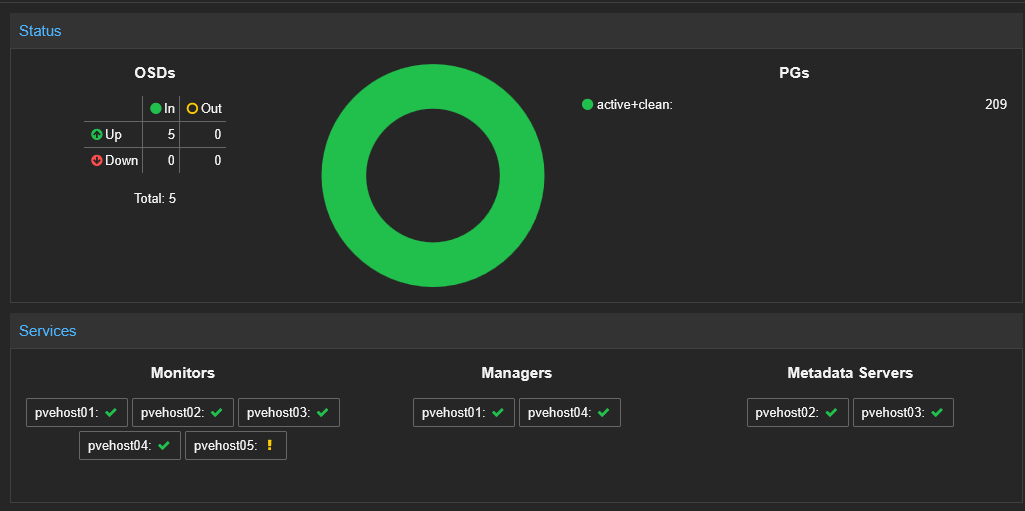
Ceph HCI storage is the HCI solution I am using in conjunction with my Proxmox cluster. Especially since Ceph support is built-in natively with Proxmox VE Server. However, distributed storage is humbling, and it teaches you patience and that other parts of your infrastructure, like networking, have to be up to par before HCI makes sense.
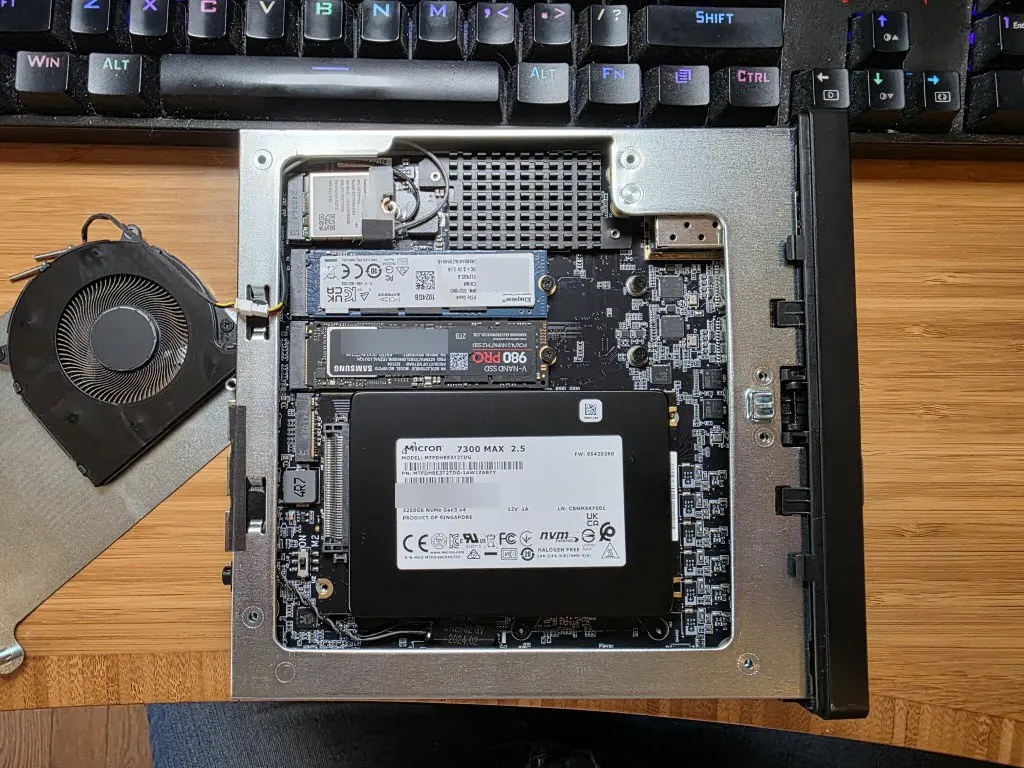
Also, it taught me for the first time in my home lab, that consumer-grade NVMe wasn’t good enough to really rely on for my storage needs in the home lab. Latency will spike with SLC cache filling up on consumer drives compared to enterprise drives. I have a really interesting post and benchmarks to compare between the two if you are interested in that comparison here: Consumer vs Enterprise SSDs in the Home Lab: I Benchmarked Both in Ceph.
Wrapping up
There are definitely projects that you can run in your home lab that will teach you A LOT if you allow yourself to go there and “get your hands dirty.” All of the projects I have listed here I think quadrupled my knowledge base working with various technologies in the home lab and allowed me to move to a new vertical in my skillset. If you are looking at modern infrastructure engineering, cloud-native learning paths, DevOps, or really anything along these lines, all of the projects mentioned are a great way to extend your comfort zone to include new disciplines and learning paths. What about you? What home lab projects have taught you the most? Please share as we would all like to benefit from your experience.
More in this topic


Google is updating how articles are shown. Don’t miss our leading home lab and tech content, written by humans, by setting Virtualization Howto as a preferred source.
About The Author

Git for sure. I had been using it for a couple of years, but didn’t fully grasp it and how I could integrate it into recently. VSCode makes it so much easier too. Ansible+Semaphore took me a bit to fully grasp it’s capabilities. I’m currently rebuilding all my roles right now. Zabbix has been a fun journey as well. Probably one of my favorite homelab apps.