Many great open source solutions are available these days for many use cases, including security, networking, routing, etc. Two of those include pfSense and Proxmox server. Proxmox VE is an open-source solution that you can easily download for free and run a pfSense VM for routing, virtual network interfaces, firewall capabilities, etc. Let’s deep dive into the process of pfSense Proxmox install process and configuration and see what steps are involved.
What is Proxmox VE?
Proxmox VE is a open-source virtualization solution allowing you to run virtual machines, including pfSense VM solutions. This is great as it allows you to run a pfSense virtual machine that can perform routing, firewalling, VPN, and all the great features that pfSense includes as part of the solution. In addition, you can run other virtual machines along with pfSense in Proxmox.
You can also run a Proxmox cluster for the highest availability requirements and for failover purposes.
Running pfSense on Proxmox VE
Running pfSense on Proxmox server, pfSense Proxmox, is a great way to have powerful features for no cost, running on commodity bare metal hardware. Proxmox provides many enterprise hypervisor features, including backups that can be enabled for newly created virtual machine boxes running in Proxmox server.
Run on bare metal or virtual machine
Proxmox hosts can run on a bare metal server or run as a virtual machine itself. If you would like to see how to run Proxmox Server as a nested VMware virtual machine, check out my post here: Nested Proxmox VMware installation in ESXi – Virtualization Howto
What is pfSense?
First of all, what is pfSense? The pfSense solution is a secure and widely used firewall distribution that is available as a virtual machine appliance or running on hardware platforms from Netgate.
Either way, you can get network interfaces either in hardware or virtual machine network interfaces, allowing you to route, firewall, and connect traffic to your network as you would any other enterprise firewall solution.
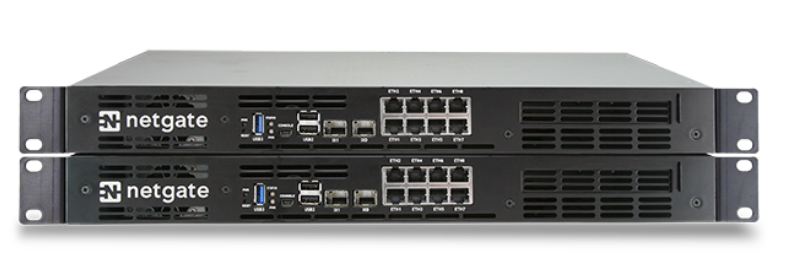
Netgate hardware
Download pfSense ISO image
You can download the pfSense ISO image here for the Community edition:
Download pfSense Community Edition
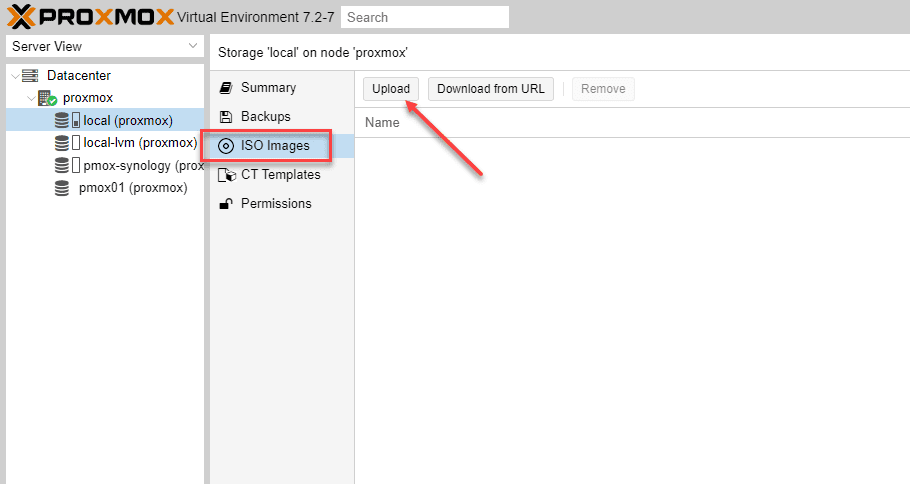
Upload ISO image to Proxmox server
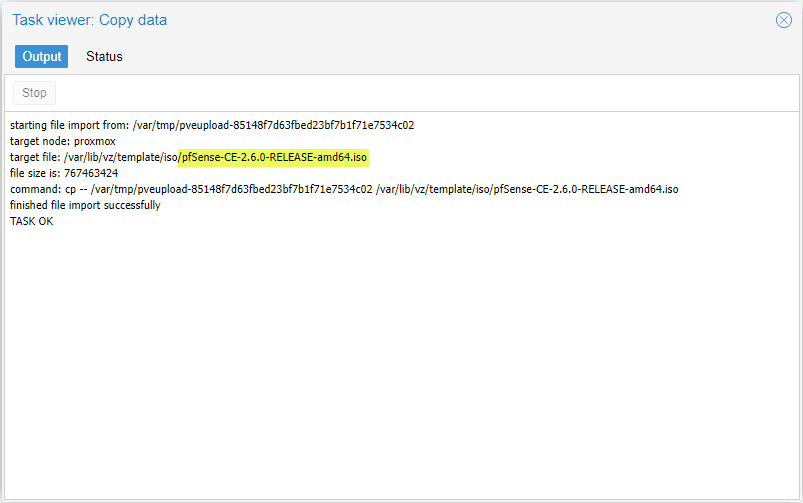
Before we can run our pfSense VM installation on Proxmox ve, we need to get the installation ISO image for pfSense VM uploaded to Proxmox VE. To do that, we log into Proxmox VE and browse to our local Proxmox storage, select ISO images and click the Upload button
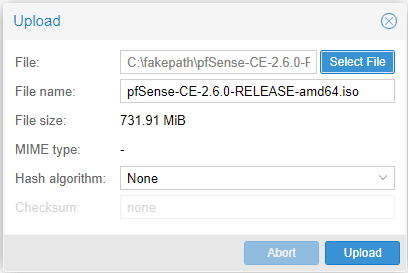
Once you click the Upload button, you will have the ability to click the Select File button. Click the Select File button and browse to your downloaded pfSense ISO image. Then, click Upload.
After you click Upload, you will see the upload progress. Then, the screen below should display, noting the upload of the ISO image was successful for pfSense.
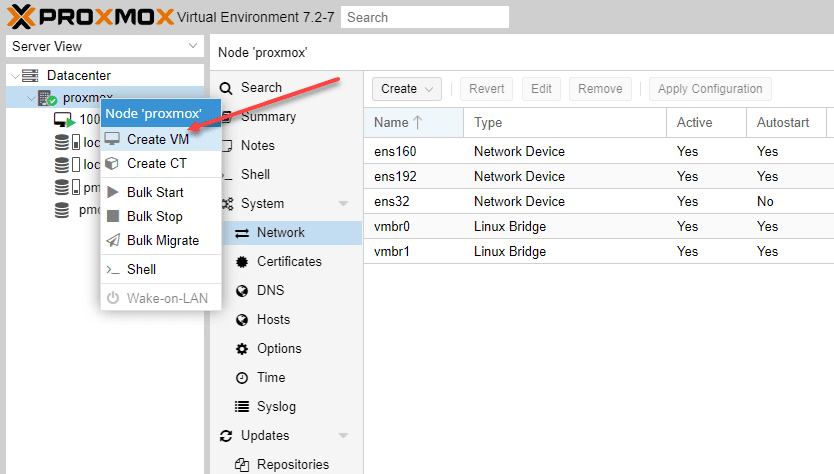
Creating the pfSense VM in Proxmox VE
We first need to create the pfSense VM in Proxmox VE that will be used to install pfSense.
After you access Proxmox through port 8006, right-click your Proxmox VE server in the Proxmox web GUI and select Create VM.
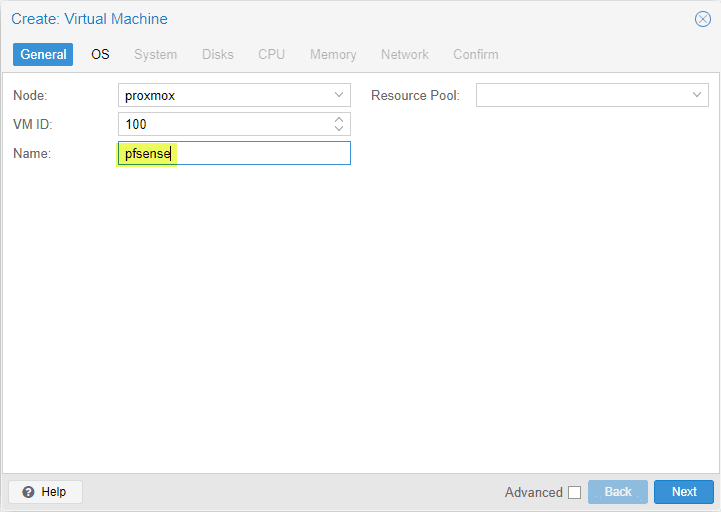
Configuring the new pfSense VM
Note the following tabs and how they are configured with the new pfSense VM.
General tab Settings
On the general tab, configure a name for the new pfSense VM.
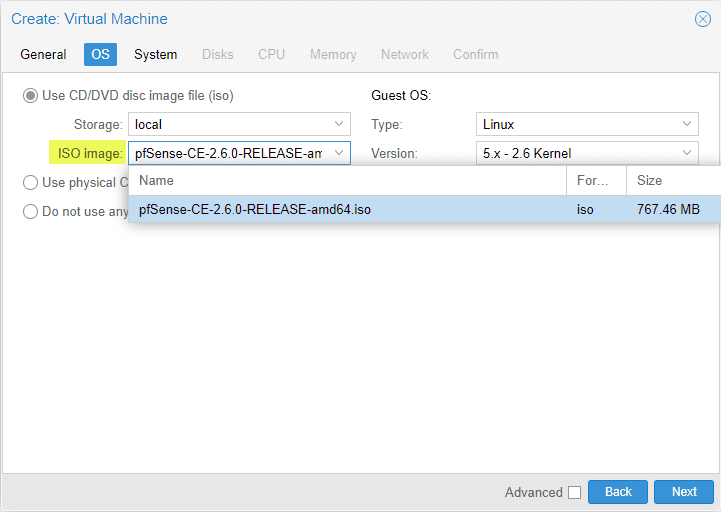
OS settings
On the OS tab, here is where we select the ISO image that we uploaded earlier.
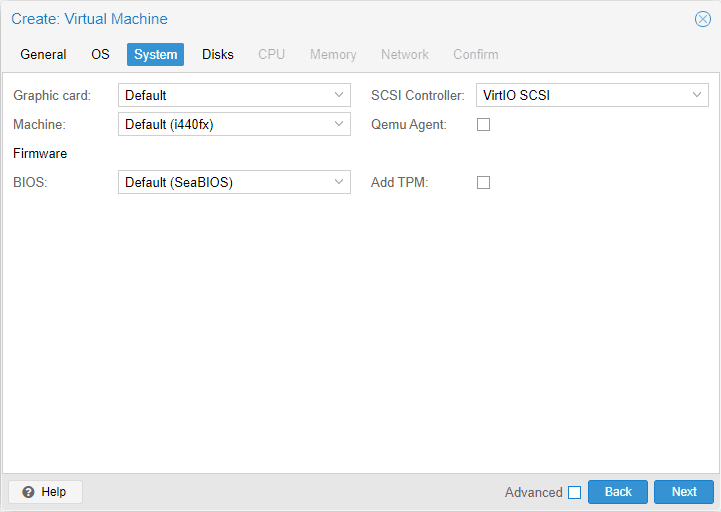
System tab
On the system tab, we can leave the default settings.
Disks
On the disk screen, you select where you want to install pfSense, the disk size, bus device information, etc.

CPU tab
On the CPU tab, you can configure the number of CPU sockets and cores.

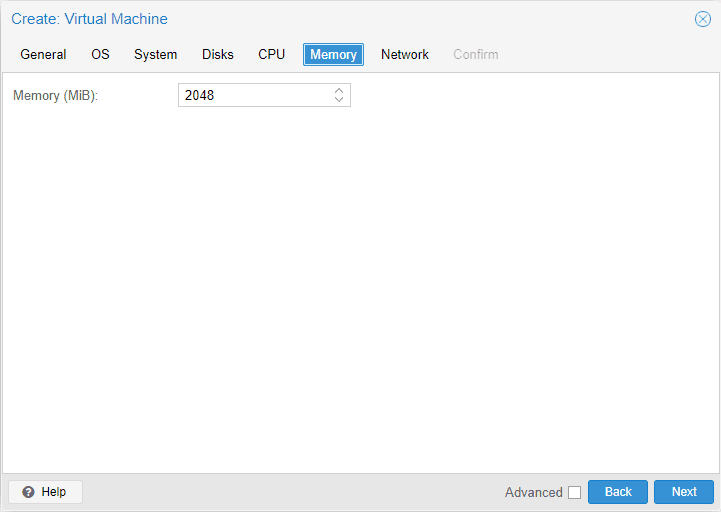
Memory tab
On the memory tab, you configure how much memory you want to allocate to the pfSense VM.
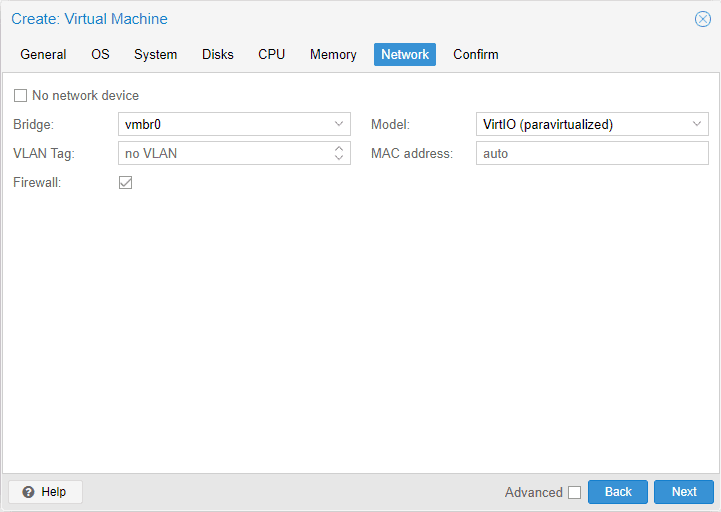
Networking Tab
On the network tab, you configure the network interfaces you want to use for your pfSense VM running on your Proxmox host. There are differences to think about depending on whether you are running pfSense on physical hardware with physical interface ports or a virtual machine running pfSense.
Here, on the creation screen, we can just accept the defaults and then we will change a couple of settings once we have the VM created. Note on the screen the settings you can configure, including bridge ports, VLAN tag, firewall, model, MAC address, etc.
Confirm tab
On the confirm tab, we can confirm the settings used to create VM for pfSense.
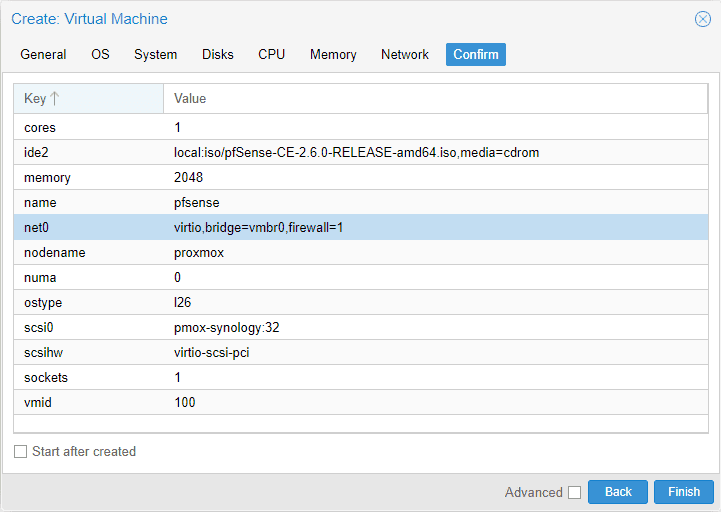
After you click create VM of the pfSense VM, this essentially creates the pfSense virtual machine so we can install pfSense as a guest OS on in the Proxmox box VM.
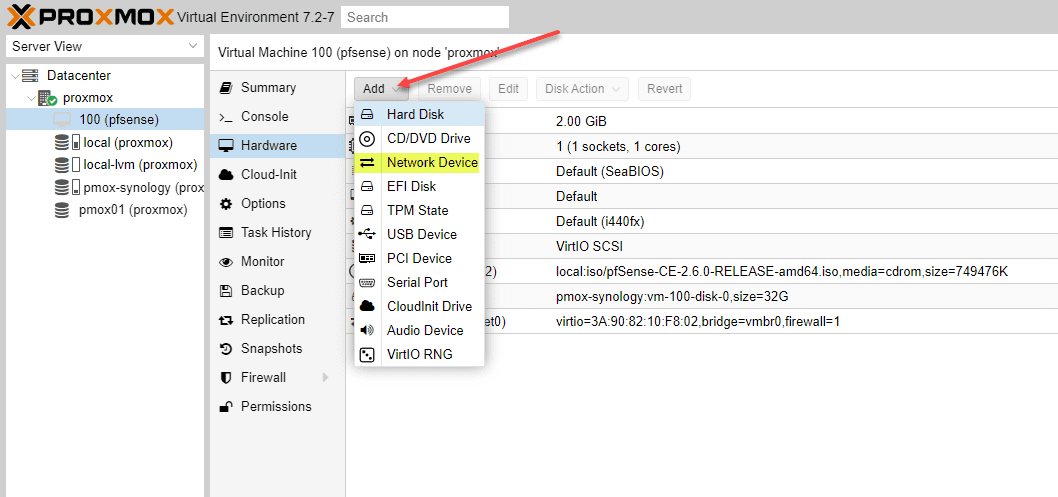
Changing a few settings on the pfSense VM
If you noticed on the network device screen above, it only configured one network device. However, for the pfSense VM to route traffic as expected, we need both a LAN port, or LAN interface, and a WAN port, or WAN interface.
The WAN interface will house the WAN IP address that will provide connectivity from the outside inward for accessing internal resources and provide Internet connectivity. These WAN and LAN interface connections will allow successfully routing traffic as expected and benefiting from the pfSense firewall.
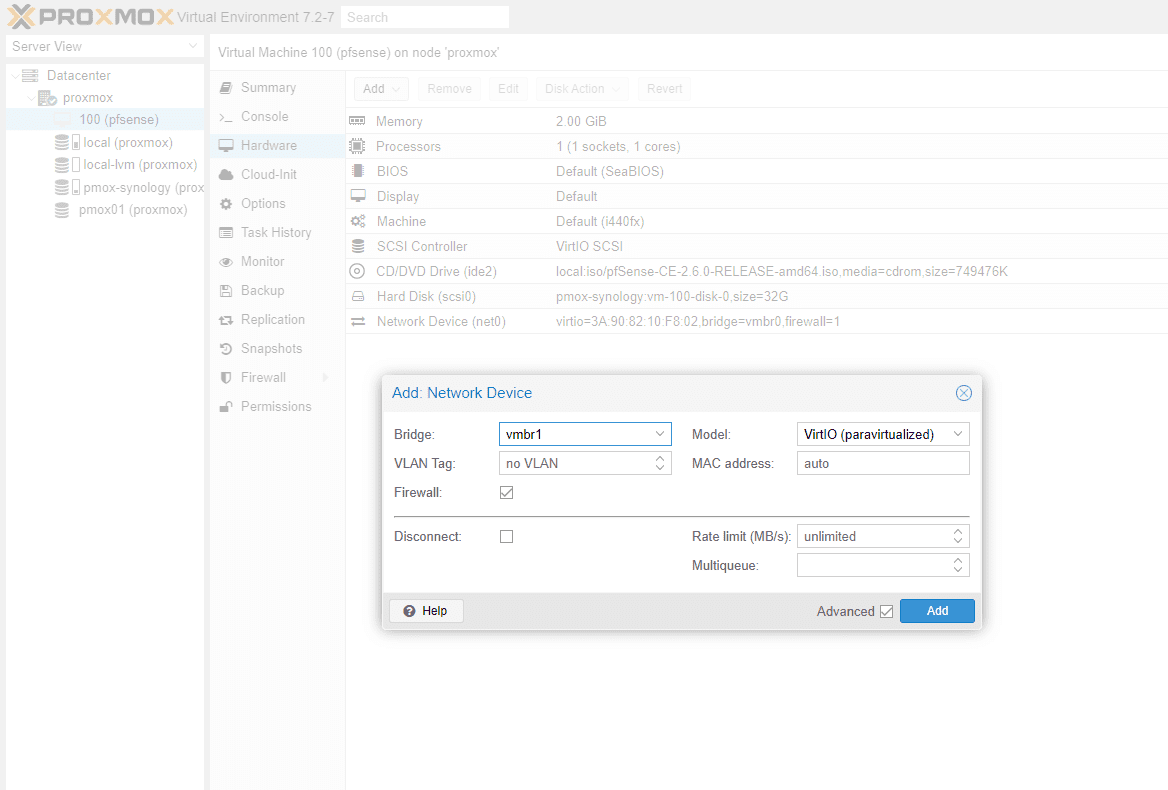
On the new interface, select the bridge ports, VLAN tag, and other settings for the second network adapter. By default, it will add virtIO interfaces when you add a new adapter. You may need to play around with this when adding. I had to go back and change my installation to Intel Pro 1000 adapters for it to work correctly in my nested lab.
I also added an additional network bridge where you can choose a new Linux bridge configuration.
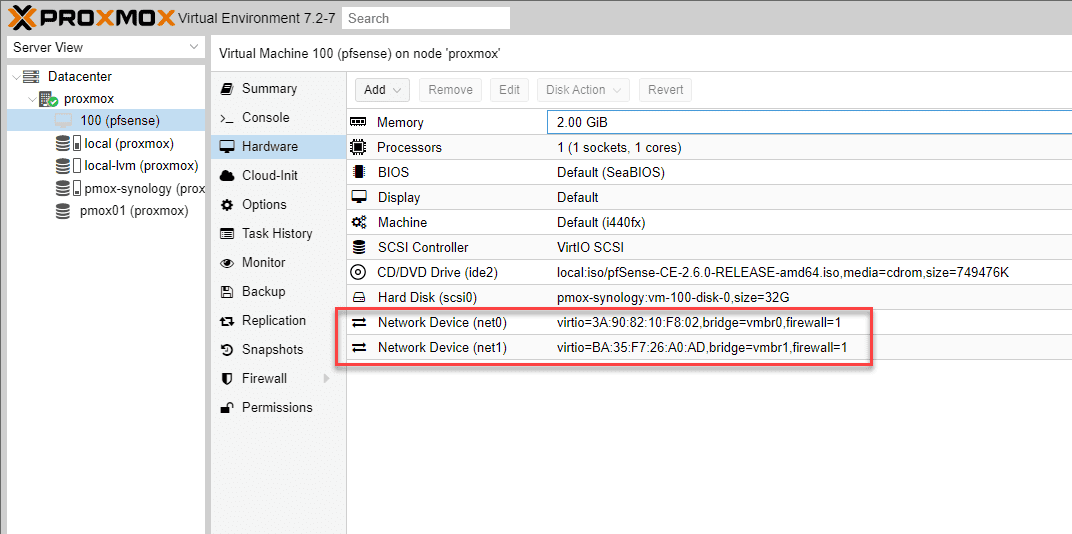
After adding an additional network device, we now have two network devices configured with the pfSense VM.
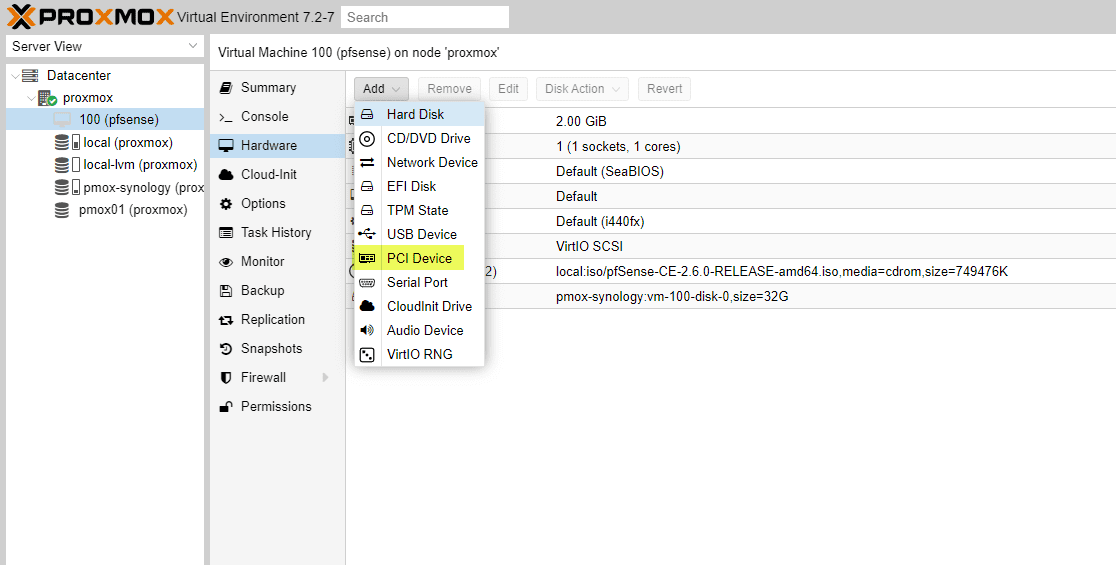
As a note, depending on what type of hardware you are running on top of for your Proxmox host, some may need to instead not add a network adapter but instead add a PCI device that is passed through to physical NICs.
Install pfSense VM
Now we can actually install pfSense and configure the virtual machine appliance. Right-click the pfSense VM shown on your Proxmox host and select start.
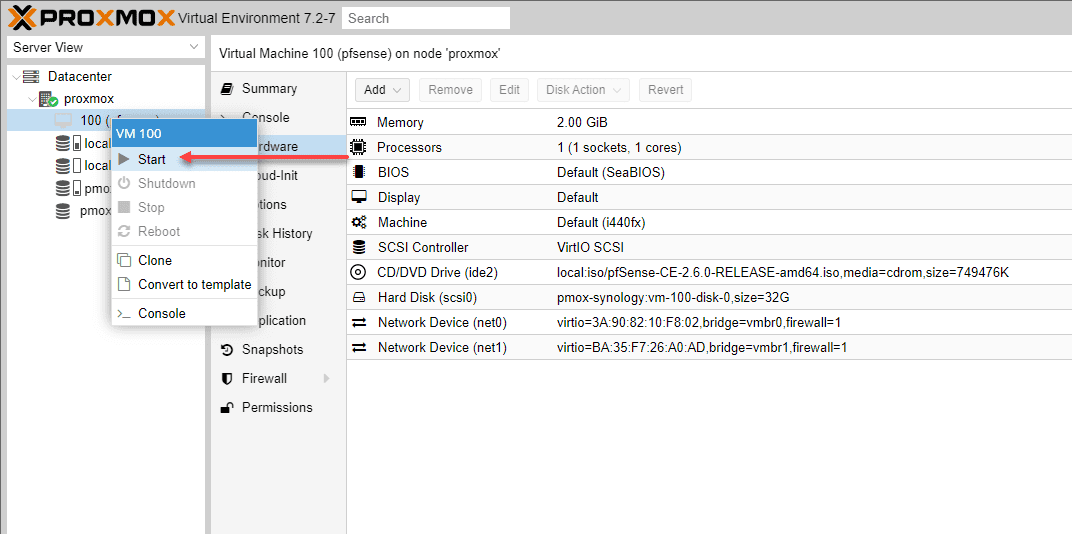
After powering on and pfSense running as a VM, we can begin the process to run pfSense as an installed pfSense version.
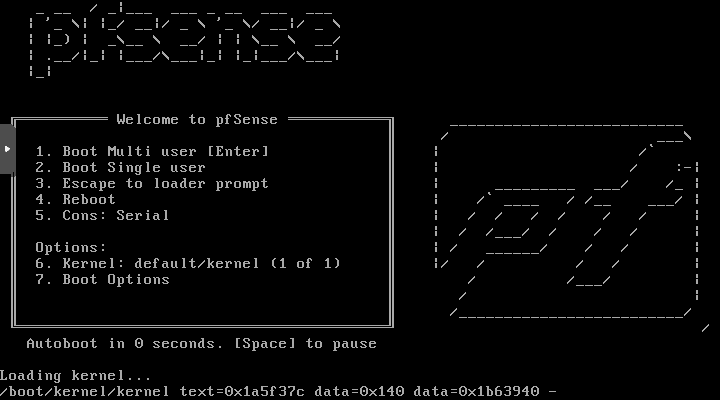
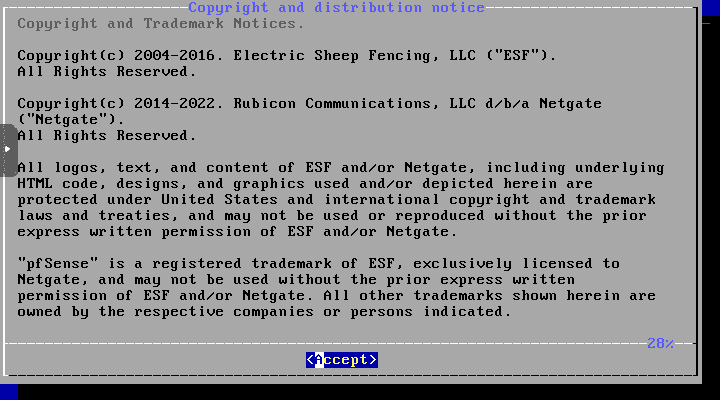
This begins the “text” install pfsense VM process. Accept the EULA displayed.
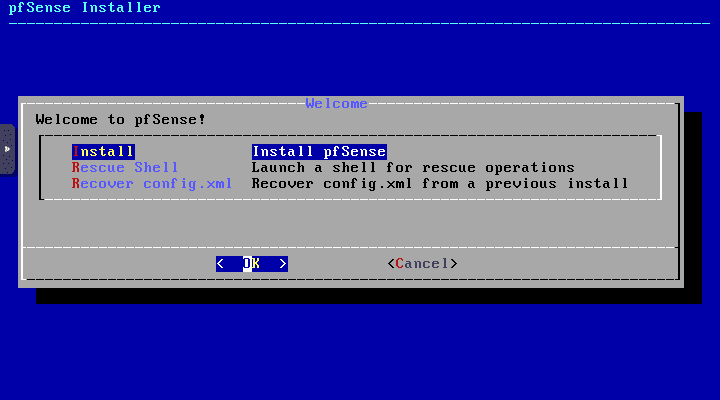
Choose to install pfSense on the next screen.
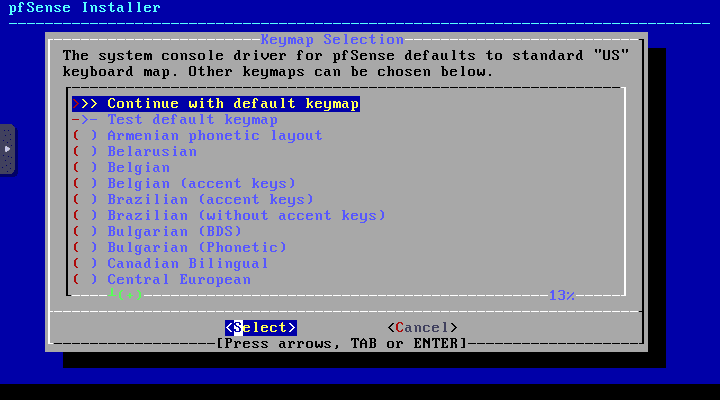
Continue with the default keymap for the keyboard layout.
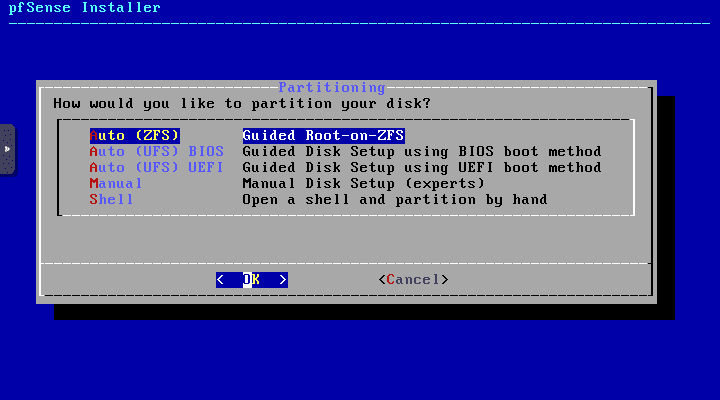
Choose to configure the partitioning unless you need a custom layout Automatically. Here I am choosing ZFS configuration.
Proceed with the install pfSense process.
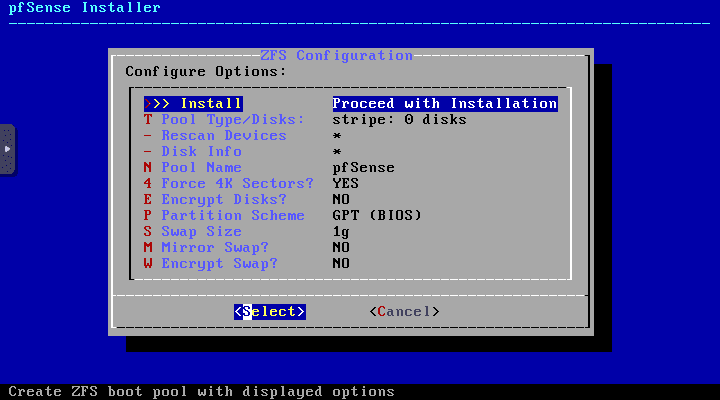
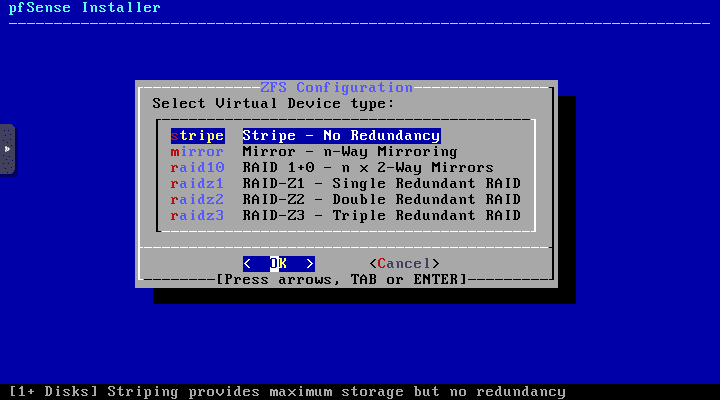
Choose the virtual device type. Here I am selecting the Stripe no redundancy.
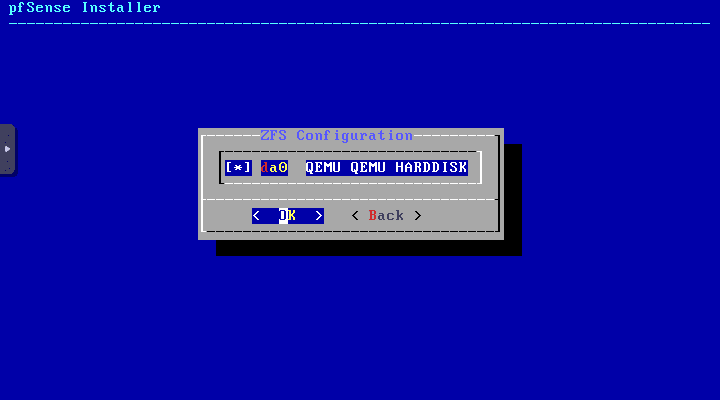
On the ZFS configuration screen, click OK.
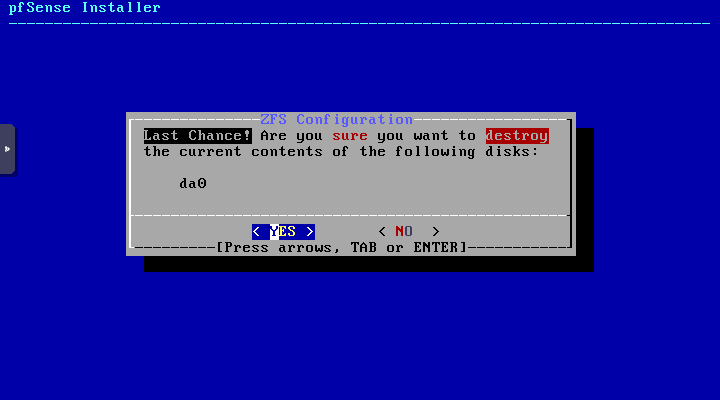
Click Yes on the ZFS configuration screen.
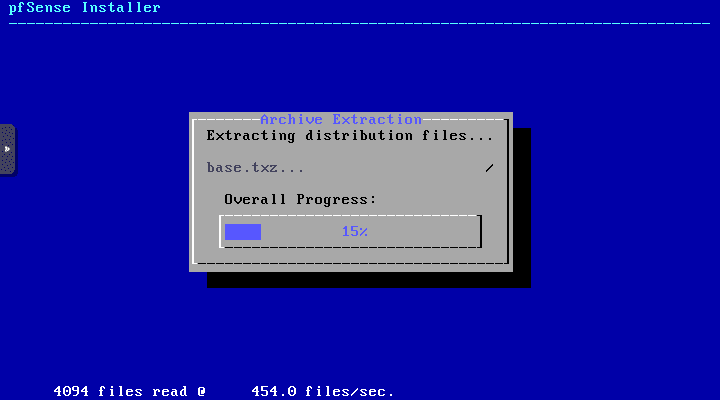
The install pfSense process begins.
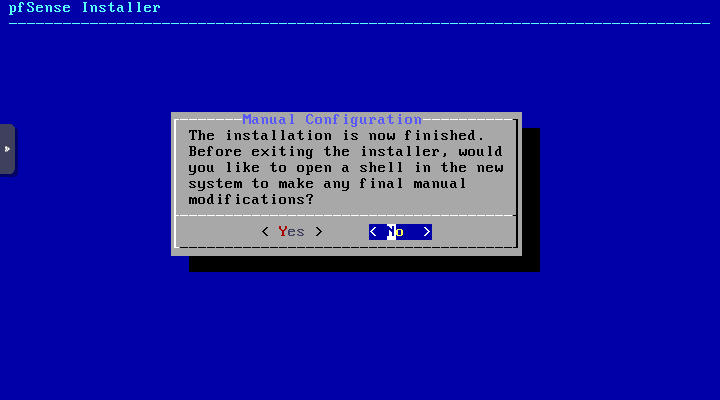
You will be asked if you have any manual configuration you want to perform. If not, select No.
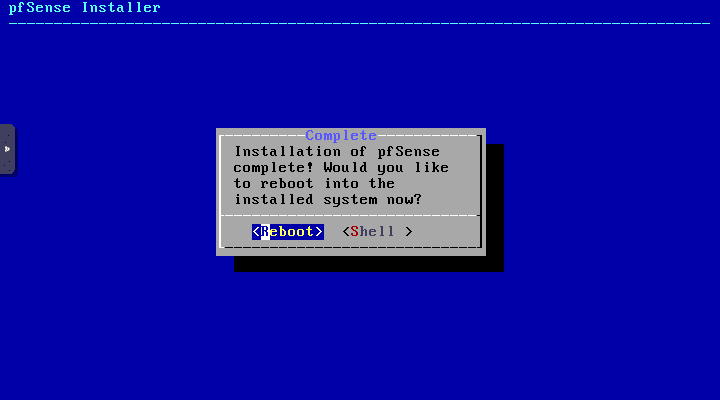
The installation is complete. Reboot your pfSense VM.
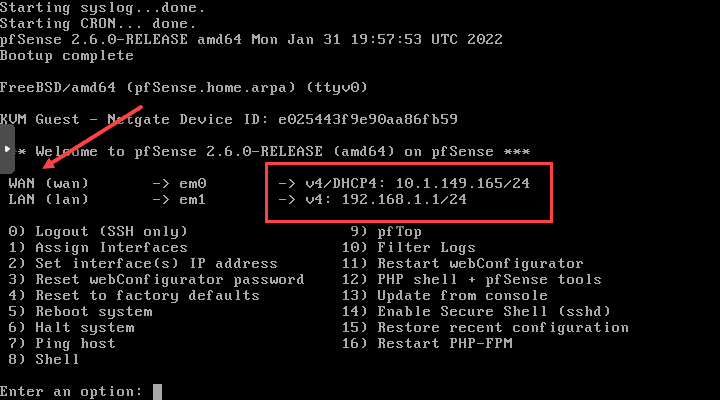
After the pfSense VM boots for the first time, you should see your WAN and LAN interfaces come up and show IP addresses for the WAN and LAN ports. As you can see, these are not on the same network or same subnet.
Most configurations will see the WAN IP address configured from the ISP via DHCP server. You will want to have a static IP address configured on the LAN interface since this will be used as the gateway address for clients connected to the LAN port of the pfSense VM.
The pfSense LAN address is configurable and you will want to configure the address to match your clients. The LAN port also doubles as the management port for pfSense VM by default. You can’t manage pfSense from the WAN port by default, only the LAN port. This can be changed later, but is something to note as you run the pfSense virtual machine on your Proxmox box.
The pfSense firewall will also be the default gateway for the clients on the network. The pfSense WAN is the address used for incoming traffic that will be NAT’ed inward to internal IP addresses on the network. For management, specifically note the LAN ip address.
Below, you will note I have private IPs on both the WAN and LAN port. This is because I have this configured in a lab environment. In production, you will have a public IP address configured on the WAN port for true edge firewall capabilities.
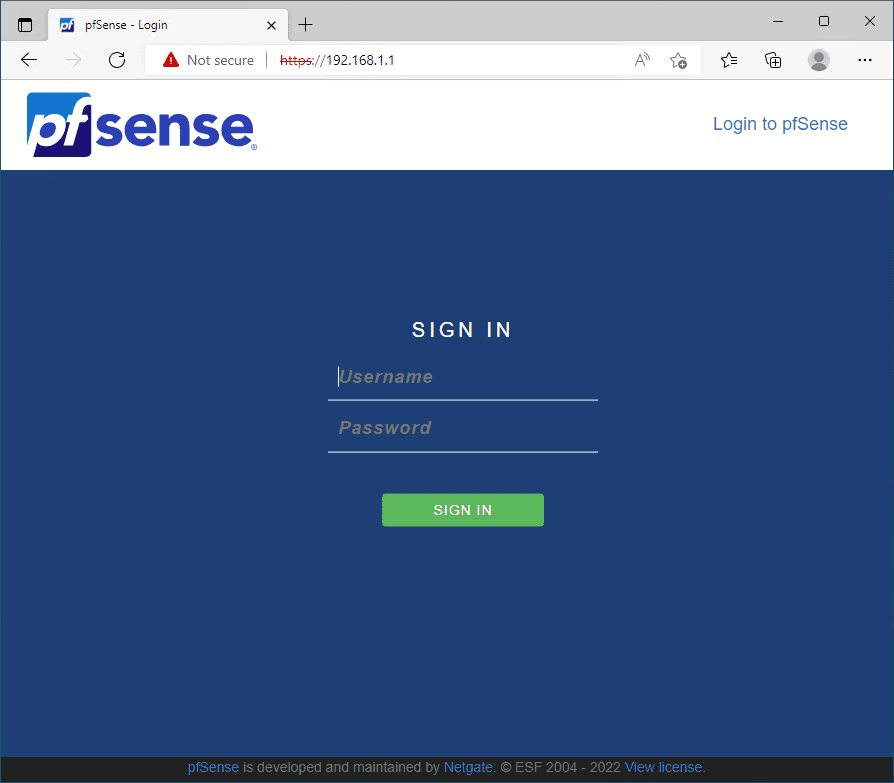
Configure pfSense VM on Proxmox
Now, we need to browse out to the pfSense web GUI found on the IP address of the LAN port after installing in Proxmox. The default password will be needed as you log into the pfSense LAN and is:
admin/pfsense
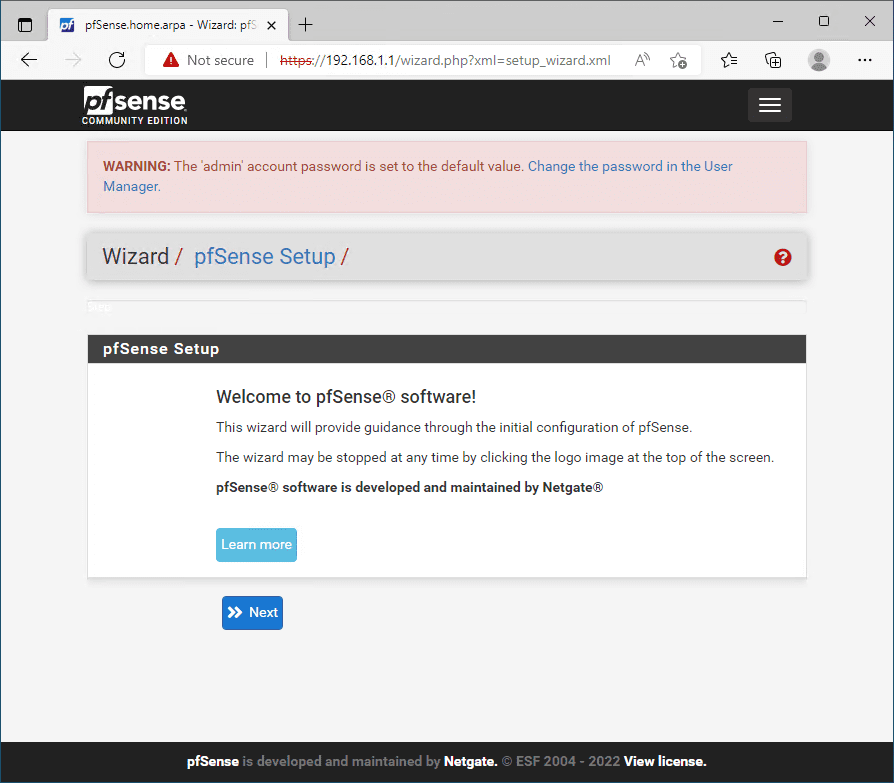
After logging in with the default admin password, the configuration wizard will begin to run pfSense, including the pfSense firewall capabilities.
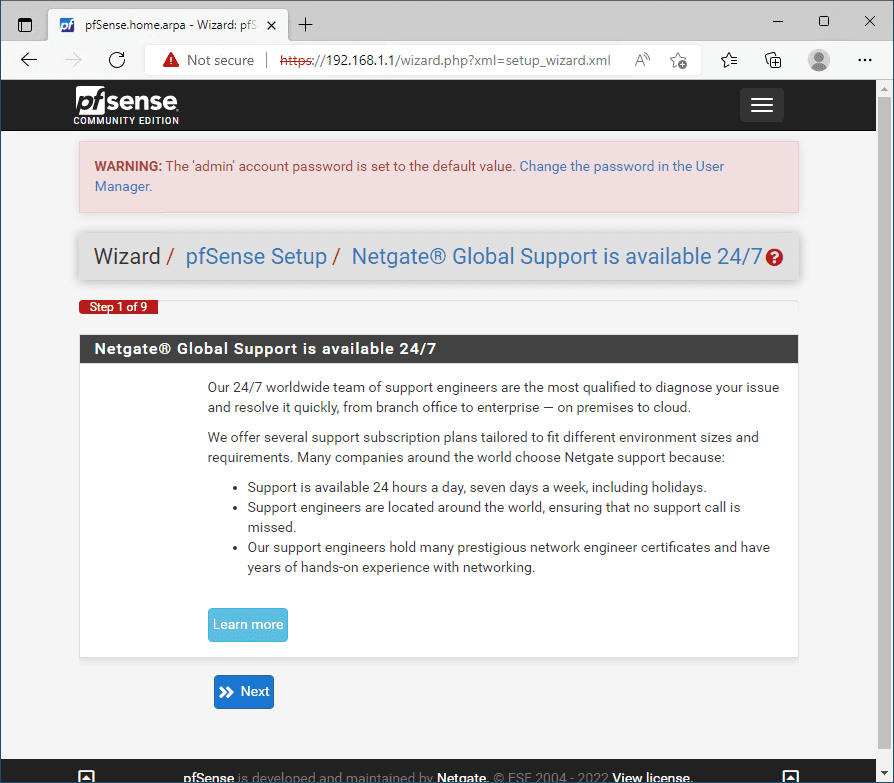
Click next past the Netgate support message.
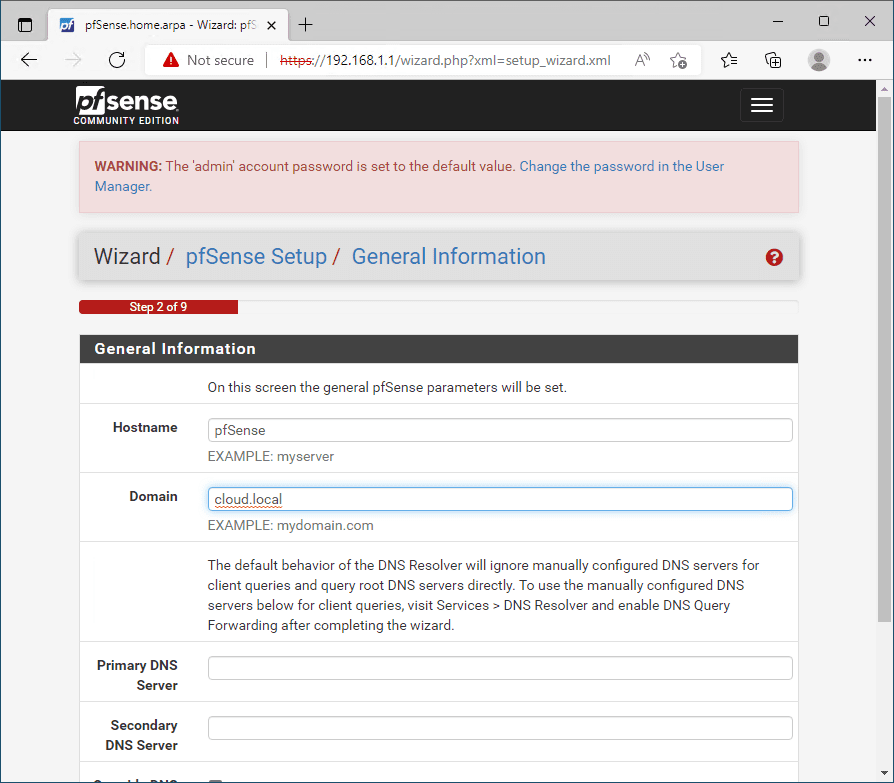
Set the pfSense hostname and domain name.
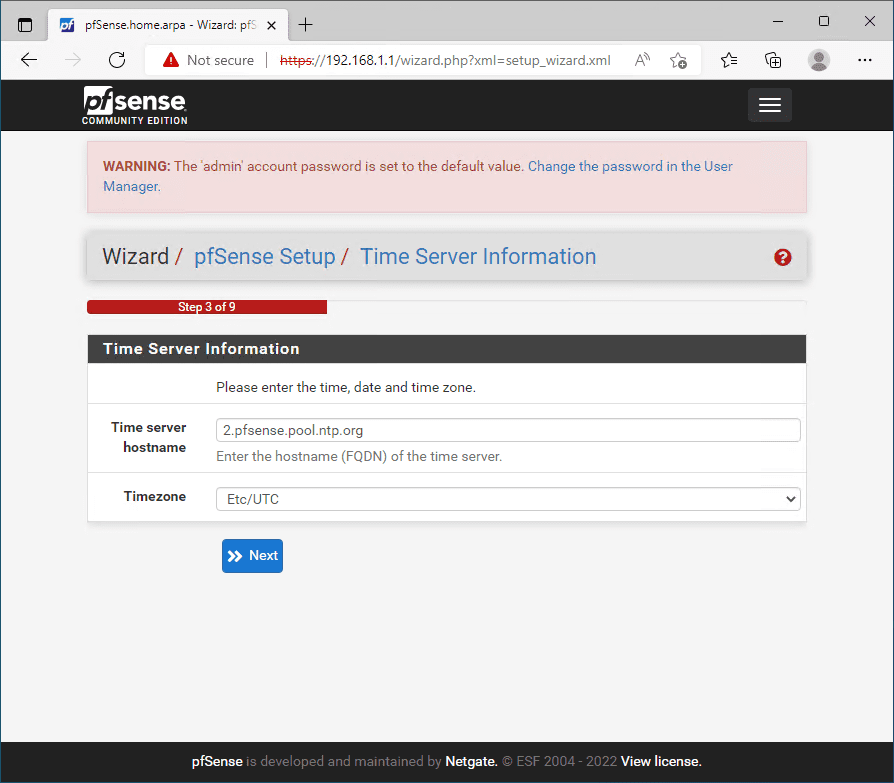
Configure the NTP time server configuration.
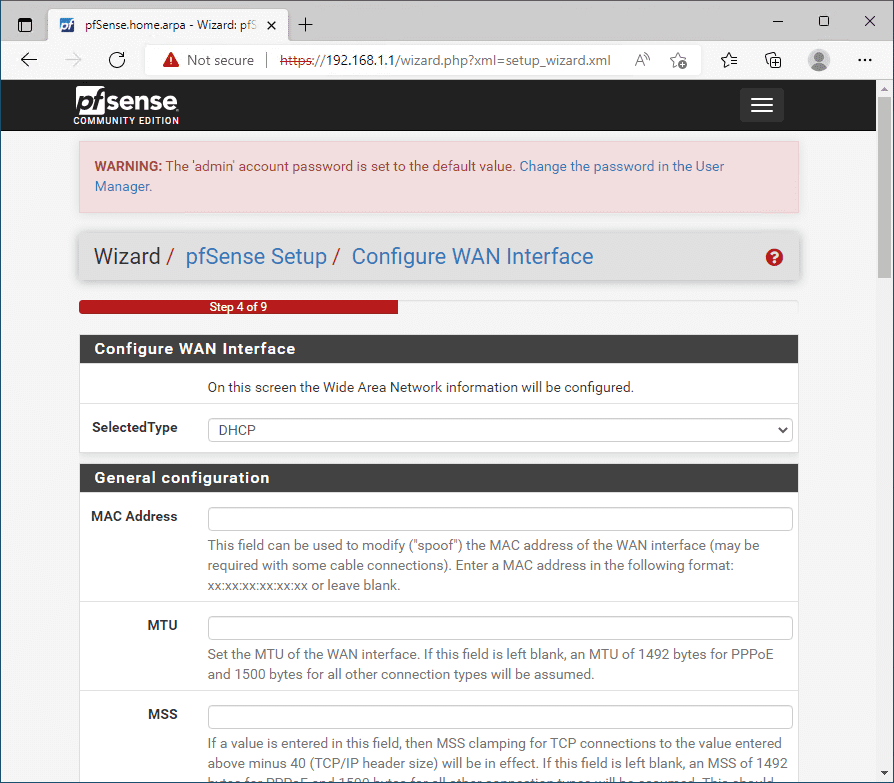
Configure the WAN interface. Even though we have already configured this, the pfSense wizard gives you another opportunity to configure the WAN port.
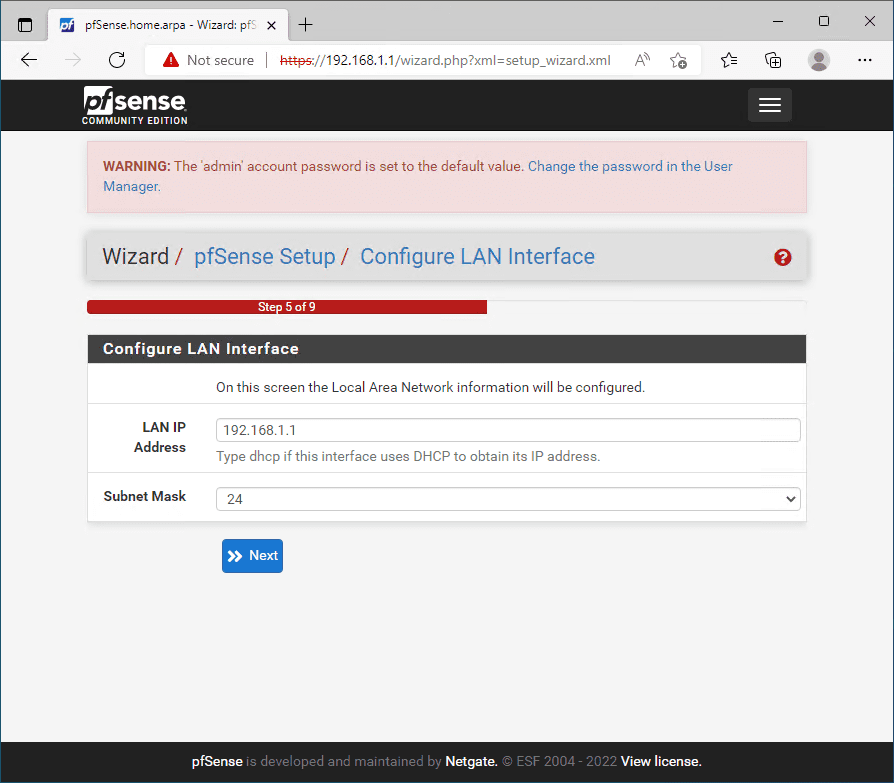
Same with the LAN port. You can reconfigure if needed here.
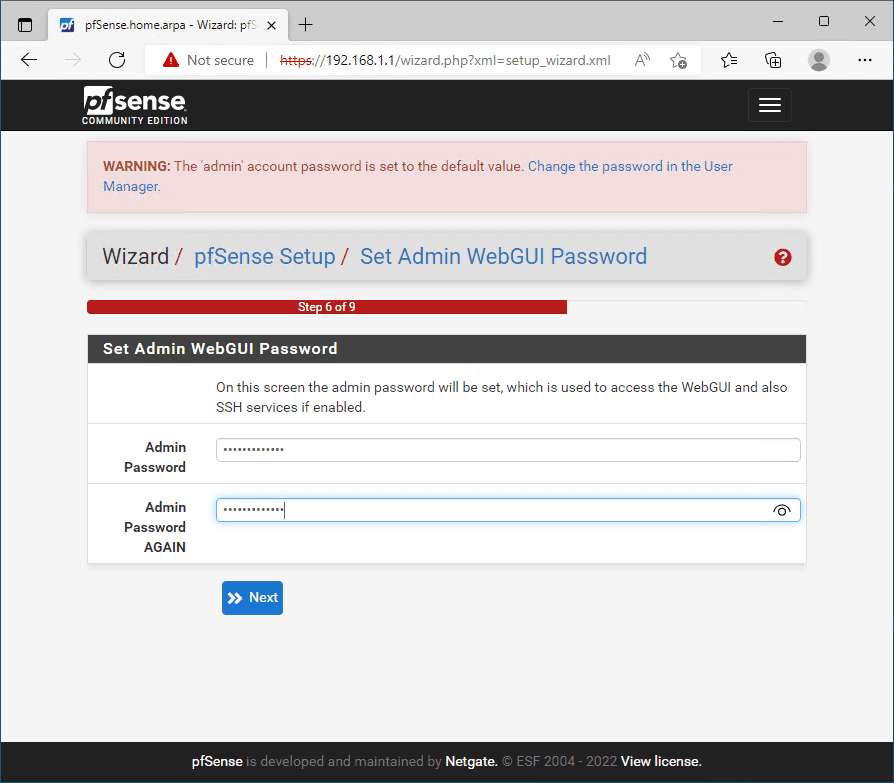
Change the admin password on the next screen.
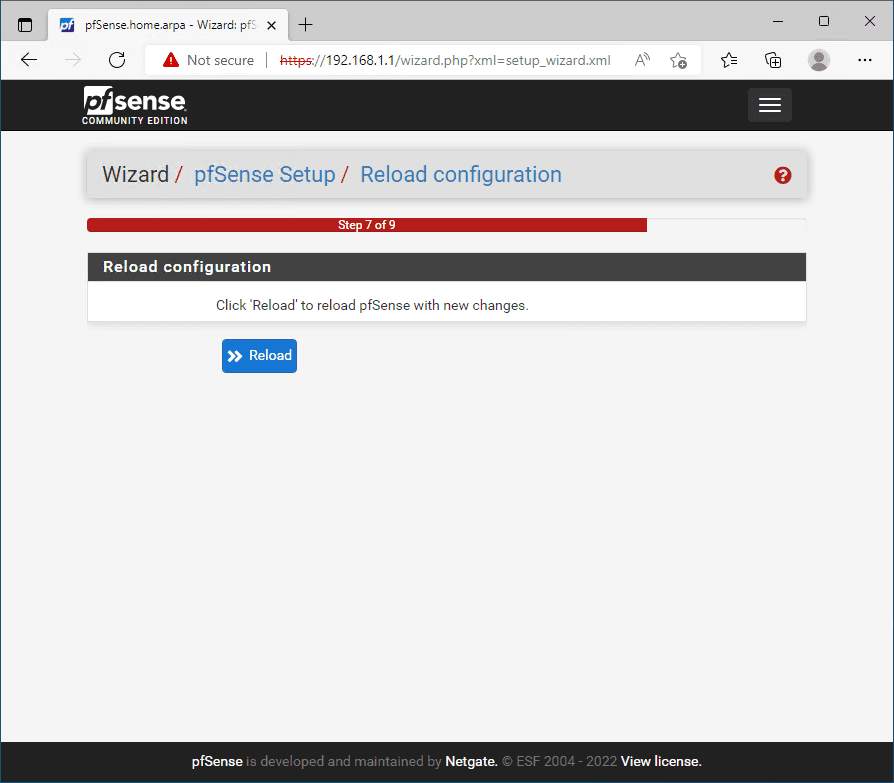
Ready to reload pfSense to finalize the configuration.
At this point after the reload, the install pfSense process is now complete.
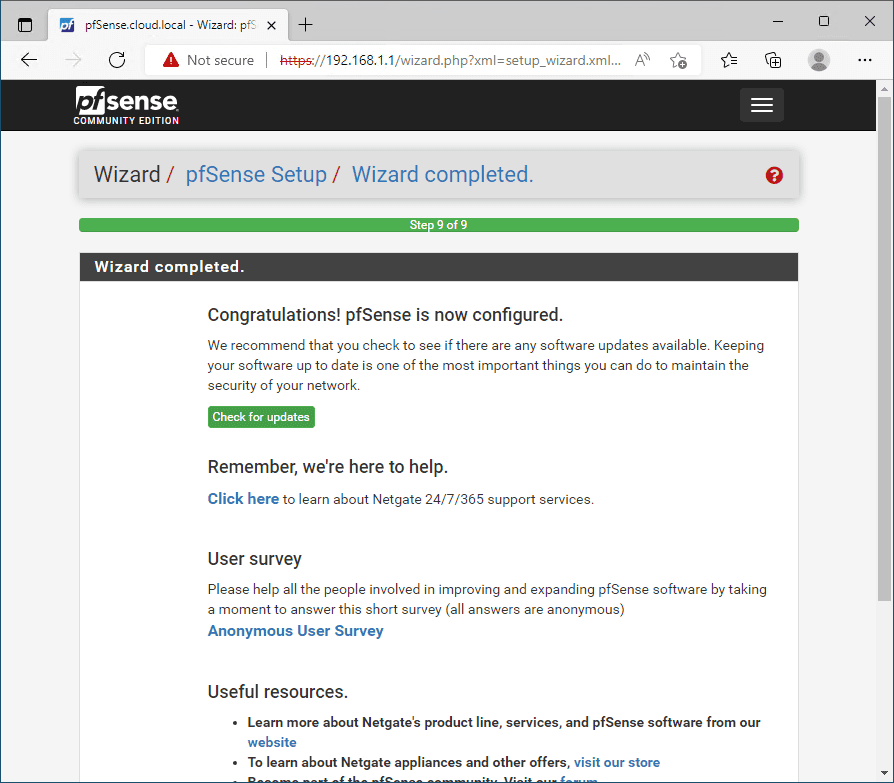
Congratulations, the install pfSense process is now complete!
Wrapping Up
The pfSense Proxmox installation procedure is straightforward and consists of creating a new Proxmox virtual machine with the correct network adapter settings. Then you power on the VM, run through the initial text configuration setup to install pfSense and establish basic networking connectivity. Afterward, using the pfSense web GUI, you finalize the pfsense installation on Proxmox using the configuration wizard. Proxmox makes for a great platform to install pfSense as Proxmox provides many of the settings and configuration capabilities needed to customize your installation of pfSense Proxmox.
Google is updating how articles are shown. Don’t miss our leading home lab and tech content, written by humans, by setting Virtualization Howto as a preferred source.
About The Author