The launch of Proxmox VE 8.0 marks a significant milestone in the evolution of open-source virtualization software. The bedrock of this release is Debian Bookworm, a name that has become synonymous with reliability and quality. This new release propels Proxmox to unprecedented levels of stability, making it a trustworthy solution for your complex virtualization needs in the home lab and production environments. Let’s dive into Proxmox 8 new features and home lab upgrade instructions to forklift your Proxmox VE 7.4 server to 8.0.3.
What is Proxmox?
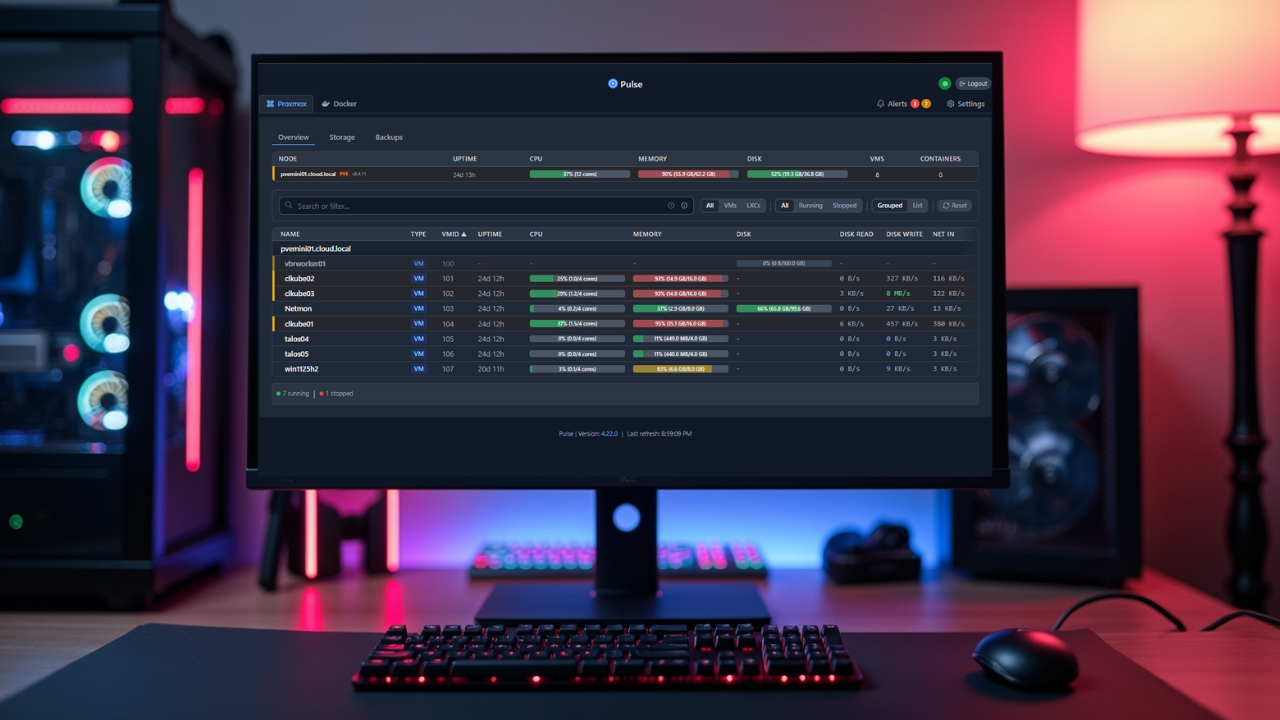
Proxmox VE (Proxmox Virtual Environment) is an open-source server virtualization management solution. You can run virtual machines, such as Windows or Linux machines and Linux containers. It’s based on the Debian Linux distribution and combines two types of virtualization technologies, KVM (Kernel-based Virtual Machine) and LXC (Linux Containers).
Proxmox 8 – a short list of new features
Based on Debian 12 with an upgraded newer Linux kernel 6.2
Incorporates QEMU 8.0.2, LXC 5.0.2, and ZFS 2.1.12 in its virtualization stack
Ceph Server default is Ceph Quincy 17.2 with ongoing support
Enterprise repository for Ceph now available to all Proxmox VE subscribers for enhanced production system stability
Additional Text-based User Interface (TUI) integrated into the installer ISO
Host network bridge and VNet access are now integrated into the Proxmox VE ACL system for virtual guest configuration
Automated synchronization of users and groups from an LDAP/AD server with the new access realm sync jobs
New default CPU type for VMs set to x86-64-v2-AES
Resource mappings allow for a link between PCI(e) or USB devices and nodes within a Proxmox VE cluster
Numerous enhancements to both the GUI and API.
Enhanced Network Management with Proxmox 8
One of the key advancements in Proxmox 8.0 is in the realm of network management. The new version allows for efficient synchronization of users and groups from an LDAP/AD server. IT administrators can manage user access with higher precision, resulting in a more secure environment. Additionally, the integration of host network bridge and VNet access into the ACL system simplifies network resource management.
It also includes: Integrate host network bridge and VNet access when configuring virtual guests into the ACL system of Proxmox VE.
With the new SDN.Use privilege and the new /sdn/zones/<zone>/<bridge-or-vnet>/<vlan-tag> ACL object path, you can give out fine-grained usage permissions for specific networks to users.
Web Interface improvements
The GUI now considers the complete Proxmox VE cluster subscription status when selecting the Ceph repository. The dark color theme, introduced in Proxmox VE 7.4, has also been refined based on user feedback, offering a visually pleasing and intuitive user experience.
New Features for Virtual Machines
The new QEMU Version 8.0 brings several improvements. You now have initial support for NetBSD and OpenBSD and a new implementation based on Rust for the virtiofsd codebase. Also, the Proxmox team has fixed various issues related to volume size information, Nvidia grid drivers, and SMBIOS UUID for Nvidia vGPU passthrough.
Container Improvements in Proxmox VE 8.0
Proxmox Virtual Environment 8.0 offers improvements for containers. The handling of /etc/machine-id on clone operations has been fine-tuned. The cgroup limit has also been set to 99.6% of configured memory, providing a safeguard against Out-of-Memory (OOM) conditions.
Improvements for Virtual Guests
Proxmox 8.0 also features enhancements for virtual guests. Config files in /etc/pve/mapping and Mapping.* privileges have been added, preparing for cluster-wide mapping of PCI/USB devices.
Exploring the HA Manager in Proxmox VE 8.0
The HA Manager in Proxmox 8.0 has been upgraded with stability improvements. A fix has been implemented to prevent the loss of a maintenance mode request if the rebooted node is the current active Cluster Resource Manager (CRM). Proxmox has introduced a safeguard to prevent a node in maintenance mode from exiting too early or fencing itself if a shutdown policy other than ‘migrate’ is in place. Also, the ha-rebalance-on-start has been improved to ignore services that are already running.
Improved Cluster Management
The rsync invocation used when joining nodes via ssh, which was previously deprecated, has been adapted in line with changes in rsync CLI argument parsing in Bookworm. This adaptation ensures seamless node joining, providing a more efficient and effective management experience.
Backup and Restore Improvements
To top it all off, Proxmox VE 8.0 brings performance improvements to backups that use zstd on fast disks. Now, zstd is invoked without the –rsyncable flag, allowing faster backup operations and reducing the time needed for data protection activities.
ACL system
Note Proxmox VE’s ACL system improvements:
ACL computation was refactored causing a significant performance improvement (up to a factor of 450) on setups with thousands of entries.
It is now possible to override the remove-vanished settings for a realm when actively syncing it in the GUI.
Allow quoted values in LDAP DN attributes when setting up an LDAP realm.
Guide to Upgrade from Proxmox 7 to 8
You can upgrade from 7 to 8, regardless of your Proxmox VE subscription status.
Prerequisites:
Update to the latest version of Proxmox VE 7.4 on all nodes. You can do that with:
apt-get update && apt-get upgrade -yIf you have a hyper-converged Ceph, upgrade it to Ceph 17.2 Quincy before starting the Proxmox VE upgrade to 8.0.
Ensure reliable access to the node.
Ensure you have a valid and tested backup of all VMs and CTs.
Ensure at least 5 GB free disk space on the root mount point.
Check known upgrade issues.
Step-by-Step Guide – Upgrade instructions:
Use the pve7to8 checklist script: Proxmox has provided a built-in check script. This script provides hints and warnings about potential issues before, during, and after the upgrade process. Run it by executing
pve7to8 --full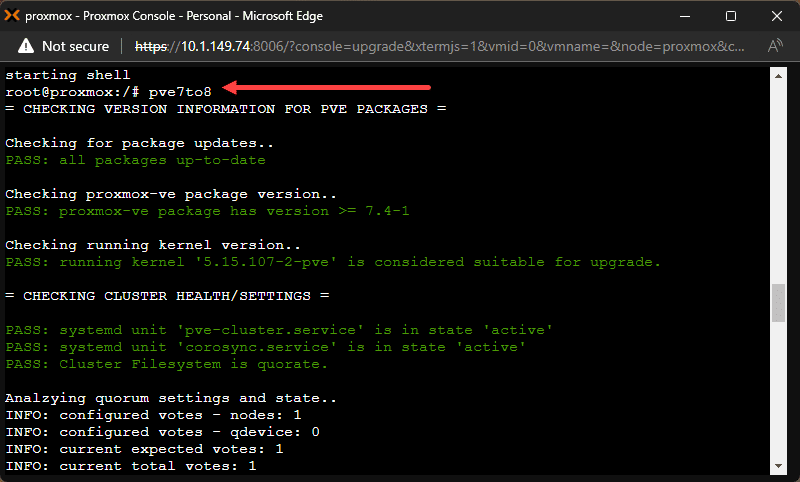
Make sure to Migrate important VMs and CTs: If any VMs and CTs need to keep running during the upgrade, migrate them away from the node being upgraded.
Update the configured APT repositories and update to the latest Proxmox VE 7.4 packages with:
apt update, apt dist-upgrade, pveversionGetting Proxmox 8 loaded
Now, we begin the steps to start the upgrade to Proxmox 8. Update all Debian and Proxmox VE repository entries to Bookworm with the following command:
sed -i 's/bullseye/bookworm/g' /etc/apt/sources.list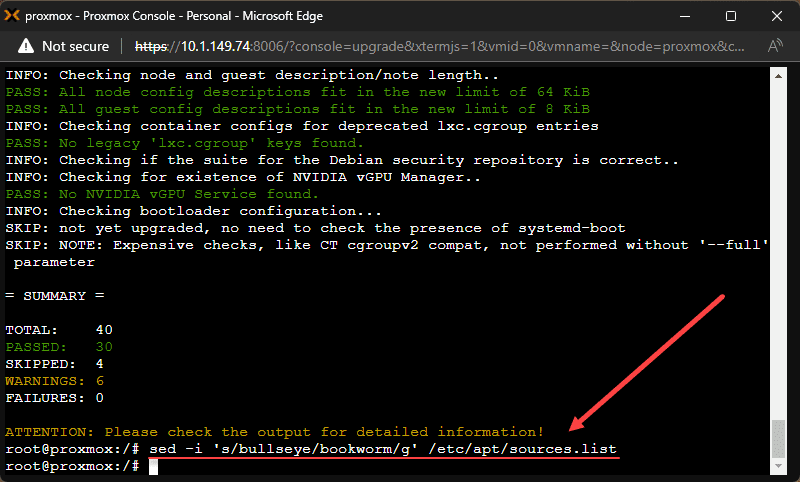
Add the Proxmox VE 8 Package Repository in the enterprise repository with. ***Note*** For those without a subscription, you will want to comment this out. See my blog here: Proxmox Update No Subscription Repository Configuration.
echo "deb https://enterprise.proxmox.com/debian/pve bookworm pve-enterprise" > /etc/apt/sources.list.d/pve-enterprise.list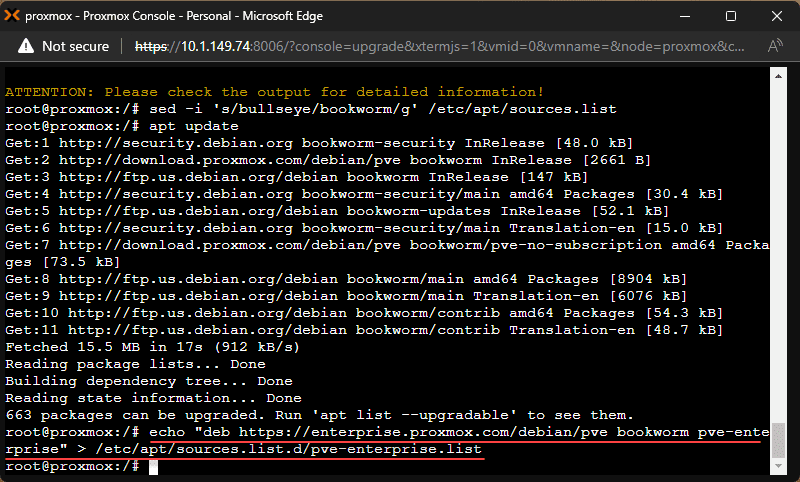
Update the Ceph Package Repository: replace any ceph.com repositories with proxmox.com ceph repositories.
Refresh the repositories’ package index with
apt updateOnce you have the sources updated, upgrade the system to Debian Bookworm and Proxmox VE 8.0: Start the upgrade process with:
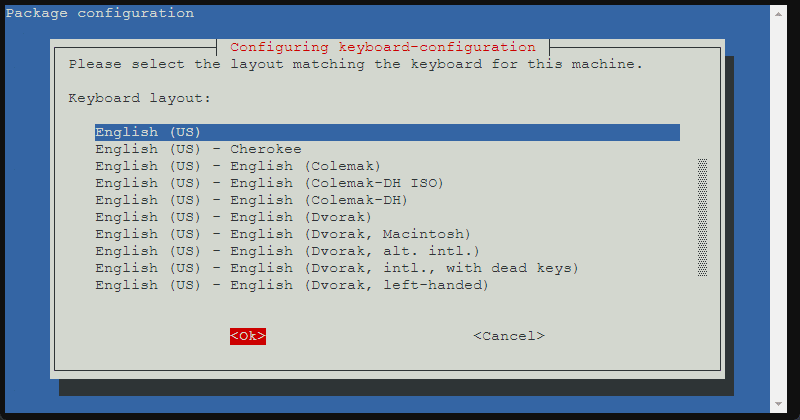
apt dist-upgradeThe upgrade process will begin. You will see a few screens pop up like the one below for selecting from various options.
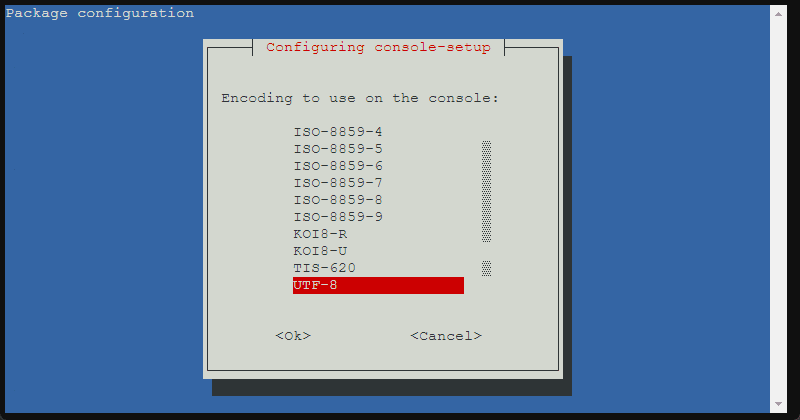
Keyboard configuration.
Choice of keeping current installed versions, etc.
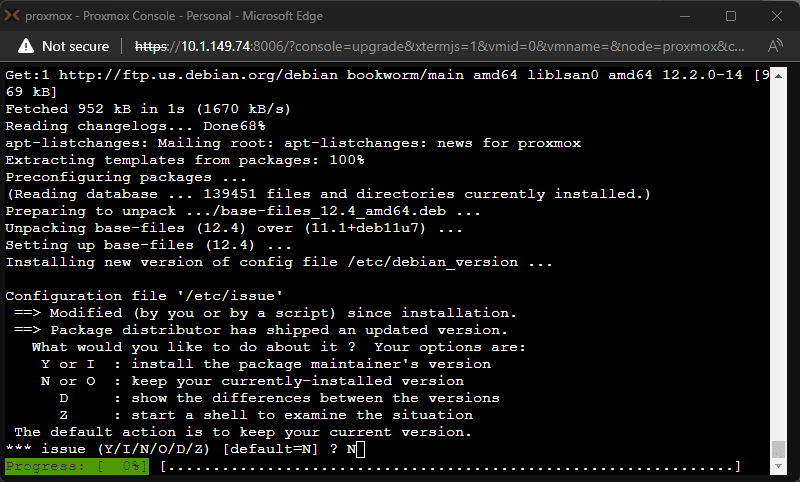
Package configuration screen – prompt to restart services.

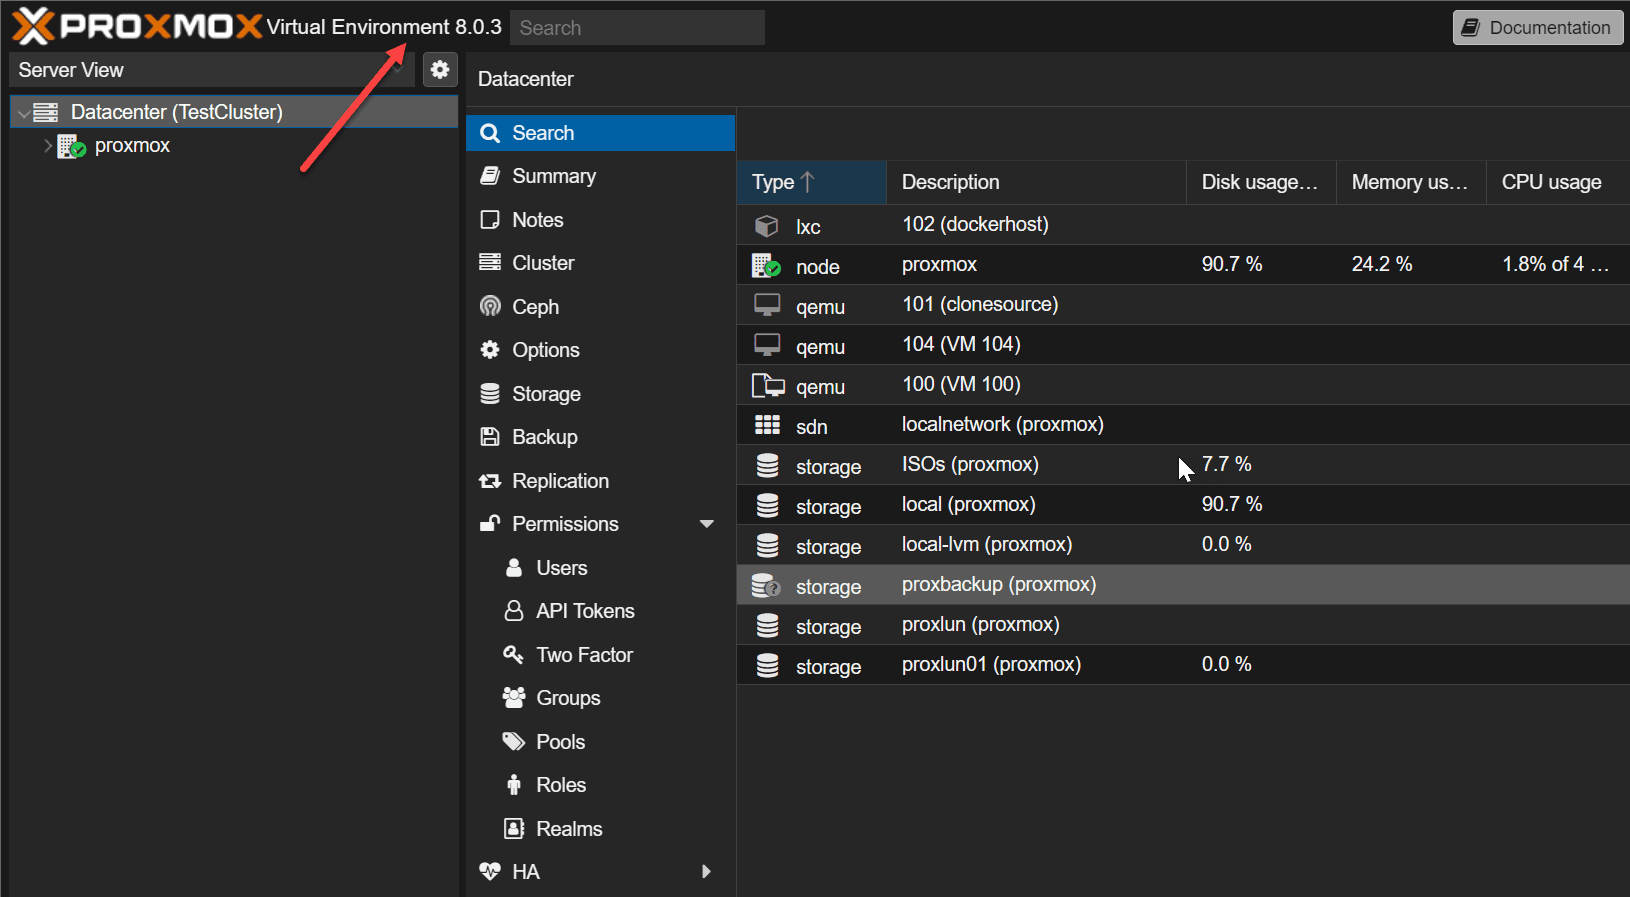
After 2-3 minutes in the home lab, my Proxmox VE 7.4 server successfully upgraded to Proxmox VE 8.0.
After upgrade
Check Result & Reboot Into Updated Kernel: If the dist-upgrade command exits successfully, re-check the pve7to8 checker script and reboot the system to use the new Proxmox VE kernel.
After the Proxmox VE upgrade: Clear the browser cache and force-reload the Web UI.
For Clusters: Check that all nodes are up and running on the latest package versions. If not, continue the upgrade on the next node.
Troubleshoot checklist issues: If you face an issue such as “proxmox-ve package is too old”, check the configured package repository entries and run apt update and apt dist-upgrade to get the latest Proxmox VE 7.x packages before upgrading to PVE 8.x.
Address known upgrade issues: To resolve any known issues, refer to the Proxmox VE 8.0 changelog and Debian Bookworm upgrade-specific issues.
Proxmox Container Monster!
Take a look at my recent experiment to see how many containers I could run on a Proxmox host.
Proxmox 8: A Step Forward
The Proxmox VE 8.0 release is a monumental step forward in virtualization technology. Proxmox continues refining the virtualization experience for IT administrators and users with many new features and improvements. Whether it’s the seamless upgrade process, enhanced network management, GUI improvements, or virtual machine and container enhancements, Proxmox VE 8.0 offers a comprehensive solution for all your virtualization needs.
Other links you might like
Google is updating how articles are shown. Don’t miss our leading home lab and tech content, written by humans, by setting Virtualization Howto as a preferred source.
About The Author


Thanks for the guide – this bit was the key for me!
I’d read the Proxmox guide and when adding that kept on having trouble running apt update!
Now done without and all working well 👍
Alan,
Glad this helped! Thanks again for your comment.
Brandon