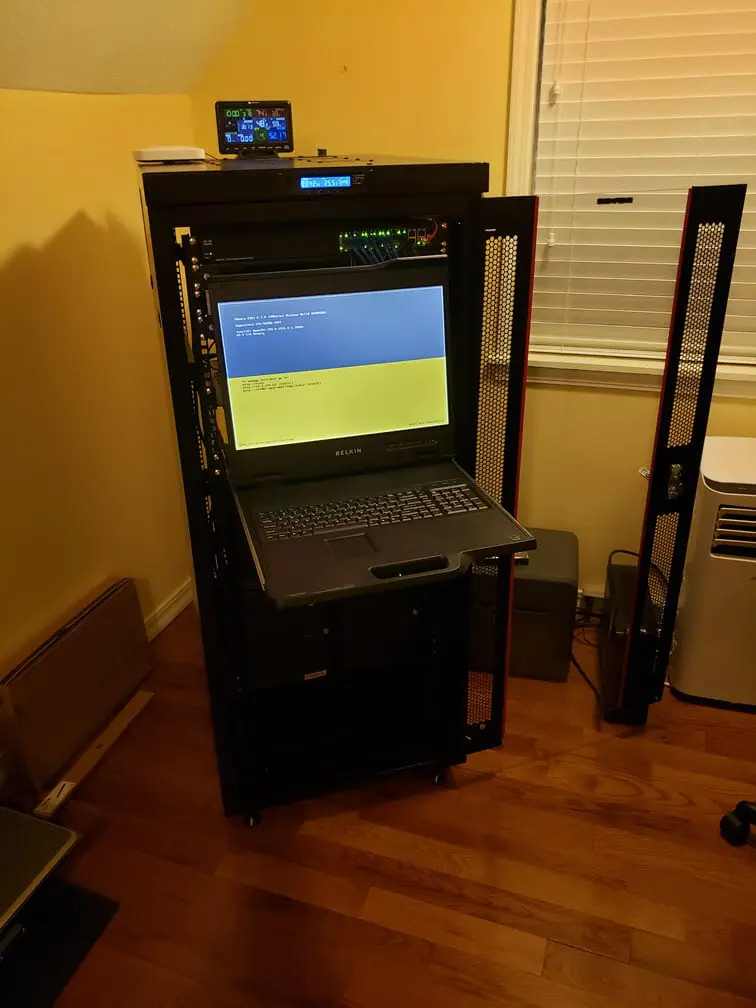
One of the side projects that I have been working on in the past few days has been migrating away from my old style “bread rack” for the home lab over to a proper server/network rack that consolidates everything, is more functional, and saves space. However, for me one of the main reasons to move to a proper rack is they simply look way cooler! The great thing about a server/network rack is you are able to rack everything up or use rack trays to hold your equipment. It allows much more efficient use of space form that perspective. I will detail the rack I have in this post, however, racks are built for the proper airflow for your equipment as well. Many have exhaust fans for sucking air out of the top of the rack and away from your equipment. I wanted to have a proper rack mount KMM as well. Let’s dive into a New Server Network Rack for Home Virtualization Lab Environment as well as before and after pics.
Home Lab Server Network Rack Components Used
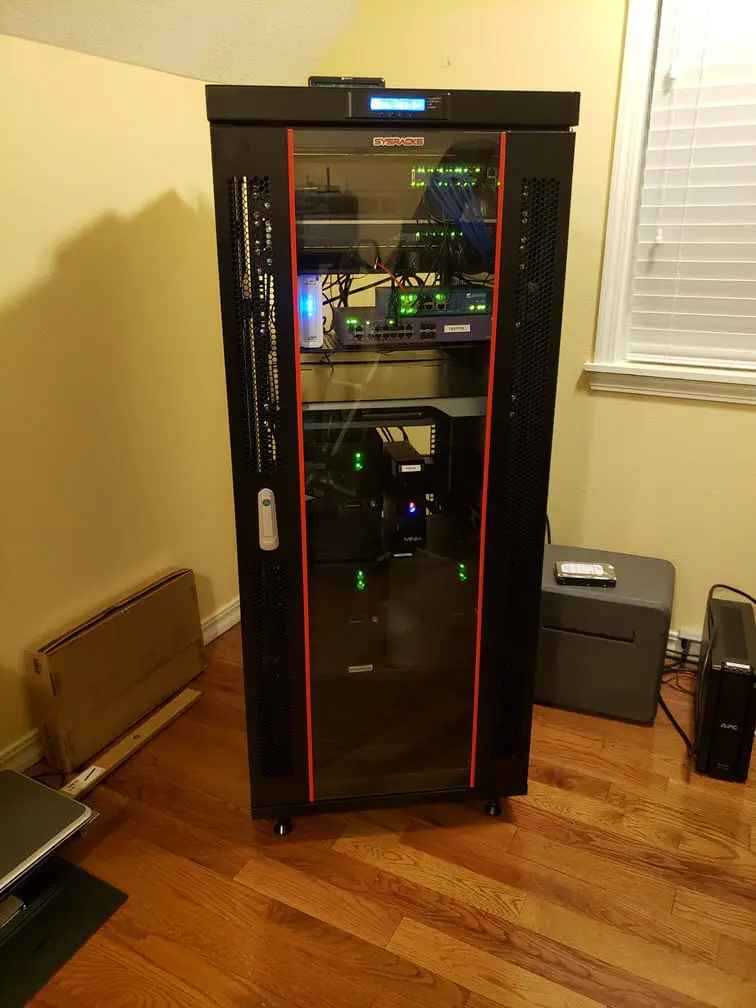
I didn’t want to go with a full-sized 42-U rack in the house at this point as I don’t have a larger area to place a rack of this size. So, I opted for a 27-U, 32-inch deep rack from SysRacks. I really liked the look and design of their racks after doing a bit of research and found a good deal that included free shipping to my house for the rack. For something this heavy this can be harder to find.
I have many additional equipment pieces planned for future purchase such as proper rack mount UPS’s and some better cable management. However, everything turned out nicely, even without some of the other pieces of equipment
The following is a list of rack components used:
- Vented Cantilever 1U Universal rack shelf (ebay)
- Belkin F1DC108H 19″ Widescreen Rack Mount Console w/8port KVM switch (ebay)
- 1U Metal Horizontal Cable Manager with Brush Strip (FS.com)
- StarTech.com Horizontal Rack Mount PDU – 8 Outlets with Surge Protection – 19in Rackmount Power Distribution Unit – 1U (RKPW081915) – (Amazon.com)
- https://sysracks.com/catalog/sysracks-srf-800/27u-32-depth-it-telecom-cabinet-srf-27-6-8/ – (ebay)
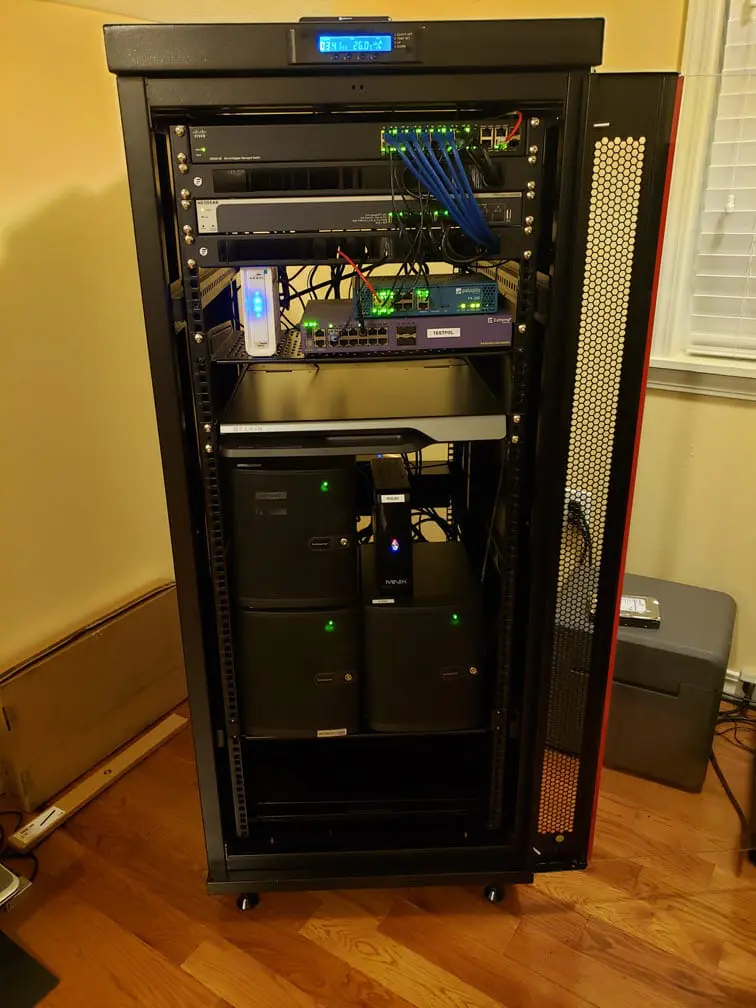
SysRacks 27U 32″ Depth IT & Telecom Cabinet SRF 27.6.8
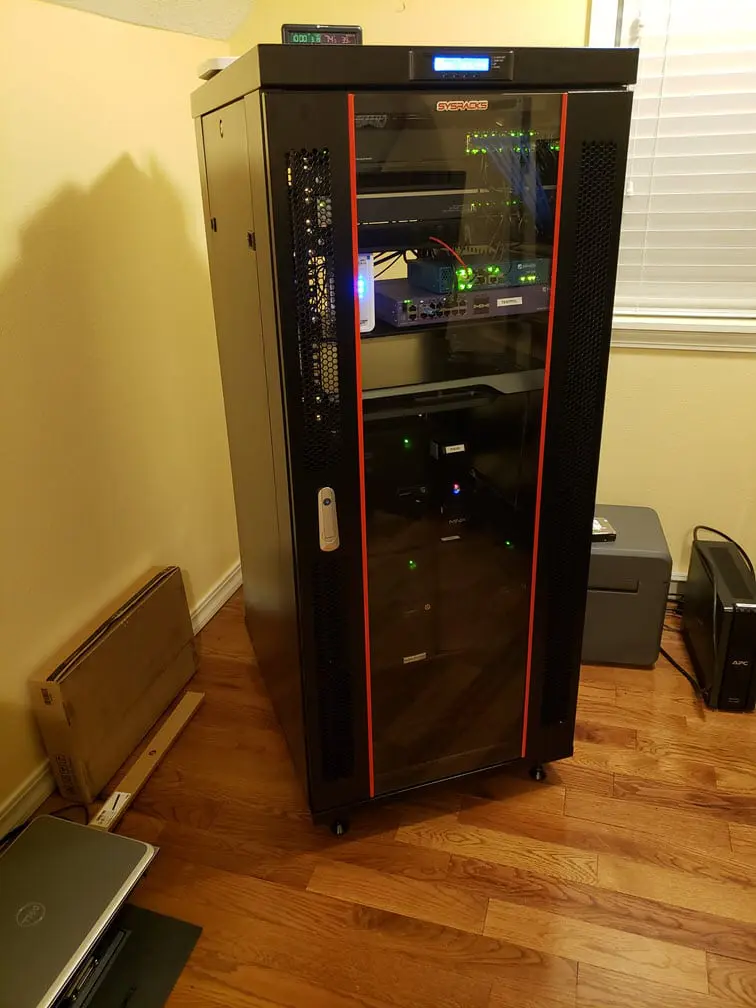
Just a quick section covering the SysRacks 27U server rack. I looked around at different racks and there were certainly ones that were much cheaper online than what I paid for the SysRacks 27U rack, however, the reviews for them on Amazon and such were just not that good. Having working in the enterprise datacenter for years now, you get used to enterprise grade equipment and feel to equipment. Most of the cheaper racks are certainly cost effective, but I didn’t want something I could simply lean against and dent the side. The SysRacks rack has been a really good choice as it is sturdy, well made, has nice features, came with a tray, PDU, and fans preinstalled as well as a nice read out in the top of the rack for time, temperature probe and fan. Additionally it has side panels, glass door up front, solid metal rear door, and locks all the way around. The rack also has casters for easily rolling it around and also metal feet you can adjust down for stability purposes and more stationary positioning.
It went together well also, which for me was a definite plus as you can get a “bargain” only to find that you make up for the money saved in time spent trying to figure out very poor or nonexistent directions. One of the deciding factors for me was that SysRacks supplied a YouTube video detailing how the rack goes together which is a great addition to any written documentation.
After pulling the trigger on the rack and a few other items, I am very happy with how the home lab turned out going into a true rack as opposed to the wire “bread” rack I was using before.
What Else is in the Rack?
I listed off a few of the rack specific items above, but as far as actual compute, storage, network, the hardware I have in the lab currently is as follows:
- x2 – Supermicro Mini Tower Intel Xeon D-1541 – 128 GB of memory
- x1 – Supermicro Mini Tower Intel Xeon D-1541 – 64 GB of memory
- Extreme x440-G2 12p switch – for testing policy, 802.1x, etc
- Cisco SG300-20p small business switch – serving as core switch currently
- Netgear XS708T ProSAFE 8-Port 10-Gigabit switch – vSAN and vMotion switch for vSAN cluster
- Palo Alto PA220 Firewall
- Various UPS’s
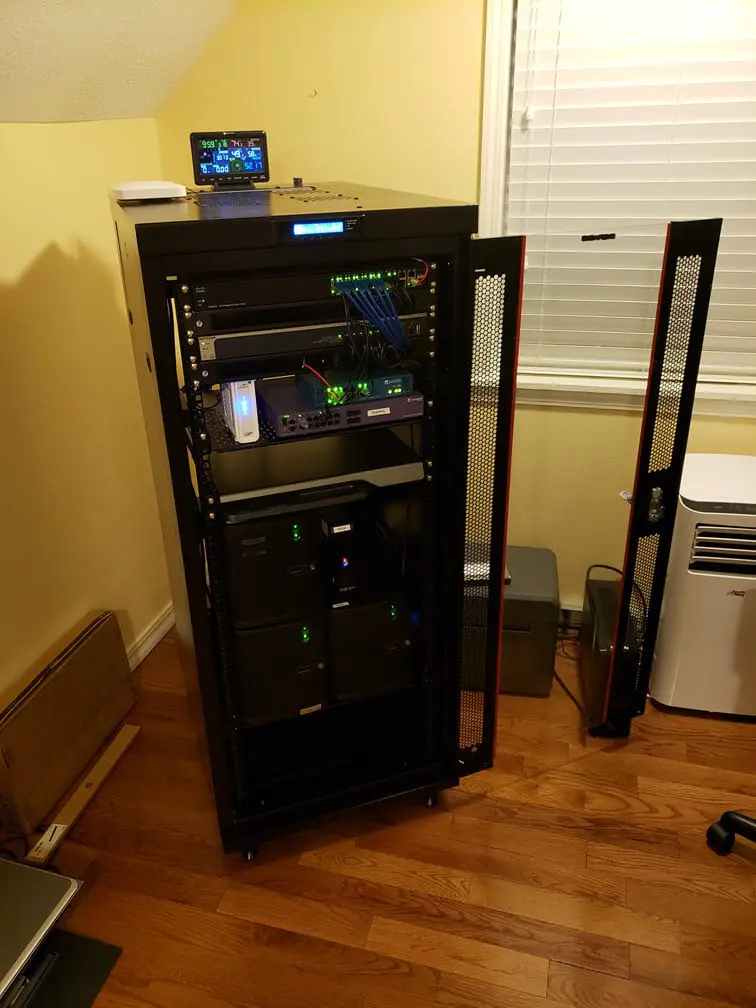
New Server Network Rack for Home Virtualization Lab Environment Before & After
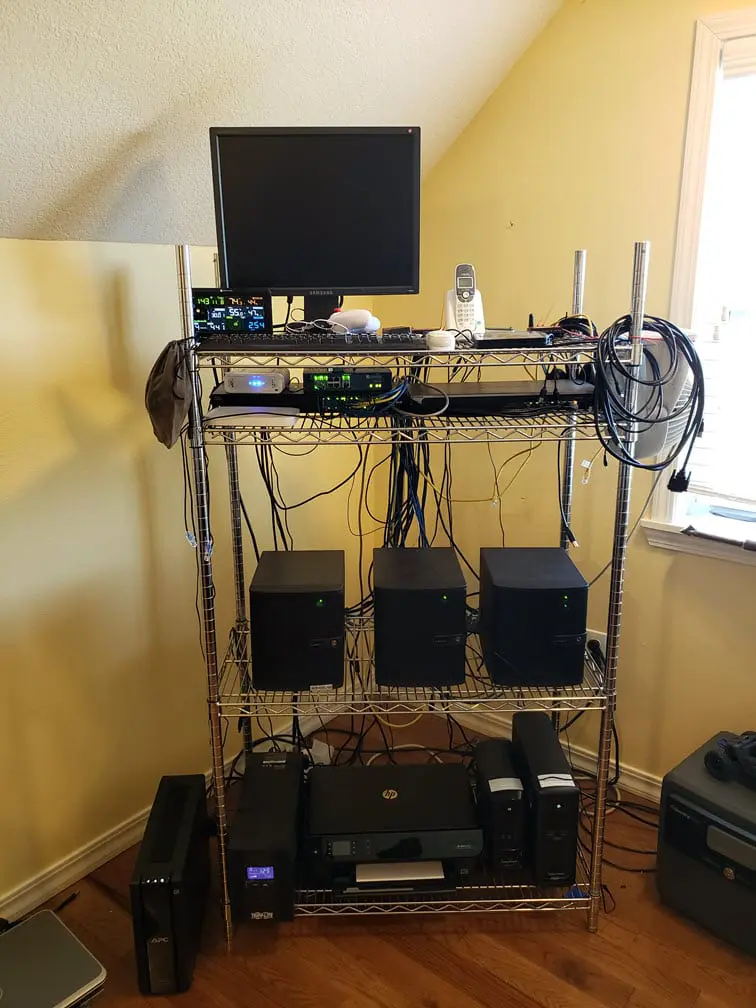
Advantages of the Home Lab Rack
So far I have noted a number of advantages for the home lab rack configuration for my lab environment. The rack is a smaller footprint than the wire rack I was using before. The wire rack was cumbersome to reconfigure any equipment as it was very stationary. I had to manually pull the rack out enough in the room it is located to get behind it for cabling and other needs. With the new rack and the casters installed, I can easily roll the rack around as needed to get behind or reconfigure equipment easily. The great thing as well is the rack hides any cabling or equipment ugliness from view when compared to a wire rack that is open and in plain view.
Wrapping Up
Hopefully you guys enjoyed a look at the latest home lab project and how it turned out with the before and after pics. If you are looking for a New Server Network Rack for Home Virtualization Lab Environment, the SysRacks line of racks are a great choice. While they may not be the cheapest ones you can find on the net, for me, the advantages of what is included, the build quality and the thorough instructions/video helped me to make the decision. The rack went together nicely and so far I haven’t had any issues with the equipment installed. Stay tuned for more updates.
Google is updating how articles are shown. Don’t miss our leading home lab and tech content, written by humans, by setting Virtualization Howto as a preferred source.
About The Author


Love your set up! I’m just starting my network journey and recently bought the 27U rack with the mesh sides. I would like to ask you what is the best way to set up a lab on the rack. Do I put the biggest piece of equipment at the bottom? You can text me if wish when u have time. I have a CCNA lab with VoIP and security. (910)361-6714 what’s app or text msg.

Thanks in advance for your time and advice!
Newbie!