Let’s take a look at 7 of the best home lab server tools in 2023. These will span everything from hardware, to software, applications and other technologies in between.
Table of contents
- 1. Sourcing Home Lab Hardware: Lab Gopher
- 2. Implementing an Open-Source Hypervisor: Proxmox VE, XCP NG, and More
- 3. Containerization with Docker
- 4. Enhancing Docker: Portainer and Other Docker Tools
- 5. Kubernetes
- 6. Harnessing the Power of AI: ChatGPT and Other
- 7. Streamlining with DevOps Tools: Terraform and Ansible
- Wrapping Up
1. Sourcing Home Lab Hardware: Lab Gopher
Starting a home lab server setup begins with getting your hands on the right hardware. Servers come in many different configs, etc. These will offer different levels of performance, power consumption, and cost. Lab Gopher is a website for finding used server hardware deals and allows you to filter server listings, from eBay.
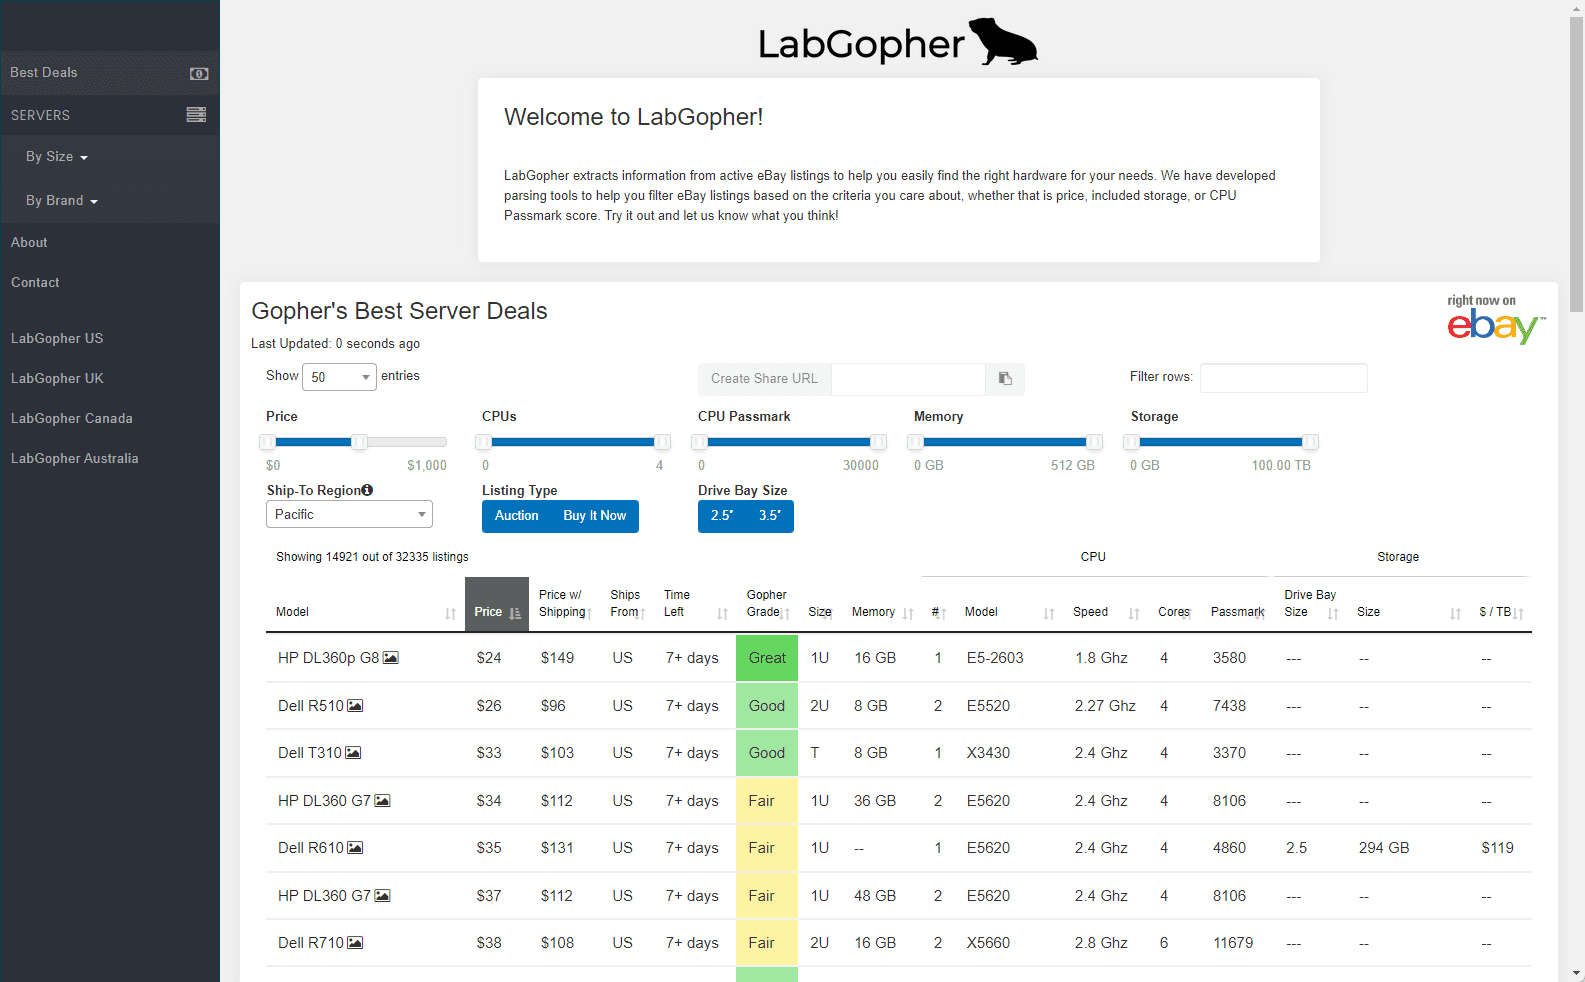
For instance, Dell servers, particularly the Dell server line, or Supermicro servers are popular choices due to their enterprise features, energy efficient performance, and rock solid reliability.
Visit Lab Gopher here:
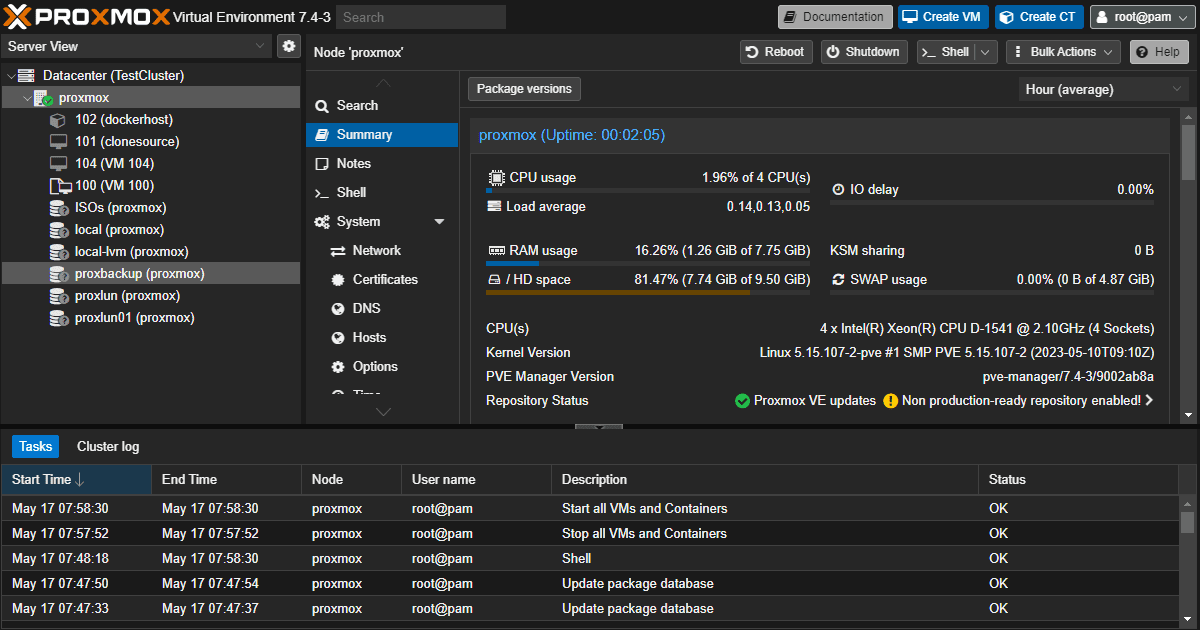
2. Implementing an Open-Source Hypervisor: Proxmox VE, XCP NG, and More
Once you have your hardware, the next step in your home lab setup involves installing an open-source hypervisor. While VMware vSphere with a VMUG subscription is hard to beat, many prefer using fully open-source software in their labs. There are great open-source hypervisors to choose from. Hypervisors like Proxmox VE and XCP NG are fundamental to creating and managing virtual machines in your home lab environment.
Proxmox VE, for example, is an open-source server management platform that allows creating and managing virtual machines and containers. It supports ZFS, a combined file system and logical volume manager, providing robust data security and local storage management.
Similarly, XCP-NG is an open-source hypervisor based on XenServer. It offers features such as live patching and enhanced storage performance. I do prefer Proxmox over XCP-ng interface in my honest opinion is more user friendly, etc.
Check out my comparison of XCP NG vs Proxmox here:
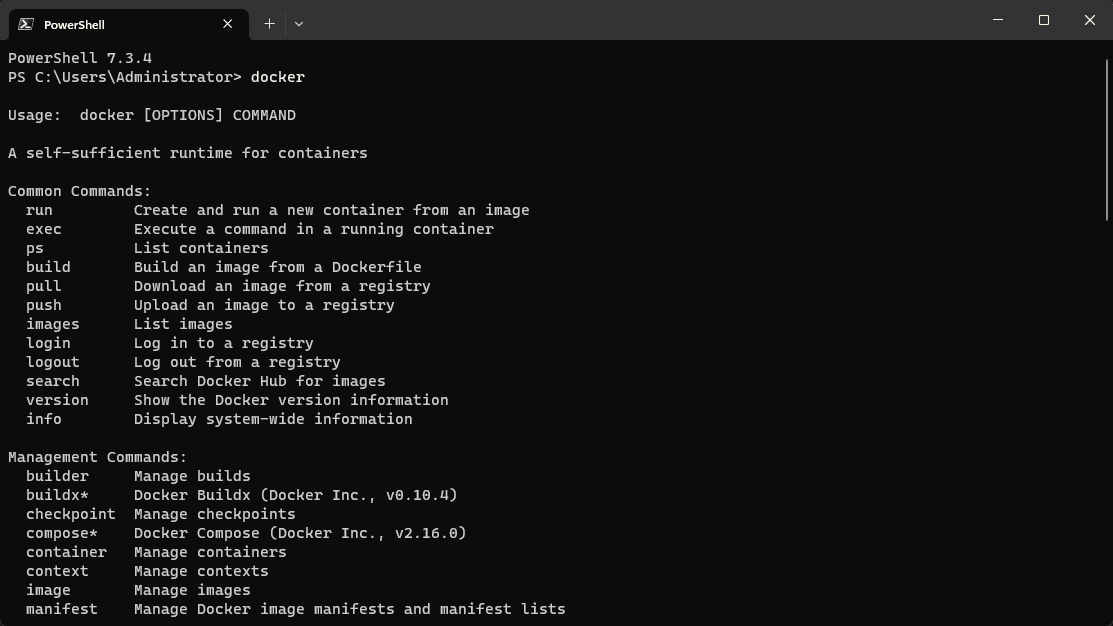
3. Containerization with Docker
Docker is a great way to package and distribute software across different environments. In a home lab environment, Docker enables you to spin up applications within containers quickly. If you are using a home lab and limited hardware resources, containers are much lighter weight to run than VMs so they are the best choice for most apps that can run in containers.
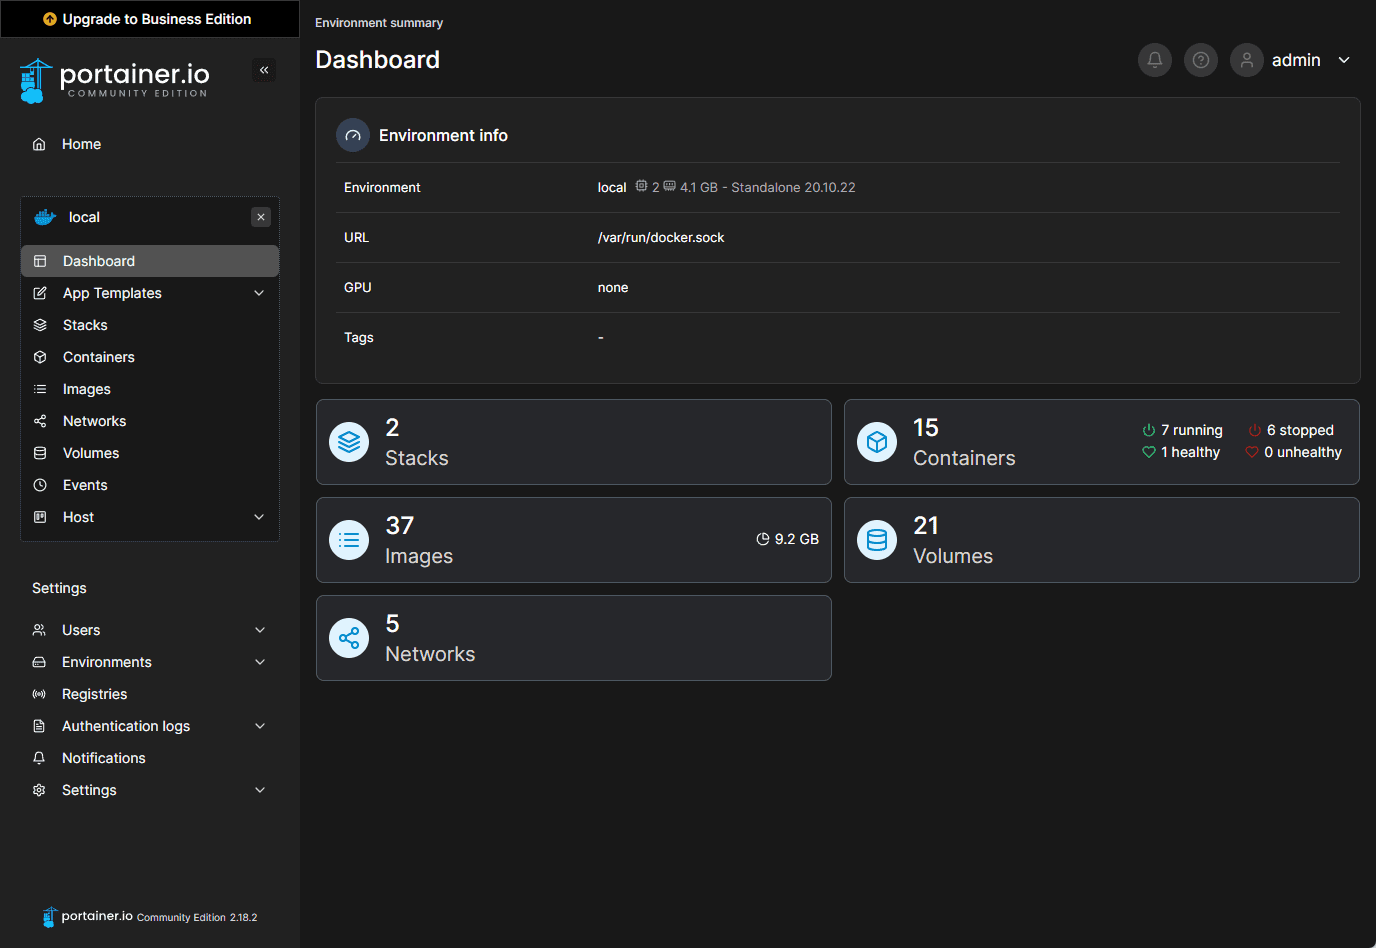
4. Enhancing Docker: Portainer and Other Docker Tools
Once Docker is installed, Docker tools like Portainer can help with administering and playing around with Docker. Portainer has a really nice GUI interface to admin Docker and learn how to spin up things and down that helps with the learning curve.
Portainer Community Edition is totally free to download and use without limits in the home lab environment. However, Portainer also has a very appealing home and student license you can use to have full access to the Business features for a number of nodes. Check that out here:
Also, there is the Business Edition that is free up to 3 managed hosts.
5. Kubernetes
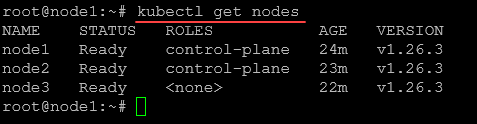
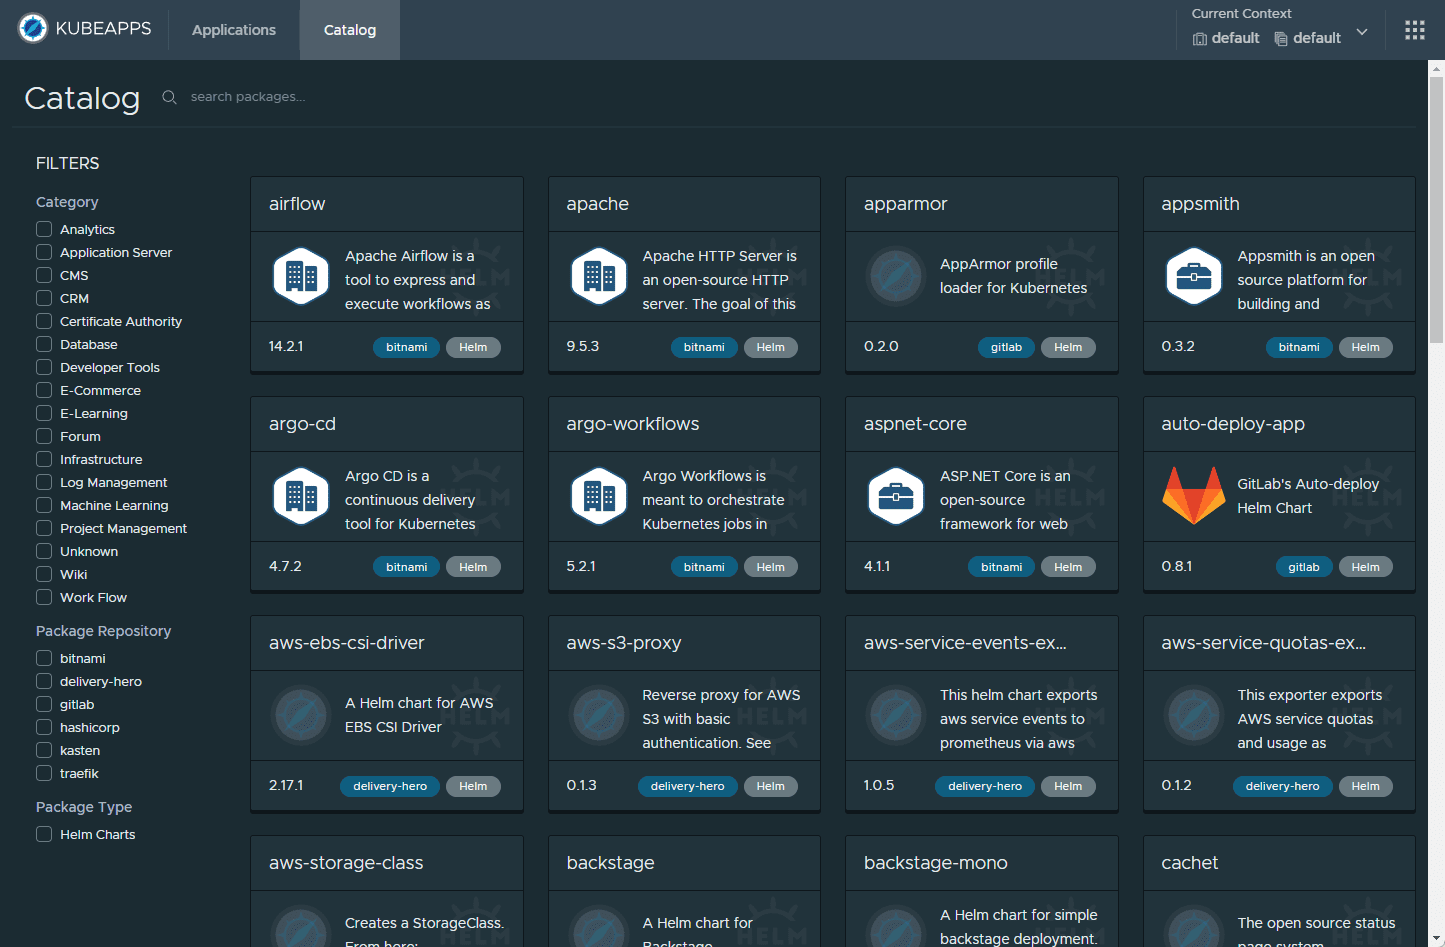
Kubernetes is an open-source platform designed to automate containerized application deployment. It runs these as pods and allows you to enable scaling, and management for many containers at once. It groups containers that make up an application into logical units for easy management and discovery.
You can also use apps in themselves that are great tools for Kubernetes, like Kubeapps. Below is a shot of Kubeapps, an application in itself that runs in Kubernetes and allows you to easily install other applications in your environment.
6. Harnessing the Power of AI: ChatGPT and Other
AI has made its way into almost every aspect of technology, and home labs are no exception. AI tools like ChatGPT can be a beneficial addition to your home lab server setup. These tools can help improve your code, automate tasks, and even generate reports.
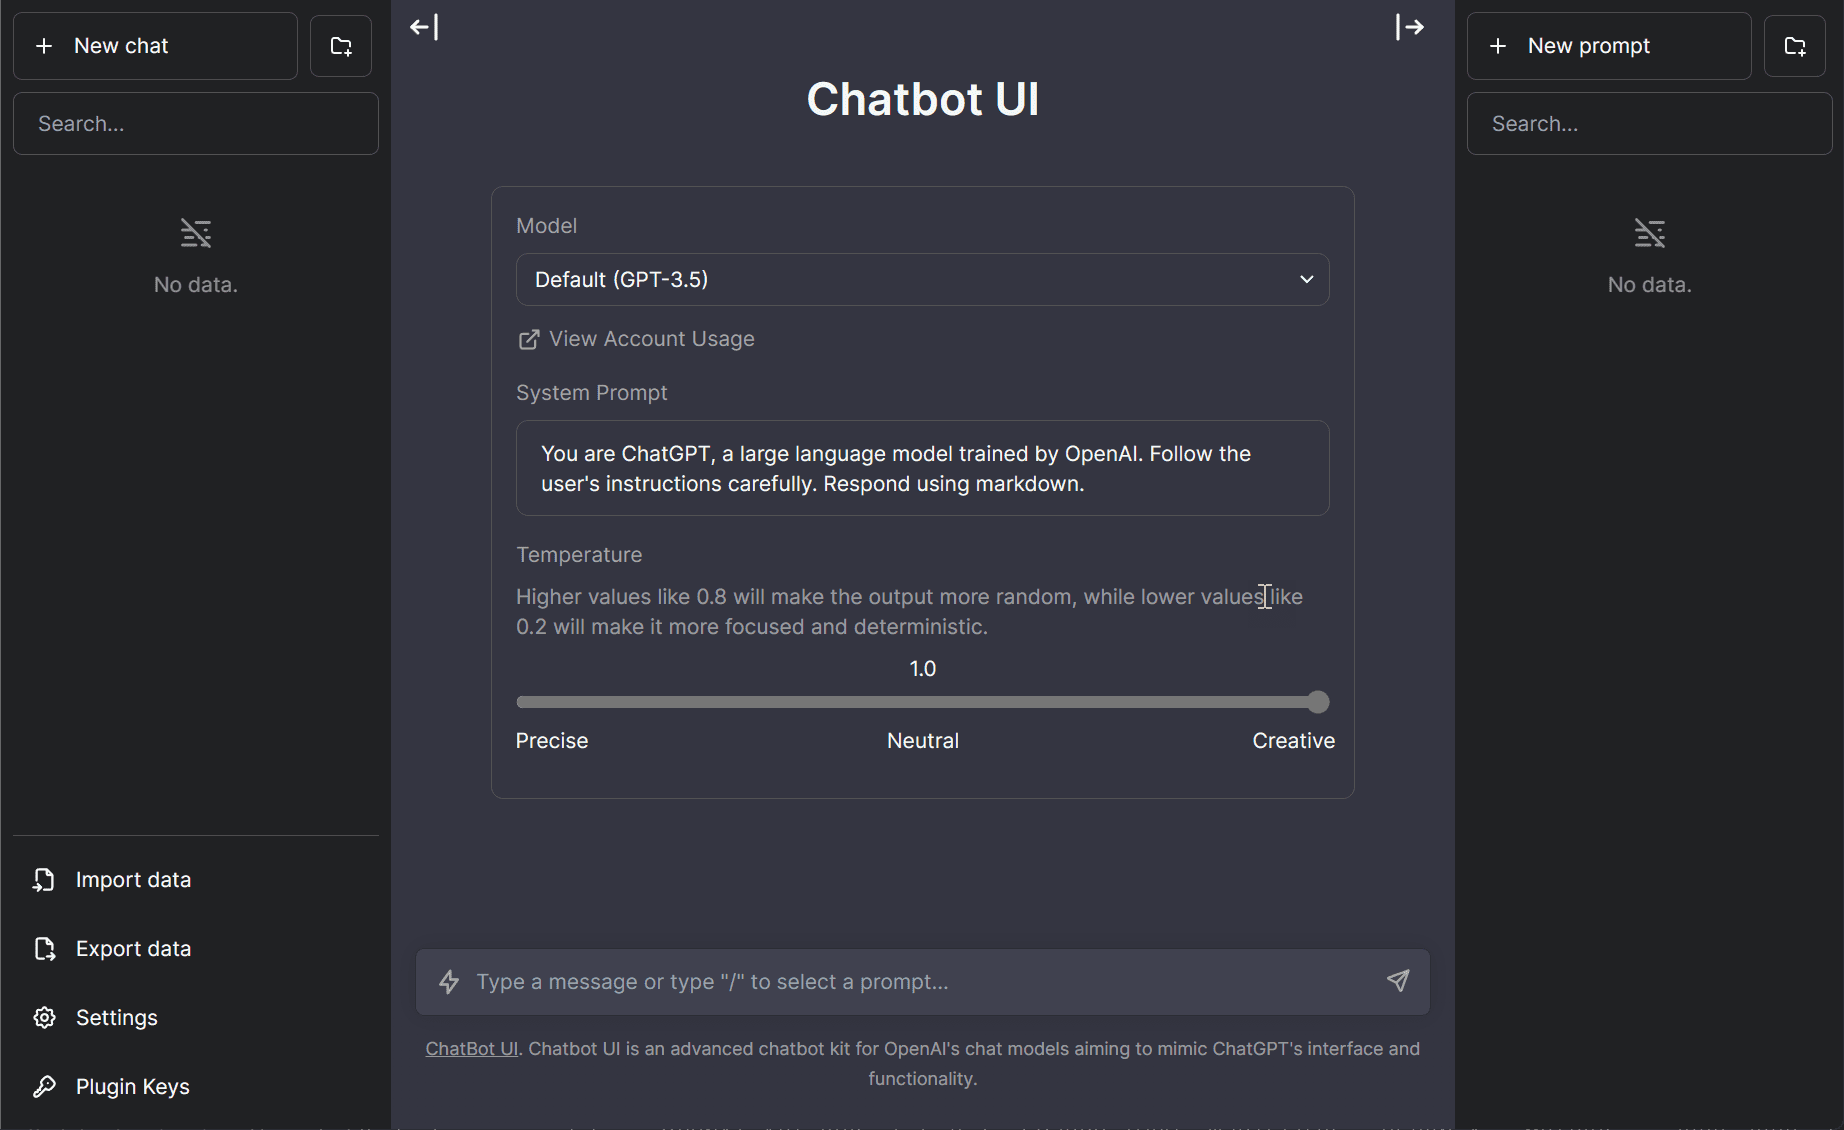
ChatGPT, for instance, can assist in writing DevOps code, creating better documentation, and troubleshooting issues. For example, if you want to quickly get up to speed on Docker Compose code or Terraform, I recommend getting your feet wet in the lab environment with code examples. When you hit roadblocks and can’t figure out syntax or other aspects of your code, toss it at ChatGPT, and it will most likely get you past syntax and other code issues you may have.
7. Streamlining with DevOps Tools: Terraform and Ansible
These tools help automate deployment and configuration and are great things to learn when getting started.
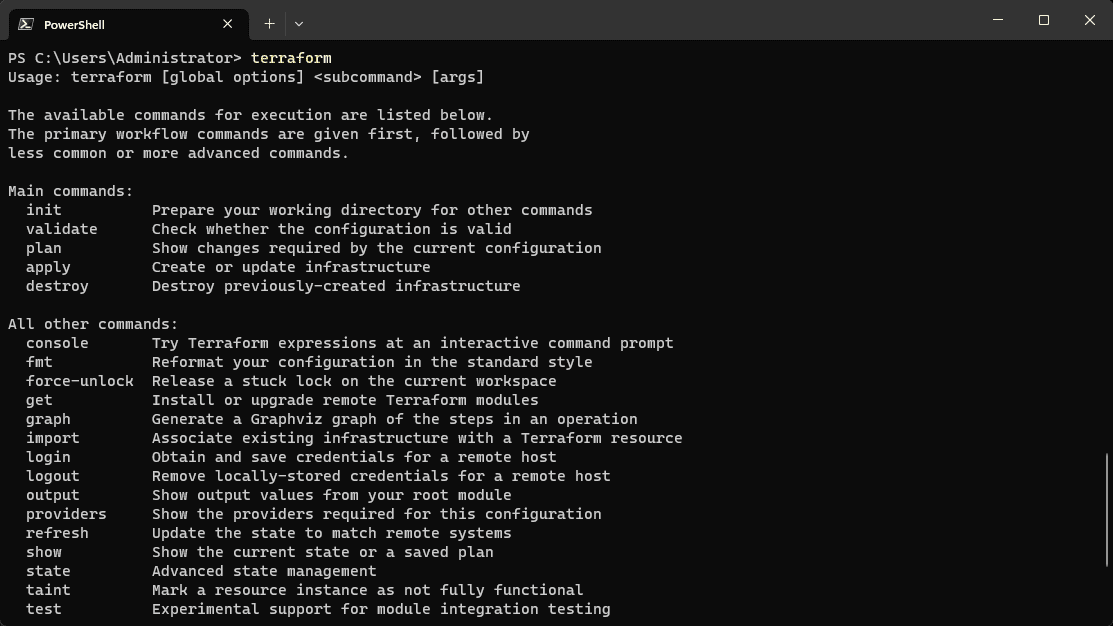
Terraform is an open-source tool that works in a declarative configuration language. It can manage existing and popular service providers and custom in-house solutions, making it an excellent tool for managing a diverse home lab setup.
On the other hand, Ansible is an open-source automation tool that can handle application deployment, configuration management, and task automation. It uses simple, human-readable language, allowing you to describe your automation jobs in a way that approaches plain English.
Wrapping Up
Building a home lab is exciting as it allows you to learn many of the tools and solutions that can be used in production. These are just 7 of the top home lab server tools in 2023. There are obviously more than the ones we have listed, it just gets you thinking in the right line of tools that are available. Please share tools you are using.
Google is updating how articles are shown. Don’t miss our leading home lab and tech content, written by humans, by setting Virtualization Howto as a preferred source.
About The Author