Over the last few days, I have been playing around with a few switches and configuring some 802.1X authentication between the switches and a Microsoft RADIUS server. I wanted to throw a quick block post out there to step through getting a Microsoft Network Policy Server configured to serve as a RADIUS server for clients on the network and how to configure this in basic terms. The configuration is not difficult, but it is tedious. If you skip one small step or configuration, you can leave yourself scratching your head for hours trying to chase down issues. However, there are some troubleshooting tools to note with RADIUS that makes life easier with figuring out what is going on if authentication requests etc. Let’s take a look at Installing Configuring Troubleshooting Windows Server 2019 NPS as RADIUS to step through the installation and configuration and look at a few troubleshooting areas to note.
Installing Configuring Troubleshooting Windows Network Policy Server as RADIUS
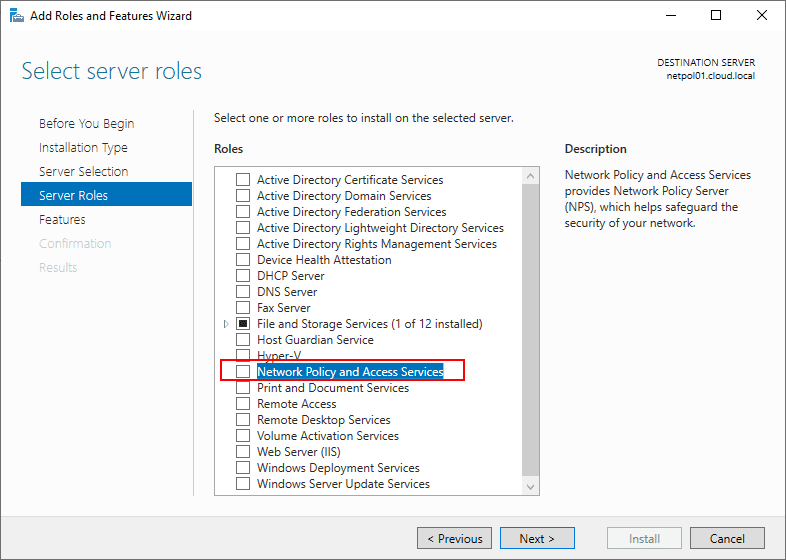
The process to install the Network Policy Server in Windows Server 2019 is very straightforward. It is simply a matter of installing the Network Policy Server role in Windows Server. This is simply a next, next, finish process without even having to perform a Windows reboot. The NPS component is found under the Server Roles portion of the Add Roles and Features wizard.
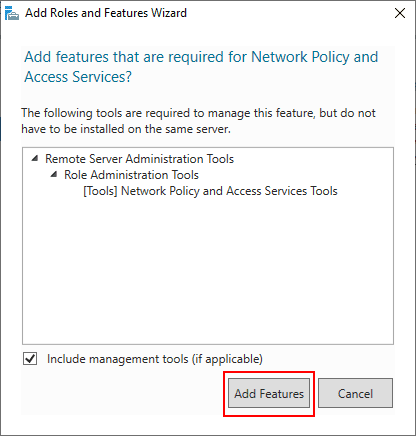
Add the additional features that are required to install the role.
The role is now selected.
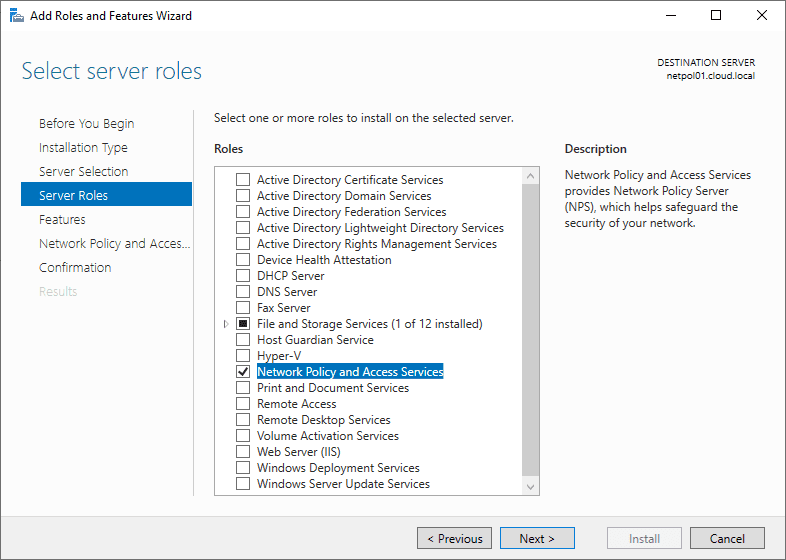
Click Next.

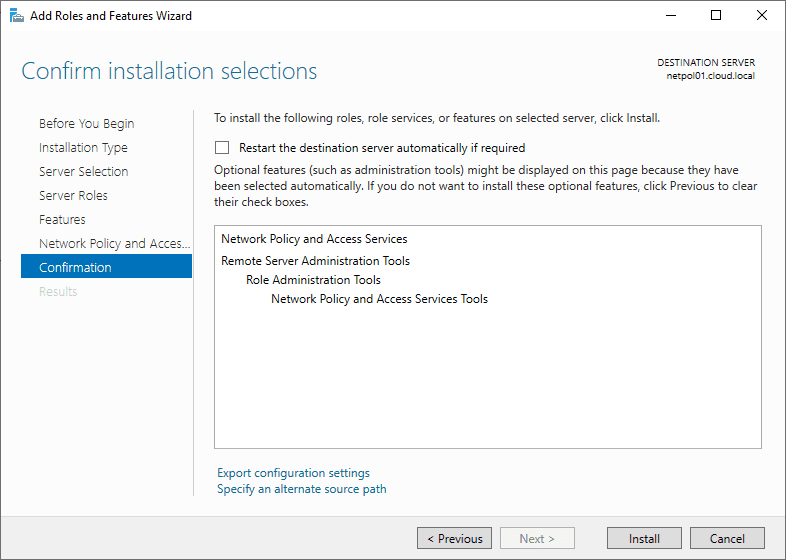
Confirm the installation of the NPS role.
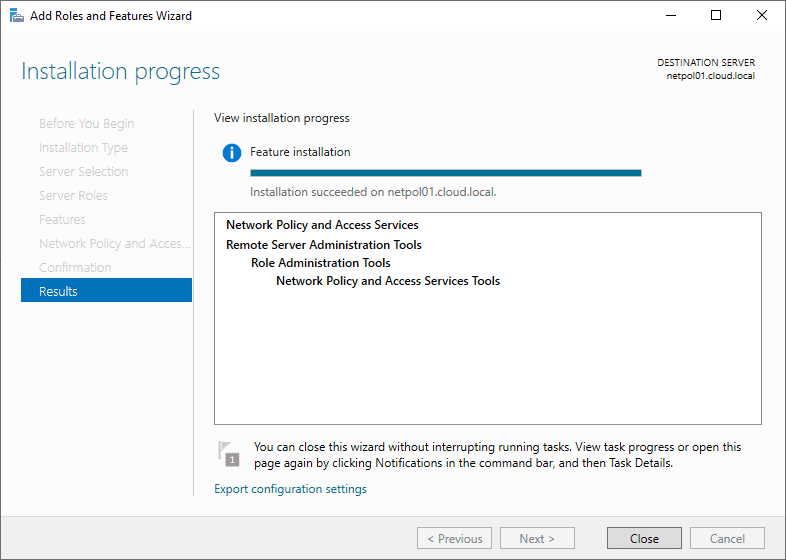
The NPS Role installation finishes successfully.
Now that the role has been added successfully, we can start configuring the NPS role to serve as a RADIUS server for network devices.
Configuring and Troubleshooting Windows Server 2019 RADIUS server
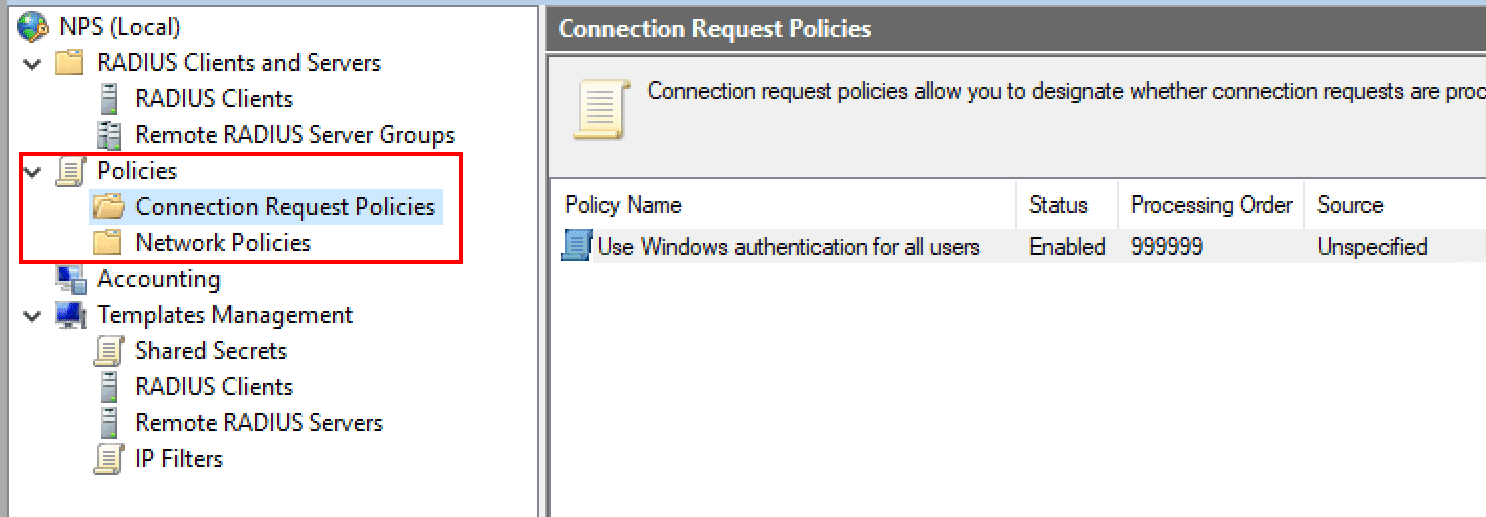
One of the first things you want to do when getting the RADIUS server configured is to setup the Connection Request Policies and the Network Policies. What is the difference between the two?
Connection Request Policies – Connection request policies are sets of conditions and settings that allow designating which RADIUS servers perform the authentication and authorization of connection requests recevied from RADIUS clients. They can also determine which RADIUS servers perform the accounting functions.
- The time of day and day of the week
- The realm name in the connection request
- The type of connection being requested
- The IP address of the RADIUS client
Network policies are sets of conditions, constraints, and settings that allow designating who is authorized to connect to the network and the circumstances under which they can or can’t connect. These can be viewed as an ordered set of rules. Each network policy has a Policy State setting that allows enabling or disabling the policy. These are processed from the top down.
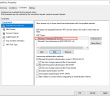
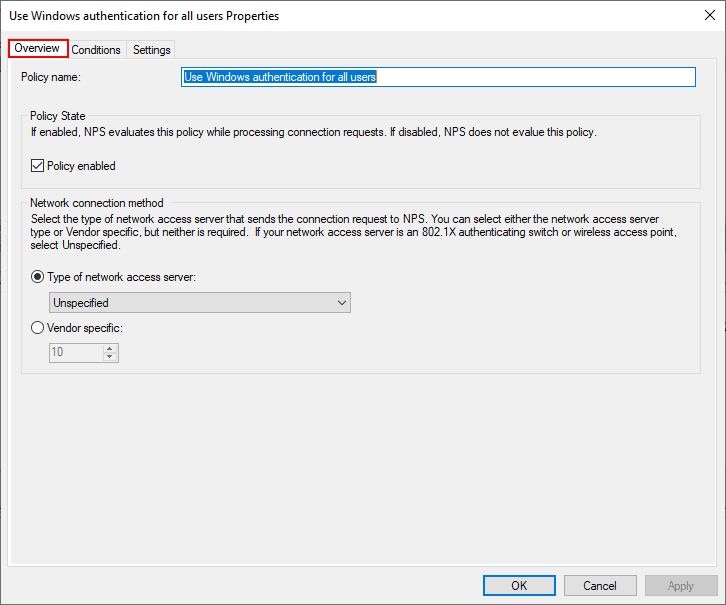
Let’s look at the properties of the default connection policy Use Windows authentication for all users to see what settings are contained. Note under the overview, the policy is set to enabled. It is perfectly ok to use the default connection policy and edit it to customize the properties as needed.
The only conditions defined in the Conditions tab is Day and time restrictions that define when connections can be made.

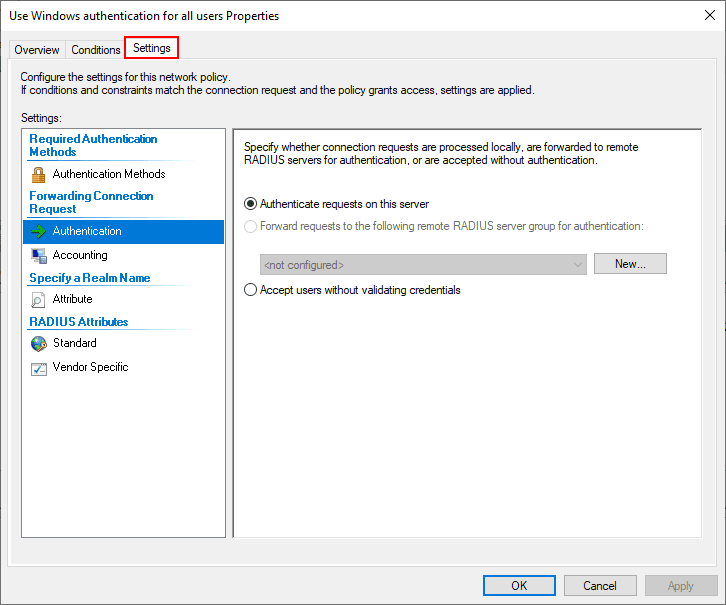
Note under the Settings tab we see the Authentication configuration that allows configuring which requests are processed locally or sent on to another RADIUS server.
I am just going to use the default connection policy. However, under the Network Policies container, I have created a new policy called TestPolicy and moved this to the top of the order for processing above the default network policies already there.
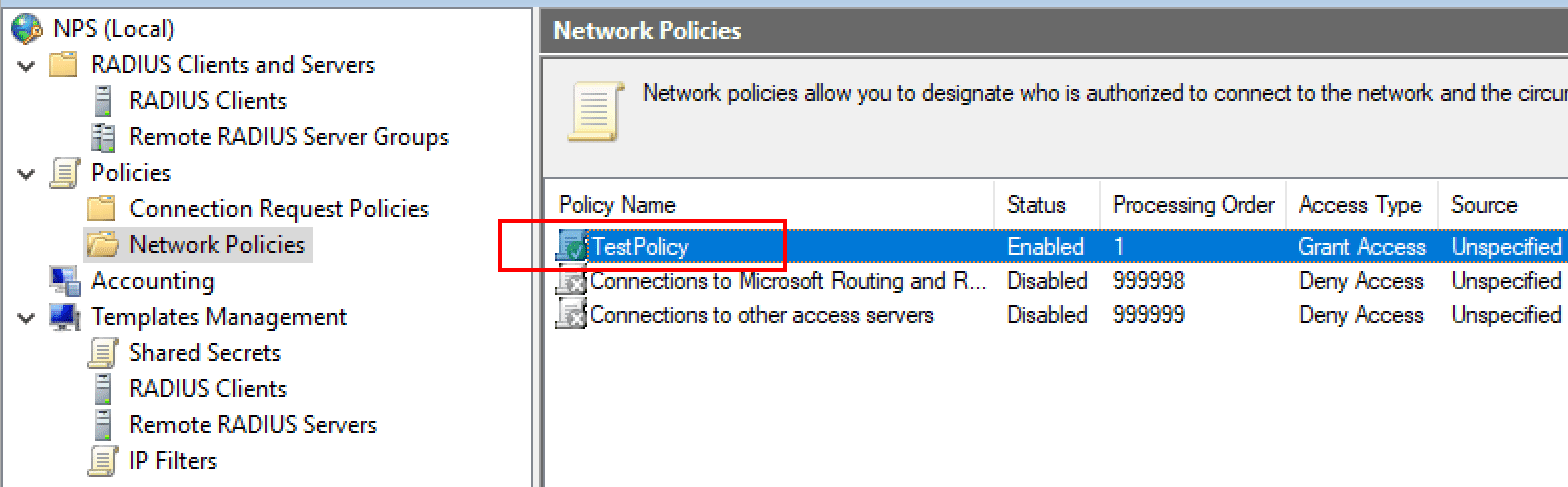
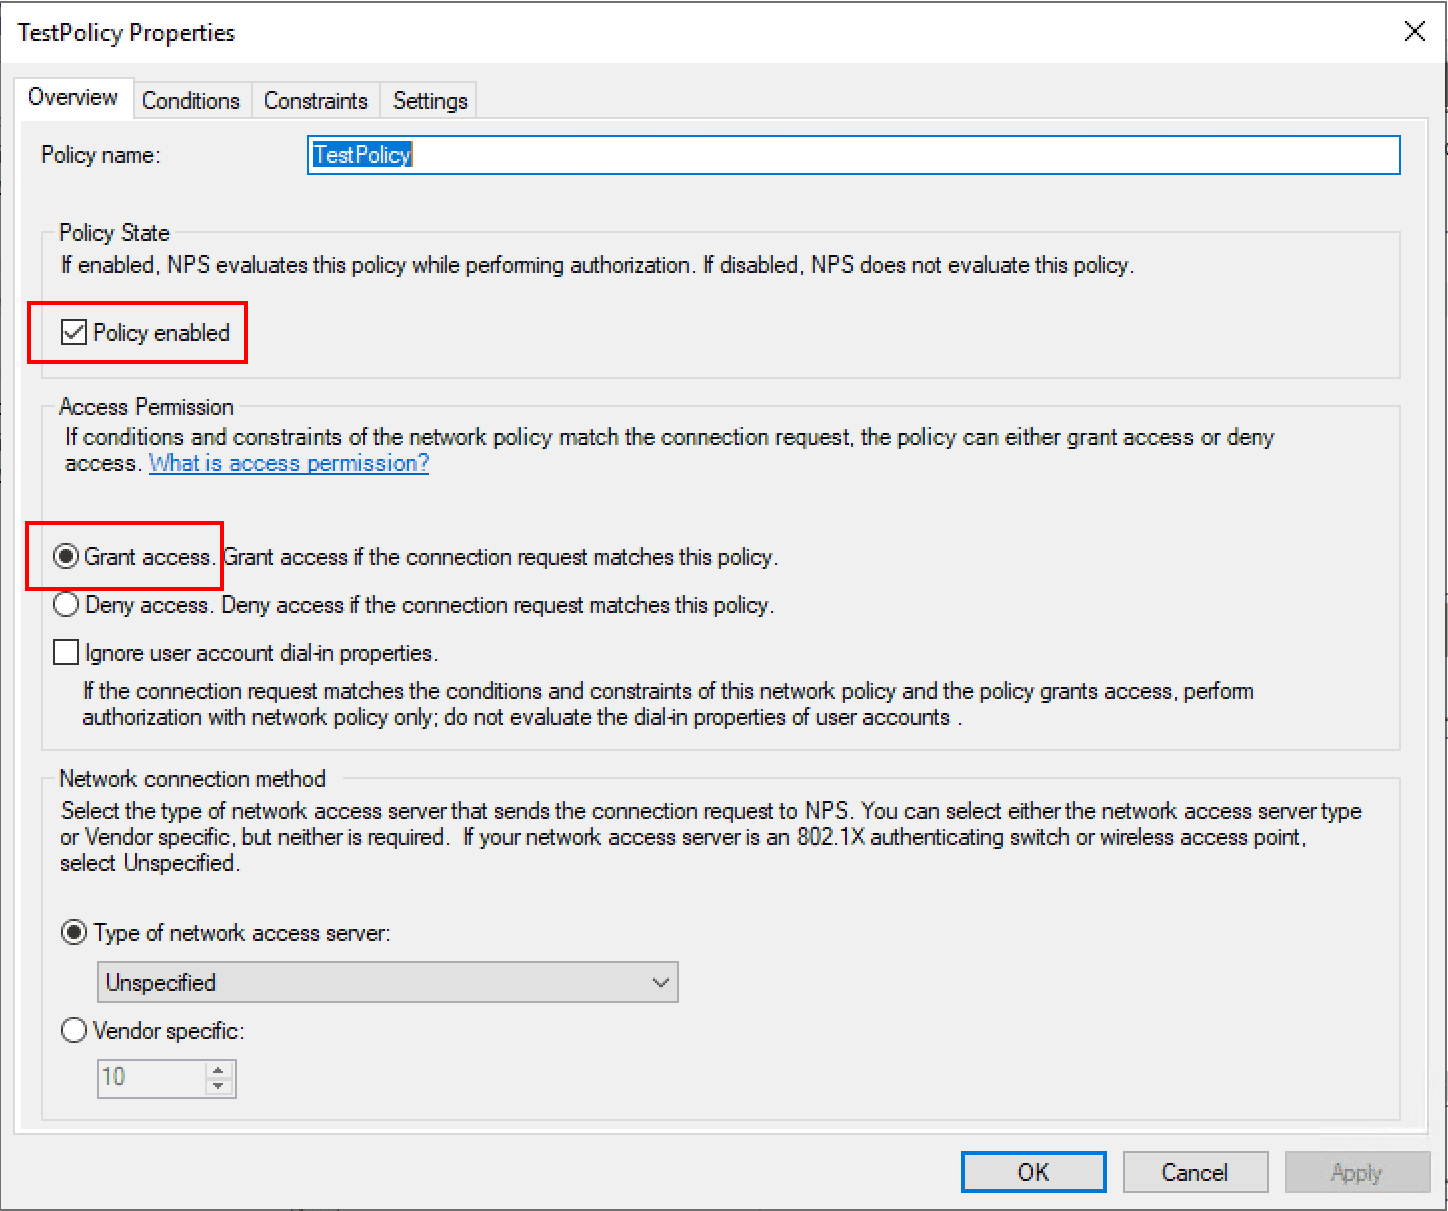
Under the TestPolicy network policy, we note it is set to enabled and the Access permission given is to Grant access.
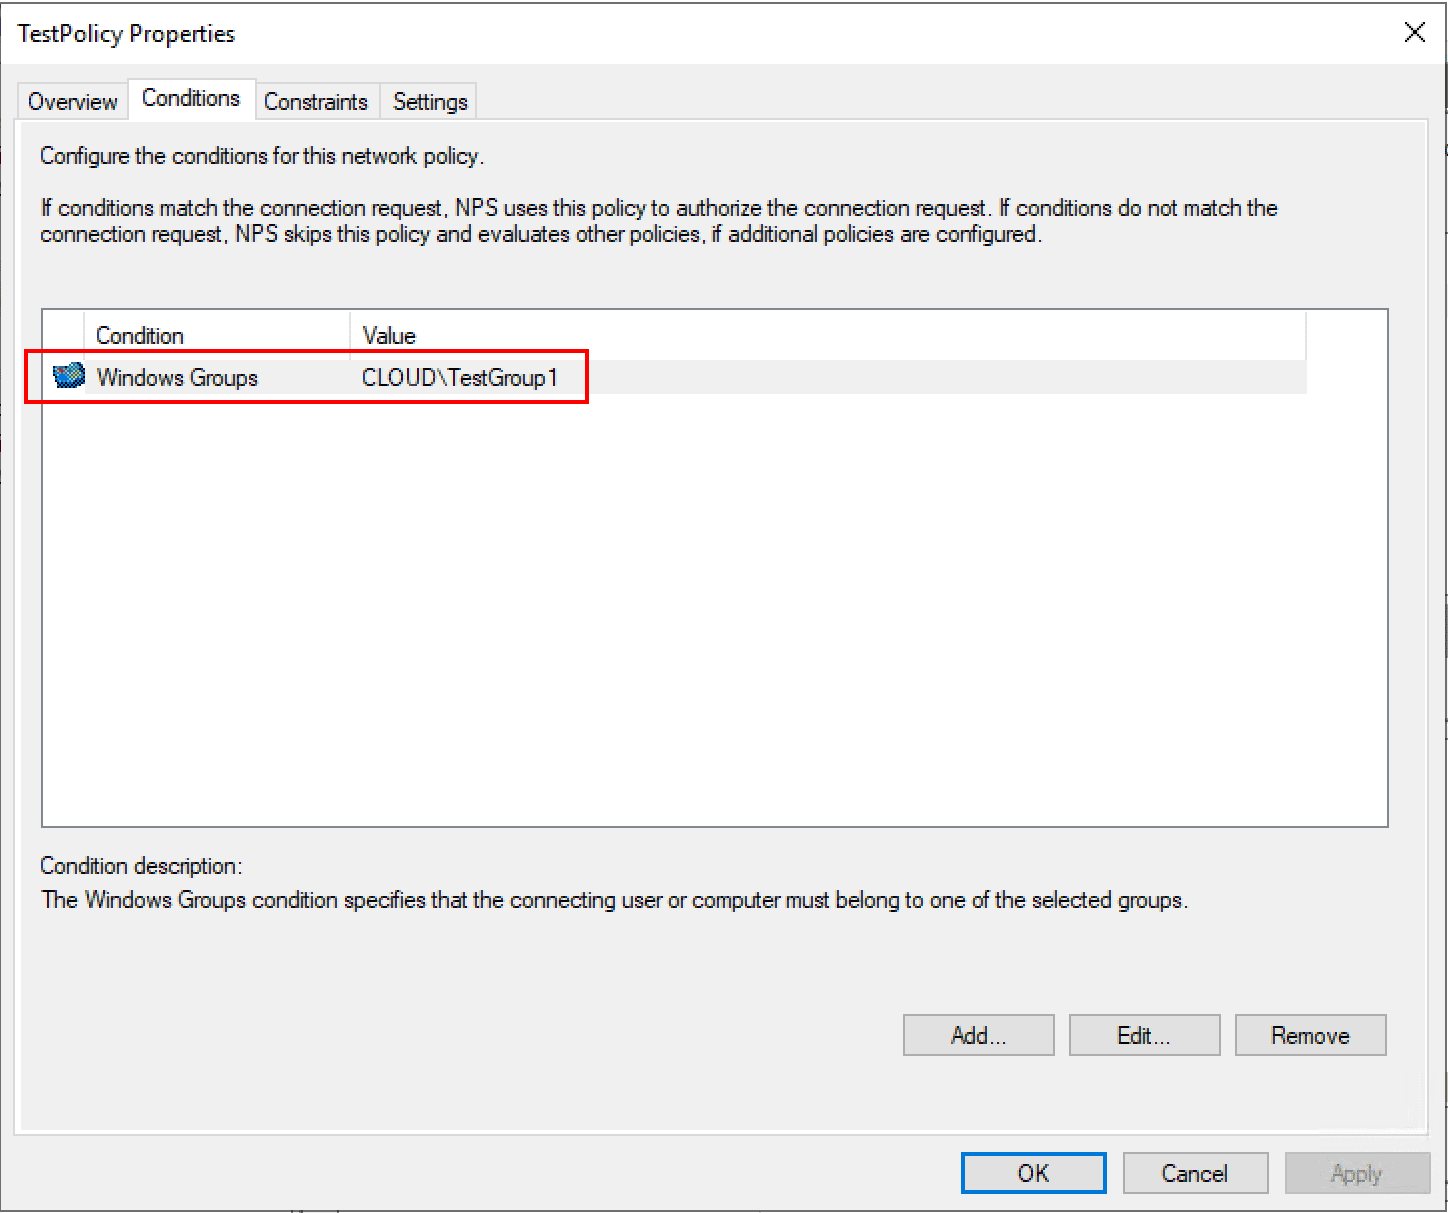
As noted above, the network policy defines who is allowed to connect. Below, I have added a Windows group under the Conditions tab to allow connection.
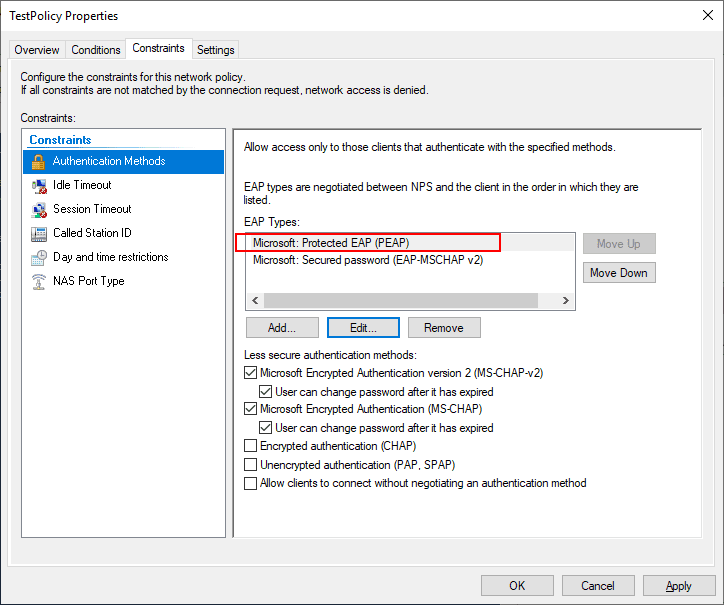
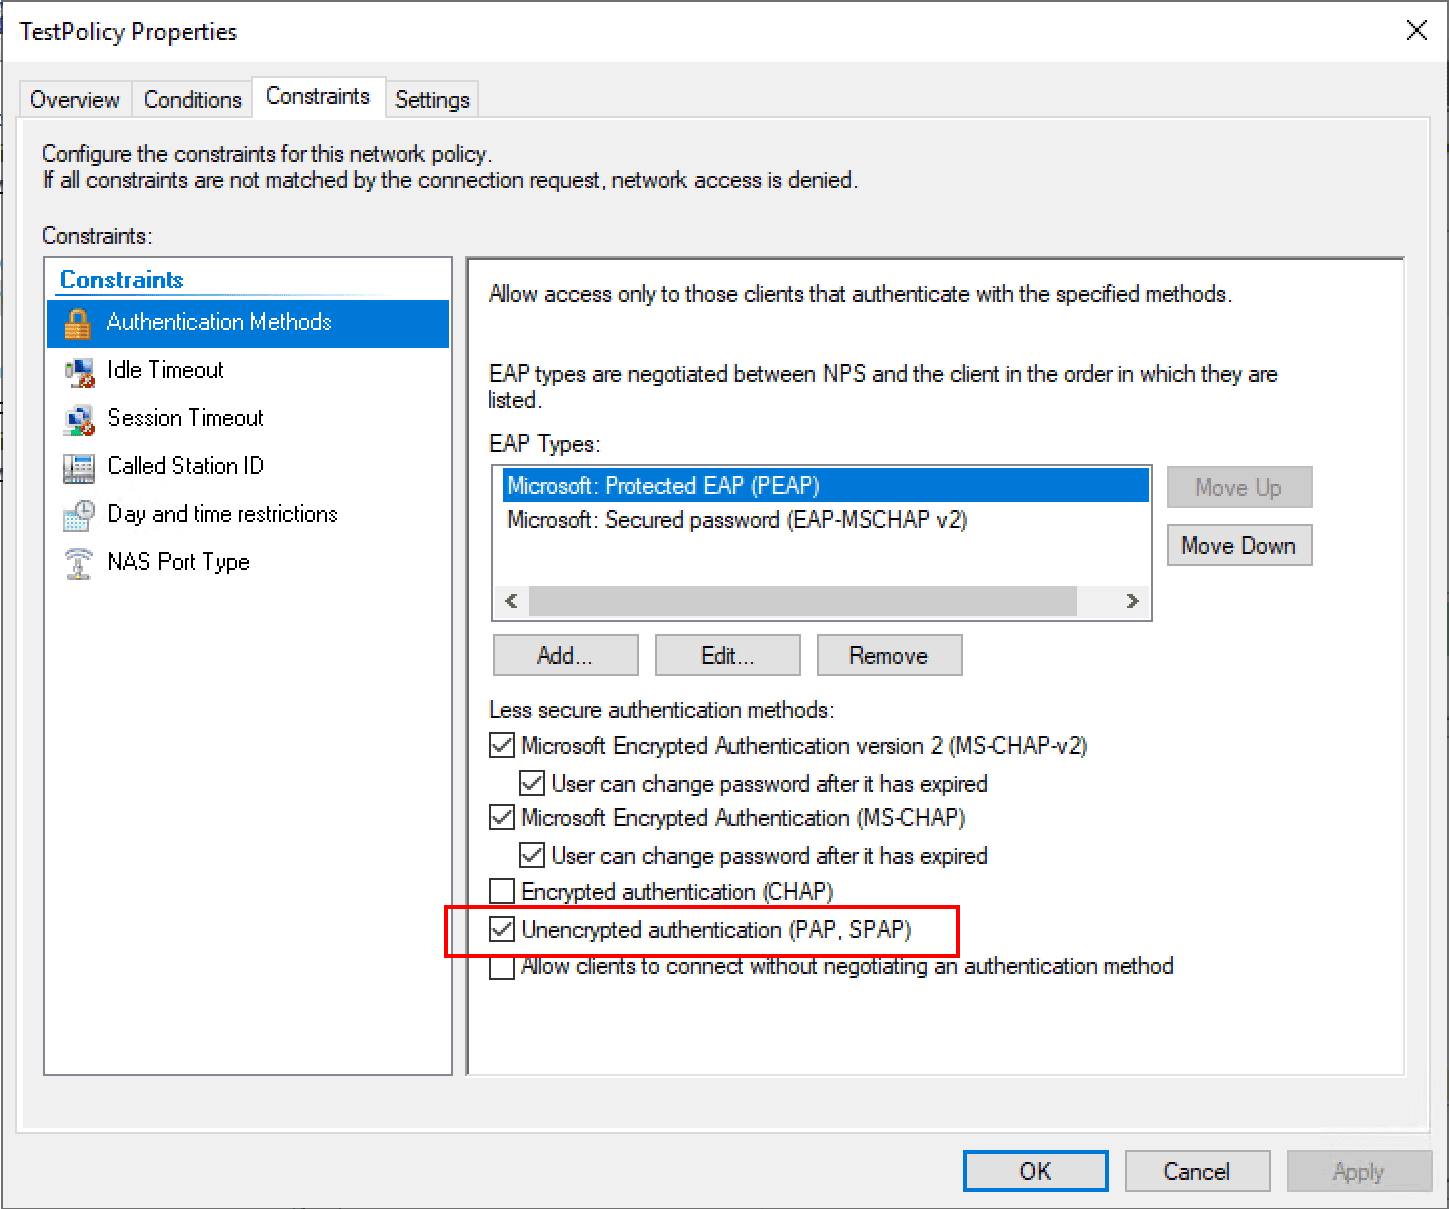
Under the Constraints tab, here is where you can define many important aspects of the network policy such as the Authentication Methods. I have added Microsoft: Protected EAP (PEAP) and Microsoft: Secured password (EAP-MSCHAP v2) as authentication protocols
PEAP authentication is a jointly developed authentication protocol by Cisco, Microsoft and RSA Security that encapsulates EAP within an encrypted and authenticated TLS encryption tunnel. this requires a certificate for providing the TLS tunnel.
Using PowerShell in Windows Server 2019, you can easily provision a self-signed certificate for use with the PEAP authentication protocol.
New-SelfSignedCertificate -dnsnae "<your server FQDN>" -KeyLength 2048 -CertStoreLocation cert:LocalMachineMy -NotAfter (Get-Date).AddYears(20)
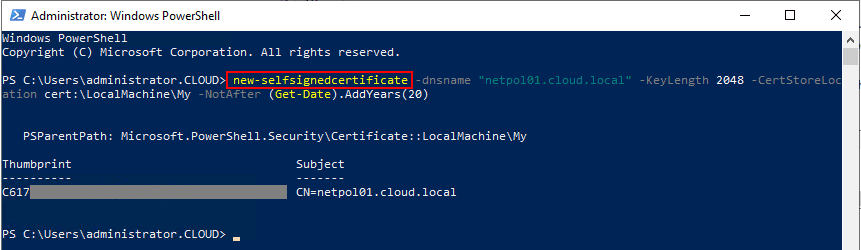 Creating a new self-signed certificate for use with PEAP authentication
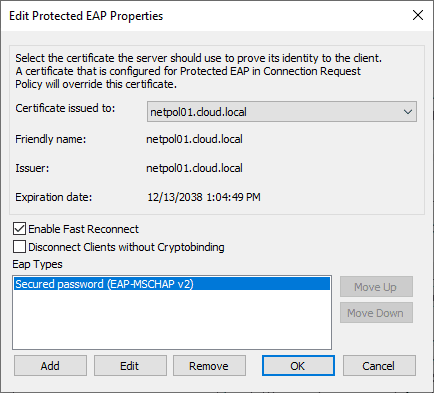
Now, if we go back and edit the properties of the PEAP authentication protocol in our network policy, you will see an acceptable certificate for use with the PEAP protocol. The certificate that was just created will be used by default.
RADIUS can be time consuming and difficult to troubleshoot by trying the authentication request from a real client. Thankfully, there are great RADIUS simulators that make this process much easier. One that I really like to use is the NTRadPing utility which you can download here. This makes simulating the traffic extremely easy. One thing that needs to be done to allow testing with NTRadPing is to add the PAP authentication protocol which is unencrypted. Once you place the RADIUS server into production, you want to remove this. However, for testing, this is fine.
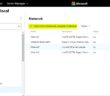
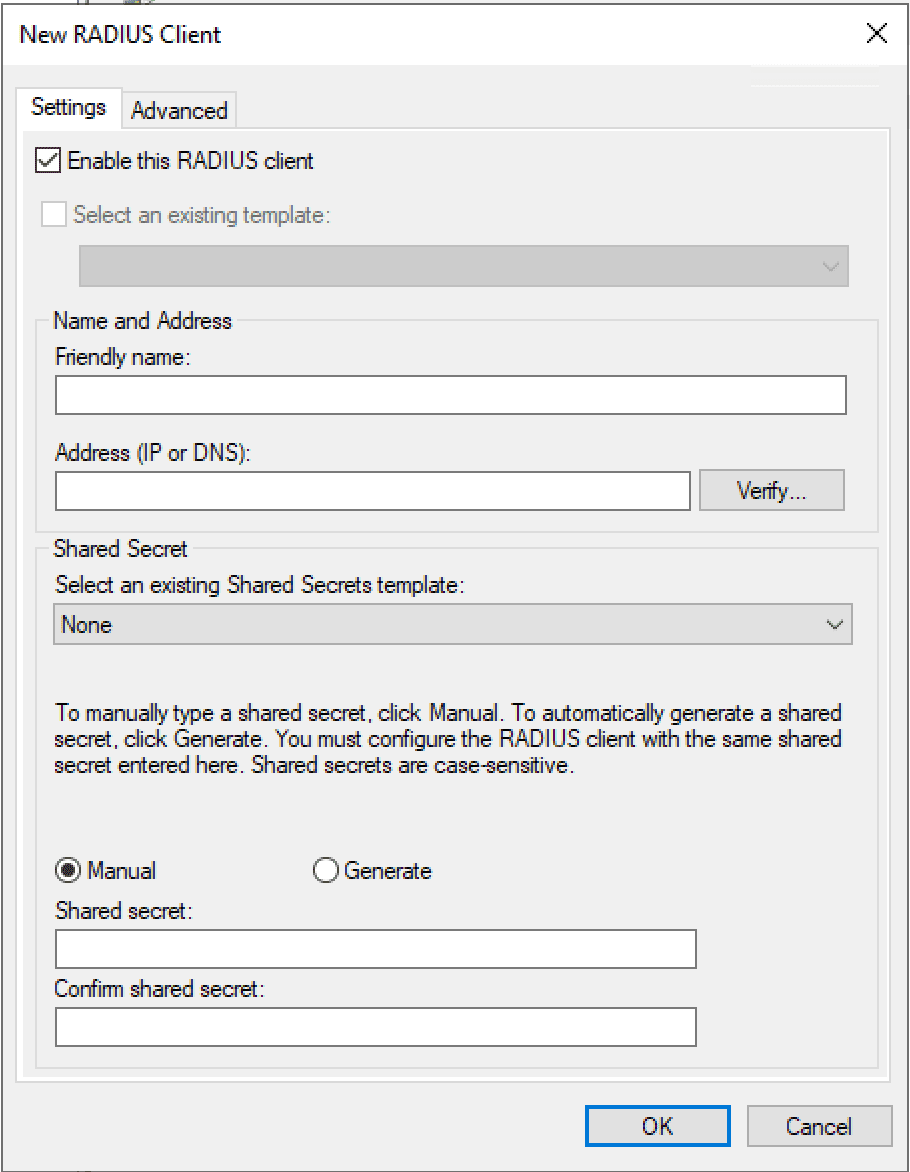
Add your workstation IP as a RADIUS client under the RADIUS Clients and Servers node. This consists of enabling the client, giving it a friendly name, entering the FQDN or IP address, and choosing a test shared secret passphrase.
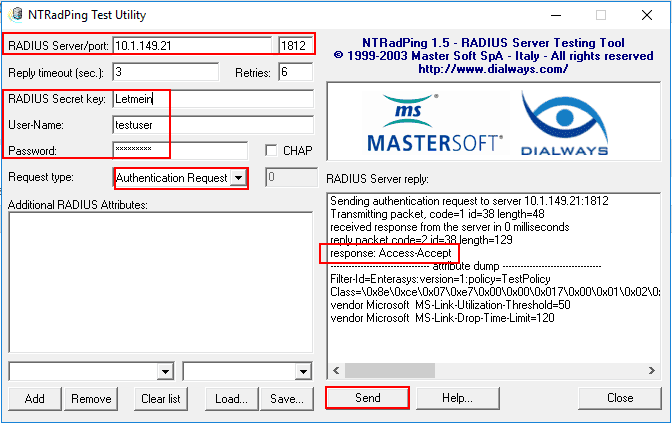
After downloading and launching NTRadPing, there are several areas of the app to make note of. We need to enter the address of the RADIUS server to be tested, the port, the Shared secret key which on the screen is cleartext. Then enter the user-name and password. On the Request type choose the Authentication Request in the drop down box. Then simply click the Send button. In the RADIUS Server reply box, you should see the response: Access-Accept if you are using a user that fits both the connection and network policies configured.
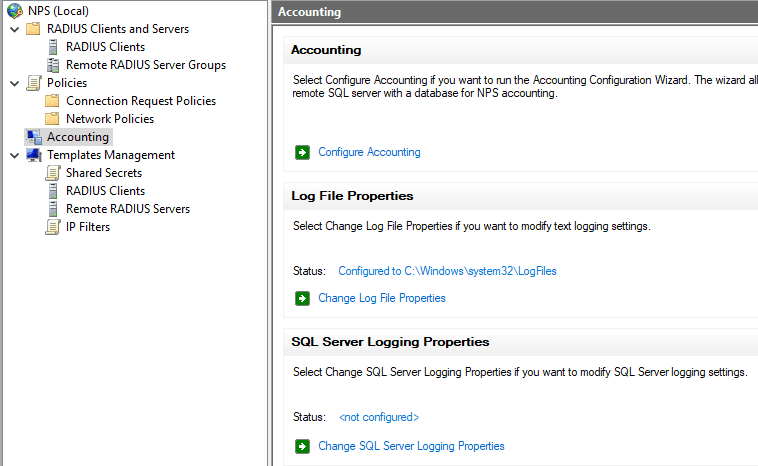
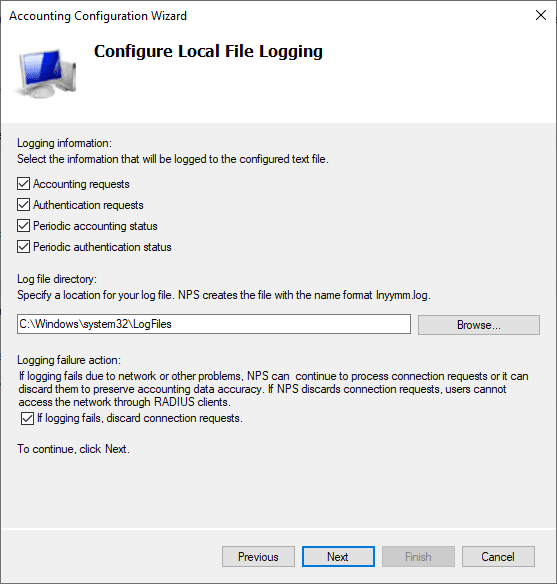
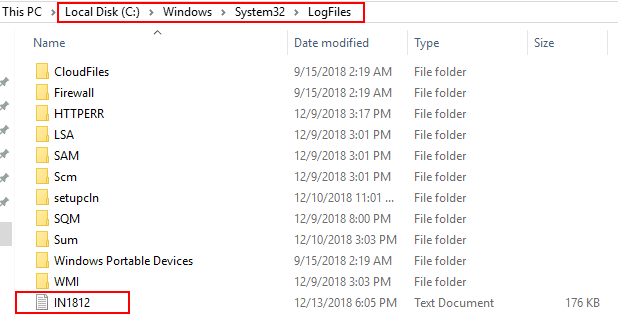
As you can see below, after enabling the RADIUS server logging under the Accounting configuration, you will start to see log files created under the default location of c:WindowsSystem32LogFiles.
Thoughts
If you are in need of utilizing a RADIUS server in your environment, Installing Configuring Troubleshooting Windows Server 2019 NPS as RADIUS server is very straightforward. The Network Policy Server role allows having a powerful RADIUS solution that allows providing authentication requests to network clients, switches, and other devices that support RADIUS server integration. Using great little tools such as NTRadPing and the built-in logging allow for easy troubleshooting of the configuration. Stay tuned for future posts where we will take this integration even further and show the process of authenticating and apply network policies to users based on RADIUS server authentication.
Google is updating how articles are shown. Don’t miss our leading home lab and tech content, written by humans, by setting Virtualization Howto as a preferred source.
About The Author