Recently, I have been working a lot with Packer installations in the home lab to configure automated builds of Server operating systems to have always “up-to-date” copies of Windows Server templates so that you shortcut all the time needed to build up a Windows Server operating system, patch the OS, and then install your applications. With Packer, you can perform all of these tasks and have these templates on hand and ready to go at a moment’s notice. One of the first things you will need to do is either create or download a Windows Server unattend answer file. In this post, we will take a look at what an unattend answer file is as well as resources that can be used to either create unattend answer file for Windows Server 2019 automated packer installation or download one.
What is a Windows Server Answer File?
The answer file is a special file that is in an XML format that contains setting definitions and values for the configuration settings you want to automated during the installation of a Windows Server operating system installation. The configuration options include how to partition disks, where to find the Windows image to be installed, product keys to apply, and other commands you would like to run. Basically, you can place in the answer file all the configuration that you can carry out manually using the GUI Windows Server operating system installation in the Windows PE environment and then in the “out of the box” installation setup wizard.
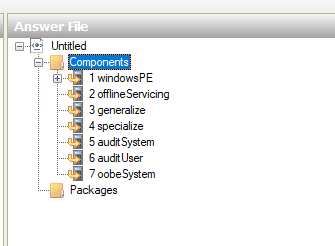
There are (7) components in the unattend answer file that can be customized to provide “answers” to the configuration in question. These seven components provide the configuration for the various parts of the installation and configuration of Windows Server. The are the following:
- windowsPE
- offlineServicing
- generalize
- specialize
- auditSystem
- auditUser
- oobeSystem
Create Unattend Answer File for Windows Server 2019 Automated Packer Installation
The Unattend.xml answer file is typically the name most use for the special answer file using for unattended installations of Windows Server. However, you can call the file anything you would like. While you could simply use Notepad or another text editor to create an Unattend.xml file from scratch, being as this is an XML file that is very sensitive to syntax and the proper tags being used, etc, doing it that way would be fairly difficult.
Microsoft has provided a tool that is very helpful in creating these unattend answer files for unattended installations of Windows Server and Windows 10 operating systems. The tool is part of the Windows Assessment and Deployment Kit. It is called the Windows System Image Manager.
The Windows System Image Manager or Windows SIM provides an easy way to create unattend answer files using this GUI tool and the component sections described above as part of the answer file. You can use the GUI tool to create the “answers” the configuration questions presented in the GUI. Then once finished, the Windows SIM creates the file in the correct format/syntax.
Installing Windows System Image Manager
To install the Windows System Image Manager, you need to download the Windows Assessment and Deployment Kit found here:
https://docs.microsoft.com/en-us/windows-hardware/get-started/adk-install
I have found to avoid issues with images and catalog creation, it is best to use the version of the Windows ADK that corresponds to the version of the operating system you are working with.
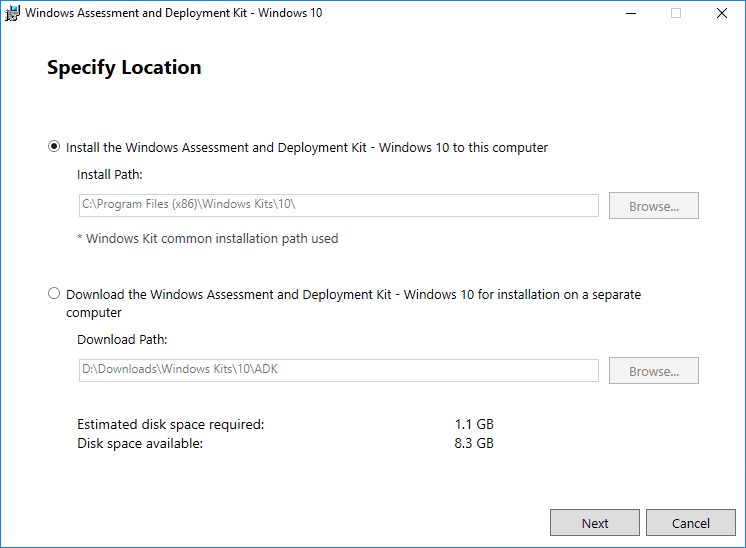
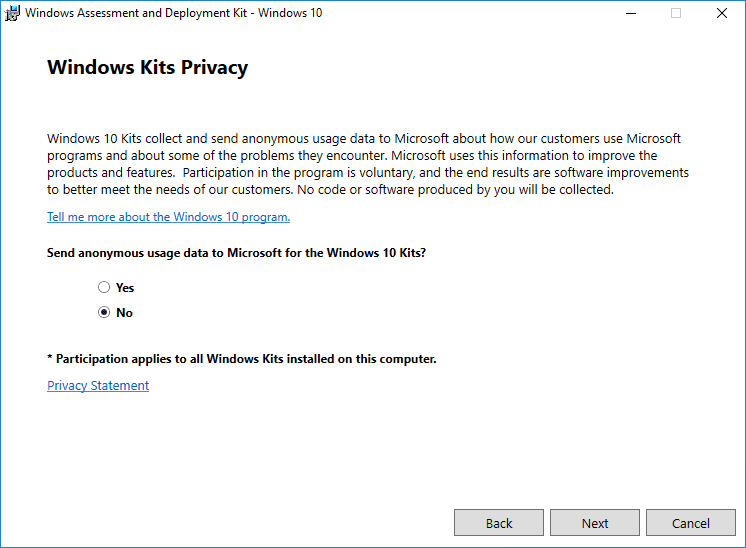
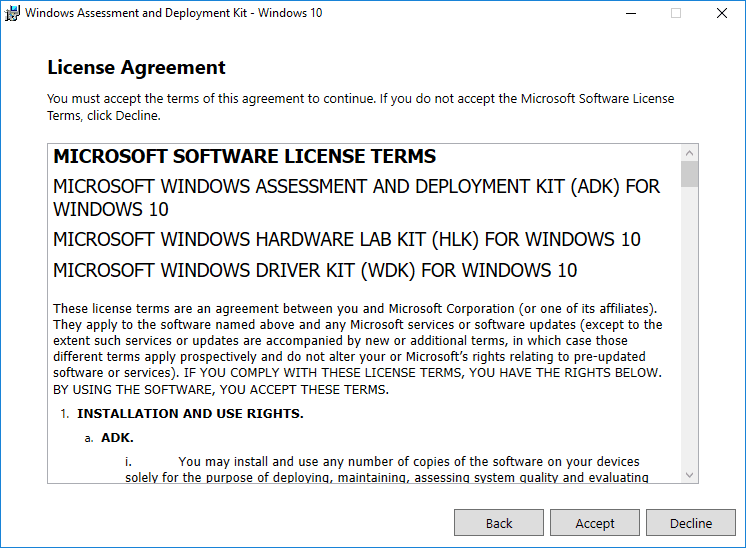
After downloading the Windows Assessment and Deployment Kit, run the installer.
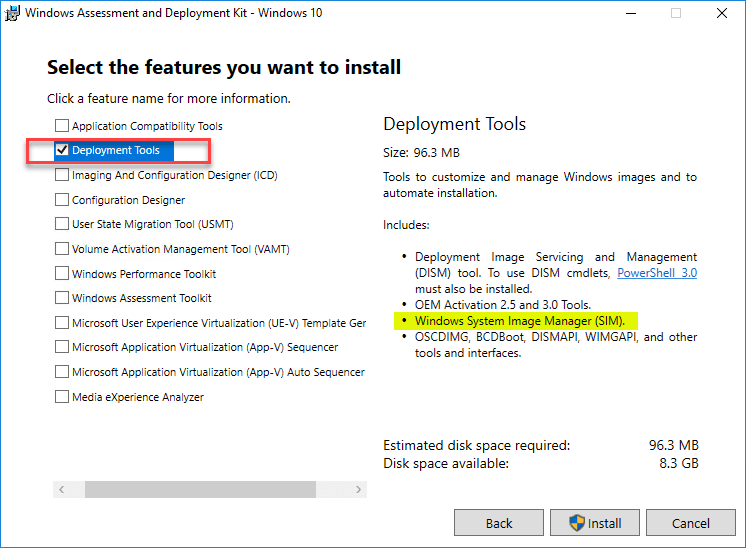
On the features you want to install page, the only component that we need to install for the Windows System Image Manager is the Deployment Tools.
The installation finishes successfully for the Windows SIM.
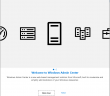
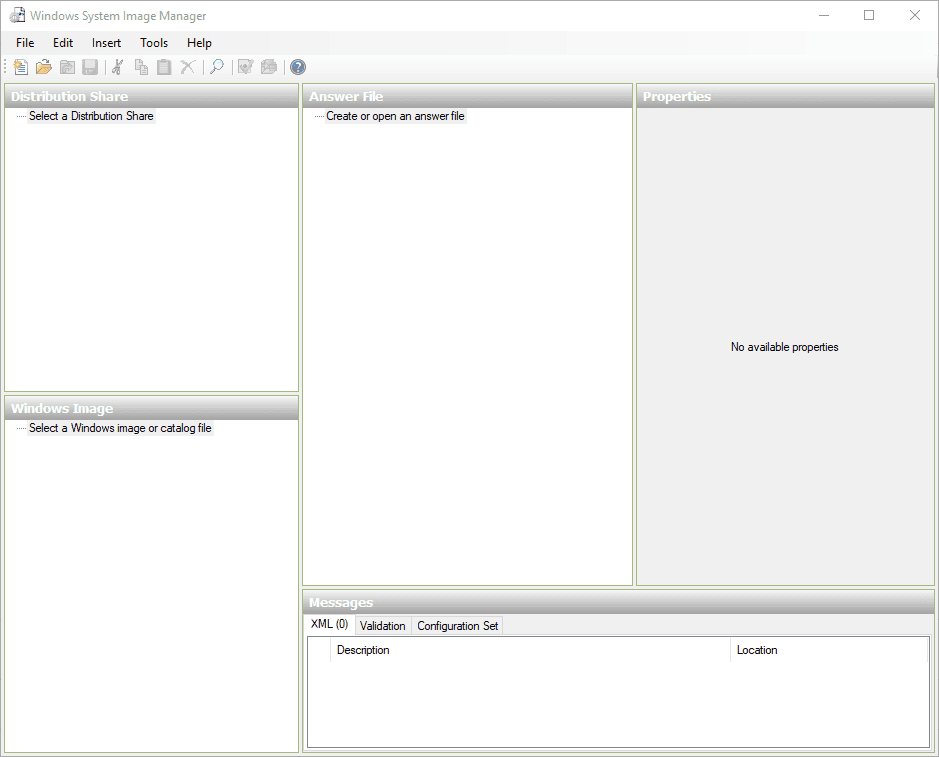
After installation, if you are struggling to find the program shortcut for the Windows ADK and specifically Windows System Image Manager, the program group is found under Windows Kits under the Windows 10 Start Menu. Launch the Windows System Image Manager.
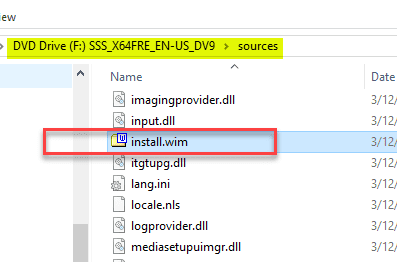
Before creating an answer file for a particular unattended installation of Windows Server 2019, you need to download the Windows Server 2019 media. After downloading the media, copy the install.wim file from the media to a writeable folder on your workstation. We will use the install.wim file to create the catalog file which is required for creating a new answer file. The catalog file is created after all the files are scanned from the .wim file.
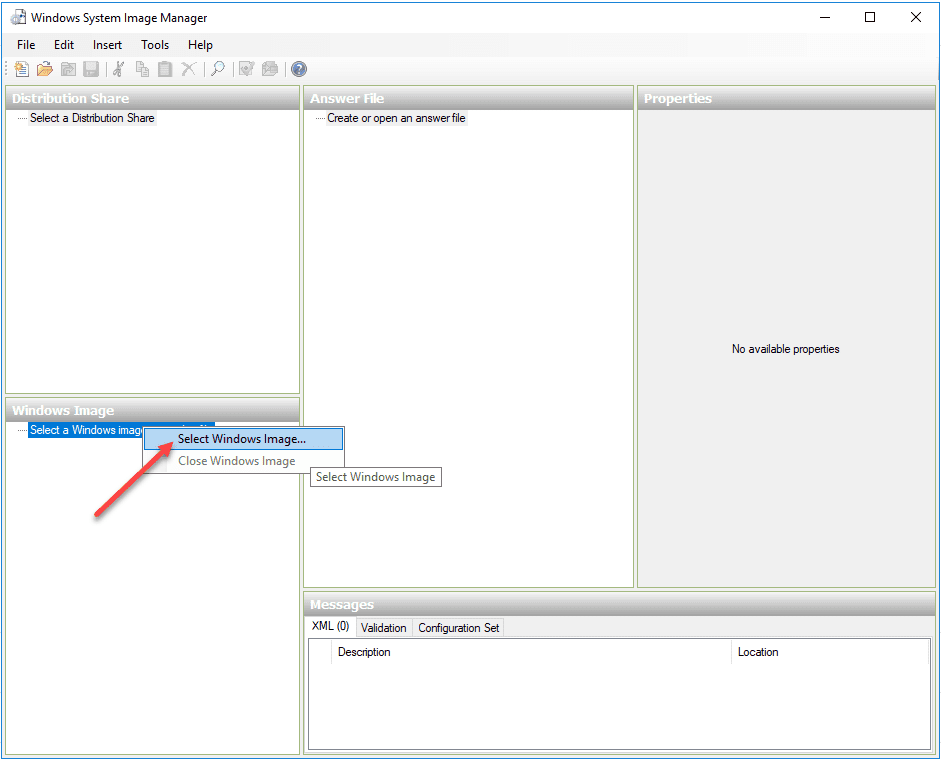
After you have copied the Windows Image from the media to the location you want to work with it, you right click the Select a Windows image and choose Select Windows Image to browse to the image file.
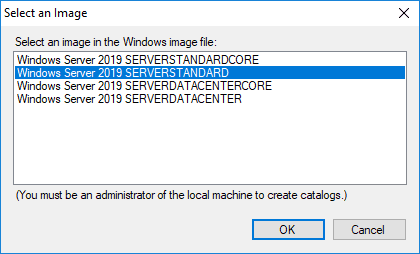
As you know the installation media has the images for the various versions of Windows Server including Standard, Datacenter, and Core. Here I am choosing the Server Standard image.
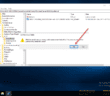
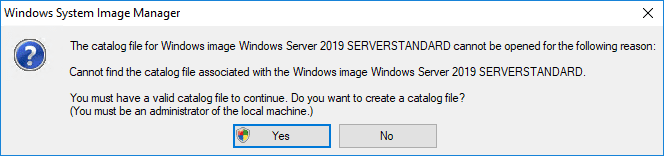
Once you choose an image, a catalog file will need to be created to work with the image and create the Answer File. You will see the message displayed about creating a catalog file for the Image. Click Yes.
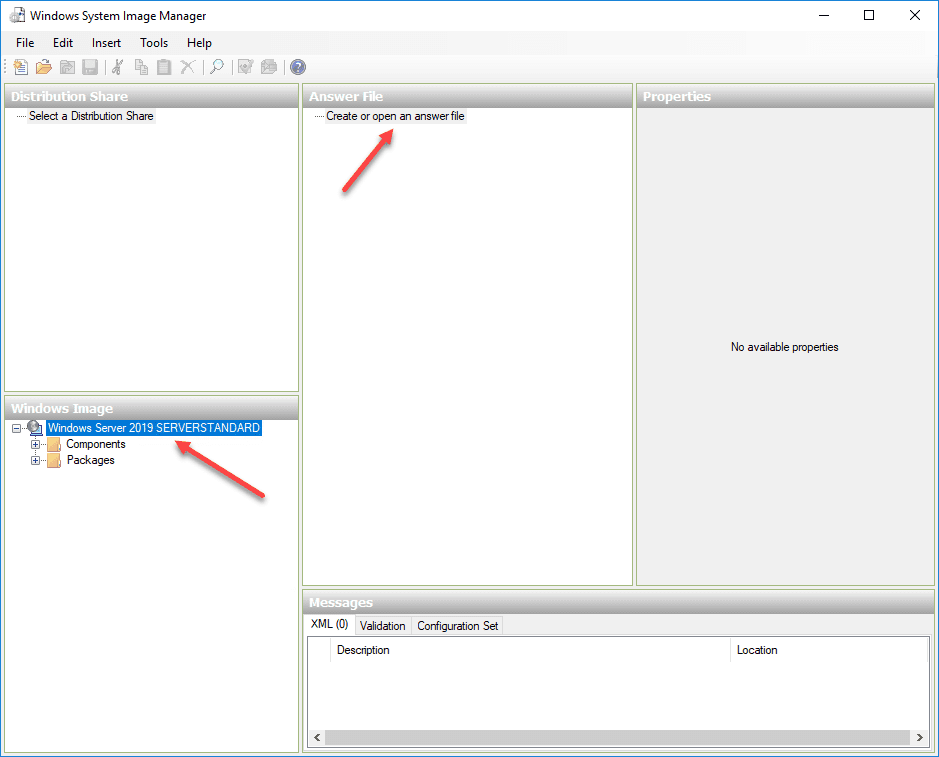
Once the Image is mounted and the catalog file is created, right click the Create or open an answer file to create a new Answer file.
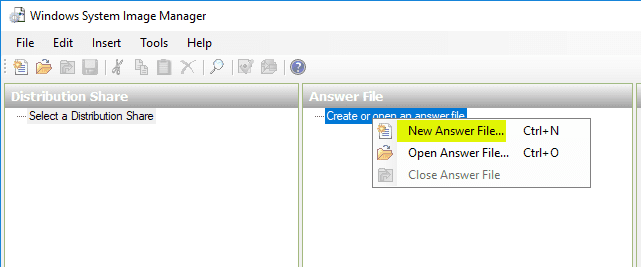
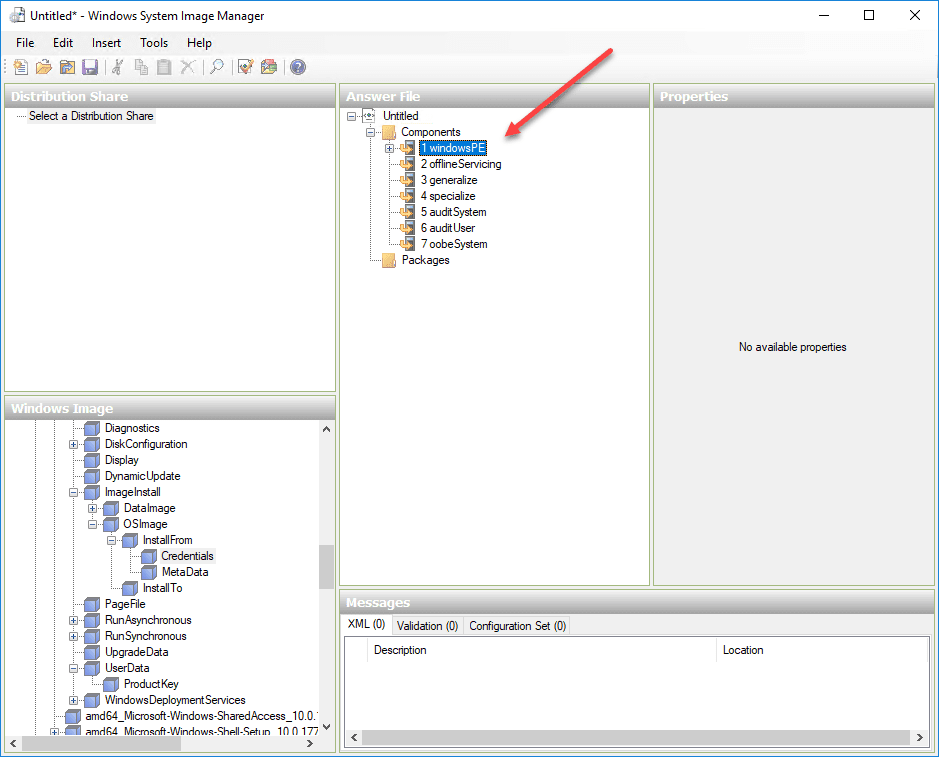
Select to create New Answer File.
As shown the Answer File is created with the (7) components for customization listed for the various configuration passes.
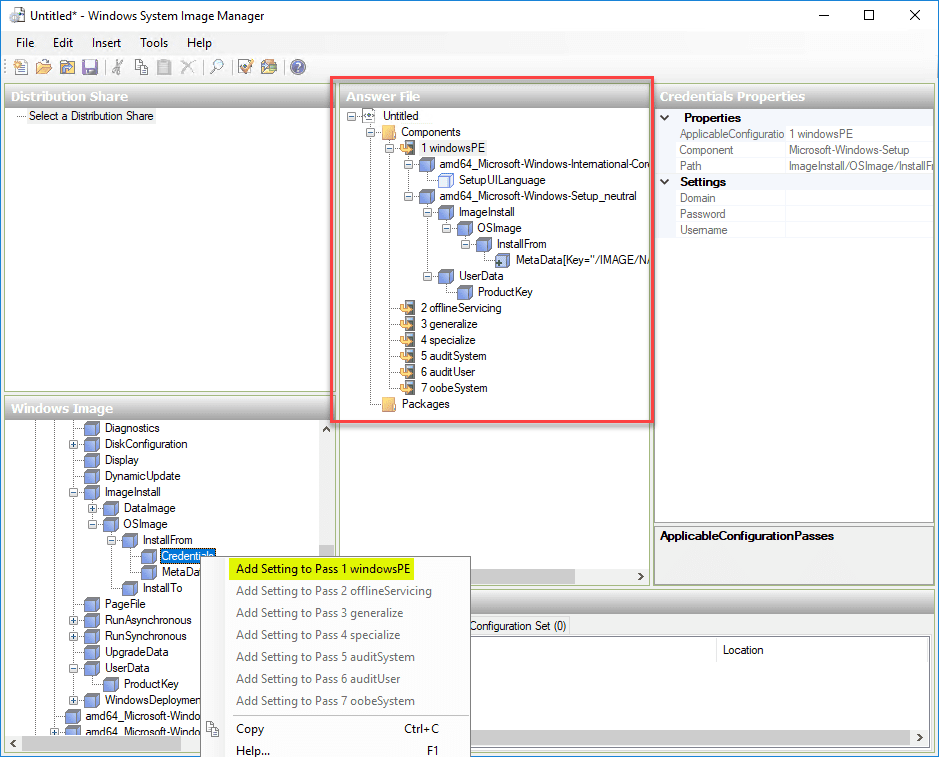
To add custom configuration, right-click the various components and under the Windows Image and Add Settings to Pass for adding the configuration you want to be passed along in the Answer File.
After adding your configuration to the various passes and components. Simply select File > Save Answer File to save the file to disk so you can use it with your Packer build.
Below is an example unattend answer file for Windows Server 2019 created for use with Packer.
<?xml version="1.0" encoding="utf-8"?>
<unattend xmlns="urn:schemas-microsoft-com:unattend">
    <settings pass="windowsPE">
        <component name="Microsoft-Windows-International-Core-WinPE" processorArchitecture="amd64" publicKeyToken="31bf3856ad364e35" language="neutral" versionScope="nonSxS" xmlns:wcm="http://schemas.microsoft.com/WMIConfig/2002/State" xmlns:xsi="http://www.w3.org/2001/XMLSchema-instance">
            <SetupUILanguage>
                <UILanguage>en-US</UILanguage>
            </SetupUILanguage>
            <InputLocale>en-US</InputLocale>
            <SystemLocale>en-US</SystemLocale>
            <UILanguage>en-US</UILanguage>
            <UserLocale>en-US</UserLocale>
        </component>
        <component name="Microsoft-Windows-Setup" processorArchitecture="amd64" publicKeyToken="31bf3856ad364e35" language="neutral" versionScope="nonSxS" xmlns:wcm="http://schemas.microsoft.com/WMIConfig/2002/State" xmlns:xsi="http://www.w3.org/2001/XMLSchema-instance">
            <DiskConfiguration>
                <Disk wcm:action="add">
                    <CreatePartitions>
                        <CreatePartition wcm:action="add">
                            <Order>1</Order>
                            <Size>250</Size>
                            <Type>Primary</Type>
                        </CreatePartition>
                        <CreatePartition wcm:action="add">
                            <Order>2</Order>
                            <Extend>true</Extend>
                            <Type>Primary</Type>
                        </CreatePartition>
                    </CreatePartitions>
                    <ModifyPartitions>
                        <ModifyPartition wcm:action="add">
                            <Order>1</Order>
                            <PartitionID>1</PartitionID>
                            <Format>NTFS</Format>
                            <Label>Boot</Label>
                            <Active>true</Active>
                        </ModifyPartition>
                        <ModifyPartition wcm:action="add">
                            <Order>2</Order>
                            <PartitionID>2</PartitionID>
                            <Format>NTFS</Format>
                            <Label>System</Label>
                        </ModifyPartition>
                    </ModifyPartitions>
                    <DiskID>0</DiskID>
                    <WillWipeDisk>true</WillWipeDisk>
                </Disk>
            </DiskConfiguration>
            <ImageInstall>
                <OSImage>
                    <InstallFrom>
                        <MetaData wcm:action="add">
                            <Key>/IMAGE/NAME</Key>
                            <Value>Windows Server 2019 SERVERSTANDARD</Value>
                        </MetaData>
                    </InstallFrom>
                    <InstallTo>
                        <DiskID>0</DiskID>
                        <PartitionID>2</PartitionID>
                    </InstallTo>
                    <WillShowUI>OnError</WillShowUI>
                    <InstallToAvailablePartition>false</InstallToAvailablePartition>
                </OSImage>
            </ImageInstall>
            <UserData>
                <AcceptEula>true</AcceptEula>
				<ProductKey>
                  <Key>11111-22222-33333-44444-55555</Key>
                  <WillShowUI>Never</WillShowUI>
               </ProductKey>
            </UserData>
        </component>
    </settings>
    <settings pass="specialize">
        <component name="Microsoft-Windows-Shell-Setup" processorArchitecture="amd64" publicKeyToken="31bf3856ad364e35" language="neutral" versionScope="nonSxS" xmlns:wcm="http://schemas.microsoft.com/WMIConfig/2002/State" xmlns:xsi="http://www.w3.org/2001/XMLSchema-instance">
            <TimeZone>Central Standard Time</TimeZone>
        </component>
        <component name="Microsoft-Windows-Deployment" processorArchitecture="amd64" publicKeyToken="31bf3856ad364e35" language="neutral" versionScope="nonSxS" xmlns:wcm="http://schemas.microsoft.com/WMIConfig/2002/State" xmlns:xsi="http://www.w3.org/2001/XMLSchema-instance">
            <RunSynchronous>
                <RunSynchronousCommand wcm:action="add">
                    <Path>a:vmtools.cmd</Path>
                    <Order>1</Order>
                    <WillReboot>Always</WillReboot>
                </RunSynchronousCommand>
            </RunSynchronous>
        </component>
    </settings>
    <settings pass="oobeSystem">
        <component name="Microsoft-Windows-Shell-Setup" processorArchitecture="amd64" publicKeyToken="31bf3856ad364e35" language="neutral" versionScope="nonSxS" xmlns:wcm="http://schemas.microsoft.com/WMIConfig/2002/State" xmlns:xsi="http://www.w3.org/2001/XMLSchema-instance">
            <AutoLogon>
                <Password>
                    <Value>"your password"</Value>
                    <PlainText>true</PlainText>
                </Password>
                <LogonCount>2</LogonCount>
                <Username>Administrator</Username>
                <Enabled>true</Enabled>
            </AutoLogon>
            <FirstLogonCommands>
                <SynchronousCommand wcm:action="add">
                    <Order>1</Order>
                    <!-- Enable WinRM service -->
                    <CommandLine>powershell -ExecutionPolicy Bypass -File a:configureVM.ps1</CommandLine>
                    <RequiresUserInput>true</RequiresUserInput>
                </SynchronousCommand>
            </FirstLogonCommands>
            <UserAccounts>
                <AdministratorPassword>
                    <Value>"your password"</Value>
                    <PlainText>true</PlainText>
                </AdministratorPassword>
            </UserAccounts>
        </component>
    </settings>
    <cpi:offlineImage cpi:source="wim:c:/users/administrator/desktop/win2019/install.wim#Windows Server 2019 SERVERSTANDARD" xmlns:cpi="urn:schemas-microsoft-com:cpi" />
</unattend>
Windows Server 2019 Automated Answer File Resources
You can find just about anything you want to find with answer files and customized files that others have created. Below are a few of the really good resources I have used for creating unattend answer files either in Github resources or blog posts.
- https://github.com/dteslya/win-iac-lab
- https://dteslya.engineer/automation/2018-12-20-creating_vm_templates_with_packer/
- https://sheska.com/how-to-create-an-automated-install-for-windows-server-2019/
Wrapping Up
The process to Create Unattend Answer File for Windows Server 2019 Automated Packer Installation using the Windows System Image Manager is extremely easy and effective. It takes all the heavy lifting out of the process. I have found it easier to create a file from scratch than trying to hack others files if the customization contains a great deal of customized entries. Generally, it is easy to run into syntax errors and other problems trying to paste in code. Windows System Image Manager helps with this. Unattended installations are a great way to start delving into automation and build process that lend themselves to automating your provisioning process. Stay tuned for more Packer goodness coming soon.
Google is updating how articles are shown. Don’t miss our leading home lab and tech content, written by humans, by setting Virtualization Howto as a preferred source.
About The Author