


There is a critical missing piece to most DR strategies in Proxmox. We all think first about backing up virtual machines and LXC containers that are running workloads and housing data. This is definitely necessary and is arguably the most important component of a DR plan. However, there is another missing piece that you find usually and that is protecting the actual Proxmox VE Servers themselves. I have noticed this has gained more and more recognition as a critical component thankfully. More tools are including this. ProxMenux is one that I have used for quite some time and if you didn’t realize it can not perform Proxmox VE Server host configuration backups now. Let’s take a look at how these are configured and how good it actually is.
The Proxmox backup gap is the host itself
I have tried to evangelize this as much as possible. The Proxmox server itself is often a backup gap that many don’t think about. It is not unique to Proxmox though. Coming from the VMware ESXi world as well. Most vSphere admins don’t think about backing up the configuration on their ESXi servers.
Most have good coverage in backing up their guest workloads like VMs and LXCs, and Docker managed volumes and Proxmox has great features out of the box related to this. But the physical host is different and apart from this. Let me tell you, a lot of config normally exists on a Proxmox host that you would hate to lose, especially on the cluster and networking side of things.
Unless you are using Proxmox SDN with a centralized management plane for your networking, most use traditional Linux bridges with their Proxmox installations. You might have quite a bit of time invested in your network configuration there to not want to lose this configuration, even by itself, let alone the other configuration on the host.
So the Proxmox recovery layers should include your PVE host:
- The Proxmox host, including its operating configuration and installed components
- The VMs and LXC containers running on the host
ProxMenux host backup and restore functionality
ProxMenux is a solution I have written about quite a few times and it is a solution that I definitely utilize in my home lab environment. It provides really good functionality across the board. But, a less known feature that it has built in as of more recent releases is the Host Backup & Restore functionality.
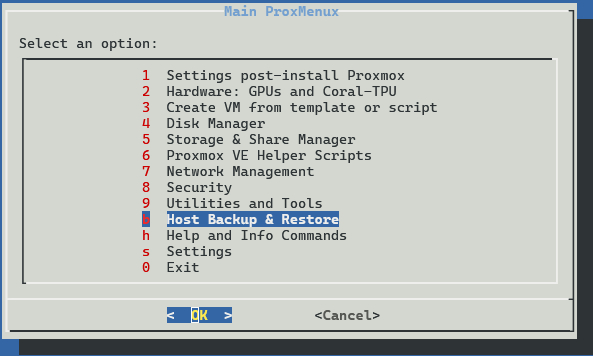
With this functionality built-in, ProxMenux targets the first layer of data protection that protects your physical host if disaster strikes. Outside of scheduling, it also has the really cool feature that allows you to target Proxmox Backup Server (PBS) which I think is a great addition. I have seen several tools that backup the configuration, but you have to store it either locally or in some type of file share. It is great to have all of your protected files and DR resources in the same location with PBS.
It also allows you to restore the backup to a clean Proxmox installation. You apply the configuration to your new installation of Proxmox. So you are restoring “settings” and not an “image” of the Proxmox server which is actually safer to do, especially with a cluster.
Components that ProxMenux puts in PVE host backup
So what are the components that are part of the ProxMenux backup? Well, it includes three important parts of the overall host configuration:
- Filesystem data
- Structured manifest
- Application inventory
Below is what each of these components includes:
| Backup component | What it includes | Why it matters |
|---|---|---|
| Filesystem | Needed files from /etc, /root, /etc/systemd/network, /var/lib/pve-cluster, and optional custom paths | Restores networking, scripts, and other host settings |
| Proxmox cluster database | SQLite snapshot of the database behind pmxcfs | Preserves /etc/pve correctly instead of treating it like a normal directory |
| Manifest | Hardware, networking, kernel parameters, ZFS, storage, users, and cron entries | Looks at differences between the original and replacement host |
| Application inventory | Manually installed APT packages and ProxMenux components with their versions | Helps reinstall the software required to reproduce the original host |
So, as you can see from the above components that are included and how they are actually backed up, this is MUCH safer than simply laying down some type of image on a clean server. So your recovery is a proper reconstruction of the needed data for the PVE host to be restored back to a useable state.
Before testing out the backup using ProxMenux
So just to level set, before I tell you to go out and use this to back up your “production” home lab hosts with this tool and trust it, I wanted to test on a scenario myself. So my configuration is this:
- (3) nested Proxmox VE Server hosts that are configured
- These have the latest updates for the most part and are all on version 9.2.20
- These are clustered hosts
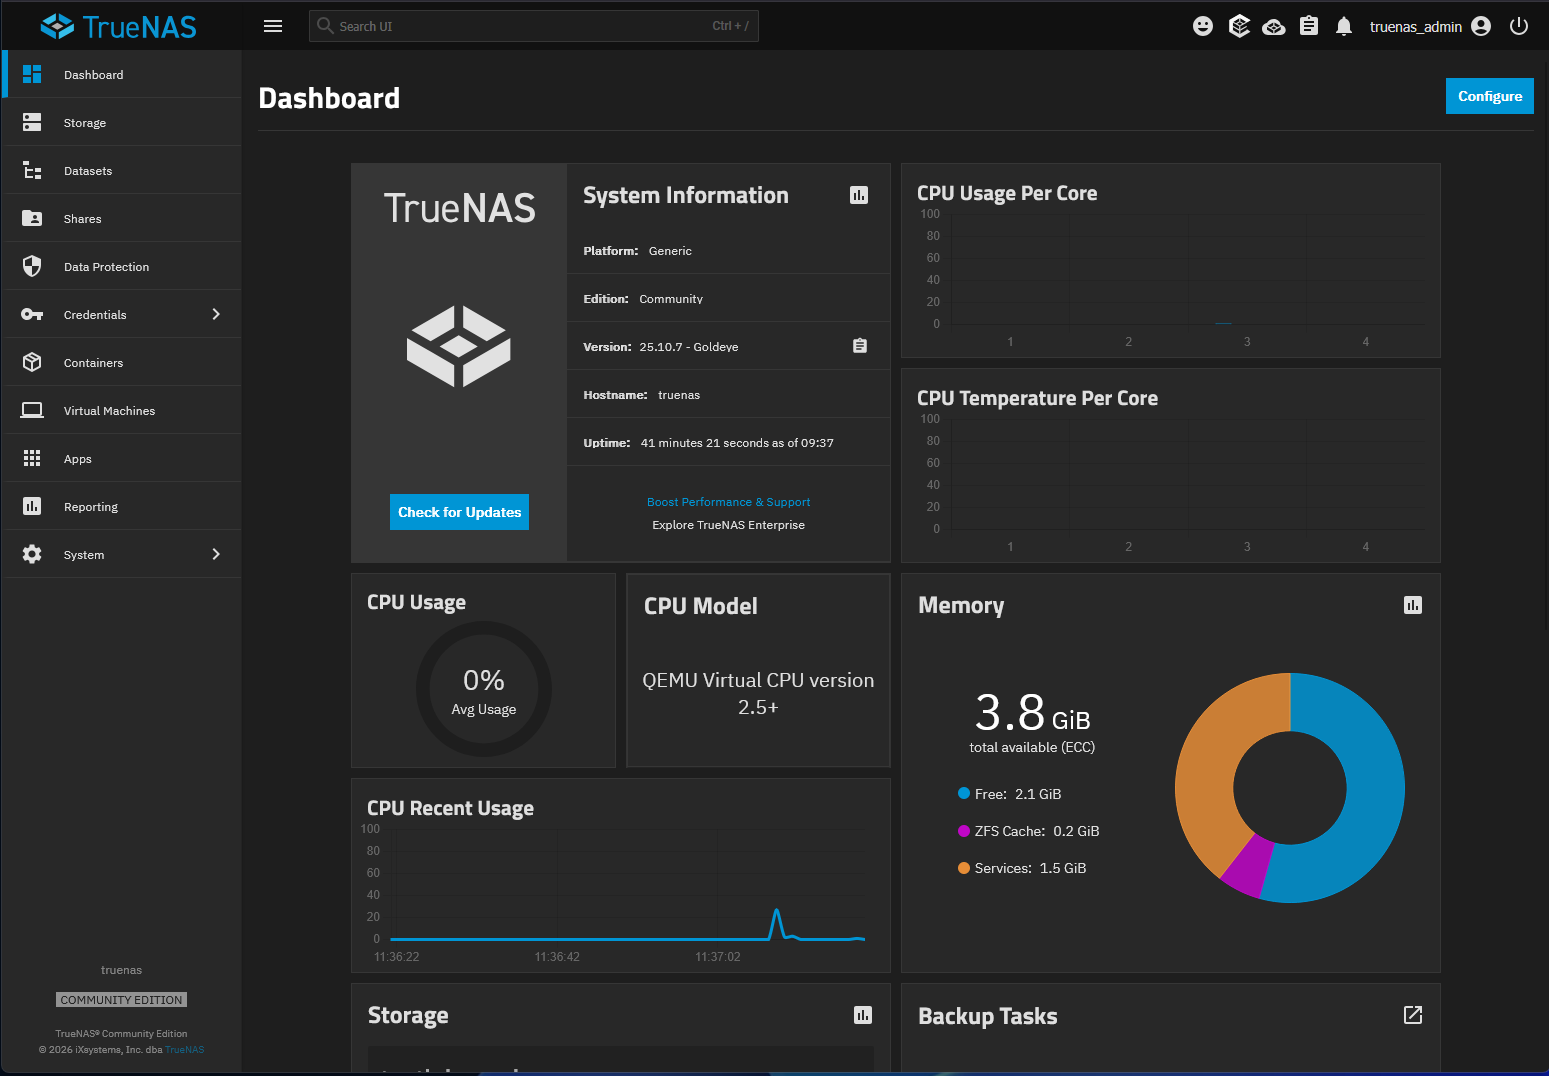
- Shared storage targeting a nested TrueNAS server
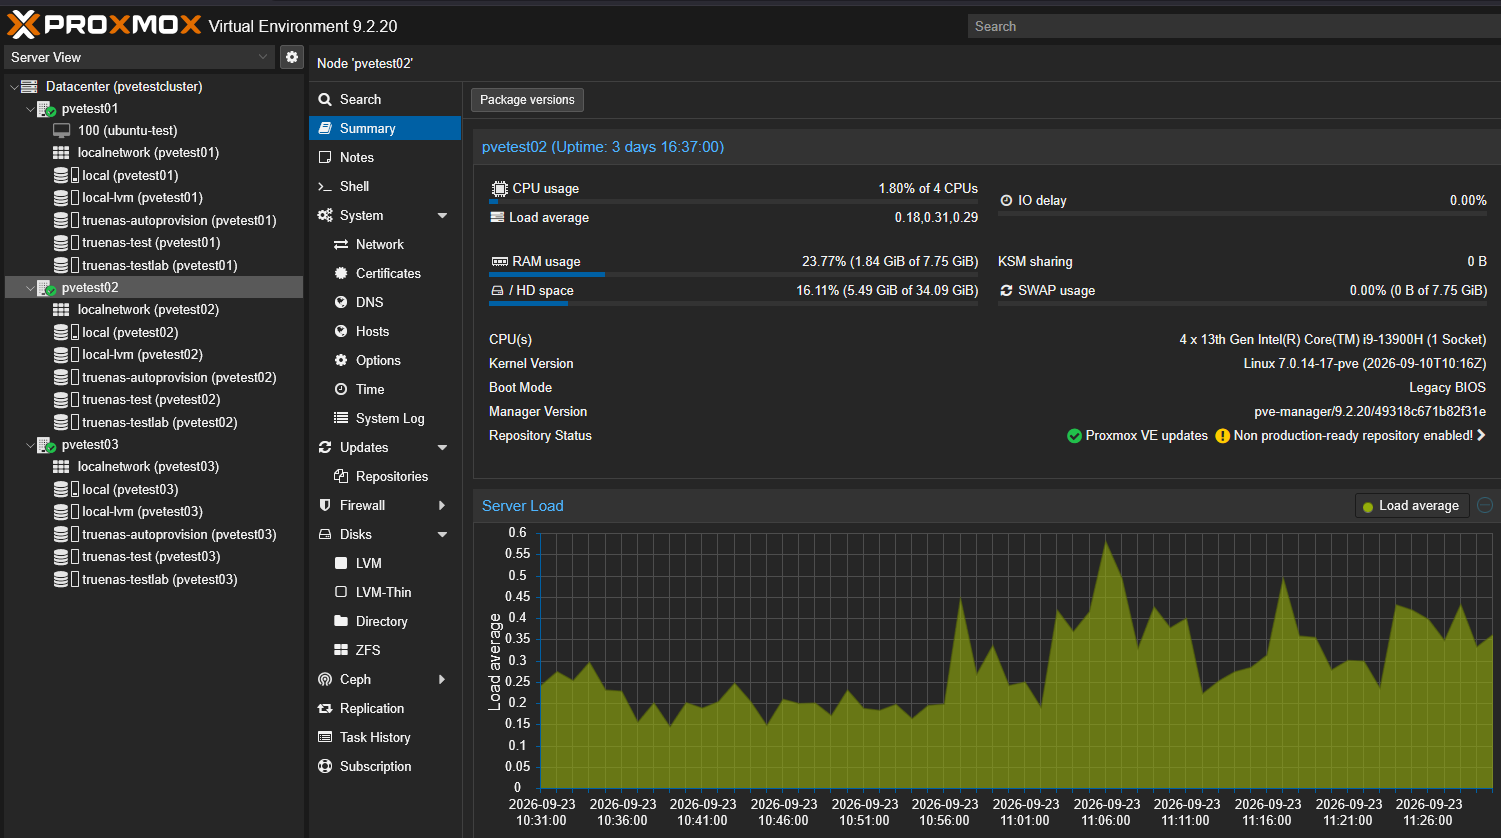
If you have read my recent blog post where I tested out the TrueNAS plugin, this is the cluster that I used in that testing. I figured this would be “worst case” since the hosts need the TrueNAS plugin installed and have the existing storage configuration.
So, I wanted to test to see if the ProxMenux host backup could successfully restore one of my nodes in this test cluster properly, if I simply bring in a clean Proxmox VE server and restore the configuration.
Adding Proxmox Backup Server as a destination
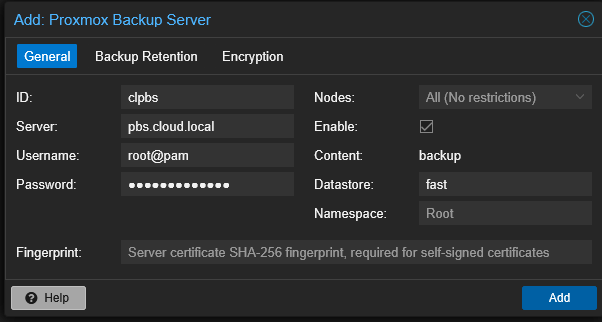
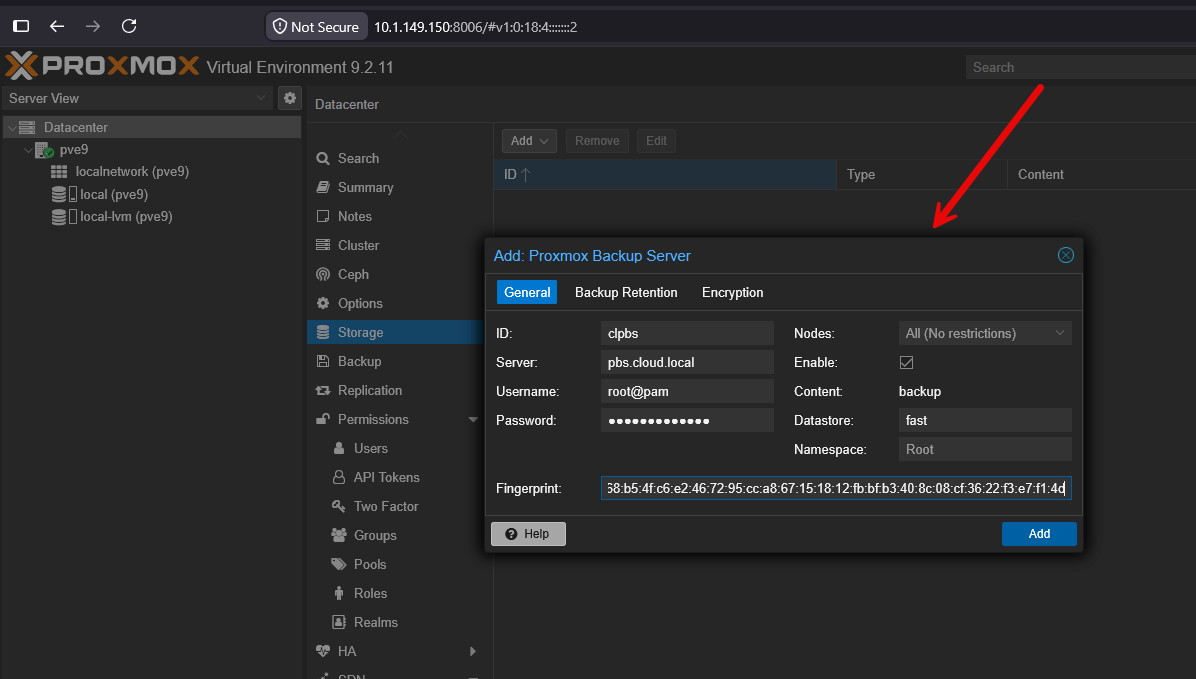
One of the first things that I did before testing out this backup and restore functionality is add my PBS storage to my Proxmox VE Cluster as backup storage. This way, I could have that storage available and ready to use as a target of the ProxMenux backup that I would take.
Preparing to test backup and restore using ProxMenux
Since these are nested instances of Proxmox VE Server, this makes the process to create a valid rollback extremely easy using snapshots. So, what I did was create a snapshot on all three hosts “before-wiping-out-pvetest01-9-23-2026“. This way I have a valid snap of the cluster hosts before monkeying with pvetest01.
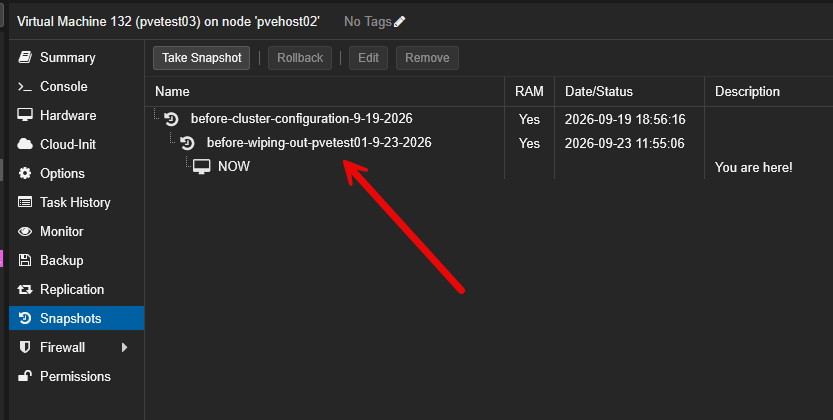
This is one of the reasons I love nested virtualization for learning, especially when you are doing things like this as it makes setting up these types of labs extremely easy. You can “rinse and repeat” if you want to by rolling back to a previous snapshot.
Installing ProxMenux and creating your Proxmox host backup
The first obvious thing that you need to do is install ProxMenux. I am not going to show all the screenshot details in this post as I have covered this in one of my previous posts on ProxMenux. Check out that post here: ProxMenux Might Be the Best Proxmox Management Tool You’re Not Using.
As just a quick “up and running” command though, you can get it installed with the following command ran from your Proxmox VE Server command line:
bash -c "$(wget -qLO - https://raw.githubusercontent.com/MacRimi/ProxMenux/main/install_proxmenux.sh)"After you install ProxMenux, you can access the Host Backup & Restore functionality from the terminal of the Proxmox VE Server that you installed it on using this navigation path:
menu > Host Backup & Restore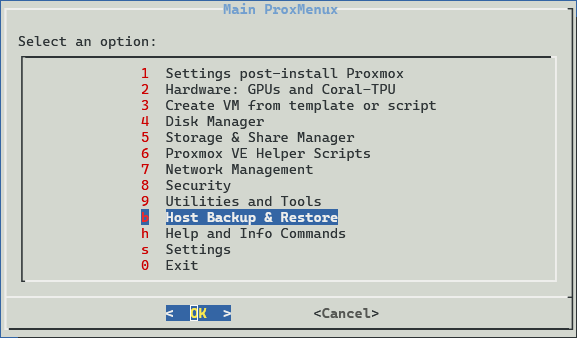
The same backend is available from the Backups tab in ProxMenux Monitor. You can access the default web interface for ProxMenux by navigating to http://<proxmox server IP>:8008. The web interface adds some extra features like live logging, notifications, and a rollback delta view. I think comparing the two, the terminal workflow is best for SSH and unattended operations.
As you can see below, You see the clpbs storage already listed as a destination since I have already added this storage in the Proxmox > Datacenter > Storage configuration.
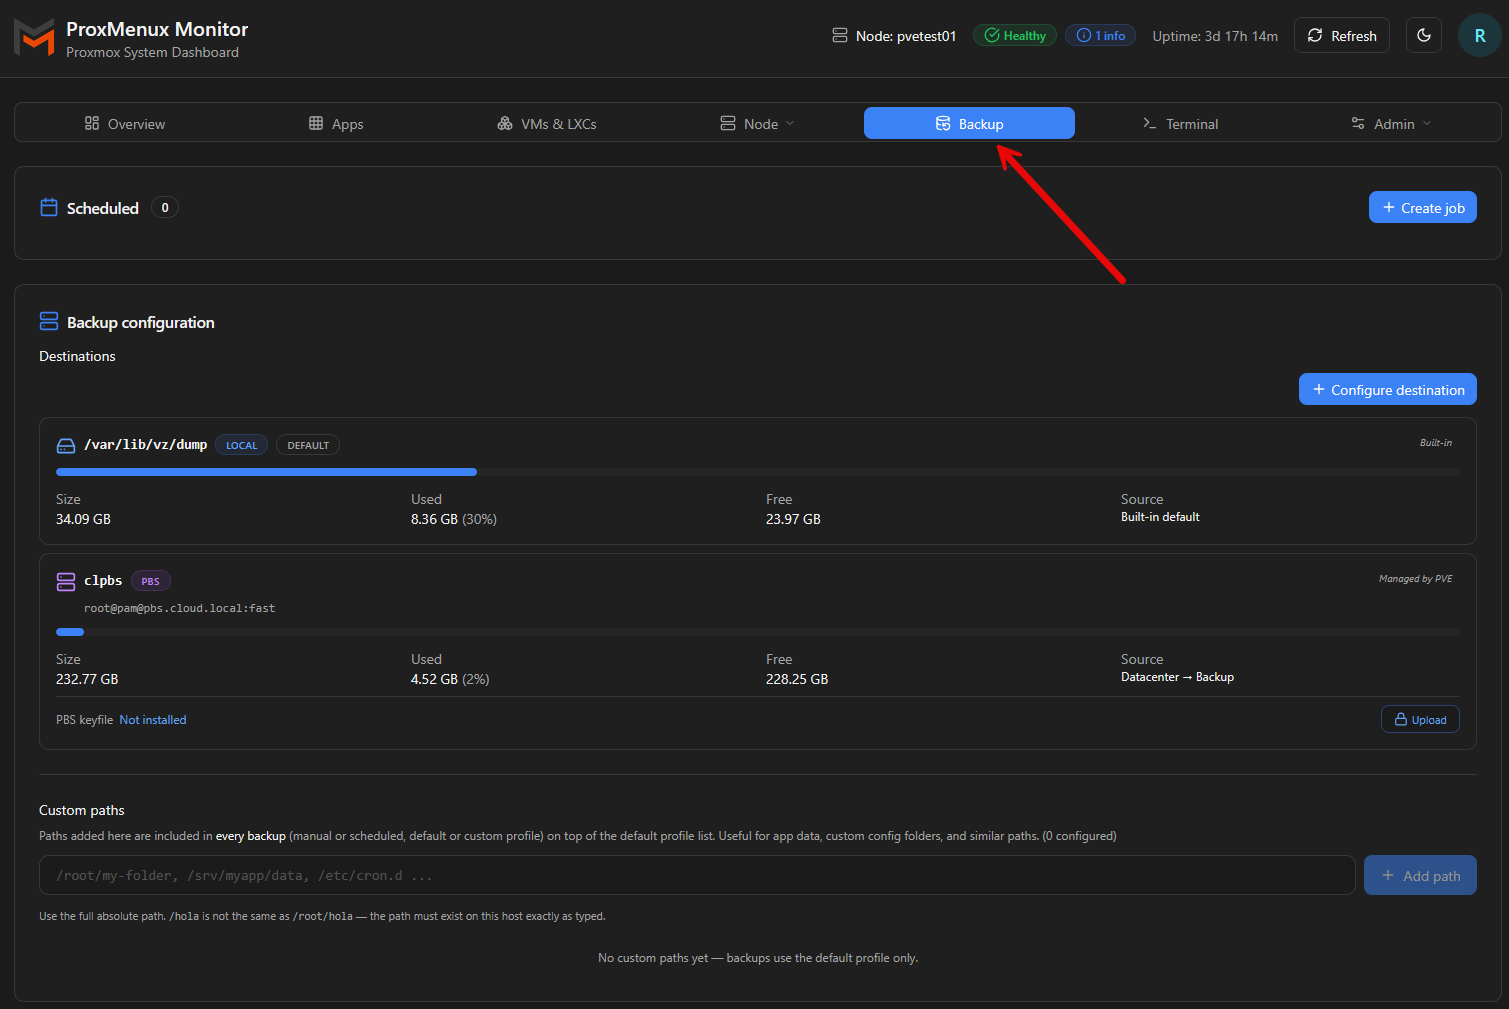
The web interface is definitely the easiest way to manage ProxMenux overall. The only gripe that I have out of the box is that it is configured by default for access over clear text HTTP instead of HTTPS.
Creating a backup of my Proxmox VE Server
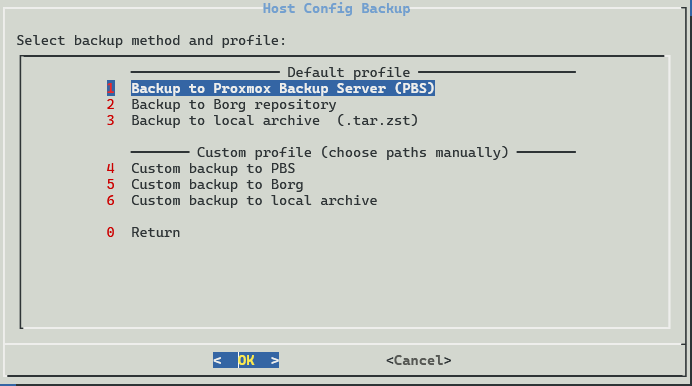
To create the backup I went the route first of using the menu TUI interface with ProxMenux. Choose the Host Backup & Restore option and then you will see this screen below. Choose Backup host configuration.
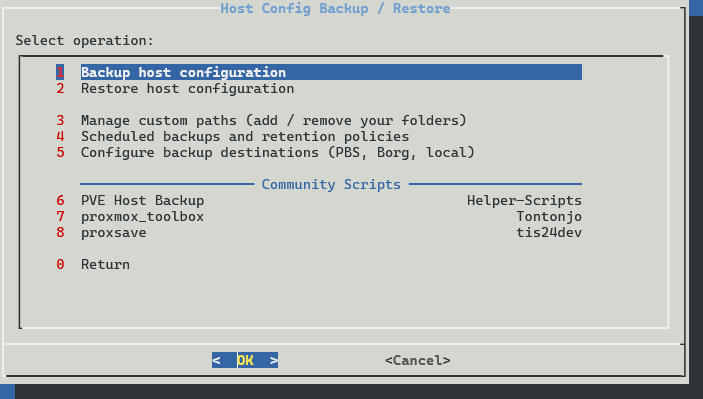
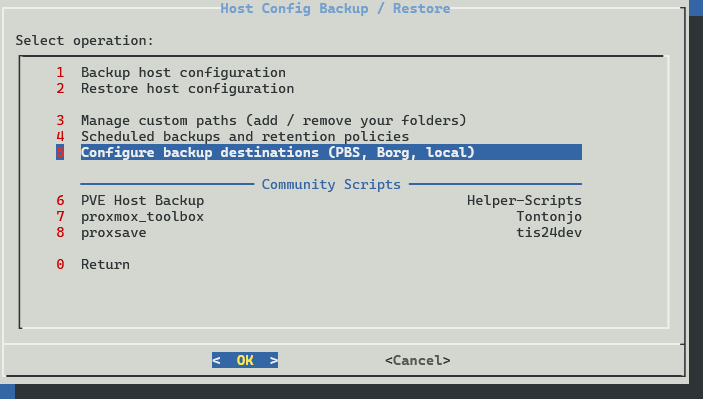
I have already configured the PBS storage as we have seen above. But, you can verify this by choosing the Configure backup destinations (PBS, Borg, local).
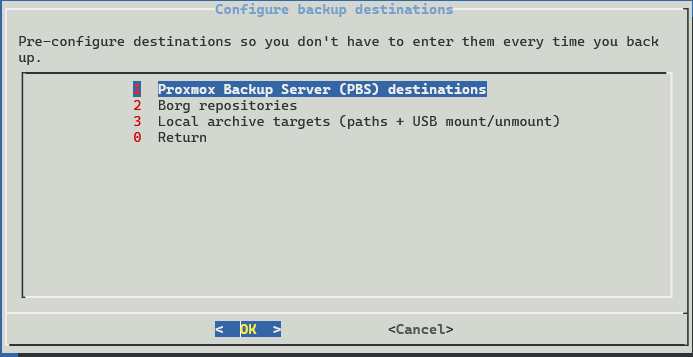
Then choose Proxmox Backup Server (PBS) destinations.
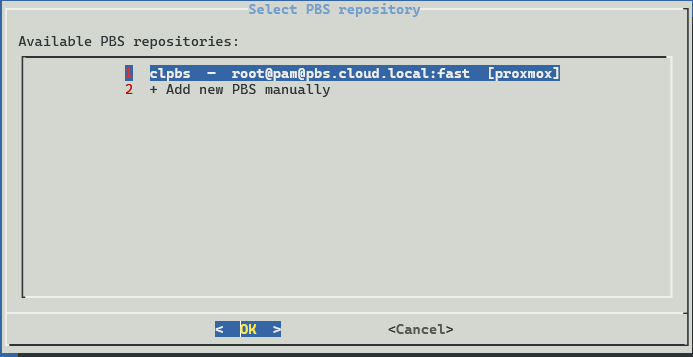
It should show your PBS repository that you have already configured.
So, then I chose Backup to Proxmox Backup Server (PBS).
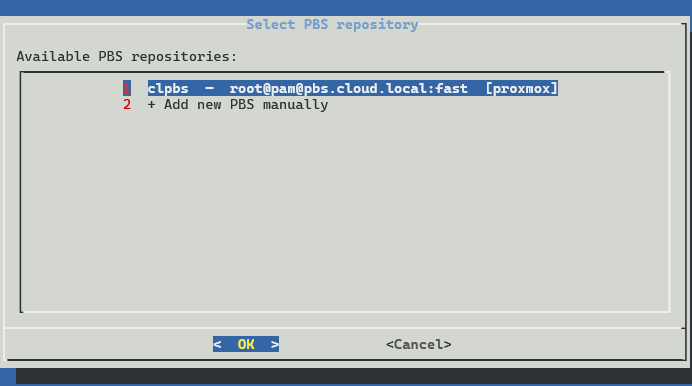
Here you see the PBS connection that was already made.
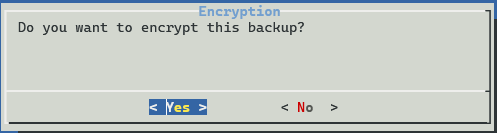
It will ask you if you want to encrypt the backup.
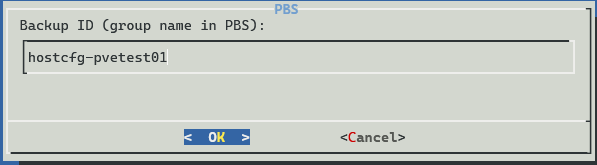
You will set a name for the backup. This was autopopulated for me, so it looks like it uses this convention.
The backup begins.
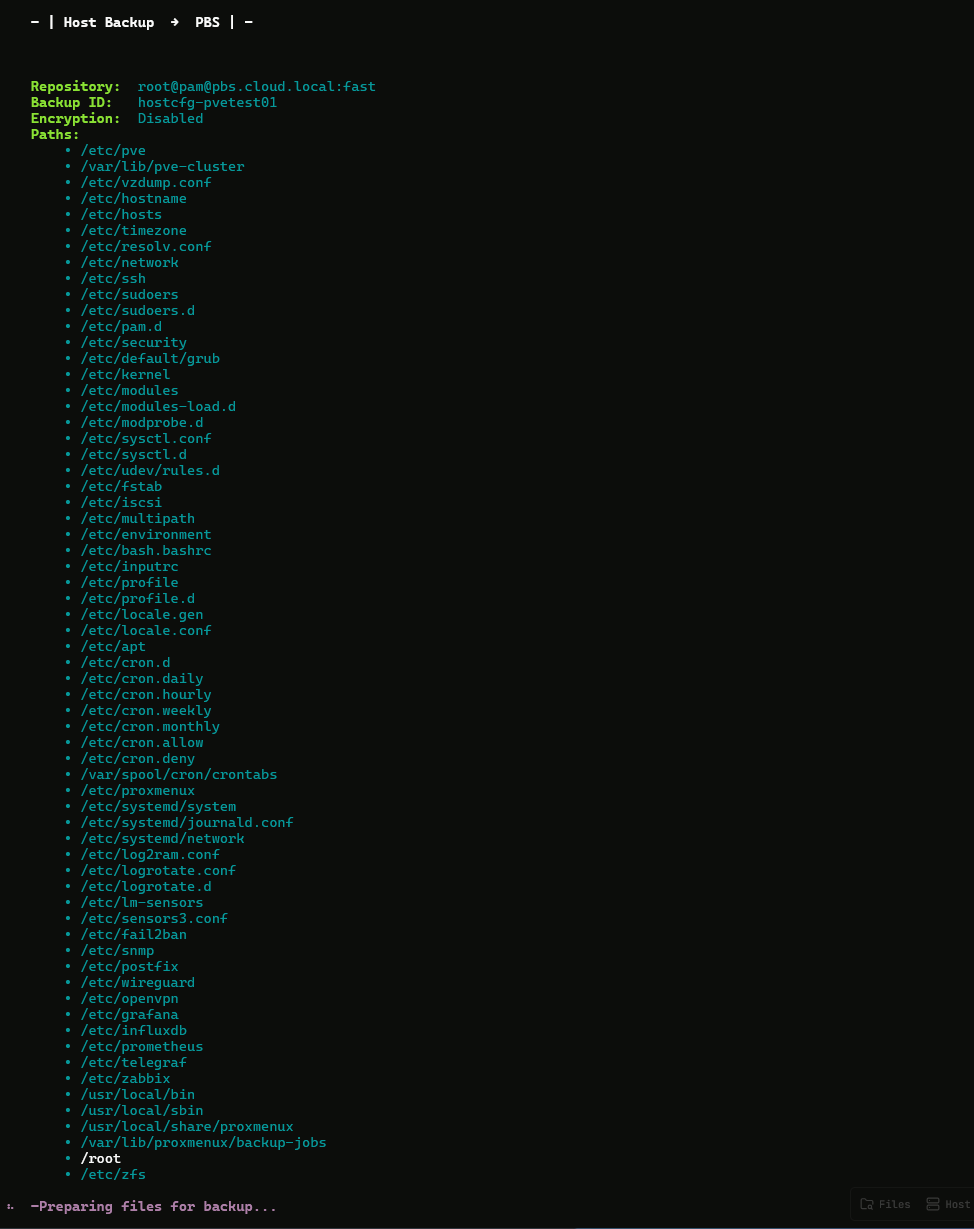
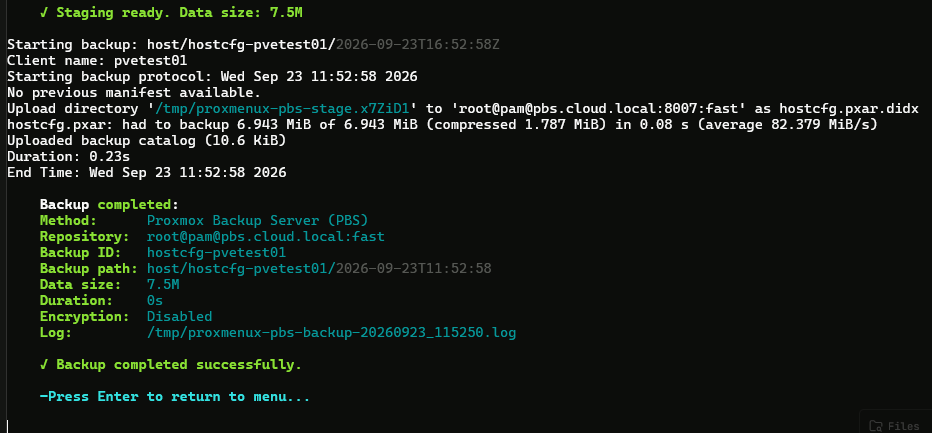
The backup completed successfully.
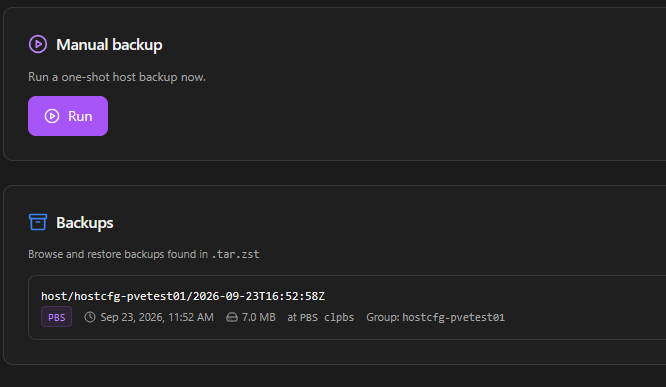
Below, I switched over to the web interface for ProxMenux. After I had created the backup from the TUI, you can see the backup listed in the backups in the web interface.
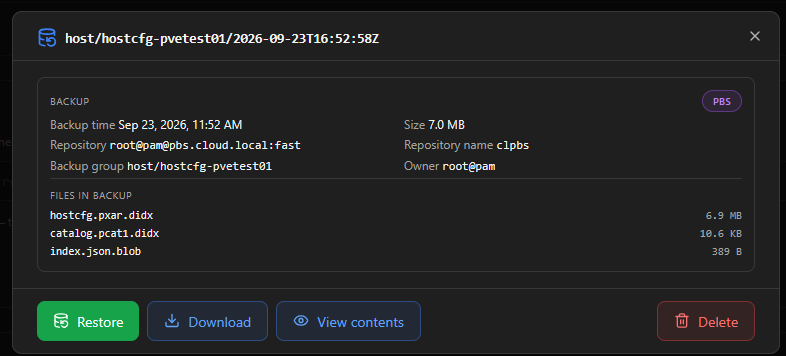
Here, I have clicked on the backup and it shows you the details of the backup. From here you can choose to Restore, Download, or view the contents.
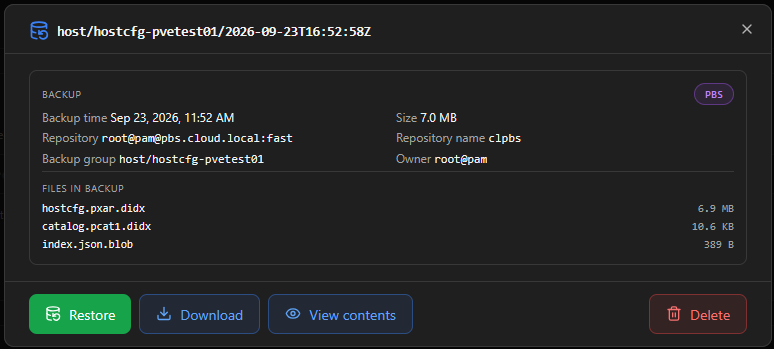
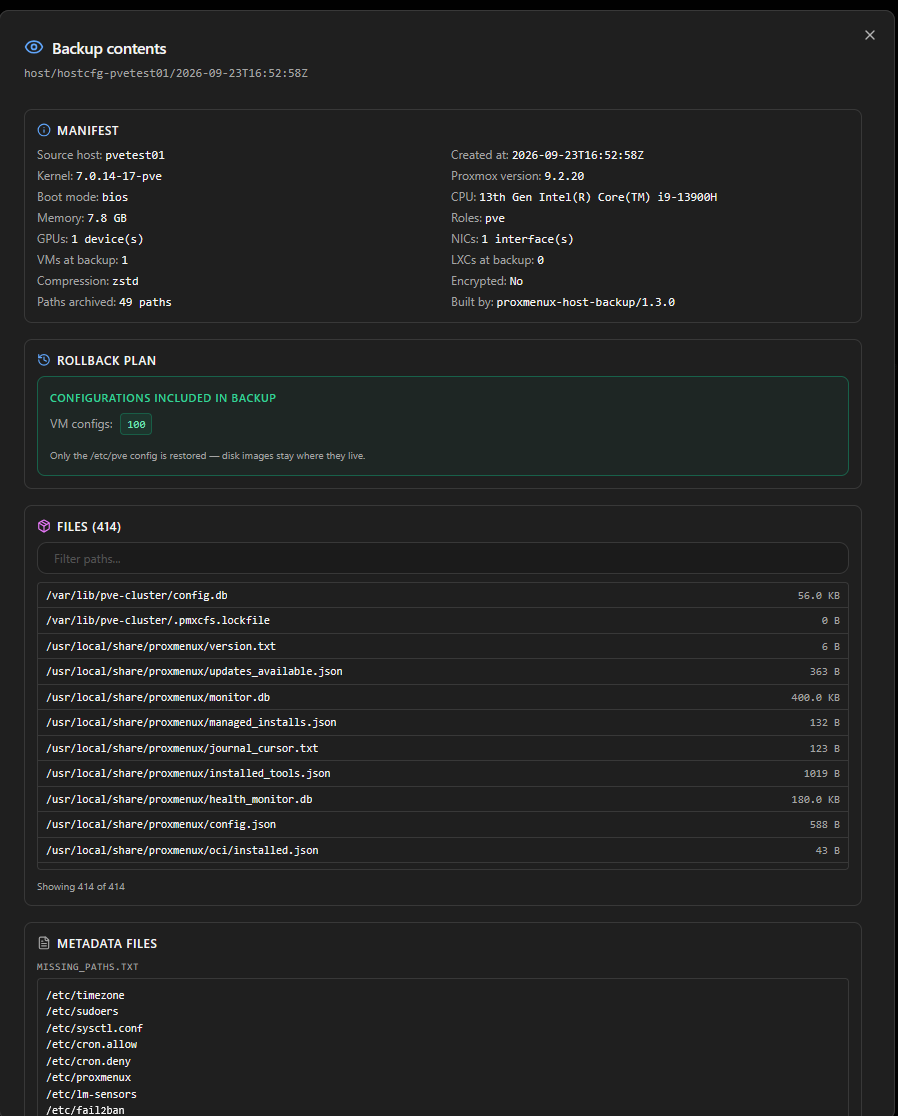
Here I am viewing the contents of the backup.
The clean reinstall was the real test
In my opinion, being able to create a backup is only part of the real test. To fully put this through the paces of what it says it can do, I want to go all the way. So, as mentioned with the idea of creating the snapshot on the three nodes, I wanted to install “over the top of” my previous cluster node configuration.
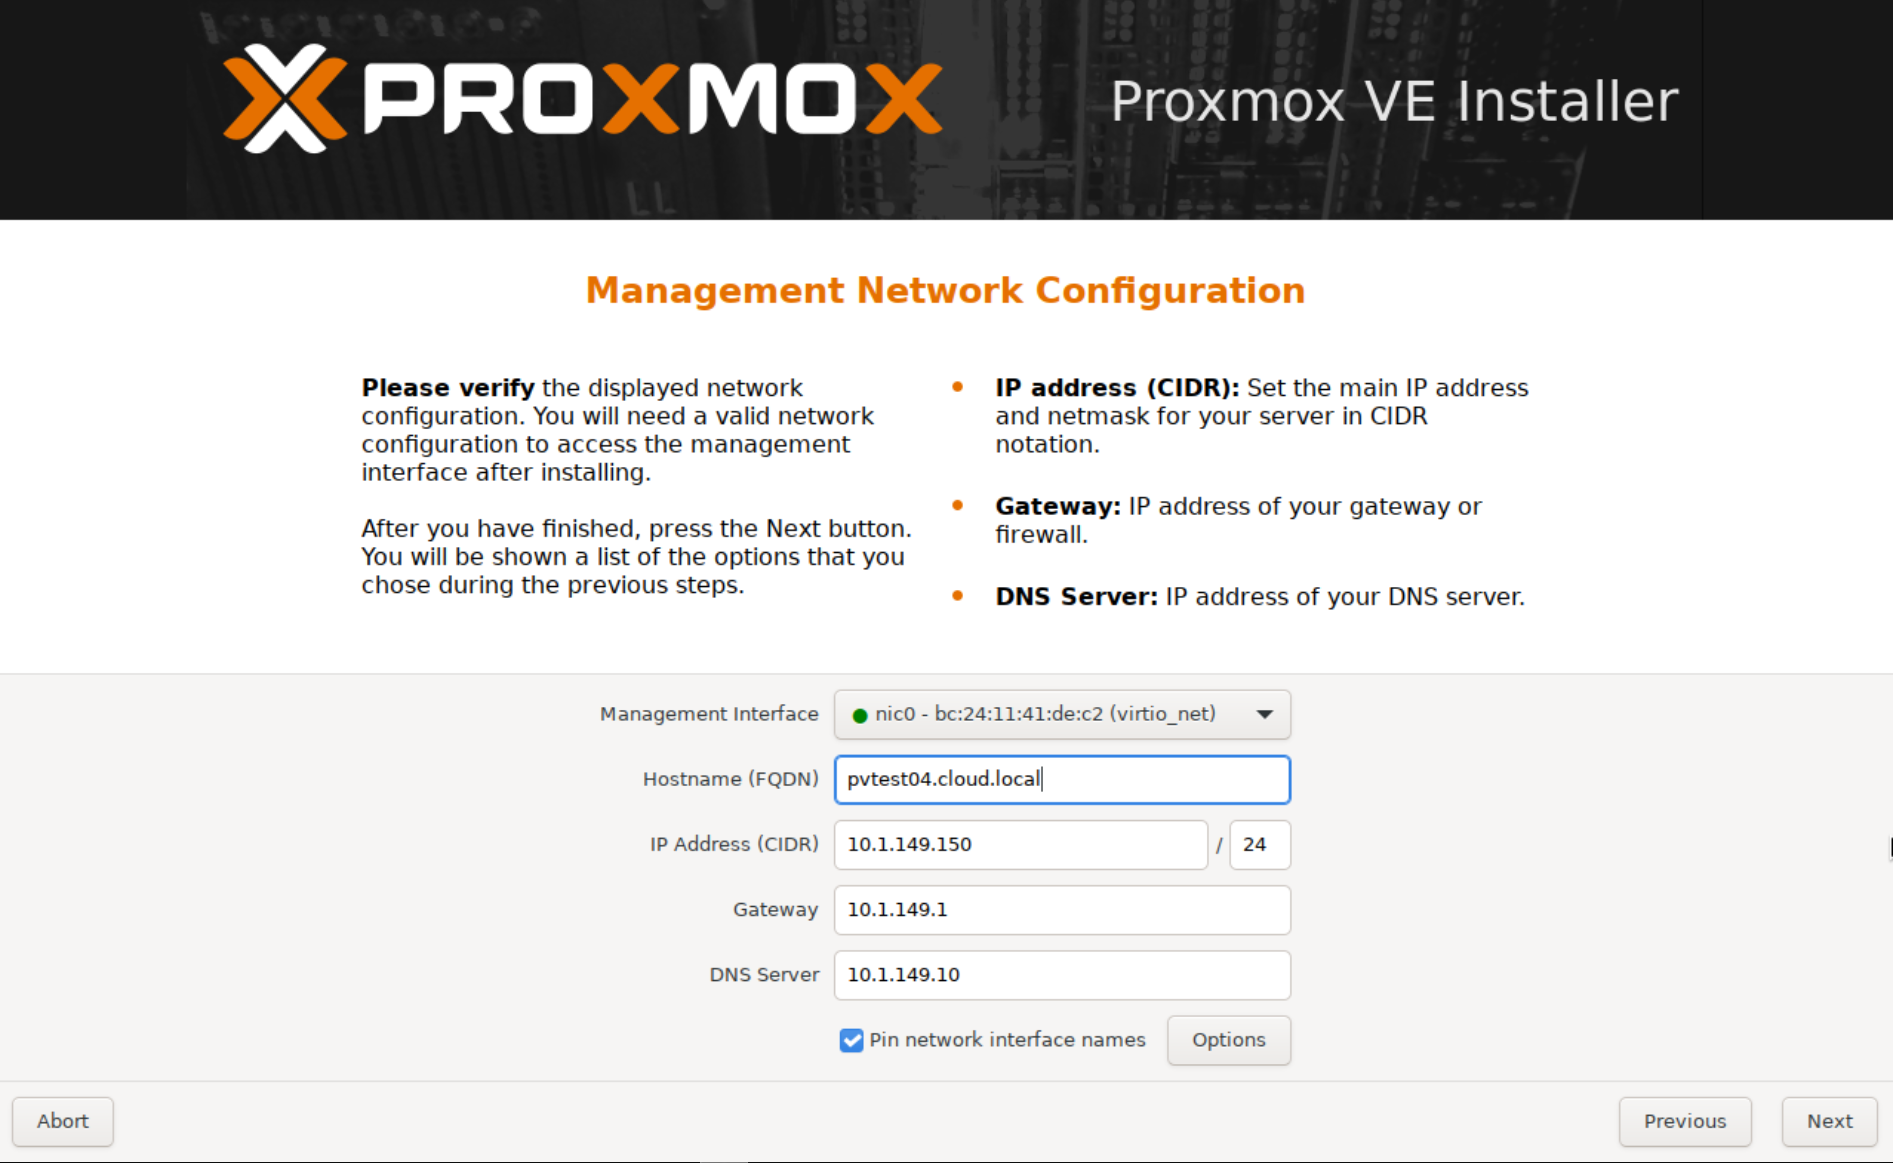
So I booted from the Proxmox 9.1 installation ISO and went through the normal routine of configuring this server like it was brand new. I even chose a different hostname as I wanted to see if this would be reverted as well along with the networking.
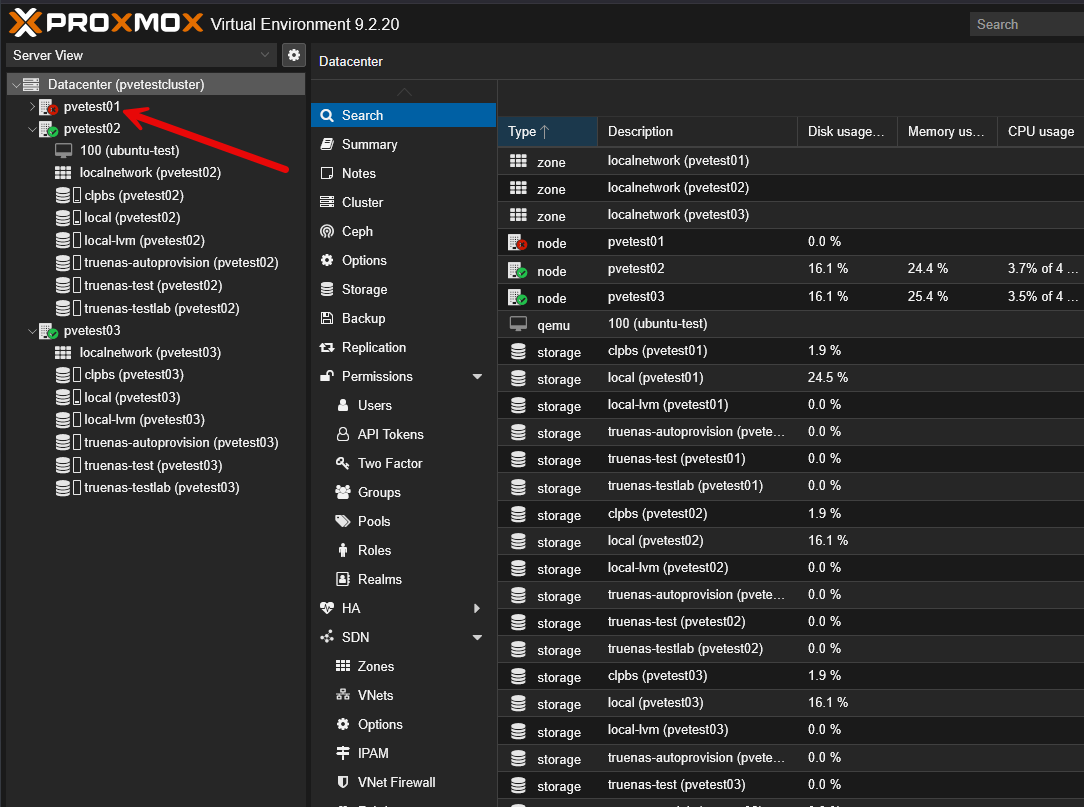
As you can see from logging into the pvetest02 node, pvetest01 is showing as “down” for obvious reasons.
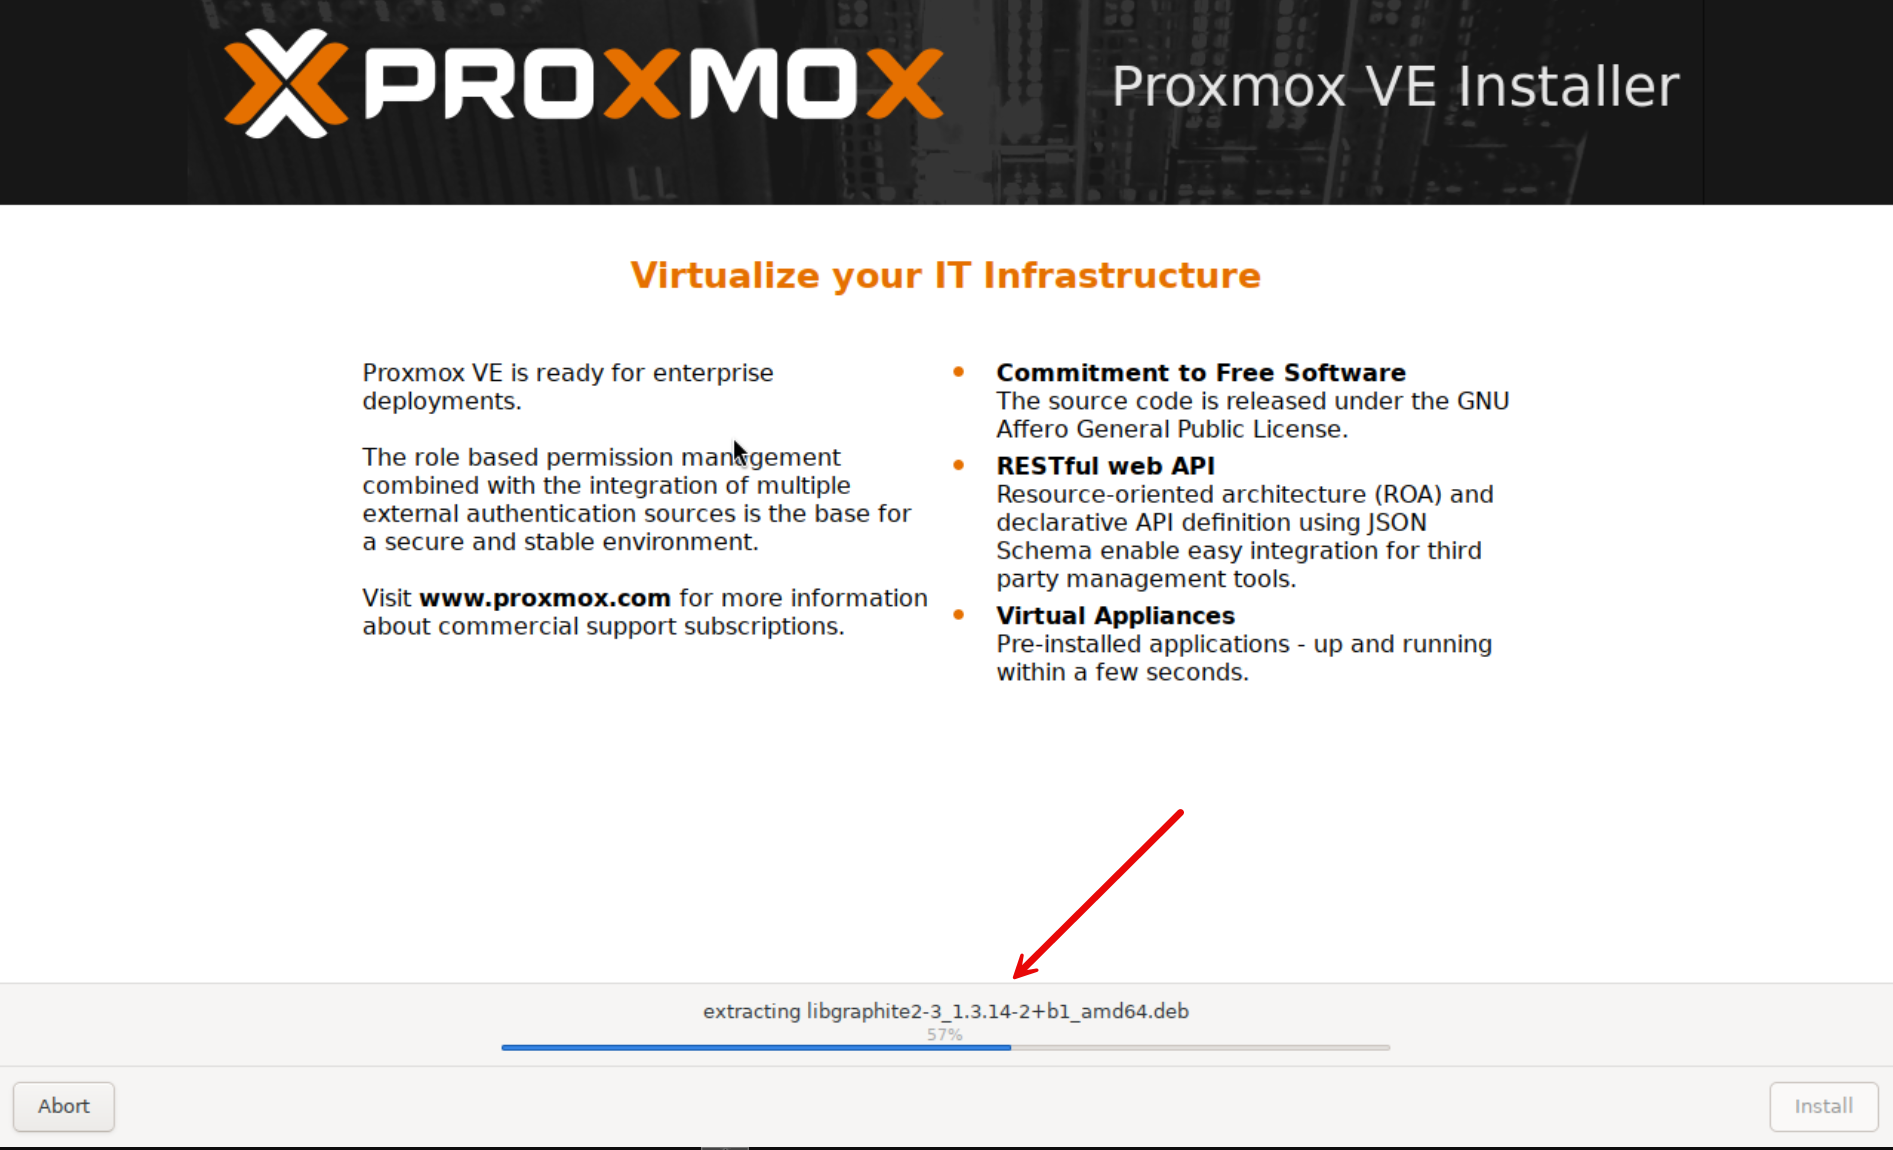
Installing over the existing installation. So this should fully simulate maybe having a catastrophic OS failure on a PVE node and having to put in a disk and wipe it.
Restoring the configuration to the “new” Proxmox node
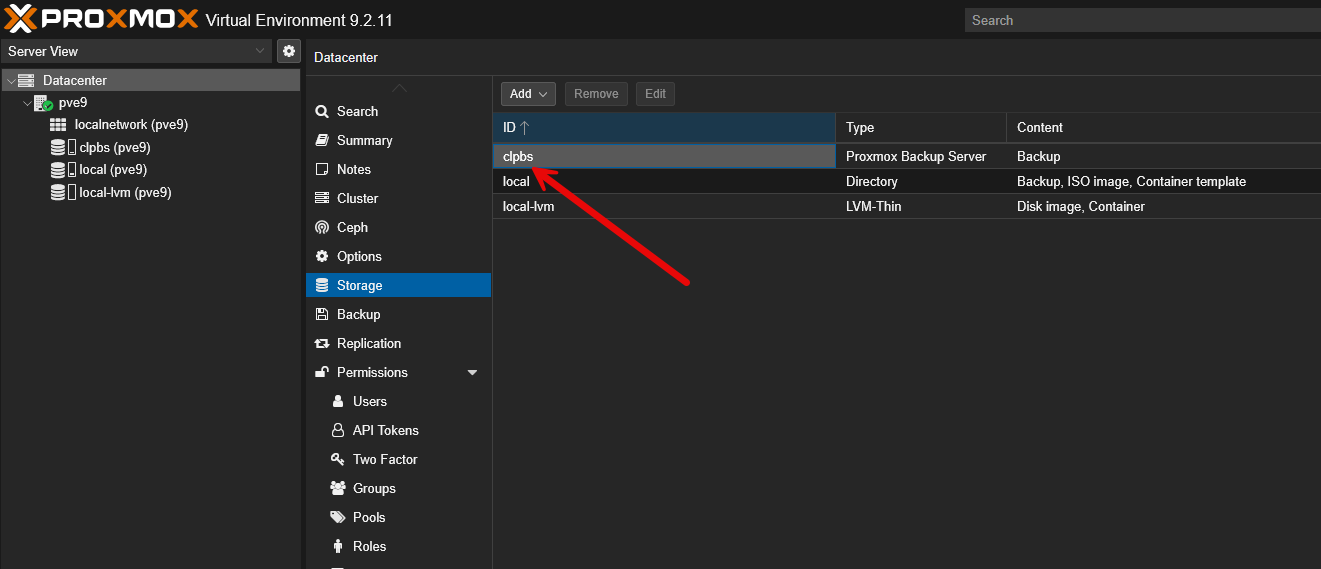
Well, I wish I could say this went without a few hurdles, but will go over how the testing proved out. So, as you saw above, I reloaded the host. Then, my next step was to install ProxMenux. So I did this on the reloaded host first using the installation script. Then what I did next was connect to the local host via the Proxmox web UI and added the PBS storage.
Proxmox Backup Server storage successfully added.
After adding the storage, I navigated to the ProxMenux web interface to use this for the restore.
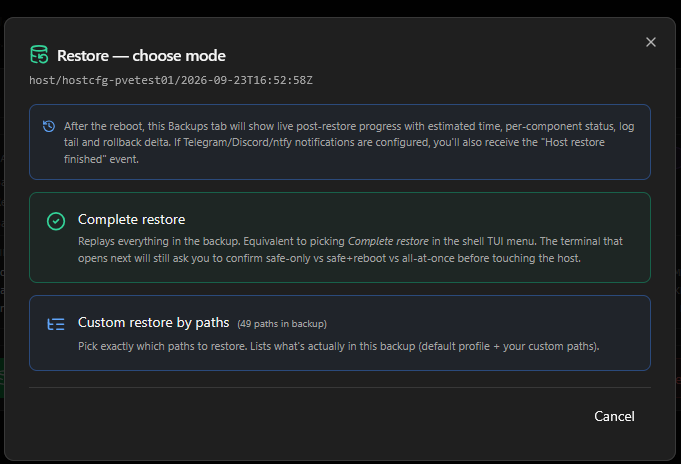
It has you choose the mode of the restore. You can choose a full restore or a custom restore where you can granularly pick the files you want.
This launches the restore terminal where it restores files in what it calls “safe paths” that it can do live. Then there are restore locations that it has to do on the next boot. Click Yes here to proceed.
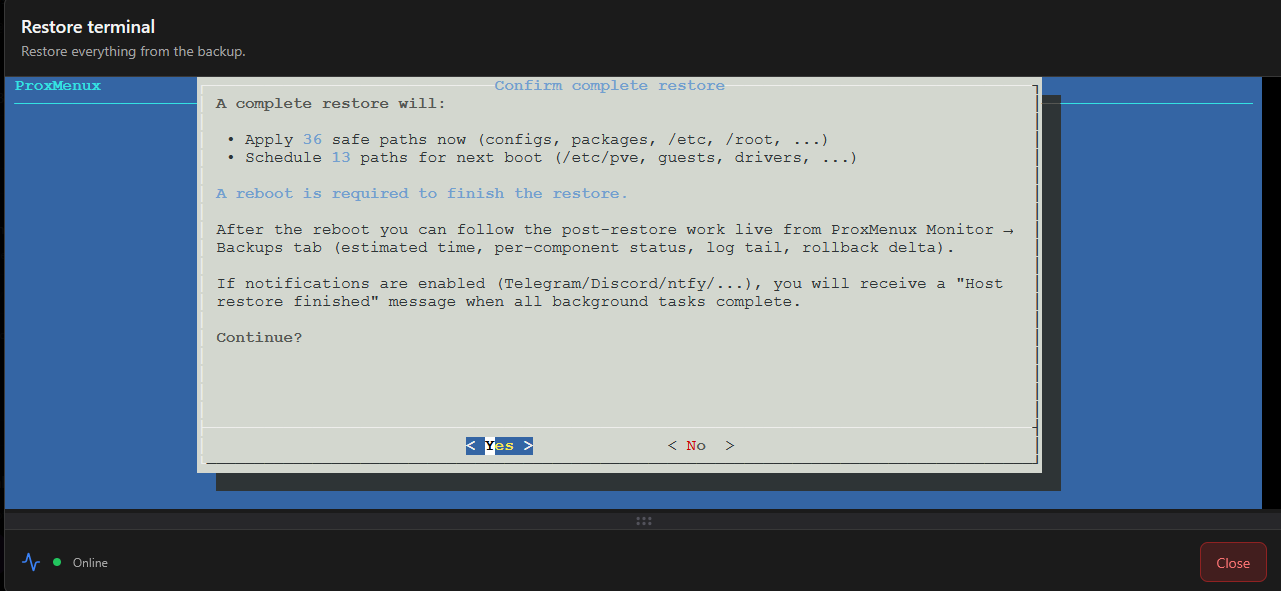
It begins applying the safe path files.
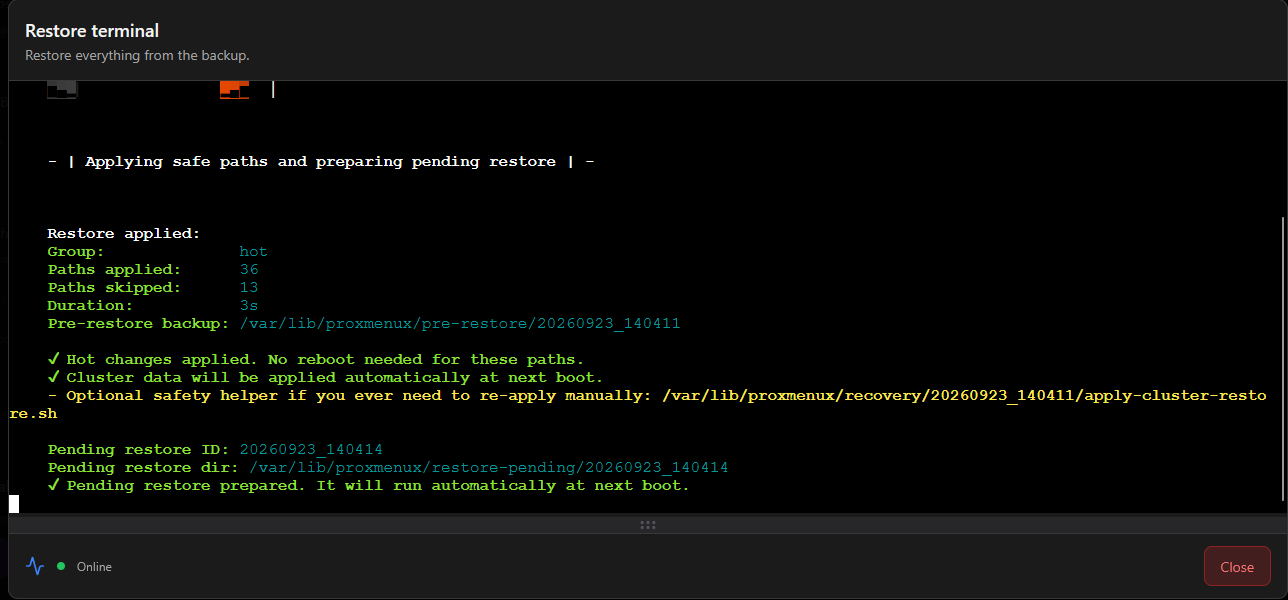
It then prompts for a reboot to finish out applying the rest of the files during boot.
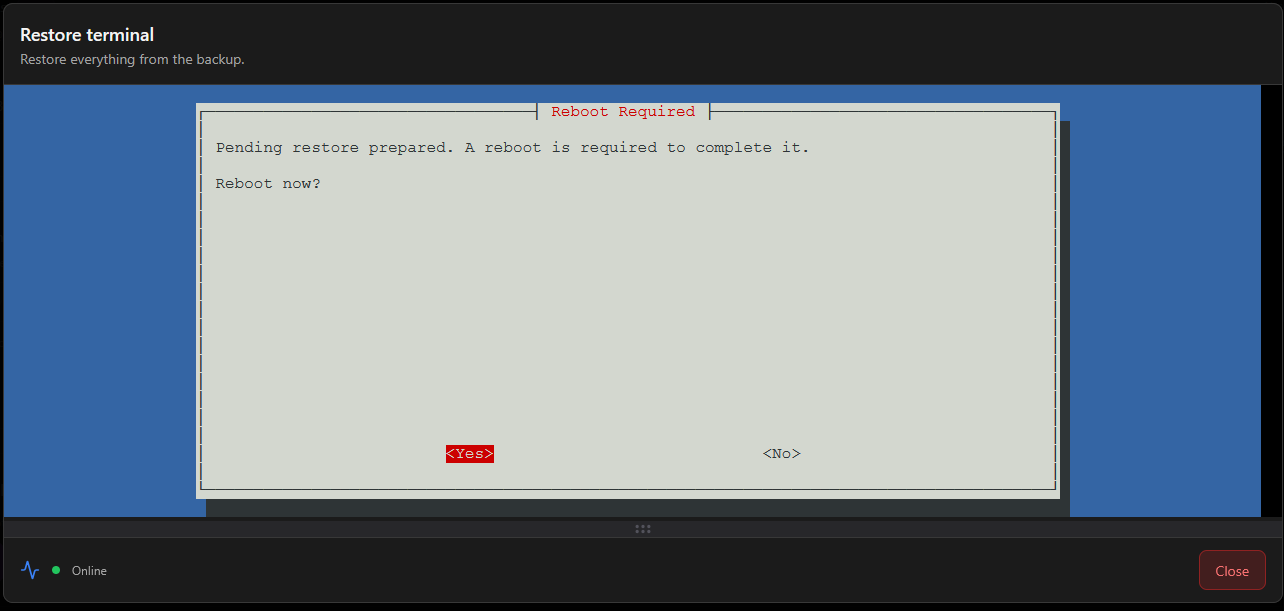
Rebooting the host after the restore…
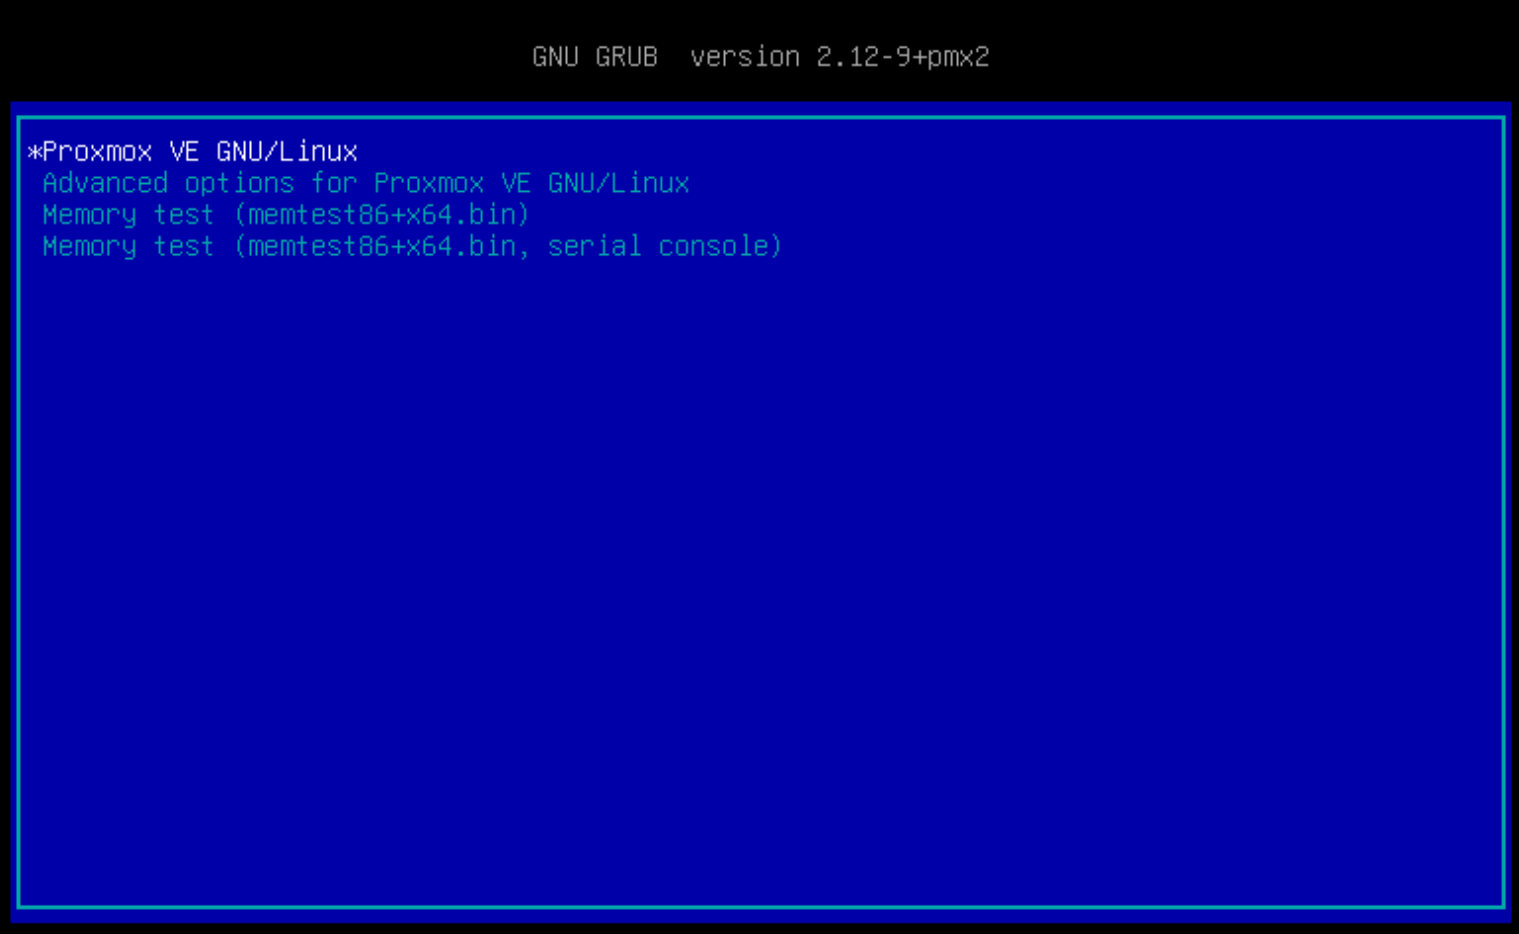
One thing I was disappointed about when I rebooted is the restore didn’t change the Proxmox VE Server host name or the IP address.
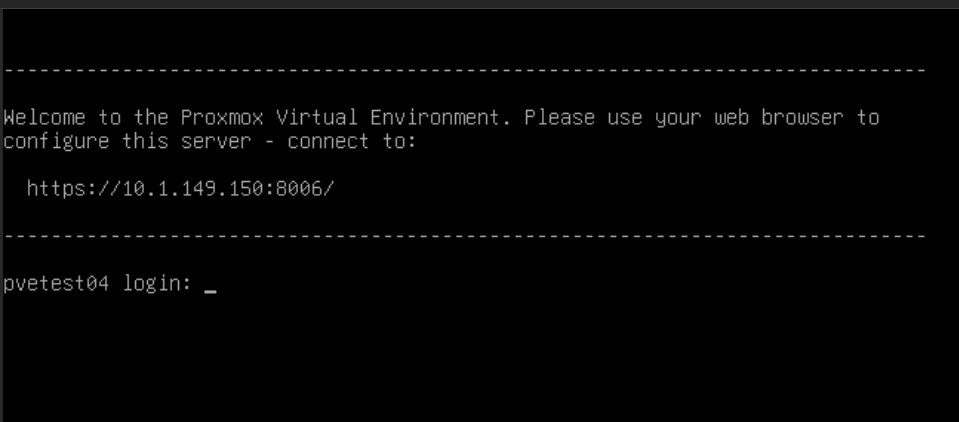
So, I decided to change the hostname manually and reset back to the same IP address. After I did this, I re-restored the ProxMenux backup. However, even after the cluster was not looking good still.
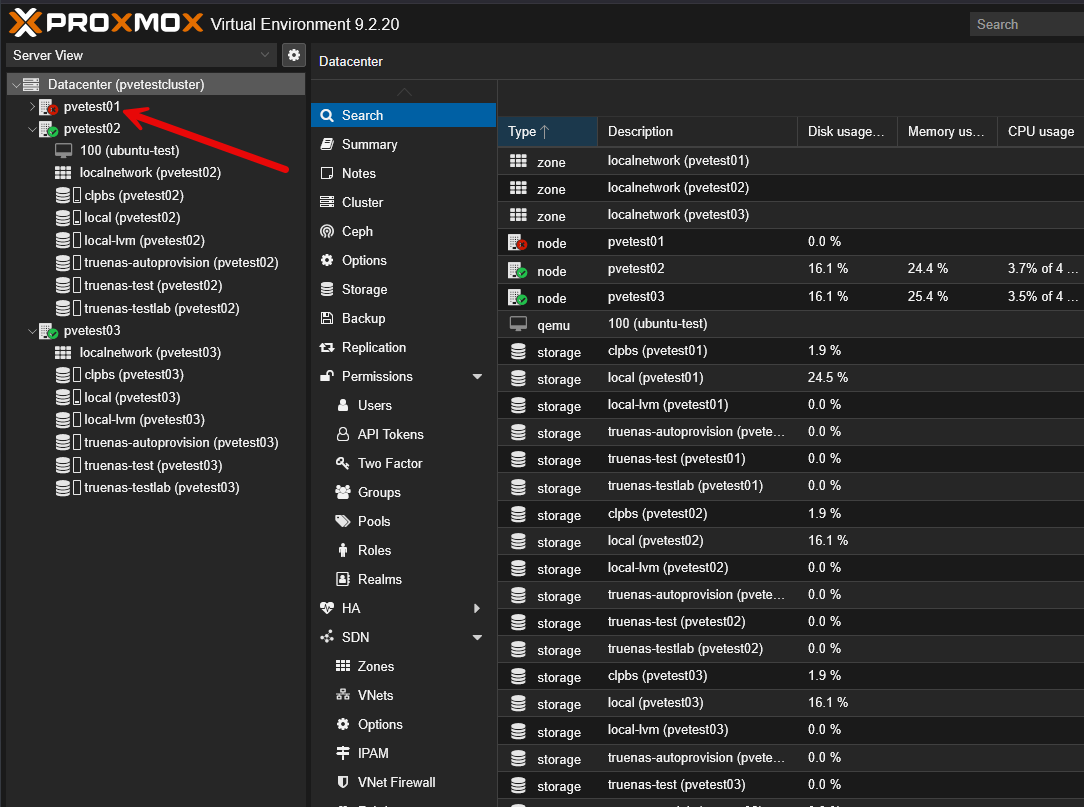
Why didn’t it join back to the cluster?
Well, after doing some digging here, the ProxMenux restore reported that everything completed successfully.
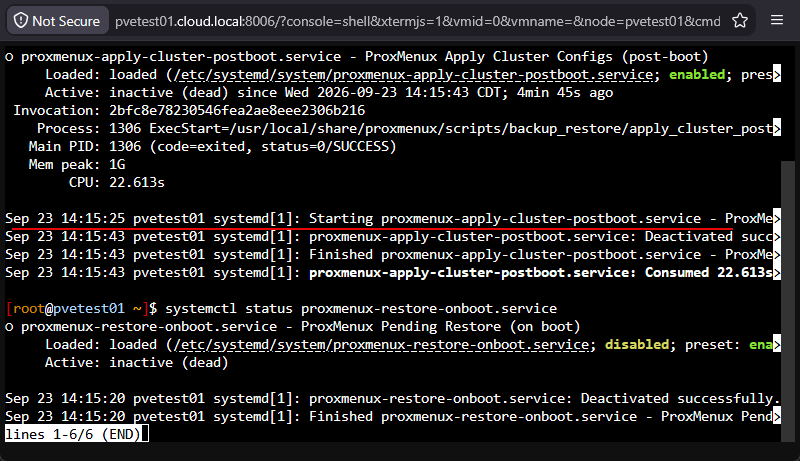
But, after looking and looking, the rebuilt host was still isolated from the rest of the cluster nodes.
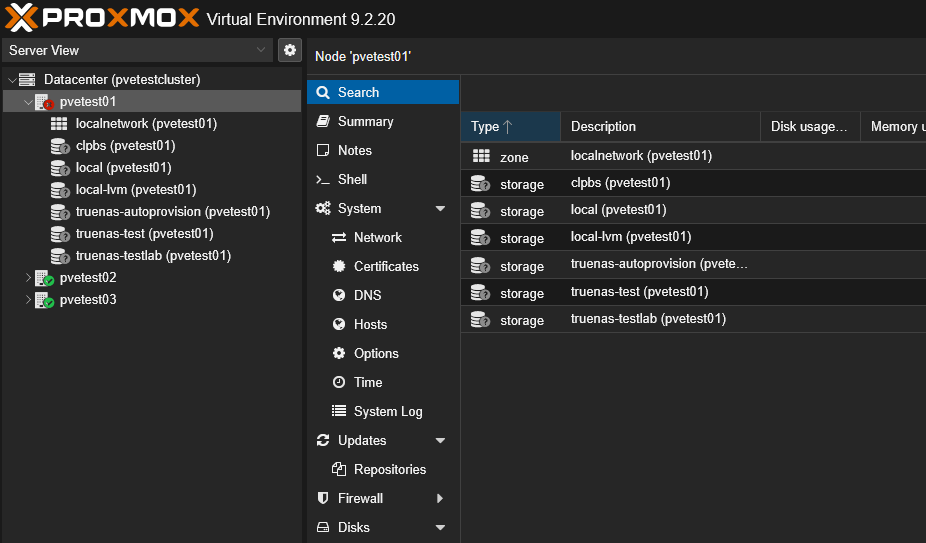
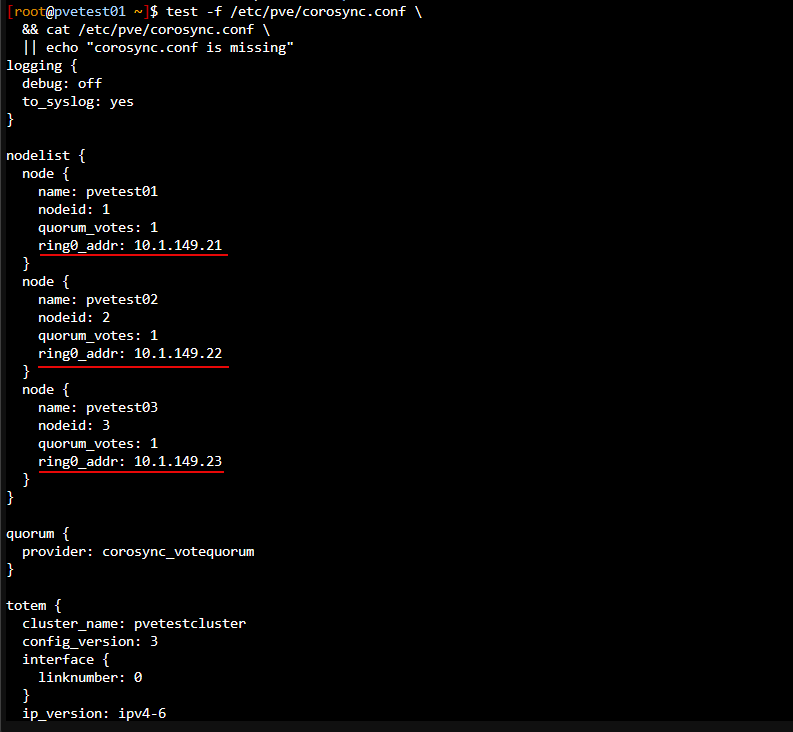
It did restore the /etc/pve/corosync.conf and it had the correct three nodes listed:
Also, checking the Corosync service, it was inactive. Its service status showed that etc/corosync/corosync.conf was missing:
systemctl status corosync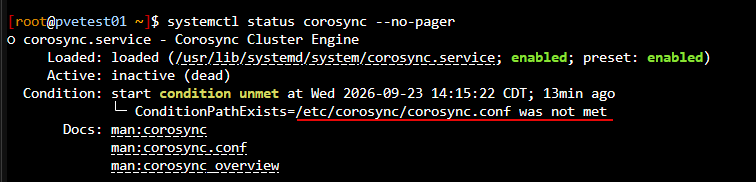
So, long story short is it looks like ProxMenux had restored the cluster database. But not the Corosync configuration symlink or the authentication key that it needs to start the service. I manually created the link and copied the shared authentication key from a healthy node in the cluster with these steps:
mkdir -p /etc/corosync
ln -s /etc/pve/corosync.conf /etc/corosync/corosync.conf
scp [email protected]:/etc/corosync/authkey /etc/corosync/authkey
chmod 0400 /etc/corosync/authkey
chown root:root /etc/corosync/authkey
systemctl start corosync
A look at manually creating the symlink and copying over the authkey:
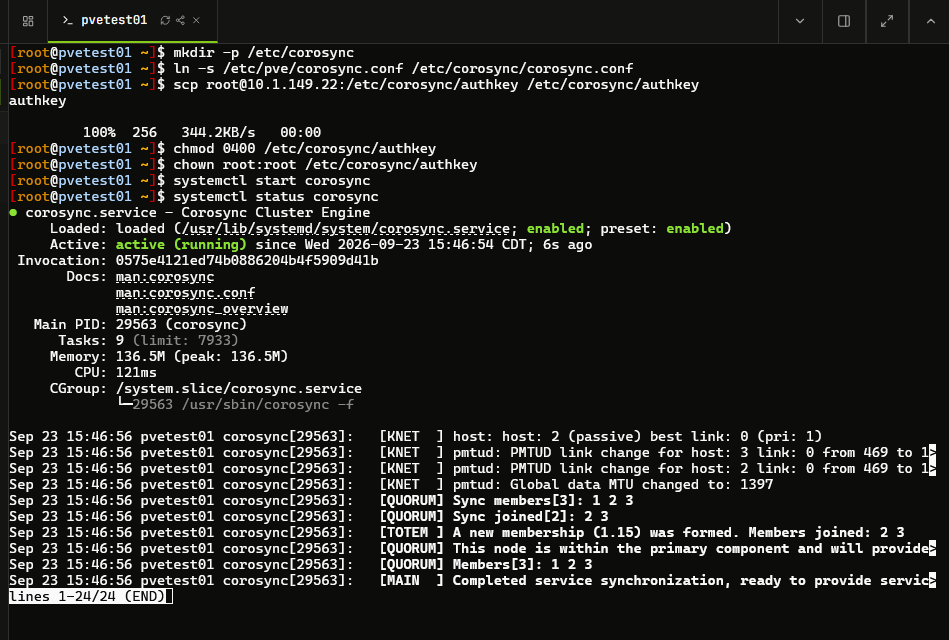
Corosync then was able to recognize all three members in the cluster and established quorum. I still had the pvetest01 host as red in the cluster web session I had on pvetest02. Since we had to get corosync healthy and start it after the other services, I had to manually run these:
systemctl restart pve-cluster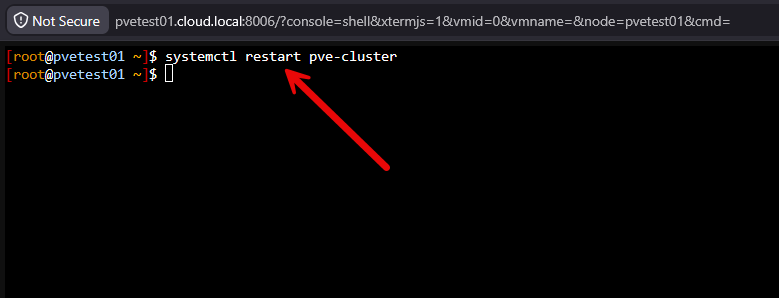
I also had to reinstall the TrueNAS plugin as I was seeing this with the cluster services:
So, I am not sure why the application inventory of the ProxMenux backup didn’t capture this as a manually installed APT package?
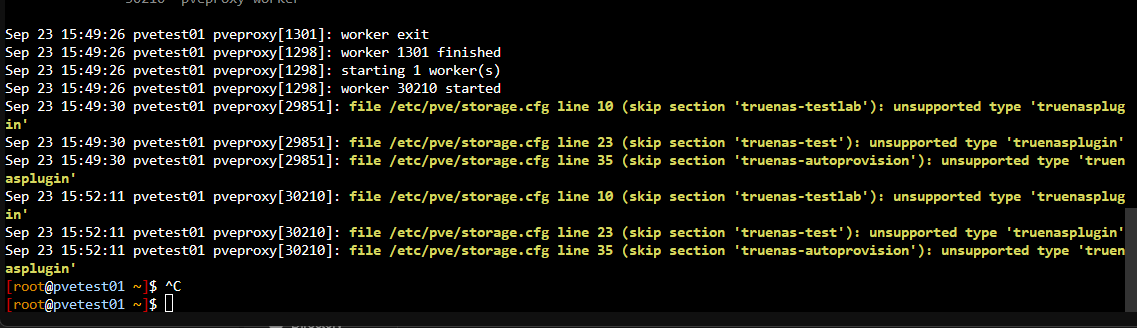
Since the TrueNAS Proxmox plugin was missing, I got this installed quickly.
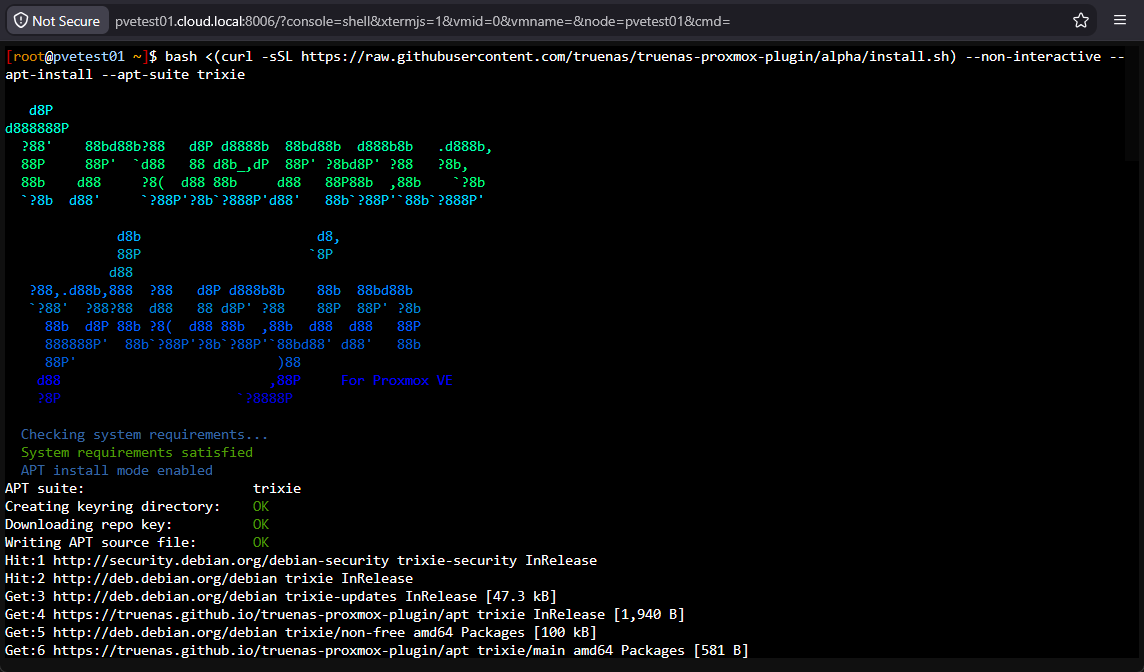
After reinstalling the TrueNAS plugin and bouncing the host one last time, it came back up with the host healthy in the cluster and shared storage working.
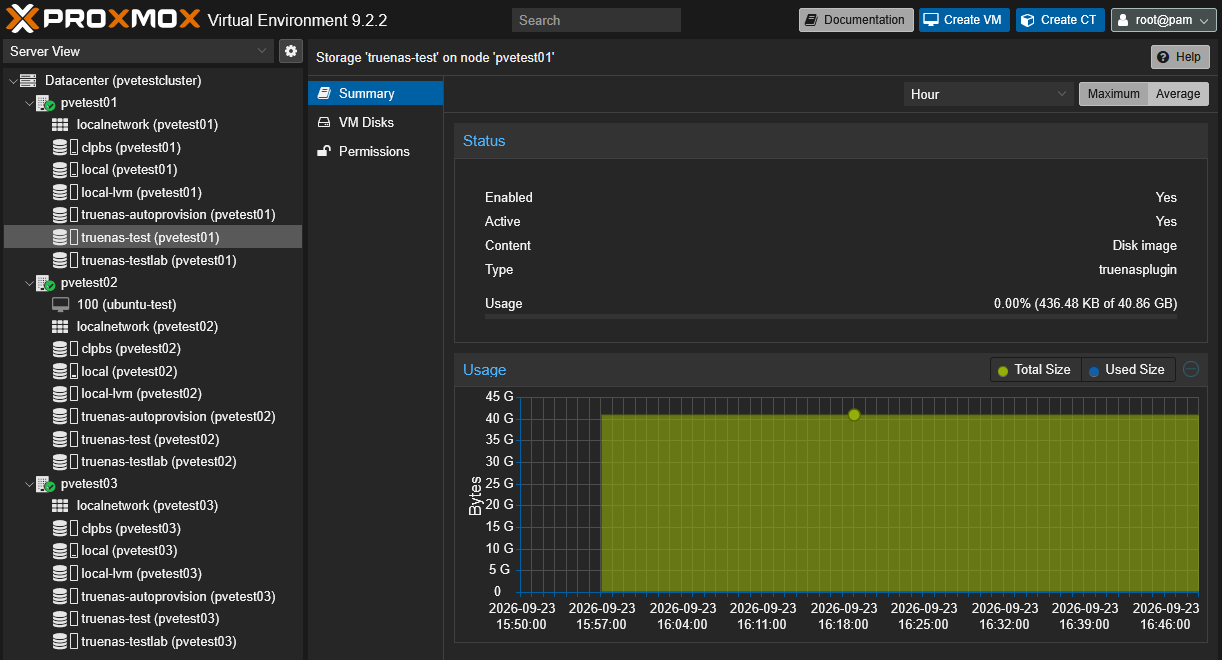
The node finally returned to the cluster as an online member. The restore had preserved much of the cluster configuration, but it did not produce a working cluster node without these manual repairs.
How I would use ProxMenux going forward
More in this topic



Google is updating how articles are shown. Don’t miss our leading home lab and tech content, written by humans, by setting Virtualization Howto as a preferred source.
About The Author
