



It really feels like Proxmox is on fire lately with announcements and momentum behind the solution. We just came off the heels of Proxmox announcing they were bringing on 24×7 support for their Enterprise customers. So the conversations are definitely happening. But, hot off the press, another announcement has my attention as well. TrueNAS has just released a native plugin for the Proxmox VE Server backend that allows Proxmox to do something pretty awesome here. Provision and manage TrueNAS backed VM disks directly! Let’s look at this new development and what it means, as well as whether or not you should try it.
What is new with this TrueNAS plugin for Proxmox?
One of the things that should catch your attention about this new plugin is that it is an official plugin from TrueNAS. I LOVE all the projects out there from the community that have created home grown plugins that have accomplished similar things. It just shows the ingenuity of the community. But, I think for production enterprise environments, having a native and supported plugin directly from TrueNAS changes the game.
It also means that the company is behind the continued development of the plugin, making sure that it continues to get better, has bug fixes, testing, and is supported across the board. This is the major feature I think to this that sometimes we don’t think about from the start.
The new plugin allows Proxmox to natively manage the VM disks directly on TrueNAS. And what is so cool is this is almost a VVOLs like technology in the way it works for Proxmox and TrueNAS. Instead of you manually creating ZFS volumes, iSCSI extents, targets, and mappings, with the plugin, you can now request storage from Proxmox and let TrueNAS build out the disks needed behind the scenes.
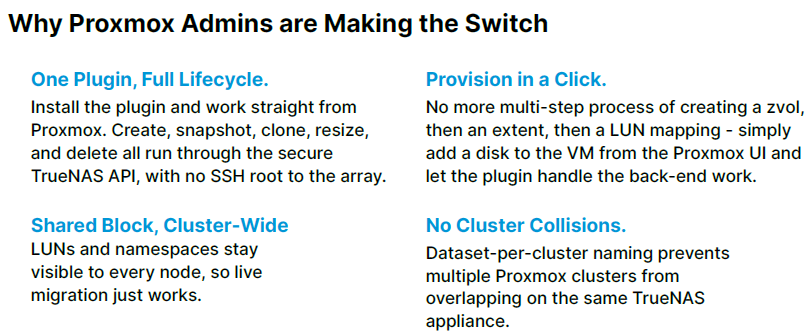
This new plugin supports a lot of different things, including iSCSI, NVMe over TCP, and it also integrates with OpenZFS snapshots. The great thing is, this works with normal Proxmox storage workflows that admins already understand and use daily.
One thing to keep in mind at the outset is that this is an early-adopter release. So, this is not something I would deploy on a production cluster or for your “production” home lab workloads just yet. But I think this helps to solve one of the frustrating gaps up until now with a totally open virtualization stack.
What the new TrueNAS Proxmox plugin actually does
The new storage plugin works by being installed on the Proxmox VE host side. It registers itself as a native storage backend. Then, Proxmox is able to communicate with TrueNAS through its API. With this, it automatically provisions the storage required for individual virtual machine disks that are needed for the workload and for data housed in the VM like Docker storage, etc
So, the awesome thing about this is that when you create a virtual disk in Proxmox, the plugin can tell TrueNAS to create the needed ZFS volume. TrueNAS will then publish that as an iSCSI LUN or an NVMe/TCP namespace for your environment. So this choice depends on what you select in the configuration here.
What features does it support? Take note of the following:
| Feature | What it does |
|---|---|
| iSCSI or NVMe/TCP | You can choose iSCSI or NVMe/TCP |
| VM and LXC storage | Store both VM disks and LXC root filesystems |
| ZFS snapshots | Create the normal fast, space-efficient snapshots on TrueNAS |
| Live snapshots | You can get the VM disk and running memory state |
| Cluster support | Multiple nodes can access for clustering |
| Automatic provisioning | Creates zvols, extents, and mappings |
| Configuration checks | It validates the configuration before it gets deployed |
| API protection | Automatic retries |
| Thin provisioning | Configures storage as it is actually needed |
| ZFS compression | When data can be compressed it will do that |
| Multipathing | Supports multiple iSCSI storage paths |
| CHAP authentication | You can enable authentication with iSCSI |
| Disk resizing | Expands volumes after checking available capacity |
| Error recovery | Human readable errors that are friendly |
| Performance tuning | You can configure block sizes and sparse block settings if needed |
So, if you are wondering what really changed here between storage provisioning with Proxmox and TrueNAS the way it was before, the process used to look like this:
- Create a ZVOL in TrueNAS
- configure or update an extent
- Make that association of the extent with a target
- Make sure of the LUN mapping
- Go back to Proxmox and scan for the new storage
With the plugin, those steps are done automatically for you.
According to the TrueNAS announcement, now the plugin, once installed, can provision, snapshot, resize, migrate, and delete TrueNAS-backed VM disks. And, it can do all of that without you having to perform manual LUN management. For TrueNAS 25.10 and newer, it can also register automatically with the TrueNAS middleware.
Legacy existing NFS processes with TrueNAS and Proxmox
Most likely, you have used NFS before to connect Proxmox to TrueNAS as this is one of the easiest ways to do it. I don’t necessarily think this plugin will make that approach obsolete, but I think the benefits of the plugin definitely show, even compared to the NFS approach to provisioning storage, especially with using snapshots.
Proxmox usually stores VM disks on NFS using the QCOW2 format. QCOW2 does support snapshots. But, the snapshots in this configuration are handled at the VM disk file level instead of it being offloaded to the TrueNAS ZFS pool.
What this means is that large virtual disks will take much longer than you might expect to create the snapshot and could degrade the performance of the VM while the snapshot is underway. Proxmox has even noted that certain storage snapshot operations can block a VM can take minutes or extreme cases, hours.
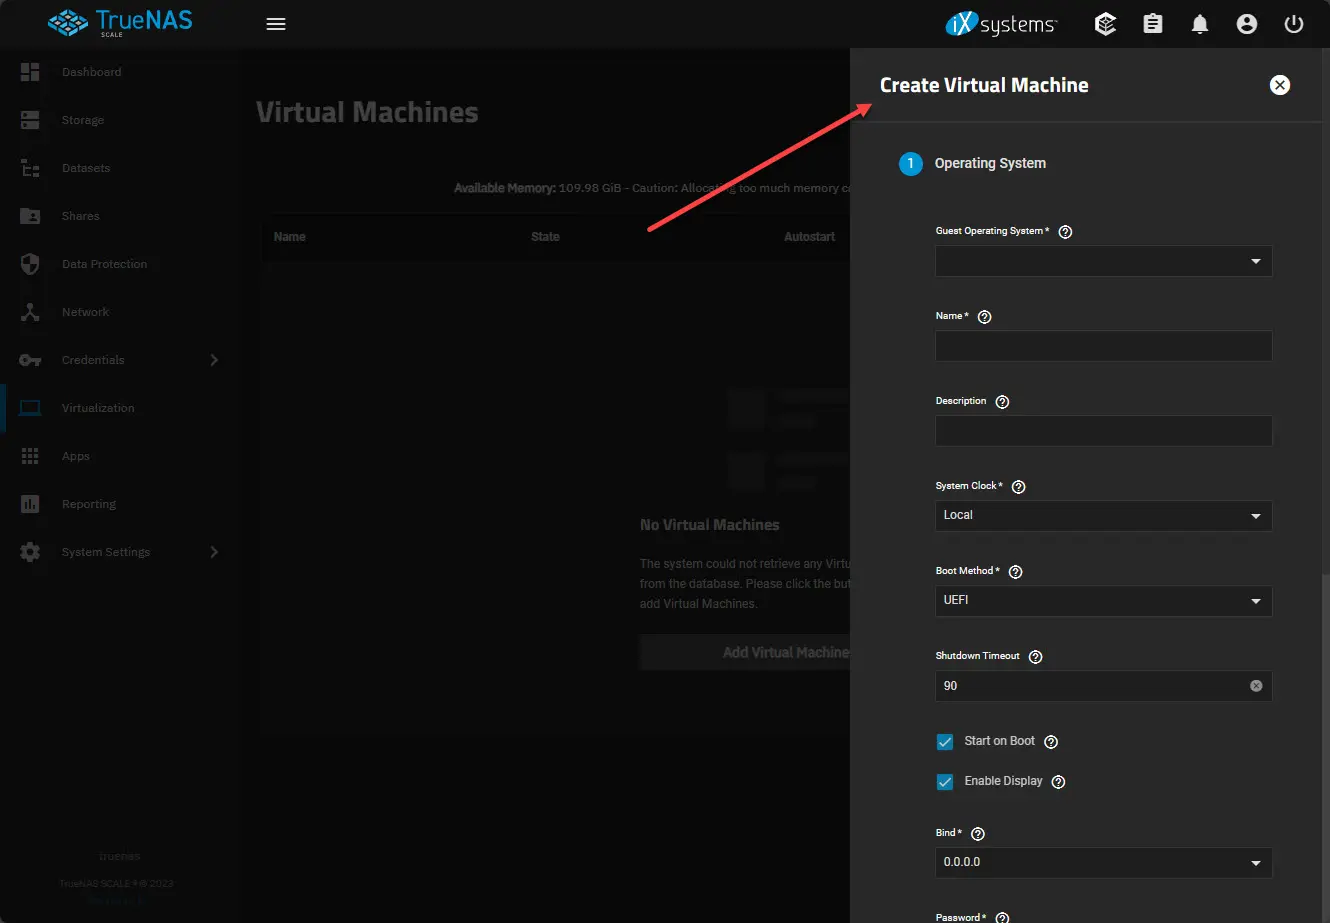
For large virtual disks, snapshot operations can take longer than expected and may temporarily affect the virtual machine. Proxmox documentation notes that “on some setups and for large disks (multiple hundred GiB or TiB sized), these operations may take several minutes, or in extreme cases, even hours.”
With the plugin in play though, the problem is solved differently. Each virtual machine disk is represented by an individual ZFS volume on TrueNAS. So, snapshot requests as they come from Proxmox are handled using the native OpenZFS snapshot capabilities on the storage system.
This has a lot of advantages when it comes to storage and snapshot performance:
- Snapshots happen at the storage layer
- Large QCOW2 files aren’t dealt with in the same way
- Each VM disk is a independent managed block device
- ZFS properties are applied at a lower level
- TrueNAS verifies the data integrity
So far, with testing this is looking really good in terms of the performance difference and that has been verified by many of the early testers. I would want to validate these results in my own environment before making sure on those claims. But, I would say the architecture of how this work definitely lends itself to the trueness of those statements.
Traditional manually configured iSCSI with TrueNAS
The other hugely popular way that avoids some of the limitations with NFS is traditional iSCSI deployments. It presents block storage directly to Proxmox. And iSCSI has been around three forevers, so it is a well-tested storage technology.
But, there is a LOT of overhead from a management perspective with iSCSI that you run into. To expose a new ZFS volume over iSCSI in TrueNAS has multiple steps and moving parts and pieces that you have to manually configure. These include things like the zvol, portal, initiator settings, target, extent, and associating the target to extent.
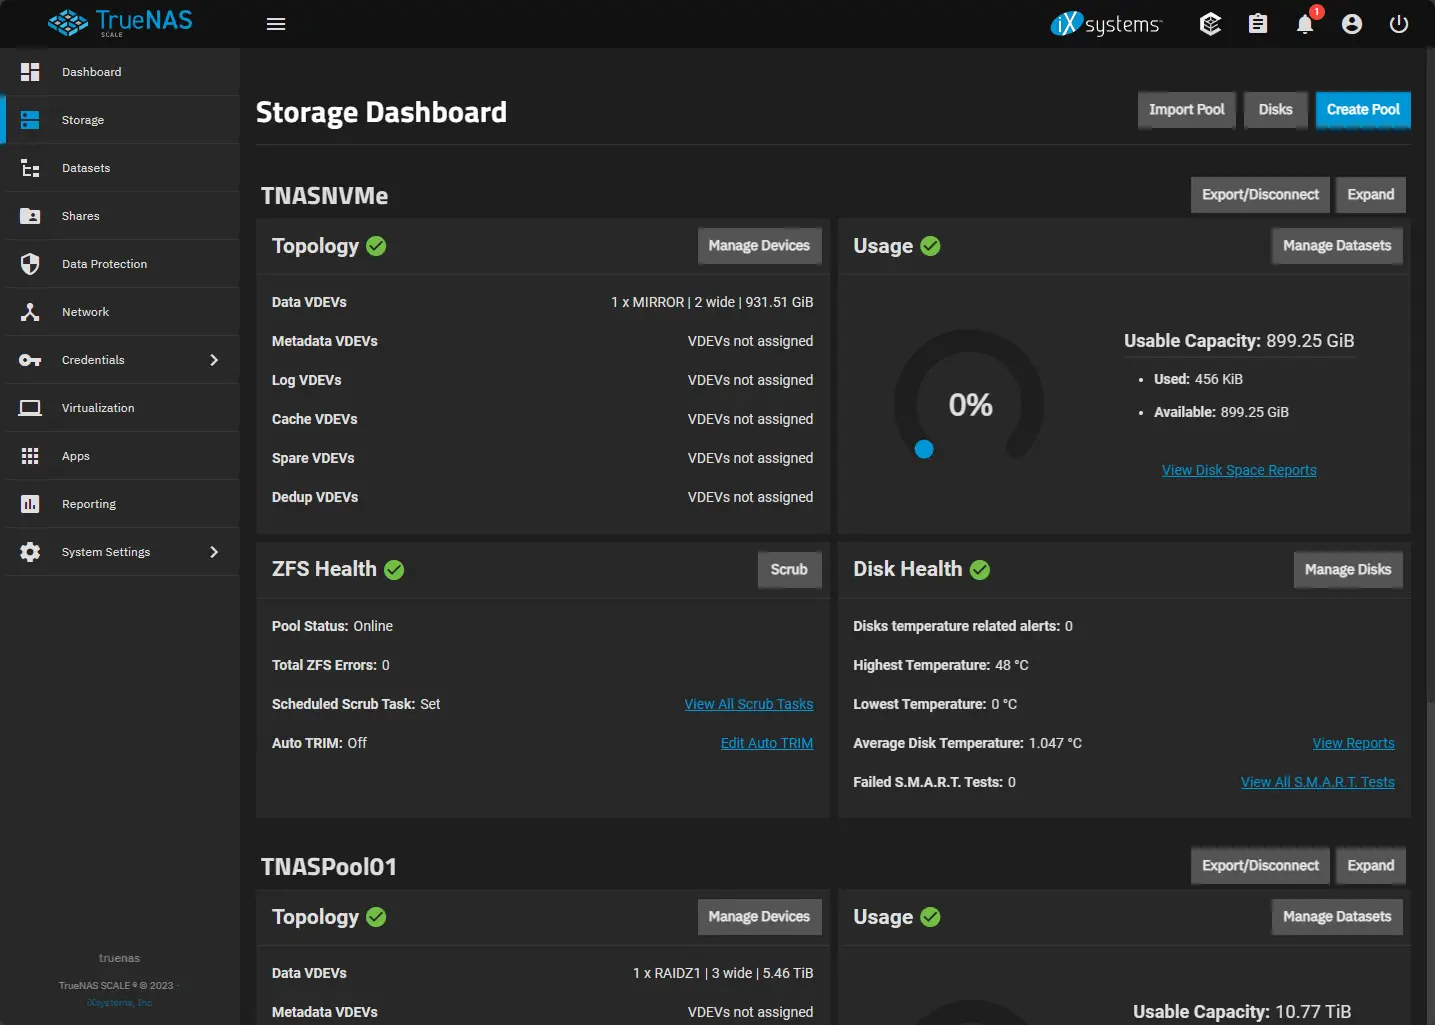
You also have to make sure that you follow some type of consistent naming scheme with your setup. If you decide to later delete a VM or migrate its storage, you have to manually make sure the TrueNAS storage objects are cleaned up in the right way.
I think this is going to be a few of the areas where the new plugin will provide a lot of its value. It allows you to have all of the benefits of block storage and it automates the manual work that we used to have to do by hand. The plugin gives Proxmox the ability to have an API-driven understanding of how to request and manage those resources from TrueNAS. That, I think, has been the missing piece for management up until now.
If you liked VMware VVol storage workflow, this is for you
I think this is another huge benefit and point here to note. Many will be coming from VMware by Broadcom environments, since Broadcom has lost its mind the past couple of years. VMware Virtual Volumes, VVols, allow storage arrays to manage virtual machine storage at a granular level.
So, instead of placing each VM inside a large traditional datastore and treating the array as that pool, the individual VM storage objects are created and managed through the virtualization platform itself. The new TrueNAS plugin is not an implementatio of VVols technology, but the operational effect looks to be similar from where I am standing.
Proxmox will request a disk from TrueNAS and then it will create the underlying storage object and publish it to a block storage protocol. The admin continues working inside the Proxmox interface. So, I think this is some of the integration that we are starting to see for organizations moving away from VMware.
This is great as we all know this. Replacing ESXi with Proxmox is only part of the migration process. Orgs need to figure out how to replace years of VMware storage integration. Also, the automation, operational knowledge, and vendor support for their workflows.
With this, TrueNAS is positioning this plugin as part of that transition. An organization can keep TrueNAS as its storage platform and move its compute workloads to Proxmox. This allows the hypervisor to change without needing to have the storage architecture redesigned.
This is also great for home labs I think as well. I can run a dedicated TrueNAS server for storage and one for Proxmox nodes for compute and this plugin streamlines the integration between them.
iSCSI and NVMe/TCP are both supported
Also, in the details, we find that the plugin currently supports two block storage transports. Those are iSCSI and NVMe over TCP. I think for most that iSCSI will definitely be the more familiar option for many home lab and enterprise admins. It is mature and well understood by most.
But, I also think that NVMe/TCP is really an interesting option for Proxmox environments as well. It trarnsports NVMe commands across a standard TCP/IP network and is designed to take advantage of modern multi-core systems and higher queue depths that NVMe storage can provide.

If you were like me, I first was thinking that it requires an all NVMe TrueNAS server. But that is actually not the case. The pool can still use hard drives, SSDs, hybrid VDEVs, caching devices, etc. Now, we understand as well that using NVMe/TCP doesn’t just automatically mkae hard drives perform like NVMe storage, if only that would happen! But the advantage with the protocol is that it can provide a more efficient path between Proxmox and TrueNAS, especially for things like parallel workloads.
How do you install it?
It is a rather simple process to get the plugin installed in your Proxmox VE Server installation. According to the official GitHub repo, you run the following as part of the quick start options to get this installed. There look to be three options that are recommended for installation.
Option 1 – APT repository (the recommended install)
You can install it from the official APT repository with the installer:
bash <(curl -sSL https://raw.githubusercontent.com/truenas/truenas-proxmox-plugin/main/install.sh) --non-interactive --apt-installThere is an optional override for scripted installs that looks like this (use trixie for PVE9 and bookworm for PVE8)
bash <(curl -sSL https://raw.githubusercontent.com/truenas/truenas-proxmox-plugin/main/install.sh) --non-interactive --apt-install --apt-suite trixieOption 2 – Direct .deb installation
Also, you can do direct .deb Installation. This allows you to pull down the release package and install it directly:
wget https://github.com/truenas/truenas-proxmox-plugin/releases/download/v<RELEASE_TAG>/truenas-proxmox-plugin_<DEB_VERSION>_all.deb
dpkg -i truenas-proxmox-plugin_<DEB_VERSION>_all.deb
apt-get -f install -y
Option 3 – Interactive installer
You can download and run the installer interactively as a script:
bash <(curl -sSL https://raw.githubusercontent.com/truenas/truenas-proxmox-plugin/main/install.sh)What this new plugin doesn’t support
TrueNAS makes mention that the new plugin does not support file-based content. What does that include with Proxmox? Well, most of us are familiar with the fact that storage for things like ISO images and backup dumps usually sit on this type of storage.
So, a relevant design that includes using the TrueNAS plugin, might look like this:
| Storage requirement | Recommended connection |
|---|---|
| VM and container disks | TrueNAS Proxmox plugin |
| ISO images | NFS |
| Container templates | NFS |
| Proxmox backup files | NFS or dedicated backup storage |
| General file shares | NFS or SMB |
Still, we can take advantage of using the plugin with VM disks and still continue to use ordinary NFS as a share for things like ISOs and other files.
Resources for the new TrueNAS Proxmox plugin
Here are the relevant resources for the new TrueNAS Proxmox plugin that I have found helpful so far in information gathering and official documentation:
- The official TrueNAS page for this plugin: Proxmox | TrueNAS – Open Enterprise Storage
- The official GitHub repo: truenas/truenas-proxmox-plugin
- The solutions brief: Proxmox_Integration_Early_Access_Brief_September_2026.pdf
Wrapping up
I think we are starting to see the game changing and the momentum building with Proxmox. It is only a matter of time I think for many of the other storage vendors to release officially supported plugins similar to what TrueNAS has done here for Proxmox. With the recent announcement about 24×7 support, enterprises will definitely start taking Proxmox more seriously as a true option for their migration off VMware. How about you in your home lab? Are you going to test this out soon?
More in this topic




Google is updating how articles are shown. Don’t miss our leading home lab and tech content, written by humans, by setting Virtualization Howto as a preferred source.
About The Author
