Let’s look at a KVM cheat sheet of virsh commands to manage KVM from the command line as a management tool as this is often the best way for automation, etc.
Table of contents
Installing KVM
Installing the KVM hypervisor in Linux is straightforward using the process we have shown below and you can also reference a few things in the linked blog, including required components in Ubuntu 22.04.
sudo apt install libvirt-clients libvirt-daemon-system libvirt-daemon virtinst bridge-utils qemu qemu-kvm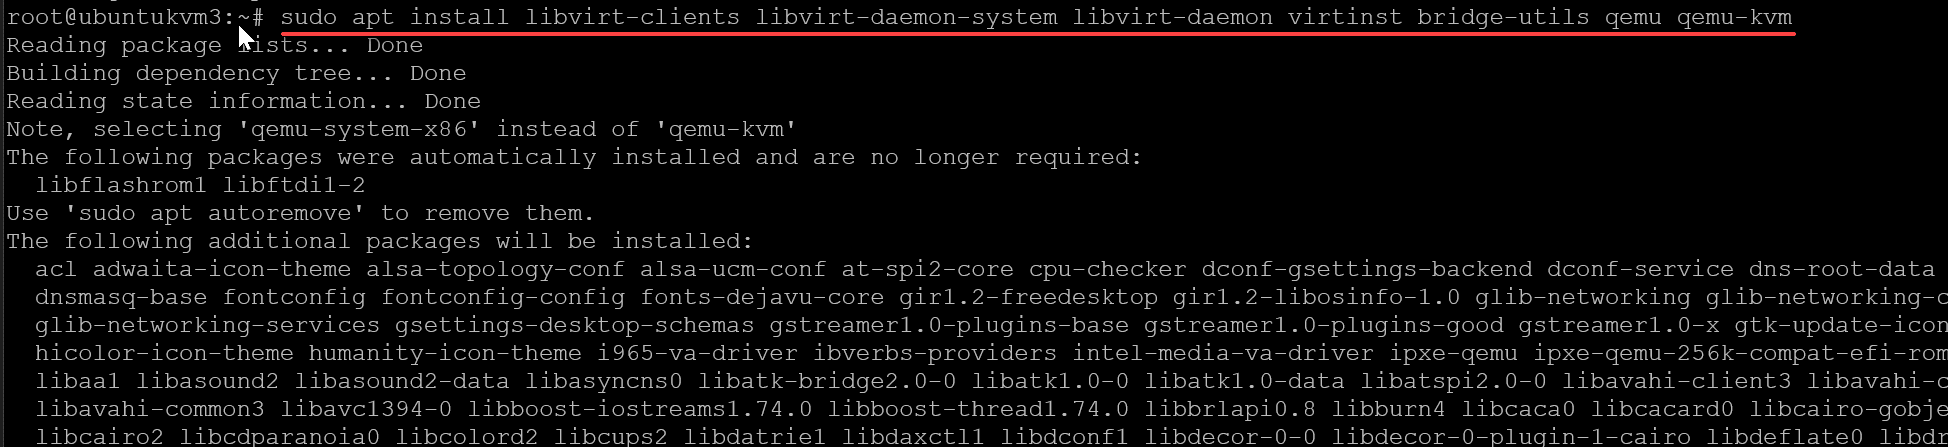
You can check the status of your KVM installation by running the kvm-ok command.

Creating New Virtual Machines
You can store these disk images which are required for creating VMs in the default location which is in the /var/lib/libvirt/images directory or you can pick another spot on your host where these can be located or stored.
You can create a new disk image using the command qemu-img for this task for admins. For admins to create a 10GB disk image, for a VM needed in the environment, you can do the following:
qemu-img create -f qcow2 /var/lib/libvirt/images/new_vm.qcow2 10GTo look at and experiments with all the available commands with the qemu-img tool, you can run the command:
qemu-img --help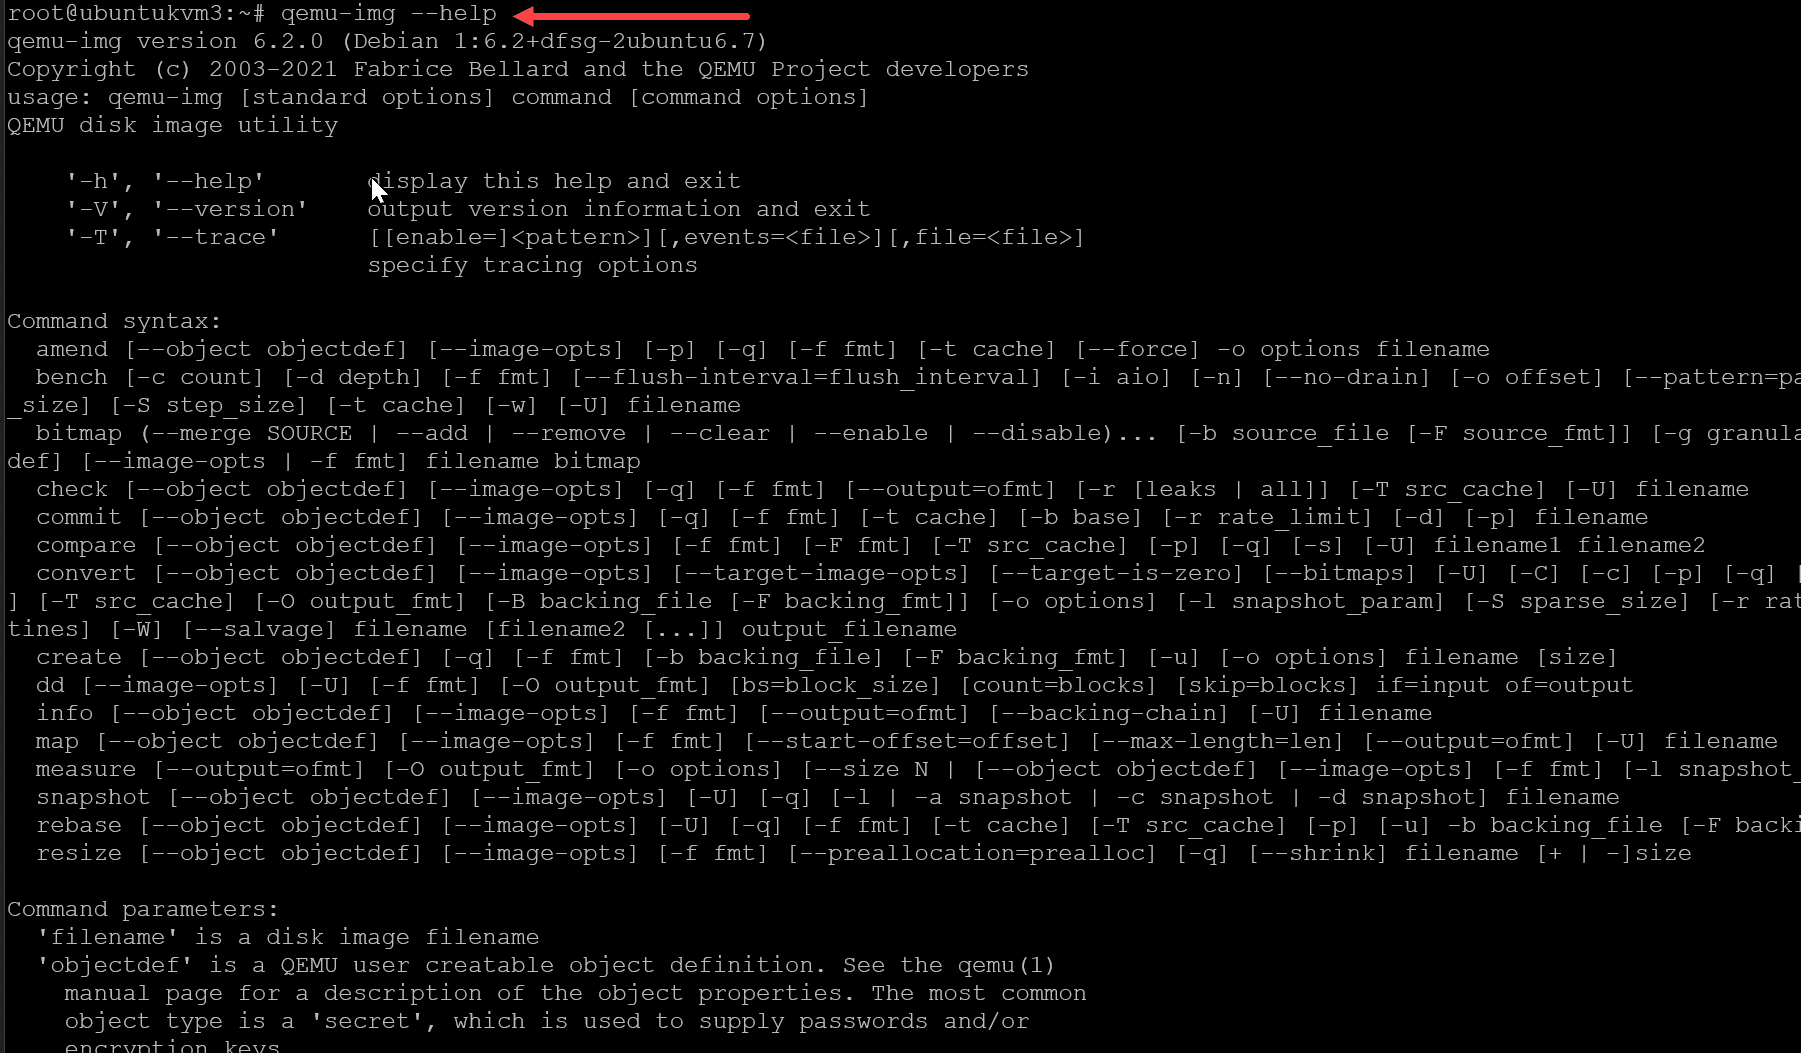
The virt-install command has to have parameters that you can used when passed in that do different things such as the virtual machine’s name, the amount of memory, and the disk image path. For example:
virt-install --name new_vm --memory 2048 --disk /var/lib/libvirt/images/new_vm.qcow2 --cdrom /path/to/your/iso-file.iso --os-type linux --os-variant ubuntu20.04 --network bridge:virbr0 --graphics vnc --noautoconsoleManaging Guest Virtual Machines with Virsh
What types of tasks can you perform with KVM in regards to VMs and using the virsh command in your environment for admins?
listing
starting
stopping
deleting
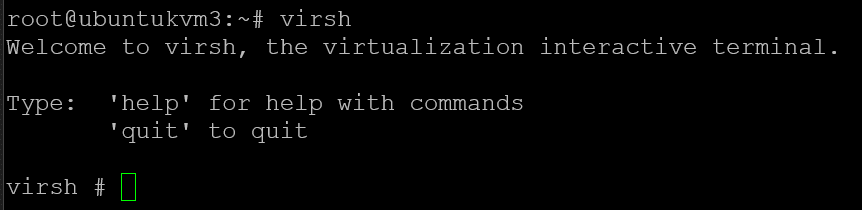
You can view the options for the virsh command with the virsh help command.

List virtual machines
To list all defined virtual machines, you can use the guest virsh command:
virsh list --all This command will display a table with the virtual machine name, ID, and current state.
Starting virtual machines
To start a virtual machine, you can use the command:
virsh start <vm_name> Where <vm_name> is the name of the virtual machine you want to start. For example:
virsh start new_vmStopping virtual machines
To stop a virtual machine, use the command:
virsh shutdown <vm_name> If you need to stop a virtual machine forcefully, you can use the virsh destroy <vm_name> command instead.
Configuring Virtual Machines with XML Files
Your KVM VMs have an XML config file that is the central place where configuration is stored for the KVM virtual machine and admins need to understand. You can take a look and see what is in this file and the settings contained, by using the command:
virsh dumpxml <vm_name>To edit the XML configuration file, use the command:
virsh edit <vm_name>Managing Storage and Networks
The storage environment in KVM virtualization is config’ed and managed using something called storage pools and storage volumes.
- A storage pool is a collection of storage devices
- a storage volume is an individual storage unit within a pool
Create a new storage pool
To create a new storage pool, use the command:
virsh pool-create <pool_xml> Where <pool_xml> is the path to an XML file containing the storage pool configuration. You can also use the command:
virsh pool-define-asThis defines new storage pool without creating it.
List storage pools
To list all storage pools, use the command:
virsh pool-listThis command will display a table with the pool name, state, and other relevant information.
List storage volumes
You can also list the storage volumes in a pool using the command:
virsh vol-list <pool_name>Create a new storage volume
To create a new storage volume within a pool, use the command:
virsh vol-create-as <pool_name> <vol_name> <size>
For example:
virsh vol-create-as default new_volume 10GVirtual networks
KVM allows you to manage virtual networks which is an important consideration in a virtual environment for admins. Virtual networks provide the “plumbing” between virtual machines and the host system. To create a new virtual network, use the command:
virsh net-define <network_xml> To list all virtual networks, use the command:
virsh net-list Taking Snapshots of Virtual Machines
You can use virsh commands to create and list as well as delete and other tasks with managing snapshots.
To create a new snapshot, use the virsh snapshot-create-as <vm_name> <snapshot_name> command. For example:
virsh snapshot-create-as new_vm snapshot1List virtual machine snapshots
To list all virtual machine snapshots, use the command:
virsh snapshot-list <vm_name>Revert a virtual machine snapshot
To revert a virtual machine to a specific snapshot, use the command:
virsh snapshot-revert <vm_name> <snapshot_name>Adjusting CPU and Memory Allocation
You can adjust the amount of CPU and memory allocated to each virtual machine by editing the XML configuration file with the command:
virsh edit <vm_name> You can modify the <vcpu> and <memory> elements to change the number of virtual CPUs and memory size (in KiB) respectively. For example:
<vcpu placement='static'>2</vcpu> <memory unit='KiB'>2097152</memory>These settings allocate 2 virtual CPUs and 2 GB of memory to the virtual machine.
Configuring CPU Affinity
You can setup the CPU affinity configuration if if needed in your KVM environment. This is probably one you won’t need very often except in a few edge cases if even then, but it is good to know you can do it:
<cputune> <vcpupin vcpu='0' cpuset='0'/> <vcpupin vcpu='1' cpuset='1'/> </cputune>This example pins the first virtual CPU to the first physical CPU core and the second virtual CPU to the second physical CPU core.
Setting Up Network Interfaces
Properly configuring network interfaces ensures optimal communication between virtual machines and the host system. To configure a network interface, edit the XML configuration file and modify the <interface> element within the <devices> section. For example:
<interface type='bridge'> <mac address='52:54:00:12:34:56'/> <source bridge='br0'/> <model type='virtio'/> </interface>Using VirtIO for Disk and Network Devices
To configure a virtual machine to use VirtIO for disk devices, edit the XML configuration file and modify the <disk> element:
<disk type='file' device='disk'> <driver name='qemu' type='qcow2' cache='none' io='native'/> <source file='/var/lib/libvirt/images/new_vm.qcow2'/> <target dev='vda' bus='virtio'/> </disk>Accessing Virtual Machine Consoles
To access the console of a running virtual machine, you can use the command:
virsh console <vm_name> This command will connect you to the guest console, allowing you to interact with the guest operating system.
Posts like this post
Wrapping up
KVM is a great hypervisor and with VMware vSphere situation with Broadcom, many are looking at KVM solutions moving forward as their virtualization platform. So, with that, learning KVM command line virsh commands is an excellent way to get familiar with the platform and start automating your KVM environment.
Google is updating how articles are shown. Don’t miss our leading home lab and tech content, written by humans, by setting Virtualization Howto as a preferred source.
About The Author