Create VMware Horizon View 7.1 Desktop Pool
After creating a Windows 10 master VM for Instant Cloning purposes with VMware Horizon View 7.1, we can now create a desktop pool to serve client connections to our VDI environment. In this post, we will take a look at how to create VMware Horizon View 7.1 Desktop Pool.
Create VMware Horizon View 7.1 Desktop Pool
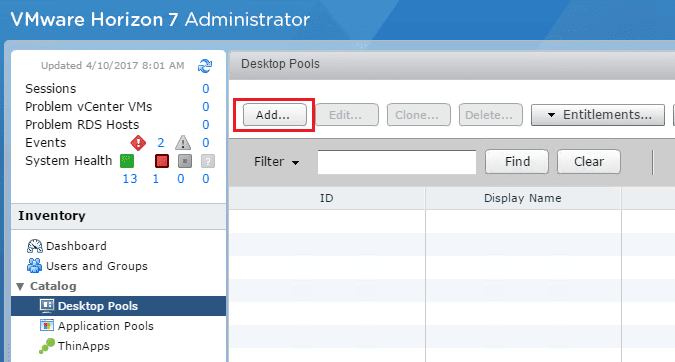
First thing we need to do is navigate to Catalog >> Desktop Pools and click the Add button.
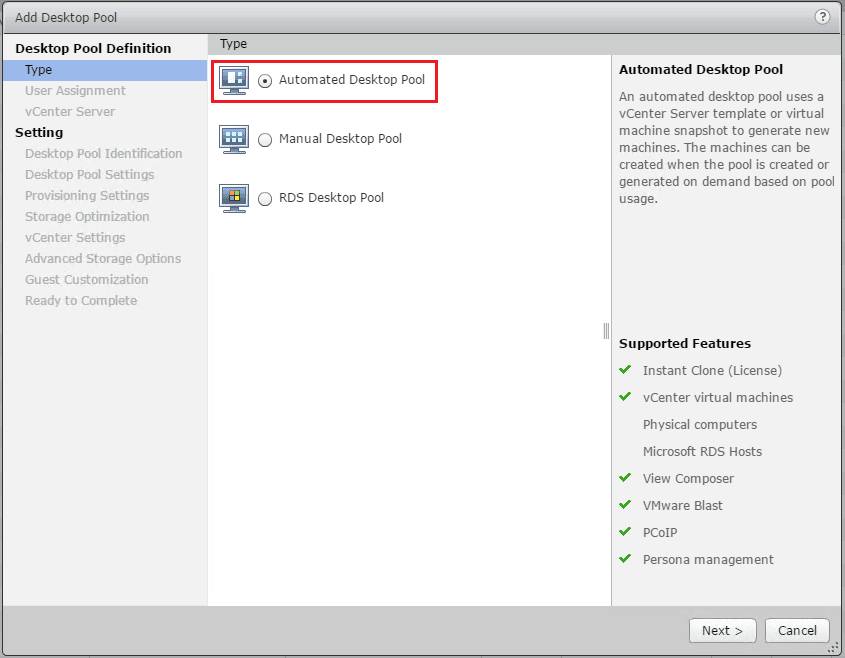
Since we want to play around with Instant clones, I am choosing the Automated Desktop Pool so we can use snapshots to generate new virtual machines.
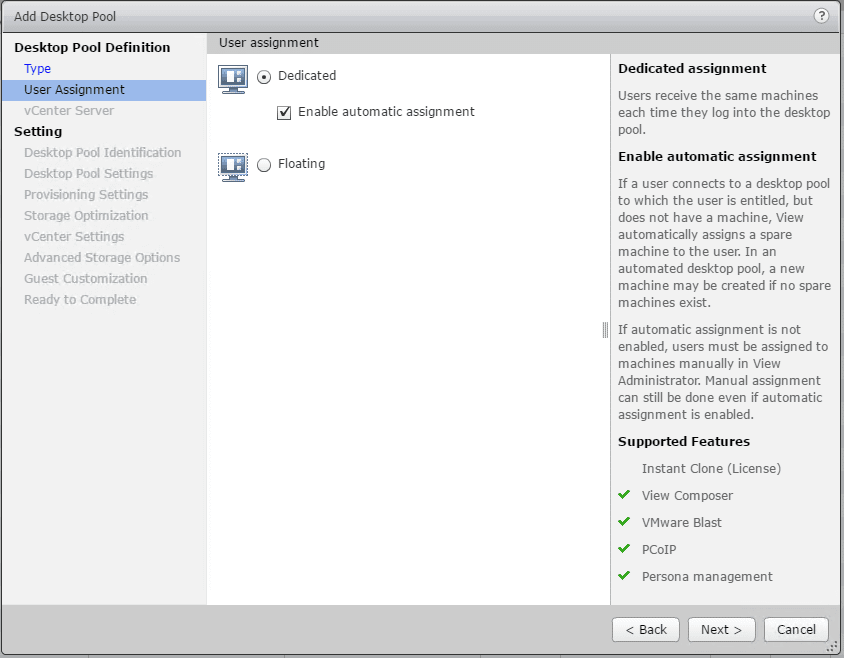
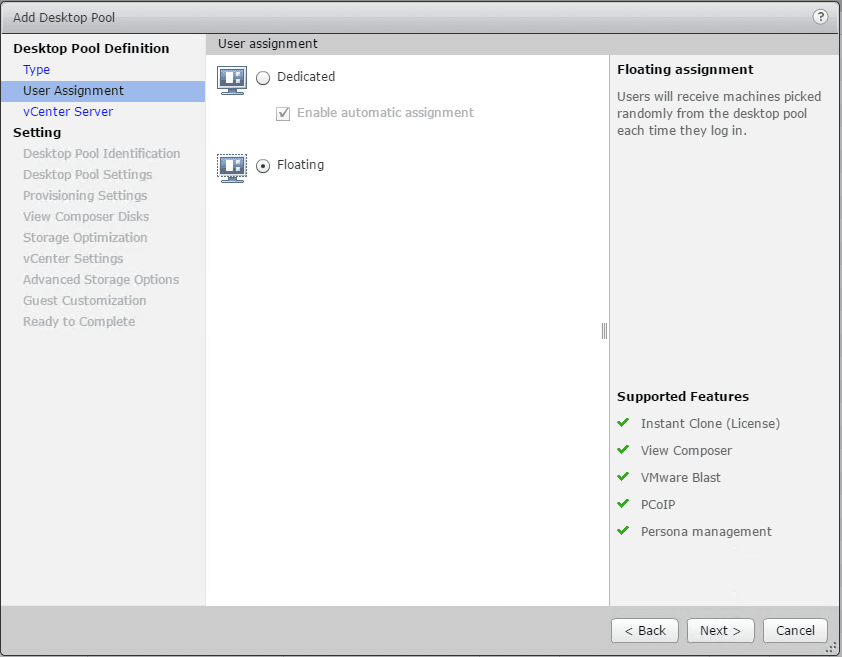
Notice, if you select Dedicated >> Enable automatic assignment, you won’t have the option to use Instant clones.
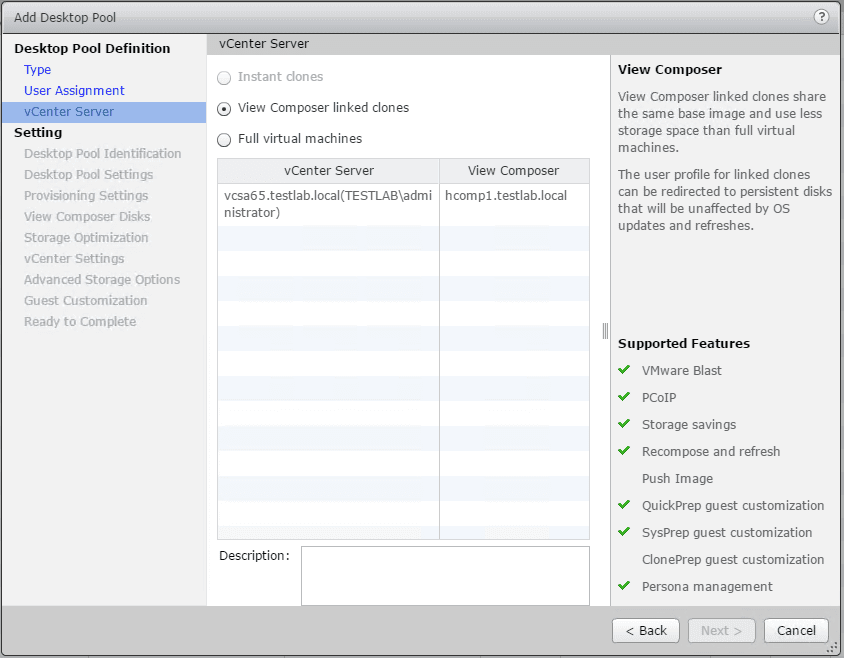
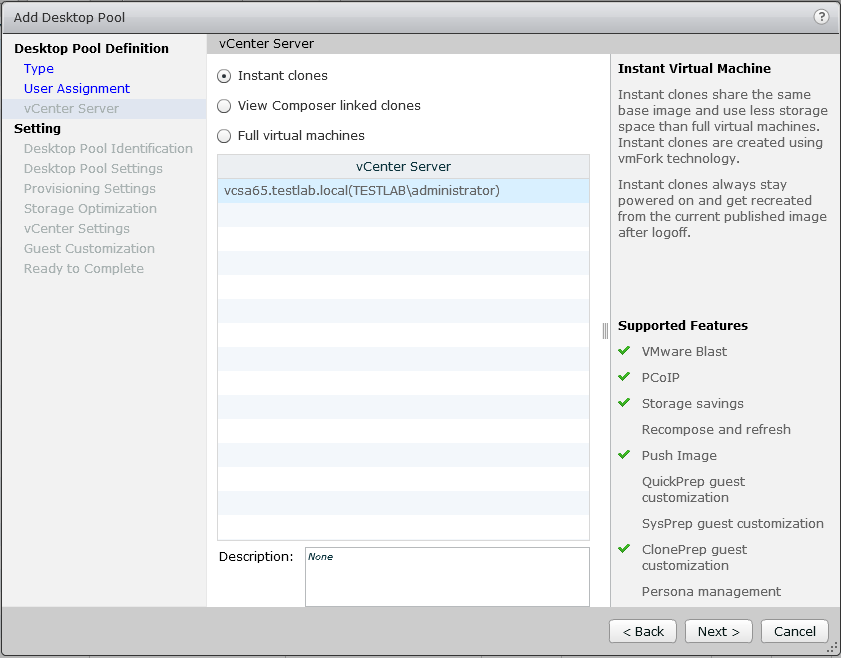
You have to select Floating as the User assignment for using Instant clones. Notice below how Instant clones are greyed out.
Now, we select Floating as the user assignment.
Now, we have the Instant clones option.
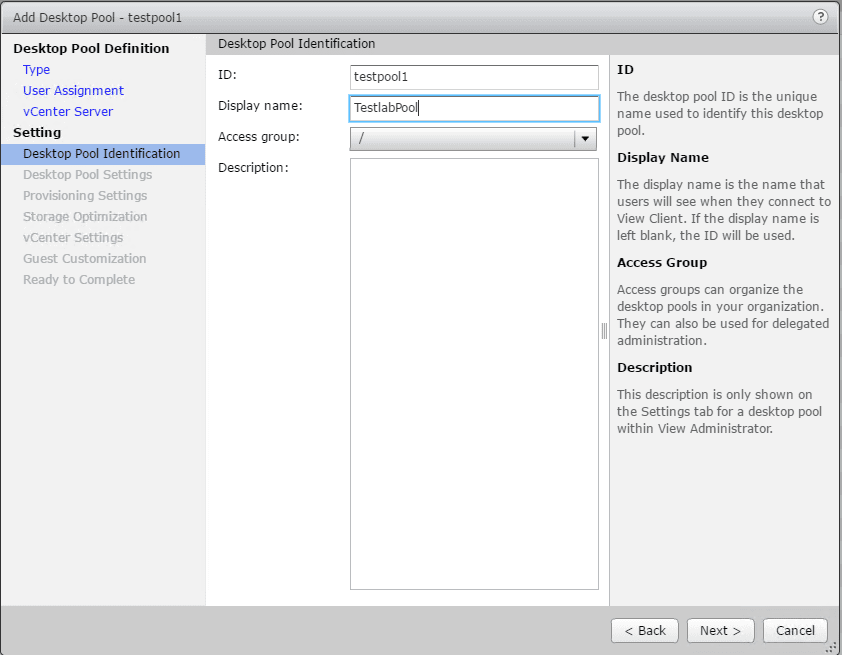
Next, we choose an ID and Display name for Desktop Pool Identification.
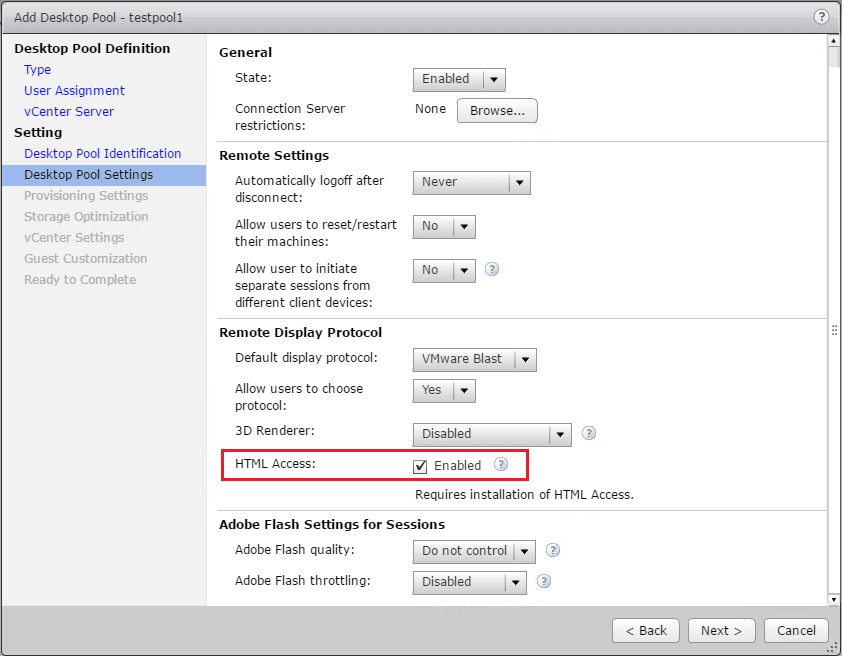
On the Desktop Pool Settings configuration screen, I checked off the HTML Access using VMware Blast.
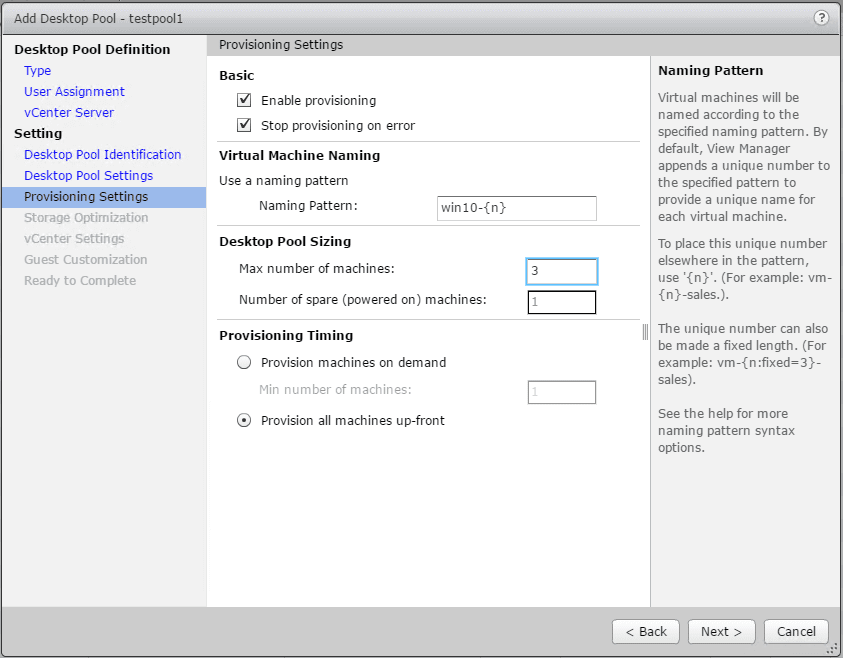
On the Provisioning Settings screen we can configure the number of desktops to provision as well as number of spares.
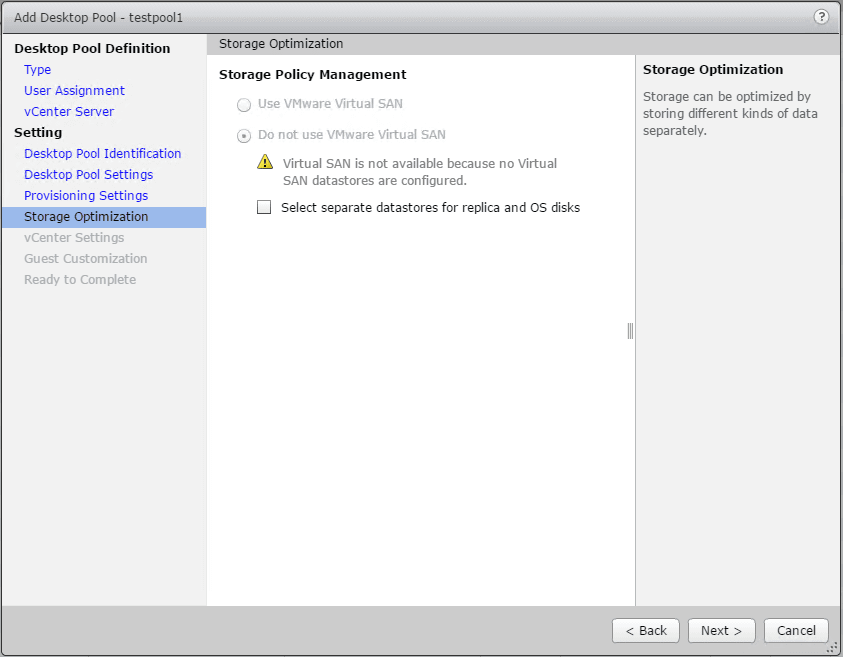
Since I didn’t have VSAN setup on my VDI lab hosts, I didn’t have the option for VSAN, so just went with an iSCSI datastore I had setup already.
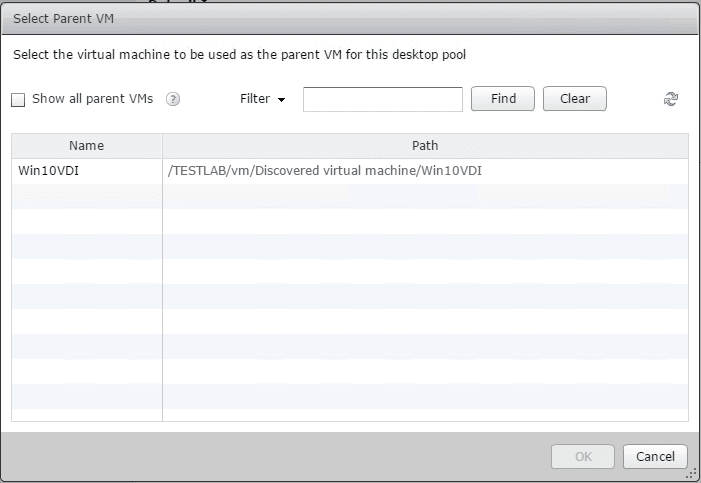
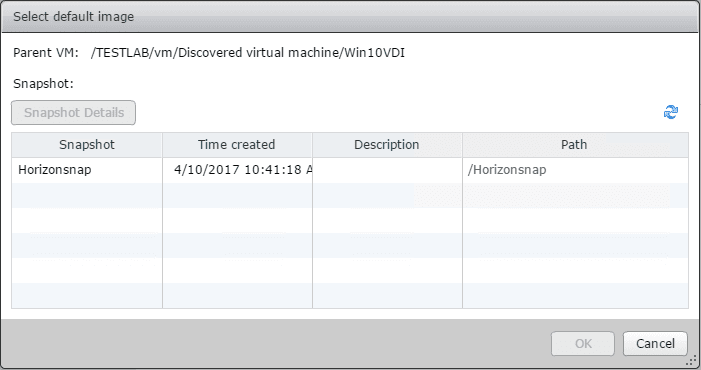
There are a number of configurables on the vCenter settings screen. The first is to select our Parent VM. This is the VM that we need to power off and configure a snapshot for use with Horizon.
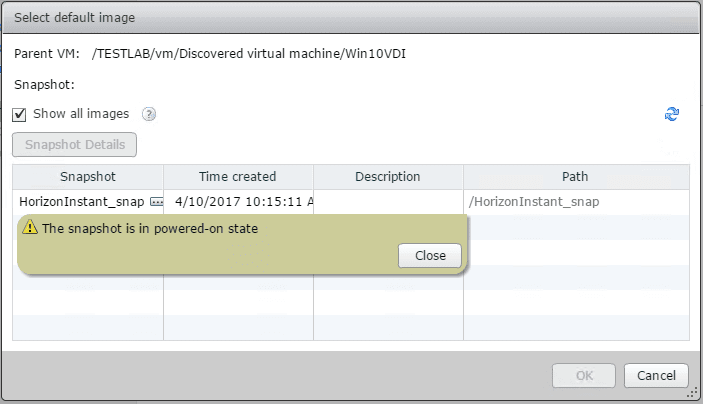
Also, make sure you don’t create a snapshot while the VM is powered on. If you do, you will receive the lovely message below that the snapshot is in powered-on state which can’t be used for the purposes of Instant clones.
After creating a “powered off” VM snapshot, it appears as a valid snapshot to select.
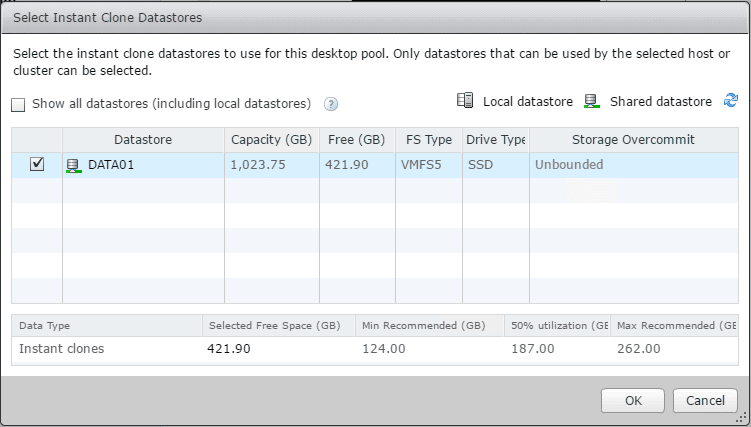
Next, I simply chose an existing iSCSI datastore for use to store my instant clones.
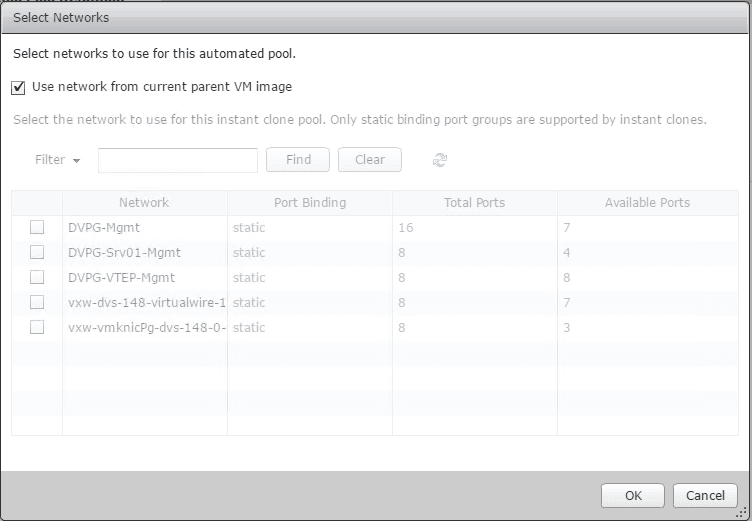
Select network settings for the automated pool. I left the use network from current parent VM image selected.
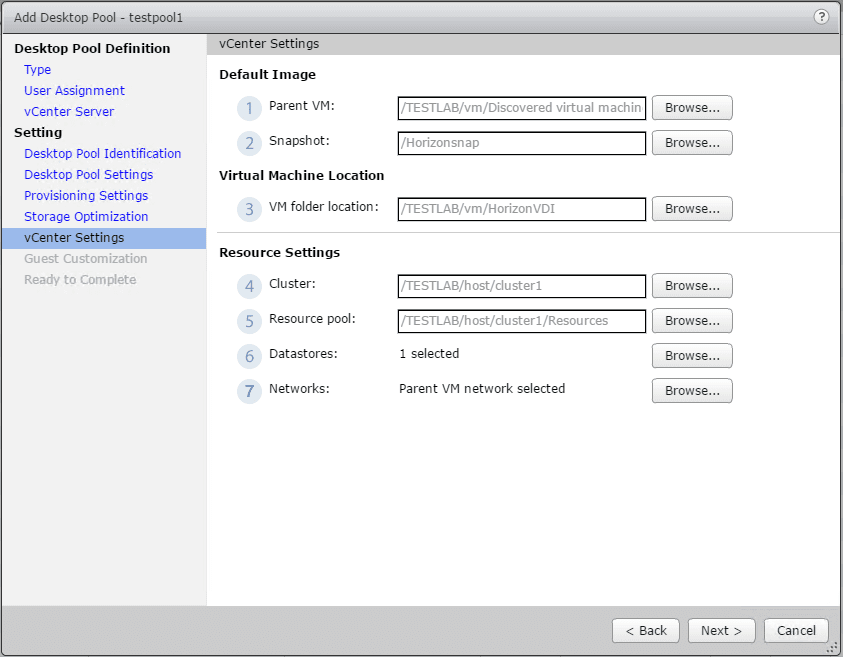
After configuring everything, you should see all the options populated on the vCenter Settings screen.
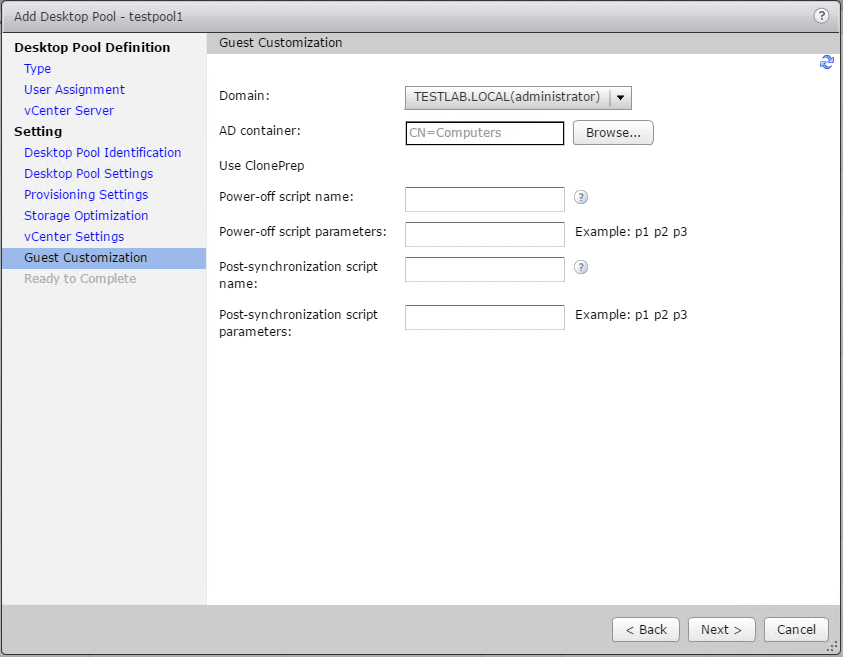
On the guest customization screen, you can select which AD container you want to house your desktop computer accounts that are created as well as customization scripts.
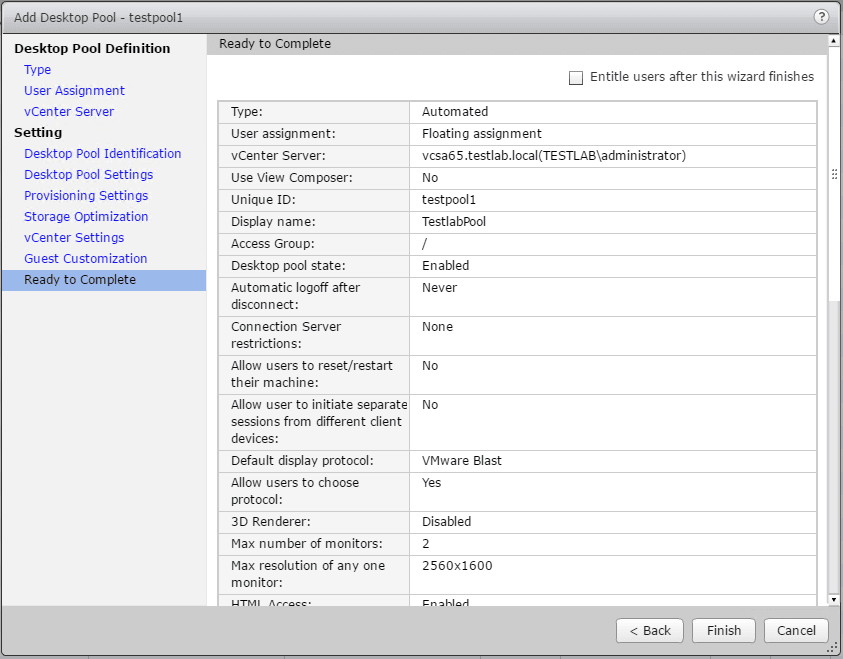
Finally, we are ready to complete the desktop pool creation with the summary of our configuration.
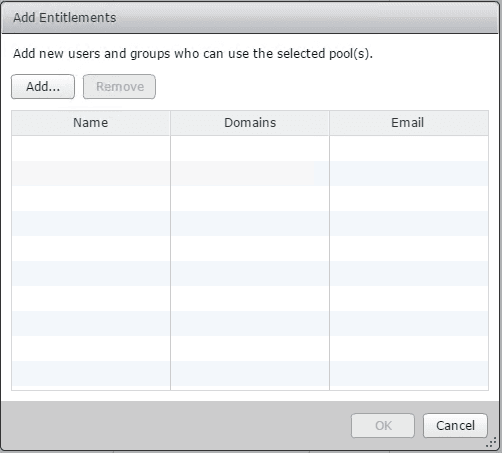
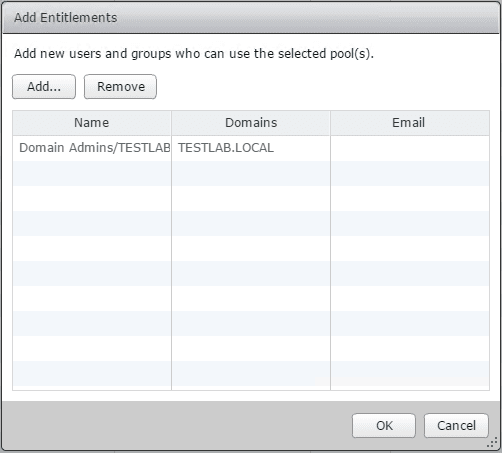
Next, we need to Add entitlement so as to assign which users from Active Directory have access rights to the desktop pool.
The Add Entitlements screen launches. Click Add…
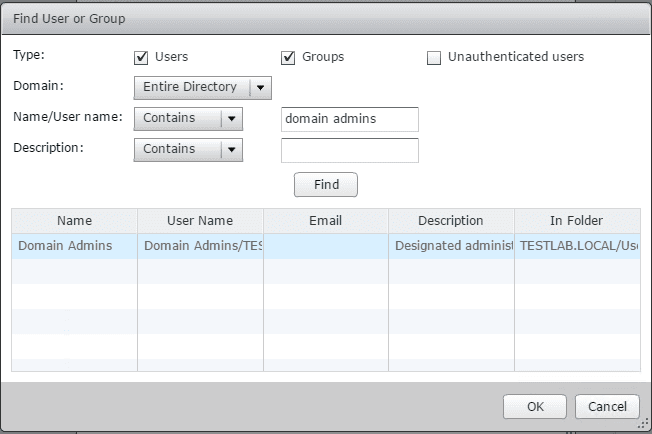
This launches a search feature that allows us to query AD to find groups, users, etc. For the lab, I simply added domain admins to the entitlement for testing.
We should now see our user/groups listed.
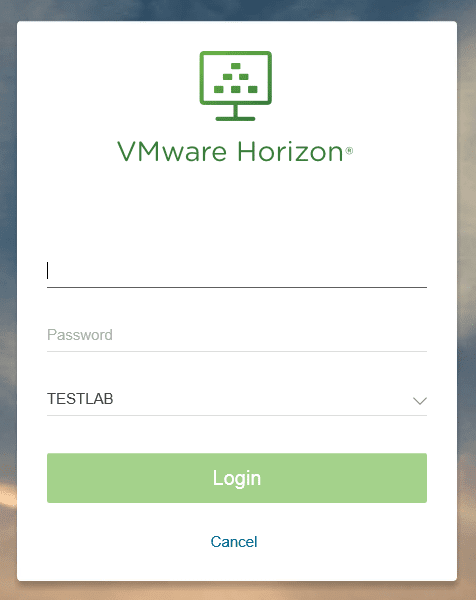
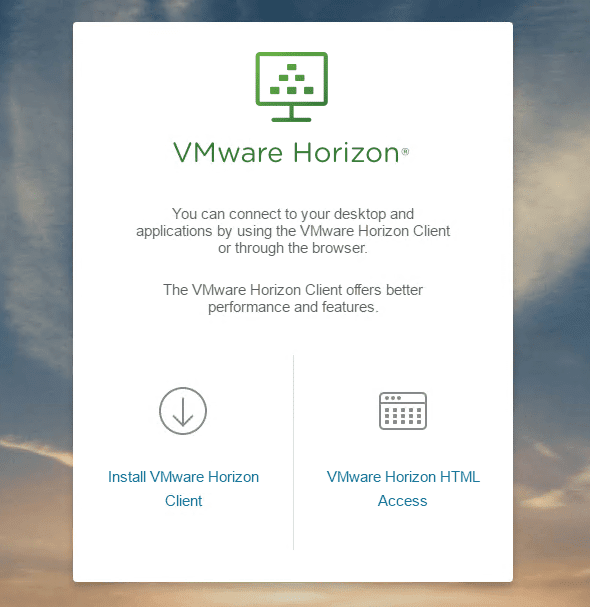
To get to the VMware Horizon web portal, navigate to https://<your Horizon server IP>. As you can see below, we have the option to Install the VMware Horizon Client, or we can access the HTML Access.
The web client login is simple and easy to access the desktop pool.
Thoughts
When we get to the point of creating a desktop pool, this is where the fun begins to start seeing the action take place with VMware Horizon View 7.1. As we are continuing to go through the VMware Horizon series covering how to Create VMware Horizon View 7.1 Desktop Pool is super easy and intuitive in the Horizon web interface.
Horizon Series
Part 1 – Installing VMware Horizon View 7.1 Connection Server
Part 2 – VMware Horizon View 7.1 Composer Install
Part 3 – Setup VMware Horizon View Connection Server vCenter Connection
Part 4 – Optimize Windows 10 for VMware Horizon View 7.1
Part 5 – Create VMware Horizon View 7.1 Desktop Pool


