We begin a series of posts on installing and configuring VMware Horizon 7.1. In this first post, we will begin with Installing VMware Horizon View 7.1 Connection Server which is the first role we need to install to get VMware Horizon View 7.1 up and running in our environment. Let’s take a look at the nuts and bolts of the requirements, obtaining the binaries, installation process and some initial configuration. New features in Horizon View 7.1 include:
- Instant Clones – this is the VM Fork technology now incorporated into Horizon
- Windows 2016 Support for Connection and Composer servers
- Hide Server and Domain Info from being presented in the Horizon Client Interface
- vRealize Orchestrator and Automation plugins
Installing VMware Horizon View 7.1 Connection Server
The first thing that we want to take a look at are the requirements for installing our VMware Horizon View 7.1 Connection server. The below requirements are taken straight from VMware’s Horizon 7 & 7.1 documentation.
Requirements
The minimum requirements for RAM are 4GBs of memory. Most will meet the CPU requirements listed below if you are running anything fairly modern. Since most will be running their connection server in a VM form, the RAM and OS details will most likely be what you want to pay attention to. In my lab environment, to save resources, I provisioned the minimum requirements here.
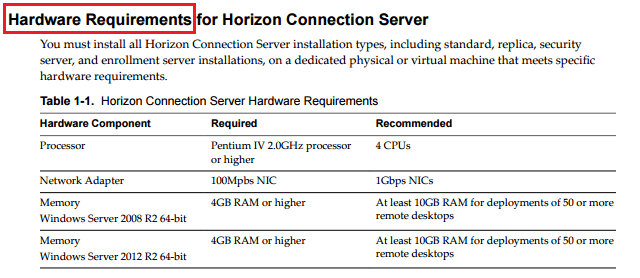
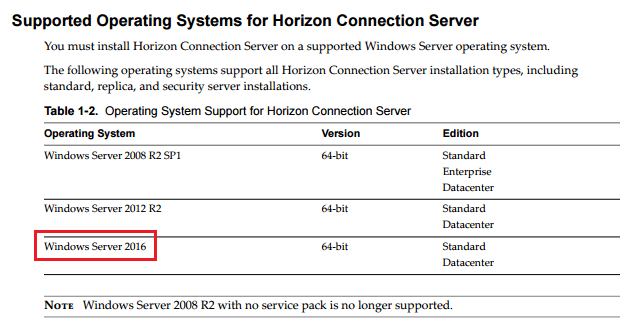
Note, in the above Hardware Requirements documentation, they didn’t update to include Windows Server 2016 which is now supported in Horizon View 7.1. Note in the Supported Operating Systems documentation, they show Windows Server 2016 in the list.
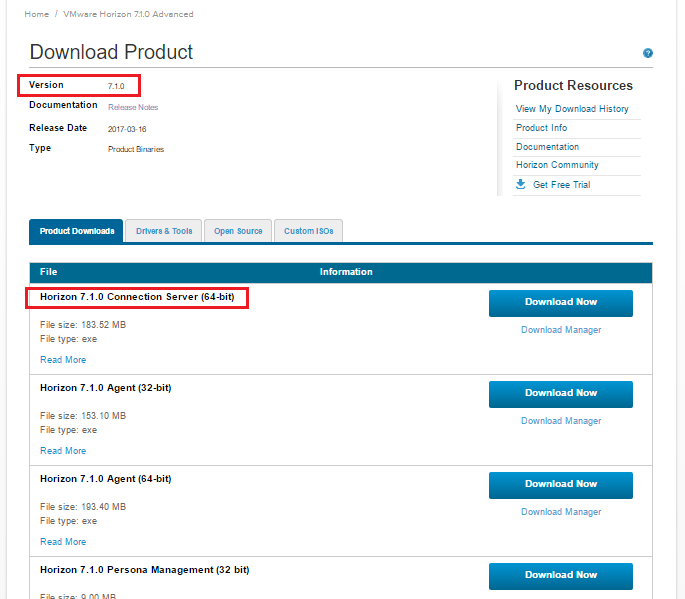
To obtain the binaries for installing Horizon 7.1.0 Connection Server, you will need to login to your VMware account portal and Browse out to the Horizon Download link. Note the version below is 7.1.0 and we want to first download the Horizon 7.1.0 Connection Server (64-bit) installation. As you can see also, the installation package is not that large – 183.52 MB.
Installation
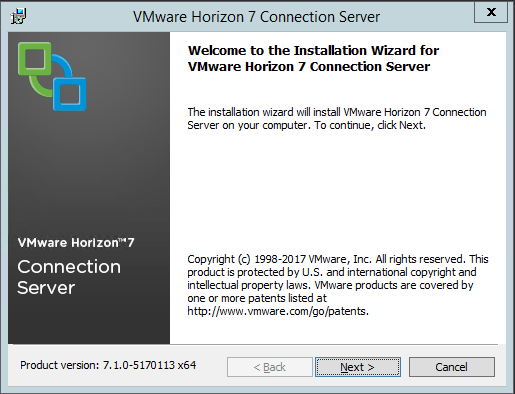
The installation platform I am using is a Windows Server 2012 R2 server, updated, etc. After copying over the Connection Server installation files, simply run the .exe file to begin installation.
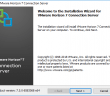
The installation wizard begins.
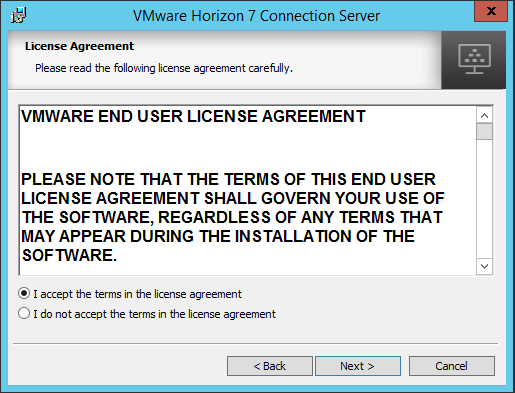
Standard EULA acceptance…
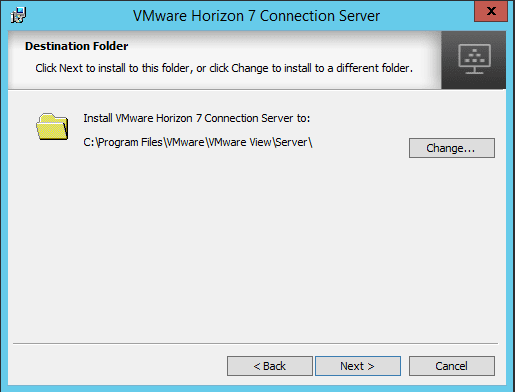
Choose the destination directory for the installation. For most simply accepting defaults here will be fine.
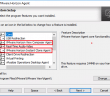
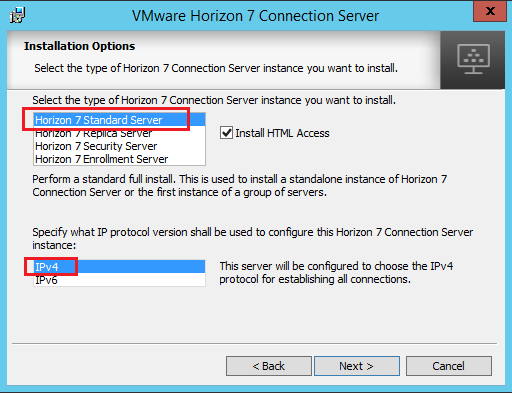
The installation Options screen allows us to choose from several types of installs. Here we will select the Horizon 7 Standard Server. We will go into the other available options in a future post. Also, you can choose to configure either IPv4 or IPv6 for establishing all connections.
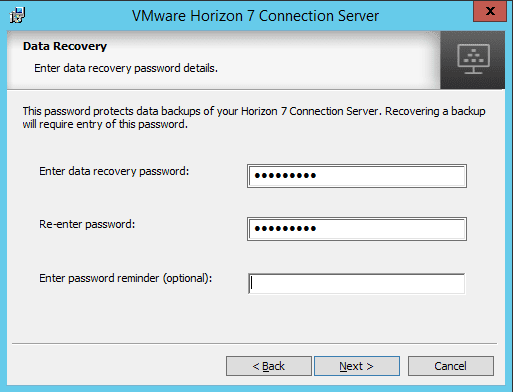
The next screen allows us to set a Data Recovery password that is used in recovering a backup of the Horizon 7 Connection Server.
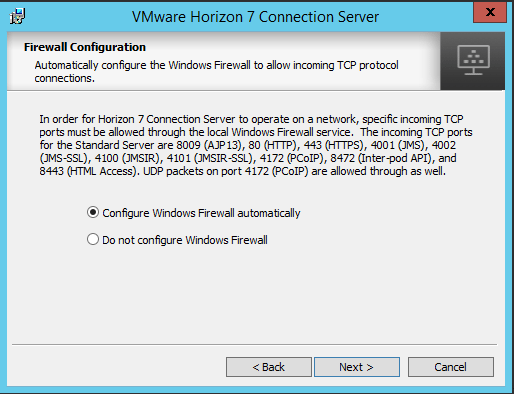
The Connection Server installation will also create all the necessary firewall ports for Windows firewall. The following incoming port allowances include:
- TCP
- 8009, 80, 443, 4001, 4002, 4100, 4101, 4172, 8472, 8443
- UDP
- 4172
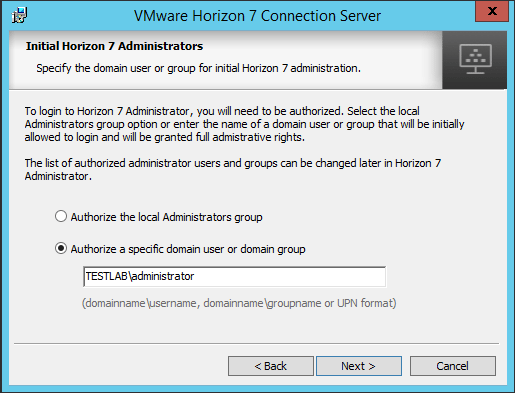
Next, we can specify the Horizon 7 Administrators. For the domain, you can use either a user or a domain group. Best practice here would be to create a specific group for allowing Horizon administration. For the lab, I am simply using the domain admin account.
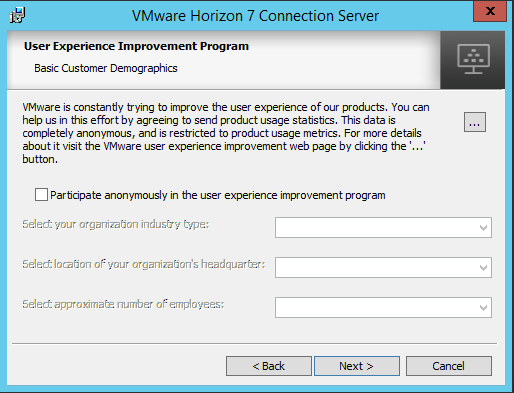
We can choose to participate in the experience improvement program and can make that choice on the below screen.
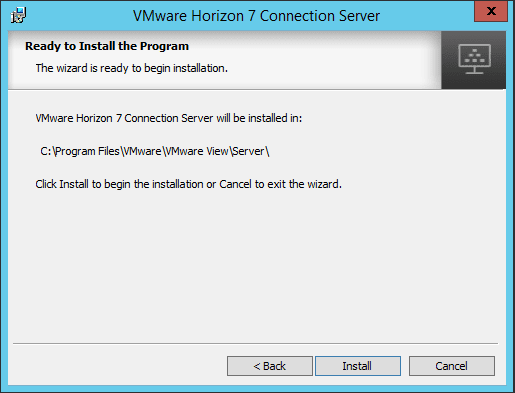
The installation wizard is ready to begin the installation of the VMware Horizon 7 Connection Server.
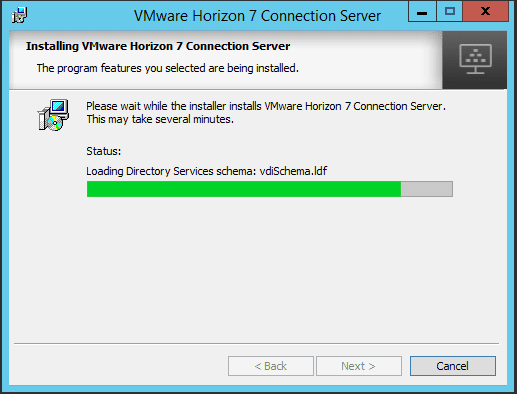
Installation begins.
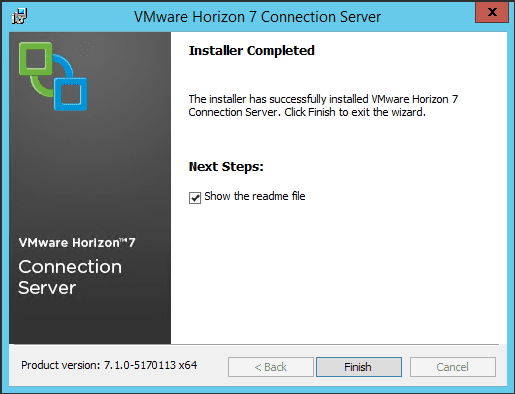
In just a couple of minutes, the installation should be successful.
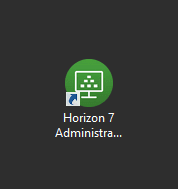
Afterwards, you should have the Horizon 7 Administrator Console icon on the desktop. This icon is simply a shortcut to the https://<servername>/admin URL.
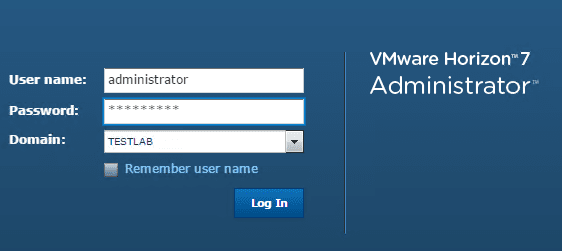
The console login will take you to the VMware Horizon 7 Administrator web console. Here we login with the credential or group member we defined in the installation process.
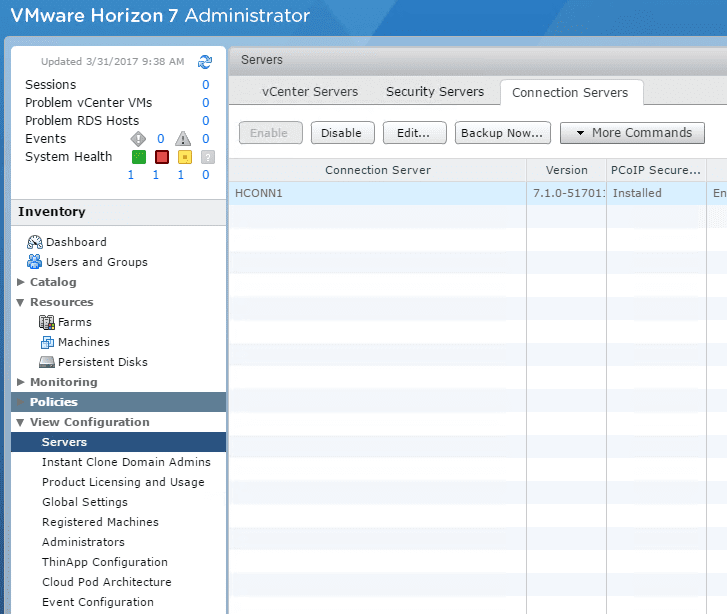
At last, we are at the Horizon Connection Server Administrator Console.
Thoughts
The initial process of Installing VMware Horizon View 7.1 Connection Server is the first step in standing up our VMware Horizon View infrastructure. As you can see, the process is fairly straightforward. Afterwards we have a connection server in place. In the next post in the Horizon View 7.1 series, we will look at more connection server configuration including an events database, security server, and composer server.
Part 1 – Installing VMware Horizon View 7.1 Connection Server
Part 2 – VMware Horizon View 7.1 Composer Install
Part 3 – Setup VMware Horizon View Connection Server vCenter Connection
Part 4 – Optimize Windows 10 for VMware Horizon View 7.1
Part 5 – Create VMware Horizon View 7.1 Desktop Pool
Google is updating how articles are shown. Don’t miss our leading home lab and tech content, written by humans, by setting Virtualization Howto as a preferred source.
About The Author