Getting certificates squared away for your UAG configuration sitting in front of your Horizon infrastructure is a great task to get completed before going into production. You want to make sure you have a trusted certificate in place before placing any web facing solution into production. This includes your Unified Access Gateway (UAG). In this post, I will go through a quick walkthrough Unified Access Gateway UAG certificate install, including how to export a cert from a Windows server and split this out into the files you need to import onto your Unified Access Gateway configuration.
Certificate Request from Windows Server
To get your certificate that you will install on your Unified Access Gateway frontend server(s), you can easily use a Windows Server to formulate the certificate request for the certificate that will be installed.
SSL Certificate Authorities such as Godaddy will have a process you follow to upload the certificate request to their site. They will validate that you are the owner of the domain you are applying for an SSL certificate for. This may be an email to the email address on record, or other means of proving domain ownership. All in all, this is standard stuff most of you have done many times.
So with that out of the way, you install your issued certificate into the certificate store of your Windows Server. This will allow exporting the certificate in a format we need to use to convert to the PEM format the UAG appliance will understand.
Export the SSL Certificate from Windows
Let’s look at the first step to getting the SSL certificate on your UAG appliance. This involves exporting your certificate from the Windows certificate store so that we can use it to import to the UAG appliance.
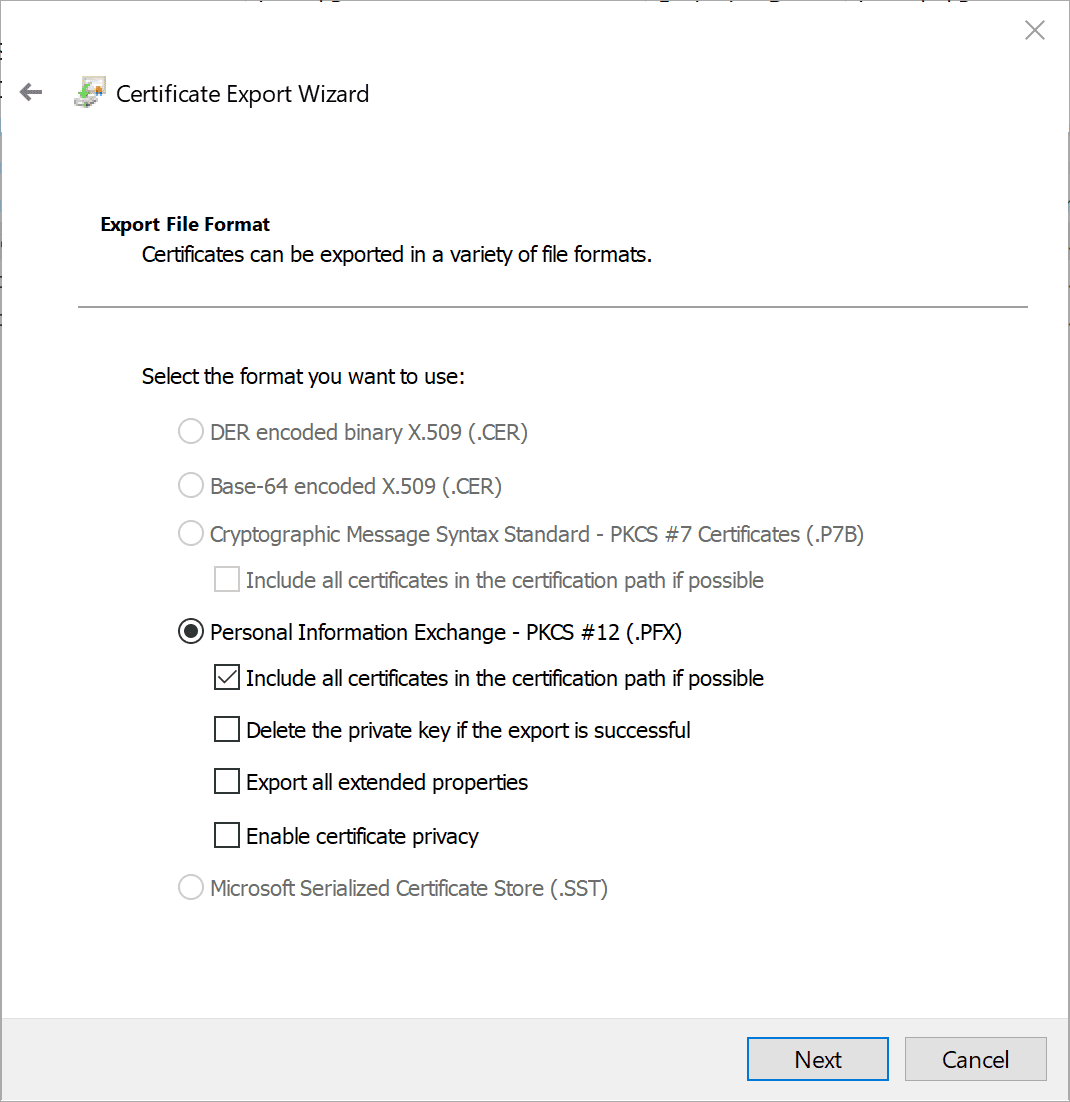
We need to export the certificate as a PFX certificate. This allows exporting the private key. Once we export the PFX certificate, we will need to then convert it to PEM format of both the certificate an the private key.
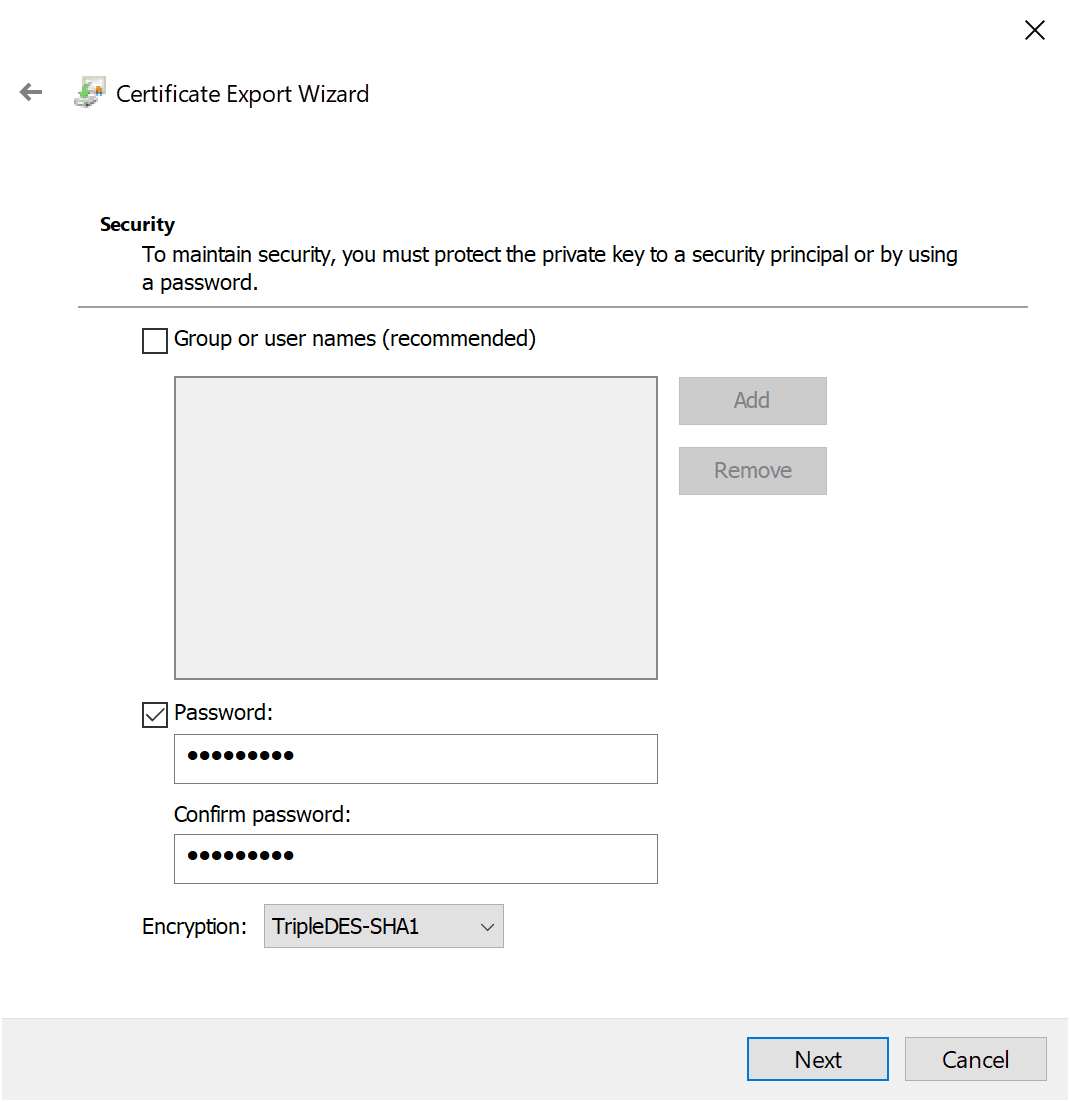
You have to supply a password since we are exporting the private key.
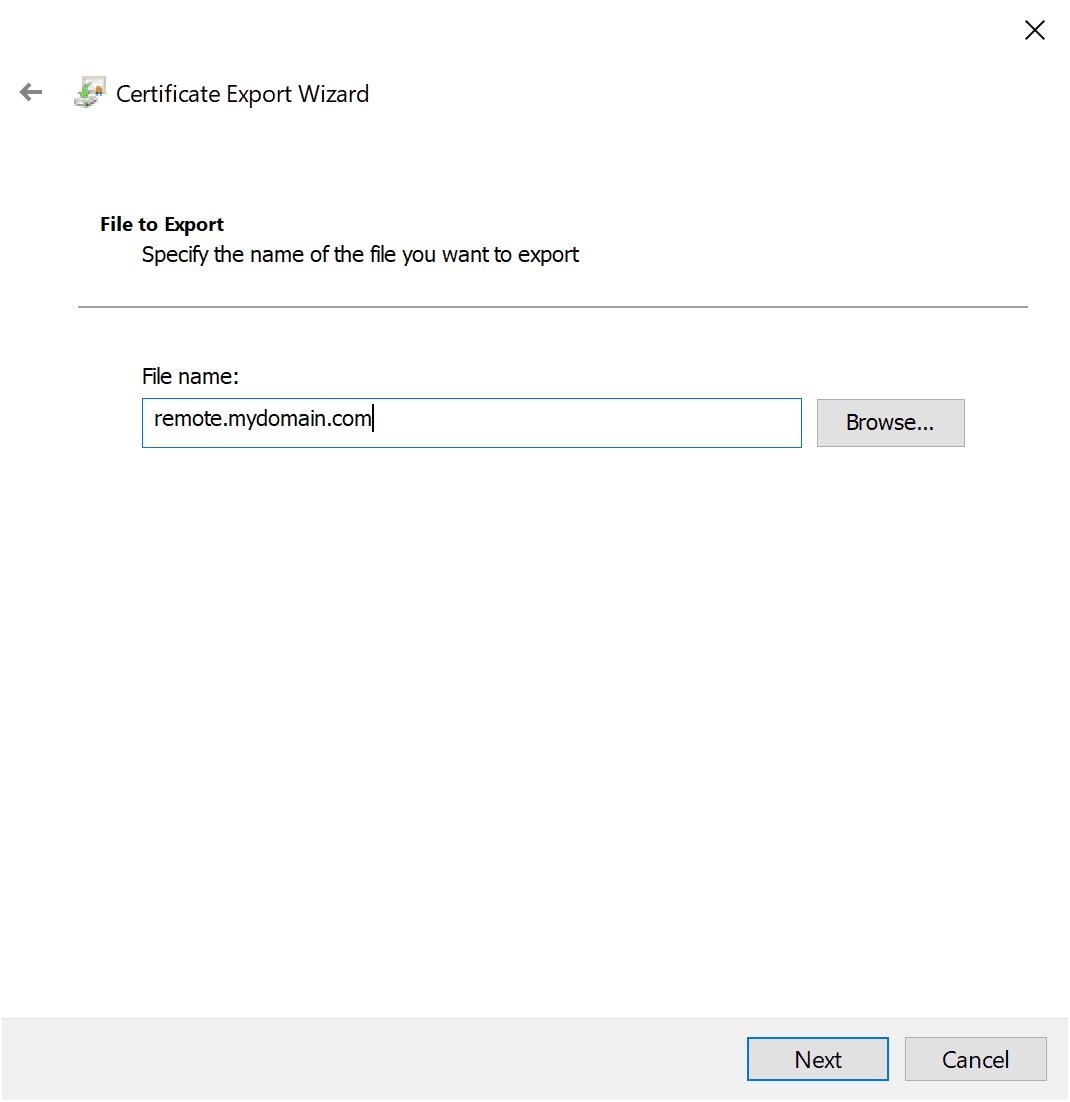
Supply the file name that you want to use for the certificate export.
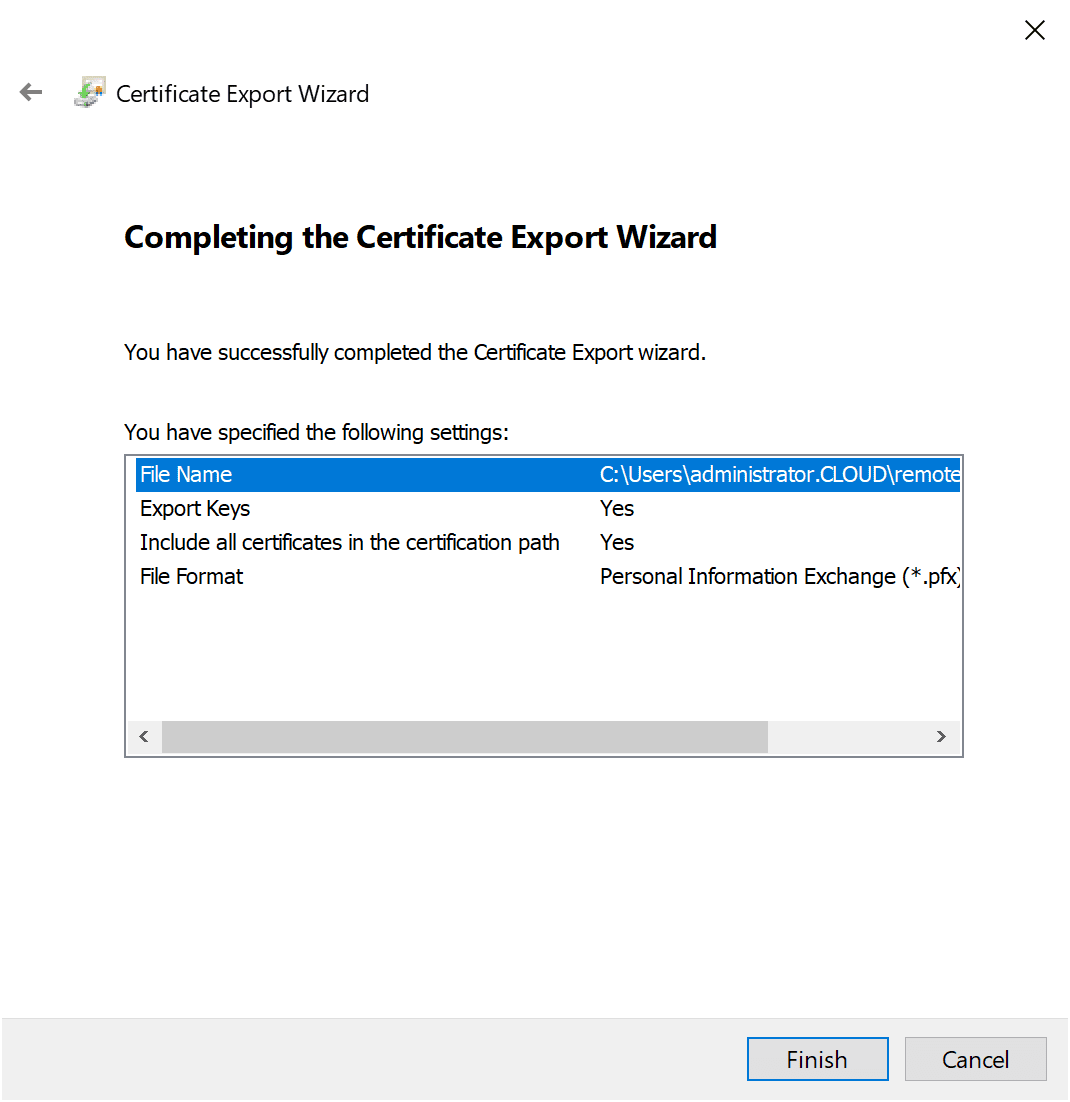
Finish out the certificate export.
Converting the Certificate to PEM format
The next step is to convert the PFX certificate into the format the UAG appliance understands – PEM. With the PEM format, you need to have two files, the certificate file and the private key file.
To get the two files from the one PFX file, we need to use openssl to convert the PFX file to the files needed for the UAG. Here I am simply using a Linux box that I have access to in the lab. Just copied over the PFX file and then run the openssl commands needed for conversion. You will have to supply the password for the PFX file for each command.

openssl pkcs12 -in yourPFX.pfx -nocerts -out yourfile_pk.pem -nodes

openssl pkcs12 -in yourPFX.pfx -nokeys -out yourfile_cert.pem -nodes
Unified Access Gateway UAG Certificate Install
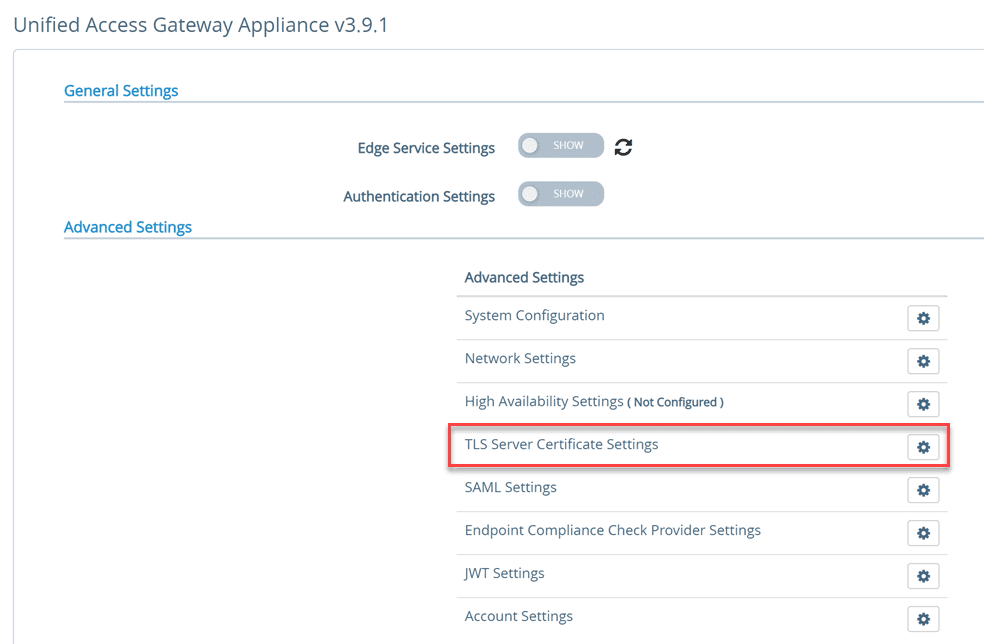
Login to the UAG appliance and navigate to the Advanced Settings > TLS Server Certificate Settings.
This will launch the TLS Server Certificate Settings dialog box. Choose the Private key and the Certificate Chain file. These are the two files that were created using openssl.
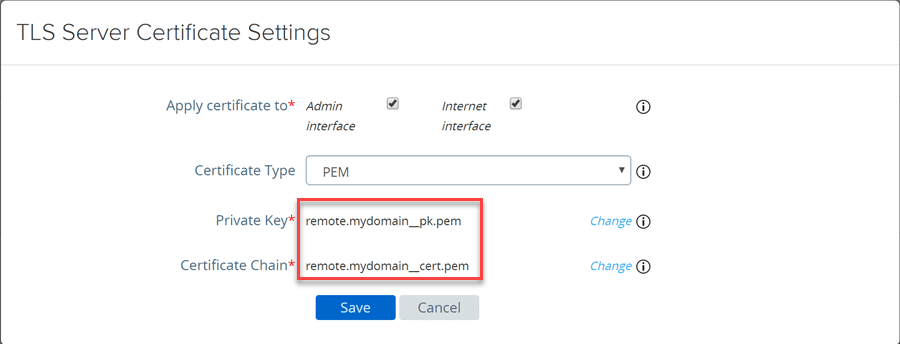
After installing the certificates, click the Save button. When you click the Save button, the UAG appliance interface will restart.
Wrapping Up
The Unified Access Gateway UAG Certificate Install is easy to accomplish using a Windows Server box to initiate the certificate request. After you have the certificate in place in the Windows certificates store, you can then export as a PFX for coverting.
After you get the PFX file, you can use a Linux box to split up the PFX file into the two PEM files needed for installation on the UAG box. The files include the certificate chain file as well as the private key file.
After you have these two files, you simply initiate the TLS server certificate configuration to install the new certificate on your UAG appliance.
Google is updating how articles are shown. Don’t miss our leading home lab and tech content, written by humans, by setting Virtualization Howto as a preferred source.
About The Author