Up until a few days ago, there were two ways to deploy the Unified Access Gateway appliance (UAG). You had the ability to deploy the appliance using the standard means of deploying an OVA appliance. Additionally, there was the approach of using the PowerShell deployment method. Just a few days ago, by way of VMware Flings, you can now use a new Unified Access Gateway Deployment Utility to deploy the UAG in your environment. This allows you to have a third means of deploying the utility which in my opinion looks cleaner and better organized than the OVA deployment from within vSphere. Let’s take a look at how to deploy VMware UAG with New Unified Access Gateway Deployment Utility fling.
What is the Unified Access Gateway Deployment Utility Fling?
For those that aren’t familiar with VMware flings, they are awesome. Many of the great features that actually find their way to production tools and utilities and functionality built into new releases of software, start out as flings.
The new Unified Access Gateway Deployment Utility is a new VMware fling that provides another means for deploying the UAG appliance. It is more streamlined than simply deploying the UAG OVA file manually using the vSphere Client.
Basically, you feed it the OVA file and the config parameters and it deploys the appliance in your vSphere environment. The inputs for config parameters such as the network settings are much better organized than the inputs from the OVA deployment process in vSphere.
For instance, the network config using the vSphere Client has the IP address, subnet, and gateway all split up, so you enter one and then have to scroll down the page to find the next config and it is intermixed with IPv6 and other inputs, so it is easy to miss something or misconfigure.
These inputs are much more logically grouped in the UAG Deployment Utility fling. Another great feature of the deployment fling is that it automatically creates the json file that you need if you want to use the PowerShell deployment method. So, you can potentially use this to stand up your first appliance, and then use PowerShell to deploy using the created input file.
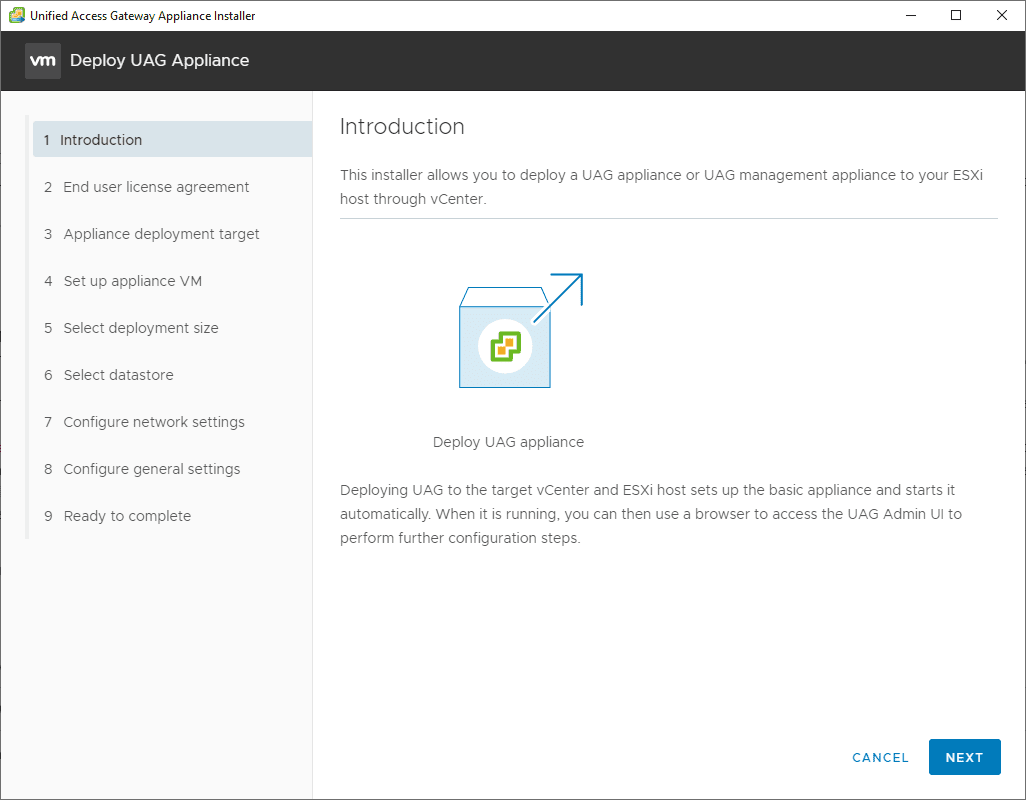
As you will see in the screenshots below, the look and feel of the deployment utility is the same type of look and feel you see with the current deployment of a VCSA appliance.
Download and Requirements
You can check out the Unified Access Gateway Deployment Utility fling at the following URL:
The requirements include:
- You will need to have the UAG OVA file downloaded from VMware
- Platform requirements include:
- Windows 10
- Windows Server 2016
- macOS 10.14+
Deploy VMware UAG with New Unified Access Gateway Deployment Utility Fling
After downloading the ZIP file that contains the UAG Deployment Utility, you will need to extract the ZIP file.
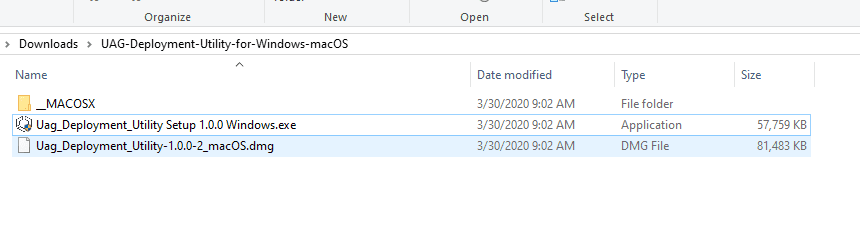
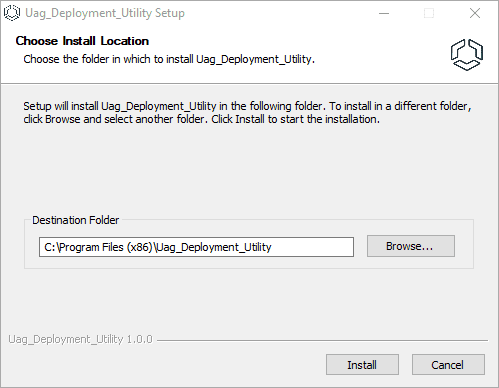
The deployment utility needs to be installed first. So simply execute the EXE file in the ZIP file package and install the utility.
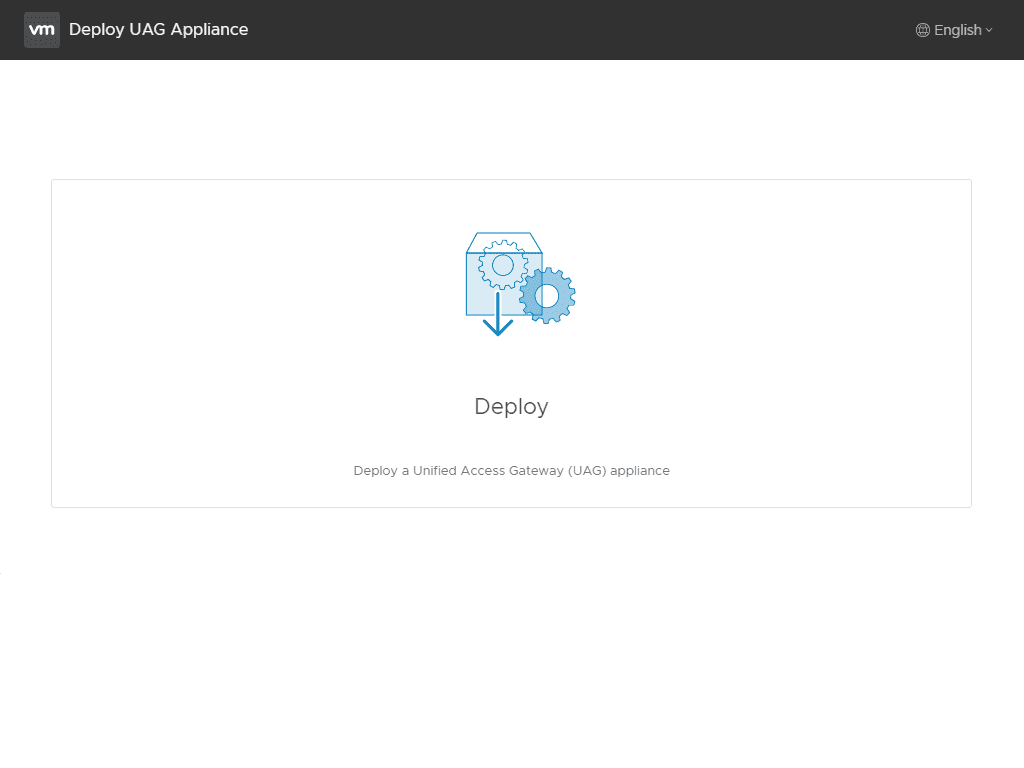
Launching the utility. The interface looks identical to the VCSA appliance deployment utility. Click the deploy button to get started deploying.
This will launch the Deploy UAG Appliance wizard. Click next on the introduction screen.
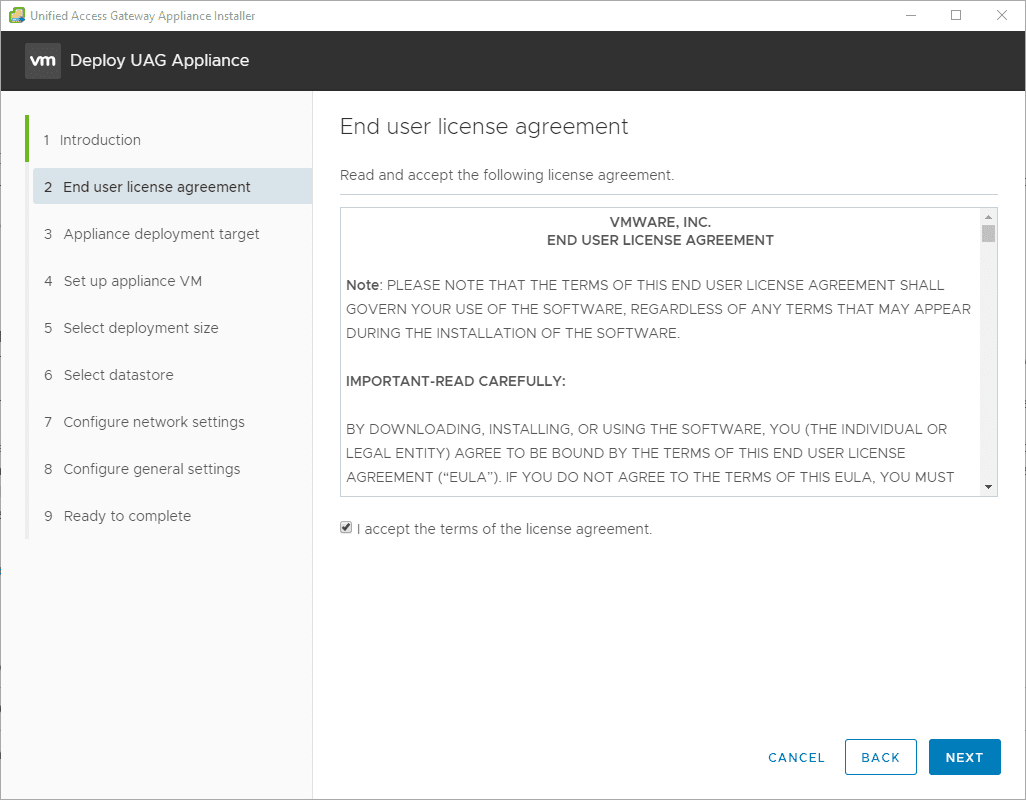
Accept the EULA for the UAG deployment process.
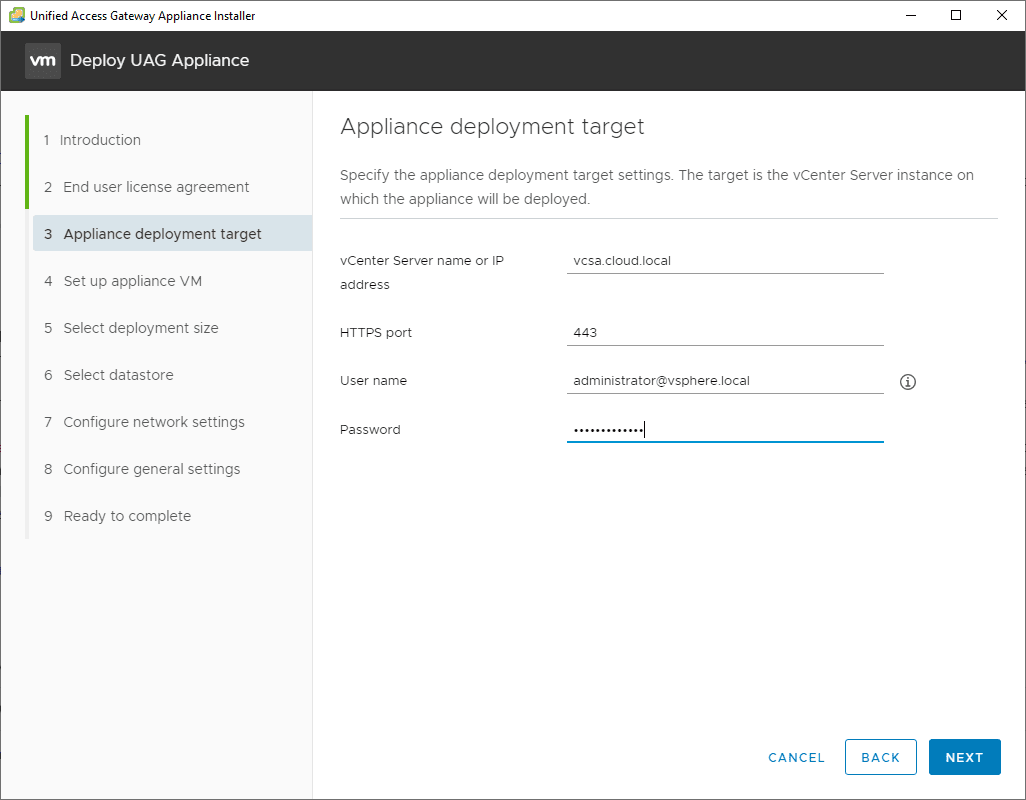
The first thing you will need to do is connect the deployment utility to a vCenter environment. Enter your connection information for your vCenter Server.
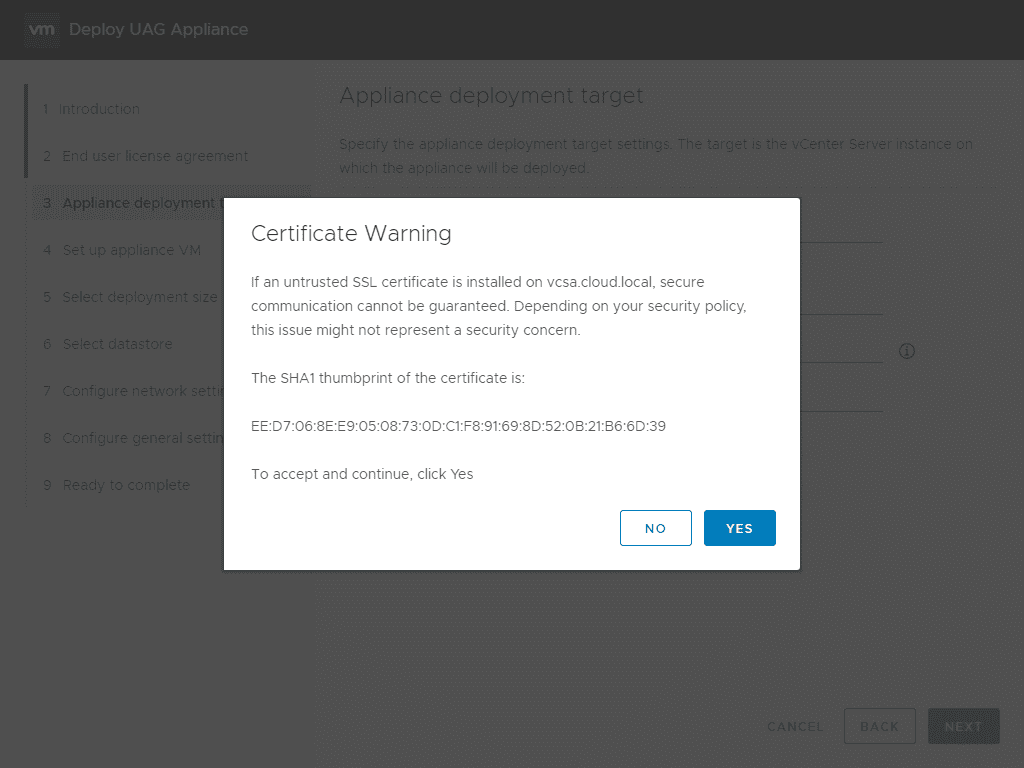
Accept warning for the certificate.
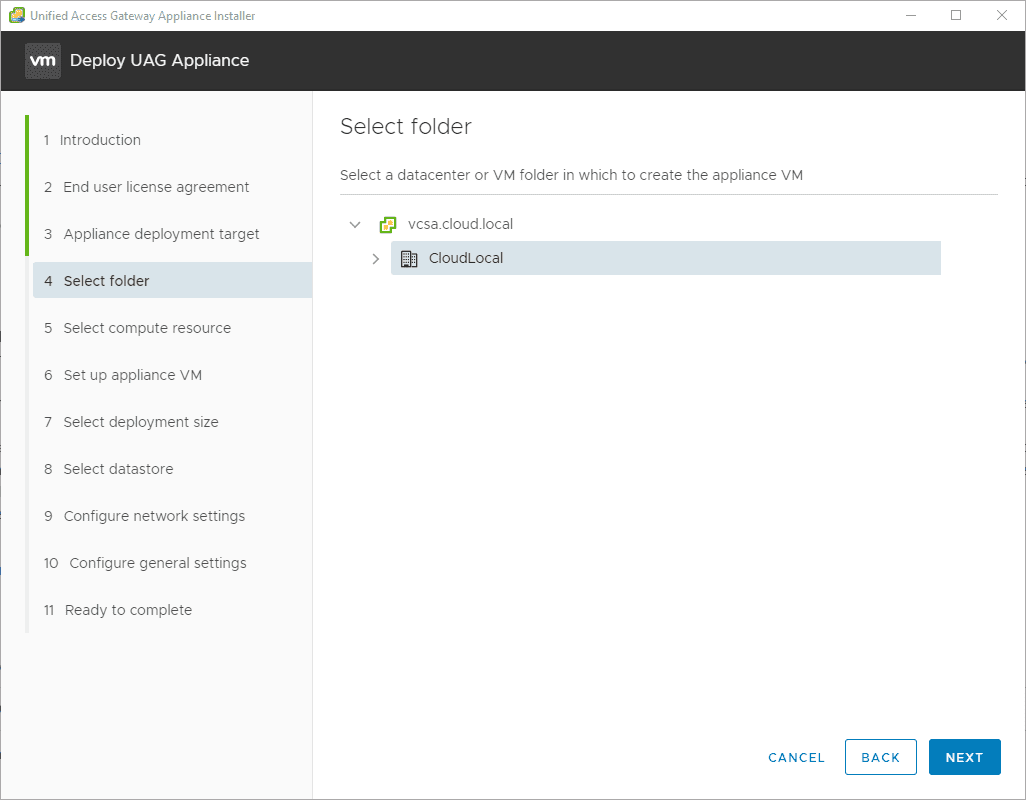
Select the folder in your vSphere inventory where you want to deploy the UAG appliance.
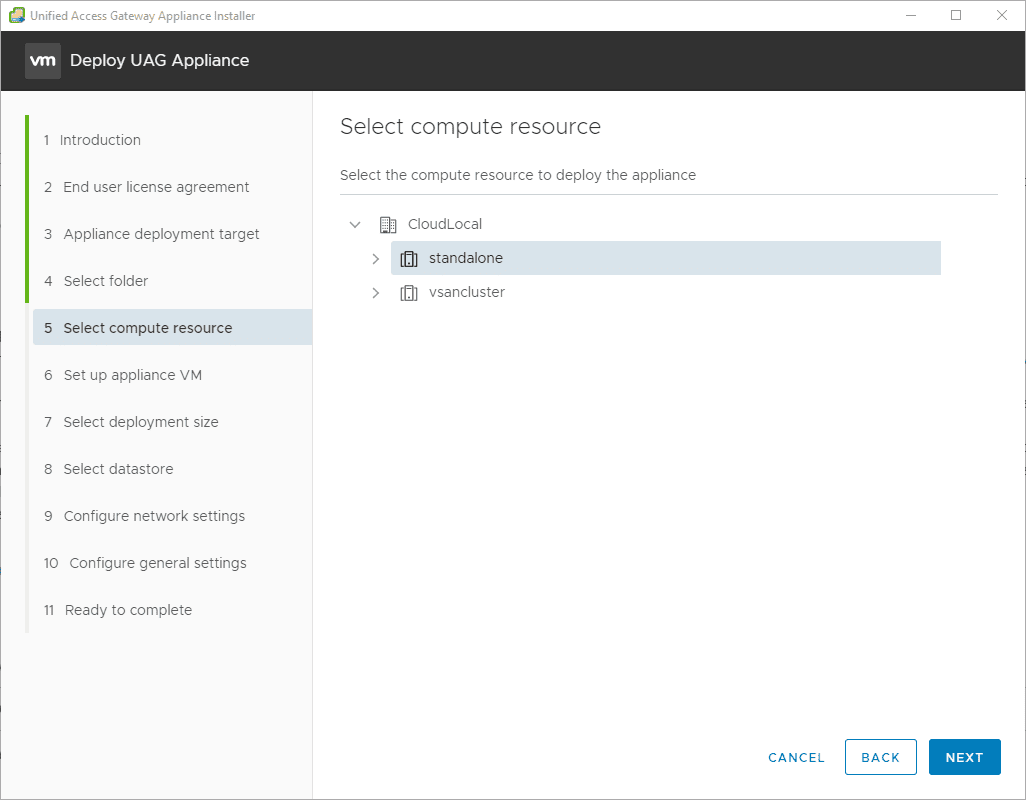
Select your compute resource.
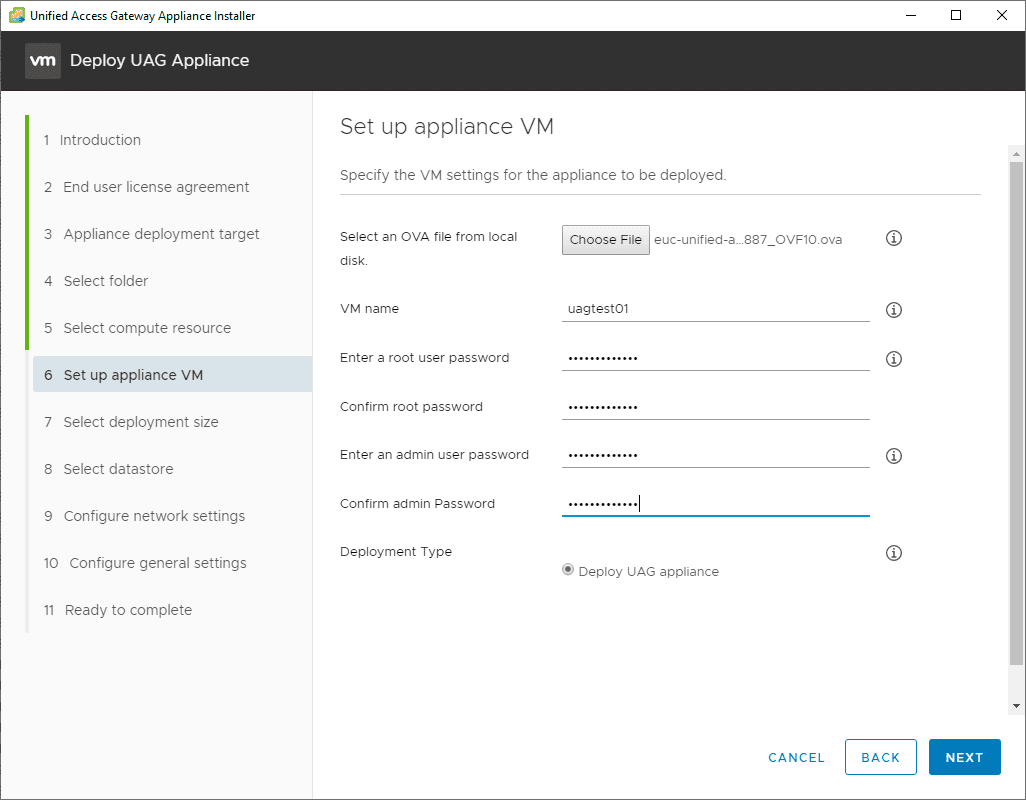
On the Set up appliance VM step, choose the OVA file that you have downloaded from VMware for the UAG appliance. Here also, you will define the VM name, root password, admin password, and deployment type.
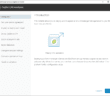
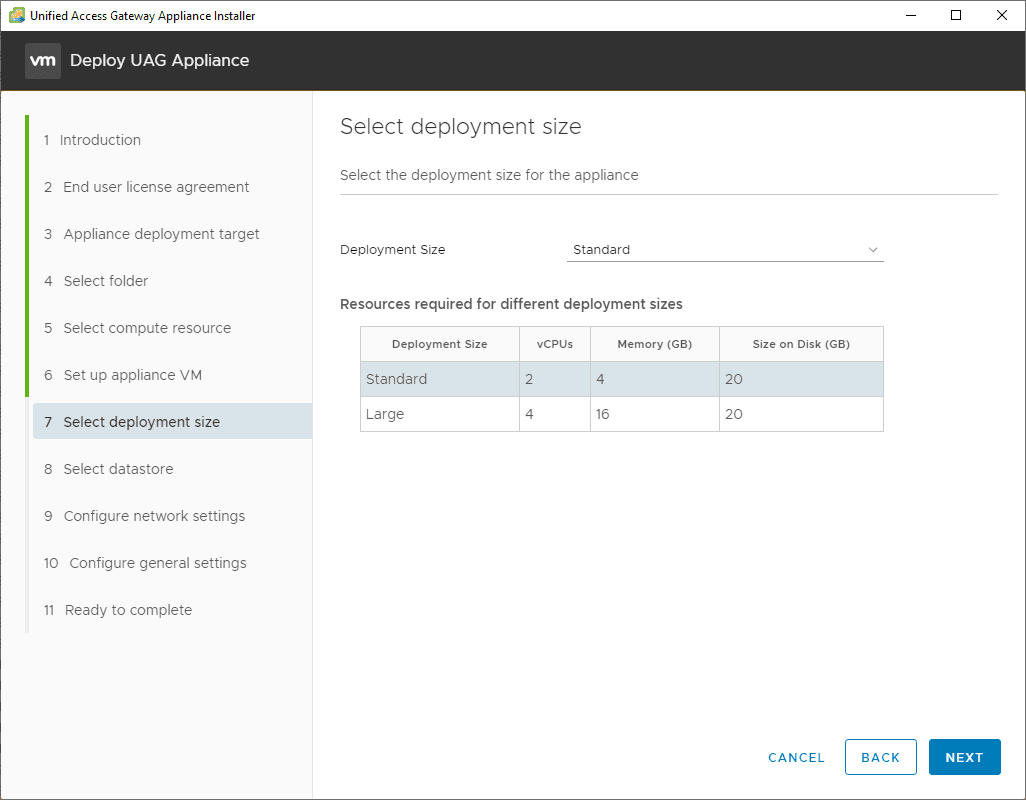
You have the option for sizing the appliance. The installer displays the configuration differences between the standard and large configurations.
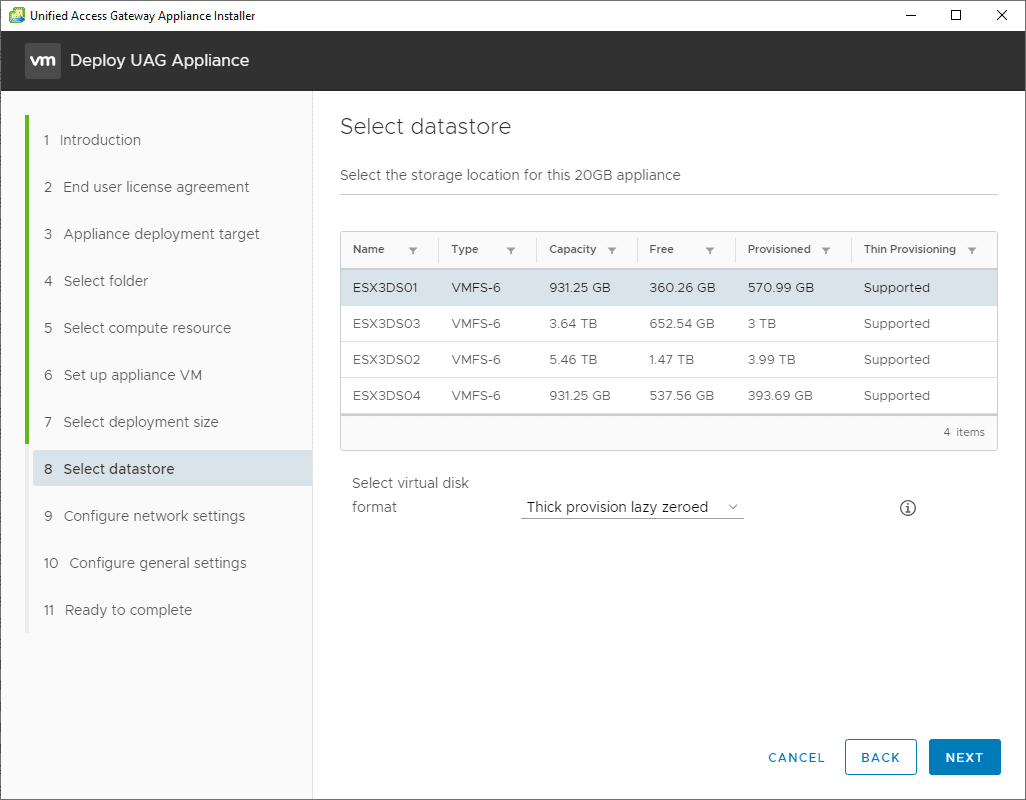
Select your target storage datastore for deploying the UAG appliance. You can also choose the virtual disk format (thick vs thin).
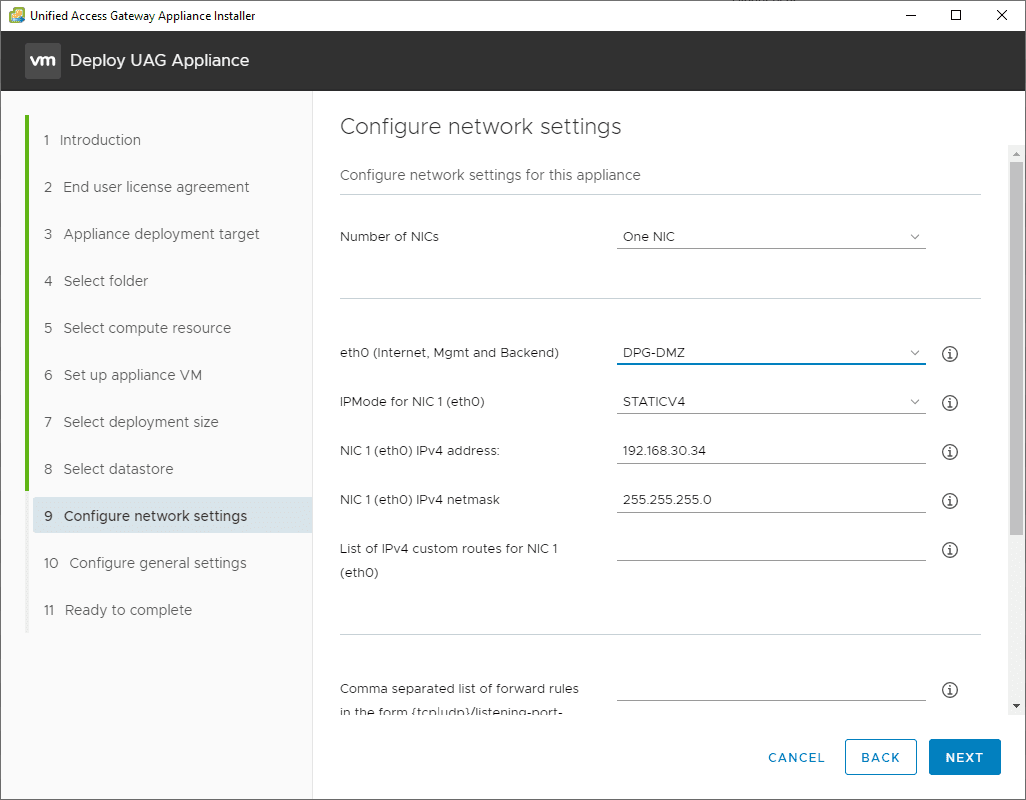
Configure your network settings for the UAG appliance. Enter the virtual network settings, IP address information, etc. This is much better arranged in the deployment utility than in the standard OVA deployment where the network settings are separated out all over the place.
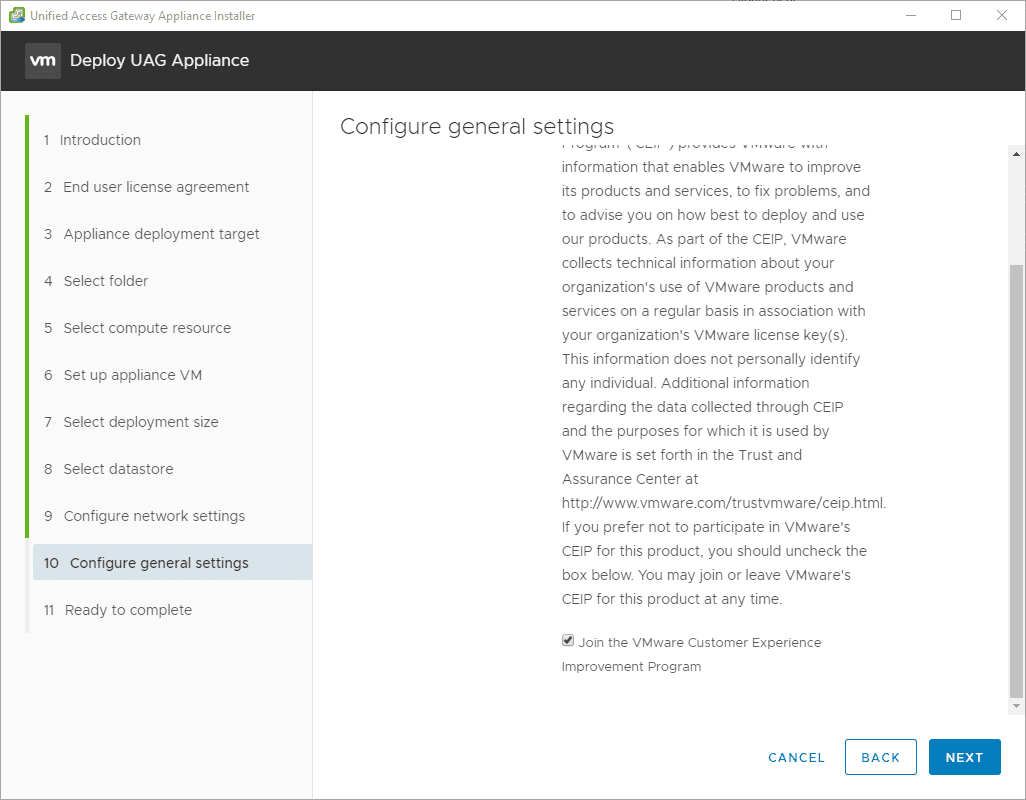
Choose your CEIP options.
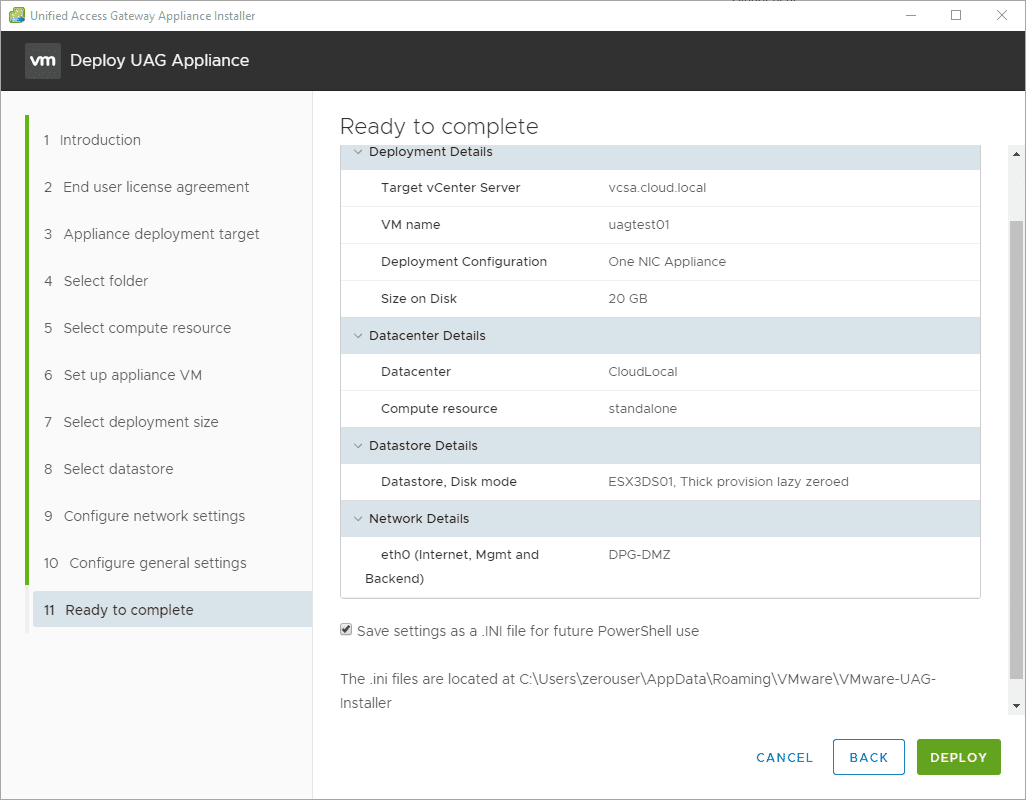
Ready to begin the installation. You can choose to Save settings as an INI file for future PowerShell use.
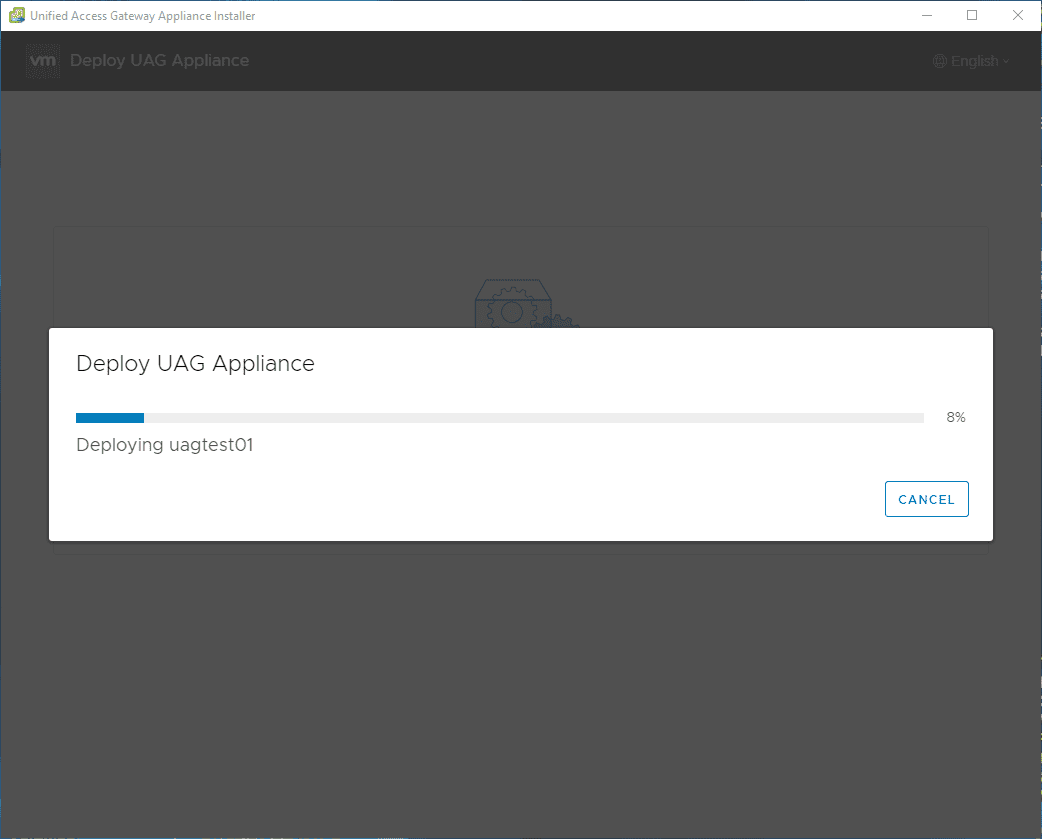
Deployment of the appliance begins.
Wrapping Up
This looks to be a great addition to the methods of installing the UAG appliance in your vSphere environment. I really like how it streamlines the settings into a better experience for configuration. The OVA deployment through vSphere is a bit cumbersome. There are a few things missing here that I would like to see such as the ability to control SSH in the deployment utility. No doubt, these will be coming in future releases of this fling.
Check out other UAG resources written about in the past:
- HA High Availability to Remote Workers with VMware UAG HA
- Enable Two-Factor Authentication for VMware Horizon UAG
- VMware Unified Access Gateway UAG 3.8 Installation and Configuration
Google is updating how articles are shown. Don’t miss our leading home lab and tech content, written by humans, by setting Virtualization Howto as a preferred source.
About The Author