If you want to play around with KVM virtualization inside of VMware Workstation, this is quick and easy to do with a few steps. Let’s take a look at how to install KVM Ubuntu Server VMware Workstation. The VM used for this post was an Ubuntu 14.04 64 bit server installation.
Install KVM Ubuntu Server VMware Workstation
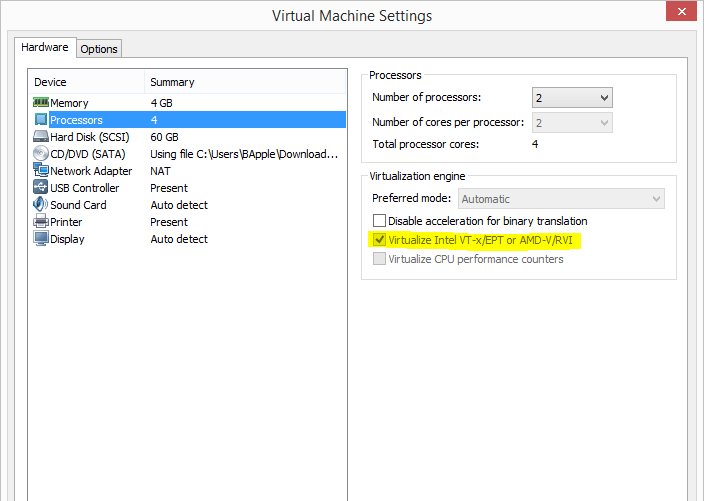
The first thing that we need to do is properly set the virtual CPU inside of VMware Workstation so that it can perform nested virtualization. To do this, click on your “Processors” and make sure under the virtualization engine you have Virtualize Intel VT-x/EPT or AMD-V/RVI checked. This will allow KVM to function properly in the nested configuration.
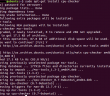
Once your Ubuntu VM is installed and booted, you can check that you indeed have the KVM acceleration support enabled by issuing the following command:
egrep -c '(vmx|svm)' /proc/cpuinfo
Alternatively you can also issue the kvm-ok command. To do that however, you will need to install the cpu-checker package:
sudo apt-get install cpu-checker
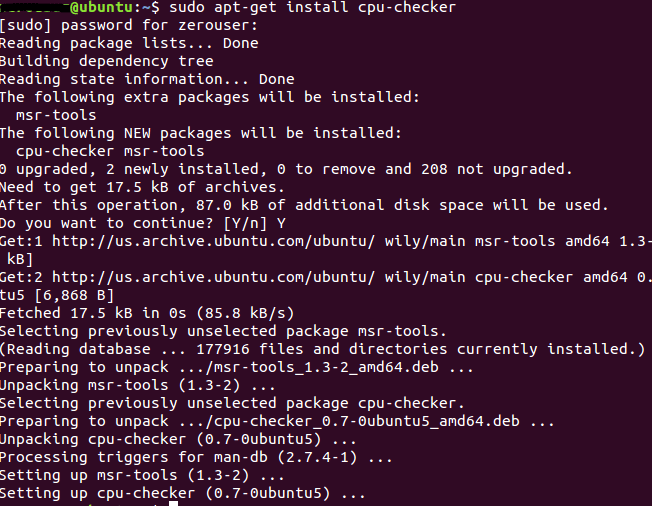
You should see a message kvm acceleration can be used after issuing the kvm-ok command if you have the support enabled.
KVM Install:
Installing KVM is easy using this command:
sudo apt-get install qemu-kvm libvirt-bin ubuntu-vm-builder bridge-utils
You need to add your user to the libvirtd group. To do that, simply issue this command:
sudo adduser 'root' libvirtd
Then log out and back in.
Virtual Machine manager:
To manage my virtual machines, I used another Ubuntu 15.10 desktop machine to install the virt-manager package on. To install virt-manager, issue this command:
sudo apt-get install virt-manager
Now you are ready to start playing around with creating some Virtual machines.
Windows VM
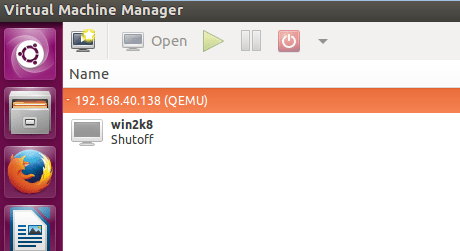
I played around with a Windows 2012 R2 VM as the first VM that I created in the KVM environment. This was fairly straightforward. After you launch Virtual Machine Manager, just click the button at the top left to “create a new virtual machine” and follow the prompts to assign storage, networking, and compute resources. As you can see below I have the Windows server VM ready to go.
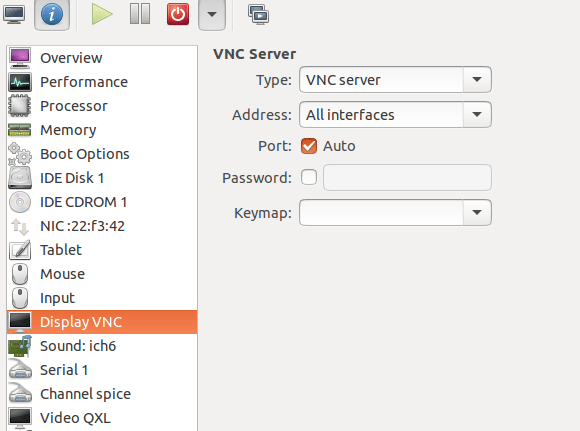
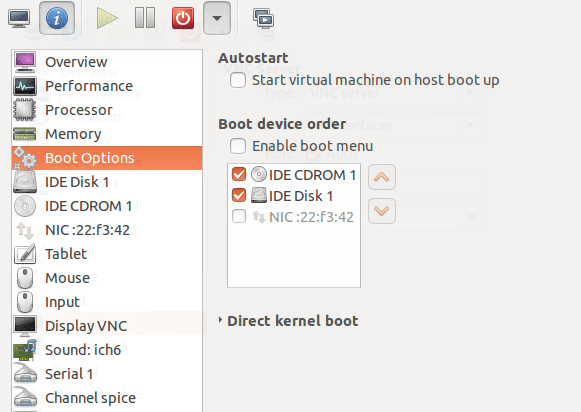
I had an issue right at first where I couldn’t see the console. I changed the Console display type to VNC Server and this seemed to resolve that issue.
Also, the VM wouldn’t boot from the ISO I had mounted at first. However, this is resolved under the Boot Options as you have to place a check by the Boot device for IDE CDROM to actually activate it.
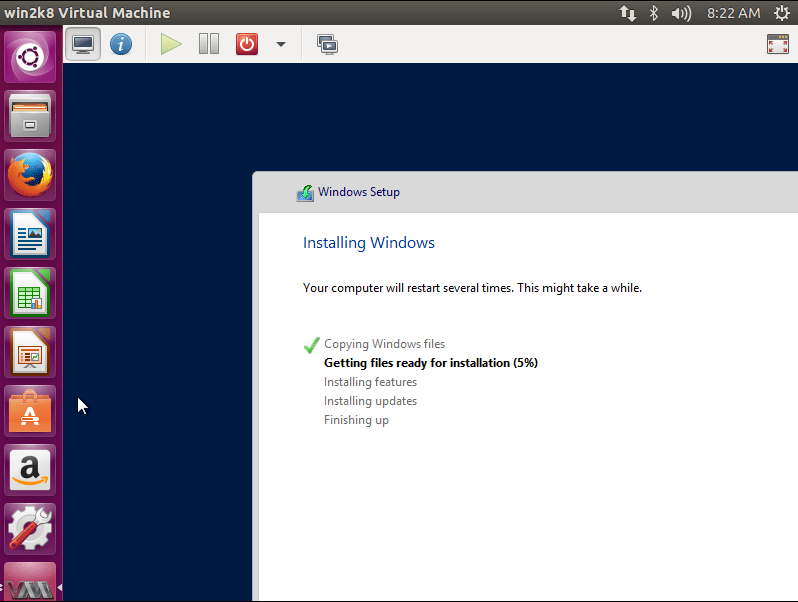
After doing the above, I was able to get a Windows 2012 R2 VM up and running and then successfully install the OS.
Final Thoughts
KVM is still a maturing technology but is widely available in most Linux distros. Hopefully this post on how to Install KVM Ubuntu Server VMware Workstation can help most with getting a lab version of KVM up and running inside of VMware Workstation.
Google is updating how articles are shown. Don’t miss our leading home lab and tech content, written by humans, by setting Virtualization Howto as a preferred source.
About The Author