


So, in case you haven’t heard yet, TrueNAS has released their official plugin for Proxmox. It means they now have a sanctioned, official plugin that they develop and support for working with Proxmox and TrueNAS storage. This is great news since when vendors get behind the plugin development, we see much greater traction and adoption. They often have many more resources to throw at it as well. If you haven’t read the details, check out my post announcing the new plugin and the details here: TrueNAS Just Fixed One of Proxmox’s Biggest Storage Headaches.
What this plugin changes
This plugin changes a lot of the heavy lifting with the management aspects of configuring your backend storage with TrueNAS. It talks to the TrueNAS API and the iSCSI target. When Proxmox then requests a VM disk, the plugin is designed to create a corresponding ZFS volume, iSCSI extend, and then also map that extent to the target automatically. Pretty cool.
Below is a look at the plugin menu which we will describe in detail below.
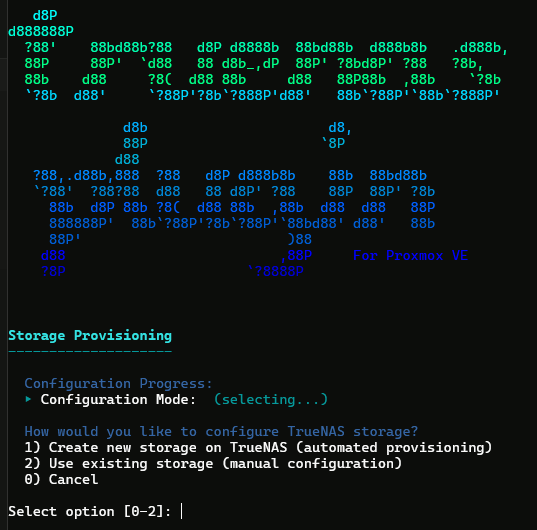
Also, just a quick overview of some features here, you get snapshots, thin provisioning, resizing, iSCSI and NVMe/TCP transport and also clustering with multi-access to your storage.
Build the TrueNAS side first
I will show you what I have built on the TrueNAS side first. First of all, for this lab exercise, I am not really worried about hardware performance or things like passing through physical disks. This is for learning, so I am treating it that way and not worried if this doesn’t “feel” the quickest. This is just to get the feet wet with the plugin and how to get up and running with it.
I am running TrueNAS SCALE version 25.10.7 “Goldeye”. Keep in mind it does require TrueNAS 25.10 for the plugin to be compatible.
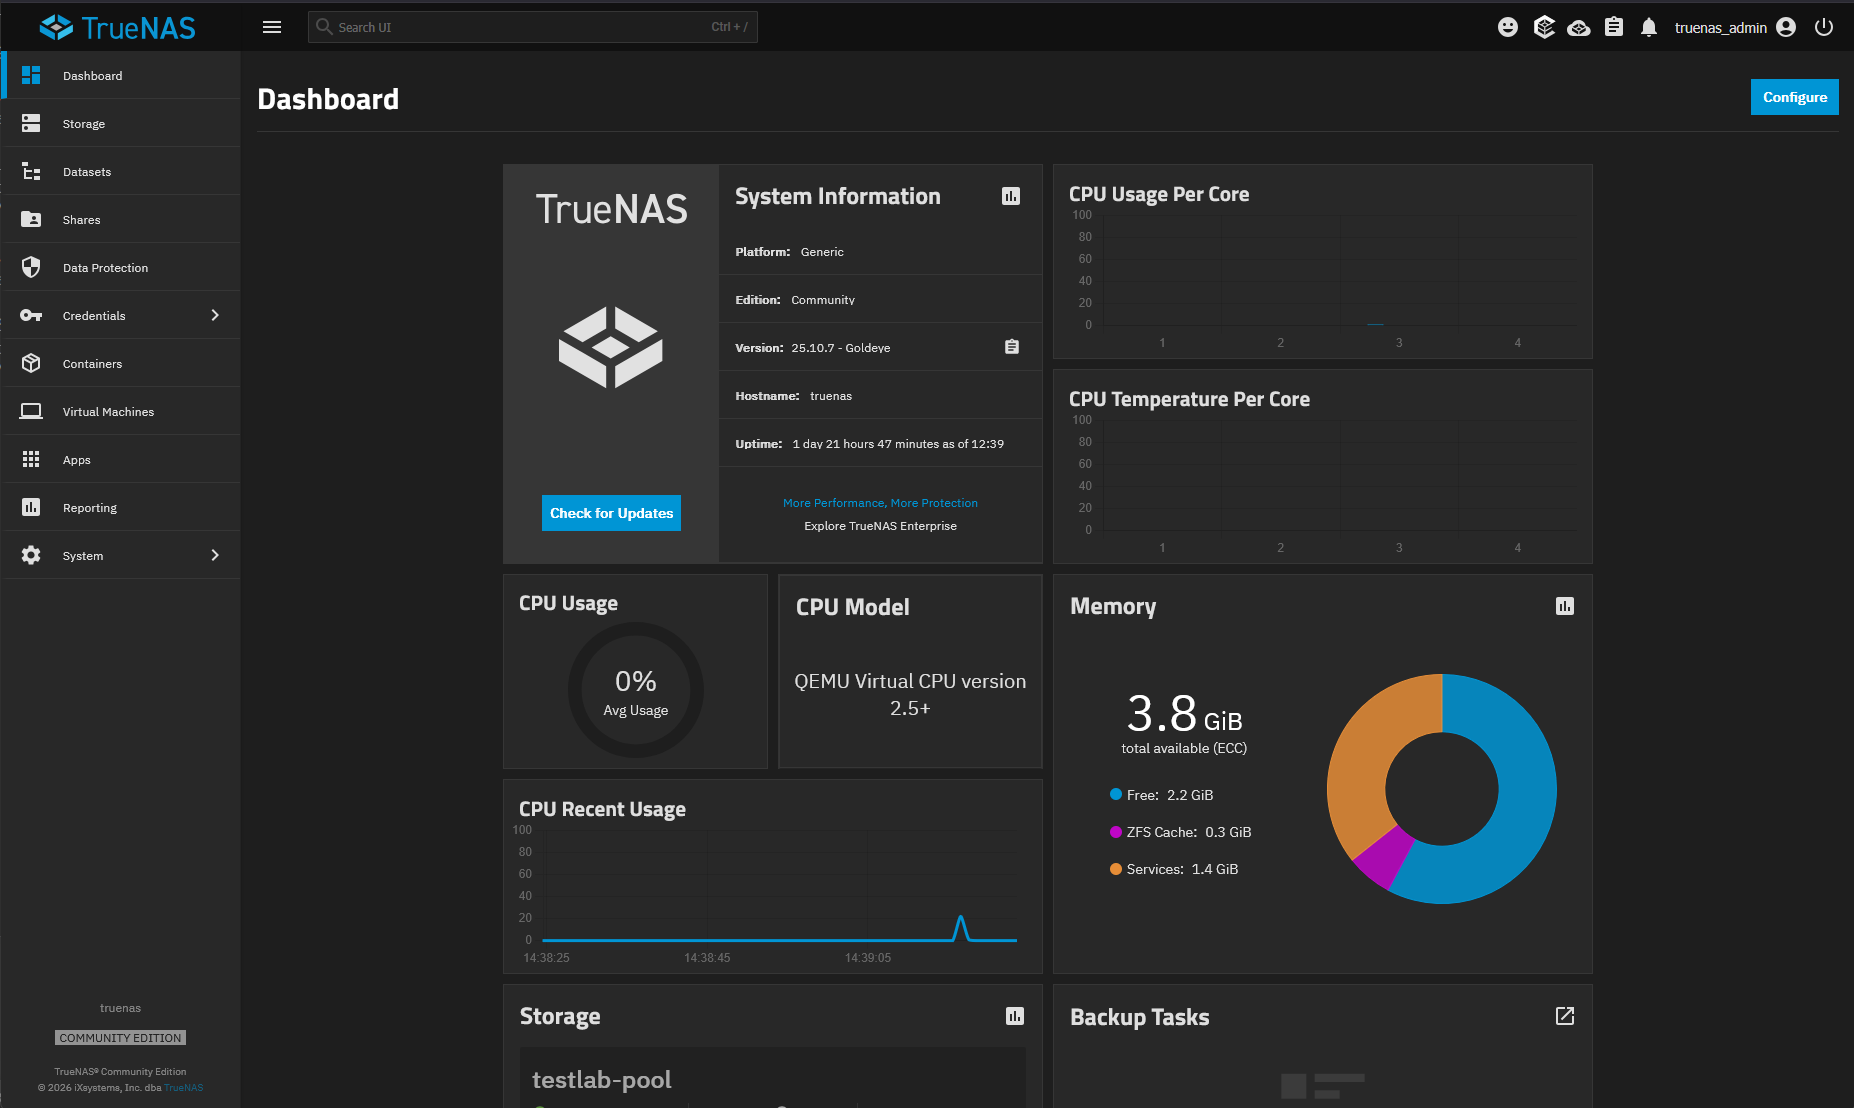
In the configuration for TrueNAS in the virtual machine, I have a separate boot disk and (3) virtual disks that I am using for the RAIDZ1 pool. I also am just simply leaving the optional configurations for dedup, metadata, cache, spare, and log vdevs empty (so no config on those).
Getting the virtual disks going for this test hit one little snag that I think I have seen before with Proxmox. TrueNAS refused to build the pool, because the 4 disks reported they had duplicate serial numbers since they didn’t have any serial number attached to them.
So, to fix this, with the VM powered off, I configured a different serial= value to the end of each SCSI disk configuration in the Proxmox VM configuration. For instance, after powering off the TrueNAS VM, I ran these commands:
nano /etc/pve/qemu-server/139.confThen added this configuration to the disks section:
scsi0: local-lvm:vm-139-disk-0,iothread=1,size=50G,serial=TNBOOT001
scsi1: local-lvm:vm-139-disk-1,iothread=1,size=20G,serial=TNDATA002
scsi2: local-lvm:vm-139-disk-2,iothread=1,size=20G,serial=TNDATA003
scsi3: local-lvm:vm-139-disk-3,iothread=1,size=20G,serial=TNDATA004
Getting TrueNAS “ready” for the plugin
There are a few things you need to do to setup a “base” configuration on TrueNAS so the plugin can take it from that point. First, navigate to Shares > Block Shares (iSCSI). Click the ellipse and Turn On Service.
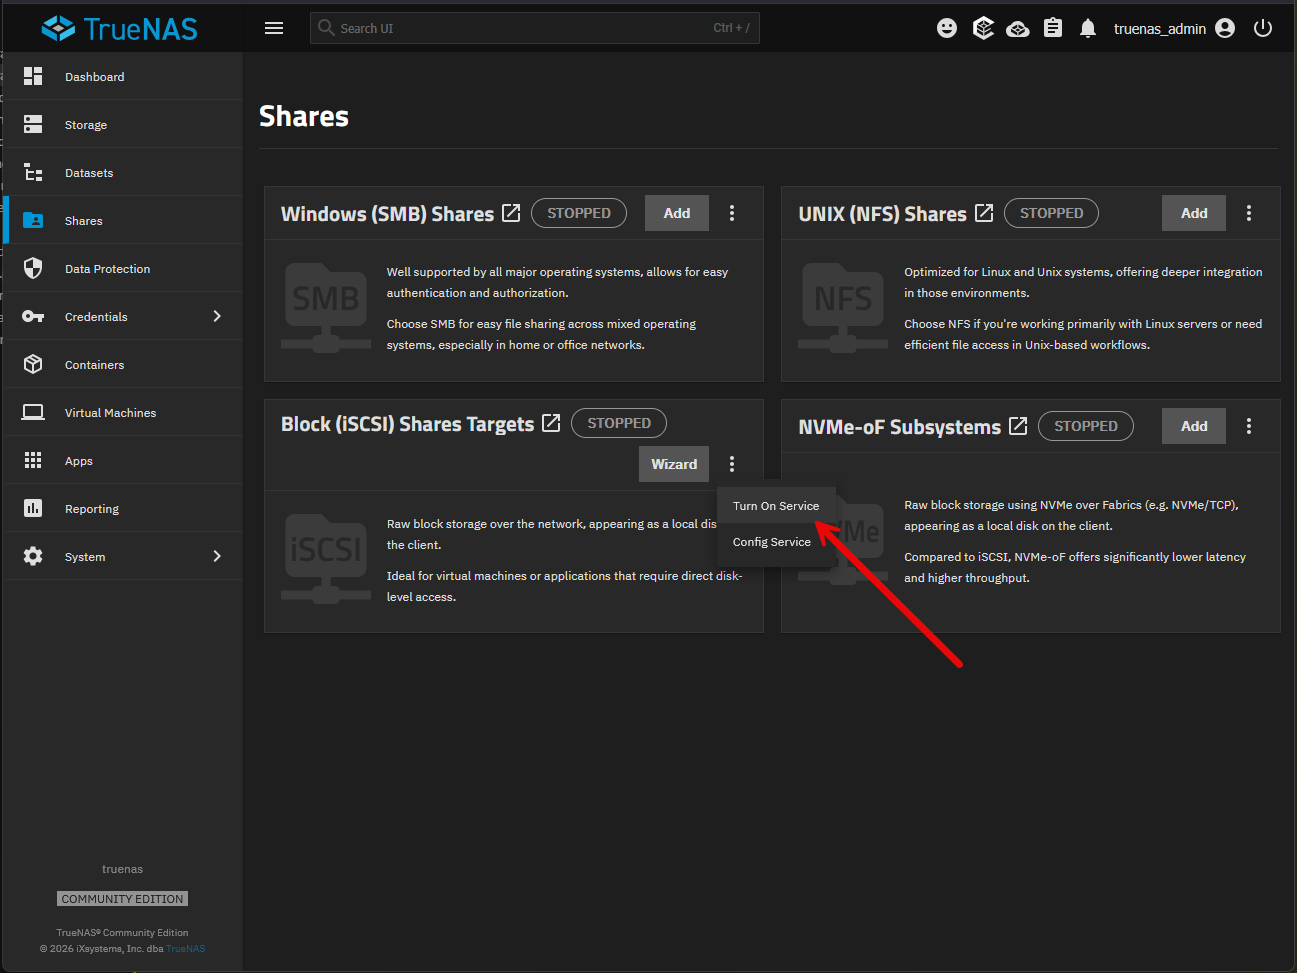
The service should start running.
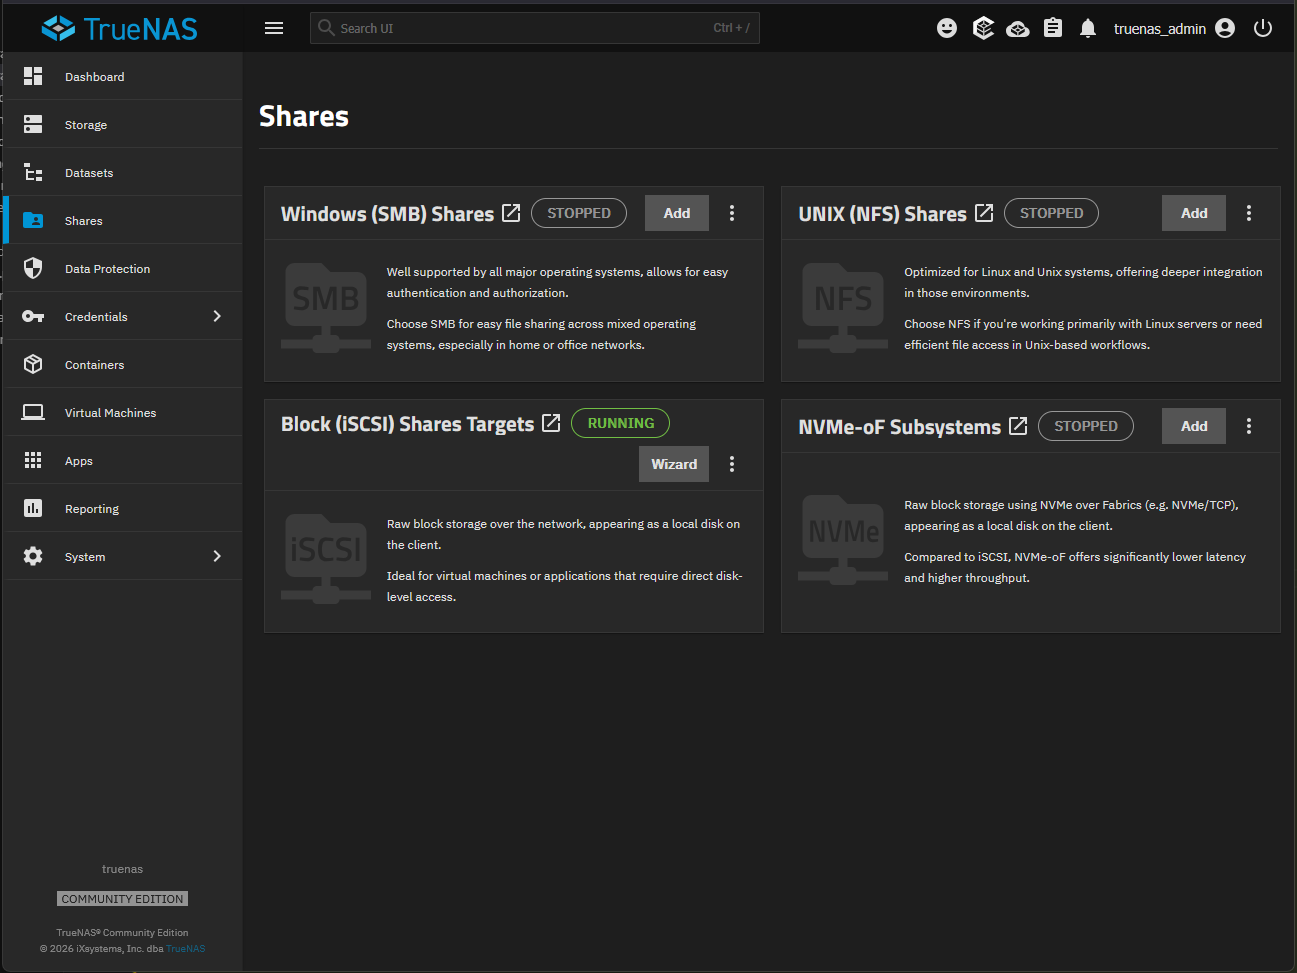
Next, we click on the box with the arrow to go further into the details of the configuration.
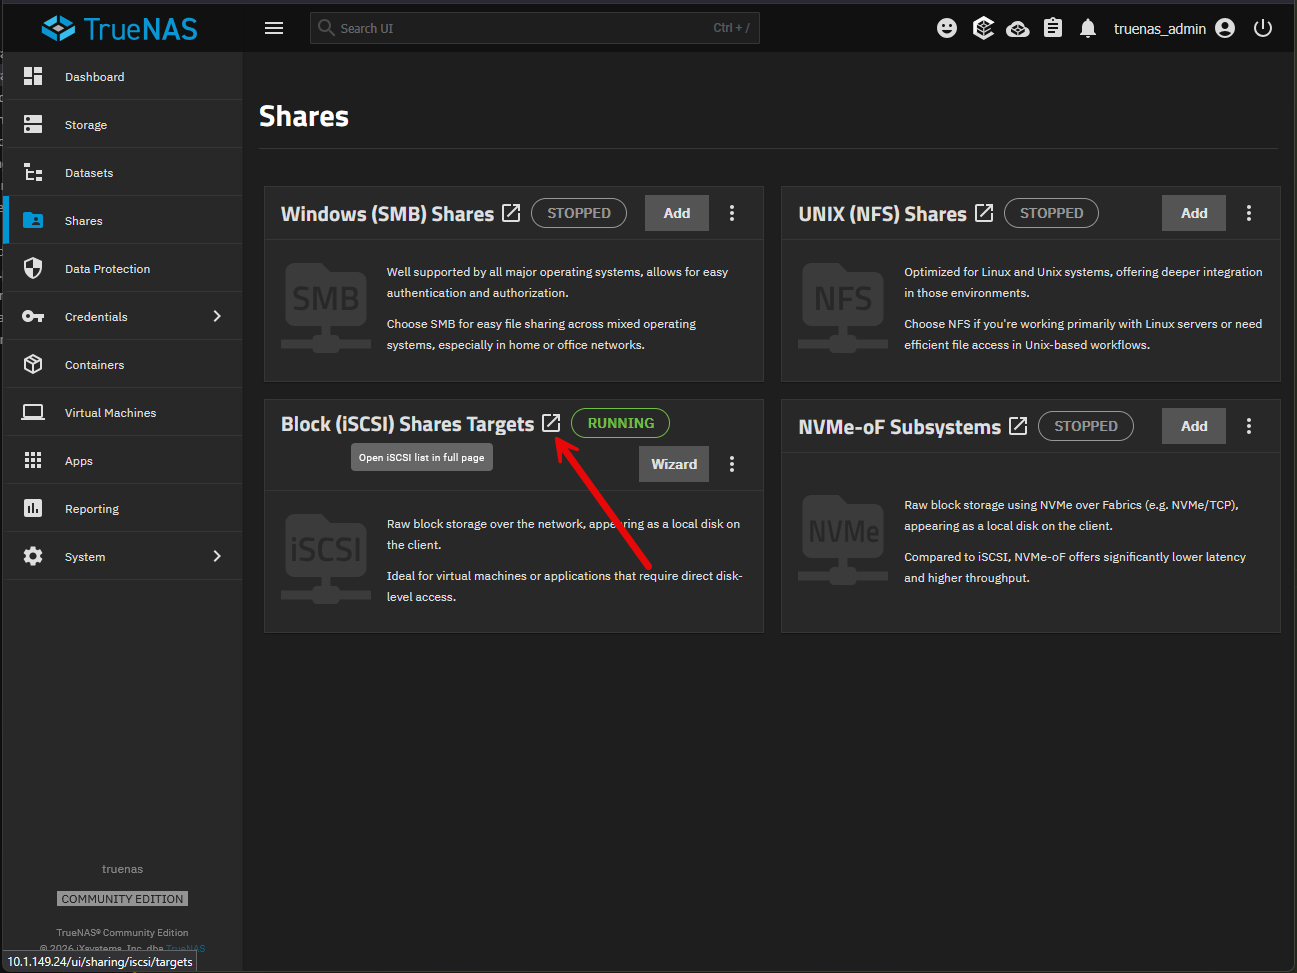
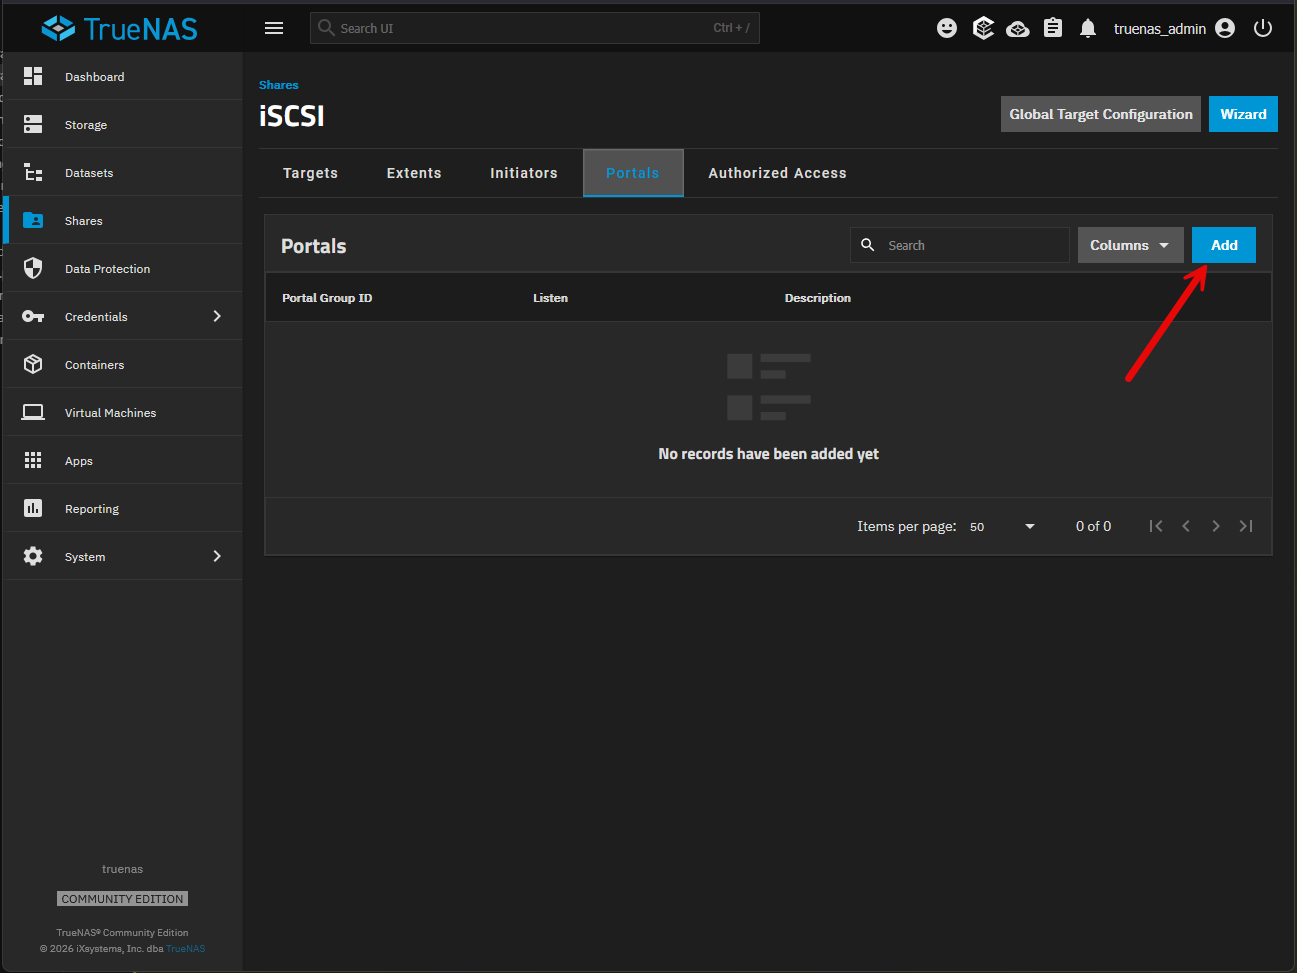
Adding a portal and IP address configuration
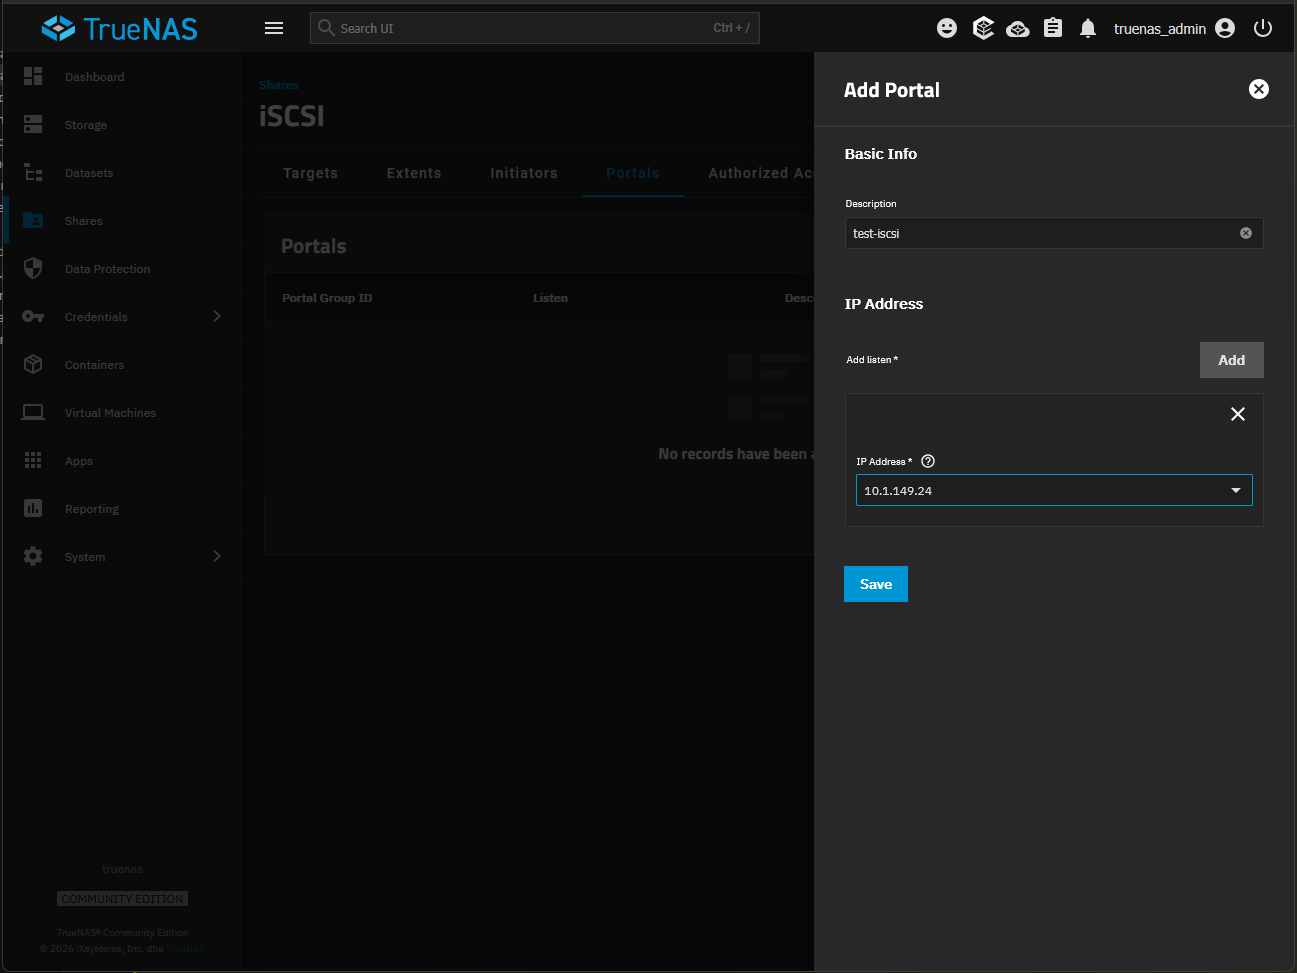
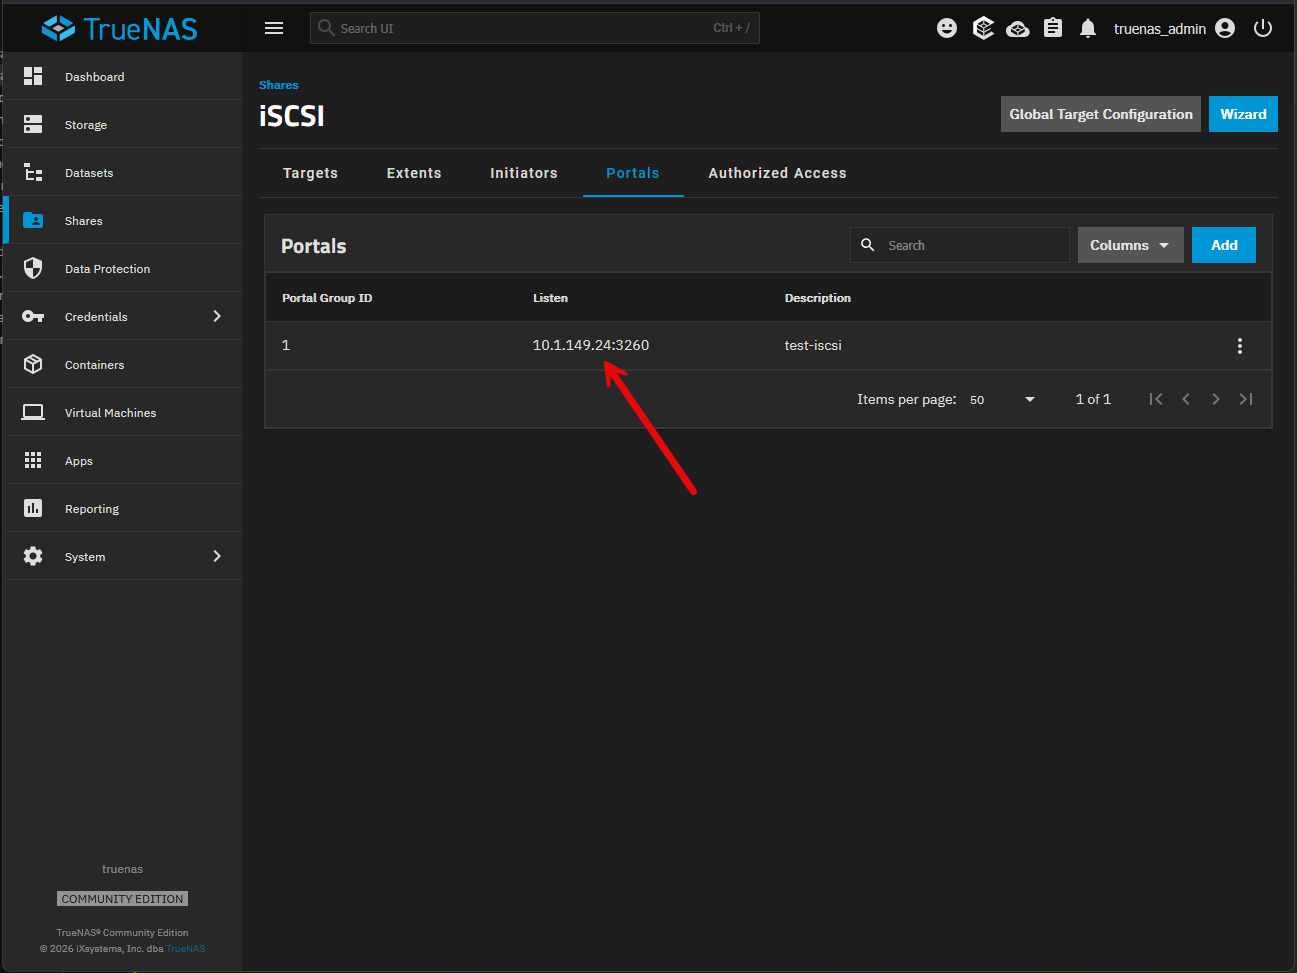
Under the configuration navigate to Portals and click the Add button. Note below I am just using a single IP address for this. But in production you will want to setup multipathing most likely for better performance and resiliency.
Configure the name and IP address for the portal.
Portal is successfully configured in TrueNAS.
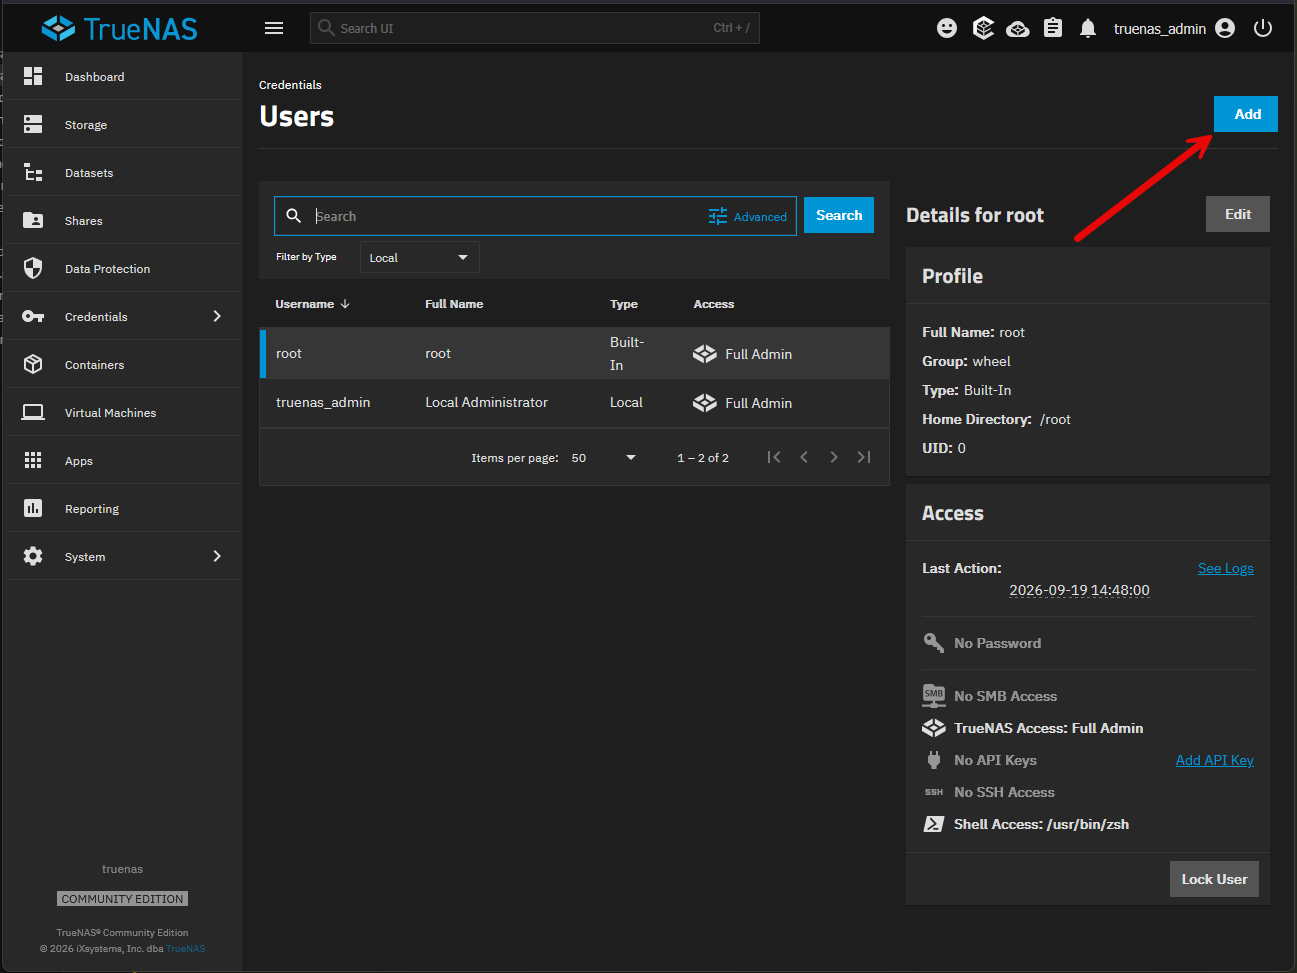
Adding a new user for API access to TrueNAS
One of the first things that we are going to do is create a user and then add an API key. This is for the purpose of authenticating the Proxmox nodes to the TrueNAS storage server.
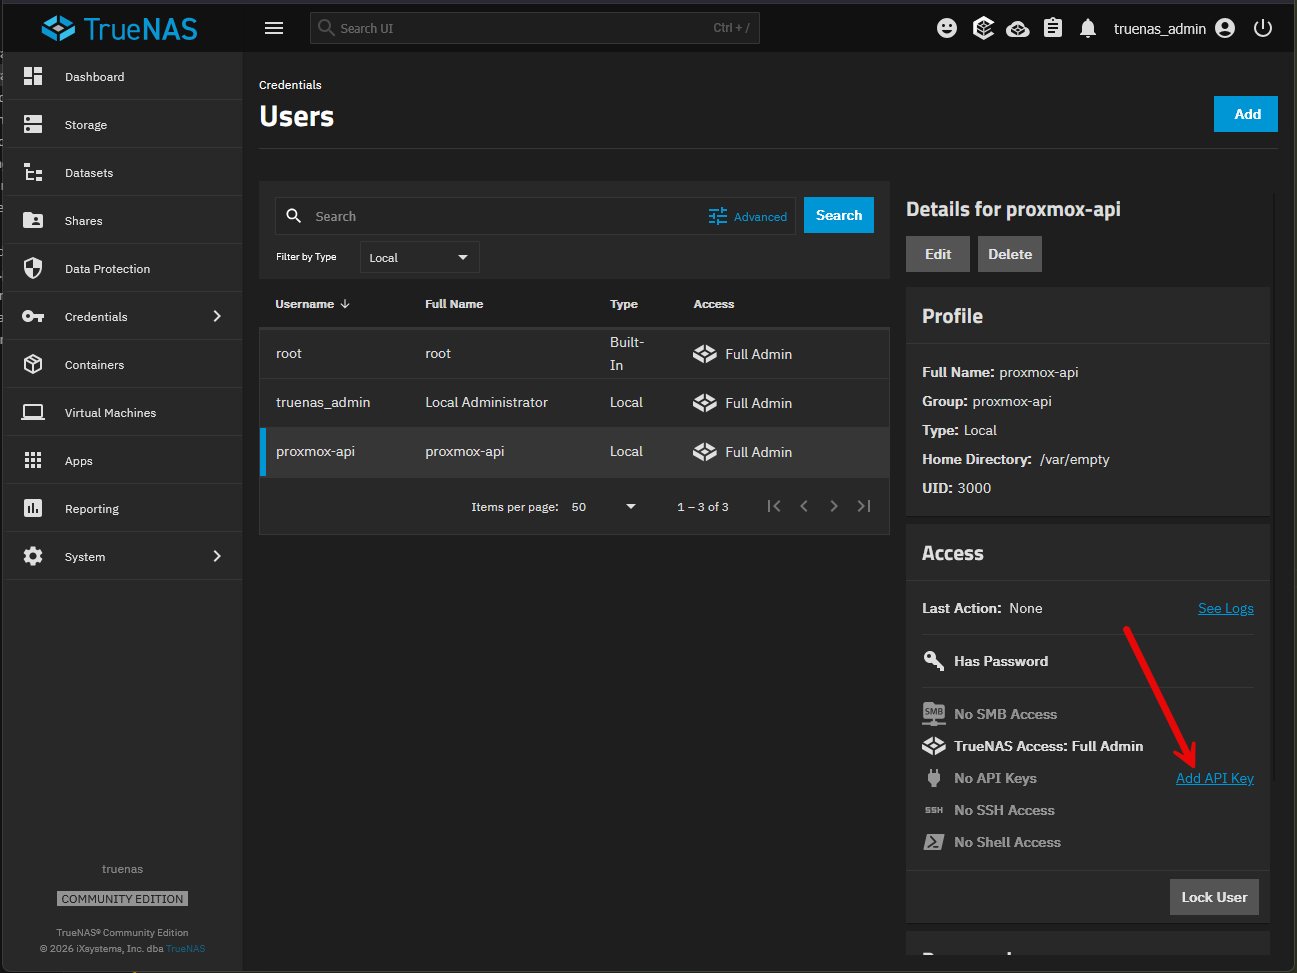
Here, we are adding an API key to an existing user or the one that you just created.
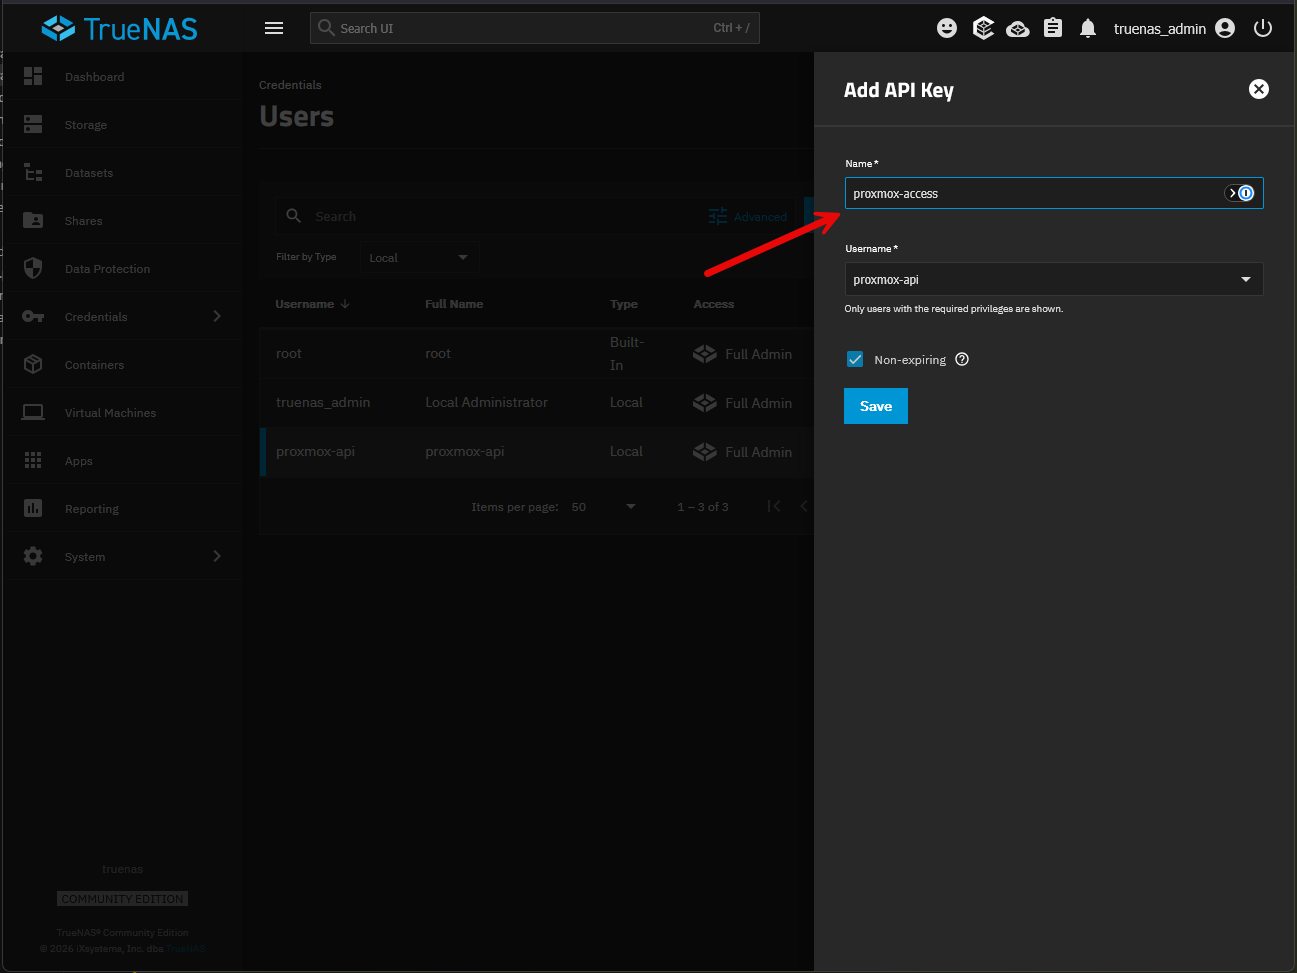
Fill in the name for he API key and then click Save.
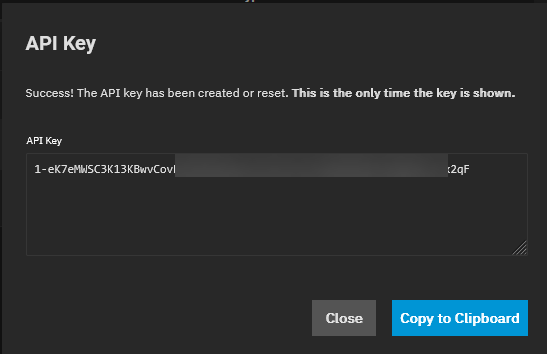
Copy your API key off to a save location or password manager for safe keeping as we will need this with the configuration of storage using the TrueNAS Proxmox plugin.
Proxmox test to make sure you can reach the iSCSI port on TrueNAS
Once you have the portal up and running, you can do the following simple test and make sure you can reach the iSCSI port on the TrueNAS server:
curl -kI https://10.1.149.24/
timeout 3 bash -c '</dev/tcp/10.1.149.24/3260' && echo 'iSCSI port reachable'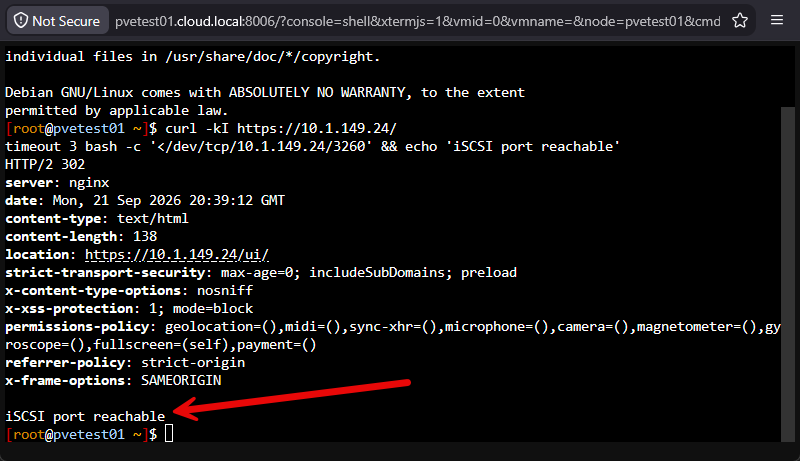
Installing the new TrueNAS plugin using the APT installer
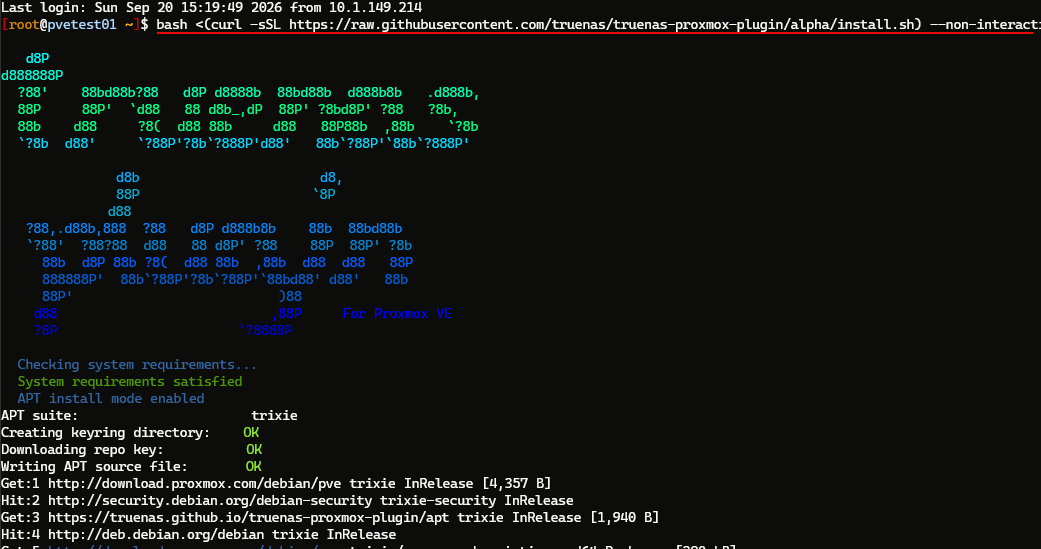
Next, we just need to install the plugin using the official APT installer as the recommended way. Since I am installing in Proxmox VE Server 9.x, I am using the apt-suite for “trixie”:
bash <(curl -sSL https://raw.githubusercontent.com/truenas/truenas-proxmox-plugin/alpha/install.sh) --non-interactive --apt-install --apt-suite trixieInstall the plugin on all of your hosts.
TrueNAS plugin fully automated storage provisioning
So, the TrueNAS plugin has basically two modes that it operates in: fully automated storage provisioning, and manual storage provisioning. This doesn’t say that the plugin doesn’t automatically provision storage for new VMs when you create new VMs. Both modes do that. What it refers to is the initial configuration of TrueNAS. You have to have a base configuration before you can get started, even with the automated approach, such as a storage pool, portal, and API key.
The steps to create a storage pool are not shown in this tutorial as they are different for each environment. But they are straightforward and TrueNAS will step you through that.
When you have installed the plugin on your Proxmox hosts, you run this command to start the wizard. It downloads the script to the directory you are currently in and runs it:
curl -fsSL https://raw.githubusercontent.com/truenas/truenas-proxmox-plugin/alpha/install.sh -o /root/truenas-plugin-install.sh
bash /root/truenas-plugin-install.sh
Also, once you have downloaded the script, you can create an alias that is easy to remember. Something like “truenas-storage”:
echo "alias truenas-storage='bash /root/truenas-plugin-install.sh'" >> /root/.bashrc
source /root/.bashrc
When you run this command or the alias, you will see the following after you have installed it once. Choose 1) Create new storage on TrueNAS (automated provisioning).
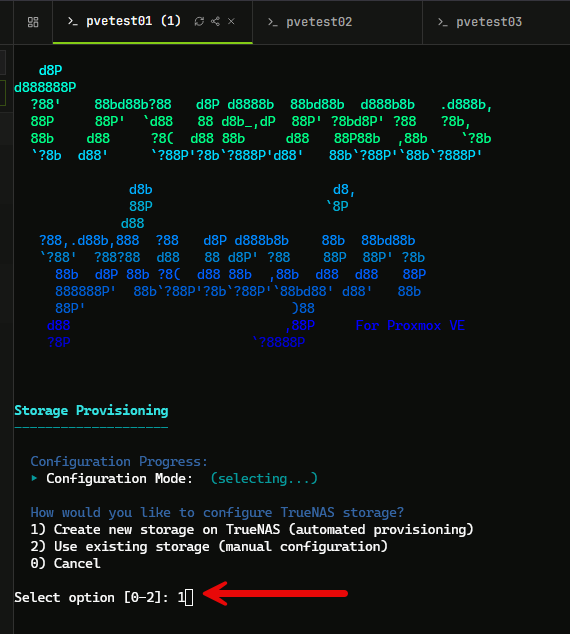
Next, we are telling the plugin to create the storage name “truenas-autoprovision”.
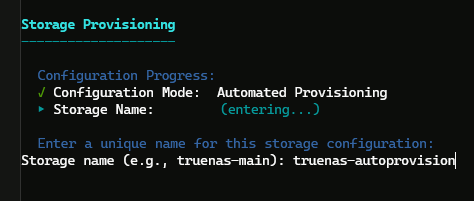
Next, we give it the TrueNAS IP/hostname on this step.
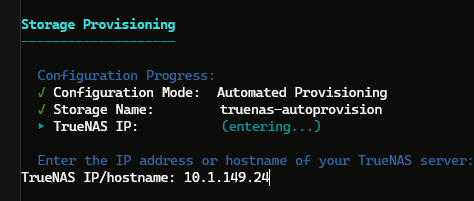
Next, confirm or give it the port for the API connection. You can just hit {Enter} if it is 443, which it will be for most everyone unless you have changed this.
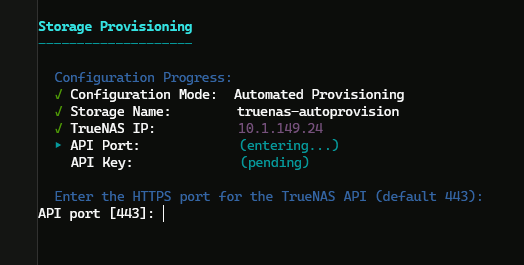
Next, paste in your API key that you got from the step to create the new user and create an API key.
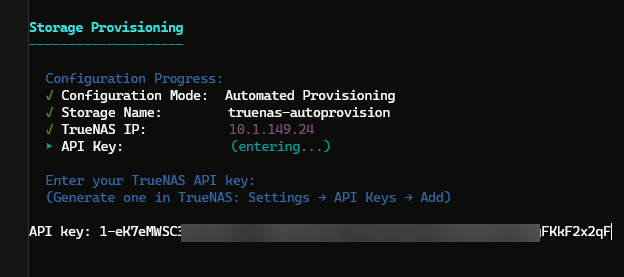
Next, select your transport mode. For my testing, I just selected iSCSI. But here is where you can select NVMe/TCP if you want as well.
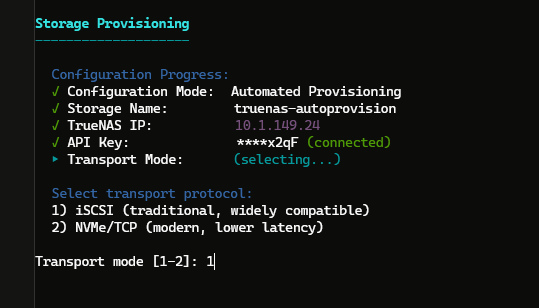
Create a dataset name.
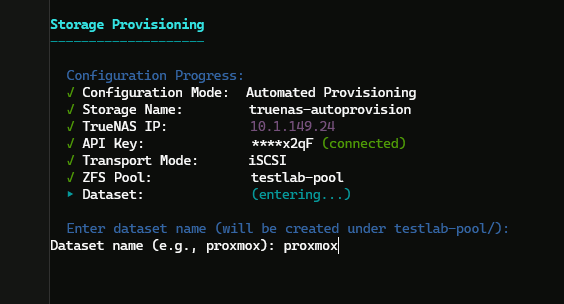
Next, either choose to auto-generate the IQN or enter a custom IQN.
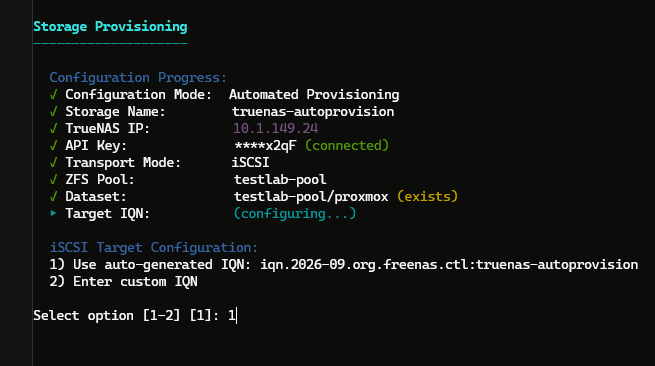
Next if it can’t query the TrueNAS interfaces which it said for my connection, just enter the IP again.
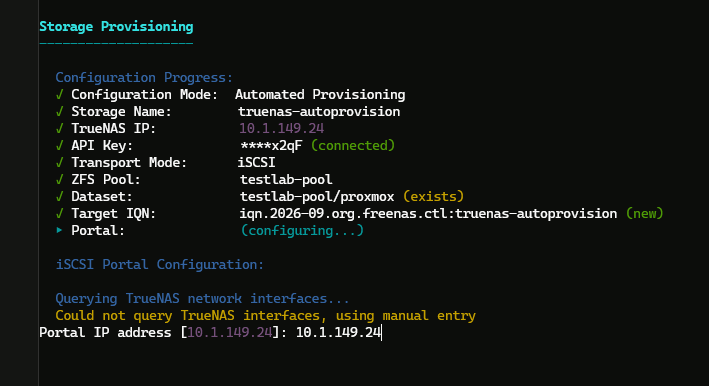
Choose your block size. For my testing I am choosing the 16K block which as shown is the default that is balanced for most VM workloads and is the recommended setting here.
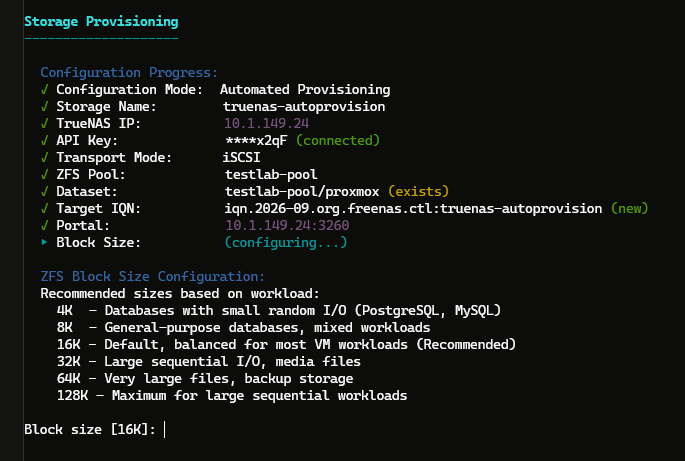
Next, you confirm that it proceed with provisioning.
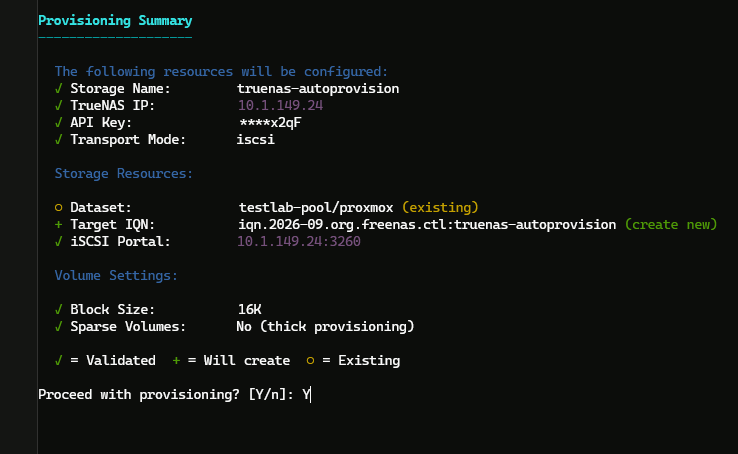
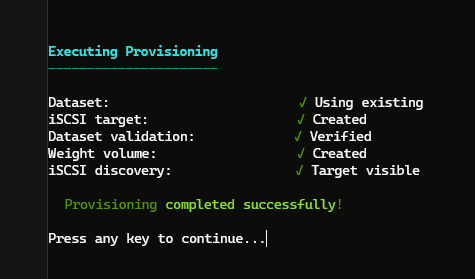
Provisioning should complete successfully. Press any key to continue at this point.
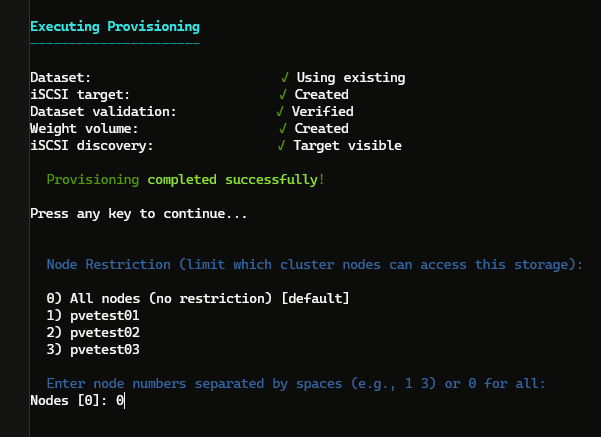
After storage is provisioned above, it will then ask you which nodes you want to add this newly provisioned storage to. Most will choose 0 if you want it added to all hosts in your cluster.
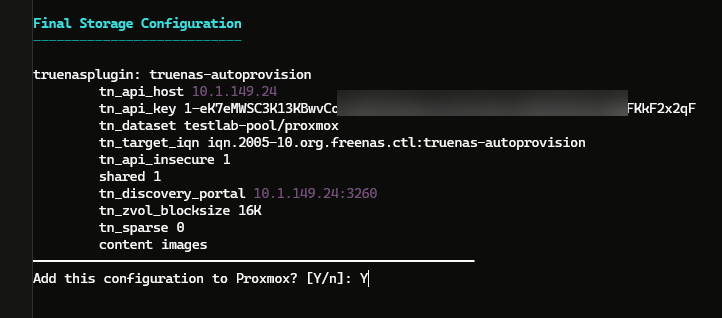
It shows you the low-level configuration here (no worries on the API key below it is a test key).
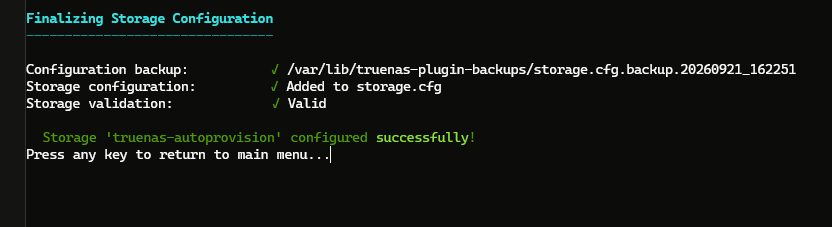
It should complete successfully. Below, you can then press any key to return to the main menu.
If you choose “existing” storage configuration complete these steps
If you want to Use existing storage (manual configuration) in the plugin menu, you have to do a few more steps that the automatic process does for you, like creating the initiators, etc. Typically though this is for storage you may have already provisioned and have been using and now you want to start taking advantage of this configuration using the new plugin.
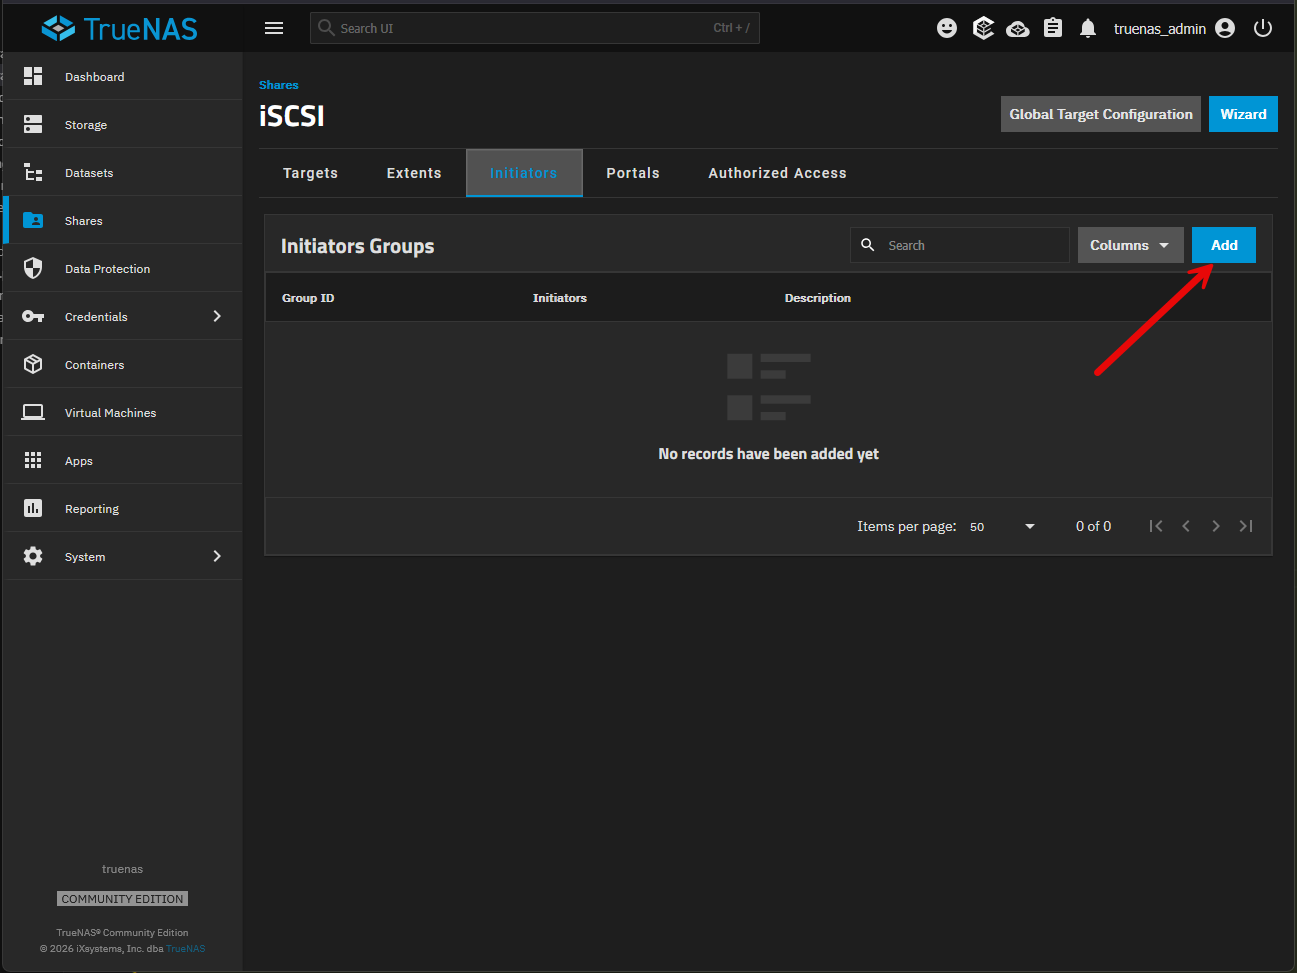
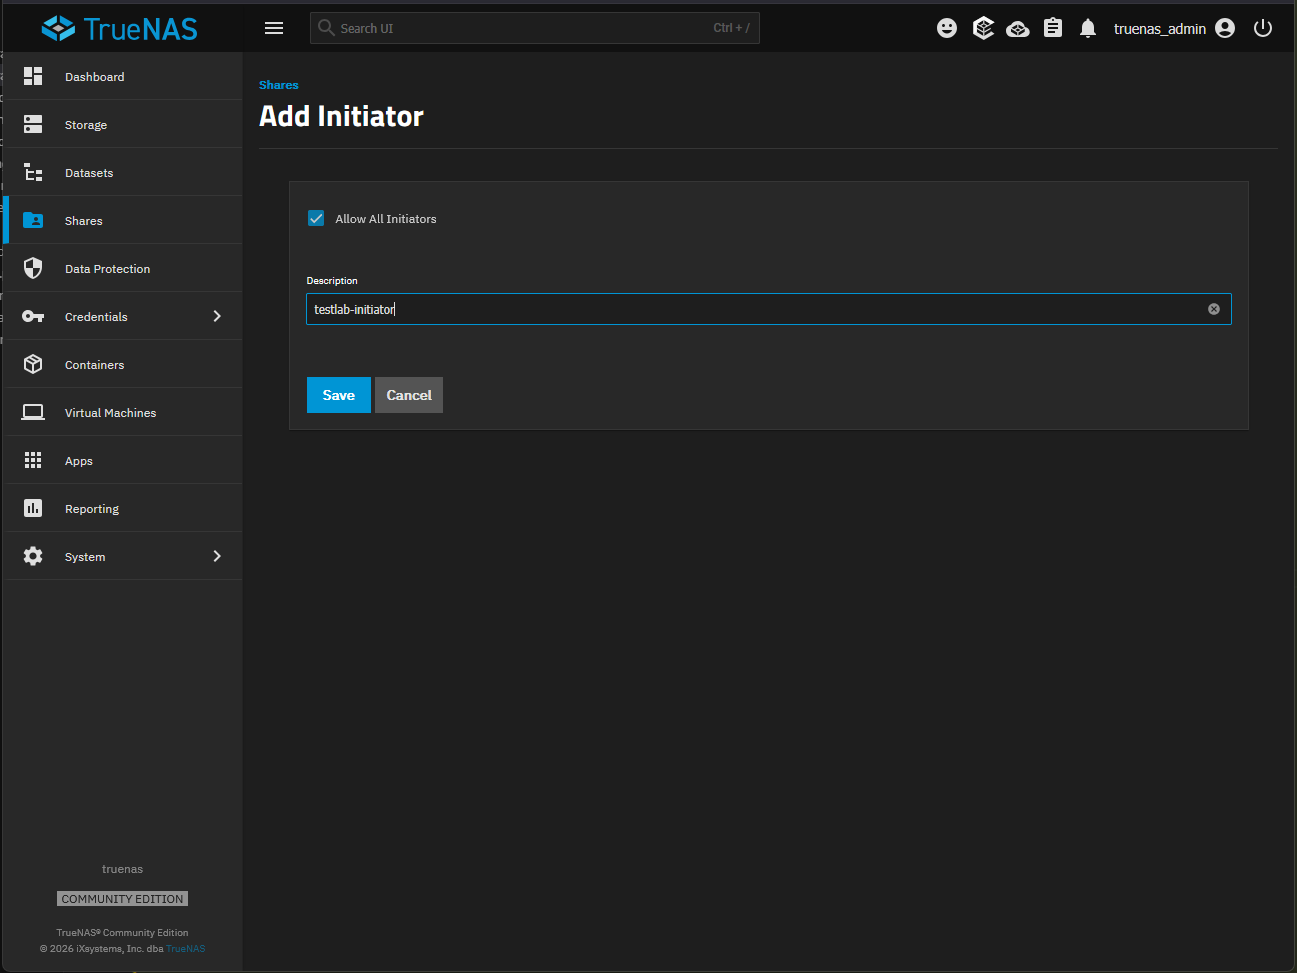
Under the initiators tab, click the Add button.
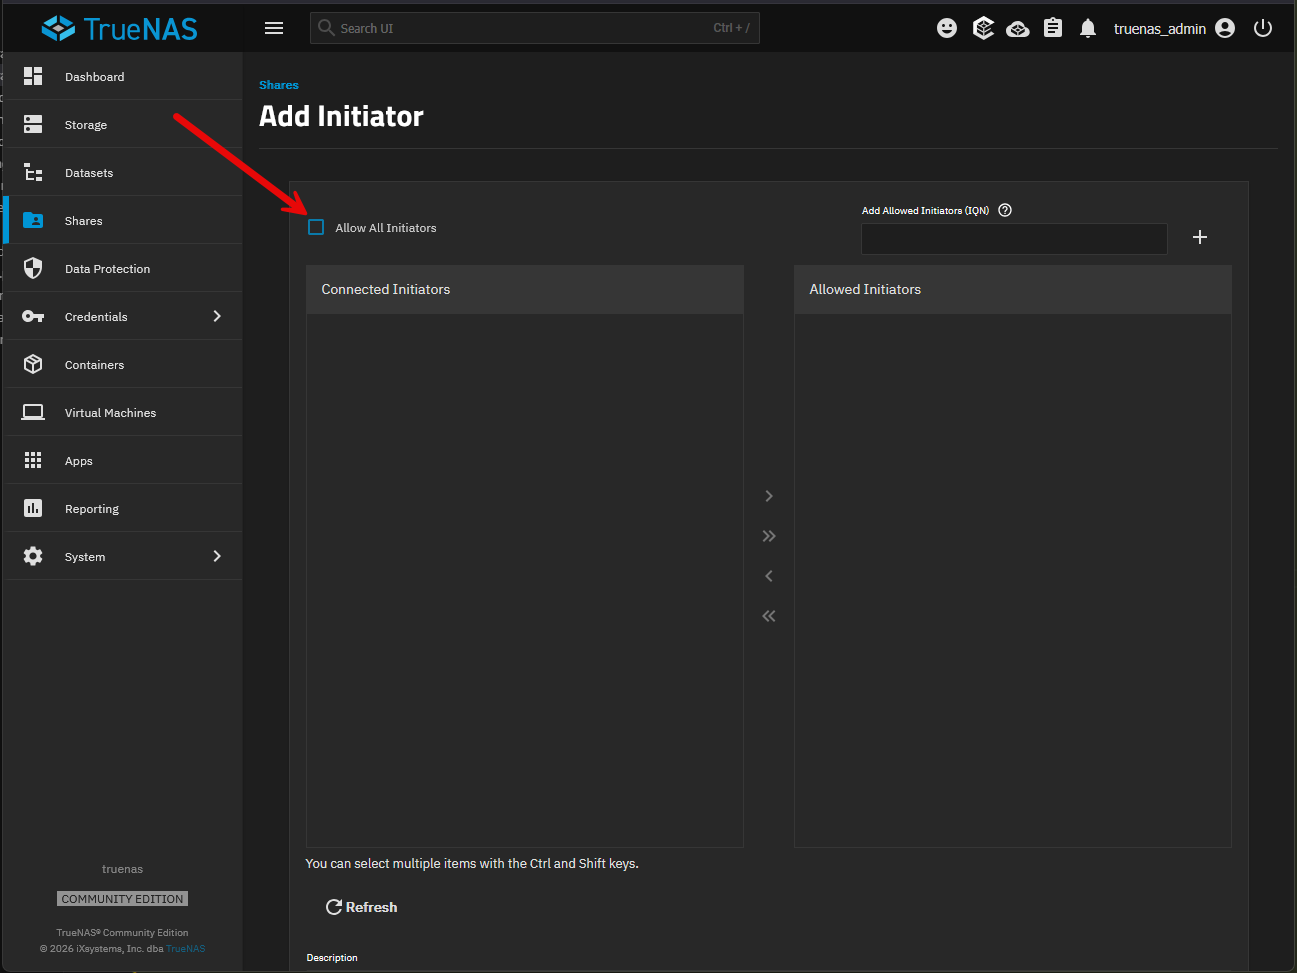
For this lab, I selected the checkbox to Allow all initators.
Set a description for the initiator.
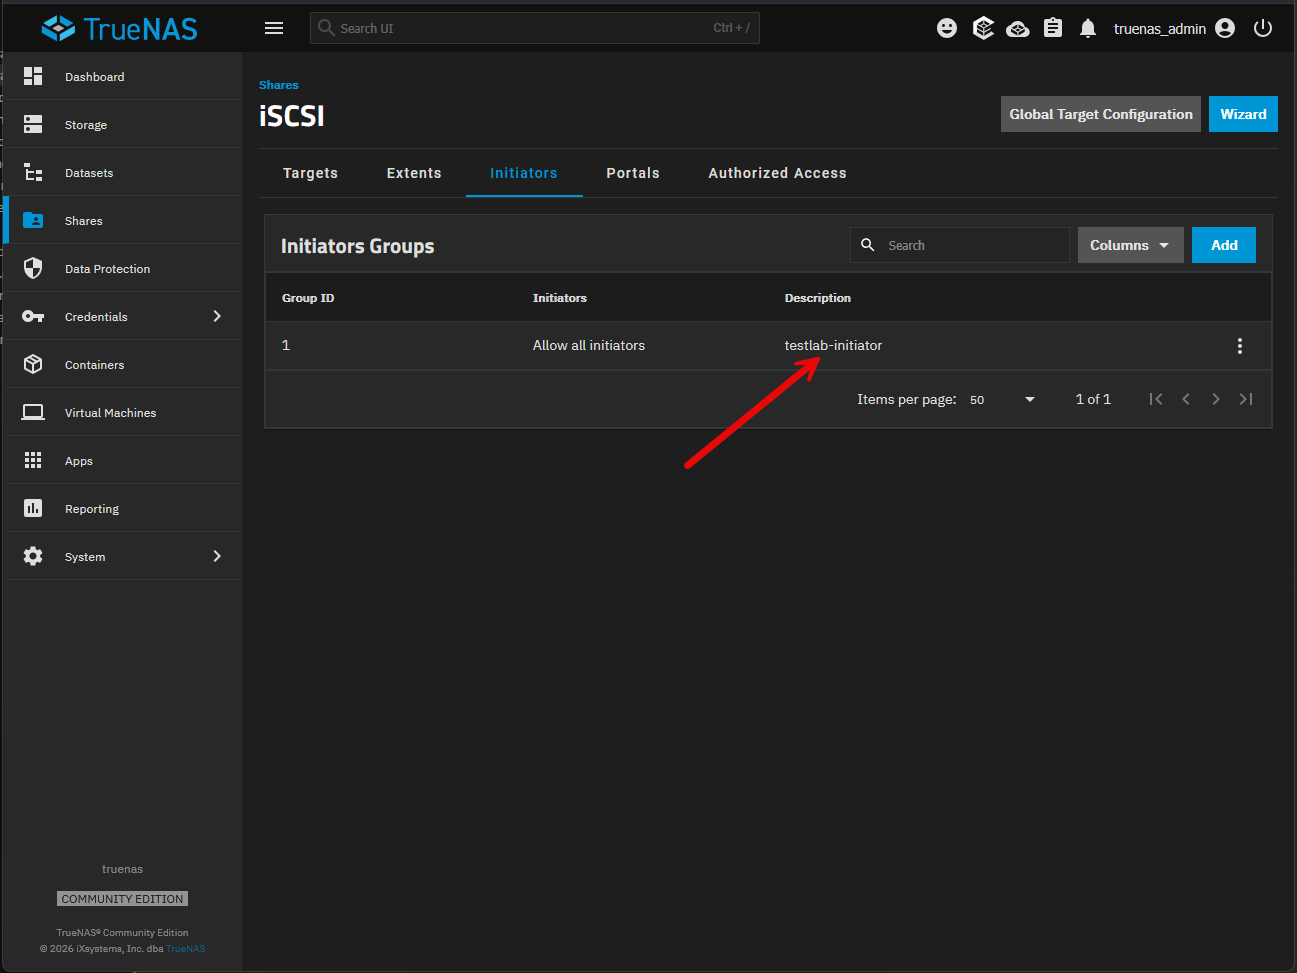
Viewing the new iniator that was created.
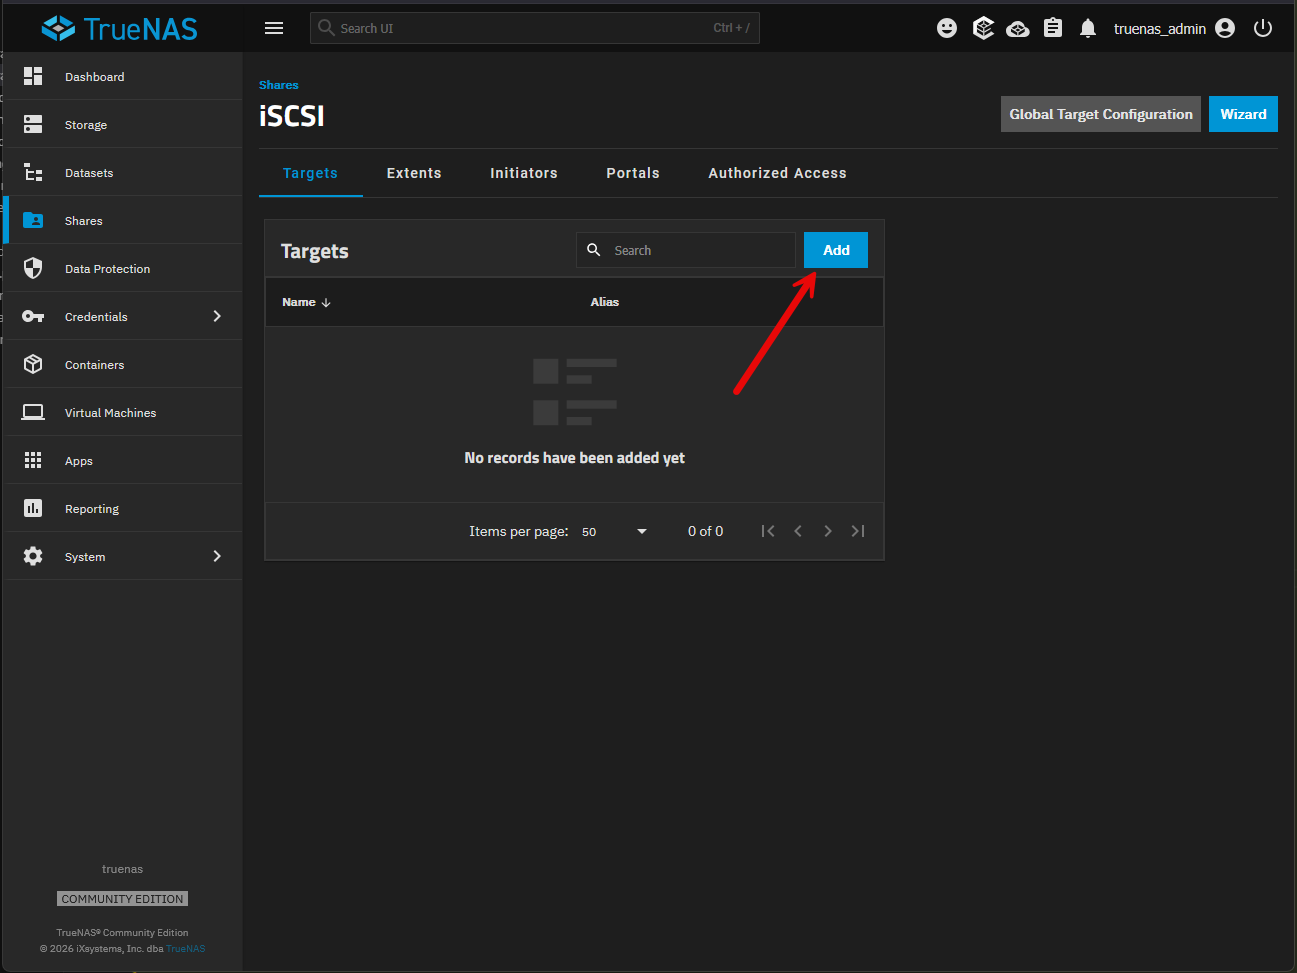
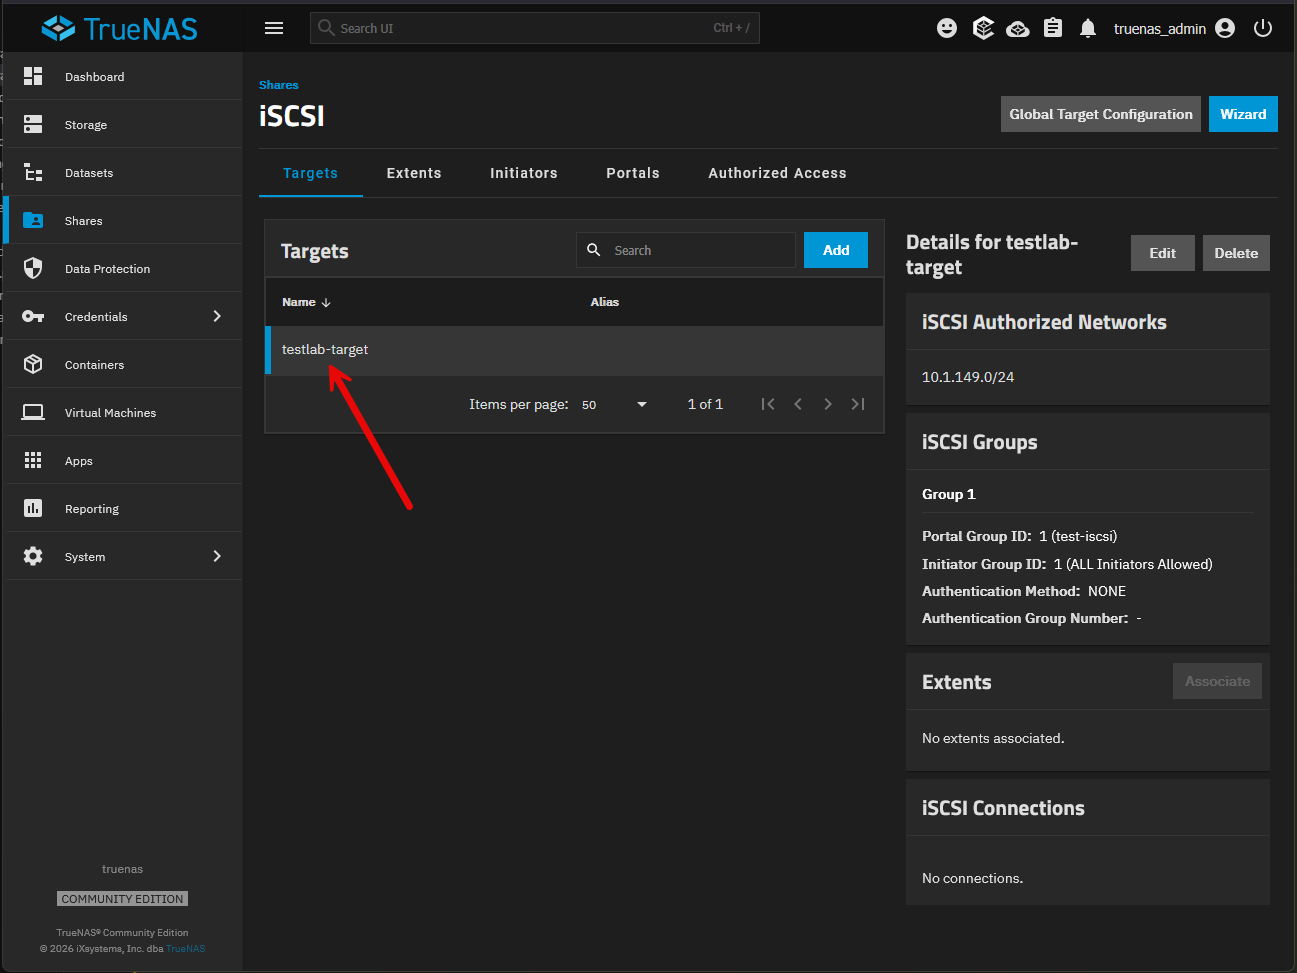
Adding a new iSCSI target
Click the Add button to add a new target.
Here you will set the target name and portal group, etc.
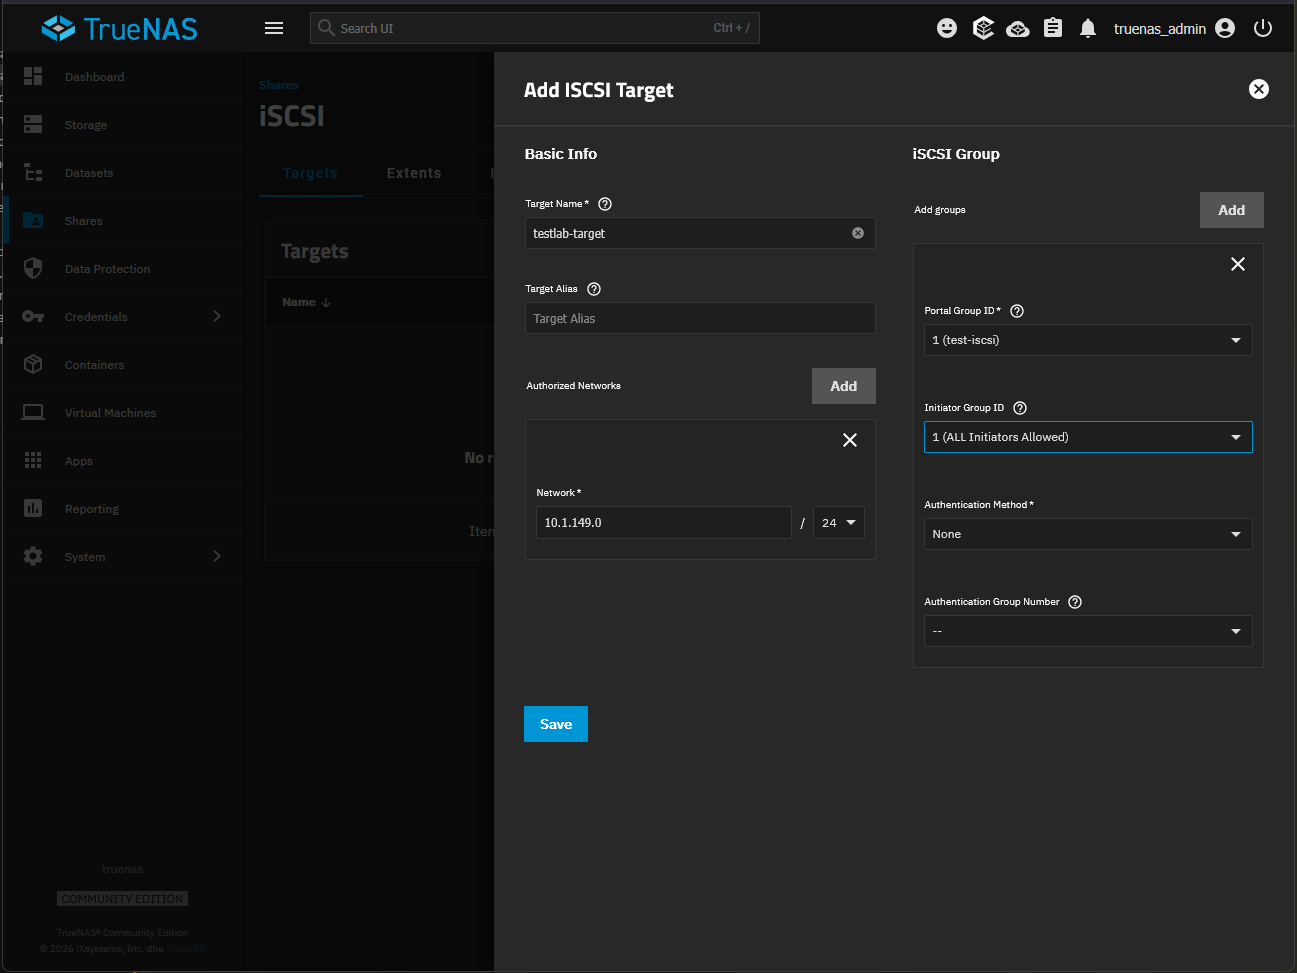
The target was created successfully.
Adding a new dataset
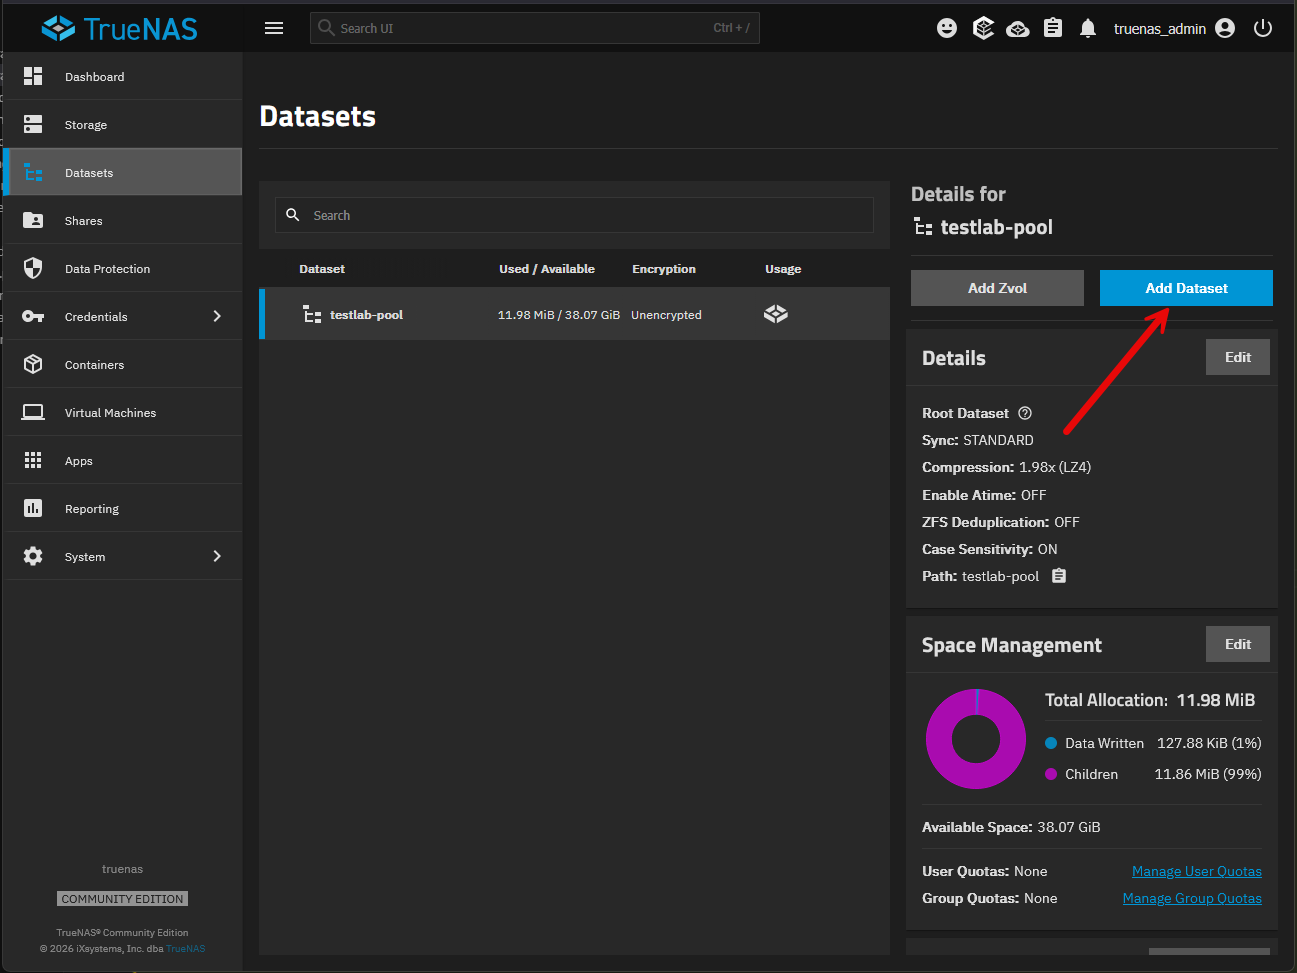
Next under the Datasets menu, we click to Add Dataset.
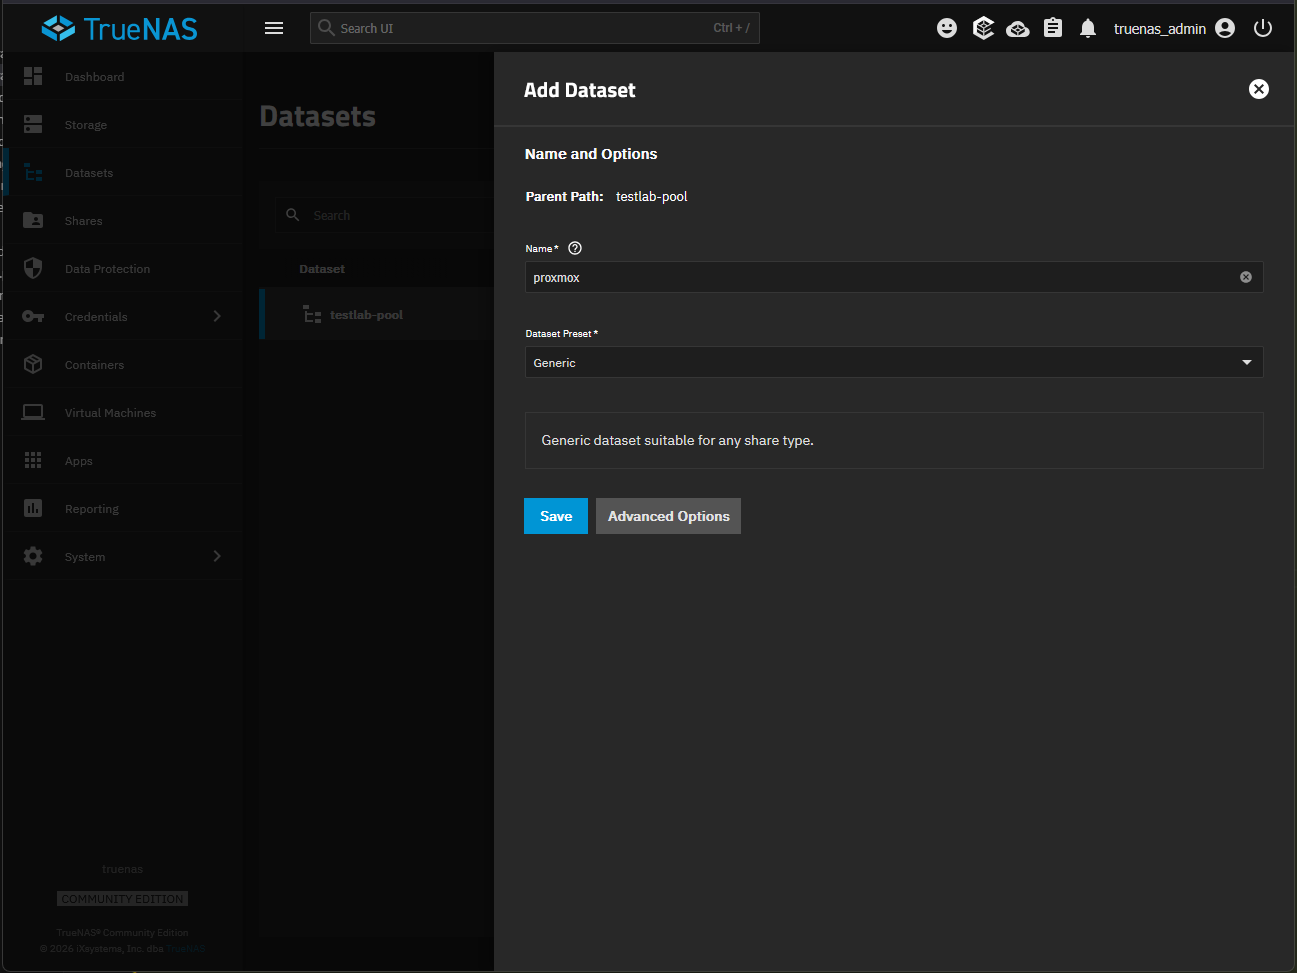
Add the dataset and use the Generic preset.
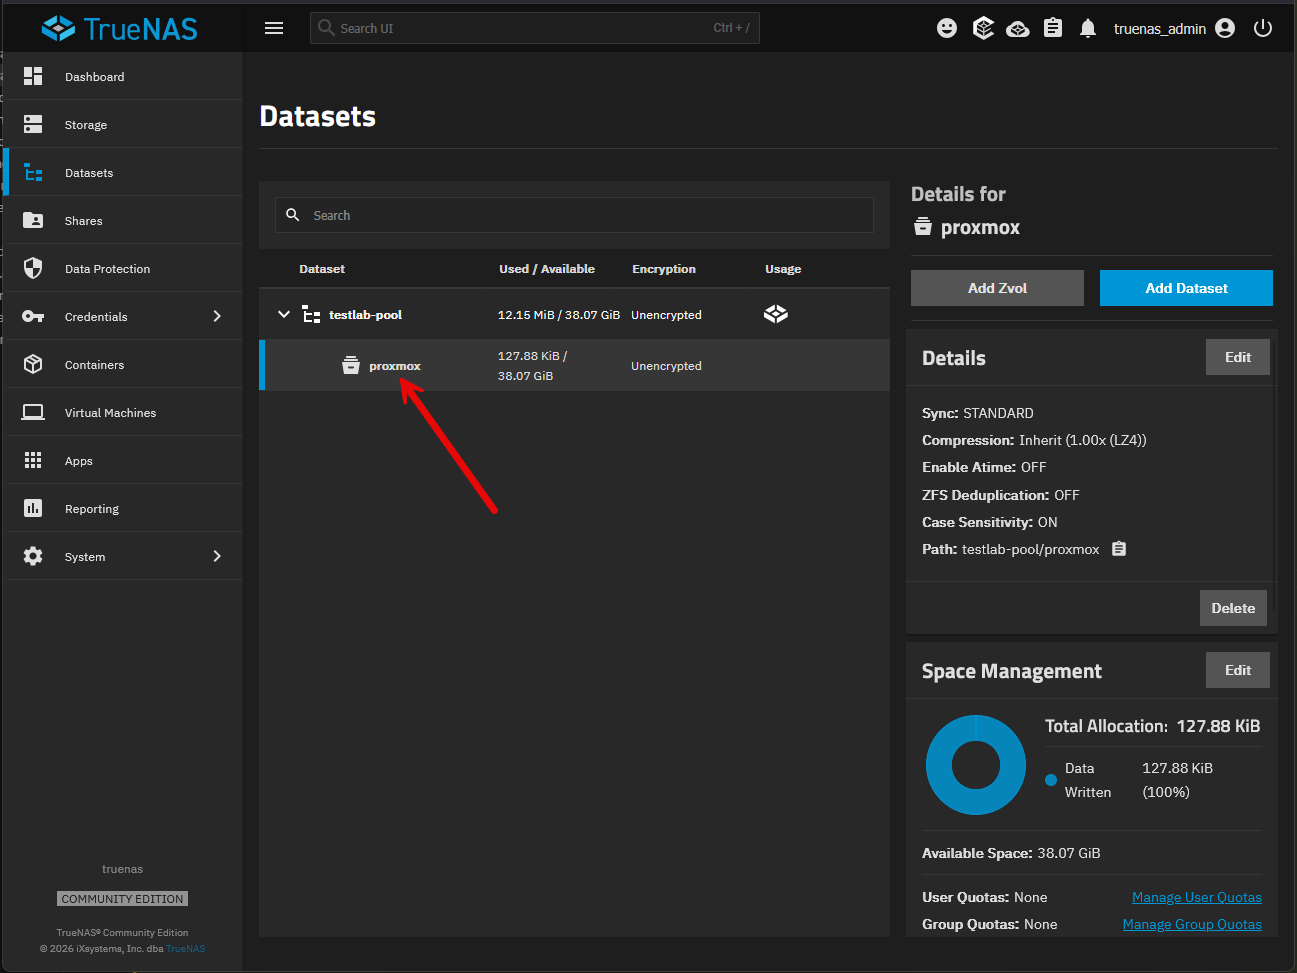
The new dataset is created.
Once you have these extra components provisioned, you can run the TrueNAS Proxmox plugin manager again using the alias or full .sh script name and choose the “existing storage” option and instead of it “creating” the configuration for the various TrueNAS components, it will ask you to provide the names for these.
Testing creating VM disks in Proxmox with the TrueNAS Proxmox plugin
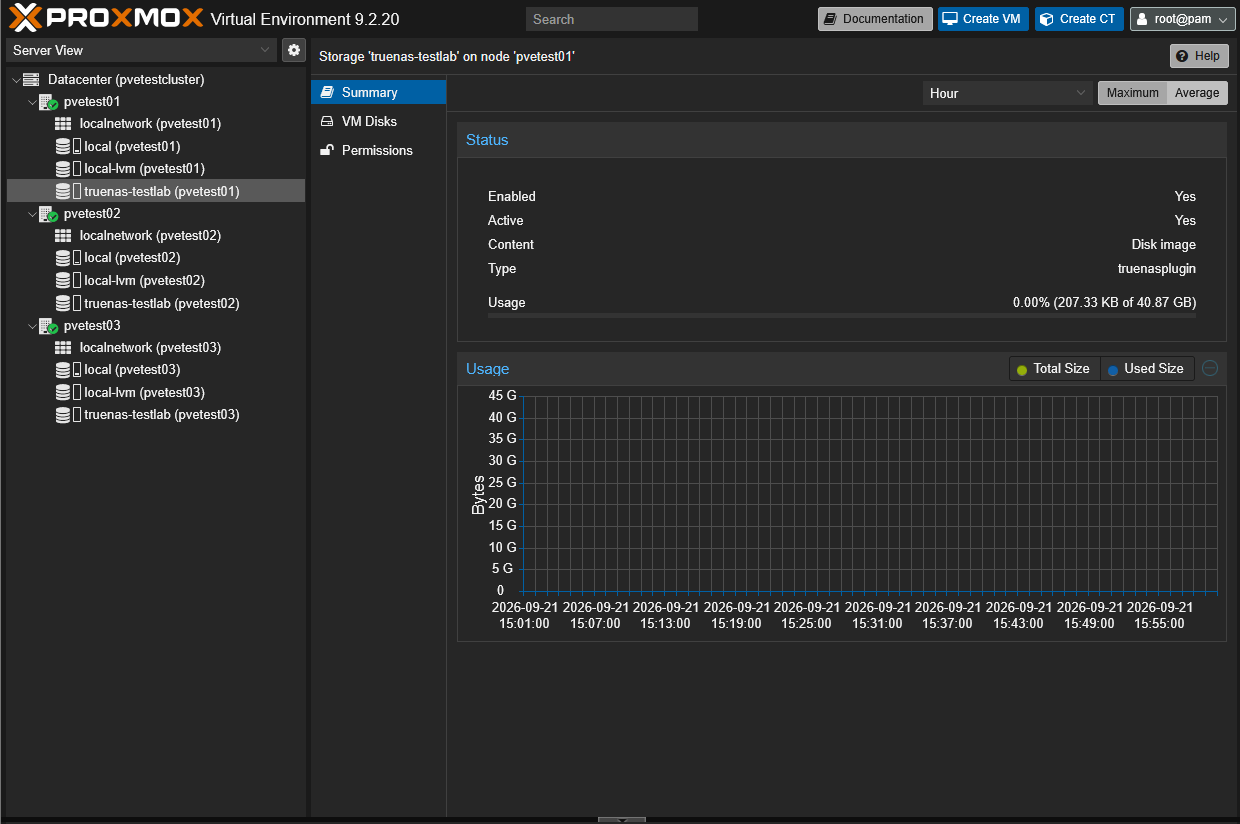
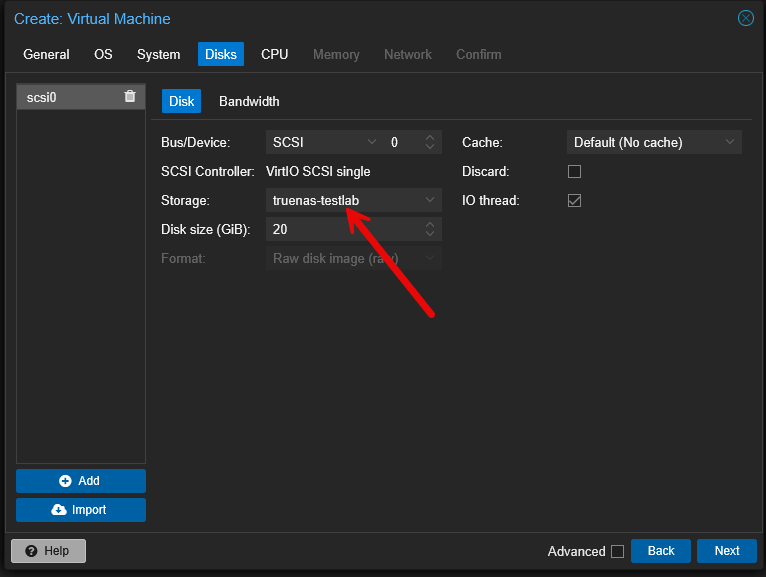
After I got everything installed and used the automated approach to create the configuration, I created a new virtual machine in Proxmox and targeted the newly added TrueNAS storage. Here you can see that it properly added the new storage to all of my hosts in the test cluster.
Here, I am creating a new virtual machine on the TrueNAS storage:
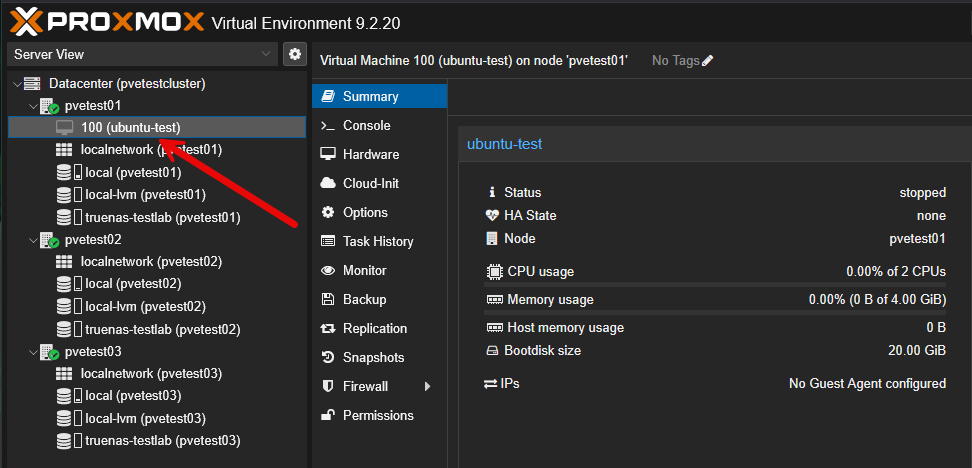
New VM is successfully created on TrueNAS storage in Proxmox.
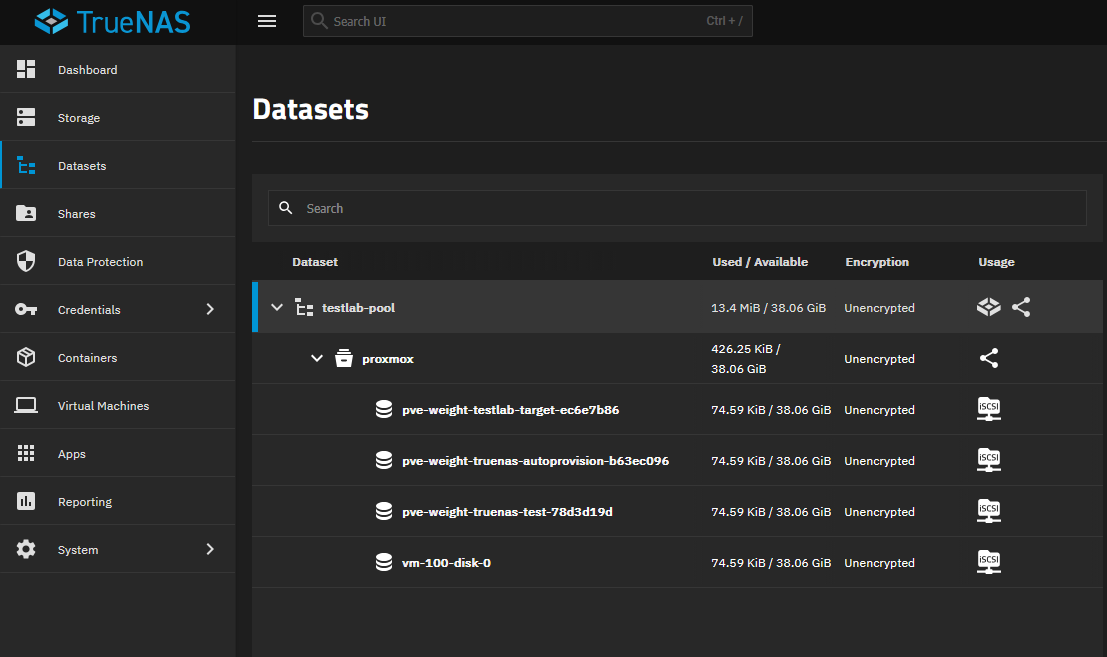
I hopped over to the TrueNAS side and you can see the dataset resources that have been created with the new plugin and storage has been automatically provisioned.
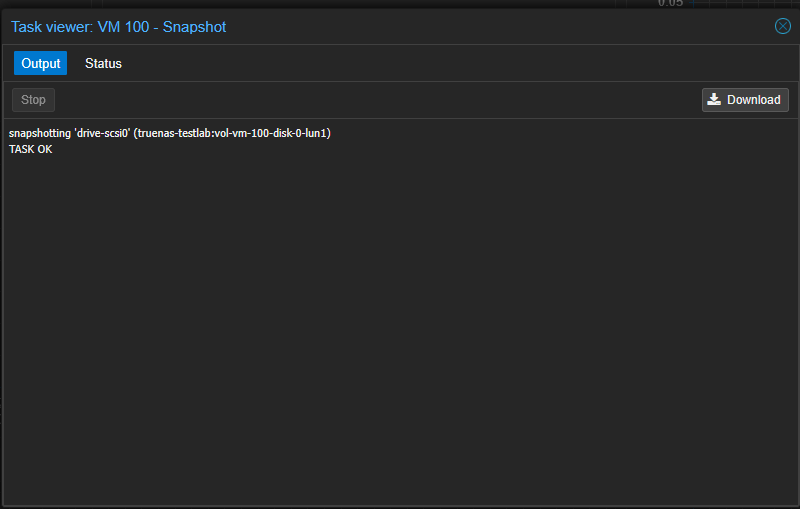
Snapshots even work, using ZFS snapshots in TrueNAS.
Things to note
Do keep a check on the Issues page for the official GitHub project. Here you will see the current list of issues that others have found: Issues · truenas/truenas-proxmox-plugin. Also, there is an interesting one that was brought to my attention by alfonsokuen where he noted that if you create a snapshot “outside” of Proxmox with TrueNAS or on a schedule, it will cause issues with normal Proxmox snapshots as currently the plugin doesn’t track both together.
He has an existing PR to patch this to have these imported into the Proxmox VM configuration. You can read the details of the PR here: Import snapshots taken on TrueNAS.
Wrapping up
I was really impressed with the plugin setup and how seamlessly everything worked out of the box in my lab environment that I had configured. The installation had no errors. The “automated” storage configuration had no errors, and the manual storage import had no errors. I think that is pretty cool considering this is still an early release plugin. Storage was easily provisioned and showed up as expected. Hopefully, this guide will help any to understand the steps to install the new plugin and start using it in their home labs.
More in this topic



Google is updating how articles are shown. Don’t miss our leading home lab and tech content, written by humans, by setting Virtualization Howto as a preferred source.
About The Author
