Vaultwarden is a another option for self-hosting a password solutions for your home lab or self-hosted security. Let’s look at Vaultwarden setup with Traefik and see how you can easily set this up.
Table of contents
What is Vaultwarden?
Vaultwarden is an alternative to the Bitwarden server with an API written in Rust and is definitely one as an admin you can take a look at for self-hosted security. It’s open-source project and has a fairly large community of devs and enthusiasts.
If you are looking for another solution that is like Bitwarden but maybe lighterweight and still very well supported, this may be the option for you.
Vaultwarden features
It provides the following features that are included in the Bitwarden API for admins to take advantage of
Organizations support
Attachments and Send
Vault API support
Serving the static files for Vault interface
Website icons API
Authenticator and U2F support
YubiKey and Duo support
Emergency Access
You can read the full feature documentation here: GitHub – dani-garcia/vaultwarden: Unofficial Bitwarden compatible server written in Rust, formerly known as bitwarden_rs
Other features
Support for YubiKey
Ability to disable user registration
Option to use self-signed certificates for secure connections
Vaultwarden setup with Docker Support
To get started with a self-hosted deployment, simply pull the Vaultwarden image from the Docker upstream repository using the sudo docker command to spin up your Vaultwarden server:
docker pull vaultwarden/server:latestIf you already have the vaultwarden container image pulled, you can also run docker commands below to run the Docker container:
docker run -d --name vaultwarden -v /vw-data/:/data/ -p 80:80 vaultwarden/server:latest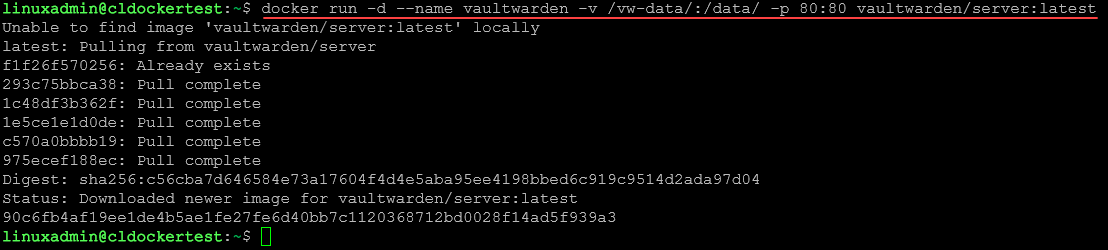
You can verify the Vaultwarden container is running with the following:
docker ps
Secure Web Vault access
You can use a third-party reverse proxy like caddy server, Traefik, or another solution for ingress and generate self-signed certificates for secure communications.
To install caddy image, you can do:
sudo docker pull caddyThese proxies automatically allow Vault interface on the Vaultwarden container using HTTPS certificates.
If you aren’t accessing Vaultwarden Server using HTTPS certificates, you will see this error:
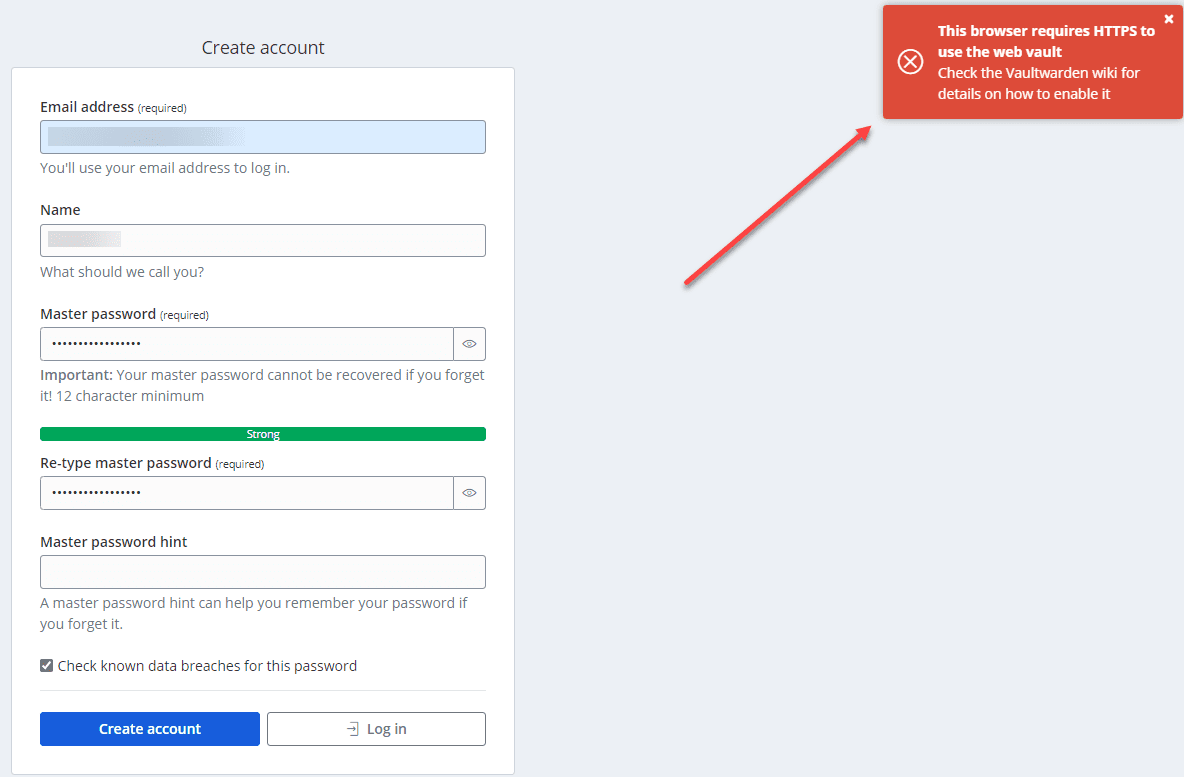
This error is because most modern web browsers disallow the use of Web Crypto APIs in insecure contexts. In this case, you might get an error like Cannot read property ‘importKey’. To solve this problem, you need to access the web vault via HTTPS or localhost.
Traefik with Vaultwarden Setup
If you want to use Traefik with Vaultwarden Server, you can do that easily with docker compose, using the following docker-compose.yml file. Replace the host in the Vaultwarden labels with your hostname.
version: '3.3'

services:
  traefik2:
    image: traefik:latest
    restart: always
    command:
      - "--log.level=DEBUG"
      - "--api.insecure=true"
      - "--providers.docker=true"
      - "--providers.docker.exposedbydefault=true"
      - "--entrypoints.web.address=:80"
      - "--entrypoints.websecure.address=:443"
      - "--entrypoints.web.http.redirections.entryPoint.to=websecure"
      - "--entrypoints.web.http.redirections.entryPoint.scheme=https"
    ports:
      - 80:80
      - 443:443
    networks:
      traefik:
        ipv4_address: 172.19.0.10
    volumes:
      - /var/run/docker.sock:/var/run/docker.sock
    container_name: traefik

  vaultwarden:
    image: vaultwarden/server:latest
    container_name: vaultwarden
    restart: always
    networks:
      traefik:
        ipv4_address: 172.19.0.11
    environment:
      - LOG_LEVEL=debug
    labels:
      - "traefik.enable=true"
      - "traefik.http.routers.vaultwarden.tls=true"
      - "traefik.http.routers.vaultwarden.rule=Host(`vaultwarden.example.com`)"
      - "traefik.http.routers.vaultwarden.entrypoints=websecure"
      - "traefik.http.services.vaultwarden.loadbalancer.server.port=80"
    volumes:
      - ./vaultwarden-data:/data

networks:
  traefik:
    driver: bridge
    name: traefik
    ipam:
      driver: default
      config:
        - subnet: 172.19.0.0/16
Accessing the web interface
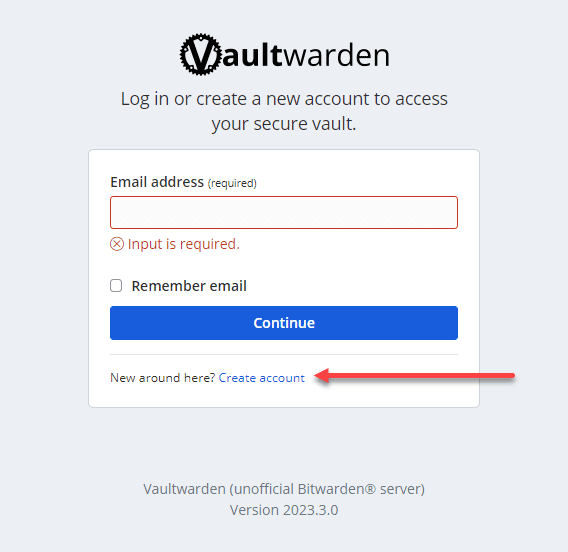
Once you have stood up the Docker container installation, you can browse to the IP of the host the container listens on. You will see the Vaultwarden Server login screen. Click the Create account link.
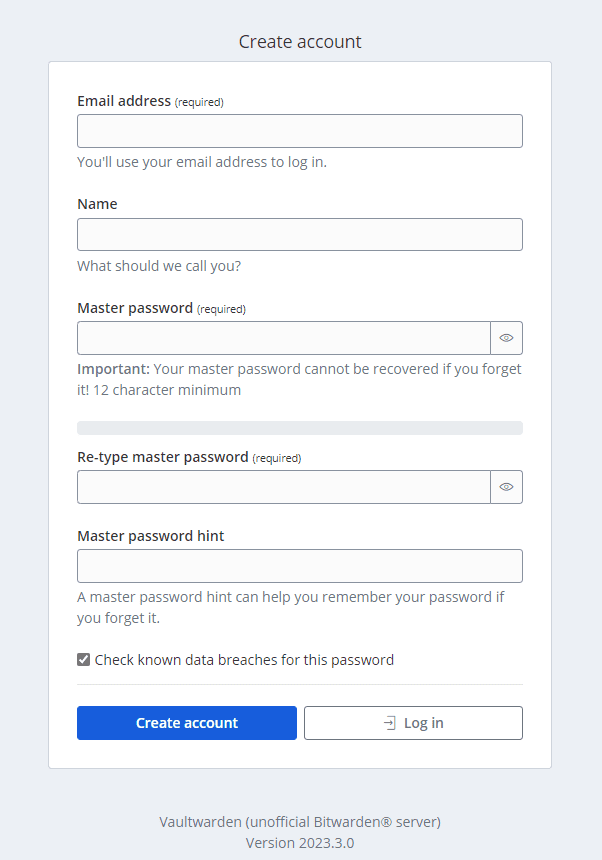
Account creation
Once you click the link, you will see the form to fill in your information to create your new account.
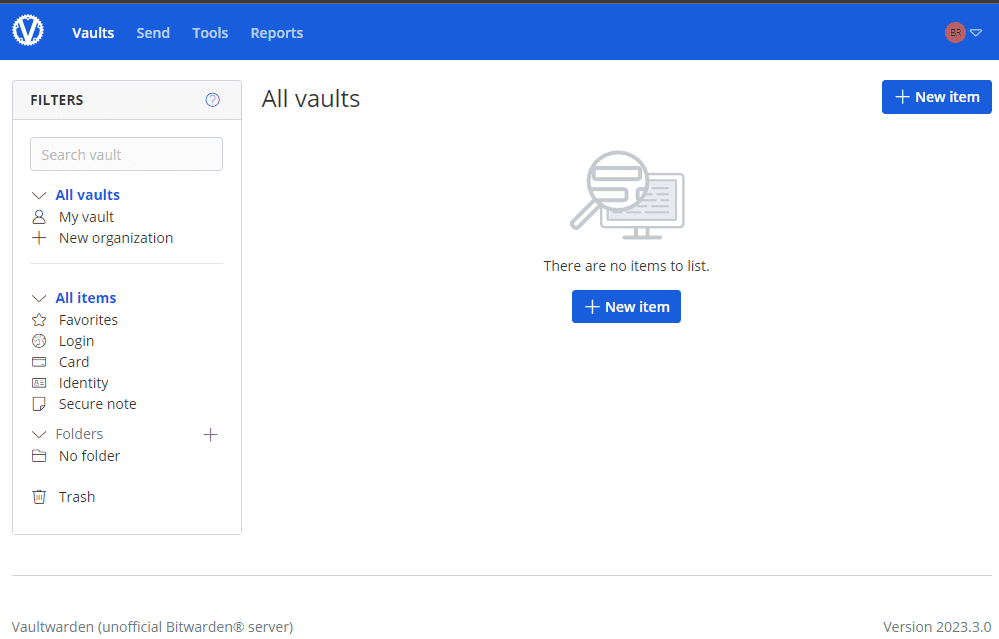
After logging in with the new account, you will arrive at your Vaultwarden dashboard where you can start storing passwords.
Persistent Data and Storage
You will want to use persistent data with your docker container so that your data remains persistent on disk even if you respin or upgrade the container.
Docker Compose management
With Docker Compose, users can define and configure their entire Vaultwarden environment using a single configuration file. This makes it easier to manage and update the Vaultwarden instance as needed.
To get started with Docker Compose, users can follow these steps:
Install Docker Compose on the host system.
Create a docker-compose.yml file containing the necessary configuration settings for Vaultwarden.
Run the sudo docker-compose up -d command to deploy the Vaultwarden instance.
By using Docker Compose, users can efficiently manage their Vaultwarden deployments while reducing the complexity of manual configuration.
Vaultwarden Setup FAQs
1. How does it differ from the official Bitwarden server?
Vaultwarden is designed to be more resource-efficient, making it a good alternative for limited hardware environments or users who prefer self-hosted deployments while it has most of the features of Bitwarden
2. How do I install Vaultwarden?
Pull the Vaultwarden Docker image from the upstream repository using the sudo docker command: sudo docker pull vaultwarden/server:latest. You can also deploy Vaultwarden using Docker Compose.
3. Can I use Vaultwarden with any browser?
You can use Google Chrome, Mozilla Firefox, and Microsoft Edge. Dedicated browser extensions are available for a good experience in those browsers.
4. Is Vaultwarden secure?
Vaultwarden is designed with security in mind, offering features such as YubiKey, self-signed certificates for secure connections, and the option to disable user registration.
5. How does Vaultwarden handle persistent data and storage?
Vaultwarden leverages Docker to provide persistent data storage, ensuring that your password vault remains intact even in the event of container failure or other issues.
Other posts you may like
Wrapping up
If you want a lightweight and easy-to-spin-up self-hosted password solution, Vaultwarden is a great choice. With just a few lines in a Docker Compose file, you can have a fully functional Vaultwarden setup in no time.
It provides flexibility, control, and customization that a self-hosted password manager offers without sacrificing the security and convenience that they’ve come to expect from the official Bitwarden server.
Google is updating how articles are shown. Don’t miss our leading home lab and tech content, written by humans, by setting Virtualization Howto as a preferred source.
About The Author


Boy I wish it was this easy. I’ve been working on this for weeks. Have tried Nginx Proxy Manager, Caddy and now this. None of them work. I’m trying to keep it all in the local network for security reasons. And yet it seems like I have to open a port on my router in order to use https. I will not open a port on my router if I don’t have to.
Hey Chris,
Thank you for your comment! Hey did the method shown in the blog not work for you? I was able to get this to work in my home lab. Are you getting an specific error in your environment?
Brandon
Holy Sh…. this Tutorial is so Bad ! There is so much missing in this tutorial, no wonder this is not working once someone do the setup like described in this Tutorial !