Fedora CoreOS VMware Install and Basic Ignition File Example

If you are looking for a highly customizable container operating system for virtualization that is immutable and can stream updates, Fedora CoreOS is a great solution. In this post, we will take a look at deploying Fedora CoreOS in VMware vSphere, including a look at a basic ignition file example and what you can do with the customizations.
Table of contents
- What is Fedora CoreOS?
- Install Fedora CoreOS Steps
- 1. Download the Fedora CoreOS VMware OVA appliance
- 2. Install Butane and the Ignition Validate Tool
- 3. Install GOVC to work with VMware
- 4. Export GOVC environment variables
- 5. Create a basic Butane configuration and convert to Ignition JSON file
- 6. Run CoreOS installer using GOVC and the ignition file
- Post-Installation Configuration and Management
- Wrapping up Fedora CoreOS in VMware
What is Fedora CoreOS?
Fedora CoreOS is a container-specific Linux from the Fedora project established in 2018 that fuses features from Fedora Atomic Host and CoreOS Container Linux. CoreOS in its original form is now deprecated. So you have the choice to use Fedora CoreOS or RHEL CoreOS. It is designed for running containerized workloads securely and efficiently.
CoreOS provides an immutable and auto-updating operating system that runs as an OS image by means of rpm-ostree that is a minimal OS in design but also very feature-rich. It integrates SELinux security and automatic updates for a secure version of the Linux kernel and helps bolster the security posture of the installed system without losing functionality.
Install Fedora CoreOS Steps
It is a recommendation that you have a Linux workstation or a WSL instance you can work with. The tools and workflow is easiest from another Linux machine. For this installation guide and reference, I will be using a WSL instance. With a management Linux machine or WSL instance, note the following steps in order to install Fedora CoreOS in VMware vSphere:
- Download the Fedora CoreOS VMware OVA appliance
- Install Butane and the Ignition Validate Tool
- Install GOVC to work with VMware
- Export GOVC environment variables
- Create a basic Butane configuration and convert to Ignition JSON file
- Run CoreOS installer using GOVC and the ignition file
1. Download the Fedora CoreOS VMware OVA appliance
You can view the available downloads for Fedora CoreOS here: Fedora CoreOS | The Fedora Project.
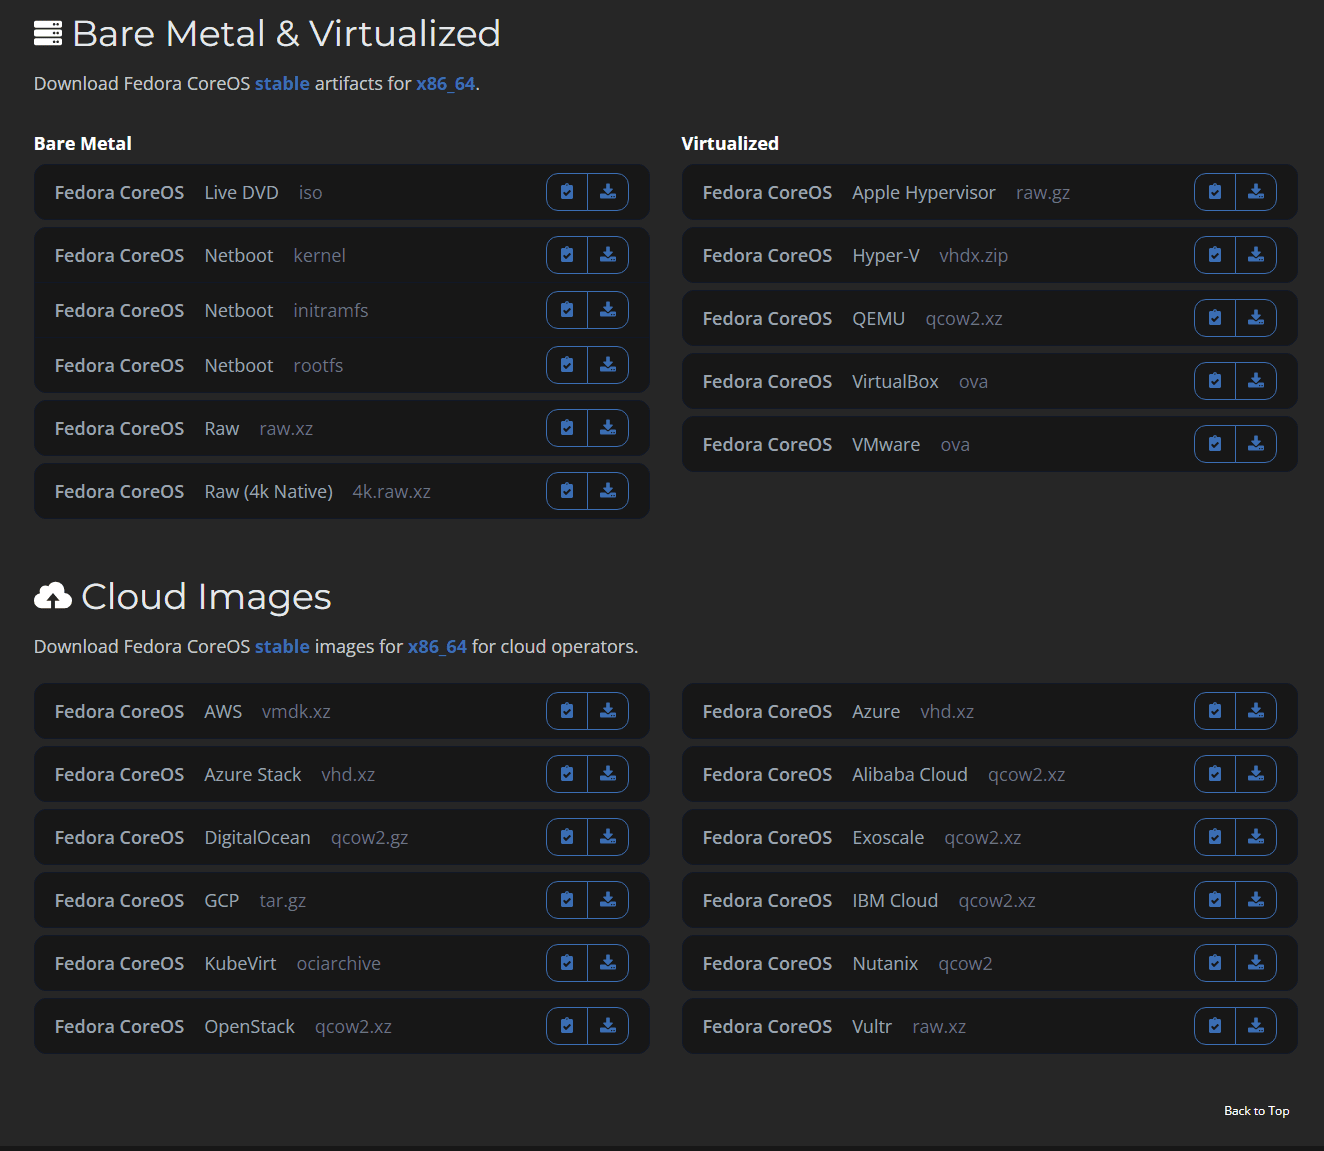
Take a look at the available installer images below, including bare metal server installation options such as a live ISO image (Fedora CoreOS ISO), virtualized environments using a hypervisor, and cloud images. As you can see below, there is a wide range of compatibility among popular platforms.
To download the OVA using curl, run the following to pull the latest as of the time of this writing:
curl -fsSLO https://builds.coreos.fedoraproject.org/prod/streams/stable/builds/39.20240112.3.0/x86_64/fedora-coreos-39.20240112.3.0-vmware.x86_64.ovaWe won’t be detailing this method, but if you want to boot from Live ISO, you can follow these steps:
Download the ISO image manually, or you can run the CoreOS installer in a container using the podman command:
podman run --security-opt label=disable --pull=always --rm -v .:/data -w /data \
quay.io/coreos/coreos-installer:release download -f isosudo coreos-installer install /dev/sda \
--ignition-url https://example.com/example.ign
2. Install Butane and the Ignition Validate Tool
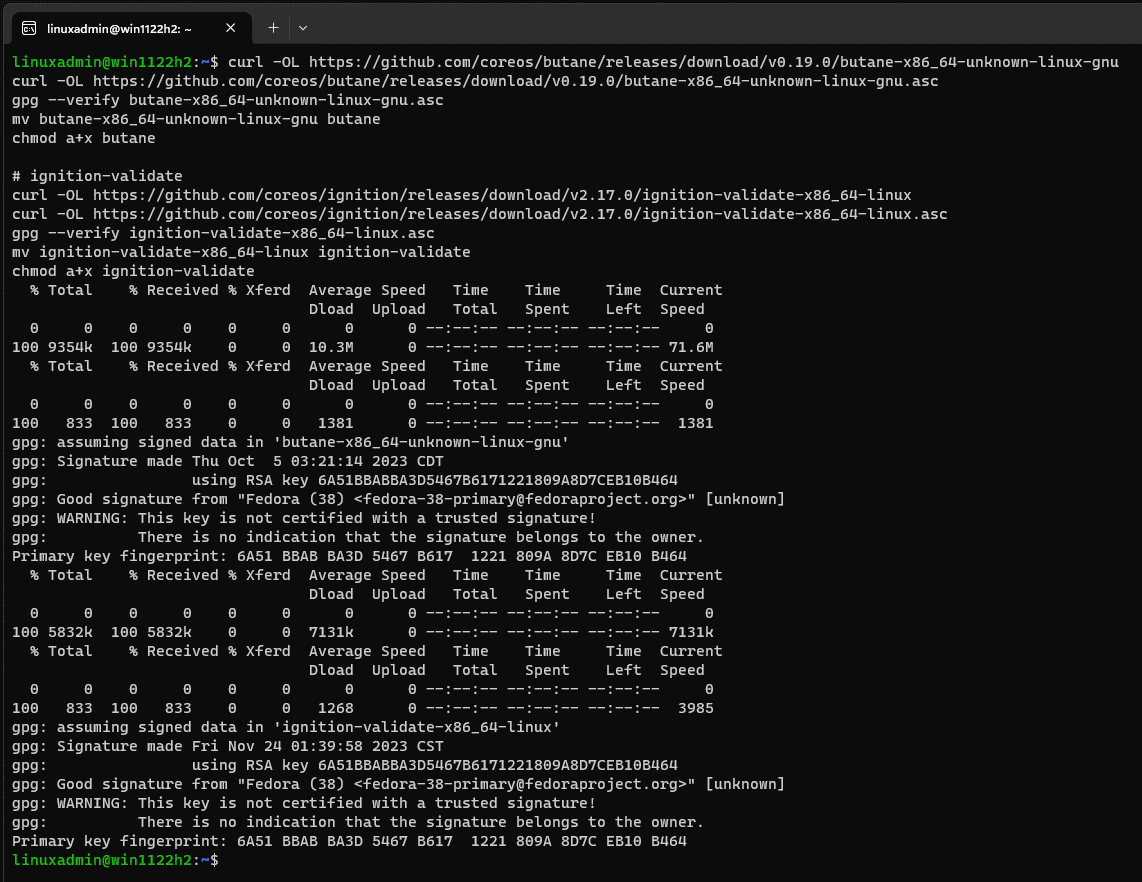
Next, we need to install Butane and the Ignition Validate tool as utilities we will use to create our ignition config and we can use the validate tool to validate the syntax and validity of the ignition file. Below are the commands to install in Linux, but you also have the ability to install in Windows and macOS.
# Butane
curl -OL https://github.com/coreos/butane/releases/download/v0.19.0/butane-x86_64-unknown-linux-gnu
curl -OL https://github.com/coreos/butane/releases/download/v0.19.0/butane-x86_64-unknown-linux-gnu.asc
gpg --verify butane-x86_64-unknown-linux-gnu.asc
mv butane-x86_64-unknown-linux-gnu butane
chmod a+x butane

# ignition-validate
curl -OL https://github.com/coreos/ignition/releases/download/v2.17.0/ignition-validate-x86_64-linux
curl -OL https://github.com/coreos/ignition/releases/download/v2.17.0/ignition-validate-x86_64-linux.asc
gpg --verify ignition-validate-x86_64-linux.asc
mv ignition-validate-x86_64-linux ignition-validate
chmod a+x ignition-validate3. Install GOVC to work with VMware
GOVC is a command line tool that allows interacting, configuring, and managing VMware vSphere environments. To install GOVC, run the following:
curl -L -o - "https://github.com/vmware/govmomi/releases/latest/download/govc_$(uname -s)_$(uname -m).tar.gz" | sudo tar -C /usr/local/bin -xvzf - govc4. Export GOVC environment variables
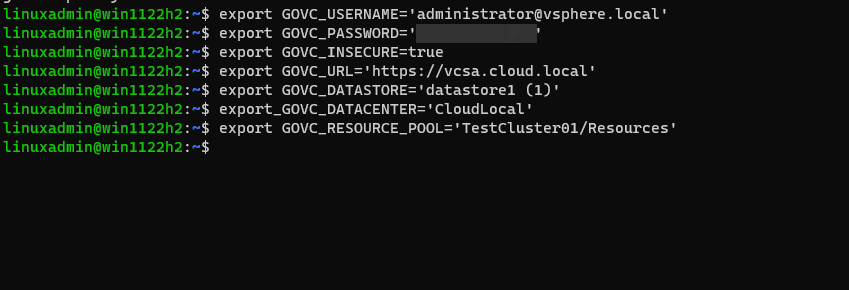
Below are export commands you can run for GOVC to set basic information (vCenter, storage, resource pool, and other requirements and details) that will allow GOVC to connect and interact with your VMware vSphere environment. You will need the GOVC_INSECURE and GOVC_RESOURCE_POOL variables if you are using a self-signed certificate and if you have multiple clusters running in your VMware vCenter Server.
export GOVC_USERNAME='[email protected]'

export GOVC_PASSWORD='password'

export GOVC_INSECURE=true

export GOVC_URL='https://vcsa.cloud.local'

export GOVC_DATASTORE='datastorename'

export_GOVC_DATACENTER='Datacenter'

export GOVC_RESOURCE_POOL='testcluster01/Resources'
Below is an example of what you might see and troubleshooting you need to do if you don’t set the GOVC_INSECURE variable:
Setting the GOVC parameters:
5. Create a basic Butane configuration and convert to Ignition JSON file
Creating an Ignition configuration file provides the configuration needed for a customized CoreOS setup. This configuration can provide initial settings, such as user accounts, systemd units, network configurations, packages, service configuration, whether static IP address or from a DHCP server, and kernel command line arguments.
Butane (formerly the Fedora CoreOS Config Transpiler, FCCT) translates human readable Butane Configs into machine readable Ignition Configs. Generally you create the Butane file first as it is in the easier-to-read YAML format. Then you can use Butane to convert to the ign file which is the JSON-formatted ignition file.
Do you need an initial configuration for a simple CoreOS installation? Yes, a case in point, CoreOS contains a default user called core. But there is no password configured on the user initially. To access CoreOS, you will need to configure a password or SSH key to interact with the operating system.
A simple example to get started with is the following which sets SSH authorized keys for the core user:
variant: fcos
version: 1.1.0
passwd:
  users:
    - name: core
      ssh_authorized_keys:
        - ssh-rsa AAAAB....
As a note, if you want to create passwords for users, you will need to create a password hash for your user password that you want to configure. You can use the mkpasswd tool that is part of the whois package to create a password hash that can be used in the ignition config.
To install whois and then run mkpasswd, you can run the following commands:
sudo apt install whois
mkpasswd --method=yescrypt
You can read the official documentation page on the various configuration you can generate to control different aspects of CoreOS here: Producing an Ignition Config :: Fedora Docs (fedoraproject.org).
Since we have already downloaded and installed Butane, we can use it to convert the YAML file with the .bu extension to a JSON file, with a .ign extension. Below, I have a Butane file called test.bu that I am converting to an Ignition file called test.ign.
./butane --pretty --strict test.bu > test.ign6. Run CoreOS installer using GOVC and the ignition file
Now that we have the ignition file and we have GOVC installed along with the environment variables configured, we can run the CoreOS installer using GOVC which will deploy the OVA file and apply the ignition file during provisioning.
In the first section, we are setting the encoding to base64 which is the most common and compatible. Then, we are passing in our ignition config file created by using the butane command to convert the Butane file to an Ignition file that is applied at first boot.
Then we login to vSphere and upload the OVA and then import the ignition configuration. Finally, we power on the VM.
## Configure the encoding and encoded string with ignition file
CONFIG_ENCODING='base64'
CONFIG_ENCODED=$(cat test.ign | base64 -w0 -)

## Setting the OVA appliance file and logging into vSphere and importing the OVA
## Then importing the ignition file configuration
FCOS_OVA='./fedora-coreos-39.20240112.3.0-vmware.x86_64.ova'
VM_NAME='fcos-node01'
govc session.login
govc import.ova -name ${VM_NAME} ${FCOS_OVA}
govc vm.change -vm "${VM_NAME}" -e "guestinfo.ignition.config.data.encoding=${CONFIG_ENCODING}"
govc vm.change -vm "${VM_NAME}" -e "guestinfo.ignition.config.data=${CONFIG_ENCODED}"

## Setting VM info and powering on the VM
govc vm.info -e "${VM_NAME}"
govc vm.power -on "${VM_NAME}"
Running the command and watching the Fedora CoreOS OVA target disk get uploaded to vSphere, specifying the path to the OVA file and ign file.
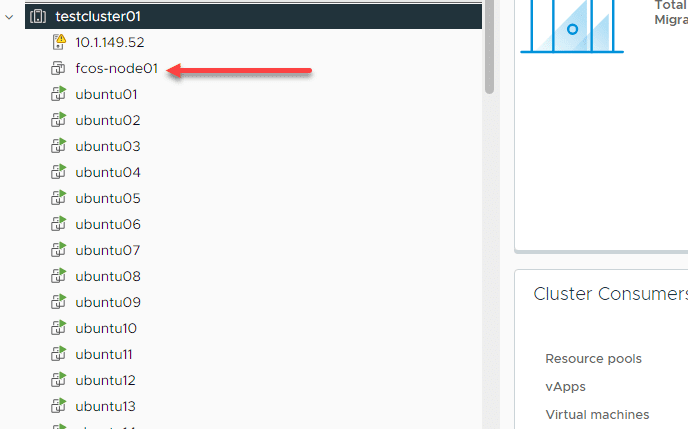
If you look at the vCenter inventory, you will see the new CoreOS guest virtual machine get created. As a note, the Fedora CoreOS installer will configure 2 CPU cores and 4 GB of memory. These are configurable.
Post-Installation Configuration and Management
Following the successful deployment of Fedora CoreOS, post-installation management focuses on leveraging the OS’s capabilities for running containerized workloads. The automatic update model of Fedora CoreOS ensures that the system remains secure and up-to-date without manual intervention and you can also control the reboot behavior.
Wrapping up Fedora CoreOS in VMware
There is a lot to like about Fedora CoreOS. One is that Fedora makes it easy to install in VMware with the OVA appliance and other options like Live ISO and the QEMU QCOW image for Proxmox. It is immutable, so it is a great platform on which to run containers or Kubernetes in your environment. If you would like to discuss Fedora CoreOS further, be sure to post a topic in the VHT forums content for help or comment below.


