Windows Server 2019 RD Web Access Configuration
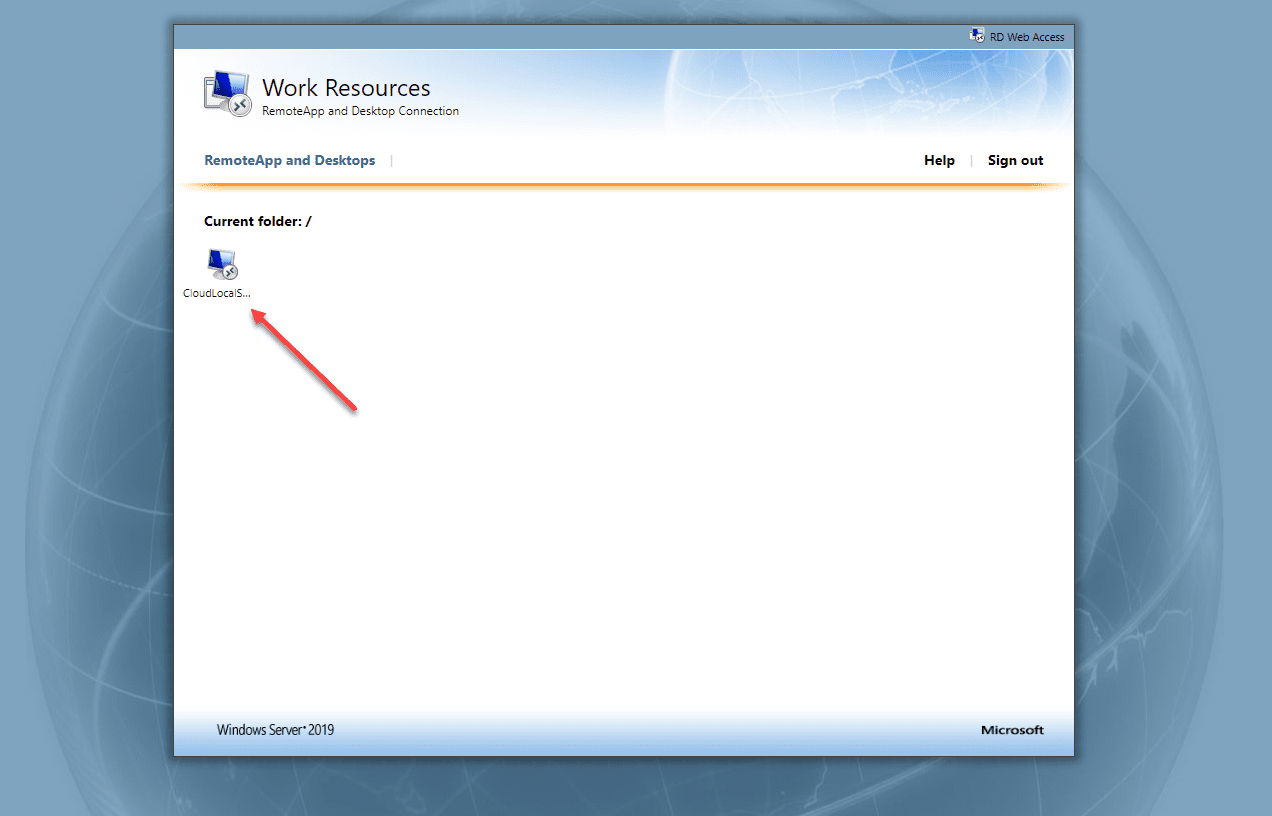
When configuring remote desktop services, one of the powerful capabilities that it provides is remote desktop web access, or rd web access as many know it as. Remote desktop services has become even easier to configure over the last few versions of Windows Server and this also goes for the remote desktop rd web access. In this post, we will take a look at Windows Server 2019 RD Web Access configuration and see how this is done with the latest version of Windows Server.
Remote Desktop Gateway, Certificates, and other things
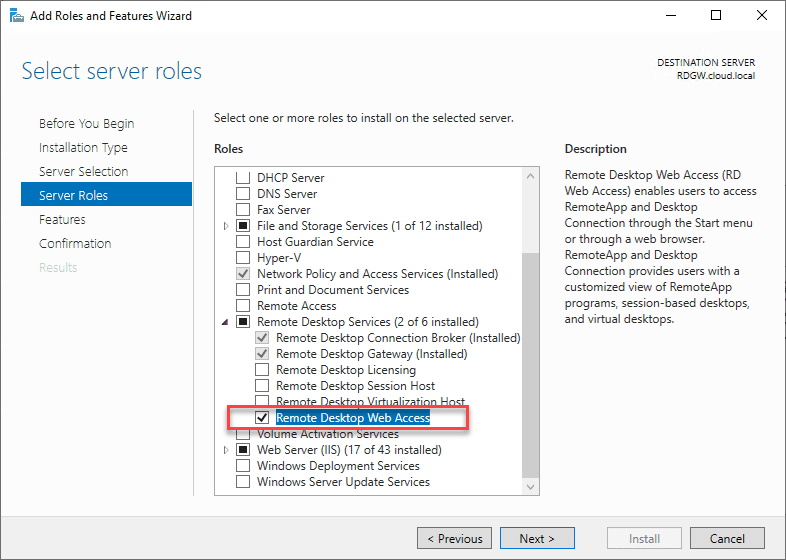
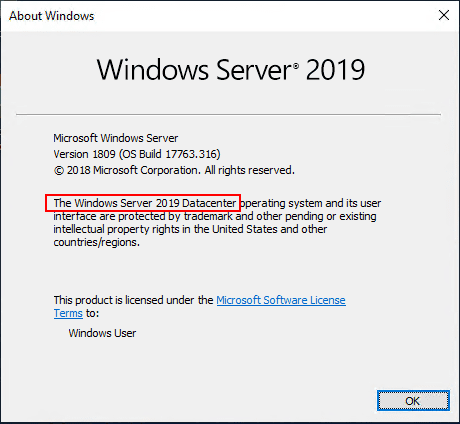
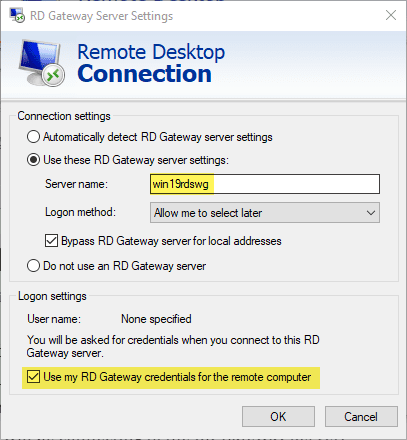
To begin with, I already had a Windows Server 2019 Remote Desktop Gateway server configured and ready to go. Read my write up on how to configure Windows Server 2019 Remote Desktop Gateway server here. In my cofiguration in the lab of the rd web access, I built on the components that I already had installed on this box. This included installing the RD Web Access role.
In my configuration, I had a simple two server configuration – my remote desktop gateway server that also housed the RD Web access server and then the RDSH server that sits behind this server in the internal network.
Let’s see what steps are required to get the Windows Server 2019 rd web access configuration up and running ready to service clients via web access.
Windows Server 2019 RD Web Access configuration
What does the RD Web Access role allow you to do? With the RD Web Access role installed, clients can easily access virtual machines via their browser without having to using a client of sorts or some other mechanism to connect.
This also opens up the opportunity for non Windows devices to connect to internal resources since all that is required is a browser. Your end users are given the various servers they can connect to via what are known as “Collections”. With the collection, users see the RDSH servers they have permissions to connect to.
Using PowerShell to RD Web Access Components
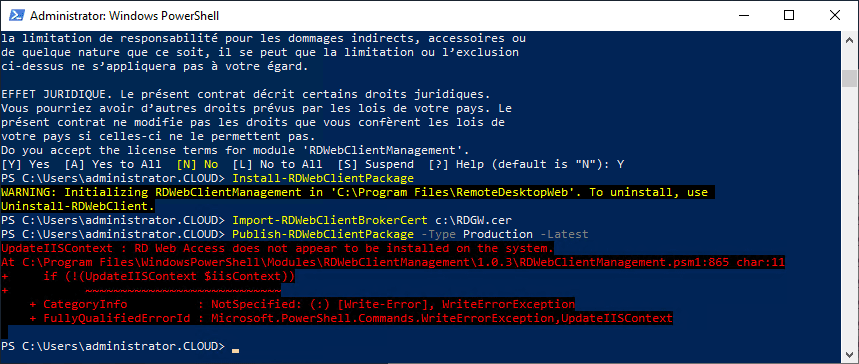
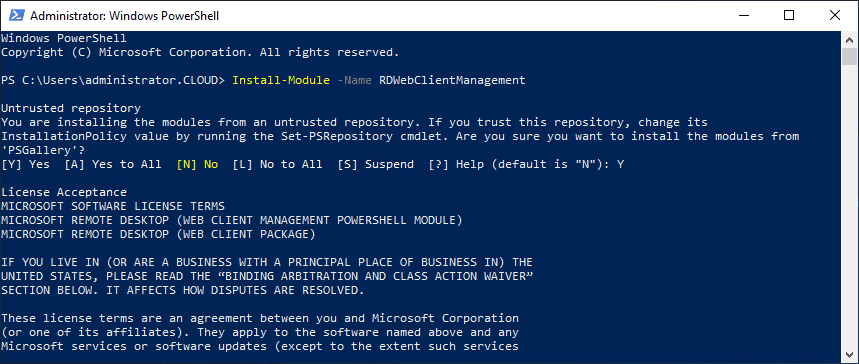
We need to install a few components for Windows Server 2019 RD Web Access. To do this, run the following cmdlets:
- Install-module -Name RDWebClientManagement
- Install-RDWebClientPackage
- Import-RDWebClientBrokerCert – Using this cmdlet, I pointed the cmdlet to the cert that was created when provisioning the RD Gateway server
- Publish-RDWebClientPackage
If you don’t already have the RD Web Access role installed, you will see the following error.
Remote Desktop Services Installation
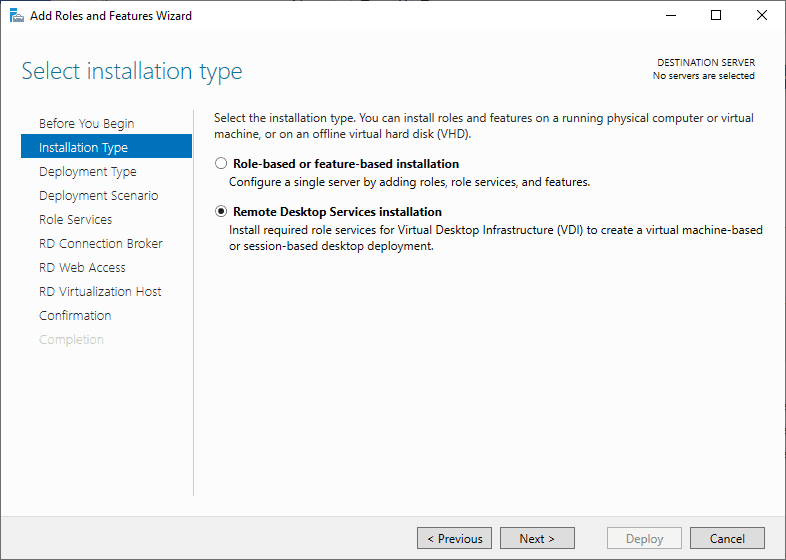
Using Server Manager, you can finish out your Remote Desktop Services installation. To do this you just launch the Add Roles and Features Wizard and follow the wizard by selecting remote desktop services installation.
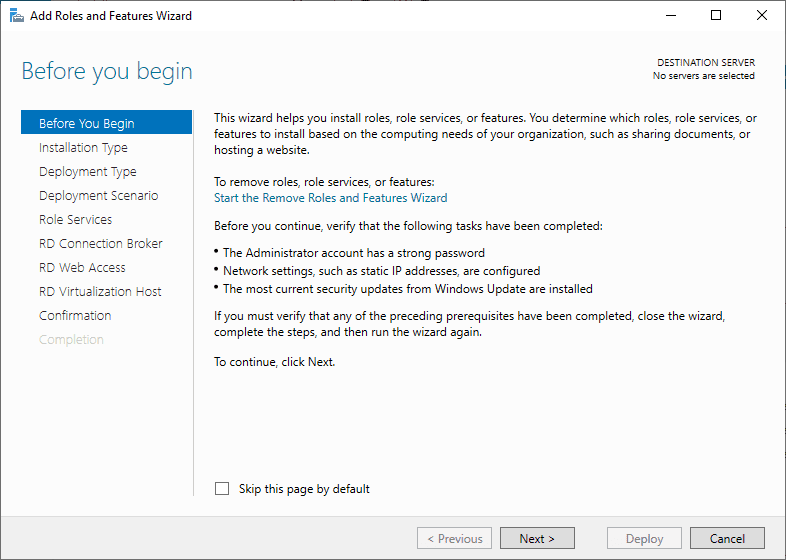
On the type of installation type, choose the Remote Desktop Services Installation. This will allow finishing out the remote desktop services installation.
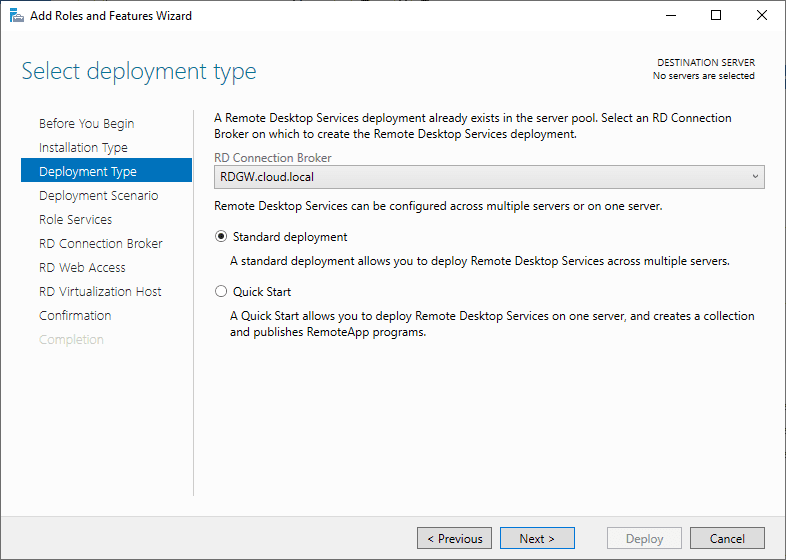
Here, I am selecting the Standard Deployment that allows you to deploy Remote Desktop Services across multiple servers and have a bit more control over the configuration.
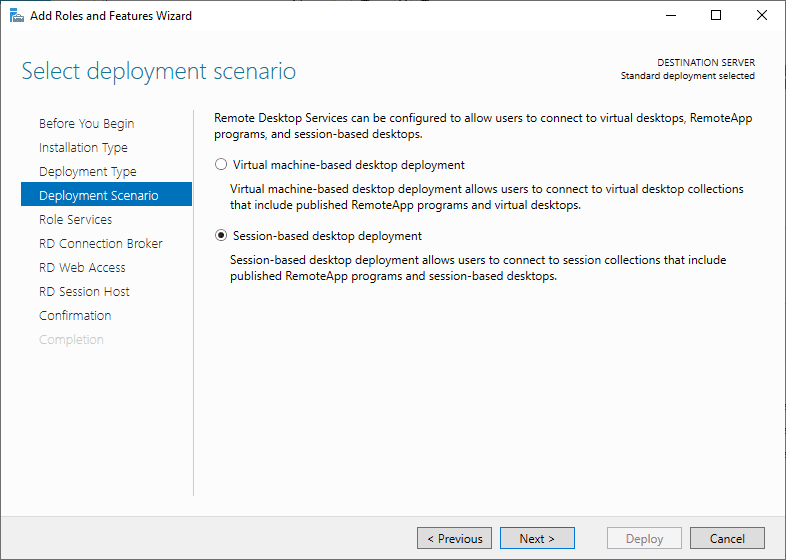
Select the deployment scenario. Here select “Session-based desktop deployment”.
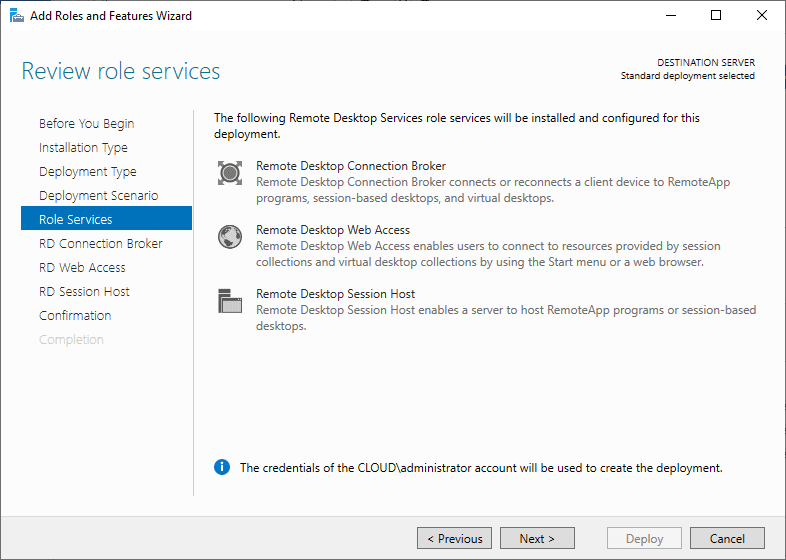
Role services that will be installed if needed on the target boxes include – REmote Desktop Connection Broker, Remote Desktop Web Access, and Remote Desktop Session Host.
In the wizard, you will be able to select the servers you want to designate for each role. This includes the RD Connection Broker server.
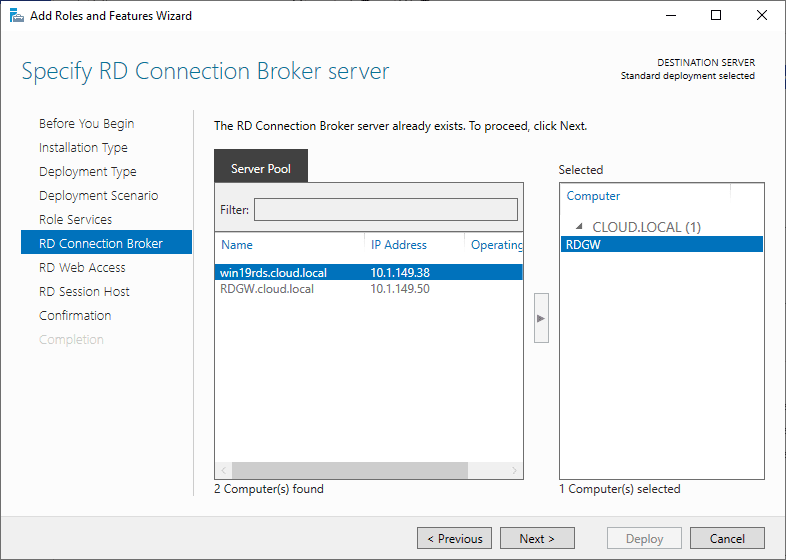
Specify the RD Web Access server during the configuration.
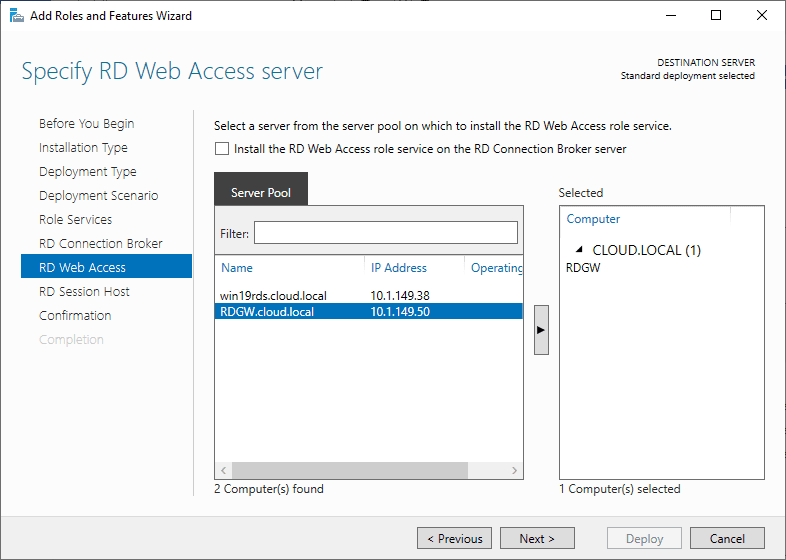
RD Session Host server specified in the configuration.
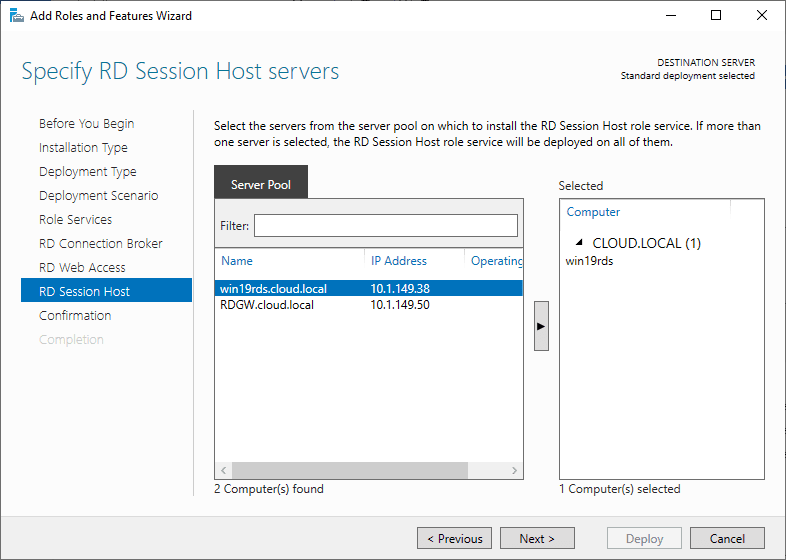
Confirm the configuration of the remote desktop services components.
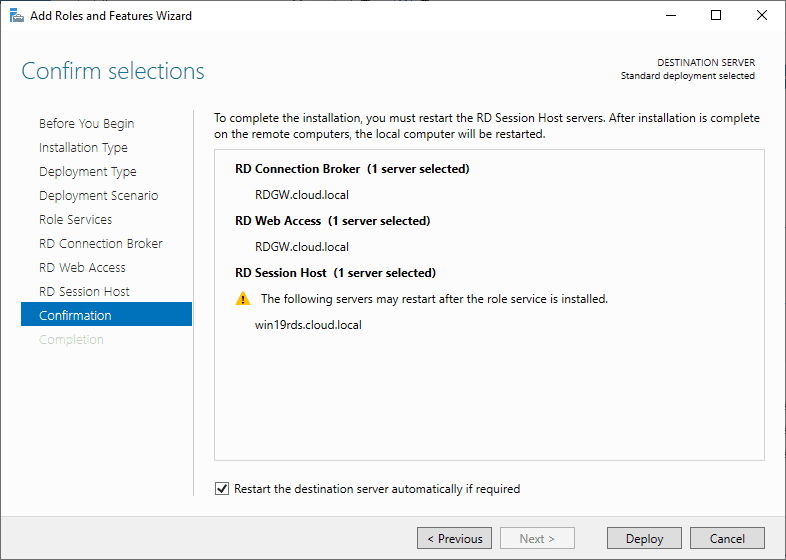
Designate any missing remote desktop services components. There will be a “green plus” over the component that needs further configuration. Simply click the “plus” and set the configuration.
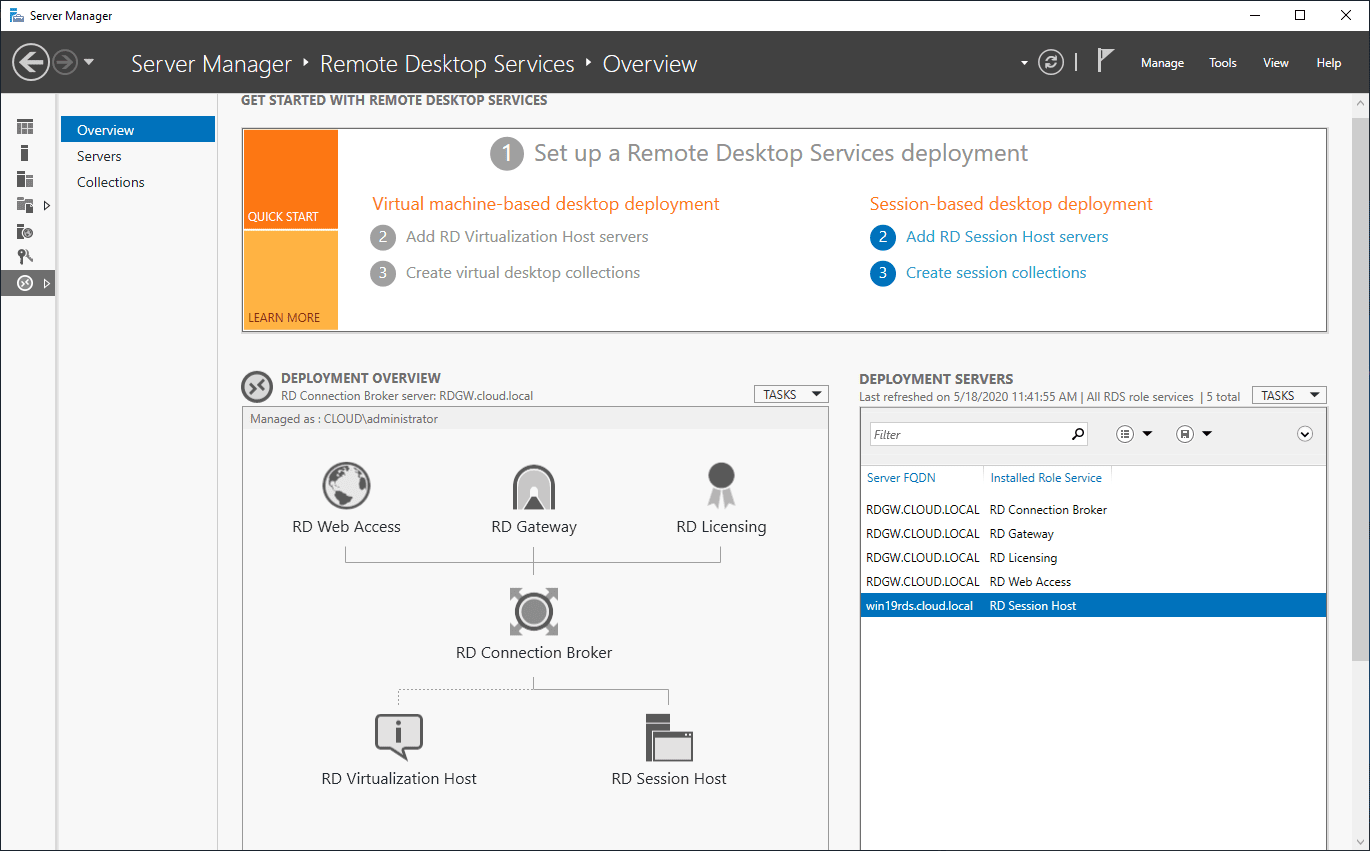
Creating RD Web Access Collections
To allow access to specific resources via the RD Web Access role, you need to create a Collection. The Collection is a set of RDSH servers that you entitle to specific users.
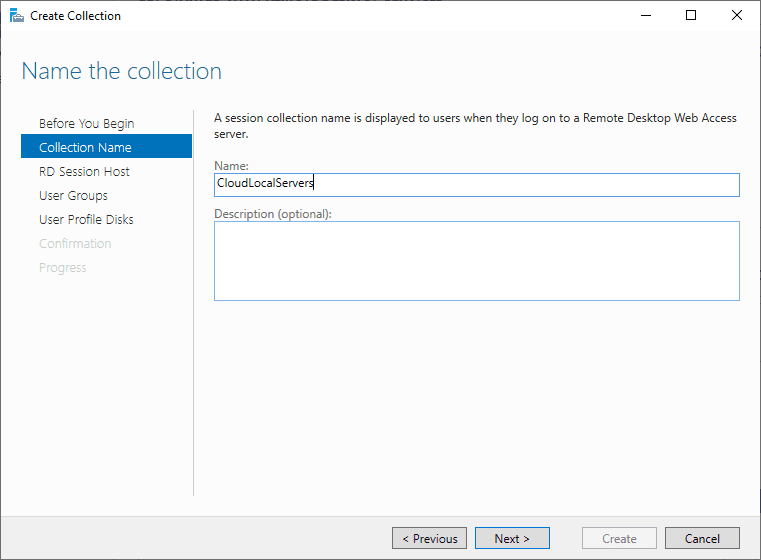
Start the wizard and name the Collection.
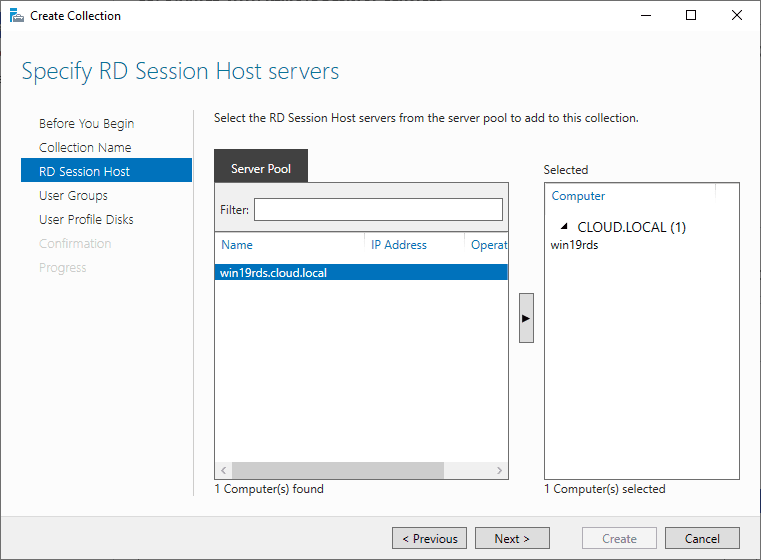
Specify the RD Session Host servers.
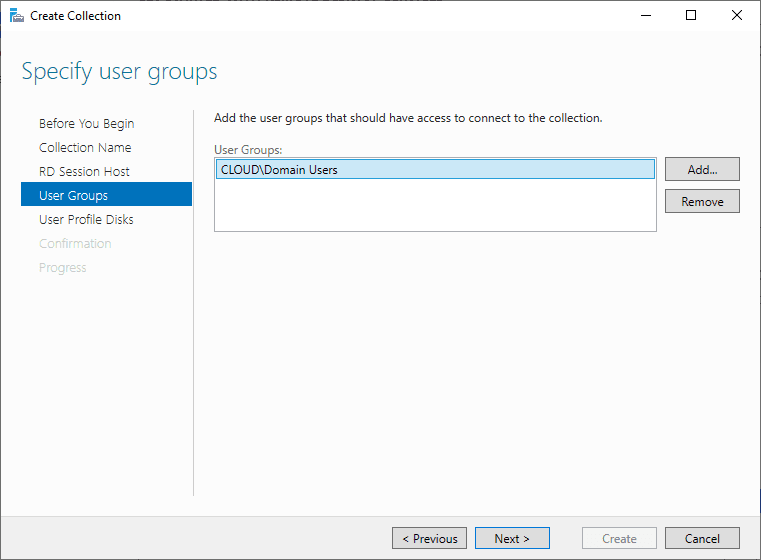
Specify user groups that are allowed to have access to connect to the collection.
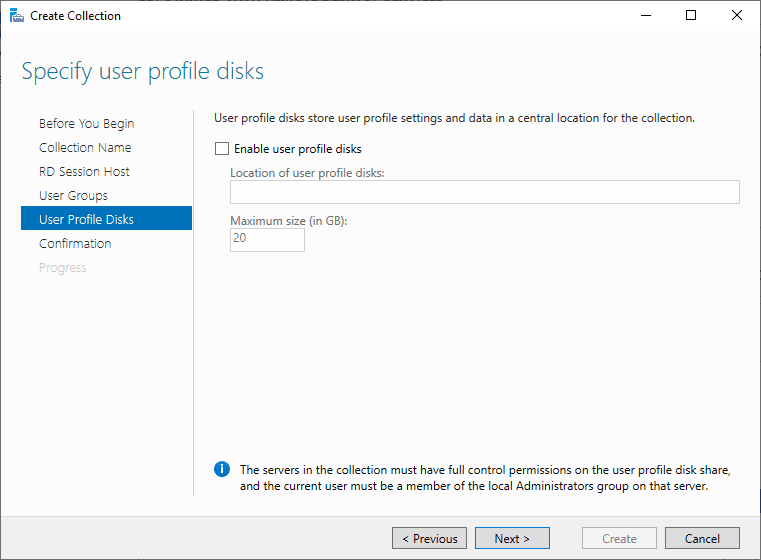
You can configure User profile disks to store user profile settings in a central location.
Confirm the selections made in the collection creation.
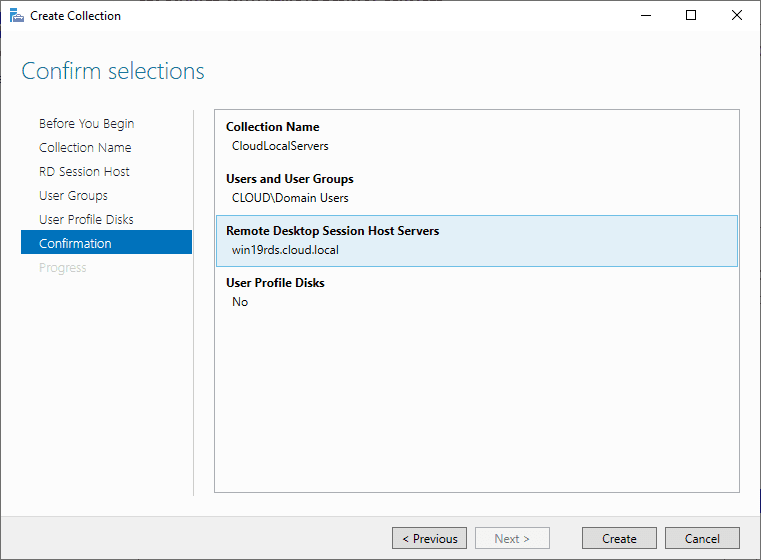
Finish out creating the collection.
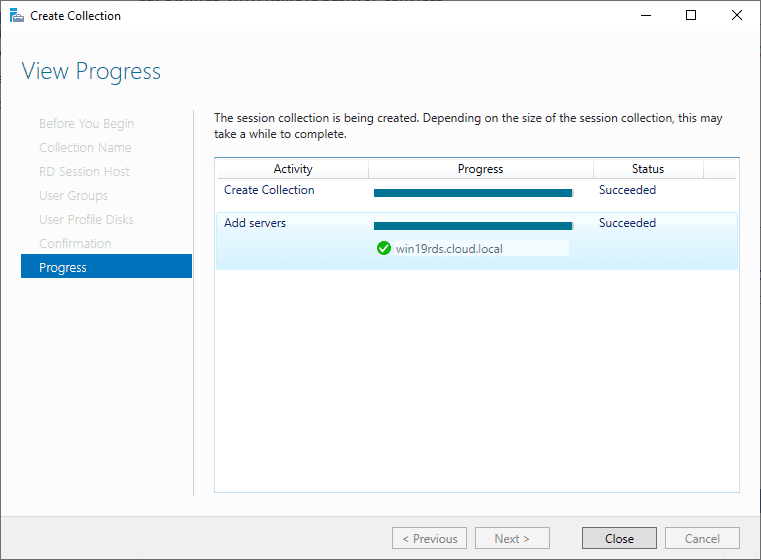
You can now test out the new collection and Windows Server 2019 RD web access by logging in on a browser. You should see the collection that you created and assigned to your users.

Wrapping Up
Hopefully this look at Windows Server 2019 RD web access configuration will help anyone who might be struggling to put the pieces together. The configuration of remote desktop services has gotten easier in the later versions of Windows Server.
Much of the process is wizard driven and helps to give visibility to parts of the configuration left to finalize and setup. This includes the remote desktop gateway server, rd web access server, and RDSH.






Hi Brandon
Thanks for your valuable contributions
I have this issue: I have two servers: RDweb (SRV1) with IIS, and the second one, SRV2, is the RD server where I install apps. This was done by another IT guy who is not with us now. So when I install an application on SRV2, the application does not appear under work resources when I visit https://srv1.mydomain.com/RDweb. But the previously installed app shows up there, and I can download the RDP file to distribute to my users.
So, what step am I missing? What do I need to do on either srv1 or srv2 (RDweb and RD server, respectively) so my app will show up in work resources