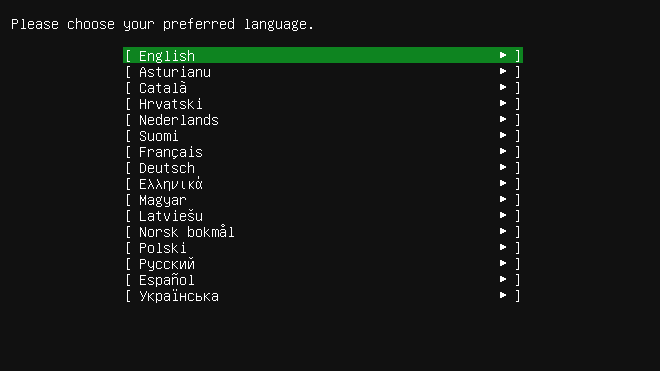
I have been starting to spin up a few new little Linux appliances for the home lab to service a few one off services and utilities. Typically for these types of purposes, I have utilized Ubuntu Server as my “go to” Linux distro of choice. Ubuntu is a tried and true, well tested and seasoned distro at this point and is even what many downloadable appliances are based off of currently. With the release of Ubuntu Server 18.04 LTS Bionic Beaver, I wanted to base all my new installations of various services in the home lab off this new release which is the newest long term branch. In this post, we will take a look at Installing and Configuring Ubuntu Server 18.04 LTS along with the new installation GUI and features. We will look at a few of the initial basic configuration tasks as well to get things up and running.
Ubuntu Server 18.04 LTS New Features
For the purposes of this post, we are focused in on Ubuntu 18.04 LTS Server edition. What are the new features that are included with this newest Ubuntu Server release? The following are highlights directly from the Ubuntu Wiki page for the 18.04 LTS release. Many of the highlight are simply new default versions of included software as you will note below. However, there are certainly notable ones such as the new server installation UI, etc.
- New Server Installer – A new “subiquity” server installer that brings the Ubuntu Desktop installer to the Server edition
- Netplan.io – ifupdown has been deprecated in favor of netplan.io. Backend configuration is provided by systemd-networkd
- LXD 3.0 – System container manager that ships with all Ubuntu servers
- QEMU 2.11.1 – QEMU has been updated to 2.11.1 release and includes many Meltdown/Spectre fixes. Also includes RDMA support via the rdma-core project
- Libvirt 4.0 – updated to version 4.0
- DPDK – 17.11 latest stable releaseof DPDK
- Open vSwitch 2.9 – updated to version 2.9.
- Chrony – replaces ntpd as the recommended server for NTP protocl
- cloud-init – updated to version 18.2
- curtin – updated to version 18.1
- MAAS – Updated to 2.4b2
- SSSD – Updated to version 1.16.x and secrets service now enabled
- Samba – vfs module aio_linux was removed from samba-vfs-modules package
- Nginx – updated to version 1.14.0
- PHP – Updated to version 7.2.x
- Apache – updated to version 2.4.29
- landscape-client – ported to Python 3
- ubuntu-advantage-tools
- s390x-specific enhancements
- OpenStack Queens – includes the latest OpenStack release, Queens
Installing and Configuring Ubuntu Server 18.04 LTS
For the purposes of this walk through, I am installing and configuring Ubuntu Server 18.04 LTS inside a vSphere 6.7 virtual machine inside my home lab cluster environment. I accepted the defaults on creating a new virtual machine inside of vSphere, including the basic disk, memory, CPU, and other footprint.
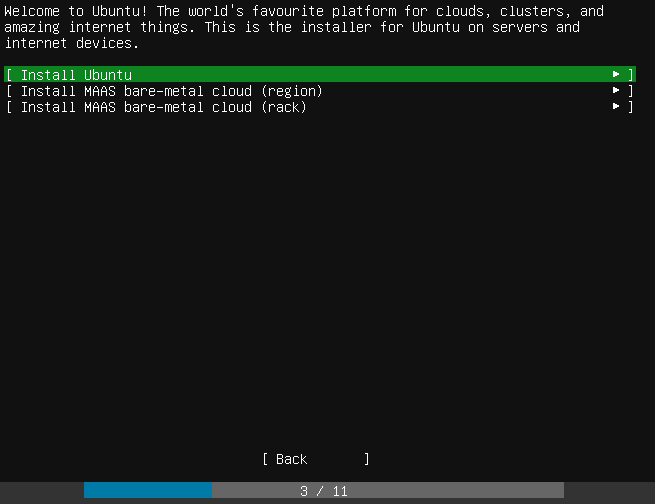
On the type of installer you can select the following:
- Install Ubuntu
- Install MAAS bare-metal cloud (region)
- Install MAAS bare-metal cloud (rack)
What is MAAS? MAAS is Metal As A Service that lets you essentially treat physical servers like virtual machines in teh cloud. Rather than have to manage each server individually, MAAS allow you to manage the bare metal servers as elastic cloud-like resources. This has several advantages such as quickly provisioning and destroying instances as you would in the public cloud like AWS, GCE, and Azure.
Next is the network configuration. Here you can choose the configuration of the network connection and even create network bonds.

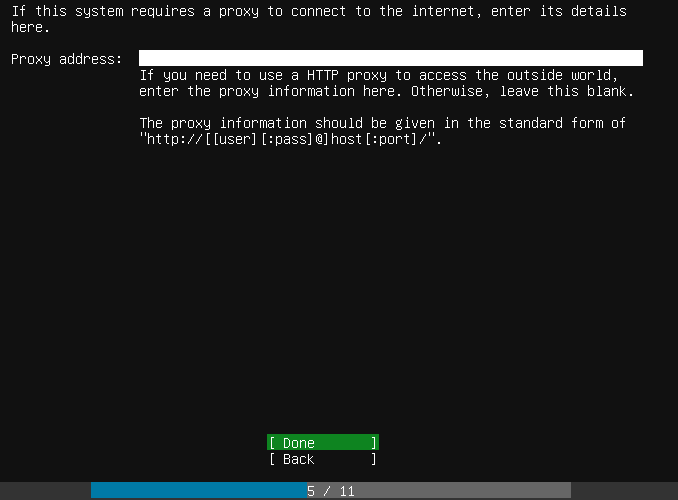
The proxy server address allows configuring the proxy address if your environment requires this for Internet access.
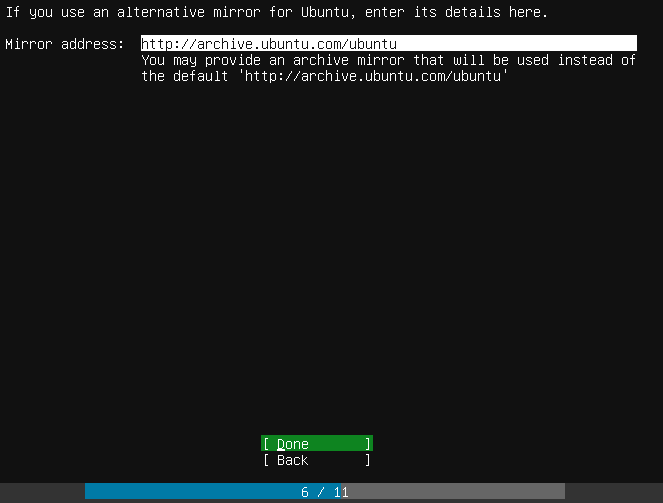
The default mirror addrress is displayed below and for most will work.
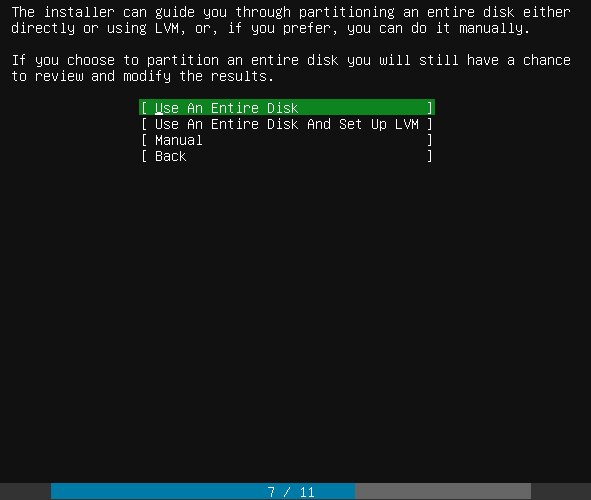
You can choose to change the partitioning mechanism and settings on the partitioning screen.
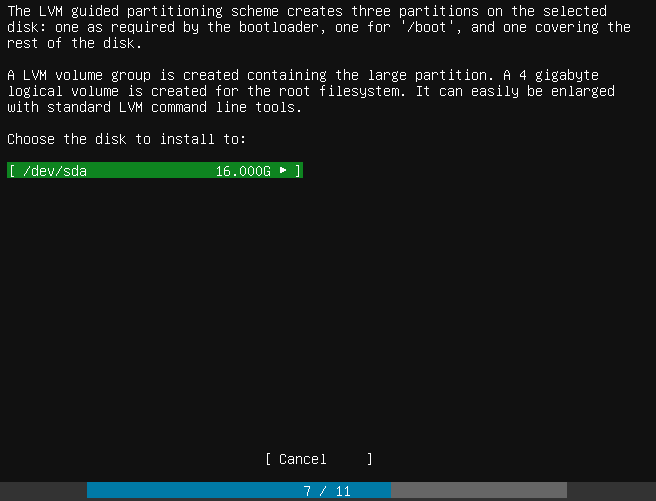
Choose the disk to install Ubuntu Server 18.04 LTS.
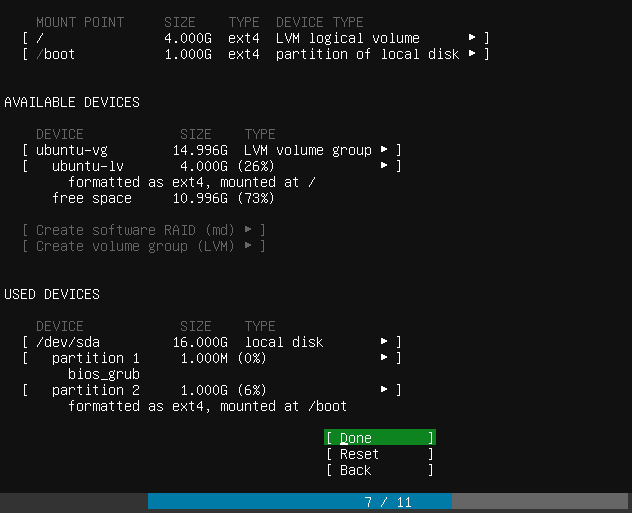
Finalize the boot partition layout on the disk.
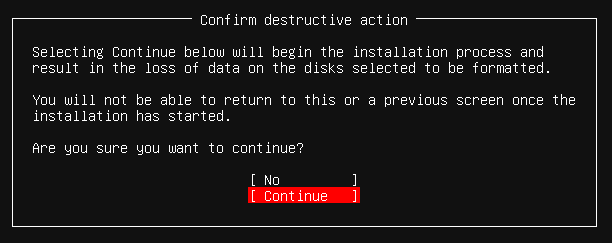
The installer will display a stern warning regarding changes being written to disk and if you are sure you want to destroy the partitions that currently exist.
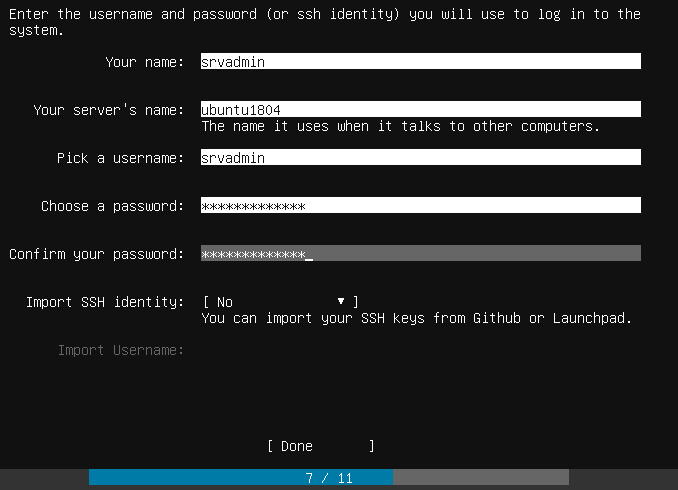
You will be prompted to setup a new user account and configure the Ubuntu Server 18.04 LTS server name.
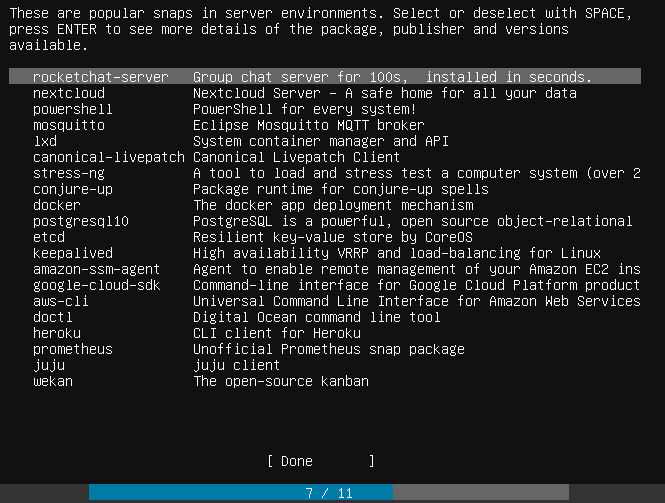
Additionally, there are common “snaps” that you can install during the installation process if you want to add those during the server installation. These include docker, amazon-ssm-agent, google-cloud-sdk, doctl, etc.
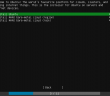
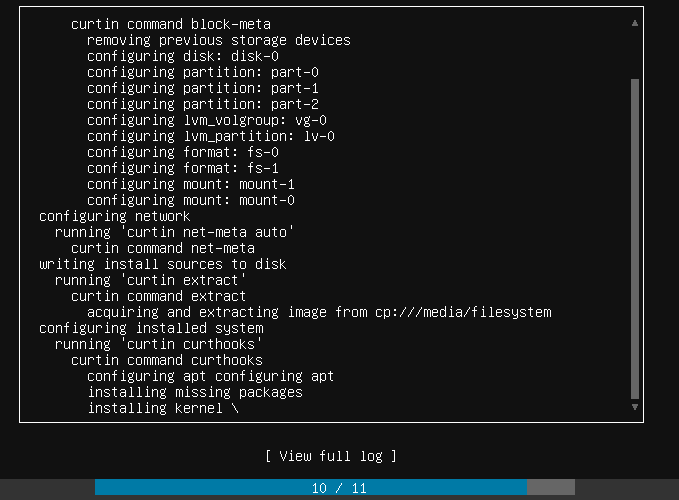
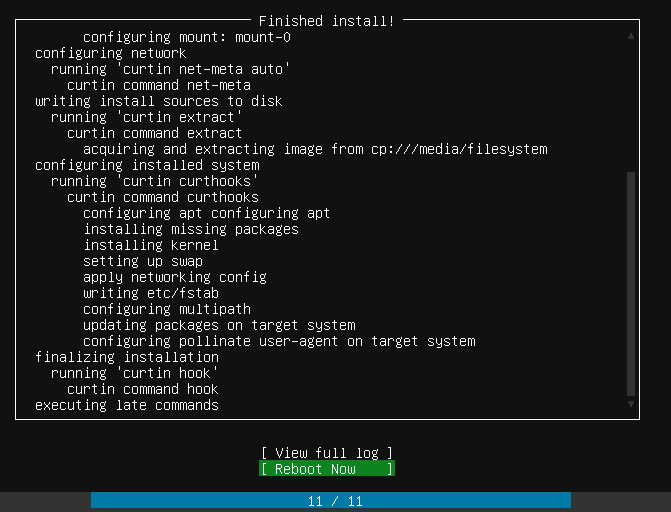
Installation of Ubuntu Server 18.04 LTS begins.
Installation finishes and you are prompted to remove your installation media and reboot.
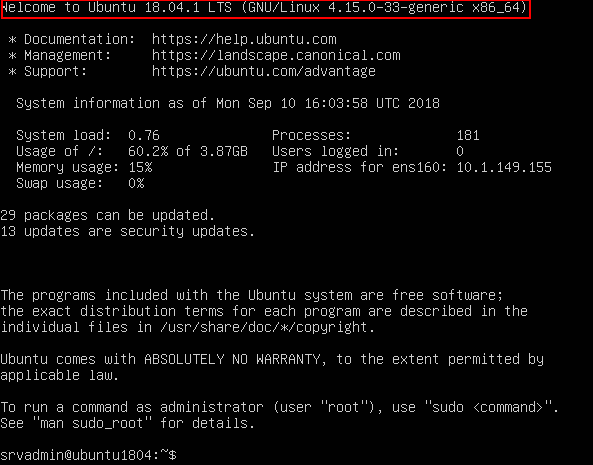
The server should successfully reboot to the Ubuntu 18.04 login screen.
There are a few management and configuration tasks that I like to do right from the start such as updating the Ubuntu installation and enabling SSH connections and for me in the home lab – removing cloud-init. First to update the installation this is easily accomplished with a one liner cmd from the Ubuntu shell.
sudo apt-get update && sudo apt-get upgrade
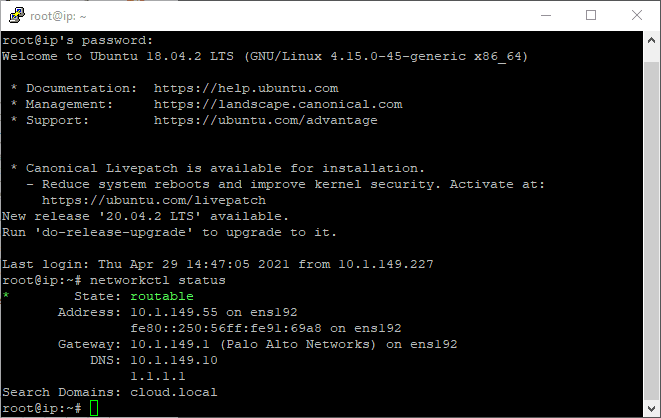
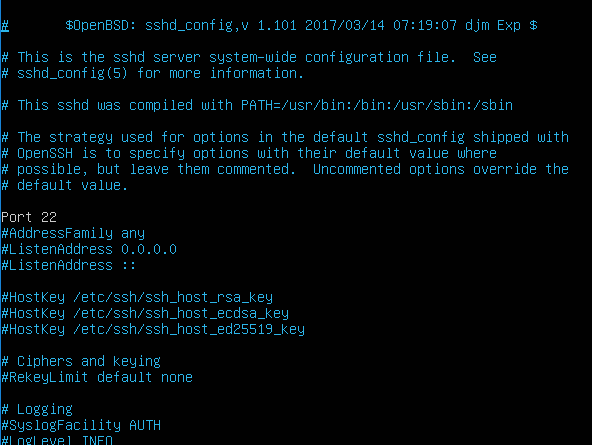
Next, to enable SSH connections, this is a simple matter of uncommenting out the Port 22 directive in the sshd_config file found at /etc/ssh. Simply edit it and save the file, then restart SSH:
- service ssh restart
To remove cloud-init, I found a good blog post that steps through how to effectively remove this from Ubuntu Server 18.04.
Takeaways
So far, I am liking what I see with installing and configuring Ubuntu Server 18.04 LTS. Actually, no surprises here as I have come to expect Ubuntu Server to be solid, stable and to do everything I need it to do. It looks like the 18.04 LTS platform is as good and better than predecessors for a platform to run various services in a lab environment. I plan on upgrading/migrating my Ubuntu Server installations in the lab environment up to 18.04 LTS as times goes along. More from the home lab front soon!
Google is updating how articles are shown. Don’t miss our leading home lab and tech content, written by humans, by setting Virtualization Howto as a preferred source.
About The Author