Dell EMC UnityVSA storage appliance installation and configuration
One of the great resources for home lab environments is vendor released virtual storage appliance software solutions that emulate models of hardware that is typically found in the enterprise. Getting your hands on the actual hardware appliances can be difficult and really not very feasible. The Virtual Storage Appliance or VSA can be a great way to learn and interact with various vendor storage technology by simply provisioning a virtual appliance. One of the VSA’s available for home lab use is the EMC UnityVSA that offers a “community” edition that is fully featured with only size limitations on the storage size that can be configured. This emulates the mid range Unity appliance that is offered in either the all-flash or hybrid version. Let’s take a look at Dell EMC UnityVSA storage appliance installation and configuration.
What is Dell EMC UnityVSA?
The Dell EMC UnityVSA contains the enterprise features of the Dell EMC Unity family of hardware and makes for an easy way to play around with the “hardware” in a home lab environment. The community edition of the license is available for up to 4TB of capacity and best of all, this is a freebie to play around with.
Using the UnityVSA you can:
- Play around with Unisphere
- Manage sotrage from within vCenter
- have access to point-in-time snapshots
- Replicate data between storage arrays
- Play around with tiering solutions with EMC Fully Automated Tiering Virtual
- Provide file services to block storage
- Play around with Vvols
Supported Protocols:
- SMB (SMB1, SMB2, and SMB3), NFSv3, NFSv4, NFSv4.1,FTP, SFTP, iSCSI
- Network Lock Manager (NLM) v3, v4
- Routing Information Protocol (RIP) v1-v2
- Simple Network Management Protocol (SNMP)
- Network Data Management Protocol (NDMP) v1-v4
- Address Resolution Protocol (ARP)
- Internet Control Message Protocol (ICMP)
- Simple Network Time Protocol (SNTP)
- Lightweight Directory Access Protocol (LDAP)
VMware Integration:
- VVols support for VM-granular data services and Storage Policy Based
Management (SPBM). - VMware vStorage APIs for Storage Integration (VAAI) for File and
Block, improves performance by leveraging more efficient, array-based
operations. - vStorage APIs for Storage Awareness (VASA) provides storage
awareness for VMware administrators
Dell EMC UnityVSA storage appliance installation and configuration
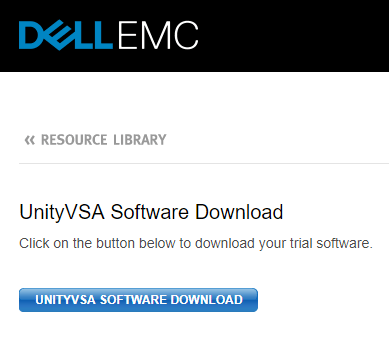
The first thing we need to do is download the Dell EMC UnityVSA appliance. You can download the Dell EMC UnityVSA from Dell EMC here: https://www.delltechnologies.com/asset/en-us/products/storage/briefs-summaries/h14959-5-unityvsa-so.pdf
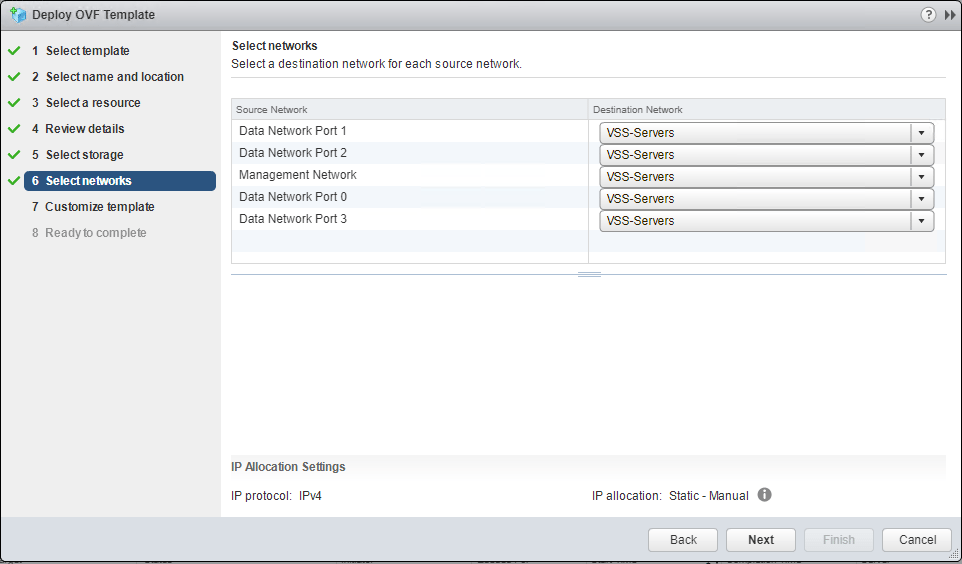
The appliance is an OVA appliance format. I won’t go through all the OVA appliance deployment steps here as they are fairly straightforward. There are a couple of screens however, you need to pay attention to. The select networks screen of the deployment, you select the network connections for both the Data Network and the Management Network.
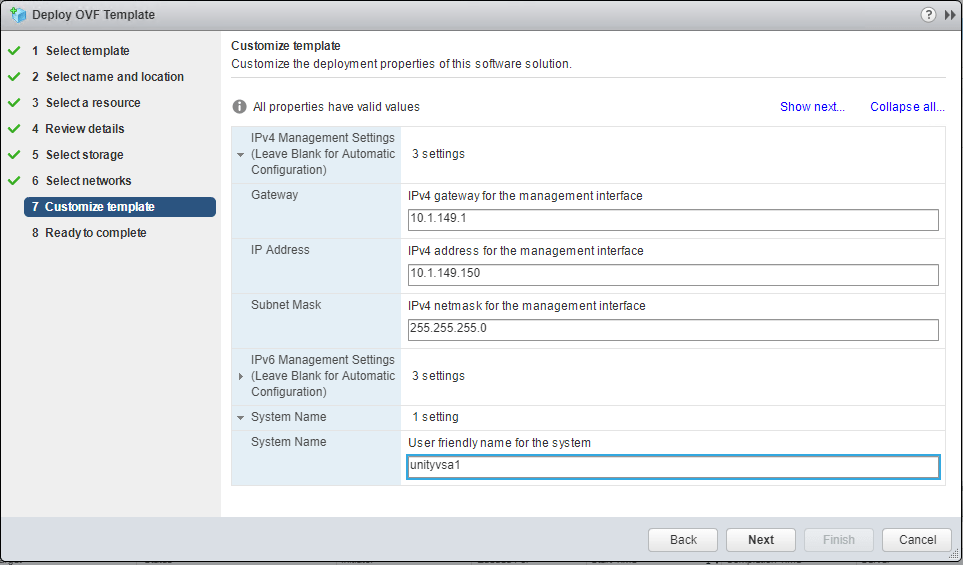
On the Customize template screen, we set the gateway, IP Address, Subnet Mask, and System Name for the appliance.
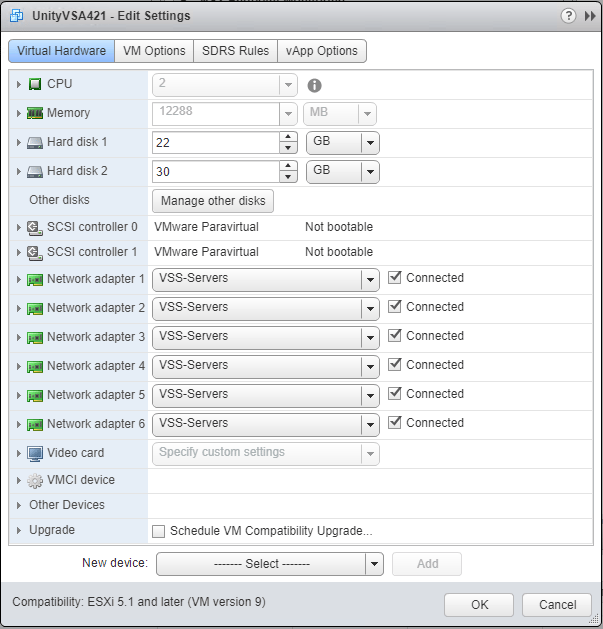
One thing to note that before booting the appliance, you need to add the disks that you want to use for data – creating your storage pools, datastores, etc. For tinkering around in the home lab, I simply added (3) 20 GB drives attached to a new ParaVirtual storage controller.
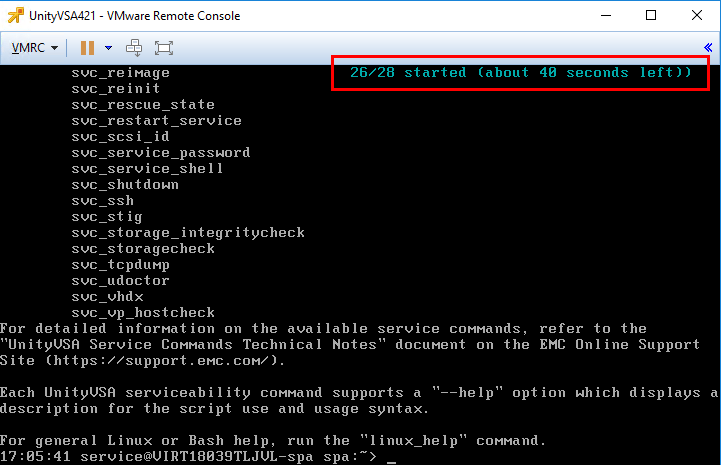
As the appliance boots, it will display the estimated seconds left before the services are started and you will see the number out of /28 that are started. This displays on the console of the appliance as it boots.
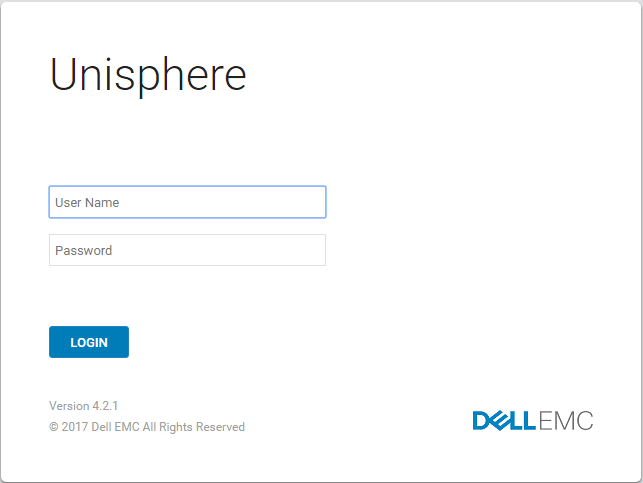
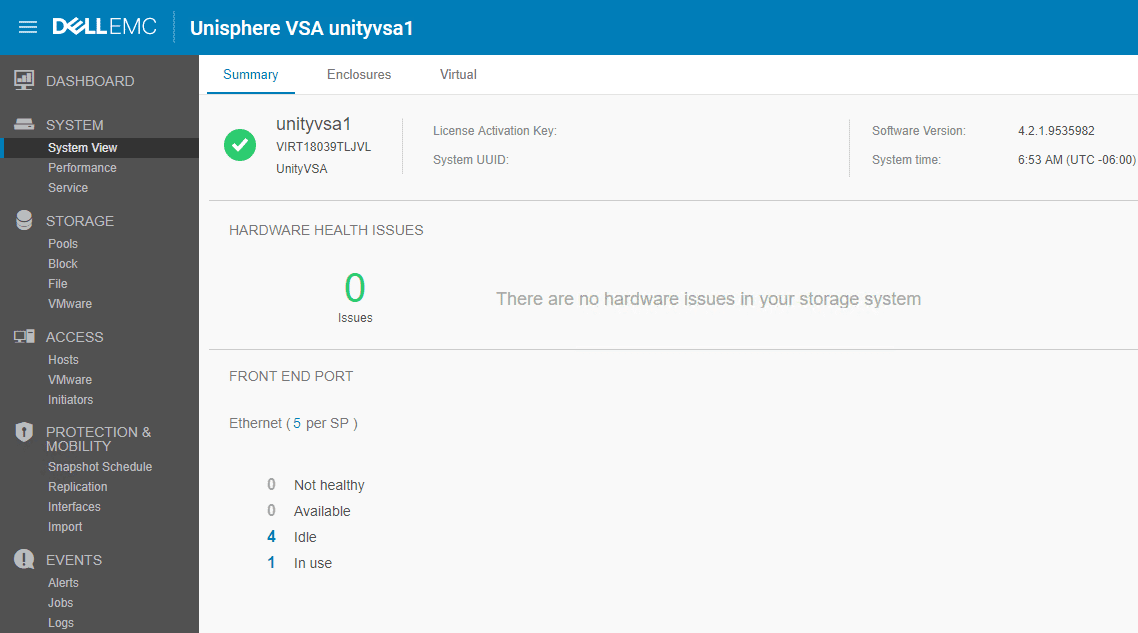
After the appliance is booted, you can browse out to the IP you assigned during setup to login to the Unisphere web interface. The interface is really nice being an HTML5 UI. The default credentials are:
user: admin
password: Password123#
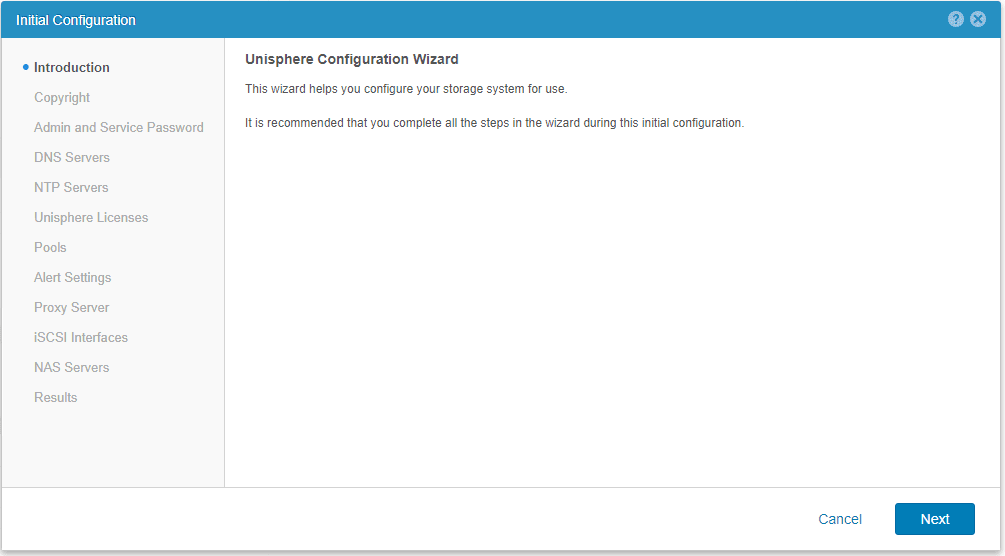
The first time you login to the appliance the Initial Configuration wizard begins that allows setting up the initial configuration of the appliance including, DNS, NTP, licensing, storage pools, SMTP settings, web connectivity, storage interfaces, NAS, etc.
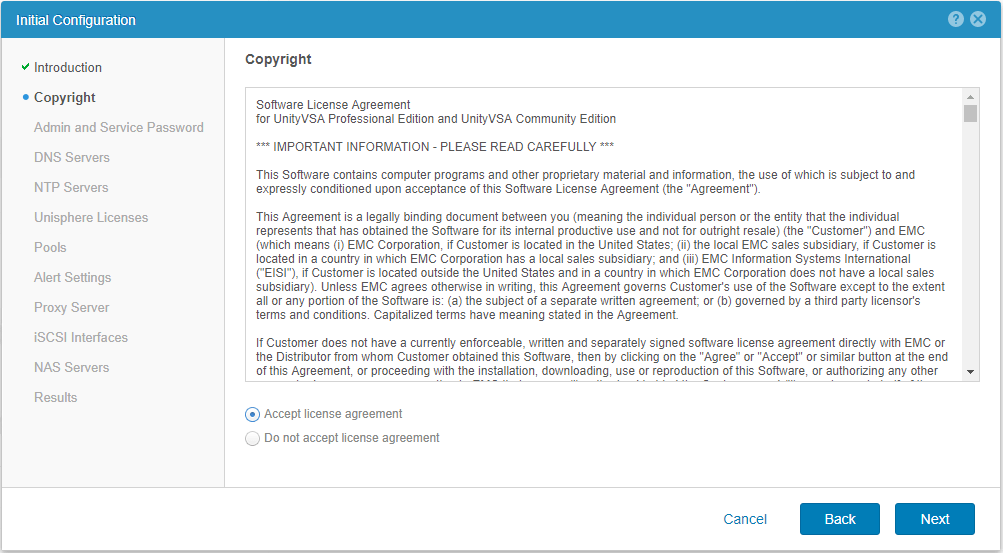
Normal stuff, accepting EULA.
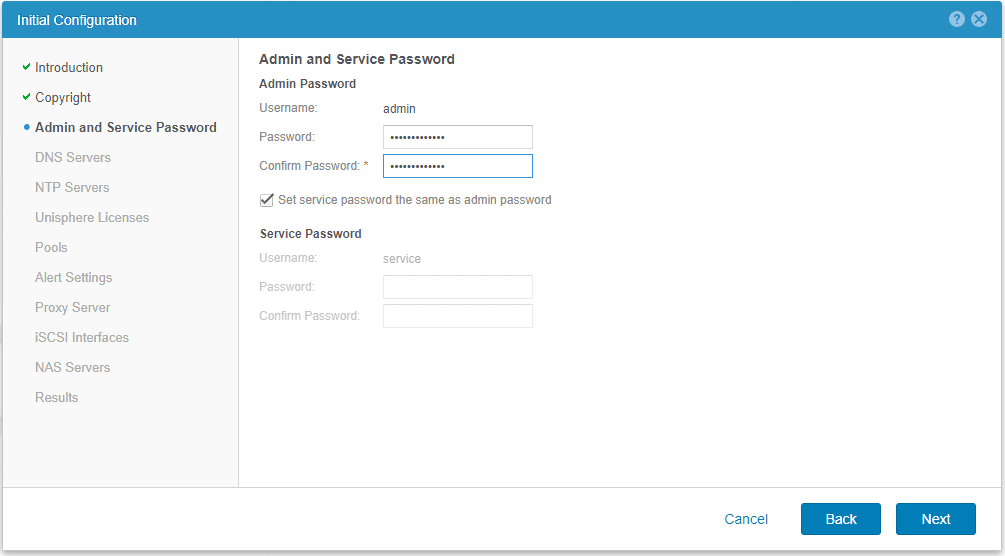
During the initial configuration, you can change the default admin password. You can also set the service password to the same as the admin password or set them differently.
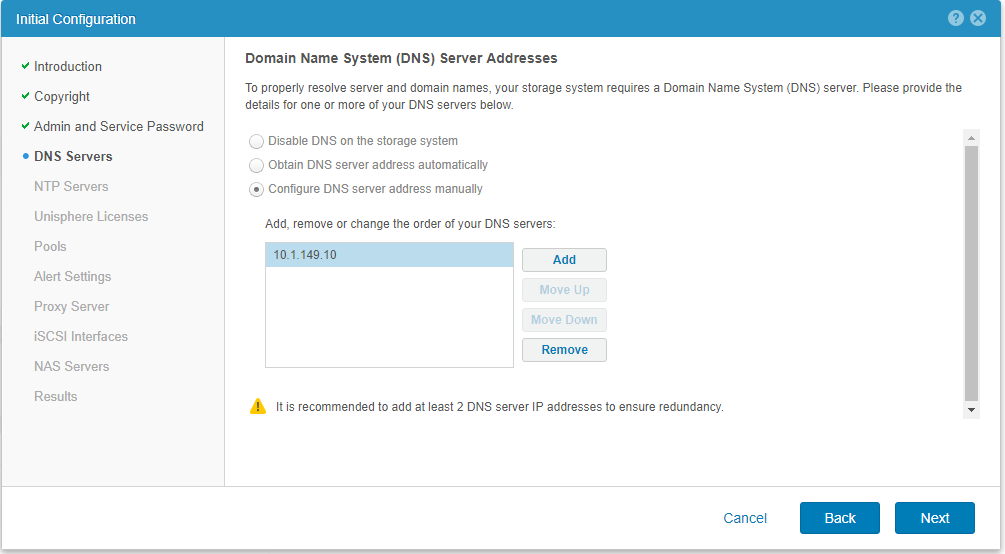
Adding DNS servers.
Setting up the NTP server for consistent time keeping.

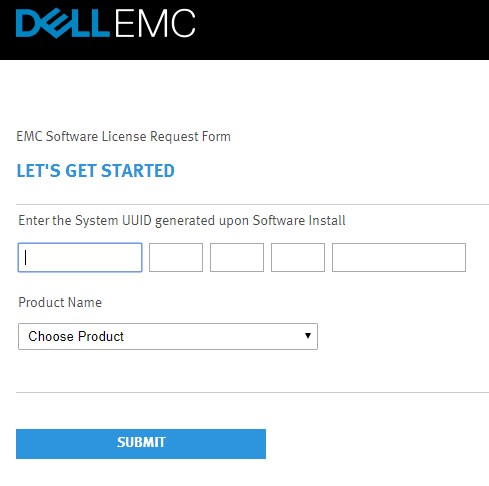
You can choose to licence your appliance during the initial configuration or this can also be done afterwards. However, if done afterwards, you will not be able to setup pools and other features during the initial configuration.
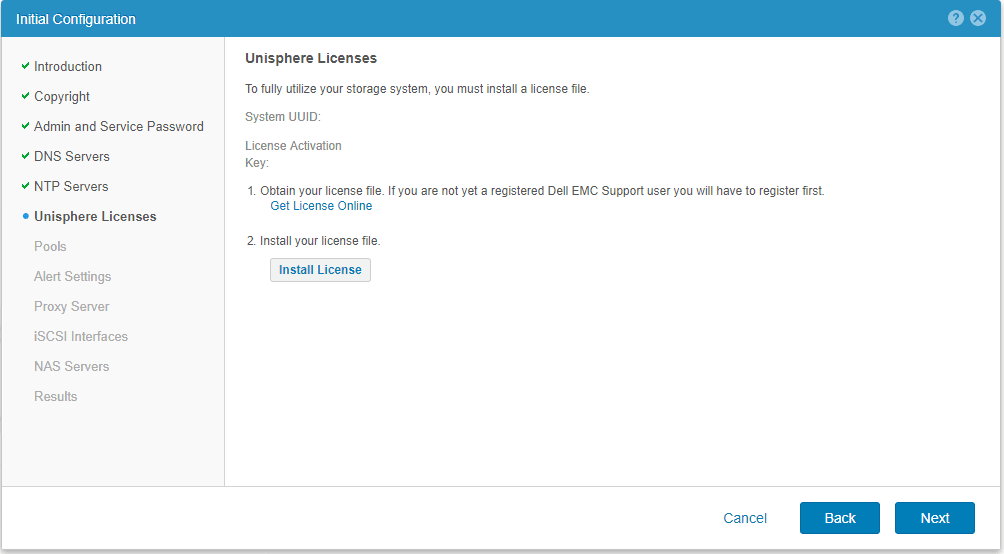
To obtain the license file, you can click on the Get License Online which will take you to the link, or you can navigate to the official license guide that has the download link here: https://community.emc.com/docs/DOC-53007
One thing to mention, apparently, at least in my obtaining both the appliance and the license, they both require signing up for an account. My account that I created to download the appliance did not work when trying to obtain the license file. There was a link however to create an account there which allowed me to finally get to the license download page.
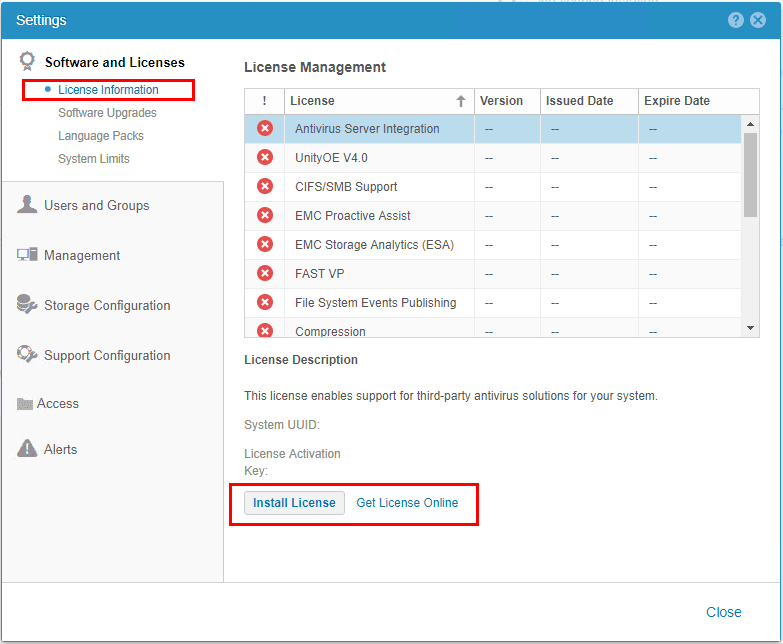
To configure the licensing afterwards, navigate to the Support link at the bottom left navigation menu in the Unisphere interface.
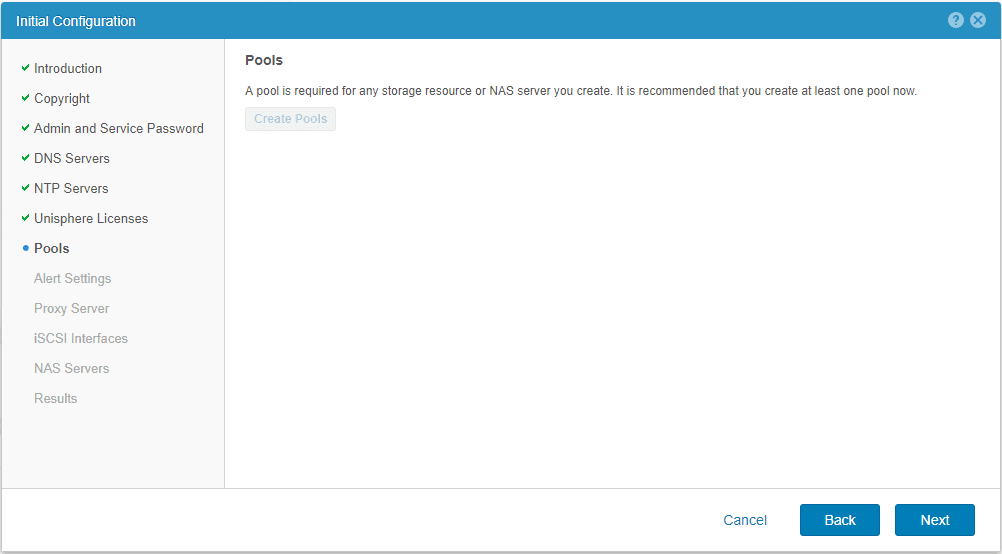
I simply nexted past the Pools configuration as when running through the initial configuraiton, I didn’t already have my license file as I was able to get that later. You can however, using the normal Unisphere interface, create the Pools and other settings if these are not defined in the initial configuration wizard.
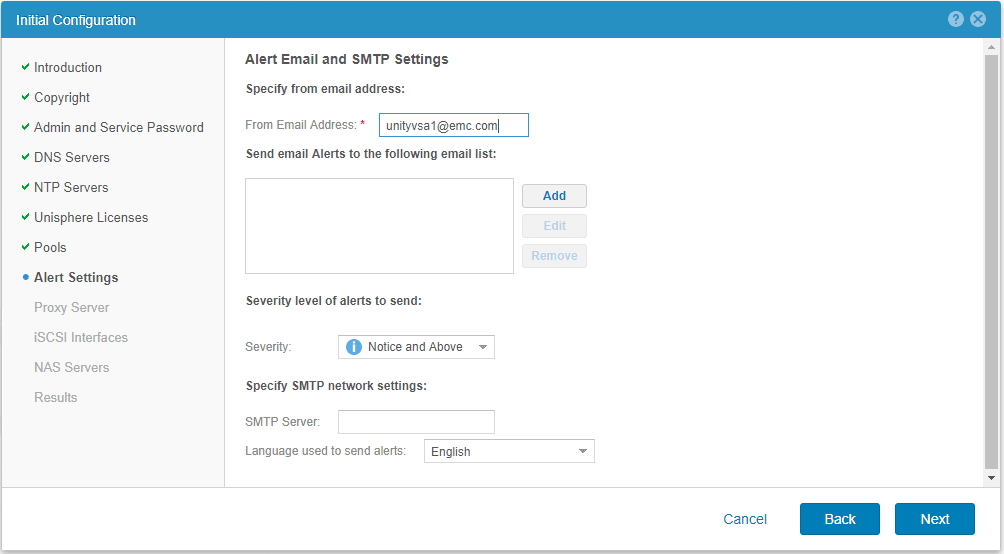
Normal, SMTP/alerting configuration.
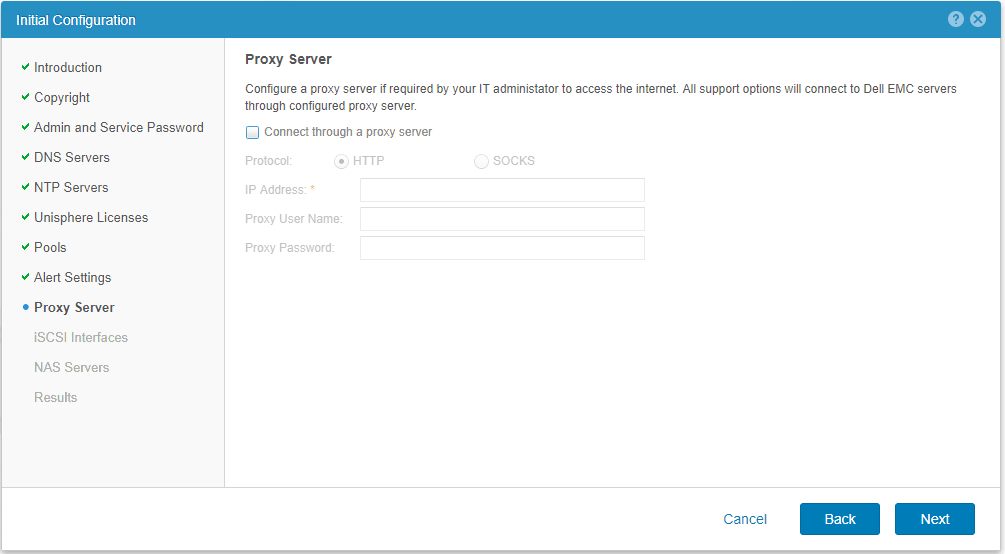
Define any proxy server settings needed to make egress connections the Internet.
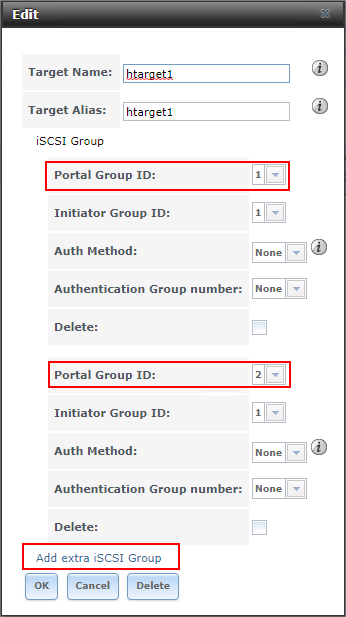
You can also setup the iSCSI Network Interfaces during the intial setup that allows creating your iSCSI interfaces used by your hosts to connect to storage.

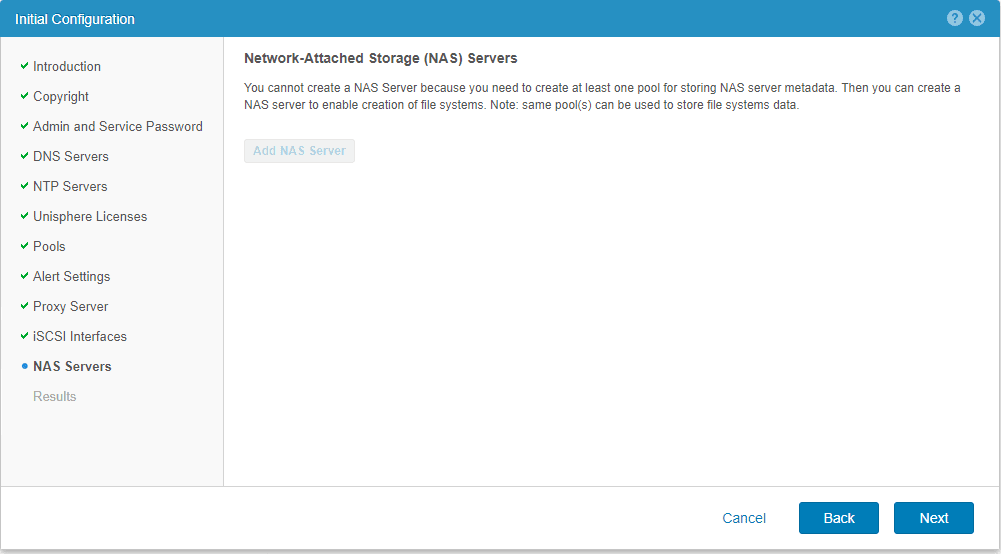
NAS server creation.
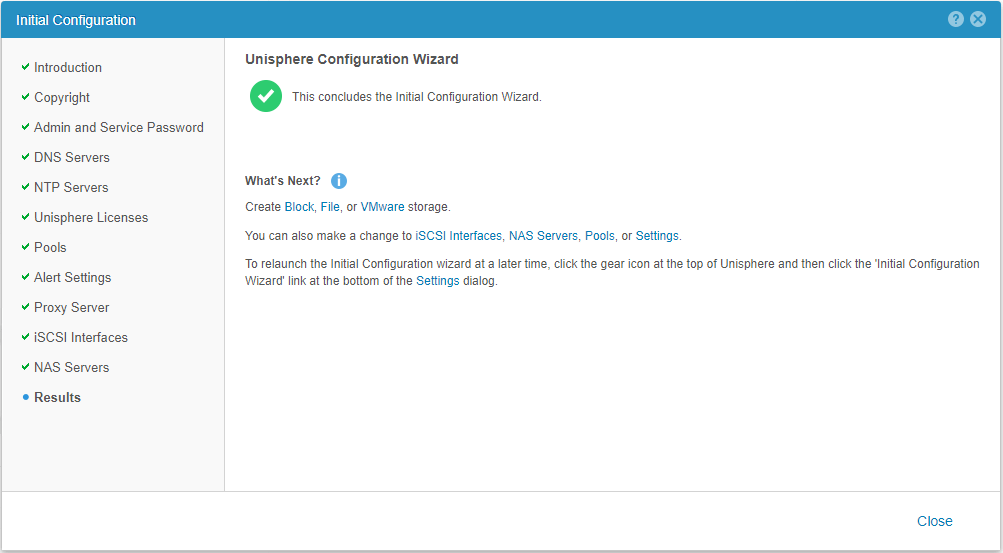
After running through the wizard, you will see the Results page showing that initial configuration has completed and potential next steps.
Thoughts
It is a great thing when vendors provide the virtual storage appliances that allow easily having access to the same technology without the physical hardware. The Dell EMC UnityVSA is a great way to get your hands on the Unity class appliance in a home lab. The same Unisphere interface is utilize and most of the available features and functionality as the physical hardware version. As you can see in the Dell EMC UnityVSA storage appliance installation and configuration walk through, getting up and running with the appliance only takes a few minutes and allows you to play around with the interesting technologies such as VVOLs. Stay tuned for a more in depth look at creating VVOLs with the EMC UnityVSA appliance.