TrueNAS can truly be a LAN in a CAN solution as it can run virtual machines and even Docker containers which you may not have realized. Let’s look at this feature and see how it can run containerized apps easily with TrueNAS.
Introduction to TrueNAS SCALE
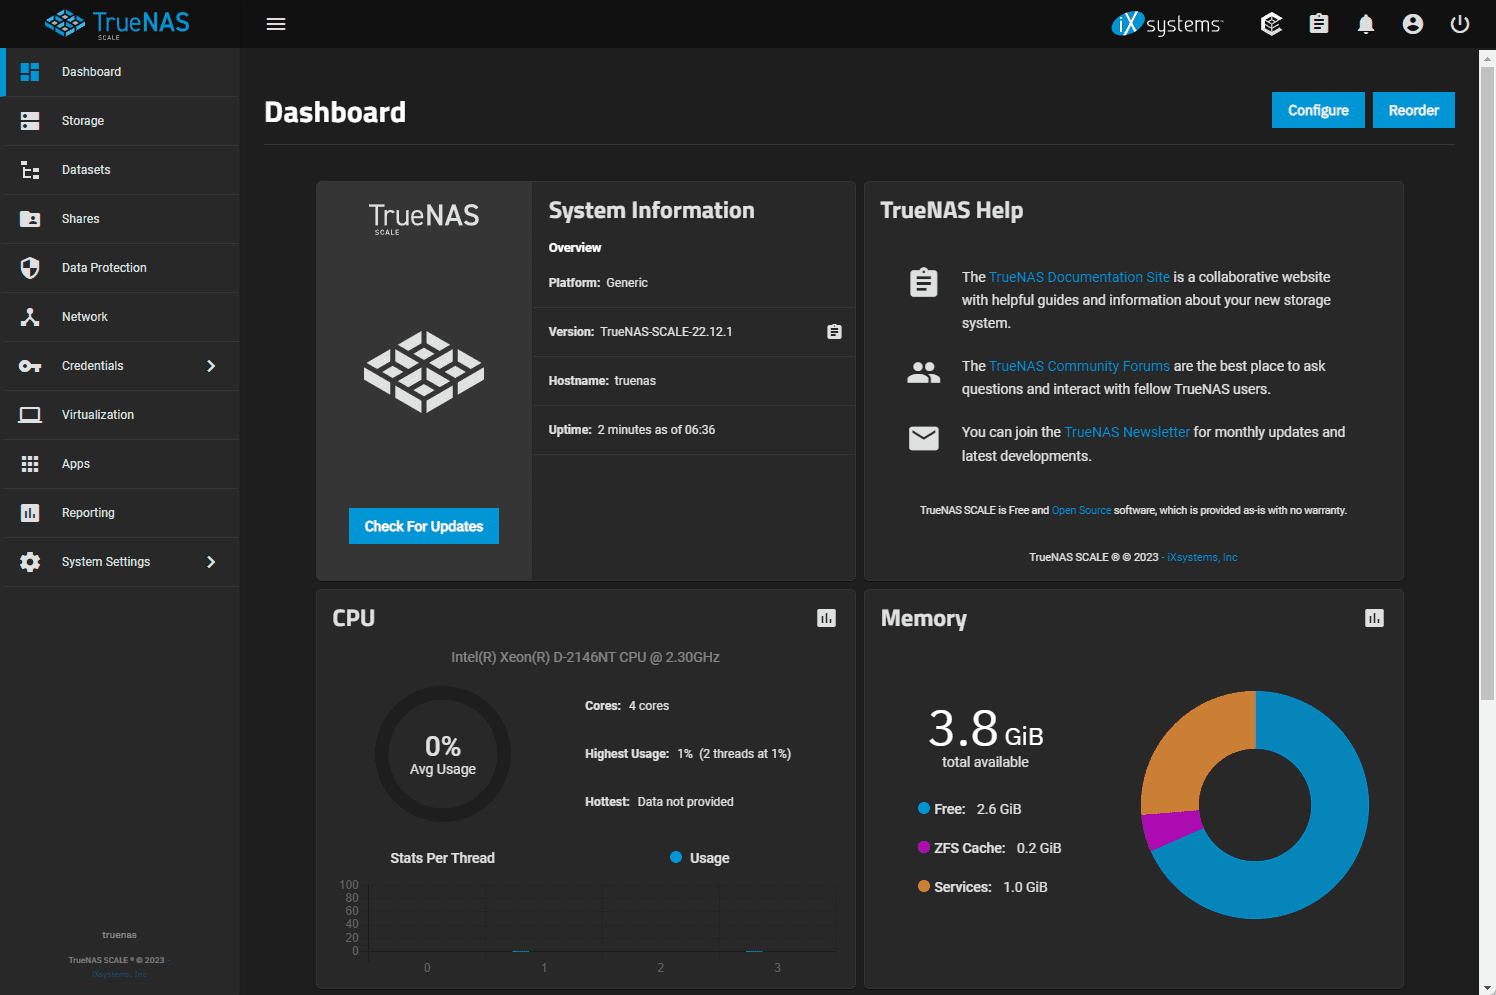
First, let’s understand more about TrueNAS SCALE. It is an open-source, Linux-based storage platform and it provides home users and enterprises with powerful features and advanced features and functionality bells and whistles. It is designed to offer a solid foundation and stems from the older version of the software called, TrueNAS CORE.
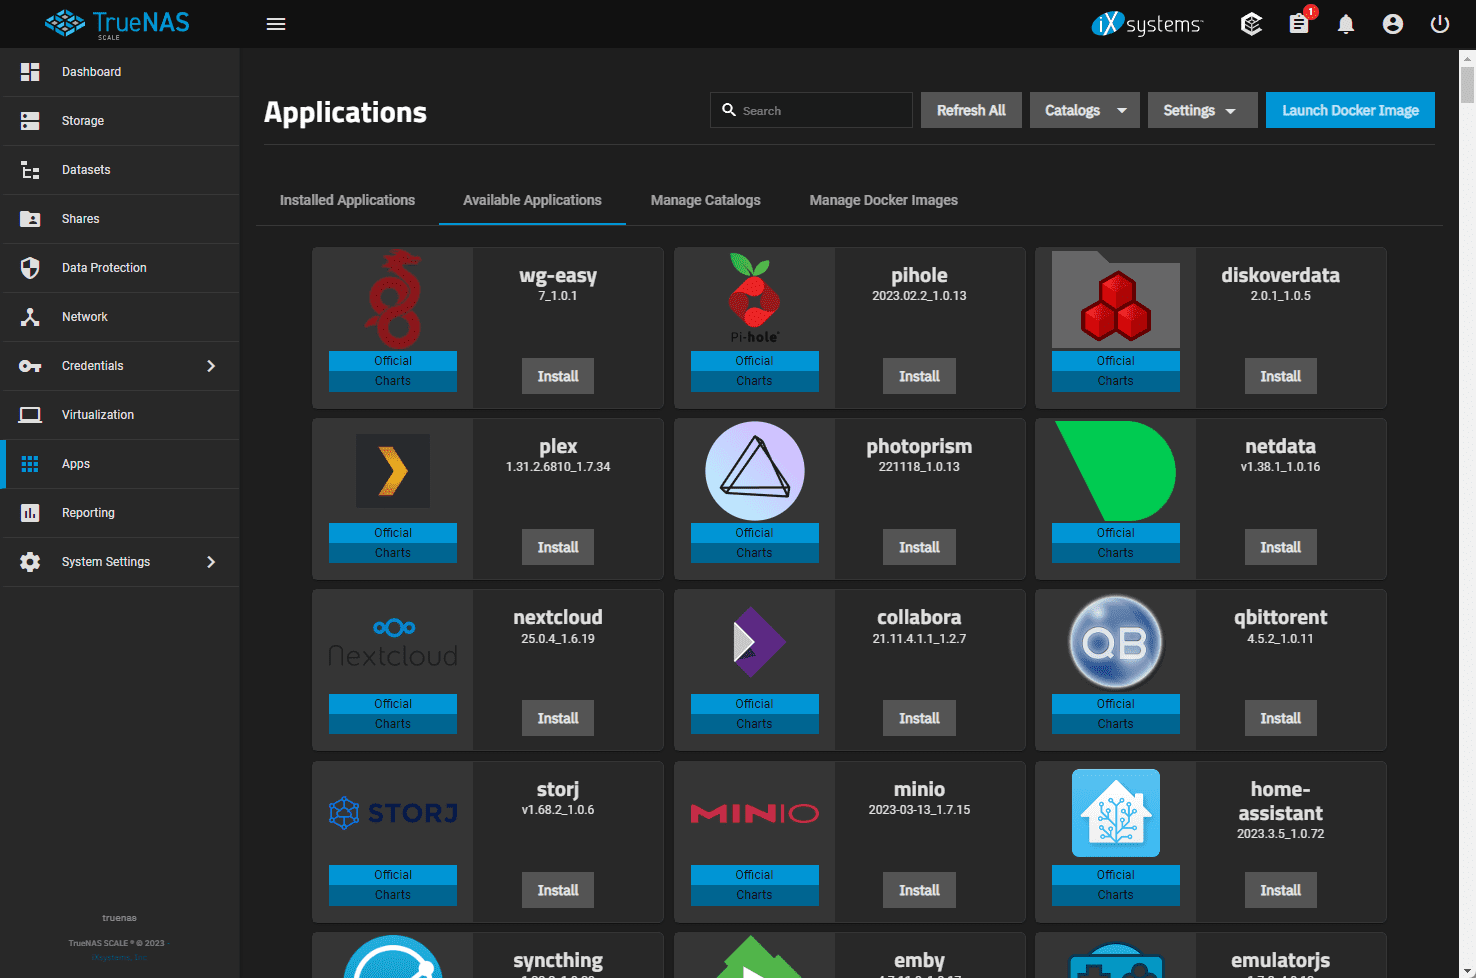
TrueNAS SCALE allows you to quickly deploy various apps with its flexible container or VM options and integration with Docker containers
Setting up a TrueNAS SCALE System
Let’s look at some of the requirements and the setup process for getting up and running with TrueNAS SCALE system.
Hardware Requirements and VM Setup
You’ll need hardware that can run TrueNAS scale or a virtual machine (VM) running Ubuntu if you want to try out TrueNAS Scale. Make sure your VM or hardware meets the minimum system requirements for TrueNAS SCALE. These include storage, RAM, and CPU resources.
For best performance recommended to use dedicated hardware or a VM with NVIDIA passthrough capabilities and you can even pass through hard disks for the best storage performance with the environment as well.
Installing TrueNAS SCALE
Download the latest version of TrueNAS SCALE from the official repository.
Create a bootable USB drive using the downloaded ISO file, I recommend using Rufus or Ventoy or mounting this ISO on your hypervisor of choice whether Proxmox or VMware.
Boot your system or VM from the USB drive and follow the on-screen prompts to complete the installation process.
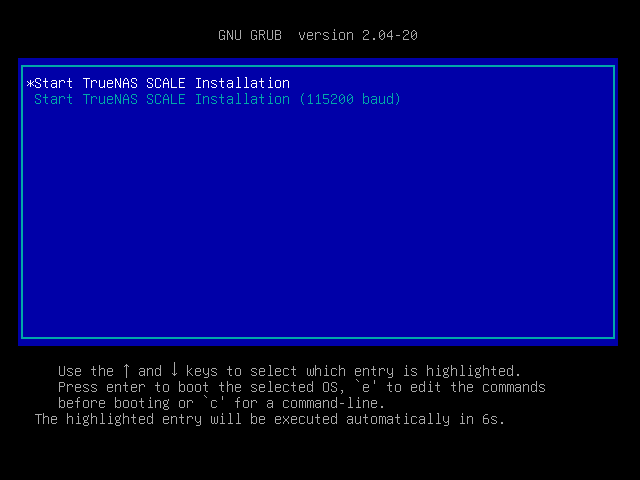
Select to install/upgrade.
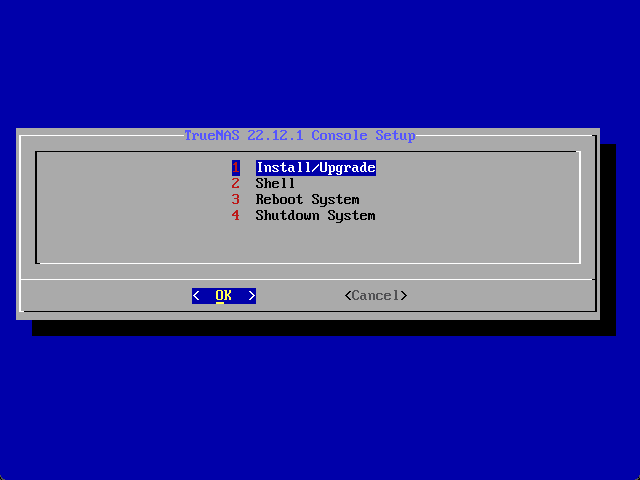
After installing TrueNAS SCALE.
Configuring TrueNAS SCALE Storage
Let’s now look at the important part of the process, arguably the most important, and that is setting up the TrueNAS SCALE storage.
Creating a Storage Pool
Once TrueNAS SCALE is installed, you must create a storage pool to store your Docker containers and other workloads, Also, datasets, and other files. Go ahead and access the TrueNAS SCALE web interface and navigate to the “Storage” section.
Here, you can create a new pool by clicking “Add” and selecting the desired drives for your pool. It is recommended to use ZFS as the storage driver. ZFS is noted for optimal performance and data integrity.
Creating a Docker Dataset
After creating a storage pool, you must create a dedicated Docker dataset for your containers that you have and want to run. This can be done by navigating to the “Datasets” tab in the “Storage” section and clicking “Add.” Enter a name for the Docker dataset and ensure that the “Enable Docker” checkbox is ticked. This tick and process will enable Docker support for the dataset.
Managing App Data with Datasets
Create separate datasets within your storage pool to store and manage data for your Scale Apps and have some separation between them. This allows for easy organization and management of app data while you can protect and ensuring data integrity.
To create a new dataset:
- navigate to the “Datasets” tab in the “Storage” section of the TrueNAS SCALE web interface
- click “Add.” Enter a name for the dataset and configure any necessary settings, such as compression and deduplication.
Once your datasets are created, you can map them to the right Docker containers by setting the dataset paths in the “volumes” section of your “docker-compose.yml” file.
Migrating from TrueNAS Core to TrueNAS SCALE
If you’re using TrueNAS Core and want to migrate your environment to TrueNAS SCALE, there are a few steps to this process.
Backup your data: First and foremost before doing anything in the environment or making any changes, back up all your important data, including your TrueNAS Core configuration, datasets, and app data. You can use the built-in snapshot and replication features in TrueNAS Core to help with this task.
Prepare your hardware: Make sure your hardware is compatible with TrueNAS SCALE. This may involve upgrading your system’s RAM, storage drives, or network interfaces if needed for compatible hardware, etc.
Install TrueNAS SCALE: Follow the official installation guide to install TrueNAS SCALE on your hardware or virtual machine. This will involve downloading the TrueNAS SCALE installation image, creating a bootable USB drive, and running the installer on your target system.
Import your datasets: After installing TrueNAS SCALE,import your datasets from your TrueNAS Core system over to SCALE. This can be done through the TrueNAS SCALE web interface. You can navigating to the “Storage” section and clicking “Import Pool.”
Migrate app data and settings: Once your datasets have been imported, you’ll need to migrate your app data and settings to SCALE. This may need to involve recreating your Docker containers and or and adjusting their configurations to match your TrueNAS Core setup.
Test your new setup: After migrating your app data and settings, test your new TrueNAS SCALE system. This may necessarily involve verifying that your apps are functionality and you can reach them and your datasets function correctly, and your system resources are utilized efficiently.
Switch to production use: Once satisfied that your new TrueNAS SCALE system is stable and fully operational, you can use it for your production workloads.
Working with Docker on TrueNAS SCALE (Current releases)
With TrueNAS Scale now, there is no need to install Docker out of the box as it is installed by default when you deploy TrueNAS Scale. The TrueNAS Scale apps functionality allows you to work with Docker containers, and the functionality easily.
It is built into the solution without installing Docker, etc.
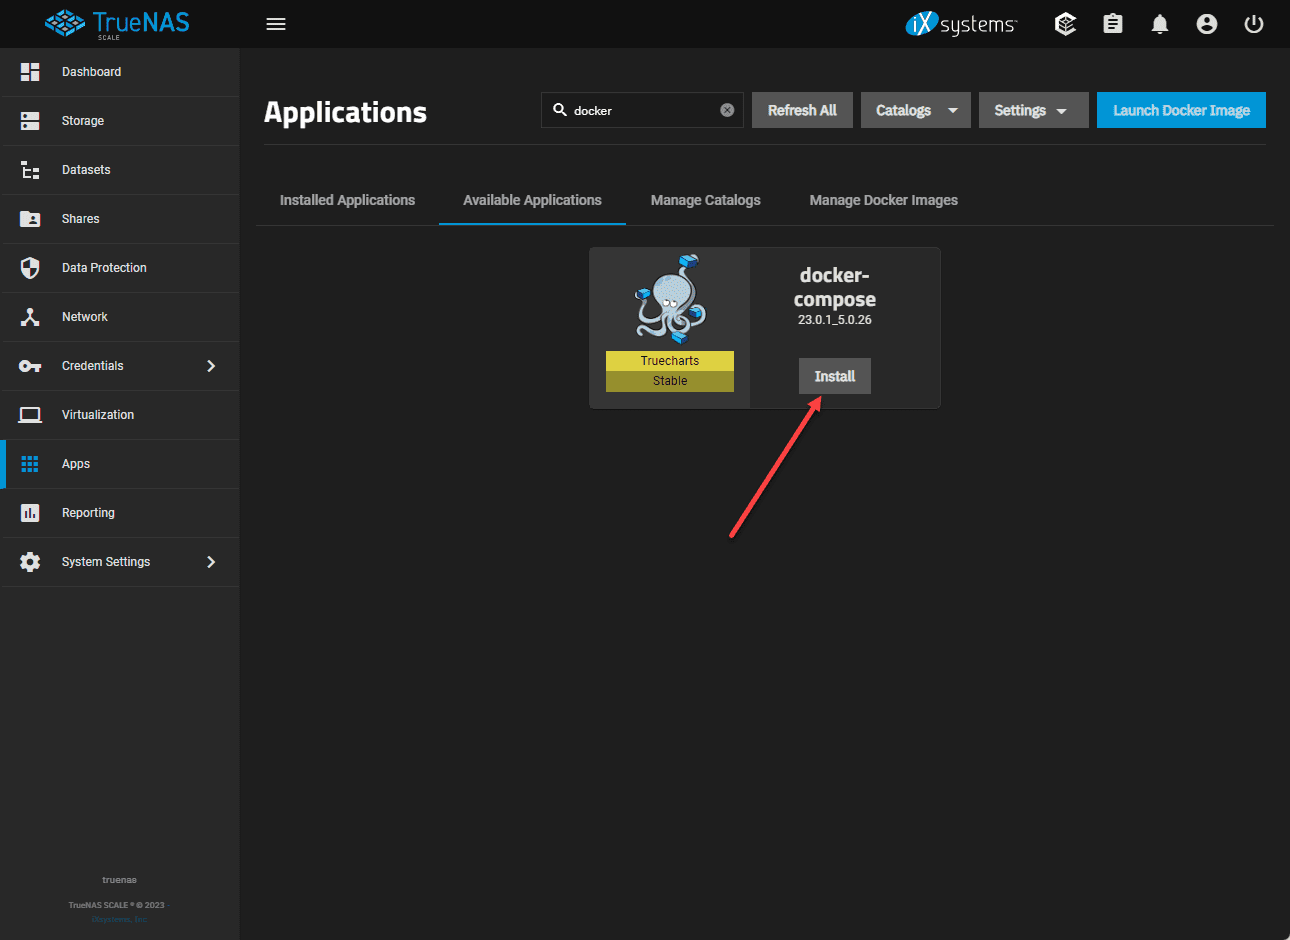
However, one thing to note. If you want to use Docker Compose, you won’t have this functionality built in with the out-of-the-box functionality. It only includes Docker by default. However, you can add Docker Compose by installing the Truecharts repository. Truecharts can install Docker compose as an “app.
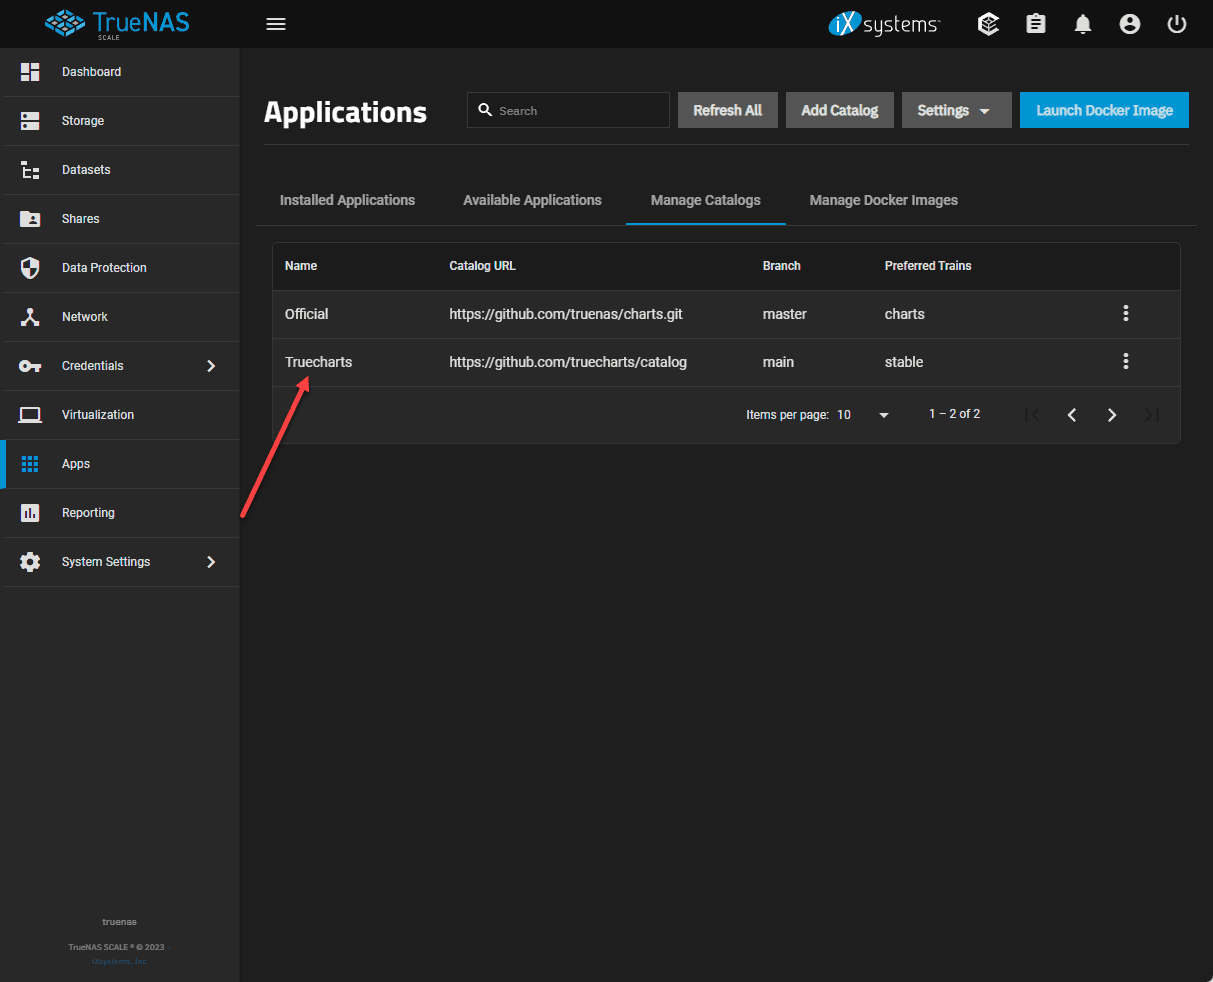
After adding the Truecharts repository, you can find the Docker Compose app.
Install Docker on TrueNAS SCALE without Kubernetes
TrueNAS SCALE implements Docker with Kubernetes. So, in effect, it runs Docker in Docker. You can use a custom (unsupported – use at own risk) script to enable Docker on TrueNAS without Kubernetes:
Enable Docker on TrueNAS SCALE (without kubernetes) (github.com)
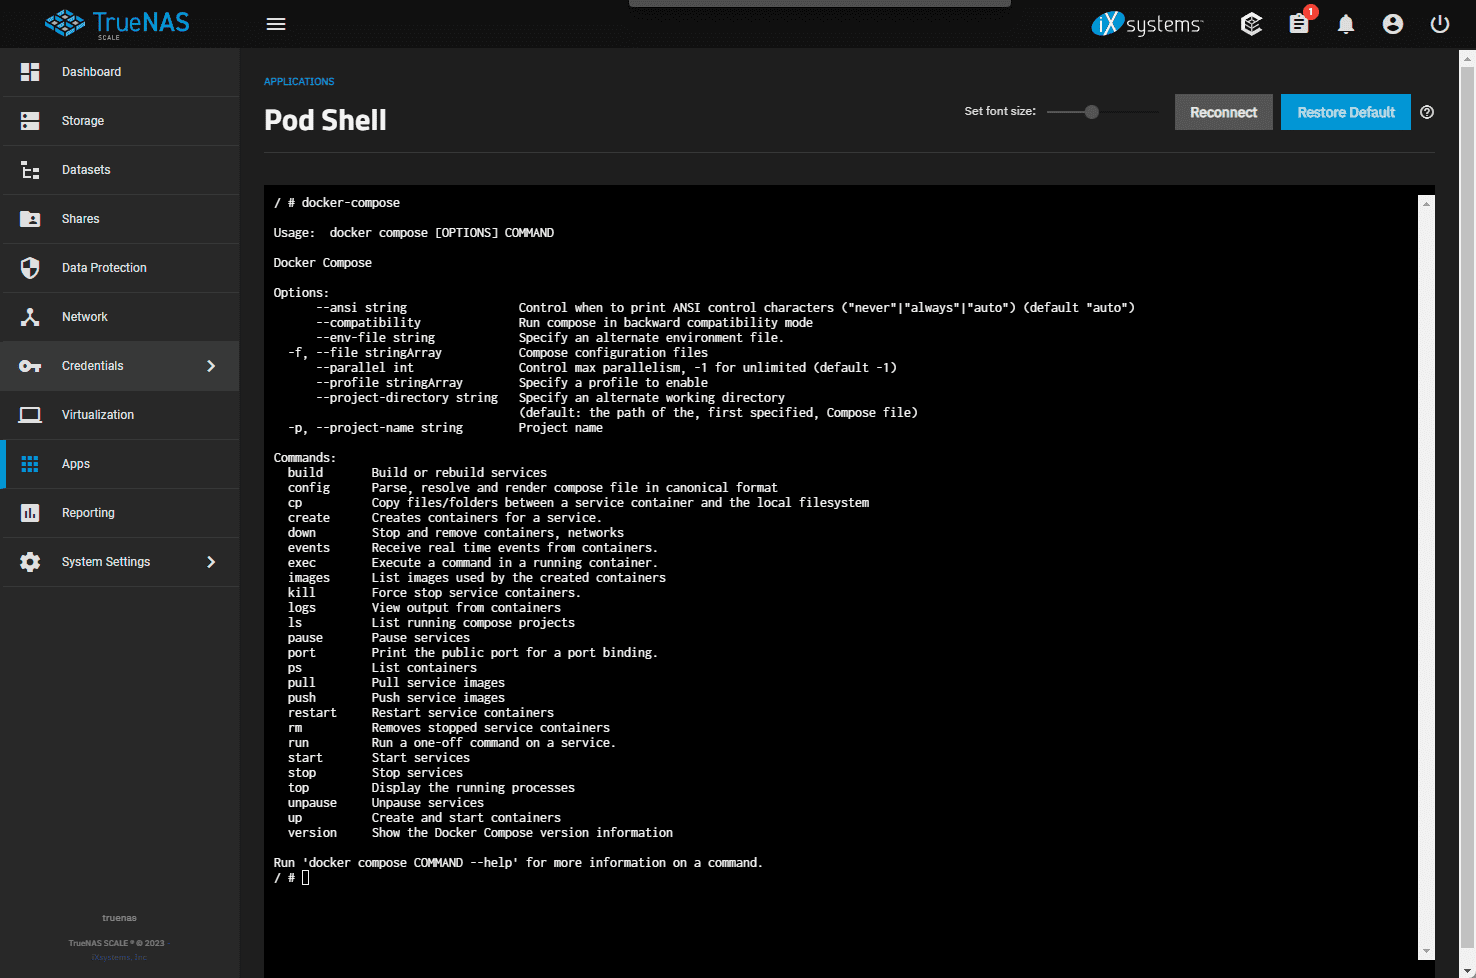
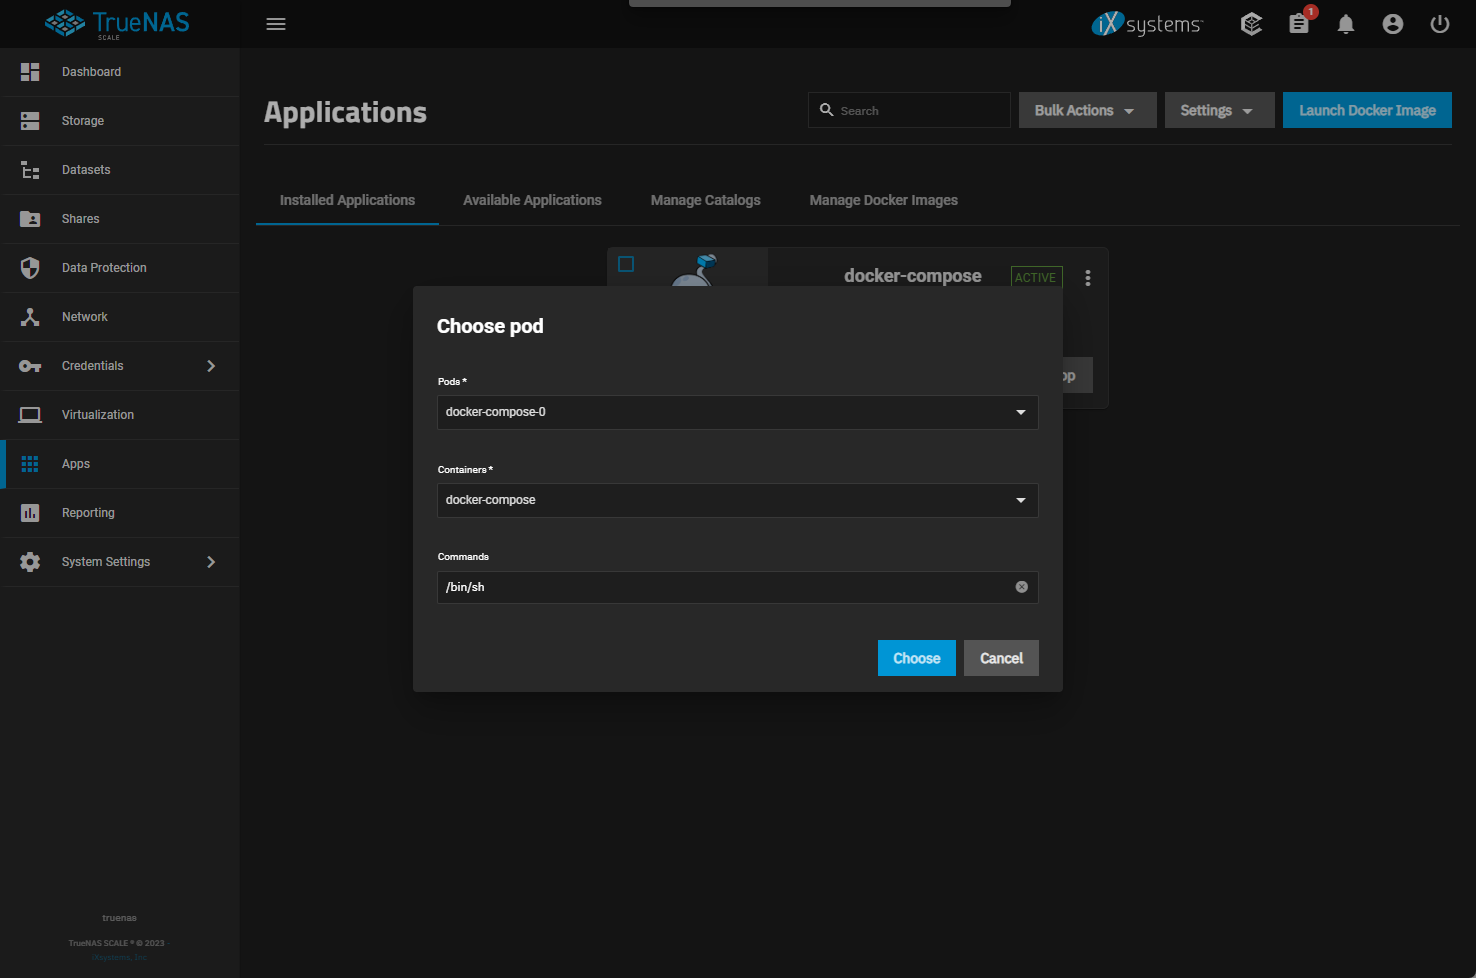
You can use the script and run systemctl restart docker elif with the script to implement the solution. Below you can see Docker Compose running in a Docker container in Kubernetes.
Install Docker on TrueNAS Scale (alpha or beta releases)
The following information is for posterity purposes, as you will most likely be using a recent release of TrueNAS SCALE with Docker built into the app.
Installing Docker from the command line
Early TrueNAS SCALE (alpha/beta) versions may have required users to install Docker. To do this, access the TrueNAS SCALE console and run the following command to enable the APT repository for Docker:
sudo apt-get update && sudo apt-get install docker-ceWith Docker installed, you can run Docker container applications.
Configuring Docker Settings
Once Docker is installed, you’ll need to configure its settings. First, create a docker-compose.yml file in the Docker dataset directory by running the following command in the TrueNAS SCALE console:
touch /path/to/docker-dataset/docker-compose.ymlNext, use the YAML format to open the docker-compose.yml file in a text editor and define your desired Docker containers, networks, volumes, and other settings.
Enabling and Starting Docker Daemon
You’ll need to enable and start the Docker daemon to run Docker containers. First, create a docker-daemon.json file in the /etc/docker directory by running the following command in the TrueNAS SCALE console to create the Docker daemon file to configure the Docker executable:
sudo touch /etc/docker/daemon.jsonOpen the docker-daemon.json file in a text editor and add the following lines to specify the Docker dataset as the default storage location for Docker containers:
{ "data-root": "/path/to/docker-dataset" }Save the file and exit the text editor. Next, enable the Docker service by running the following command in the TrueNAS SCALE console:
sudo systemctl enable dockerTo start the Docker service, run the following command:
sudo systemctl start dockerFor restarting docker, you can use the command:
sudo systemctl restart dockerYou can verify that the Docker service is enabled and active by running these commands:
sudo systemctl is-enabled docker sudo systemctl is-active dockerCreating an Enable Docker Script
To ensure that Docker starts automatically after each reboot, create an “enable-docker.sh” script in your home directory:
touch ~/enable-docker.shOpen the “enable-docker.sh” script in a text editor and add the following lines:
#!/bin/bash sudo systemctl enable docker sudo systemctl start dockerSave the file and exit the text editor. Next, make the script executable:
chmod +x ~/enable-docker.shFinally, add the script to your system’s startup process by creating a symlink in the “/etc/init.d” directory:
sudo ln -s ~/enable-docker.sh /etc/init.d/enable-docker.shInstalling Docker Compose
To deploy Scale Apps using Docker containers, you’ll need Docker Compose. Install the Docker Compose executable by running the following command in the TrueNAS SCALE console:
sudo apt-get install docker-composeDeploying Apps with Docker Compose
With Docker Compose installed you can now deploy your Scale Apps using the “docker-compose.yml” file you created earlier. Open the file in a text editor and define your desired apps using the YAML format. Include any necessary environment variables, ports, and volumes for each app.
To deploy your apps, navigate to the directory containing the “docker-compose.yml” file and run the following command in the TrueNAS SCALE console:
docker-compose up -dThis command will download the specified Docker images, create the necessary Docker containers, and start the containers in the background.
Managing Docker Containers
To view a list of your active Docker containers, run the following command in the TrueNAS SCALE console in legacy versions:
docker psYou can start, stop, and restart containers using the following commands:
docker start <container_name> docker stop <container_name> docker restart <container_name>To update your Docker containers, first pull the latest images:
docker-compose pullThen, recreate the containers and restart them:
docker-compose up -d --force-recreateWrapping up
TrueNAS Docker is a great way to run quick and easy applications in your home lab or another environment. TrueNAS SCALE provides storage and now with the advancements it can also allows you to run apps via Docker and Docker Compose. Remember, that with even with the new releases of TrueNAS SCALE, Docker Compose is not built-in by default.
You will still need to install the Docker Compose app via Truecharts as shown, or in an unsupported way by manually installing Docker Compose at the OS level which will not be integrated with your TrueNAS SCALE dashboard and apps.
Google is updating how articles are shown. Don’t miss our leading home lab and tech content, written by humans, by setting Virtualization Howto as a preferred source.
About The Author