



If you have been looking at setting up a Bastion host or secure jump box for accessing your home lab services, there are always challenges with this and things to think about. You need to know who should be able to connect, which credentials, what happens when access is removed, and can I audit connections? That’s where a project I stumbled on called Warpgate got my attention. Warpgate brings several management protocols behind a centralized access gateway. Let’s take a look at Warpgate, what it is, how you use it, and how to get it up and running in your home lab.
What are the challenges with remote access?
Often as your home lab grows, deploying services is easy, but then keeping them behind a centralized access gateway is not as easy. A new Linux VM needs SSH. Another app may need access to a web interface like Proxmox, TrueNAS, etc. Then you may have other management tools like monitoring tools that need to be accessed.
So, with Warpgate, it helps to solve a lot of the complexity when it comes to admin access to your home lab while it enforces good security practices. So, it can handle different protocols like SSH and HTTPS. Let’s see this in more detail as we discuss what Warpgate is exactly.
It also gives you a lot of the right tools and capabilities that I think are building blocks to make things more secure. You get things like:
- Admin approvals
- Role based access
- Multi-factor authentication
- Audit logging
What Warpgate brings to a home lab
Warpgate is an open source bastion host. It also serves as a privileged access gateway. With Warpgate, you get support for SSH, HTTPS, Kubernetes, MySQL, PostgreSQL, RDP, and VNC connections. As part of the implementation with it, you get TOTP multi-factor auth, and it also integrates OpenID connect single sign-on capabilities.
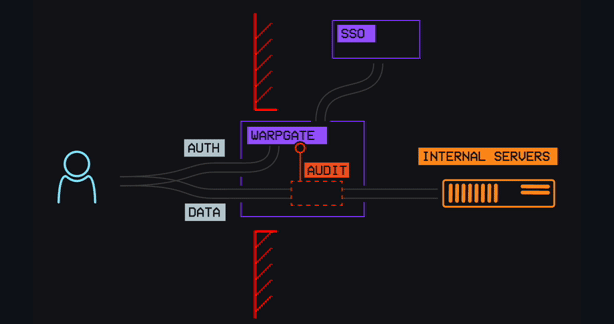
This is a combination of features that I think is really interesting for the home lab. The reason for this is that it is rarely possible to just standardize on “one” protocol to secure and lock down and have an entrypoint for getting traffic in and out in a secure way.
To accomplish that, Warpgate is a tool that sits “in between” the connection path (your target connection and you as the client). The person connecting to an endpoint first authenticates to Warpgate. Then it connects them to their destination.
Outside of your own access, if you are sharing access even with your home lab to others in your circles, this is a great way to organize access without giving the same creds out to everyone who needs to use them.
Also, the September 2026 version 0.29.0 release added a global MFA enrollment policy and session approvals.
Where does this go in your network?
For the first deployment of something like this, I would place it internally in a network that is reachable from the trusted management network over an existing VPN solution. I don’t expose ANYTHING directly to the Internet anymore, just too many risks.
Also, I would run a dedicated Linux VM with Docker installed to house this as it can run in Docker and that is the method we will be taking a look at. Docker Compose provides the tools we need to keep it updated and to have good lifecycle management.
There are a couple of network paths as they come into your network that you will want to consider. Clients need to be able to reach Warpgate on the listeners that it has. Then, Warpgate must be able to reach the servers or other services on each destination that you are wanting it to connect to, like port 22 for SSH or TCP 8006 for Proxmox.
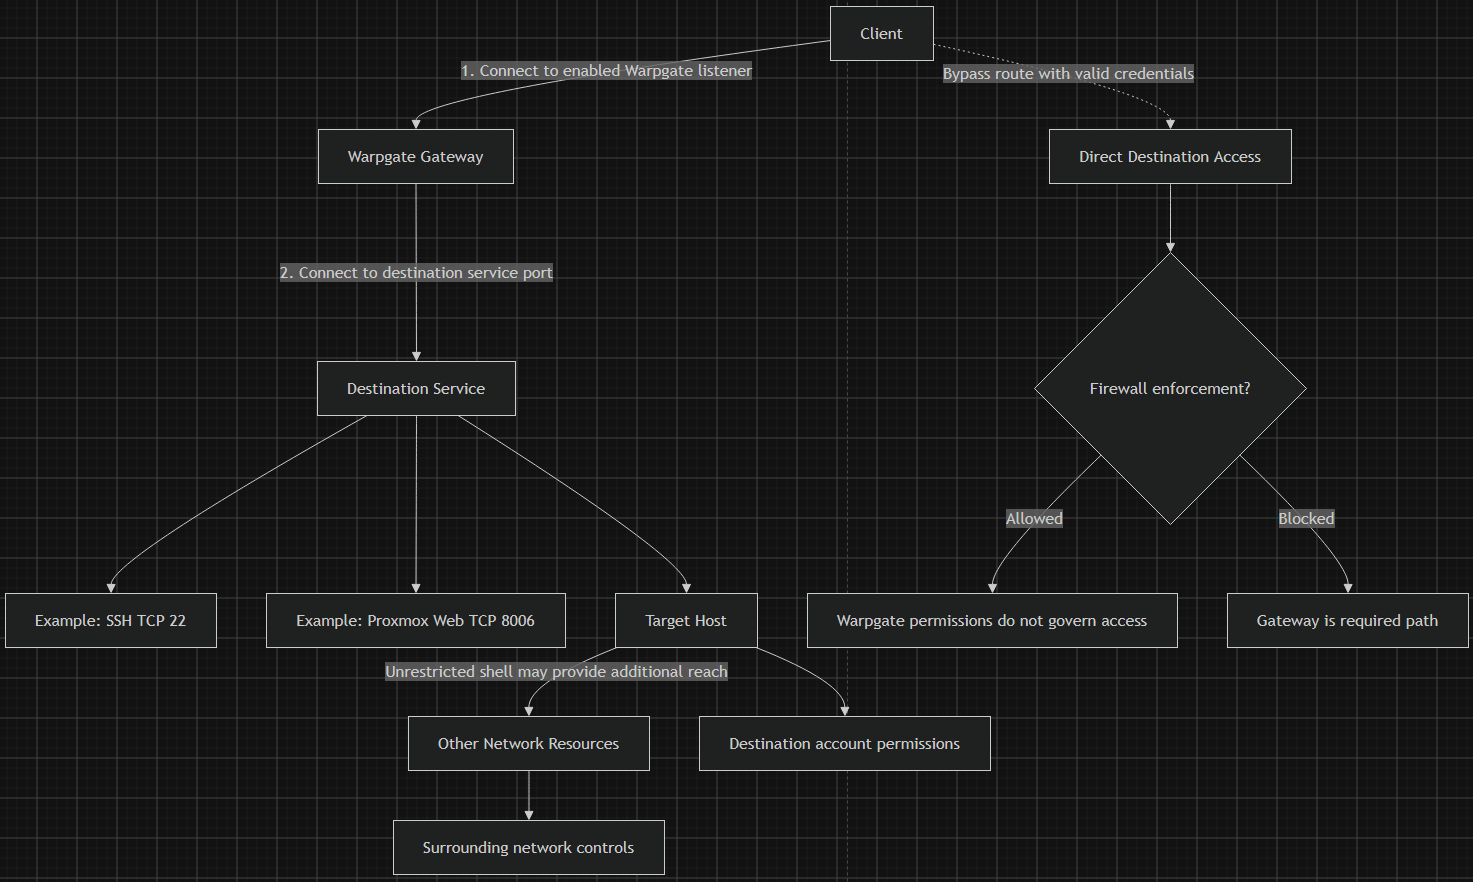
The detail I would pay particular attention to is bypass access. If a restricted user can connect directly to a destination using another route and valid credentials, Warpgate’s permissions do not govern that connection. To make the gateway the required path for a particular group, I need firewall rules that enforce that design.
I also would not treat access to an SSH target as a guarantee that the user cannot reach anything else. An unrestricted shell can provide additional network reach from the target machine. The destination account’s permissions and the surrounding network controls still matter.
Installing Warpgate
Now, let’s look at installing Warpgate. We can easily do this with Docker. Here is the example Docker compose that I started with in my own home lab:
services:
  warpgate:
    image: ghcr.io/warp-tech/warpgate:0.29.1
    restart: unless-stopped
    ports:
      - "8888:8888"
      - "2222:2222"
    volumes:
      - ./data:/data
Version 0.29.1 was the latest stable release listed when I checked for this article. I prefer a specific version for an access gateway so an image pull does not unexpectedly change the software I am running. Before following this example, check the current release notes and select the version you intend to deploy.
I would create a directory using the same structure I use for my other container stacks:
mkdir -p /home/linuxadmin/homelabservices/warpgate
cd /home/linuxadmin/homelabservices/warpgate
mkdir -p data
After saving the configuration as docker-compose.yml, initialize Warpgate. This step involves running the following command:
docker compose run --rm --user 0 warpgate setupAs you can see in the screenshot below, it will ask you a series of questions, including:
- Do you want to record user sessions?
- Set a password for the Warpgate admin user
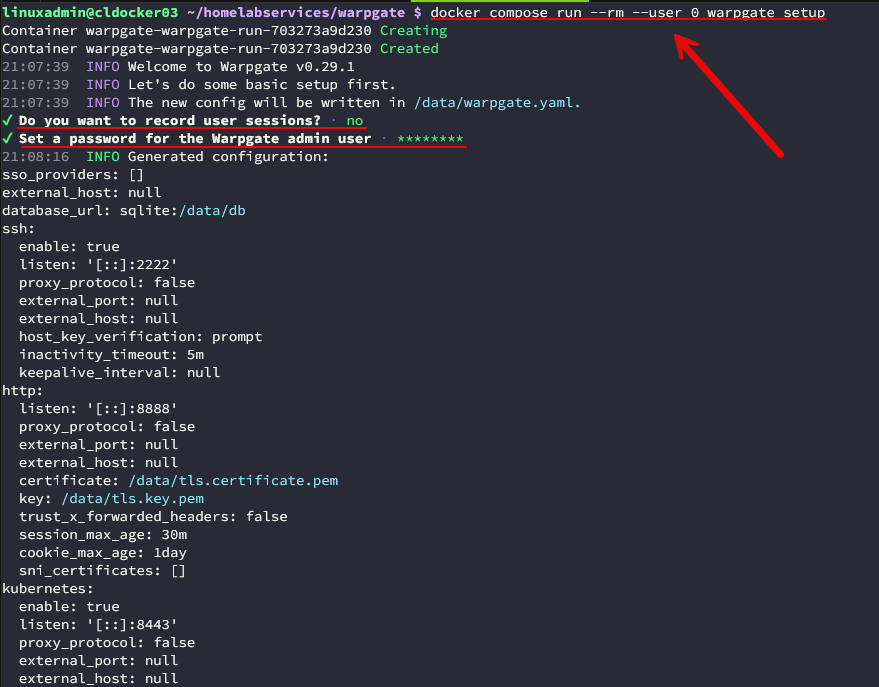
At the bottom of that setup process it will let you know it has completed successfully and show you some of that information:
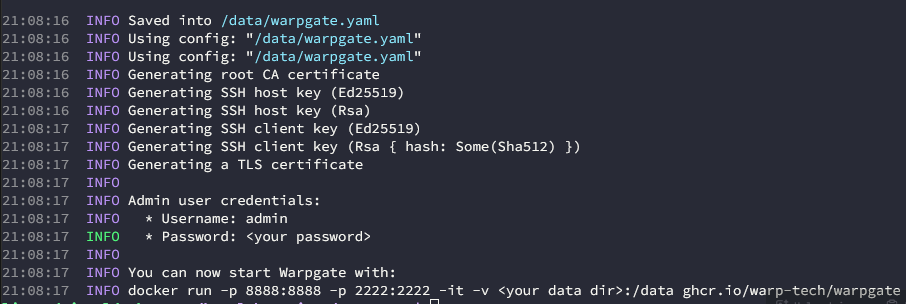
In case you are wondering what happens if you don’t run through the setup, you will see these kinds of errors show up in the logs.

Also, in the step below, I am checking what the userids that are needed and that warpgate runs as. I like to check this to make sure the permissions on the folders are good:
docker compose run --rm --no-deps --entrypoint id warpgate
Here I am setting the permissions explicitly to make sure:
sudo chown -R 1000:1000 ./data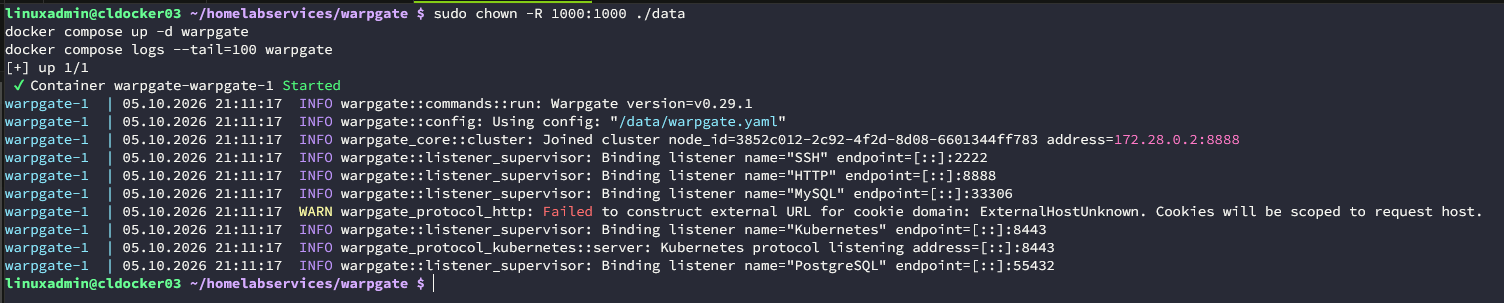
Finally, start the service using docker compose and tail the logs to make sure you don’t have any error messages.
docker compose up -d
docker compose logs --tail=100 warpgate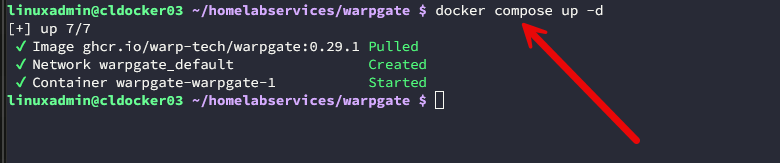
If logs are clean, navigate out to the web port and access the warpgate interface:
https://<warpgate-host>:8888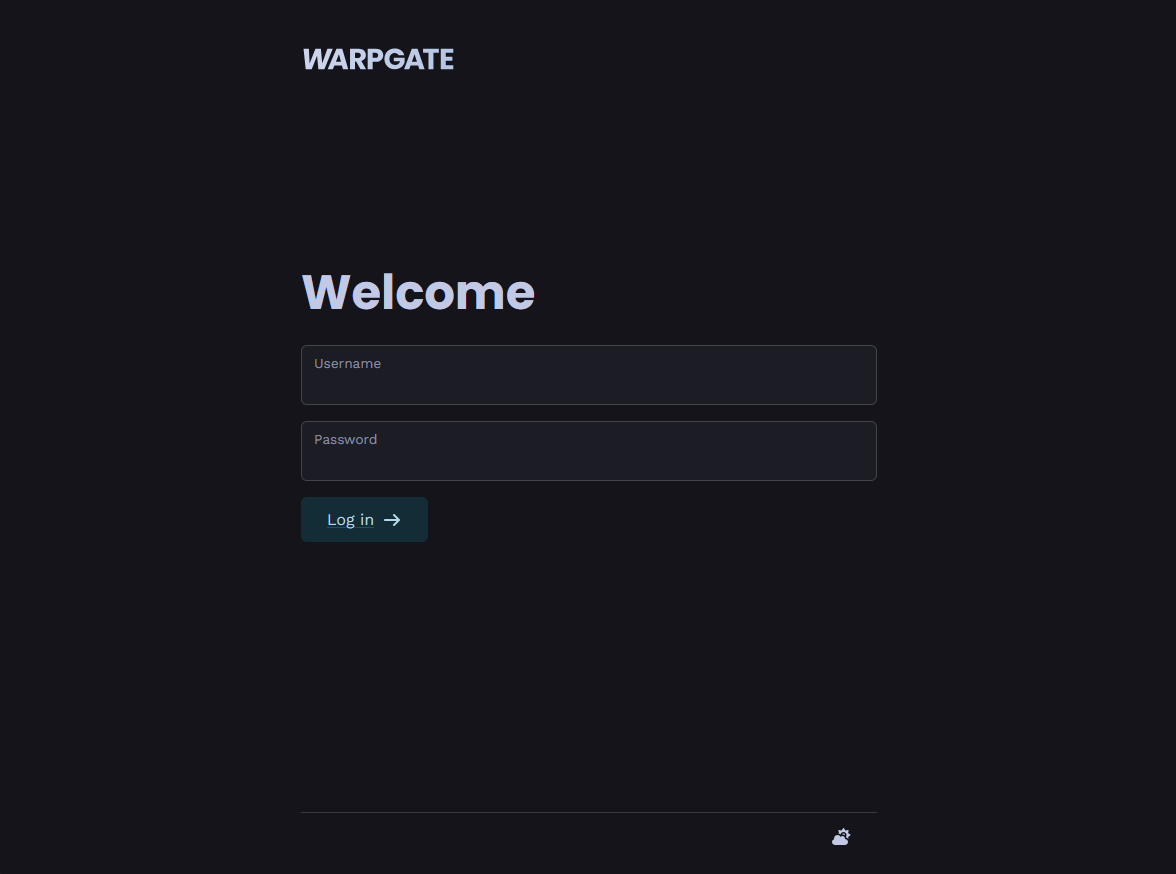
Going through the getting started workflow
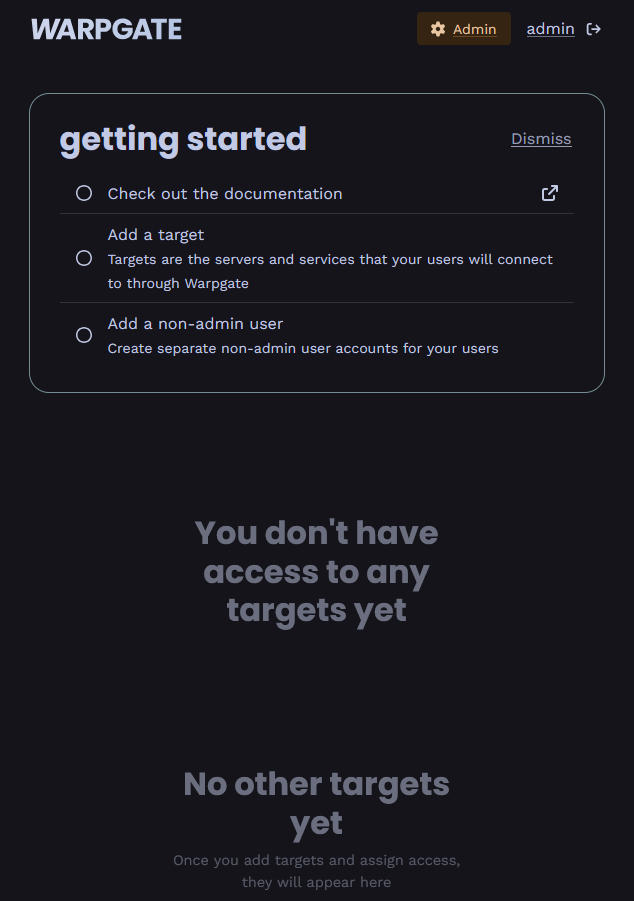
When you browse out to the dashboard and login as your administrator account, you will be greeted with the “getting started” workflow. Here you can jump right into creating a target or you can do other things like adding a non-admin user:
- Check out the documentation
- Add a target
- Add a non-admin user
Adding an SSH target
An SSH target is a pretty common target in the home lab I think for most. There are two separate identities involved with setting this up. You will need:
- A warpgate user
- A target operating system account that is tied to the destination (ssh username/password/key, etc)
So, as an example, I could setup a “warpgate” user called “brandon”. Then I could setup an SSH target that allows “brandon” to access the target with a user called “linuxadmin” in the background. The nice thing is the user has no knowledge of the user credentials. So they don’t see the password or SSH key.
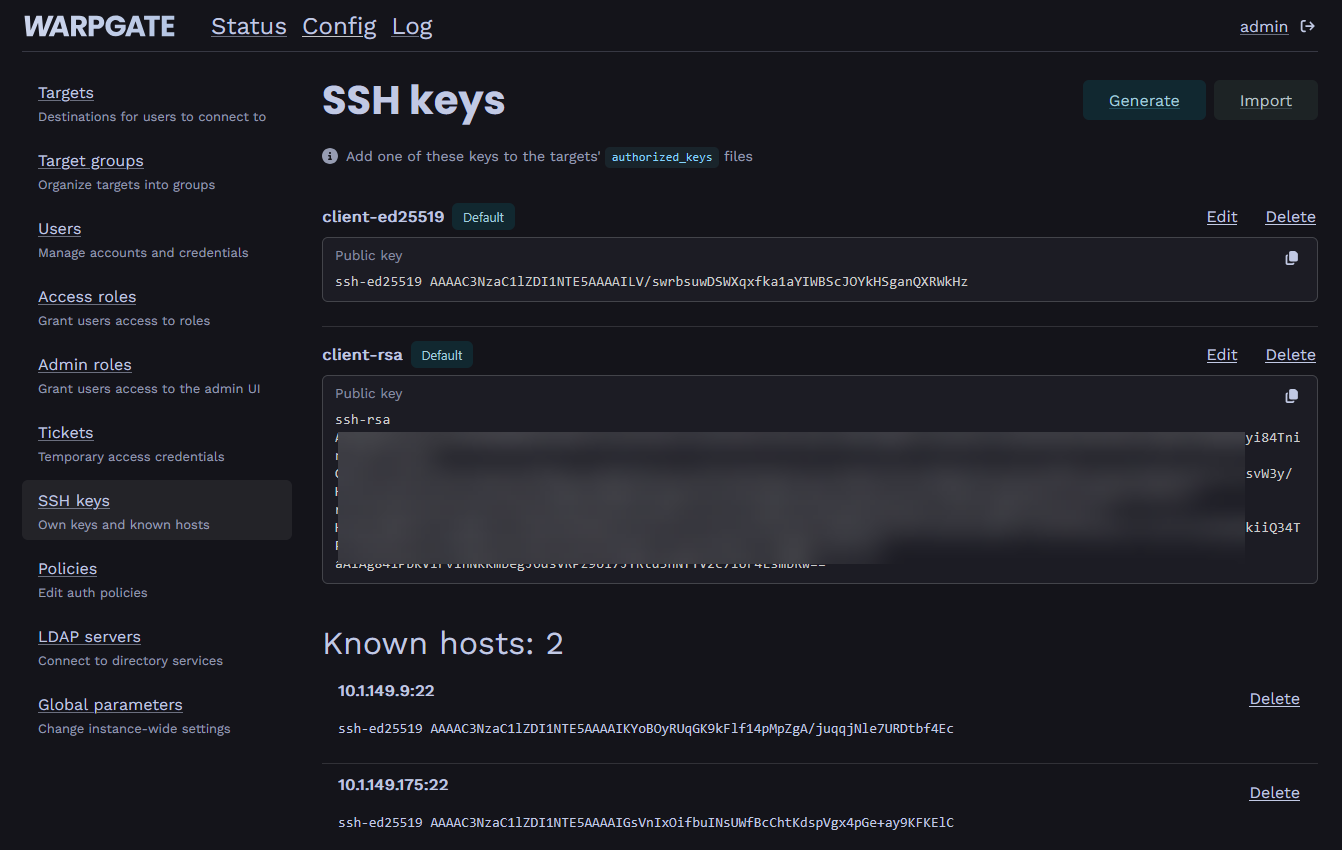
In addition to configuring a password, Warpgate can also manage SSH client keys for you to authenticate to targets as well. In the admin interface, you can open Config > SSH keys and copy in your appropriate public key and add it to the destination user’s ~/.ssh/authorized_keys file.
On the destination, run the following as the account Warpgate will use:
mkdir -p ~/.ssh
chmod 700 ~/.ssh
touch ~/.ssh/authorized_keys
chmod 600 ~/.ssh/authorized_keys
Add the copied public key on its own line. I would keep any existing entries that you have so you do not accidentally remove another user’s access.
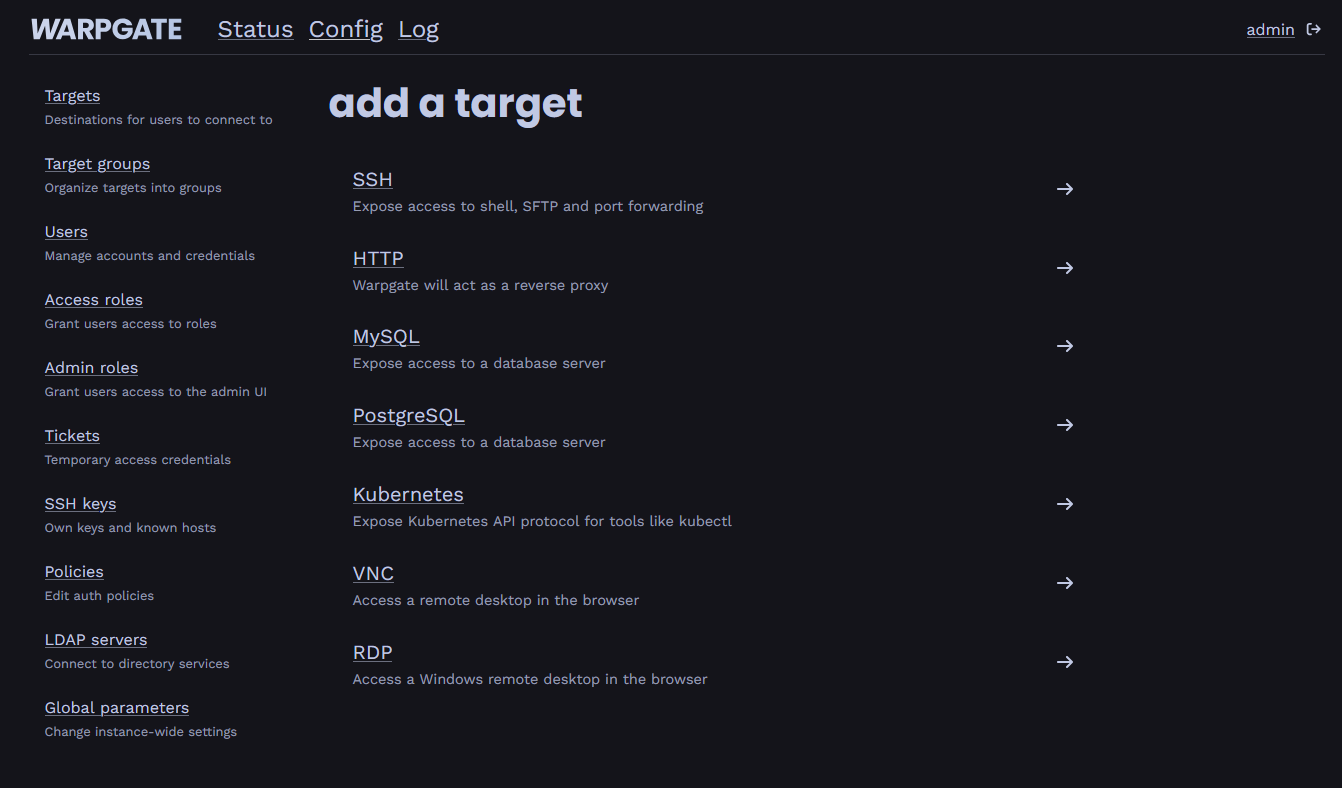
Next, add your target to Warpgate. Here I have chosen, add a target. You will be given the option of what kind of target you want to setup:
- SSH
- HTTP
- MySQL
- PostgreSQL
- Kubernetes
- VNC
- RDP
Here I choose SSH:
It will ask you to name the target (friendly name):
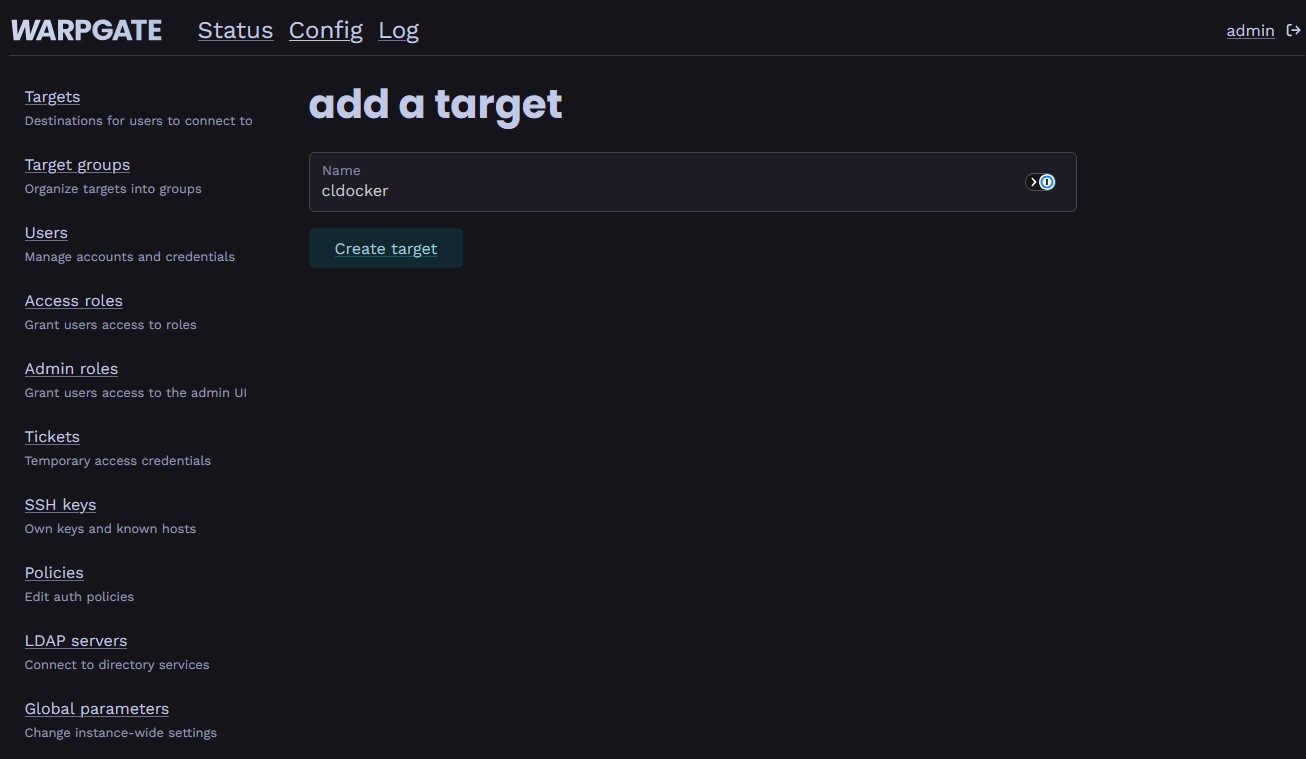
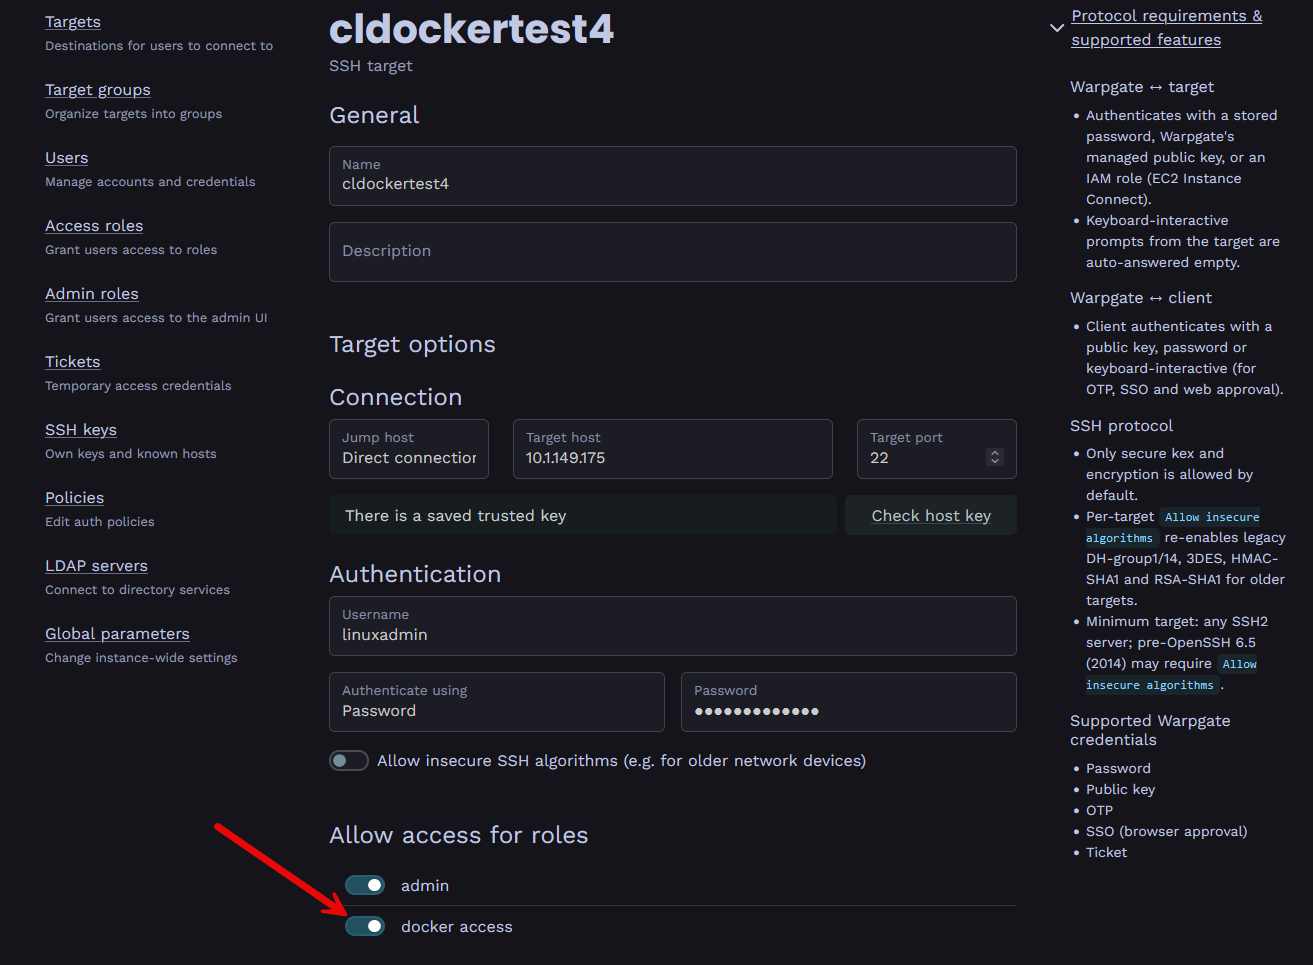
Then, you will be taken to the page where you will fill in the connection details of the target and how you will authenticate. Notice the Allow access for roles where you can flag on access for roles. If you want to test this with just your admin user, flag on the “admin” role for access. I like how in Warpgate, admins don’t just automatically get access to connect, they have to be deliberately allowed here.
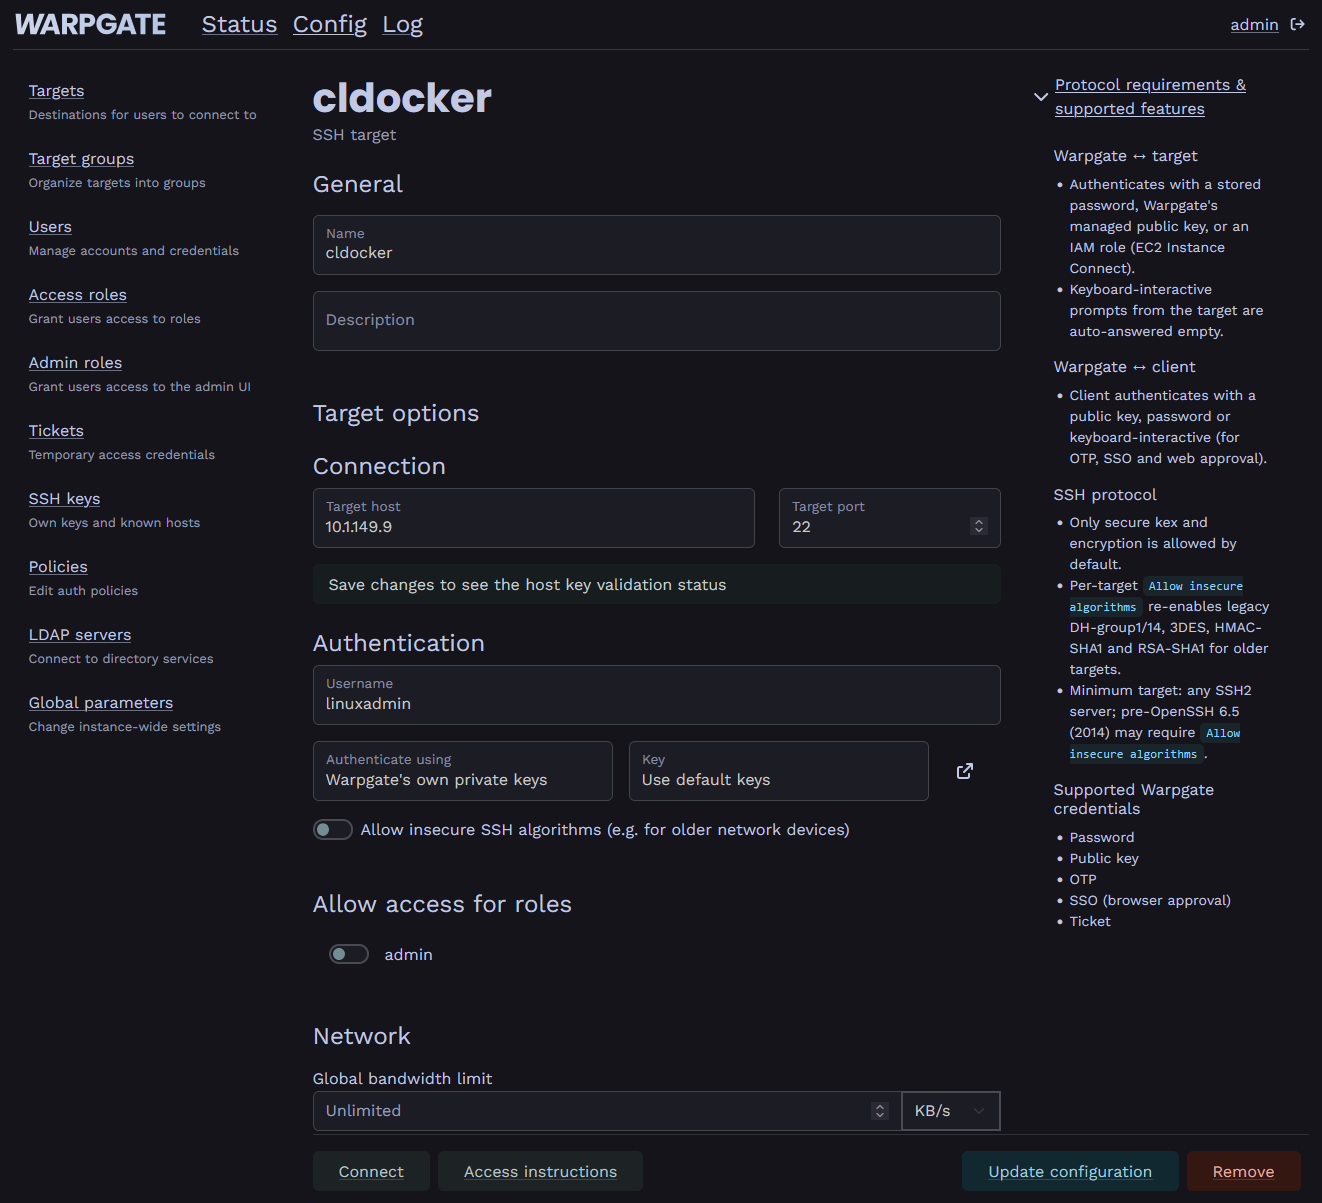
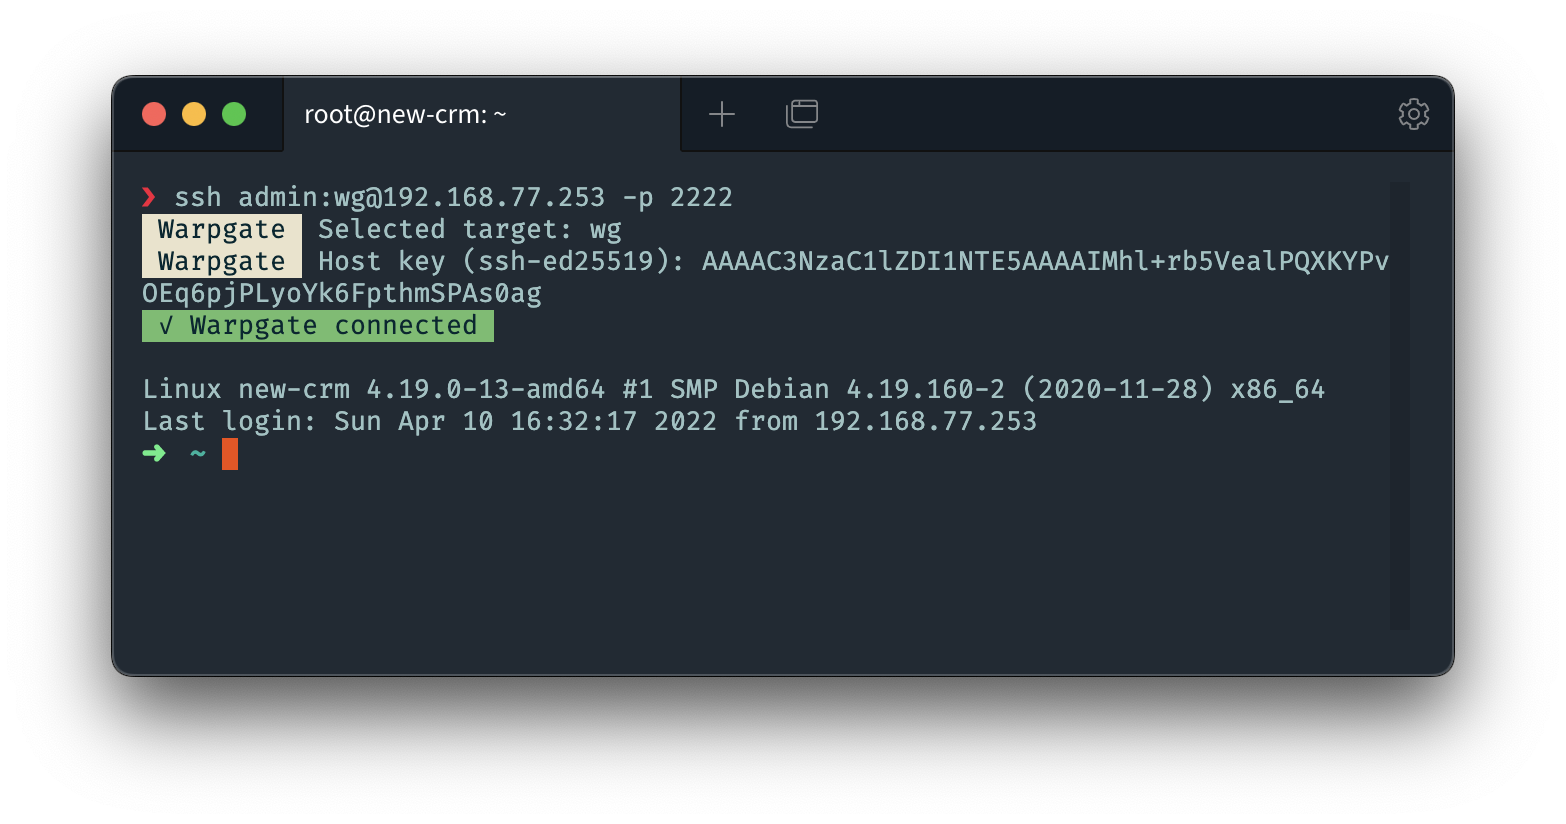
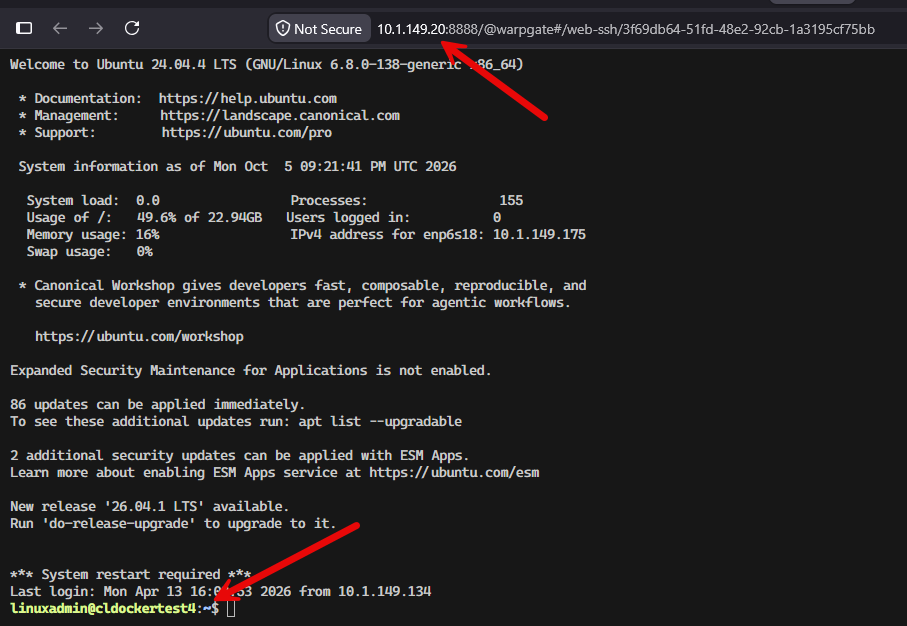
Then, you can connect via the command line by passing your connection over to port 2222 for Warpgate which it then uses to pass through the connection to the backend target after you have authenticated, etc.
ssh -p 2222 -l 'brandon:docker-host' warpgate.example.comWarpgate also gives you instructions you can click on to show you how to connect:
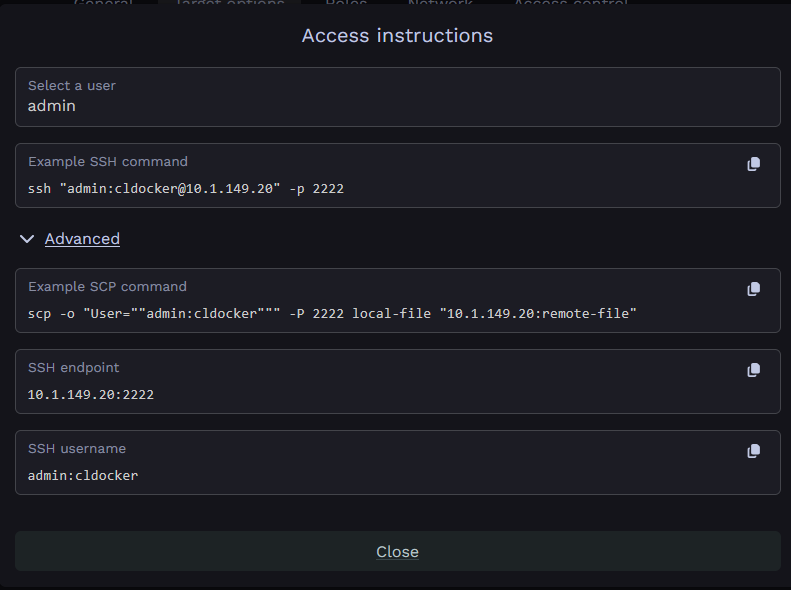
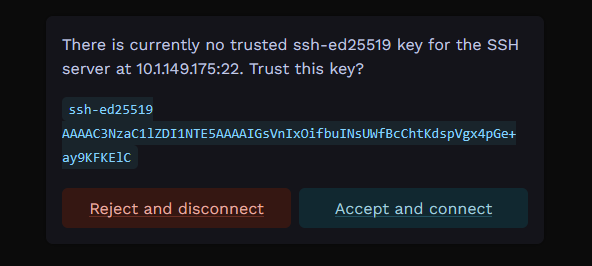
The specially formatted username tells Warpgate which user is connecting and which target they want.
Creating and using roles in Warpgate
Roles allow you to have role based access control with Warpgate. This is a great way to handle your permissions. Assign the role to a group of resources. Then, add or delete users from roles as they need to connect or don’t. To add a role, navigate to Config > Access roles:
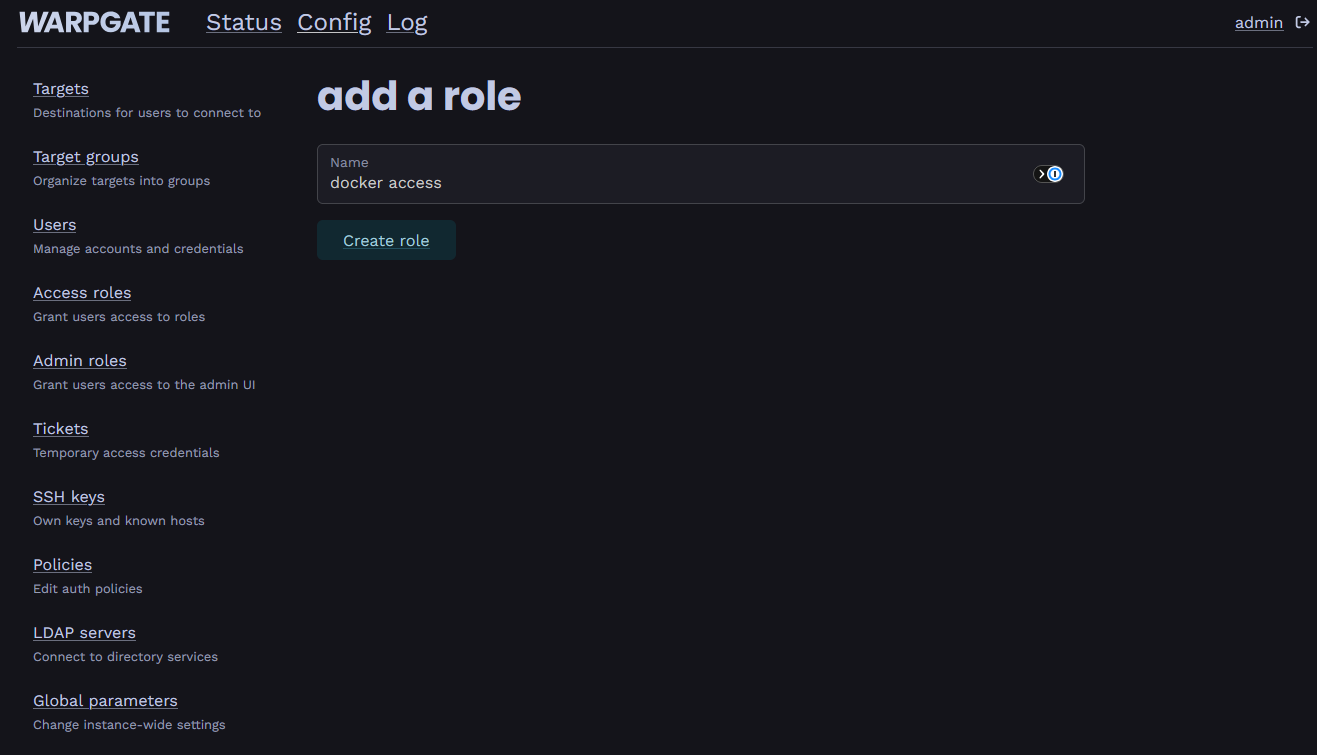
Name the role. You can also flag on to “automatically assign to all new users”.
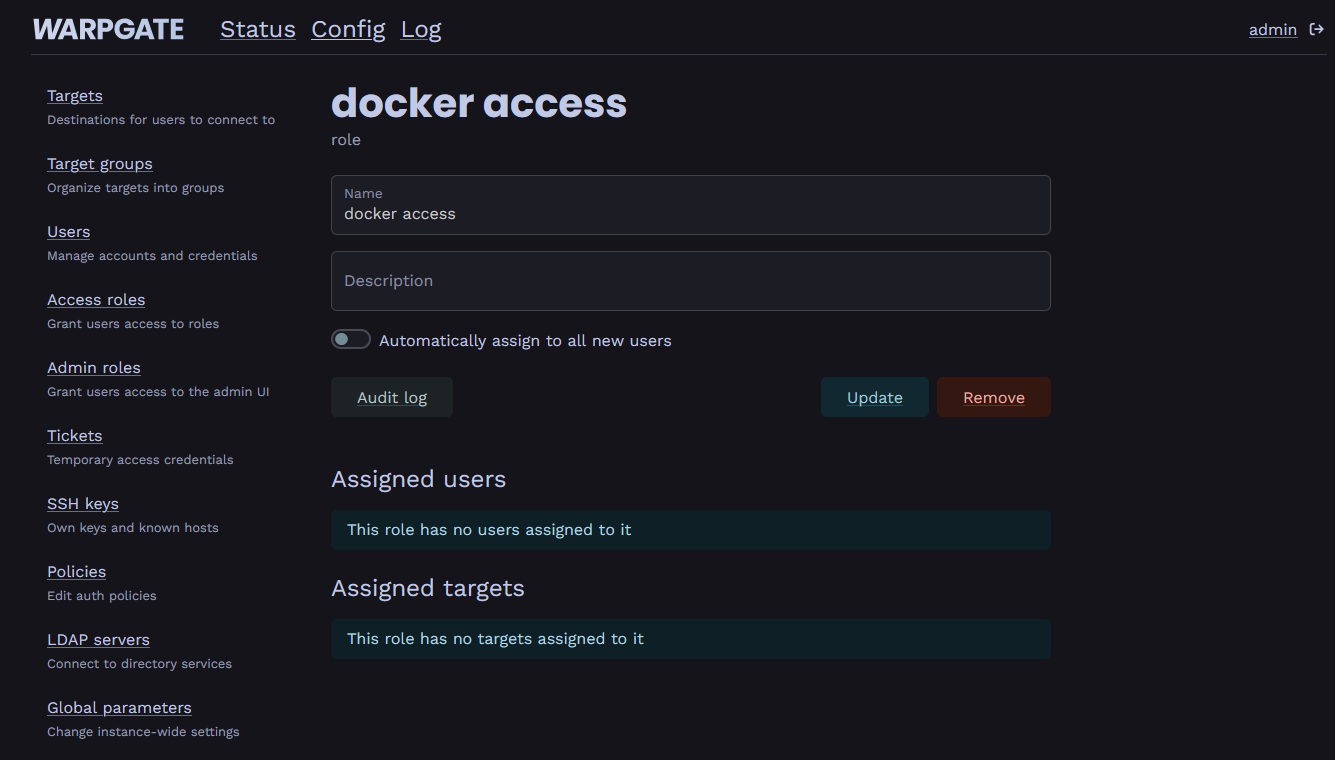
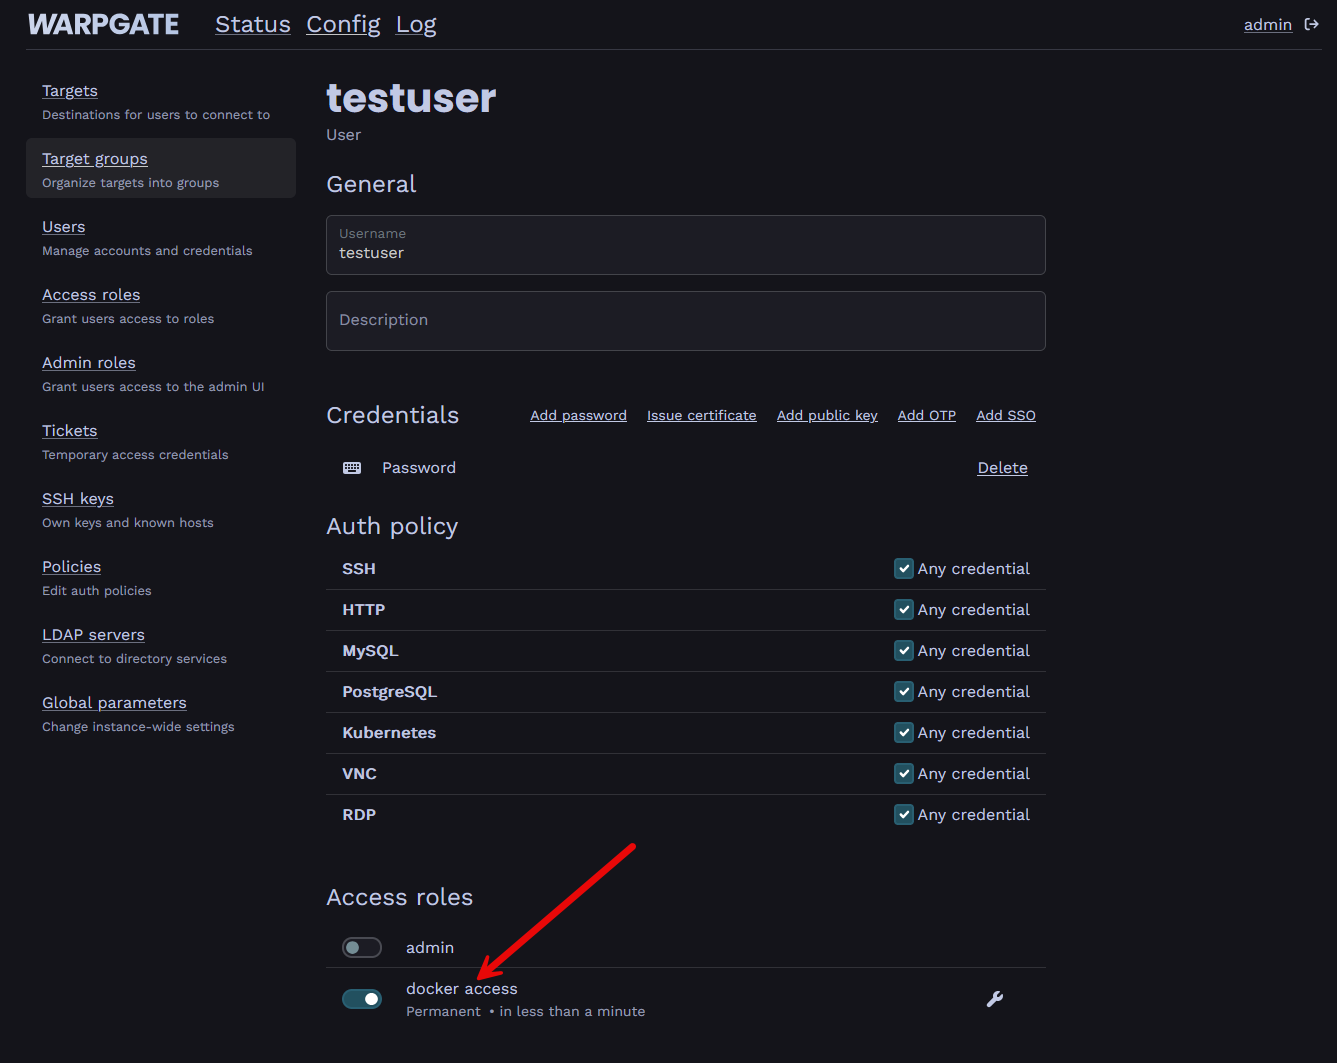
Then, once the role is added, I added my test user to the new role by flagging this on under the user:
Under the resource, then, I flagged on the “docker access” role for the specific target.
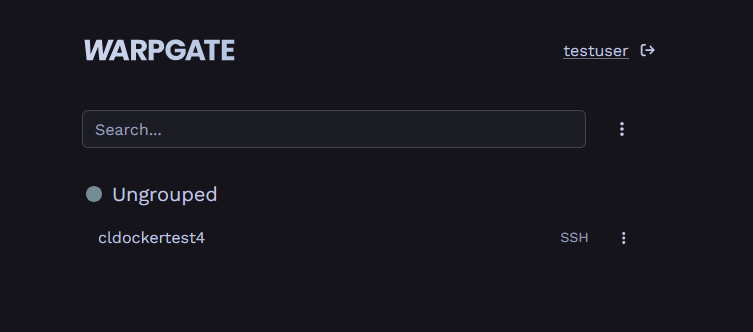
I logged out as admin and then logged in as my test user and I correctly see the resource that has been assigned with the access role. Pretty cool.
Other visibility and security features of Warpgate
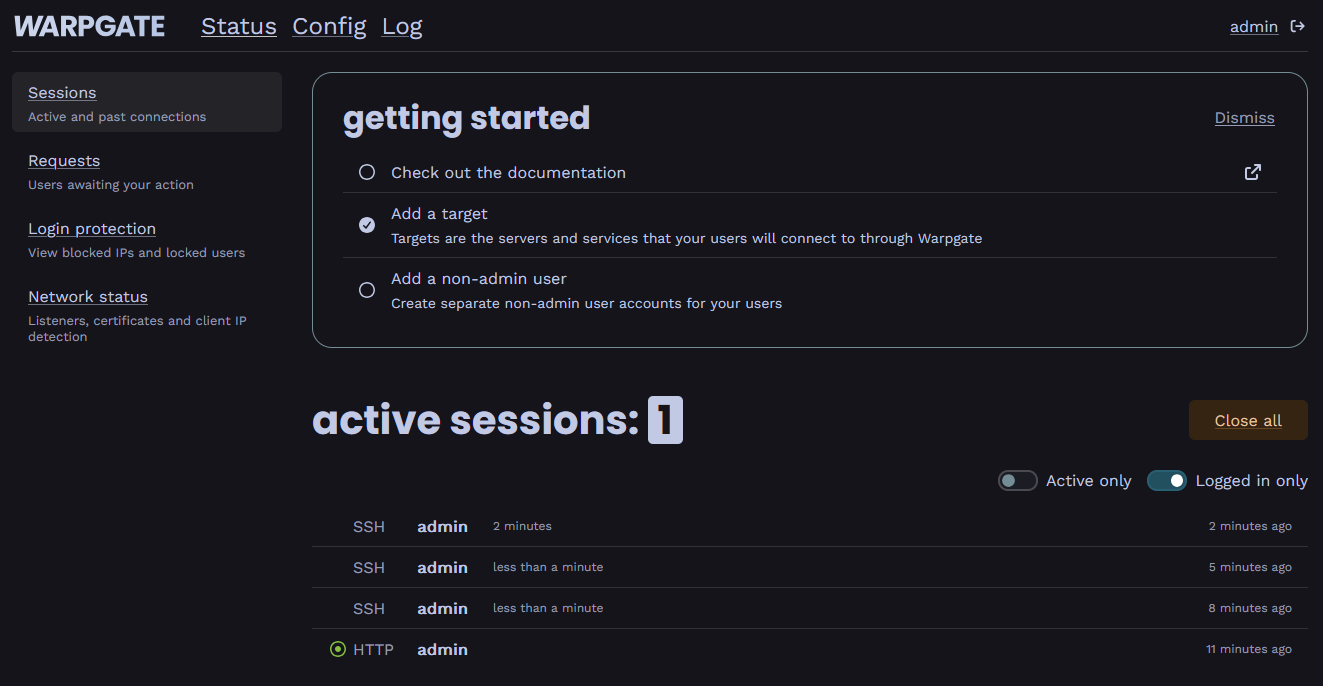
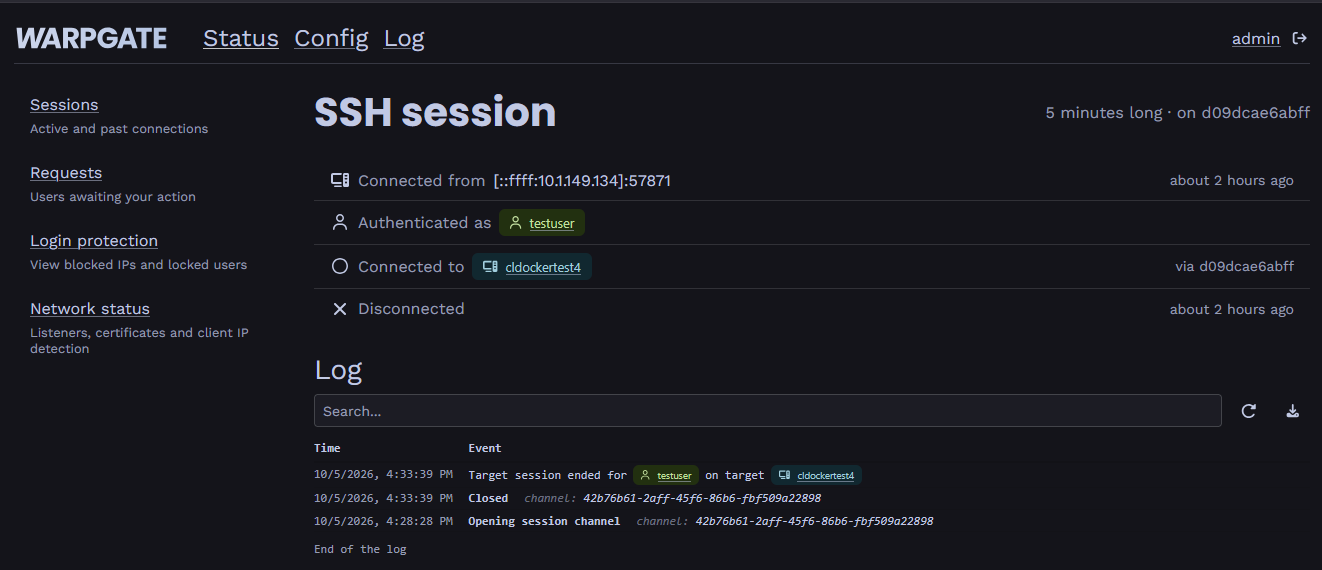
Warpgate has really good visibility across the board. You can take a quick look at the sessions that have been established, using the Status > Sessions screen:
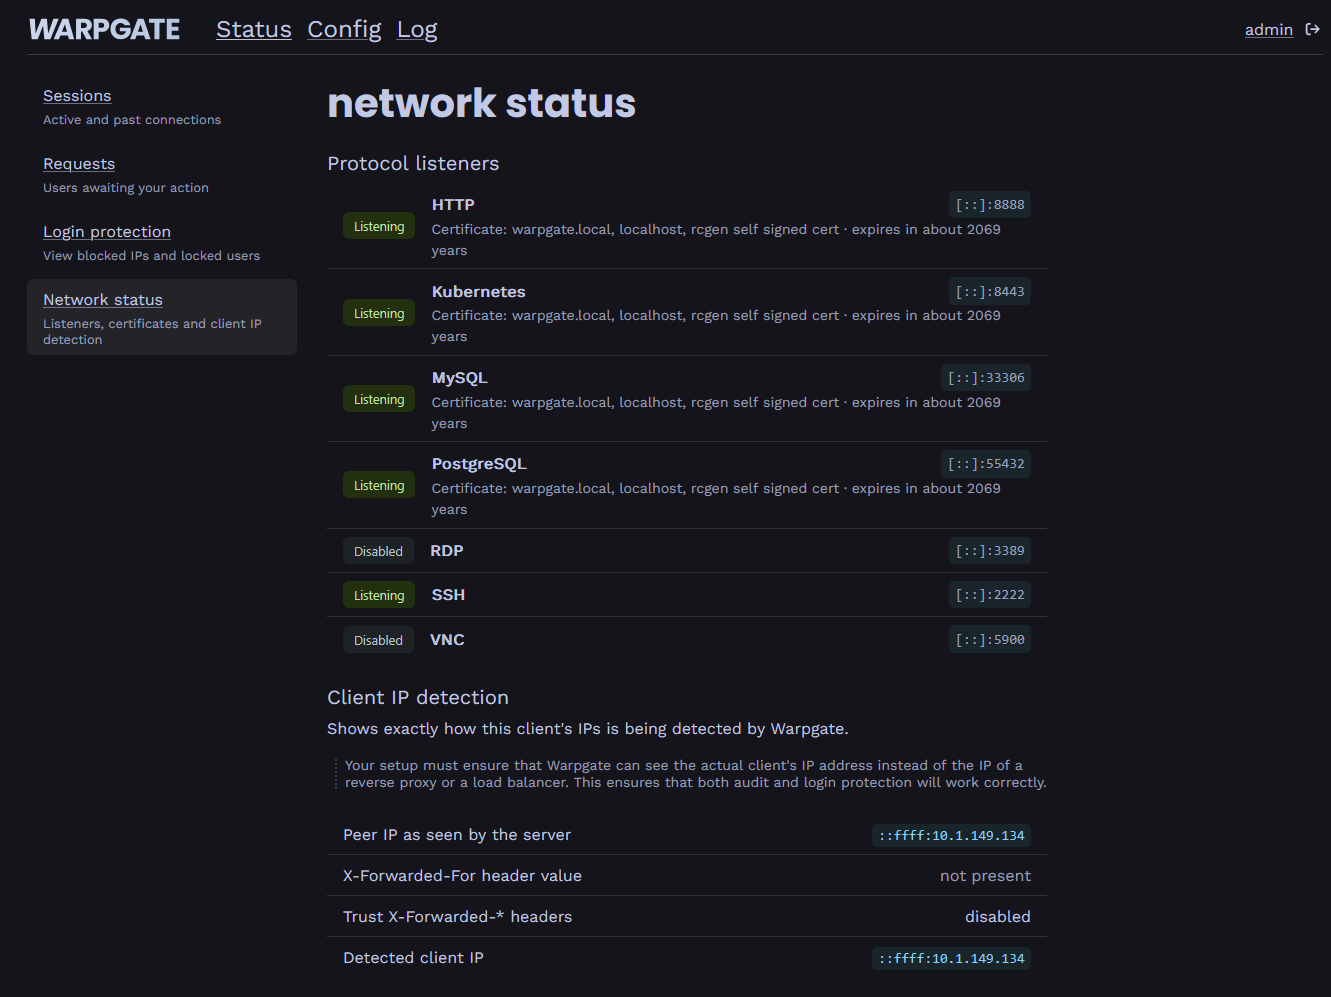
Network status shows the protocol listeners and their statuses:
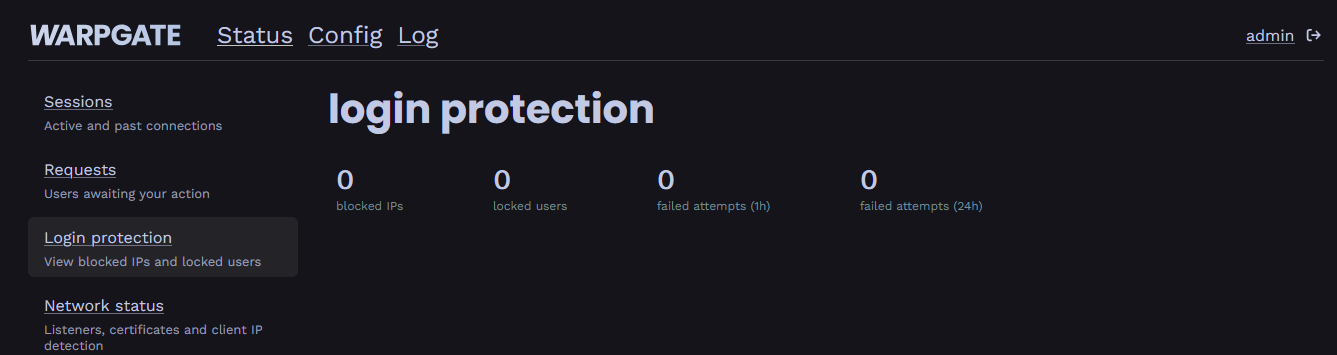
It also has login protection built in that can ban malicious IPs, users, etc if you choose to expose it.
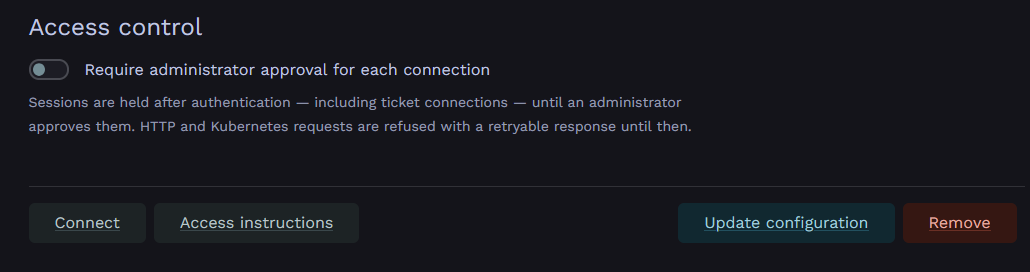
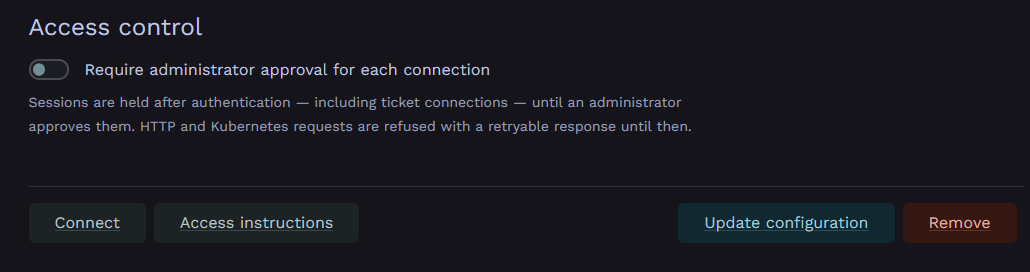
It also has an approval workflow that you can flag on for resources so that users have to request access to different resources to successfully connect.
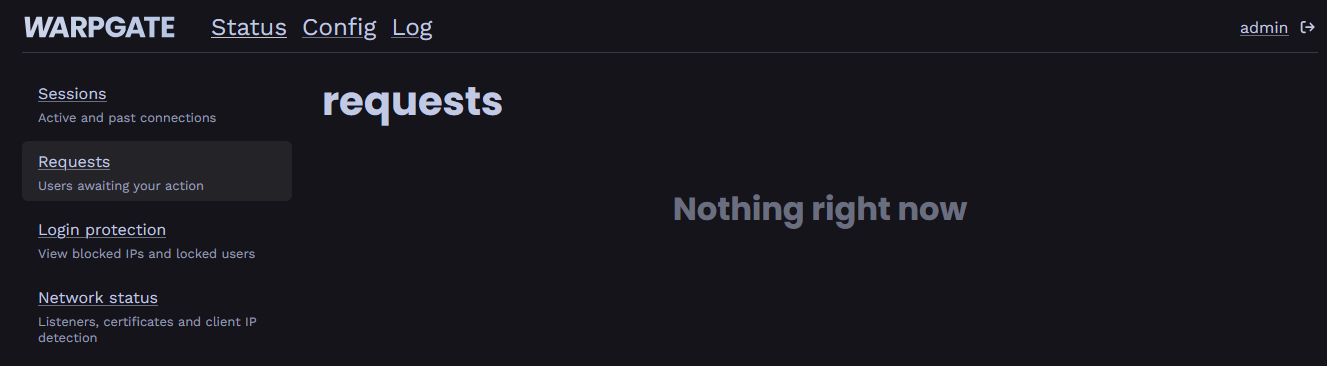
Then, you can see these pending access requests under the Status > Requests section:
I have found that all through the solution, you have really good logging and visibility.
Strong MFA features and policies
With Warpgate, you have centralized MFA and the ability to set different policies based on the protocol. So you can leave the Any credential checked if you want any credential to be allowed, or you can uncheck that and select which “factors” you want to require per protocol.
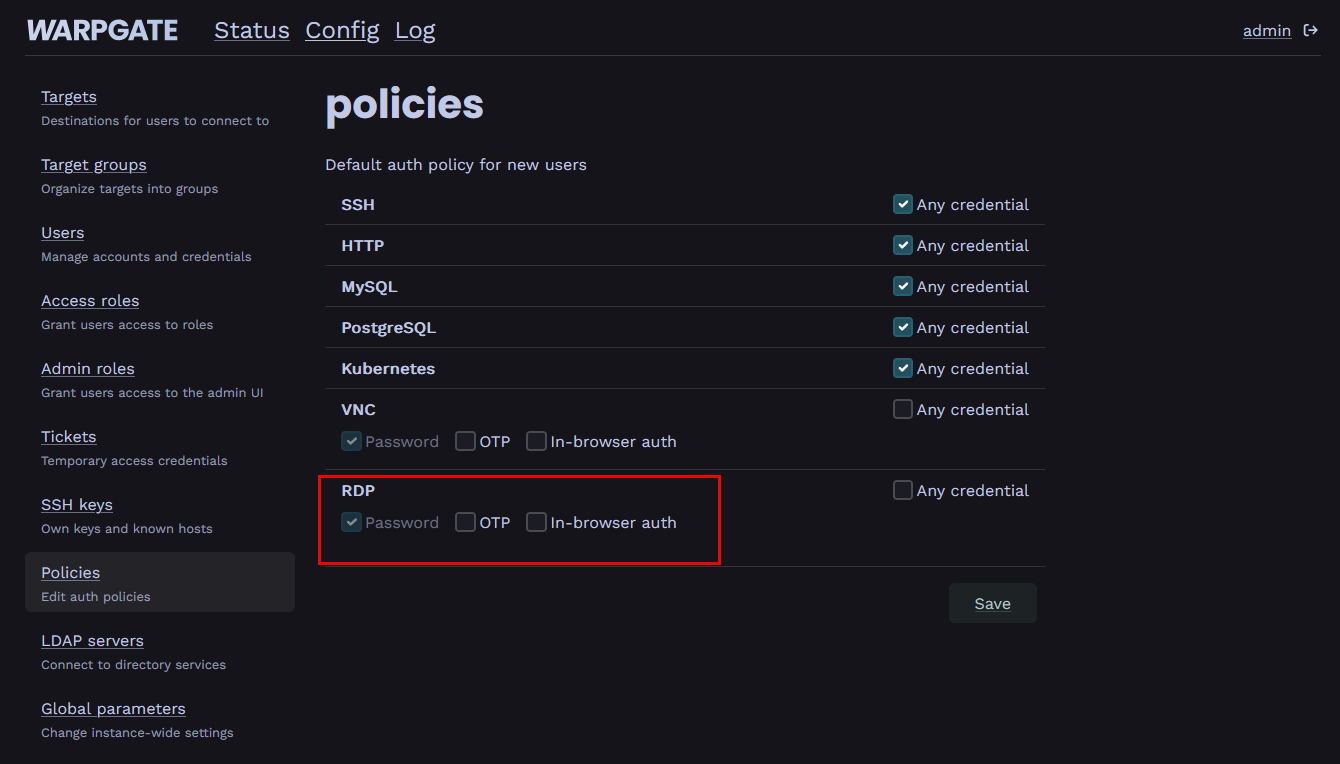
Be sure with each protocol to thoroughly test connectivity when using various protocols and authentication factors.
Session recording
Warpgate also has session recording. It can replay for SSH and desktop sessions with recording of these. You can also record for Kubernetes interactive sessions as well. Database activity can pull and utilize query logs. Then, HTTP sessions do not have as strong of a replay capability.
So, you can replay things that users did for instance with an SSH session to see what commands were run:
hostname
whoami
uptime
Wrapping up
I really think this is one of the best home lab bastion host options that I have tested lately. Warpgate surprised me with just how fully featured it is across the board and it has most if not all the features that I think ones are looking for in a secure access solution. This includes role based access, login protection, multifactor authentication, OIDC auth, session recording, etc. Also, it is actively developed and has thousands of stars on GitHub. How about you? What are you currently using in your home lab for secure access? Are you thinking of trying out Warpgate?
More in this topic




Google is updating how articles are shown. Don’t miss our leading home lab and tech content, written by humans, by setting Virtualization Howto as a preferred source.
About The Author
