The pfSense network firewall solution is a great free and open-source firewall that many run in their home labs or even SMB environments. PfSense has many enterprise features, and the community edition is free to download and install. Running a pfSense virtual machine installation as opposed to a physical appliance is a great way to take advantage of existing virtual hosts that you may have and save on the need for dedicated hardware and power draw associated with having a dedicated firewall appliance.
We will set up a pfSense virtual machine using a dedicated server, such as an ESXi host or a Proxmox host. This guide will cover all the necessary steps.
Table of contents
- What is pfSense?
- Why Run pfSense as a Virtual Machine?
- Prerequisites
- Step-by-Step Guide to Setting Up pfSense VM
- Install pfSense
- Changing IP address on WAN
- Configuring a management workstation
- Connecting to the pfSense Web Interface
- Advanced Configuration and Optimization
- Troubleshooting and Maintenance
- Video showing pfSense in Proxmox
- Wrapping up
What is pfSense?
pfSense is a free, open-source firewall and router that is based on FreeBSD. It has enterprise-level features found in paid solutions. Running a pfSense router or firewall is a great way to have a really powerful firewall solution in front of your self-hosted services to protect these from malicious traffic.
A pfSense setup is largely used for small networks but can also be used in large enterprise networks. You can install it on bare metal, a physical machine, or a virtual machine.
Why Run pfSense as a Virtual Machine?
Running pfSense as a virtual machine lends itself to a few advantages. It allows you to:
- Use existing hardware
- Simplify backups and restores
- Integrate with other virtual machines on the same host
- Set up network labs to try out things and learn pfSense better
- Easily add or spin up additional networks with a virtual switch and VLANs as needed
This type of setup is great for lab environments, small businesses, or even home networks. It keeps you from having to invest in dedicated hardware for a bare metal install and not have the power draw of another piece of hardware.
Use Cases
- Home Lab EnvironmentsRunning pfSense in a home lab environment allows you to experiment and learn. You can test real-world scenarios and configurations without impacting a production network.
- Small Business NetworksSMBs can benefit from pfSense without the need for expensive hardware. Many already have a virtual infrastructure estate. Running pfSense as a VM makes a lot of sense from a cost perspective.
- Enterprise DeploymentsIn larger enterprises, pfSense can be deployed as a VM to manage and secure segmented network zones or development environments.
Prerequisites
Before installing pfSense, you need the following:
- A hypervisor (ESXi, Proxmox, or another platform)
- The pfSense ISO image (free to download)
- Extra CPU, memory, and disk resources
- At least two network interfaces (NICs) – this is for the WAN interface and the LAN interface
Step-by-Step Guide to Setting Up pfSense VM
First let’s look at creating a new VM for running pfSense.
Create a New VM
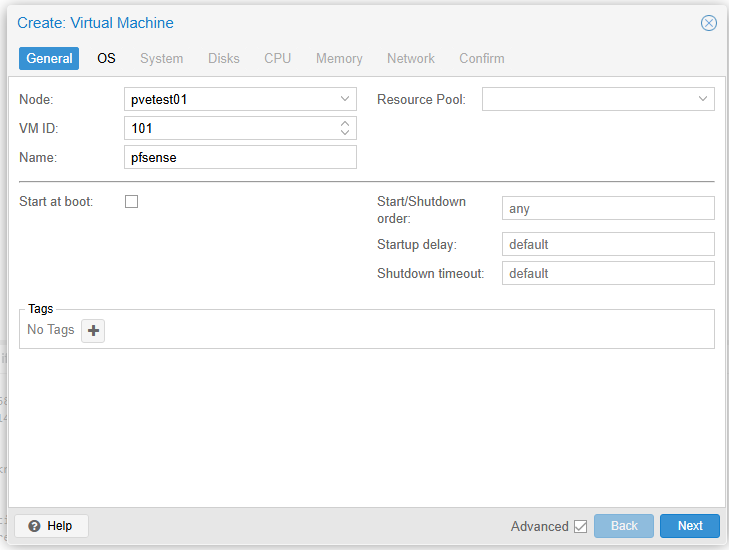
Start by creating a new VM on your hypervisor. I will first show how to do this in VMware ESXi.
You can name it anything you want and allocate CPU, memory, and disk space. These can be minimal, especially for a test or lab environment. Ensure you have at least two network interfaces configured for this VM.
You need a WAN and LAN interfaces. If you are actually connecting the VM as your Internet router, the WAN interface virtual NIC must be in the same VLAN as your cable modem, etc.
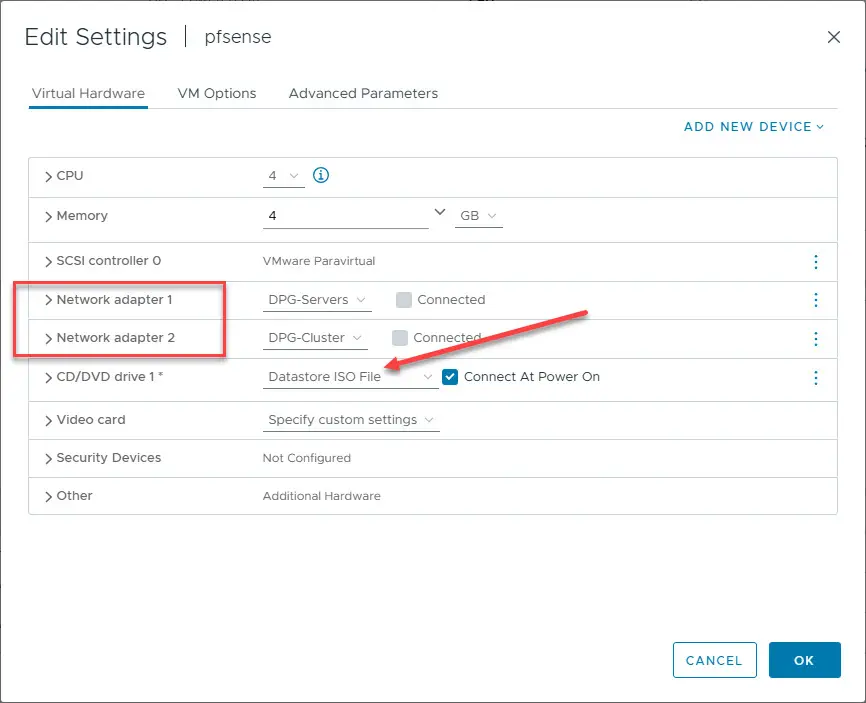
In the above configuration, you can see the two virtual network adapters. I have each connected to a different virtual switch. One of the cool things you can do is just configure this as a learning environment. Connect your WAN interface to your normal home lab VLAN that will grab a normal internal address.
Then, in the above, the DPG-Clusters VLAN is a separate isolated port group. Using this vSphere port group, I can connect a Windows virtual machine and test the configuration like the pfSense VM is the actual Internet router.
For a Proxmox installation, you will want to make sure you have your networking set up ahead of time. You will need an interface to serve as a WAN and LAN interface, so you will need Proxmox networks for each of these.
Install pfSense
Attach the pfSense ISO image to the VM and boot from it. The installation process will begin. Follow the on-screen instructions to install pfSense.
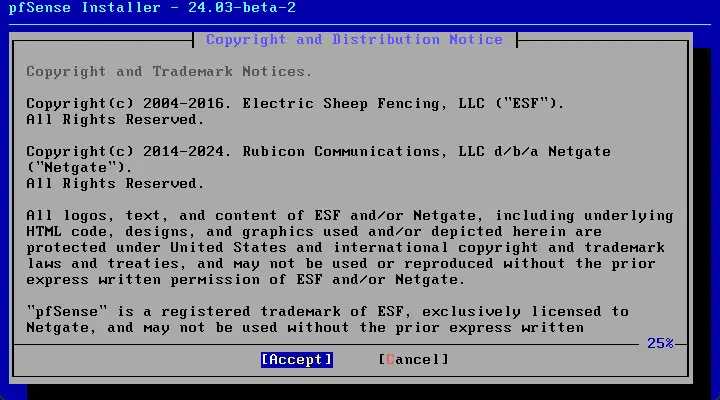
Accept the EULA during the installation of pfSense.
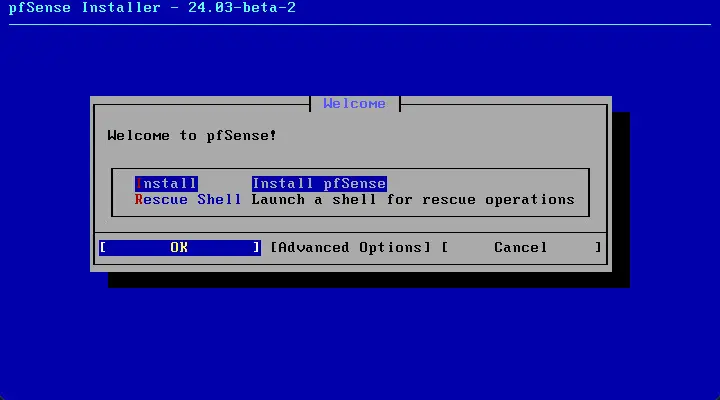
Start the Install of pfSense.
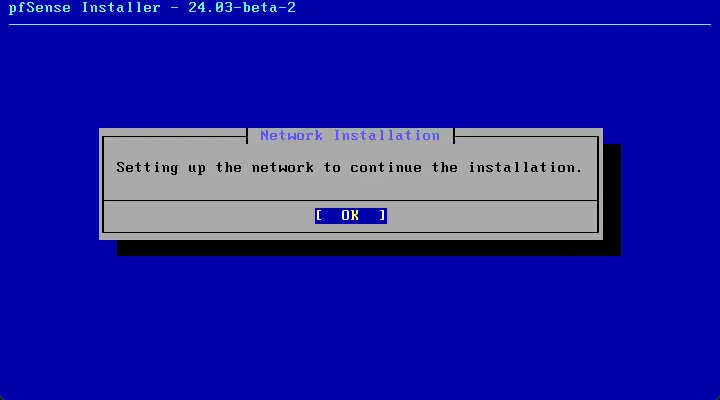
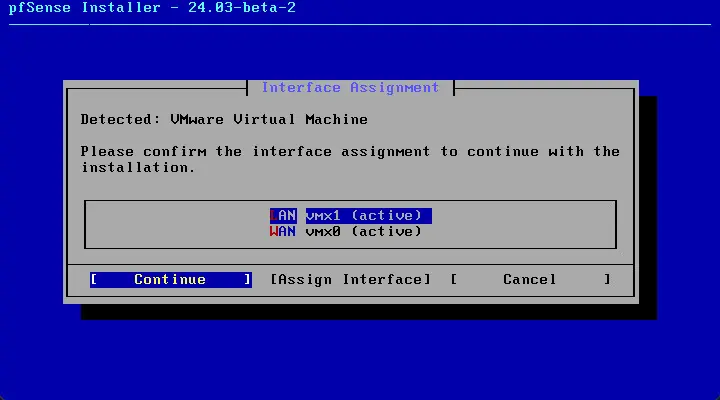
Being the setup of the network to continue the installation.
Select the WAN interface.
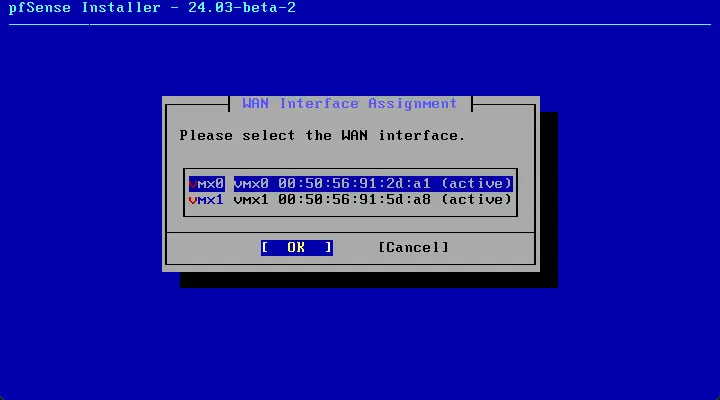
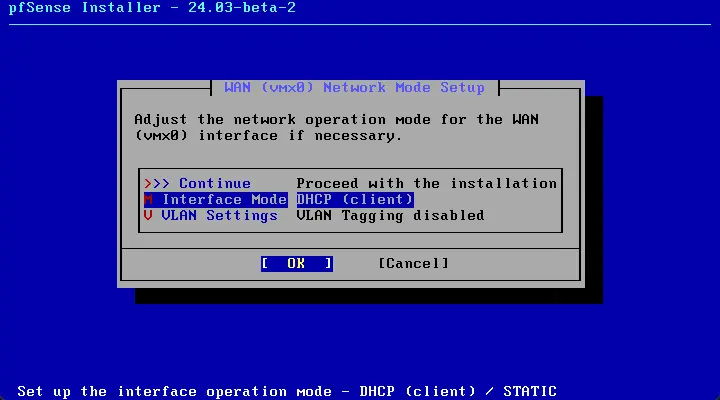
You can configure the mode of operation for the WAN interface. Select the Interface IP mode and VLAN settings. Once you have selected that configuration,
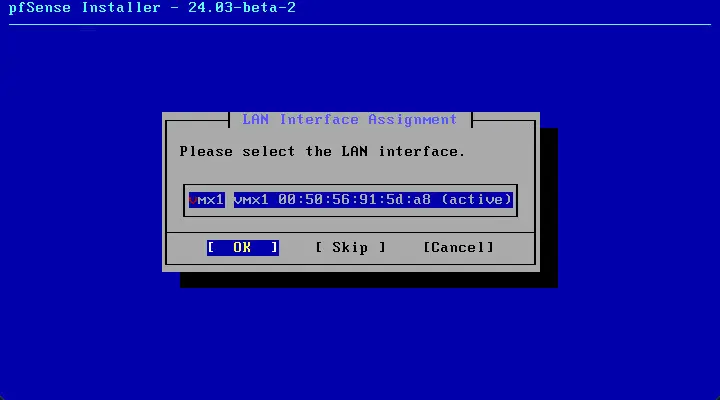
Select the LAN interface for use with pfSense. Here we are selecting the other vmnic from the VMware virtual machine.
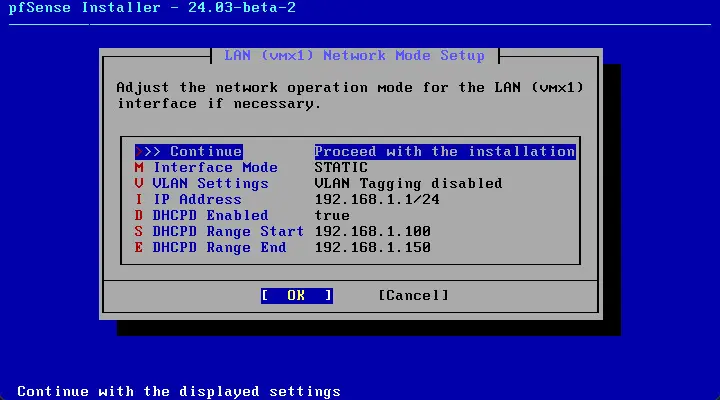
Here I am setting up the LAN interface, accepting the defaults for the STATIC configuration which it sets for the configuration. Proceed with the installation.
Next, continue the installation.
The installer will verify whether or not you have an active pfSense Plus subscription. If one is not detected (based on the NDI identifier on the pfSense VM), you can proceed to Install CE.
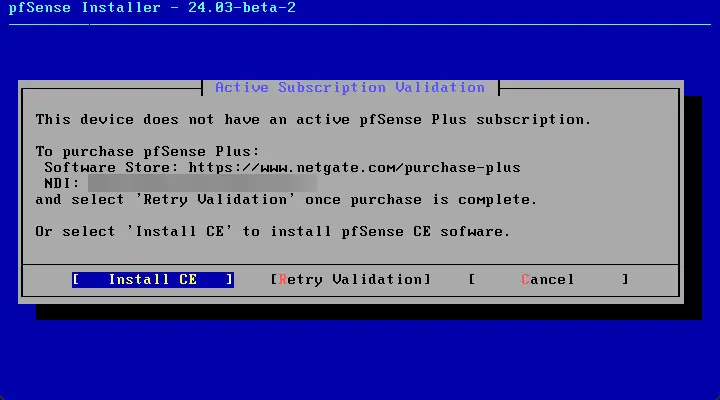
Proceed with the installation.
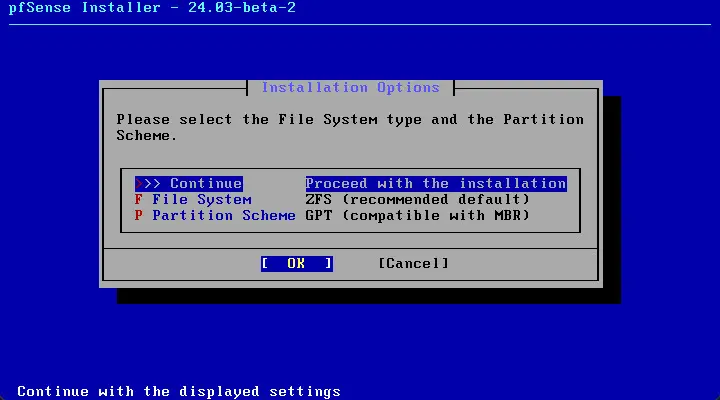
Continue with the ZFS configuration. Since I have a single disk, I am just choosing Stripe No Redundancy.
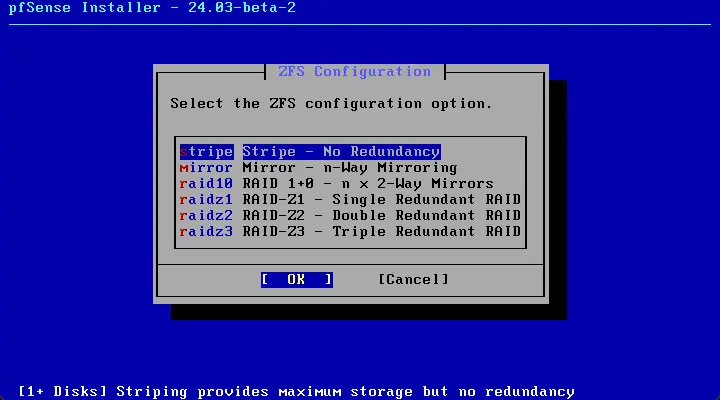
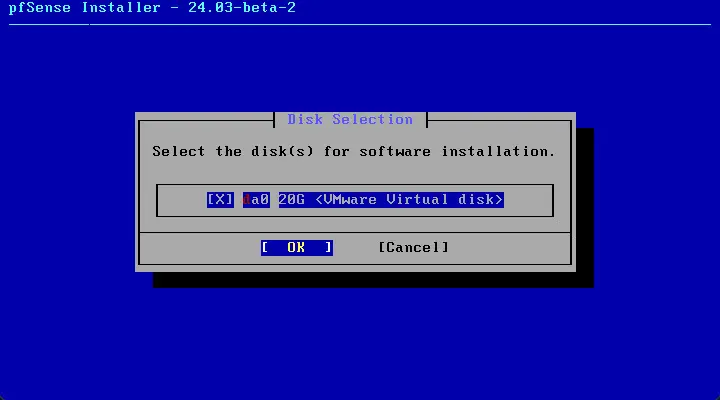
Next, Select the disks for software installation.
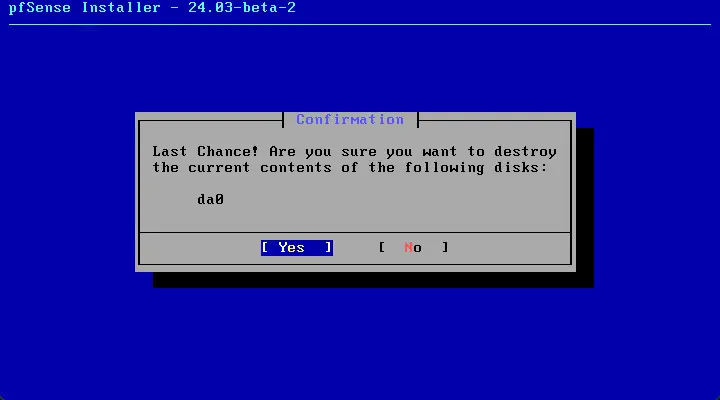
Destroy the contents of the current disk.
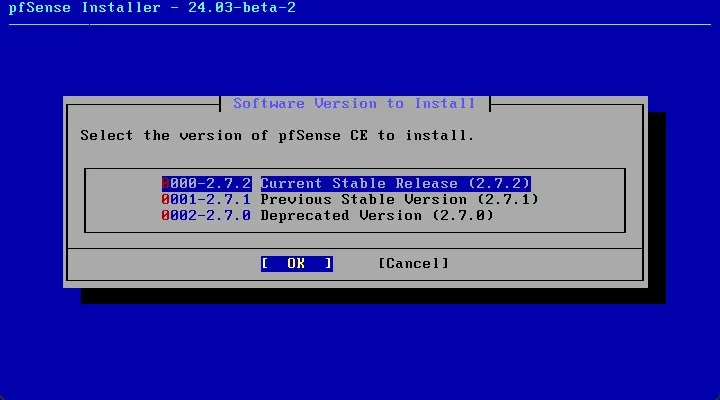
Select the version of pfSense CE to install.
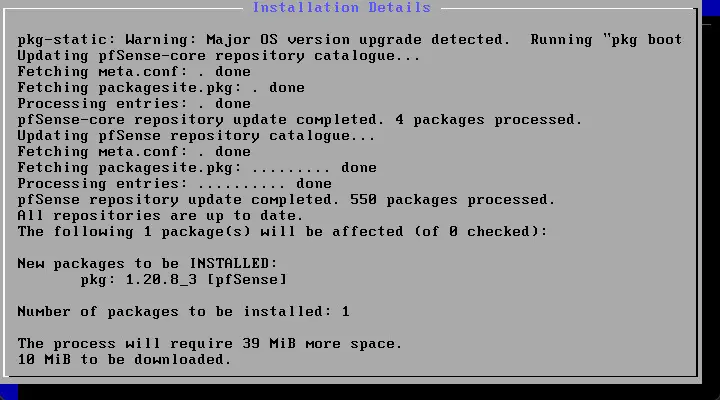
Number of packages to install displayed to continue with the installation.
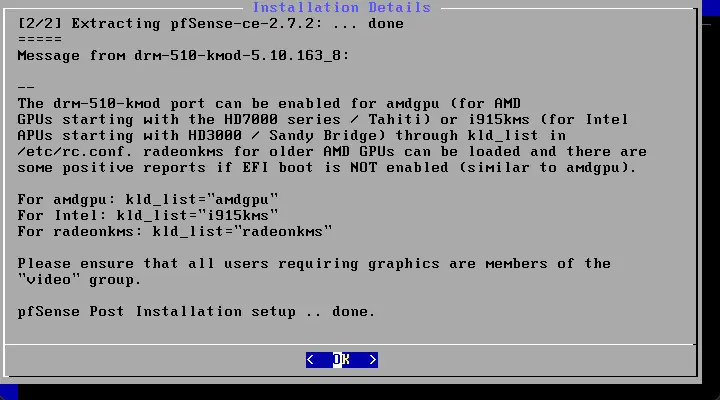
After the installation, you will see the installation setup is succeeded.
Reboot the pfSense installation.

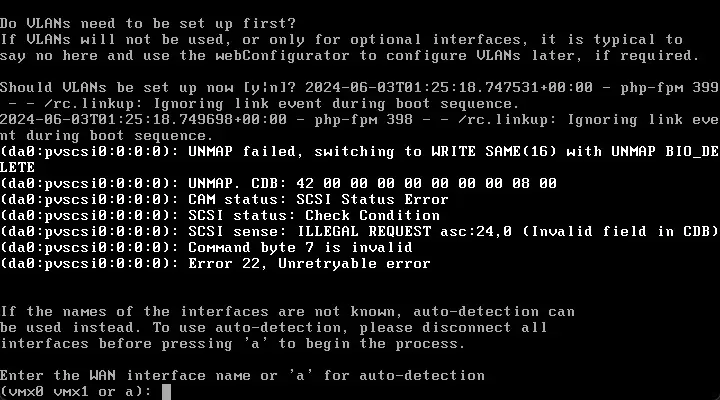
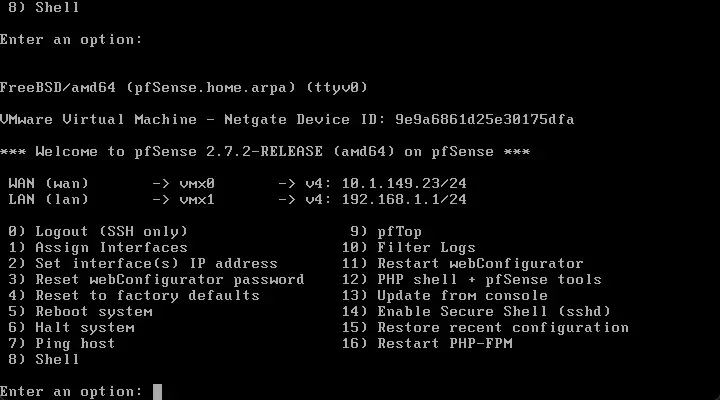
Configure Network Interfaces
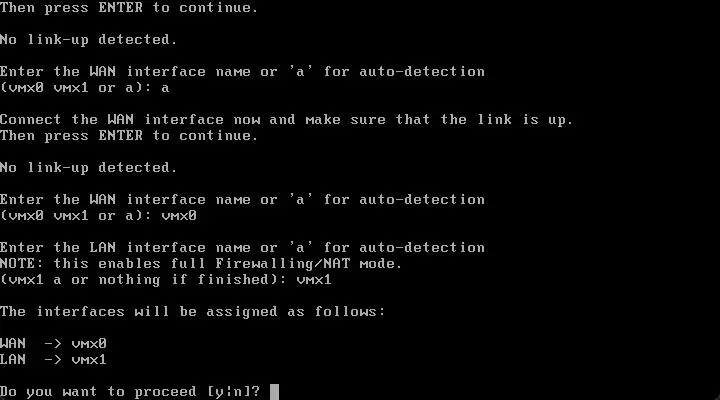
After the initial installation is completed successfully you will be asked to earmark the WAN interface and the LAN interface. This is a bit redundant, I know, but the console/text setup will have you confirm this as well.
Here I have selected the interfaces.
Changing IP address on WAN
If you want to change the IP address on either interface, you can select option 2 Set interfaces IP address.
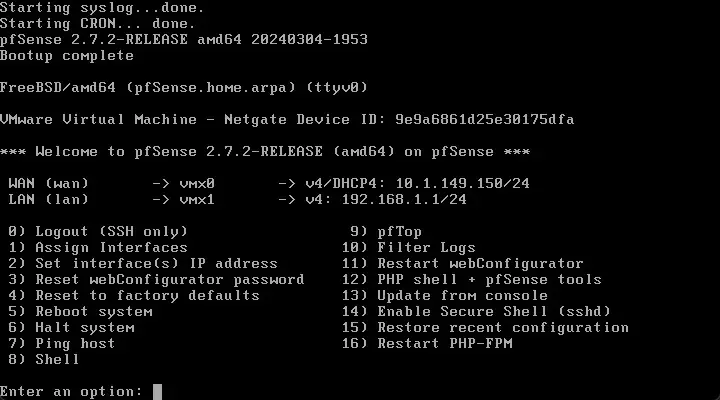
Enter the IP address information for the selected interface. Here I am changing the WAN IP which is used for Internet access.
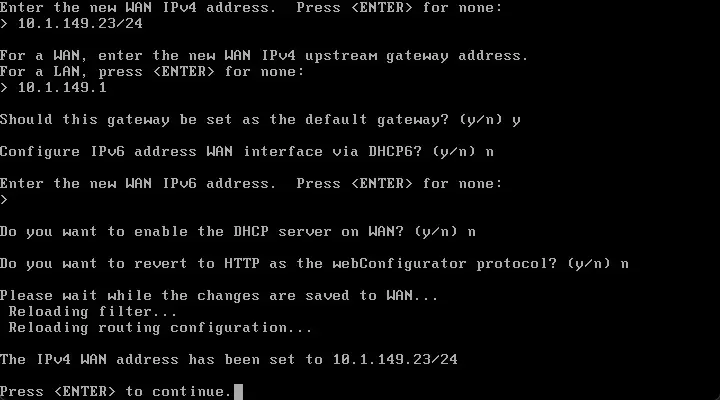
After changing the IP addresses.
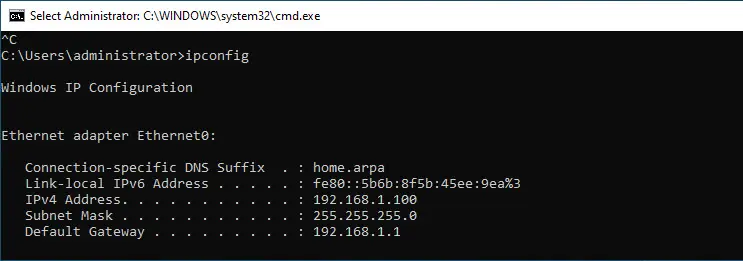
Configuring a management workstation
To access the pfSense LAN interface, we need to get a machine on the LAN side of the pfSense virtual machine, connected to the same virtual switch.
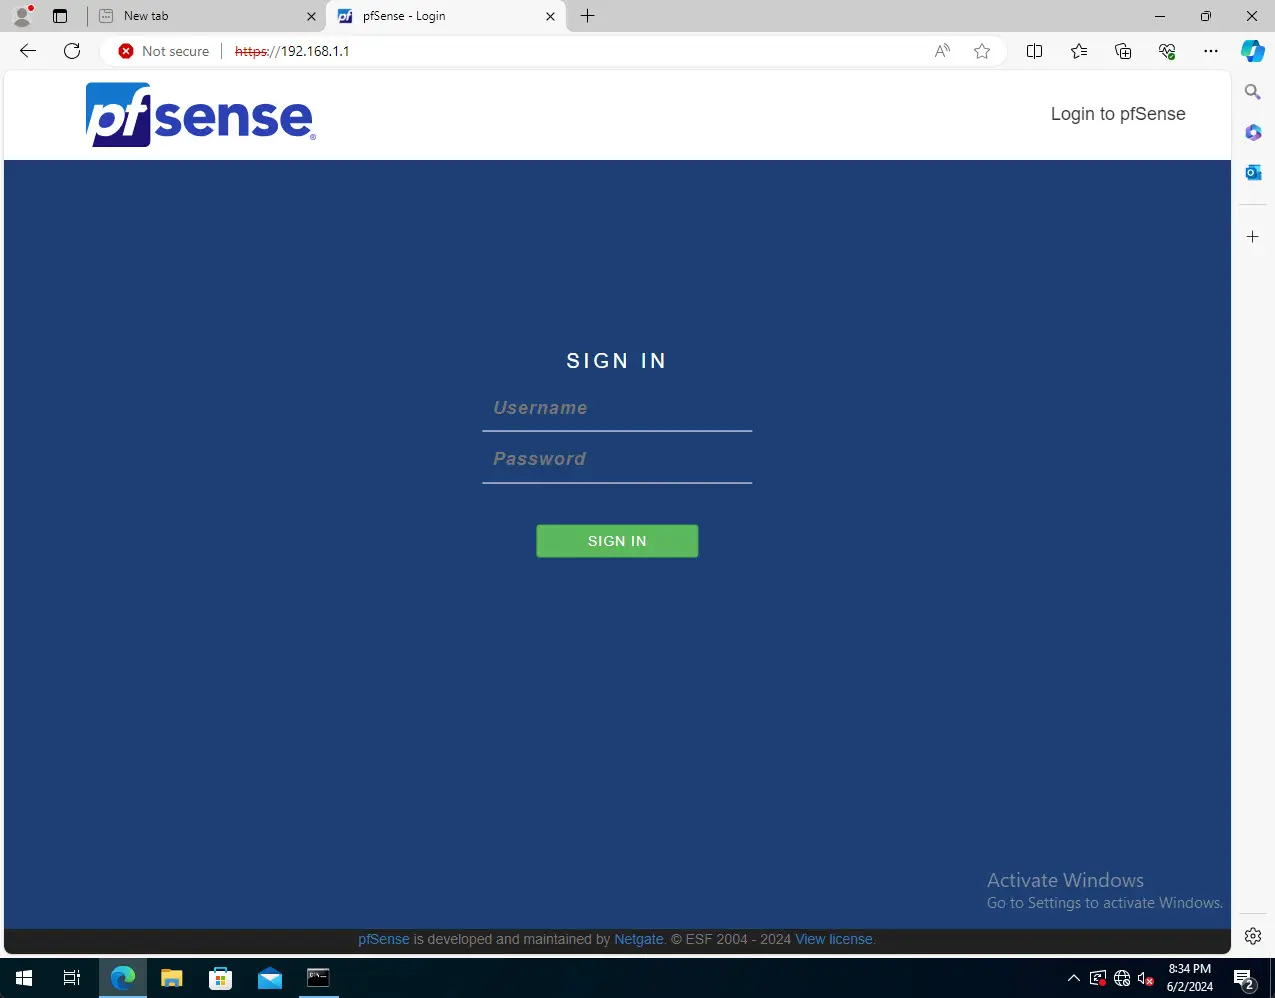
Connecting to the pfSense Web Interface
After the initial setup, you can connect to the pfSense admin interface on the LAN side of things. The default username and password is admin and the password is pfsense.
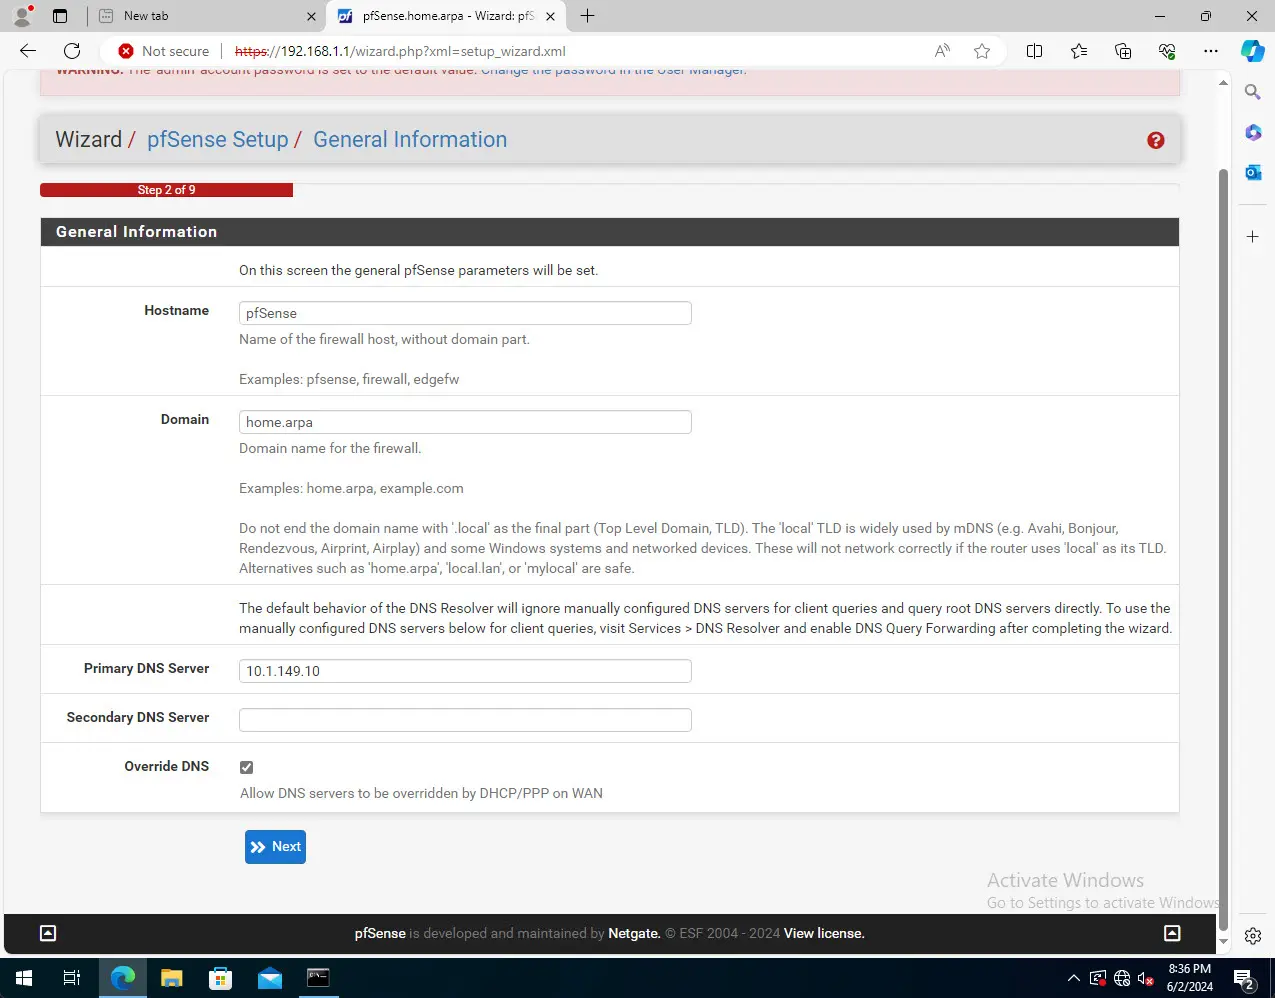
Beginning the configuration with the general settings for your pfSense VM, including DNS.
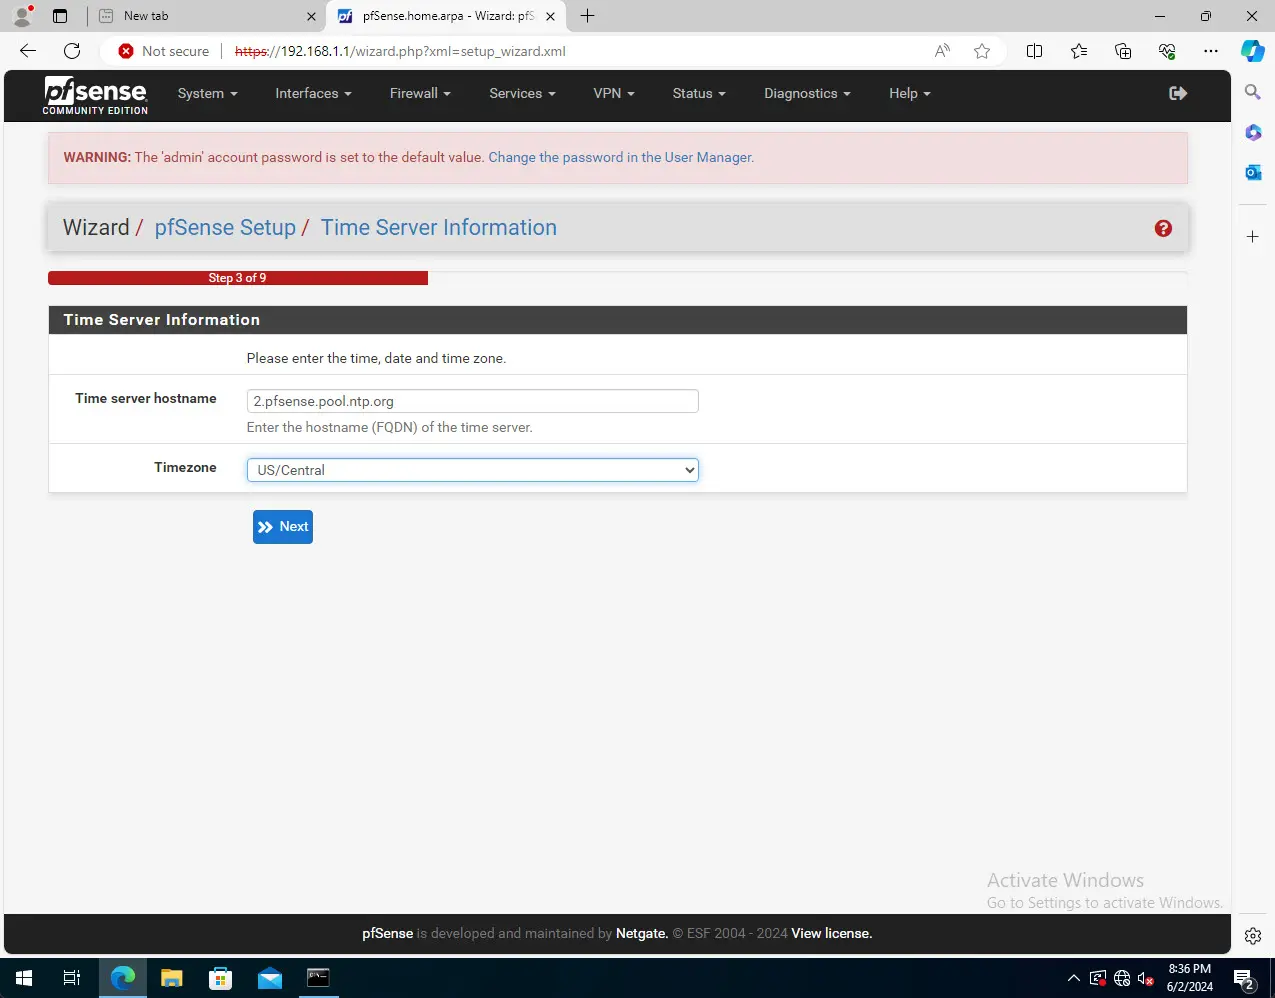
Time server configuration pointing the pfSense VM to a specific time server.
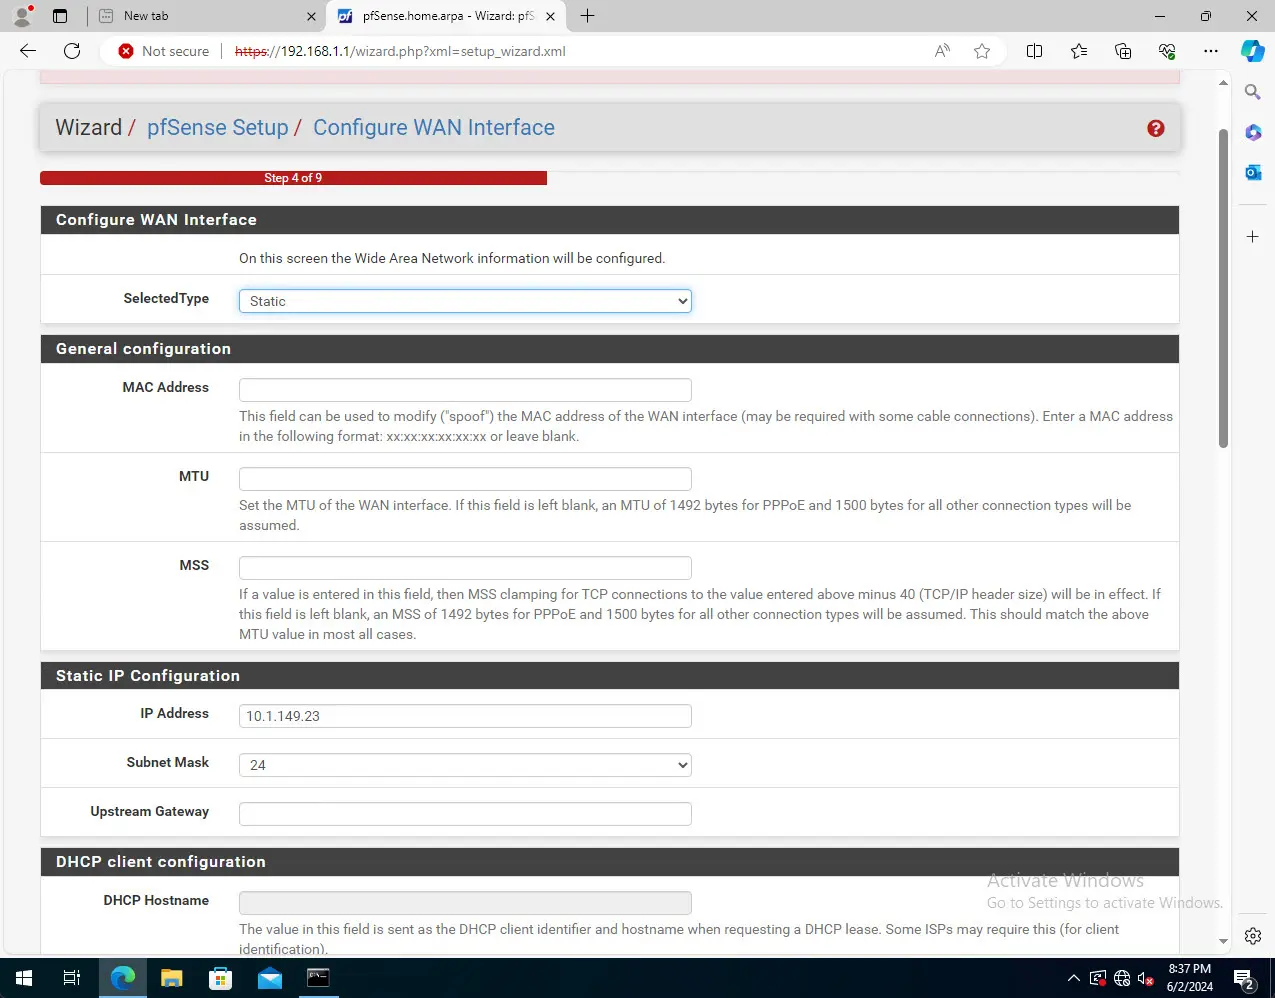
Configure the WAN interface. Here (you are probably worn out by the interface configuration), you don’t have to select anything. It will pull your existing configuration.
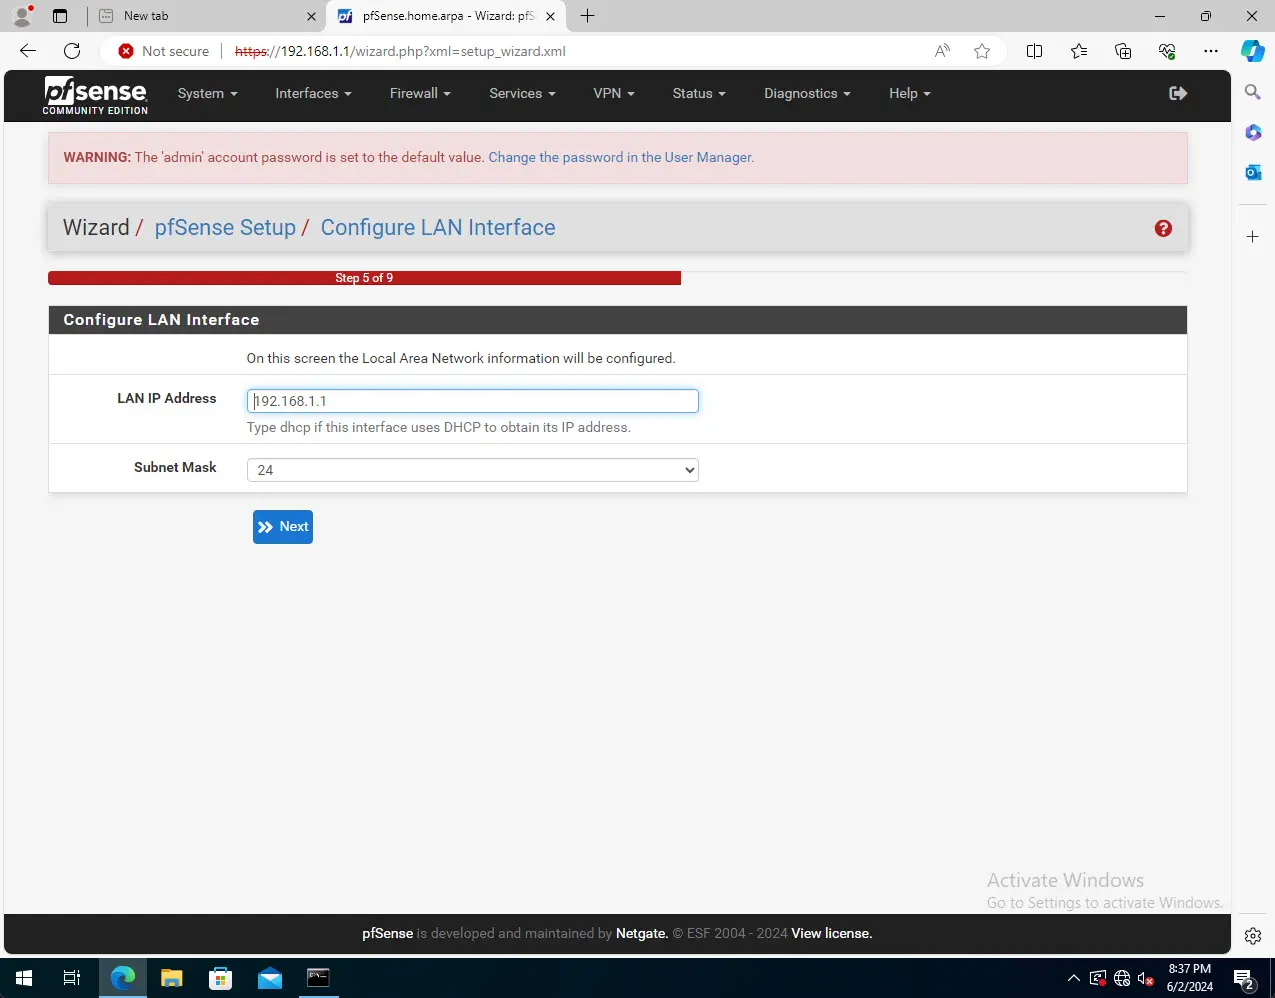
Next, Configure the LAN interface and make changes if needed.
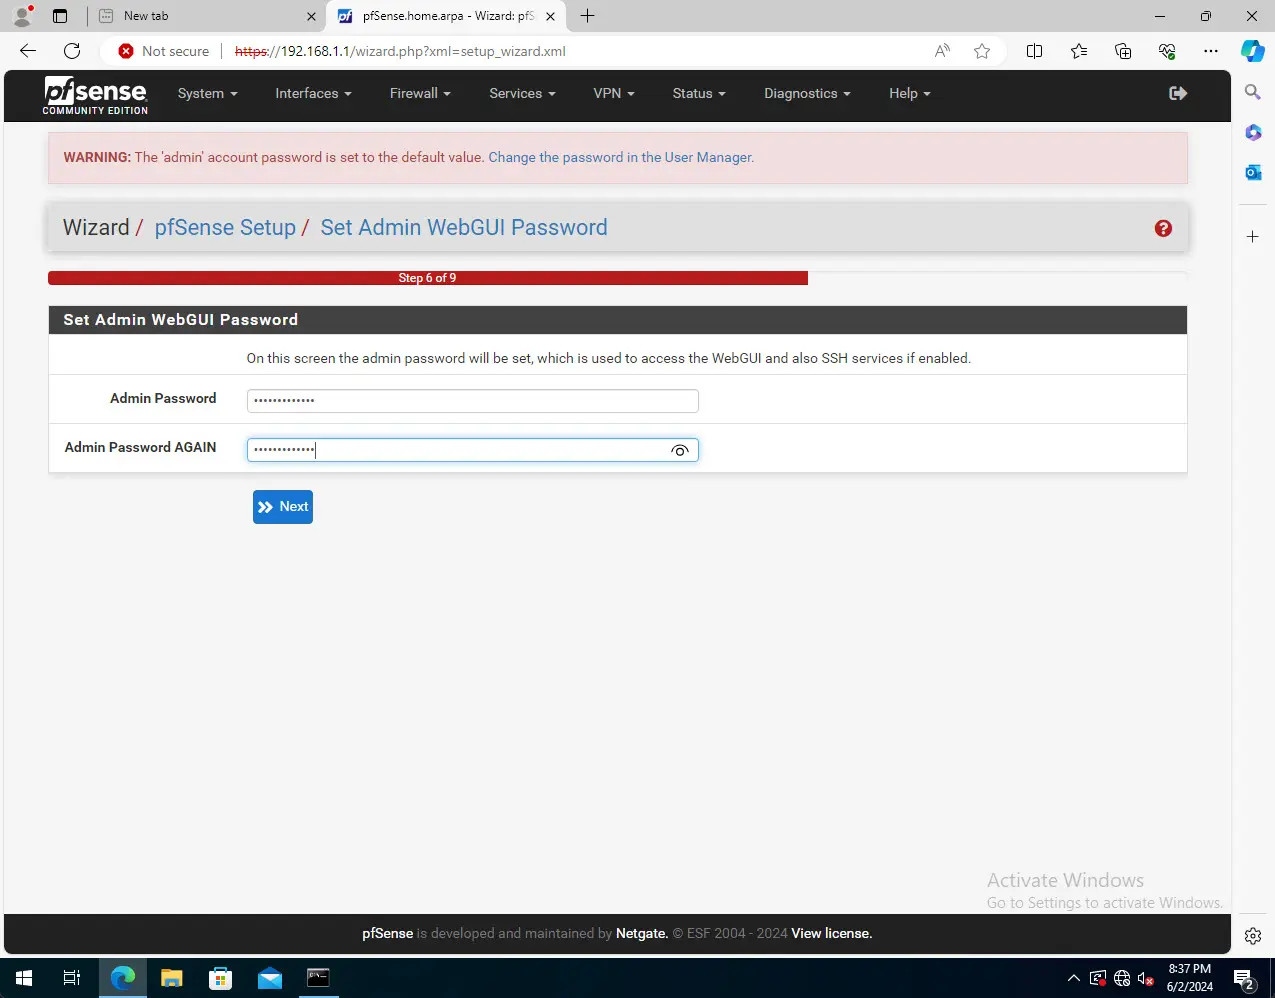
Set the admin password on the webGUI.
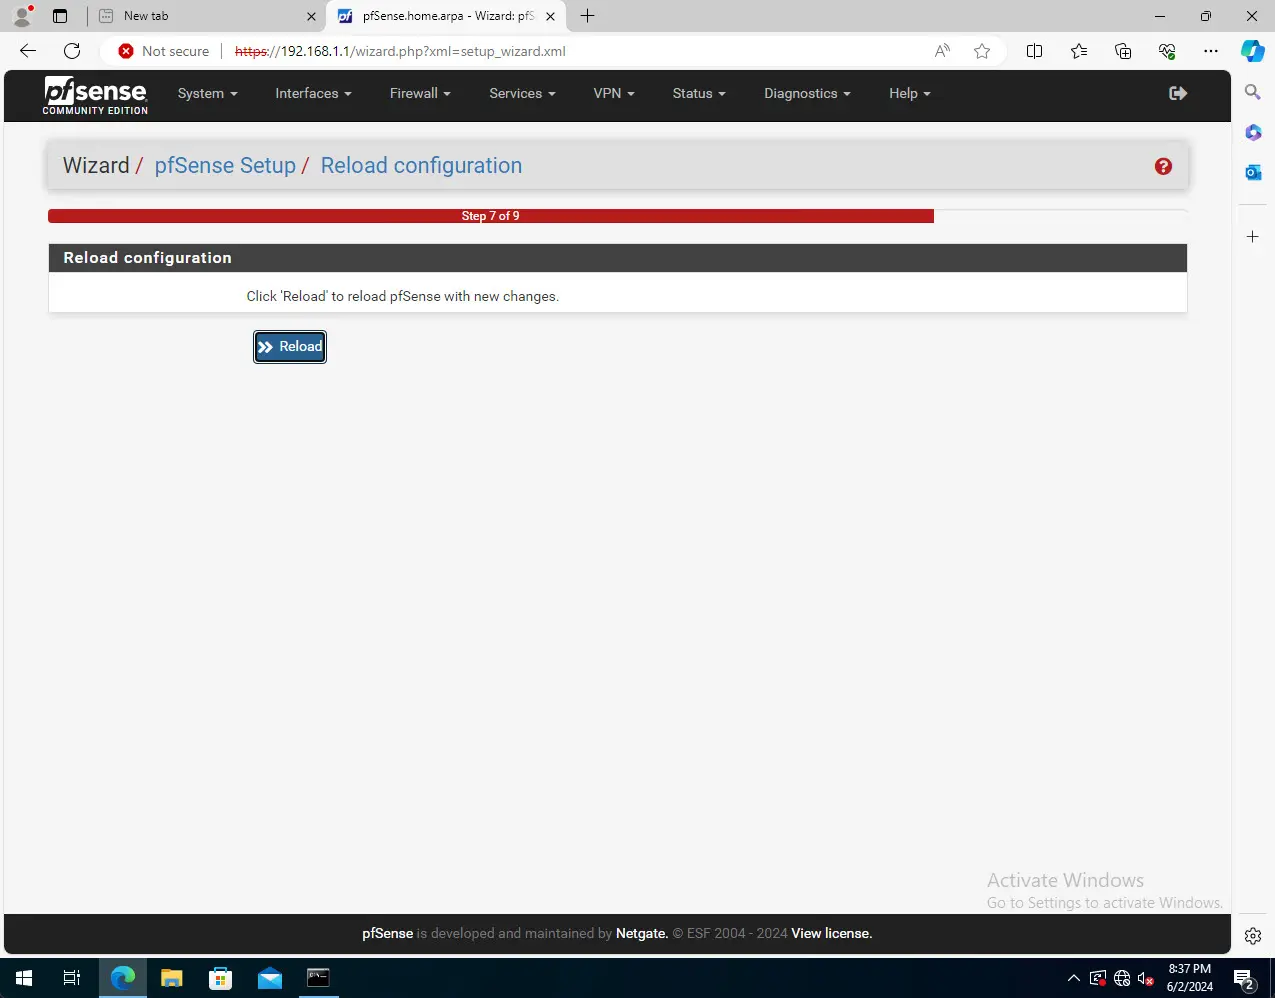
Reload the configuration. Step 8 is missing in a screenshot after this pic since the reload process itself is step number 8.
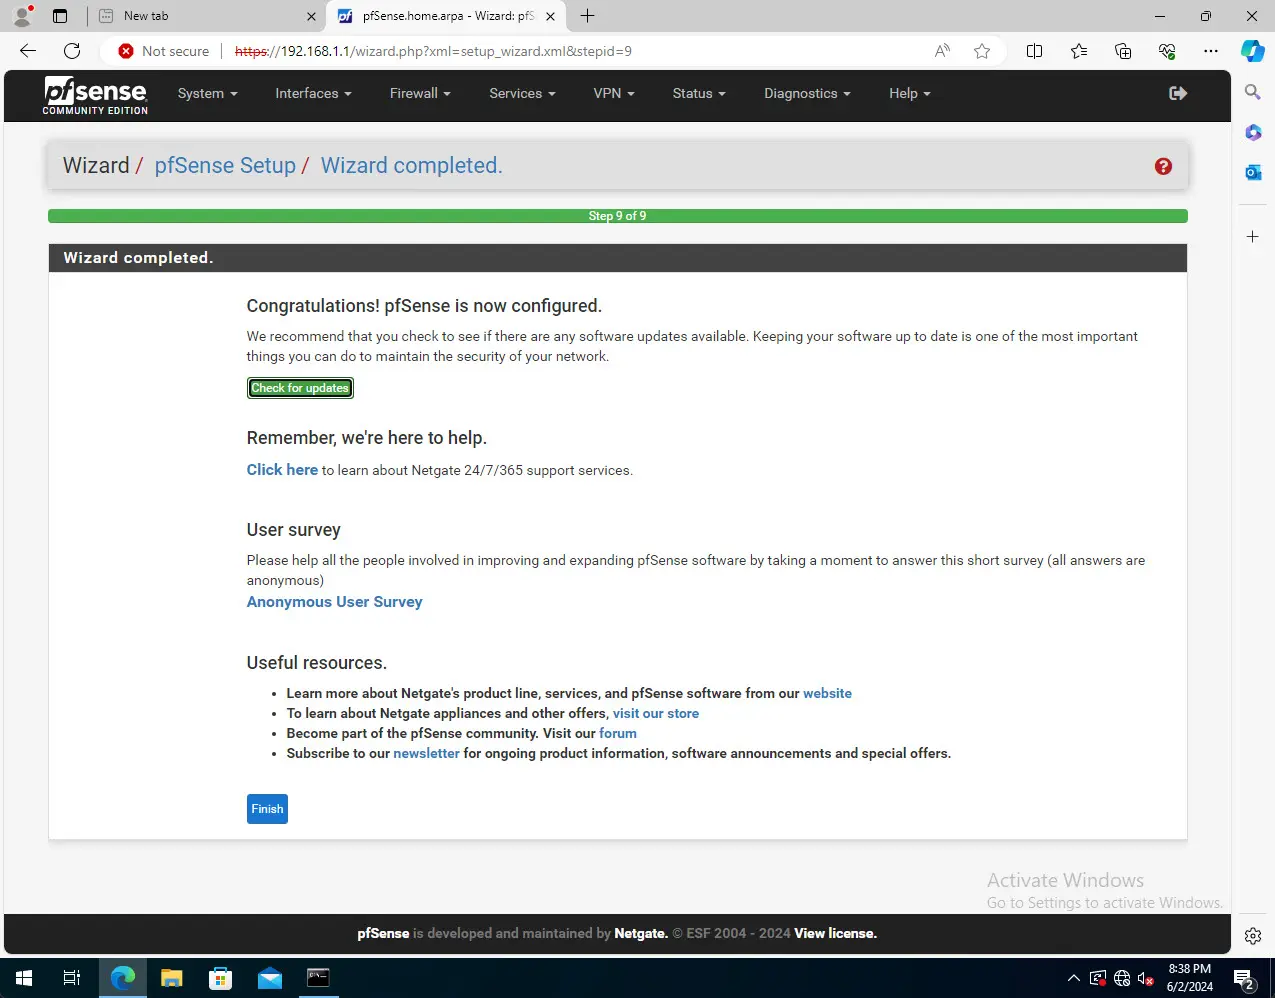
After reloading/rebooting your pfSense router, you will see the following screen. This means it is ready to go. You can choose to run updates if you want as well.
Advanced Configuration and Optimization
Below are a few advanced configuration notes of settings you may decide to configure in your pfSense installation.
- Setting Up VLANsWith VLANs, you can segment your network. pfSense allows you to separate different types of traffic with VLANs. To configure these, navigate to the “Interfaces” menu and create VLANs as needed.
- Creating Virtual SwitchesVirtual switches in your hypervisor allow communication between VMs and pfSense. Configure virtual switches to map physical NICs to virtual NICs. Keep in mind you will need to configure the VLANs on the virtual switch tagging as well so VLAN traffic can flow as expected.
- Optimizing Network PerformanceTo achieve the best performance, make sure you have enough resources for the pfSense VM. Monitor CPU and memory usage and adjust if performance is not good.
Security specific configuration
- Enable Firewall RulesDefine rules to allow or block traffic based on source and destination IP addresses, ports, and protocols.
- Set Up a VPNConfigure VPN settings to secure remote access to your network.
- Monitoring & logsMonitor pfSense logs. Set up alerts for suspicious activities and regularly review logs to identify and mitigate potential threats.
Troubleshooting and Maintenance
Note the following troubleshooting tips and tricks
- Common problems
- Network Connectivity issues: If you can’t connect to the LAN interface, make sure you have your pfSense virtual machine assigned to the correct virtual switch.
- Performance problems: If you run into performance problems, monitor the metrics of your pfSense virtual machine and adjust resources as needed
- Maintenance
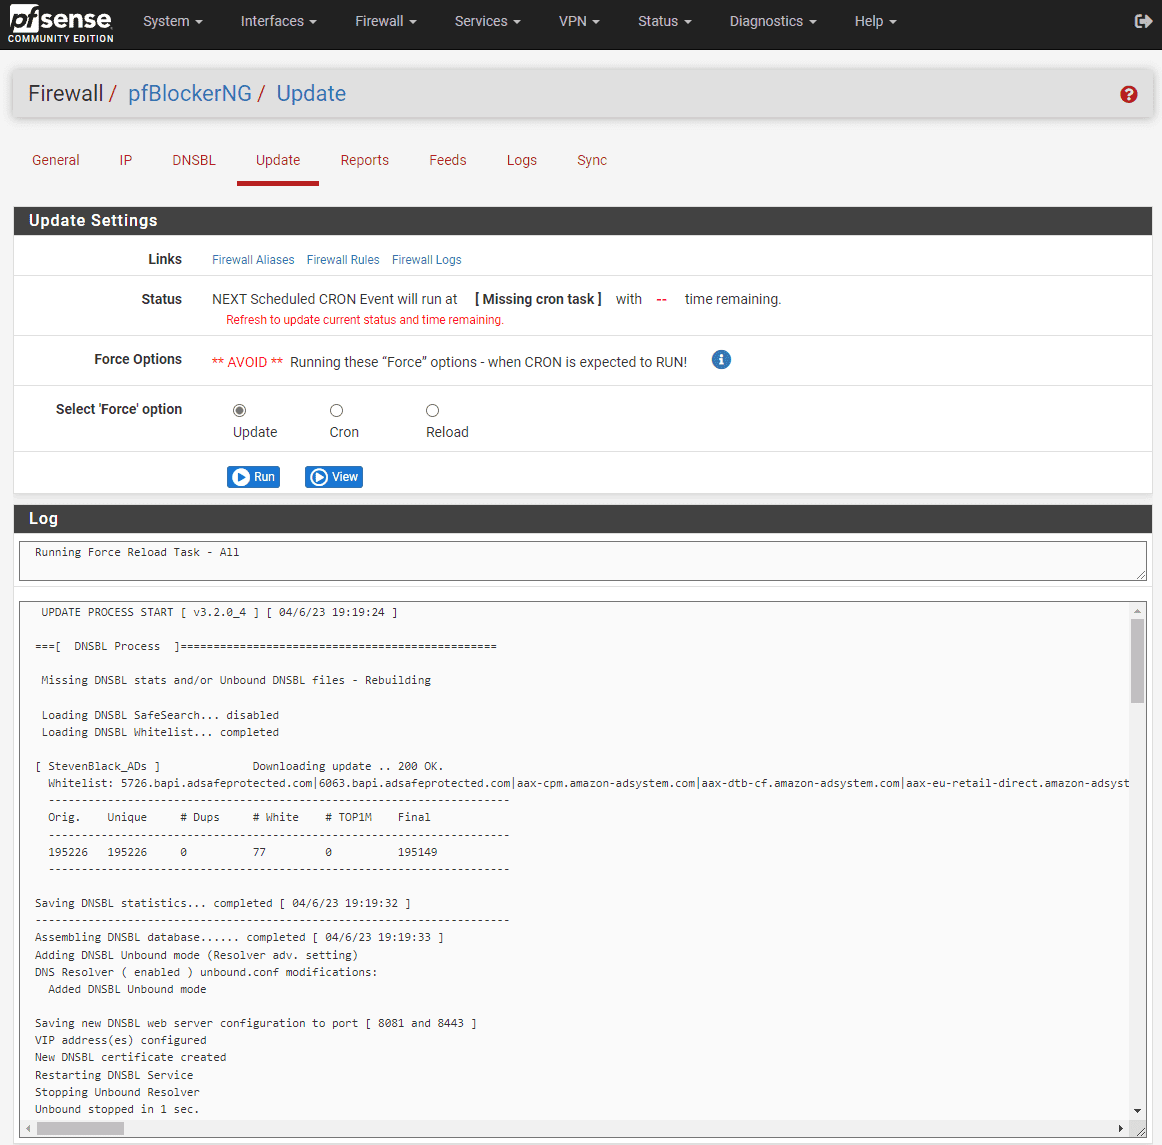
- Update pfSense: Keep your pfSense installation up to date with the latest security patches and features.
- Backups: Regularly back up your pfSense configuration to avoid data loss in case of failures. The great thing about running pfSense as a VM, you can use your current virtual backup solutions for backing up your pfSense VM and VM disk.
Video showing pfSense in Proxmox
Wrapping up
The pfSense open source firewall is a great solution for home lab, SMB environments, and even enterprise use cases. It has many great features that are found only in other paid solutions. If you can think of a way to tweak the network, pfSense probably has a way you can do it in the settings and configuration.
Google is updating how articles are shown. Don’t miss our leading home lab and tech content, written by humans, by setting Virtualization Howto as a preferred source.
About The Author