



There are really two kinds of restores when it comes to your backups. You can restore an entire VM when needed which is the scenario that we tend to think about first. But then, there is also the granular file level restore that can happen where your VM may be perfectly fine, but there is one file inside it that is missing or corrupted or that you need to return to a previous version. I stumbled onto a project called pve-flr-portal that is like a companion utility for Proxmox VE and Proxmox Backup Server (PBS) that helps with file level restores. Let’s see how.
What is PVE-FLR-Portal?
The pve-flr-portal tool is an application that is open-source and community developed that puts a file browser and snapshot timeline in front of the process to recover your files from PBS. Promox Backup Server, already has the underlying file restore function, but this project adds another way to work with those restores.
The app’s developer mentions that they wanted to capture the “spirit” of what the Synology Active Backup for Business’s restore portal would do. The tool mentions the built-in file restore in Proxmox is just missing a way to scrub across the backup snapshots instead of picking one at a time from a flat list of backups.
You don’t have to install anything on top of Proxmox for this to work. I like the fact that it works with the existing Proxmox API to add this functionality with the tool.
Also as we will see below, you use the same authentication credentials that you use for Proxmox to gain access to the solution. This is an aspect I like since it means there isn’t admin burden of creating an API token, etc to tie the solution together with Proxmox VE Server. This keeps things simple.
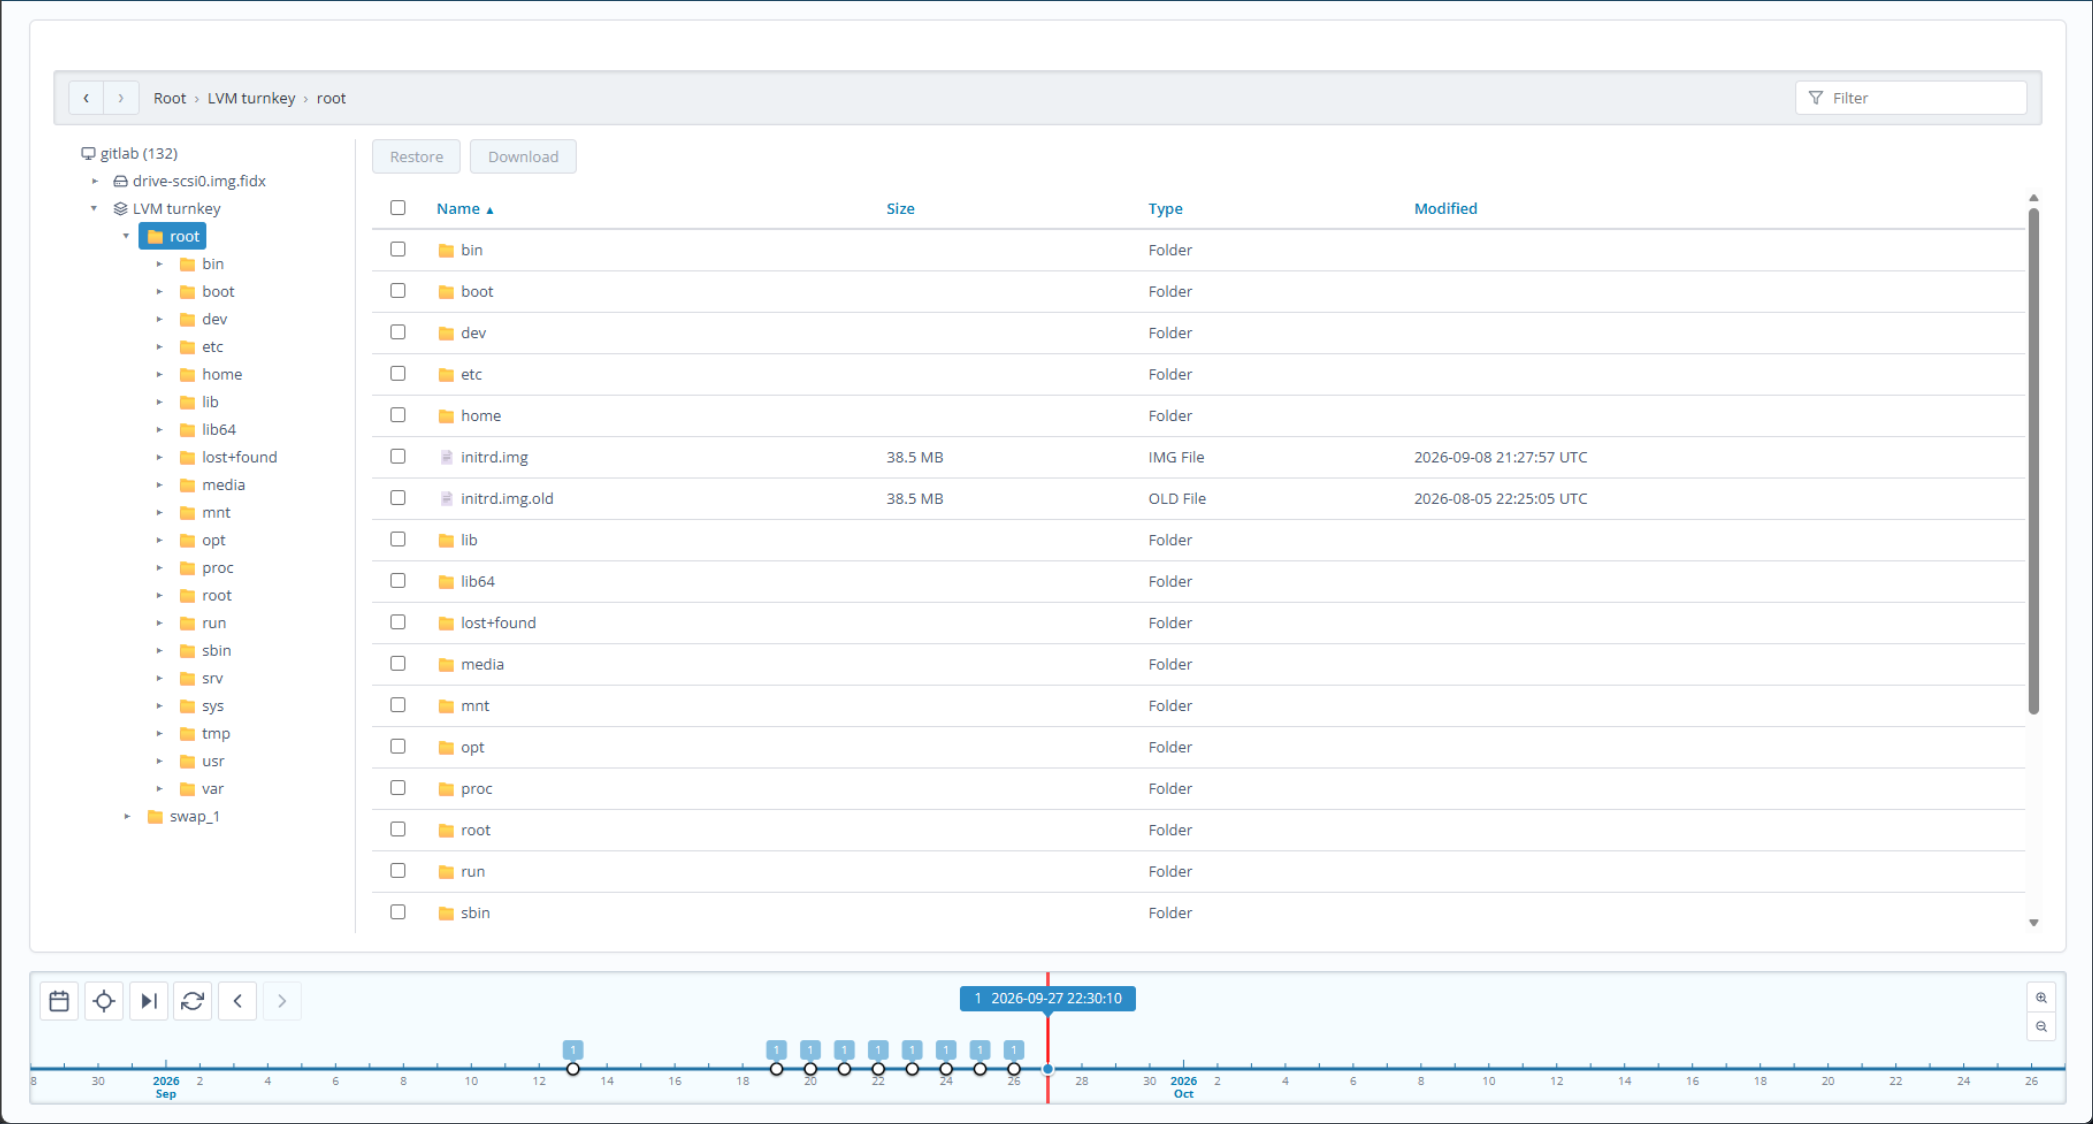
Why is a specific version of the file important in your backups?
Well, the question that you probably need to answer and understand is not if you have a backup (hopefully you do). But, does the backup have the version of the file that you need to restore? Case in point. If you inadvertently introduced errors into a config file, and you want to restore the config file back to the version without the changes. Do you have the version without the changes? Can you easily find it?
With the traditional tools, you would most likely work your way backwards through the recovery points and retrieve the version of the file that might be the candidate you would restore. You may have to compare them with the current file to see changes, etc.
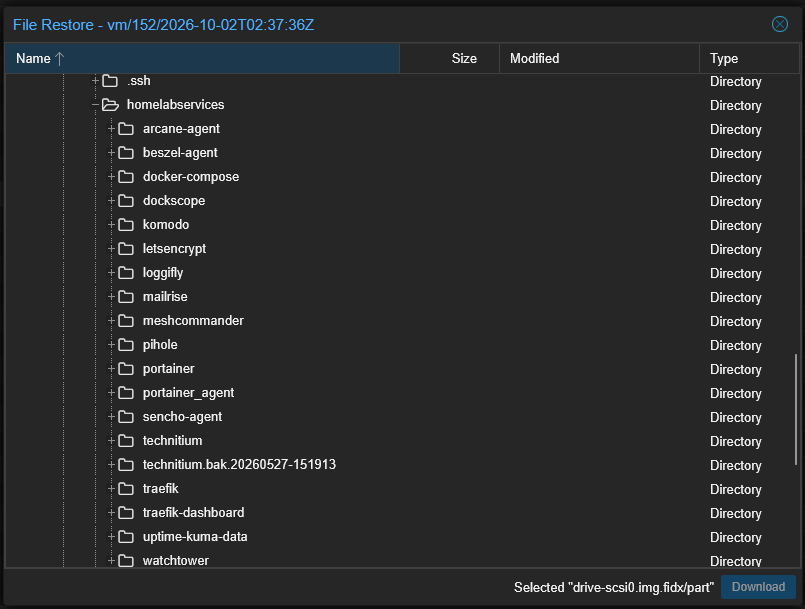
You might use something like:
diff -u docker-compose.yml recovered/docker-compose.ymlYou might be looking for a specific change that was the breaking change. Typically, I would restore the configuration into a separate directory first. This gives me the time to understand what I am bringing back and that it is the right version that I need to restore.
Why Proxmox Backup Server (PBS) is still needed
Just as a side note here. This isn’t a “backup solution” in and of itself. This is an interface that provides the functionality to have a better workflow “in front of” PVE and PBS integration. So, long story short, this doesn’t replace PBS and only adds a better interface to work with it.
Also, PBS backups are the underlying mechanism that adds the functionality to have the “timeline” feature in the pve-flr-portal interface. It surfaces these restore points in a better way that allows “hopping” around different backups for the same file, folders, etc.
The pve-flr-portal makes file restores easier
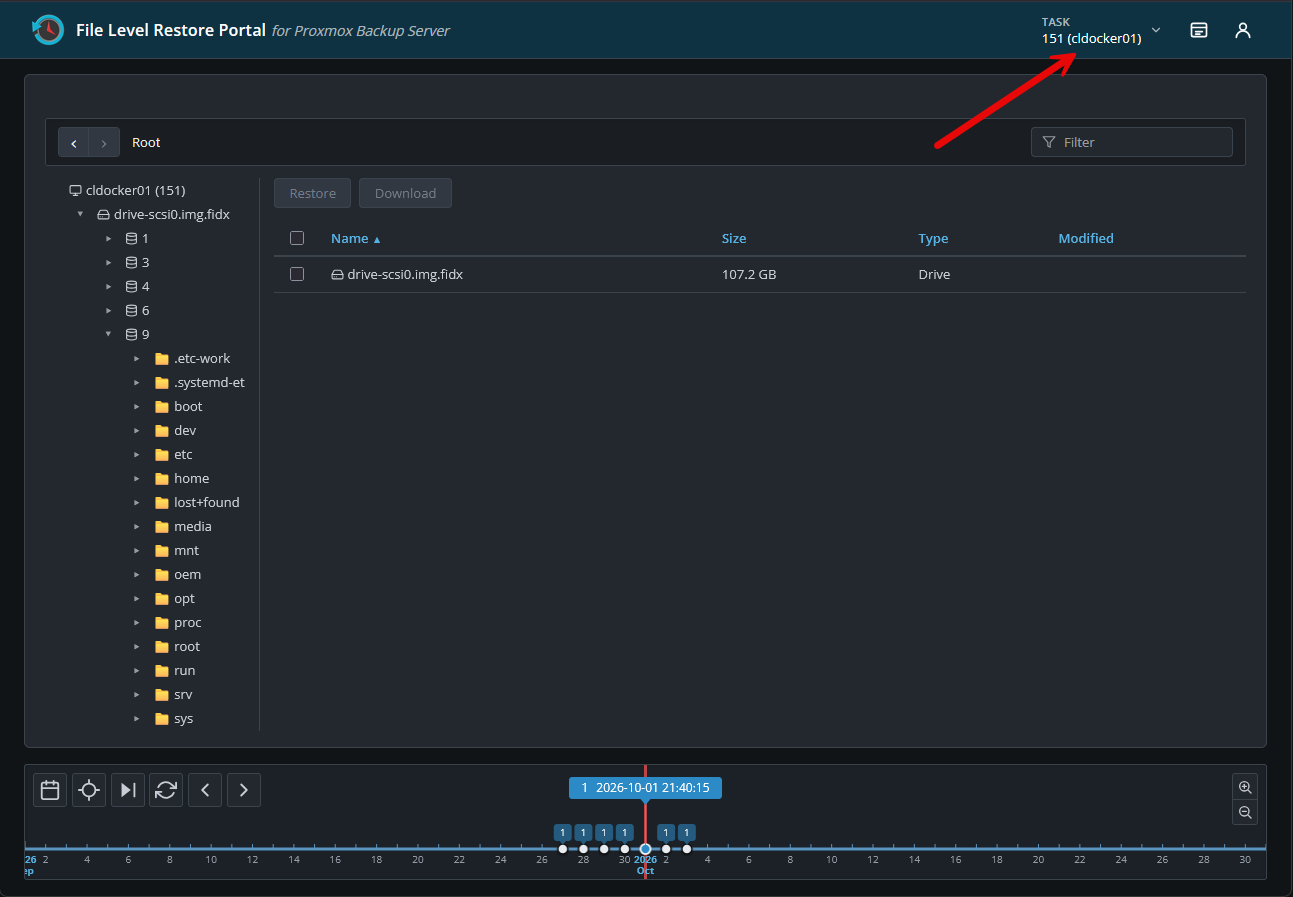
I do think after using the pve-flr-portal tool, it does make file level restores easier. The interface is better than just restoring things from the backups in the PVE interface. One of the cool parts of the utility is the “timeline” feature in the tool. This lets you see the points of time that backups have snapped a copy of a machine and then you can pick which point in time you want to look at and work with.
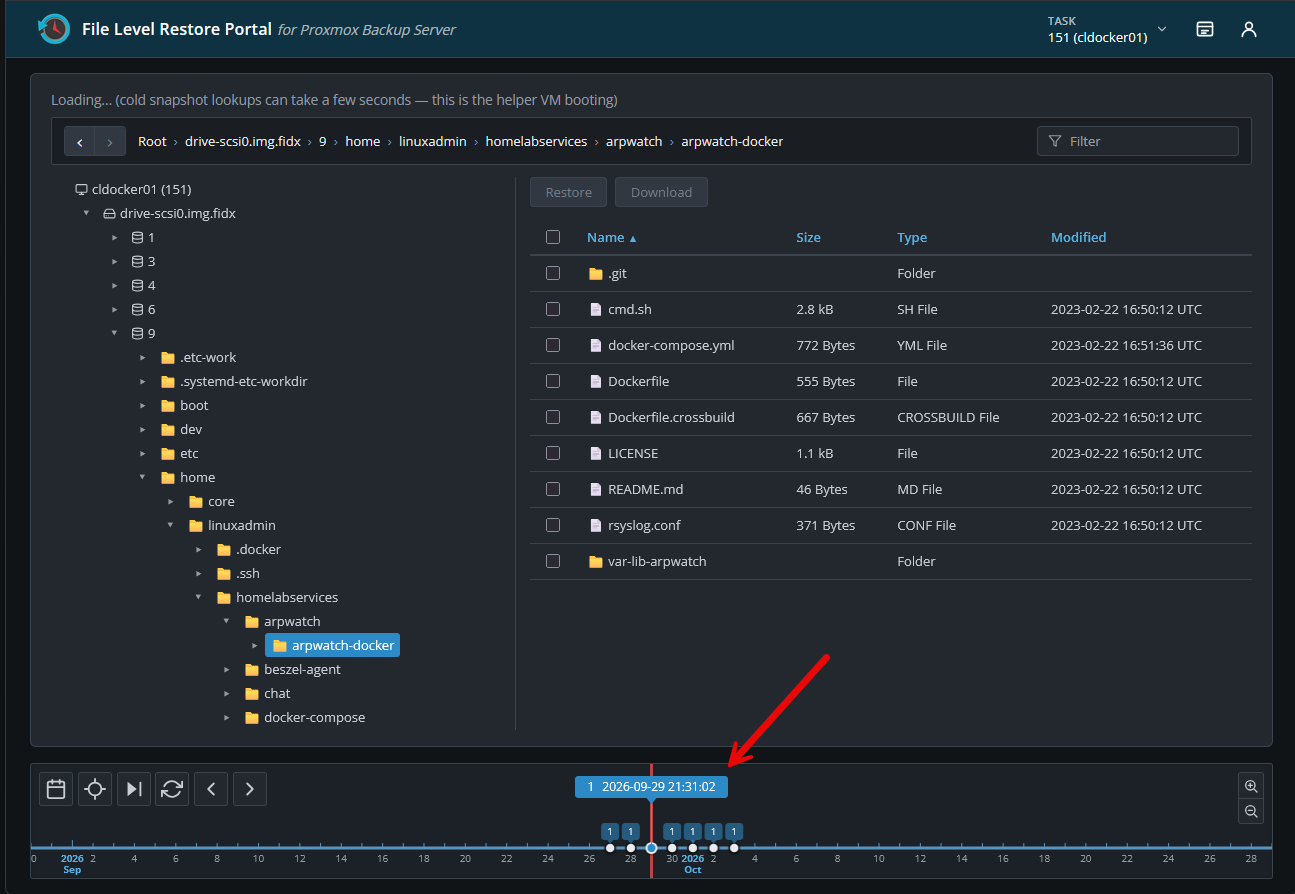
On this screen, you can also access individual downloads and archive downloads. I like this screen as well as you can move through backup history without having to find that directory from scratch. I like this interface working with the FLR.
Just keep in mind that every edit you made between backups is not captured here. This isn’t a backup tool but rather an interface to what is already in PBS.
Proxmox Backup Server is a requirement
This is a PBS-based workflow. The architecture documentation explains that the application uses Proxmox’s existing file-restore API and requires Proxmox Backup Server. Ordinary vzdump archives stored on directory, NFS, CIFS, or ZFS storage are outside its supported browsing workflow. The portal is a separate application rather than a modification to the Proxmox web interface. Source: architecture documentation.
Before installing anything, I would confirm that the VM I want to test has usable backups on a PBS storage configured in Proxmox VE. I would also try the existing Proxmox file-restore workflow against that backup.
That gives me a useful baseline. If the underlying backup cannot be browsed, I need to investigate that before introducing another interface.
I would also choose a recovery scenario that matches what I actually back up. A file on a network share mounted inside a VM is not necessarily part of the VM disk backup. Likewise, a disk deliberately excluded from the backup cannot provide the missing file through this portal.
The first question is always where the data lived and whether my backup captured it.
Installing pve-flr-portal in Docker
One thing of course that is really good about the project is that you can run this as a Docker container. The Github repo contains docker compose for you to use in testing and spinning this up in your home lab. The project publishes port 8008 for connecting to the container.
Also, one thing I like about this project is that it does bring up the container secured with a self-signed SSL certificate. Even though this isn’t a trusted certificate, it still secures your communication from communicating over clear text.
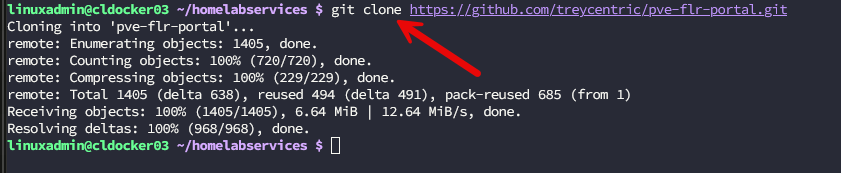
To get started, just clone the official repository to get the code where you can start working with it. Then copy the example .env file:
git clone https://github.com/treycentric/pve-flr-portal.git
cd pve-flr-portal
cp .env.example .env
Below is a screenshot of my cloning down the repo, and right before I copied the .env.example file over to .env.
Here is my docker compose that I used on my lab host. I cleaned up a lot of the comments that were in the example file as they were pretty verbose and made things a bit hard to see.
services:
  pve-flr-portal:
    build: .
    # The image runs as uid 10001, which can't write a ./certs that Docker
    # created as root on a Linux host, so local dev runs it as root.
    user: "0"
    ports:
      - "8008:8008"
    volumes:
      - ./.env:/app/.env:ro
      - ./certs:/app/certs
      # Issue #30: the app's own state dir (PFR_DATA_DIR, default
      # /app/data in the container). Named volume so it survives
      # `docker compose down` + a rebuild.
      - pve-flr-data:/app/data
    restart: unless-stopped

  pve-flr-portal-hostnet:
    build: .
    user: "0"  # as above
    network_mode: host
    volumes:
      - ./.env:/app/.env:ro
      - ./certs:/app/certs
      - pve-flr-data:/app/data
    restart: unless-stopped
    profiles: ["hostnet"]

volumes:
  pve-flr-data:
Then, on the .env file, there are just a few variables here that you need to make sure are populated with environment information. Here is an example of the .env file that I used:
PVE_HOST=pvehost01.example.com
PVE_STORAGE=pbs
PVE_VERIFY_SSL=false
PORT=8008
Then, just bring up the docker compose stack with the command below to build the container image and start a new container with the newly built image. You can also watch the logs as it comes up:
docker compose up -d --build
docker compose logs --tail=100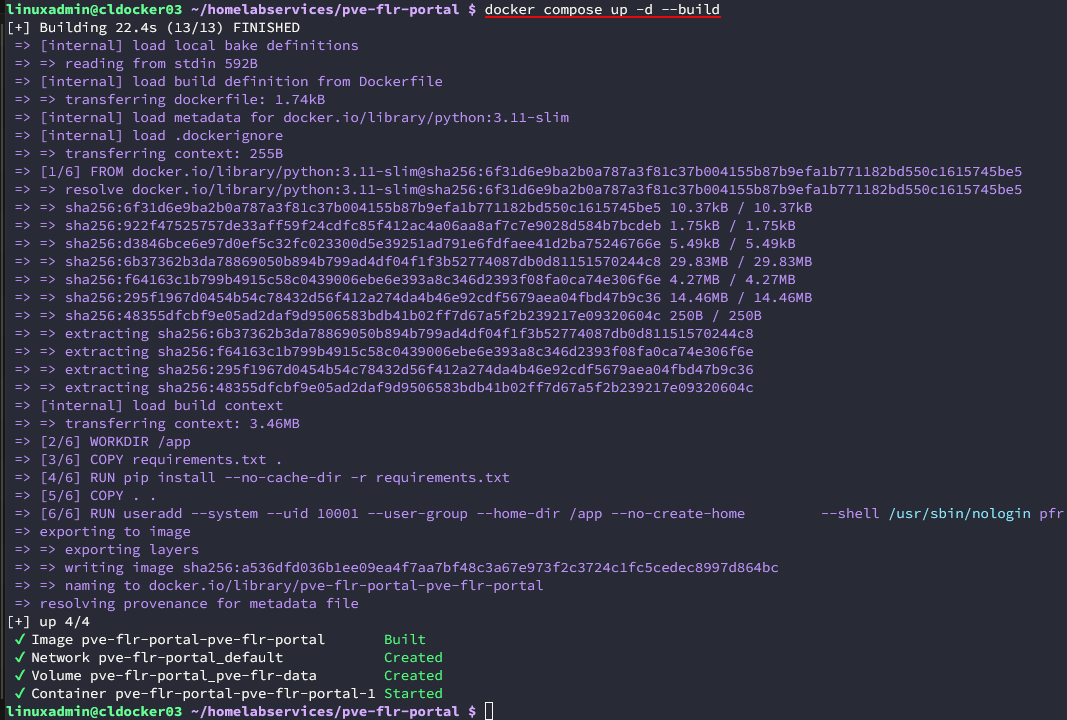
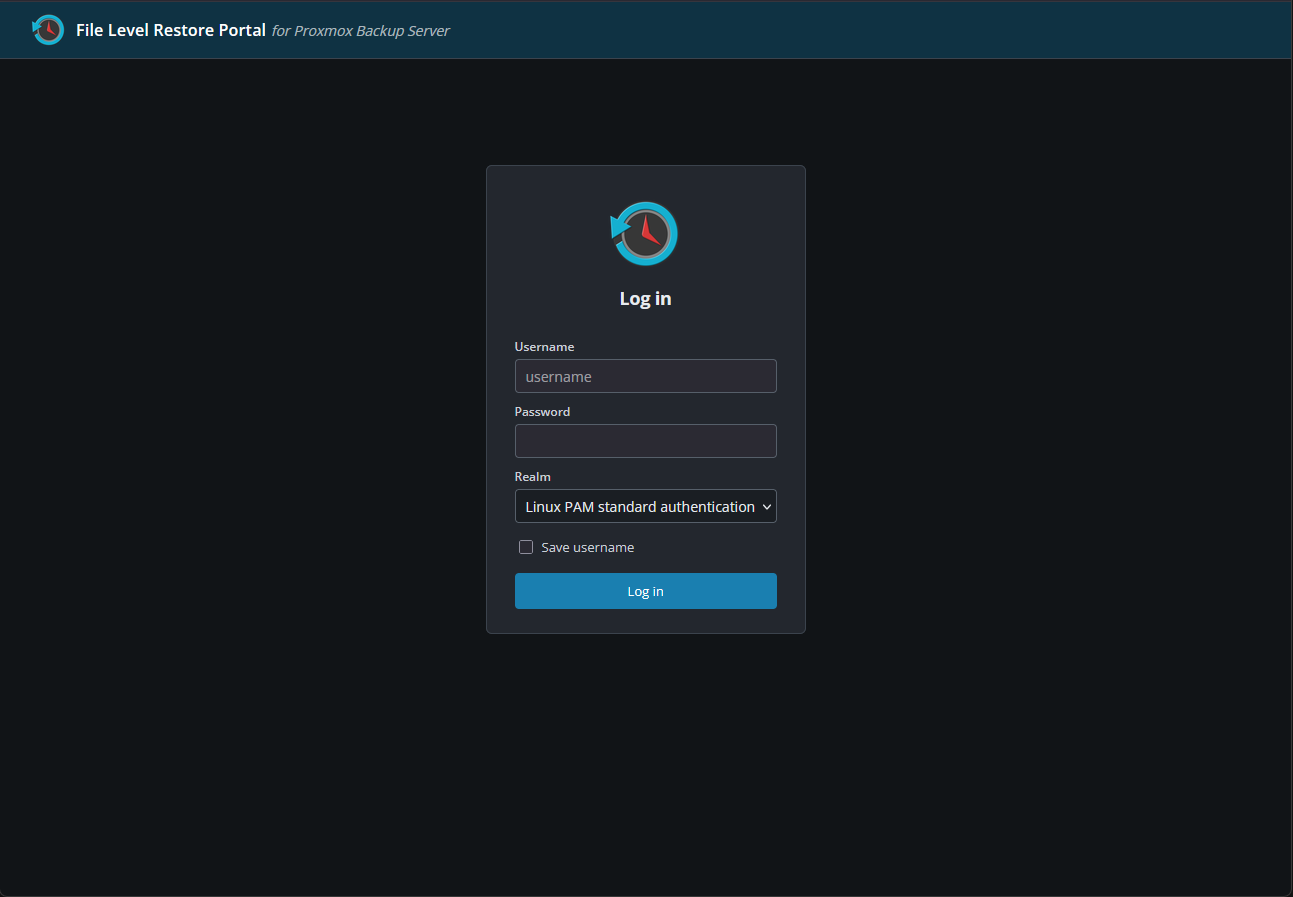
Browse out to port 8008 on your container host to access the solution in a browser. The good thing is here as well, you simply login with your existing users since this tool just provides an interface to the existing APIs for Proxmox:
Browsing the backups and choosing options
Let’s take a look at a few of the screens in the pve-flr-portal tool. In the upper right hand corner, you can select the machine backup that you are wanting to work with. At the bottom again you can see the restore point in time picker.
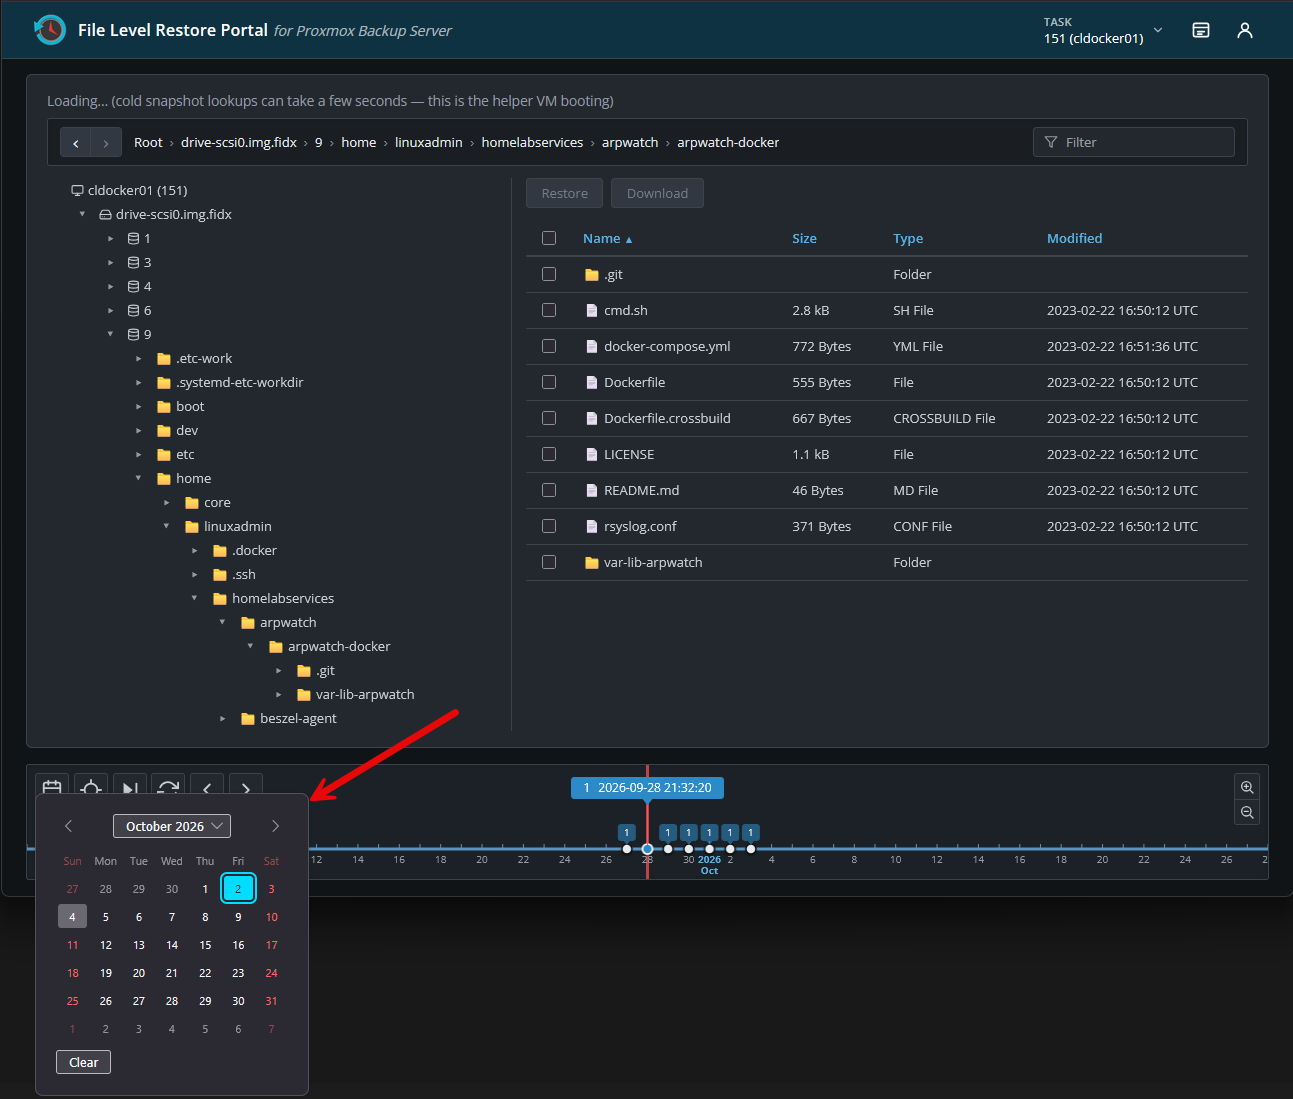
You can also choose your backup from the calendar view which would be helpful if you have a lot of restore points that may go back a few weeks.
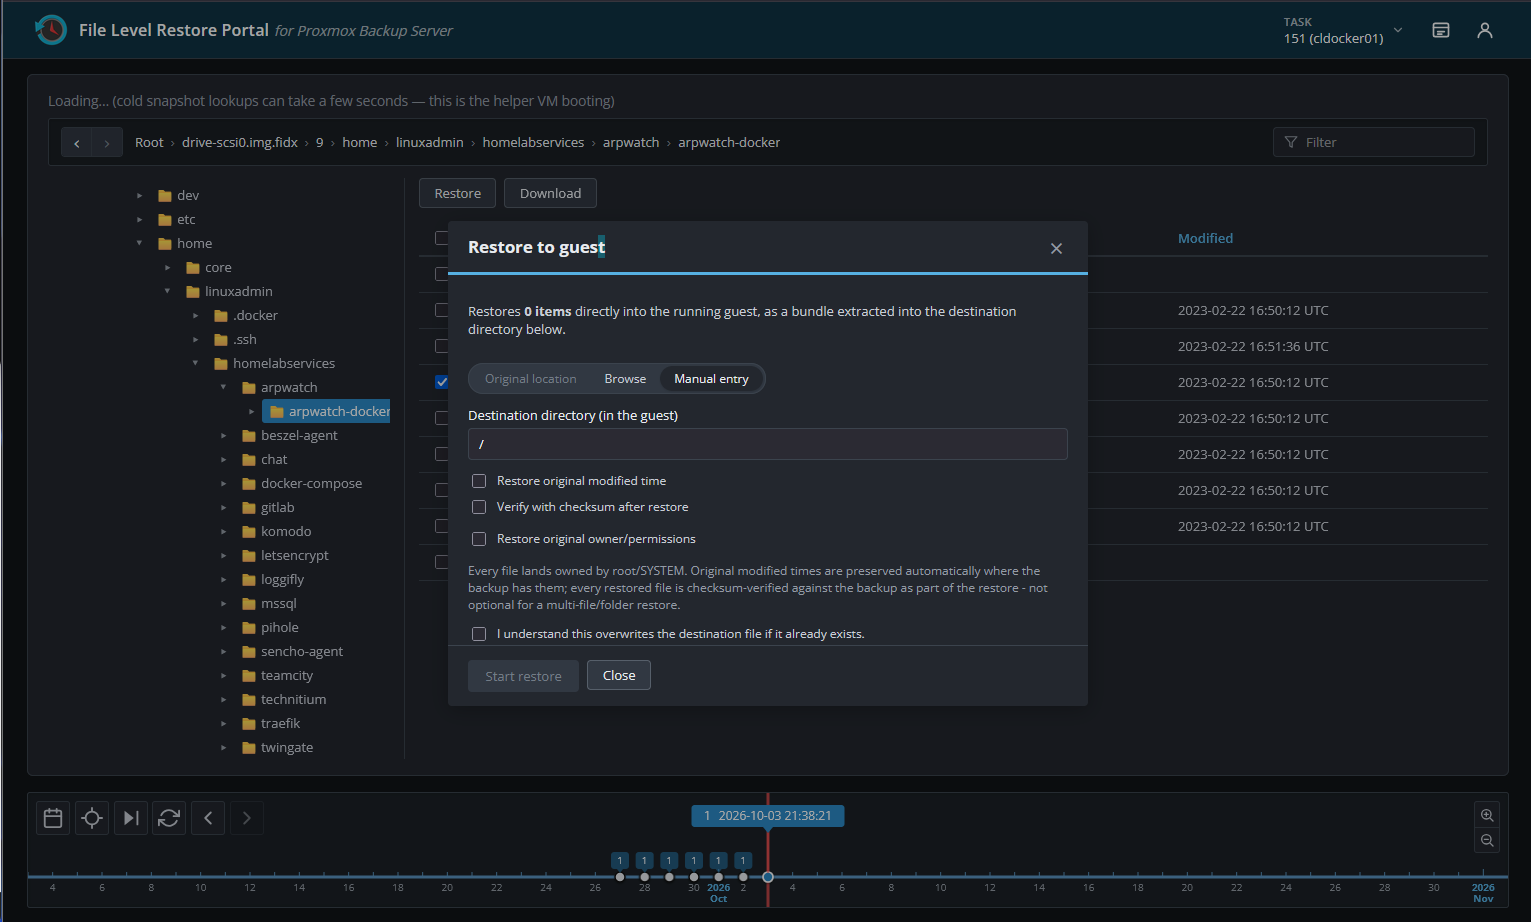
Here is the restore to guest options. You can select the destination for the restore file. Note the options here with the restore workflow:
- Restore original modified time
- Verify with checksum after restore
- Restore original owner/permissions
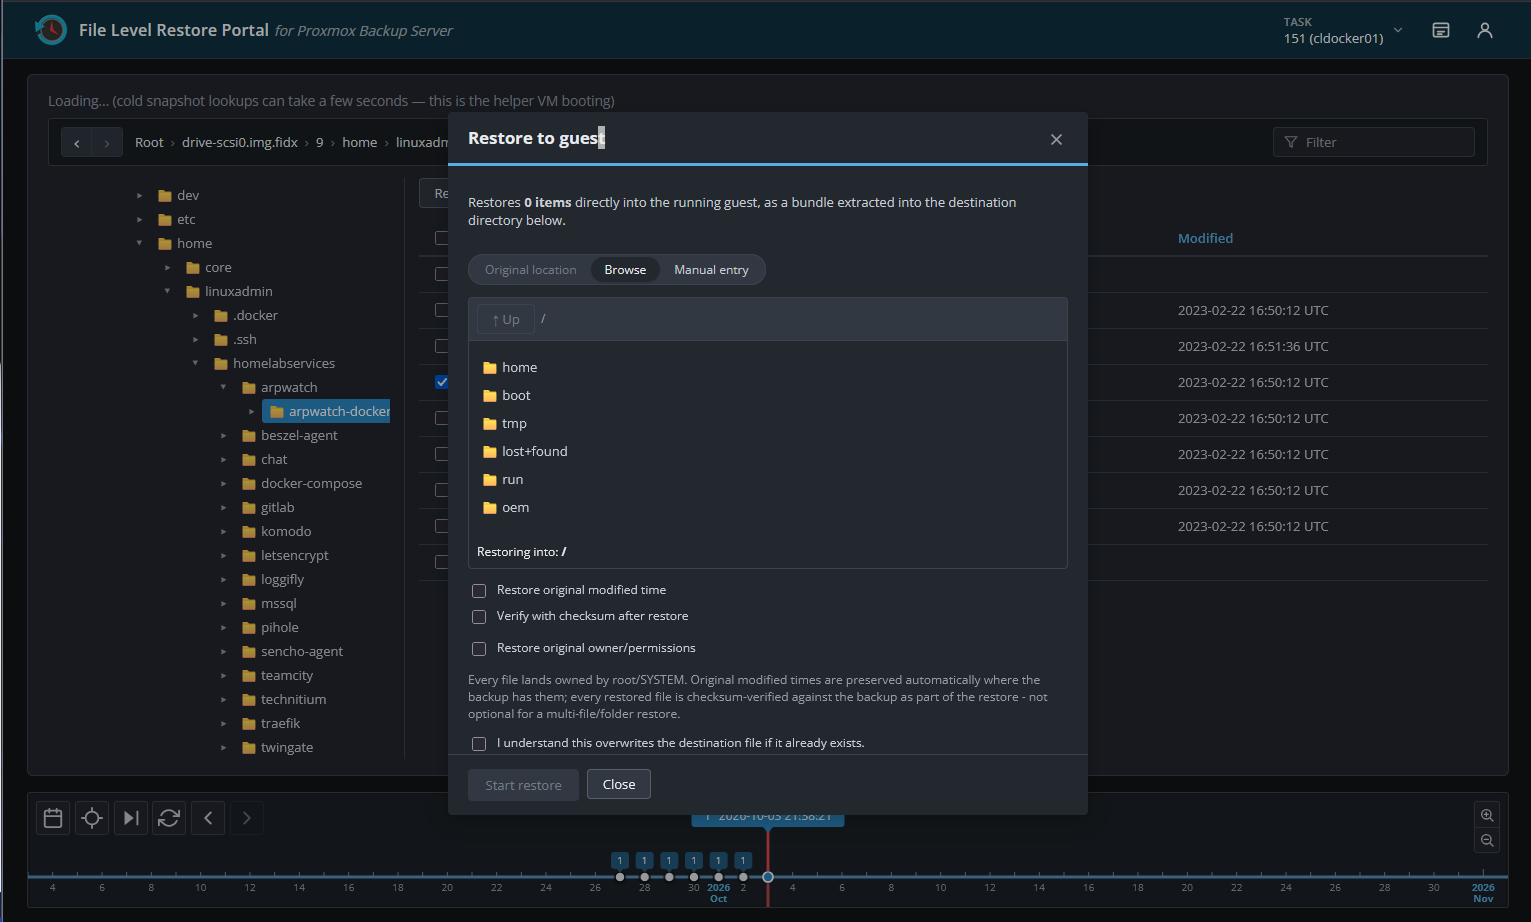
You can also choose the Manual entry for manually typing in the path you want to restore to.
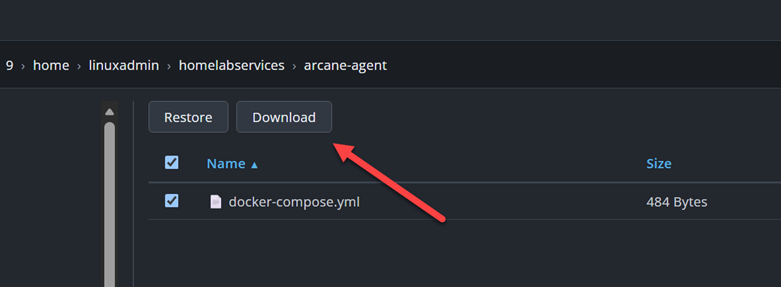
Downloading files from pve-flr-portal
You can also just simply download files from your different backups from Proxmox Backup Server with the tool. This is handy if you want to download the file first and compare contents before overwriting what you have on a server.
Wrapping up
I actually found this little tool to be an improvement in the user experience when working with file level restores. I think this is where Proxmox in general is lacking some polish overall in some of the workflows that are backed by Proxmox Backup Server. The pve-flr-portal project shows that just with a little bit of time, a user was able to improve the experience and create something here that others in the community can benefit from. How about you? Is this something that you think you will try out in your home lab? Let me know in the comments if you don’t like the existing workflows found natively in Proxmox VE Server.
More in this topic

Google is updating how articles are shown. Don’t miss our leading home lab and tech content, written by humans, by setting Virtualization Howto as a preferred source.
About The Author
