


We have seen an explosion of dashboards for Proxmox VE Server that hold the promise of giving us a more modern view of Proxmox. There are many really good ones out there. There was one I came across on GitHub the other day that looked extremely interesting though. It is called PVE Panel. What caught my attention about it is that it offers the ability to delegate users the ability to manage their own VMs and containers with the option to also deploy new resources from templates that you can approve. Let’s take a look at PVE Panel, what it offers, and how you can stand it up easily in your home lab environment.
What is PVE Panel?
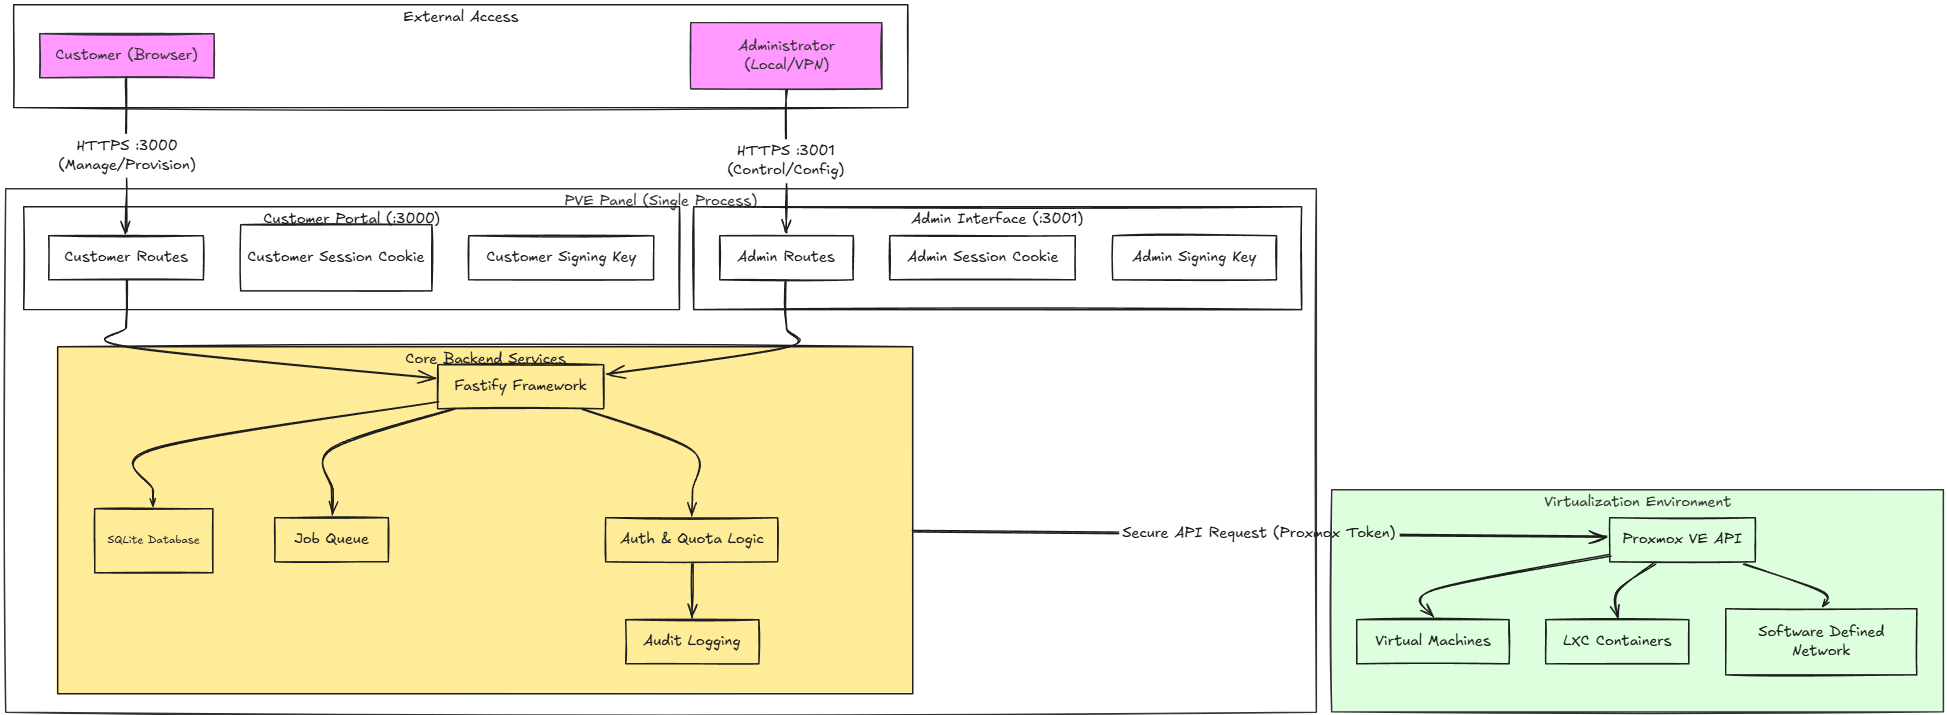
PVE Panel is a self-described “modern self-service portal for Proxmox VE”. Basically, its purpose is to give end-users a way to manage only specific virtual machine or container resources without having to give users access to the PVE interface or give them API credentials. It is noted to have been created with the help of an AI assistant (Claude).
So, long story short, it turns your Proxmox VE environment into a self-service platform. Then, users can be granted access to the portal where they can manage their assigned servers (virtual machines/LXCs), open consoles, view usage data, work with things like snapshots, etc. They can also create new systems with admin approved templates that you can give them access to.
You as an administrator still have control over the important underlying configurations of the environment itself. These include templates, quotas, networking, authentication, etc. Also, from a security perspective, the browser that users use to connect doesn’t get direct access with your Proxmox VE Server backend or the API token used.
Why a self-service Proxmox interface might make sense in a home lab
So you may be wondering when this makes sense. Well, the use case is pretty easy to see if you are a service provider or MSP providing access to various resources. So, you are providing the Proxmox hardware and resources and then selling a percentage of those resources to someone else. Maybe someone just wants to have a server “as a service” that is provided to them to host some type of resource.
Also, if you manage a Proxmox environment for developers, this is an excellent solution to provide developers access to manage their own resources and have that self-service feel that allows them to do what they need to do without burdening admins on basic operations.
Generally, in a home lab, we aren’t reselling our resources or providing resources to developers, but I can still think about some pretty cool use cases I think for home lab environments. Let’s say that you have a friend that you want to work with sharing resources in each other’s home labs and coordinate with them to exchange resources?
If you wanted to carve out a VM or two or LXCs then you could do that and then assign that to your friend and they could do the same in return. This way if you have someone who only wants to restart a VM or open its console this solution would be perfect for that. Now, let’s see what we need to do for getting this up and running.
Prepare Proxmox with the user, role permissions, and API token
The solution interacts with your Proxmox VE Server using an API token. So, the documentation has you spin up a dedicated API user with defined permissions which is good. So, it doesn’t ask you to just use root@pam thankfully.
pveum user add panel@pve --comment "PVE Panel"

# Proxmox VE 9
pveum role add PanelCustomer --privs \
"VM.Audit VM.PowerMgmt VM.Console VM.Snapshot VM.Snapshot.Rollback VM.GuestAgent.Audit"

# On PVE 8 use VM.Monitor instead of VM.GuestAgent.Audit.

pveum pool add customers
pveum acl modify /pool/customers --users panel@pve --roles PanelCustomer

# Token inherits the user's permissions.
pveum user token add panel@pve panel --privsep 0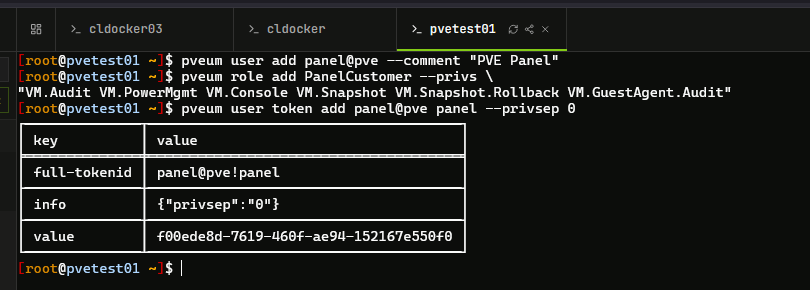
I created the user and token above together without the pool. The pool is the “scope” where the permissions for PVE Panel apply. So I am going to create that below. The pool creation command is found in the code block above, but then you add the exact VMs that you want to belong to that pool.
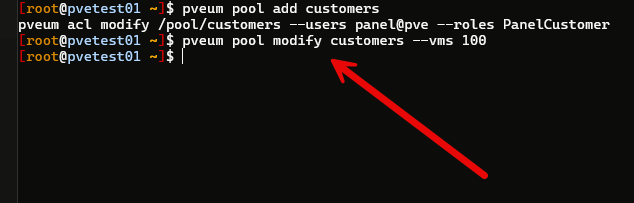
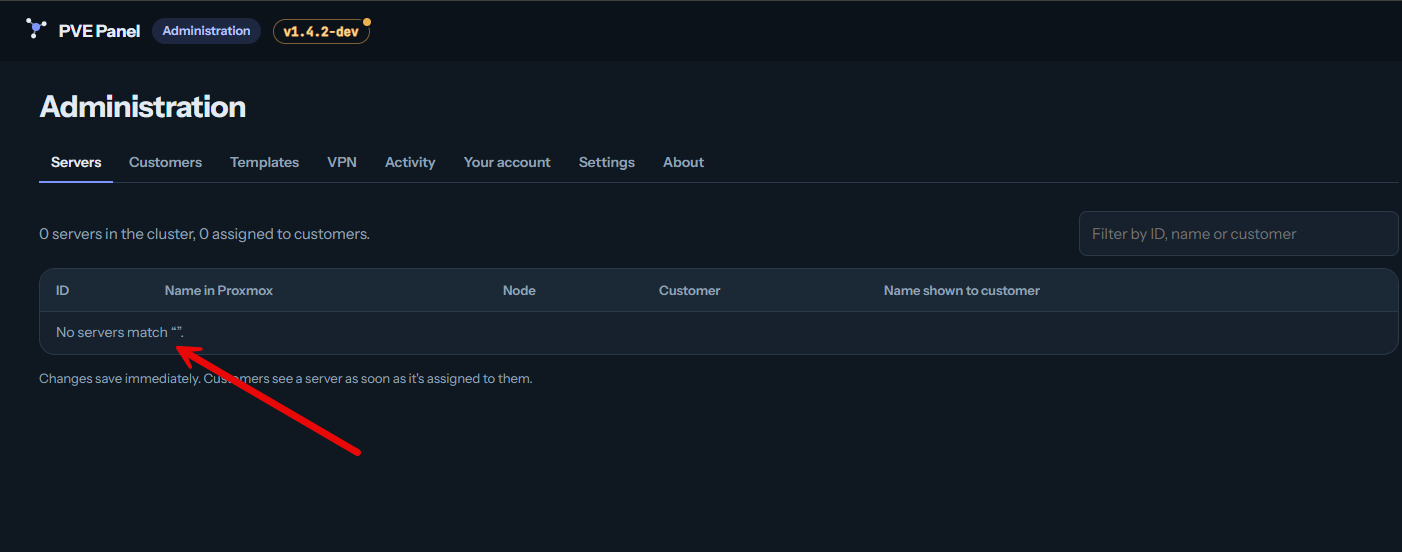
I think a visual demonstration of what this does helps to understand. I purposely brought up the PVE Panel container and didn’t assign the VMs to the pool. Here is what I saw:
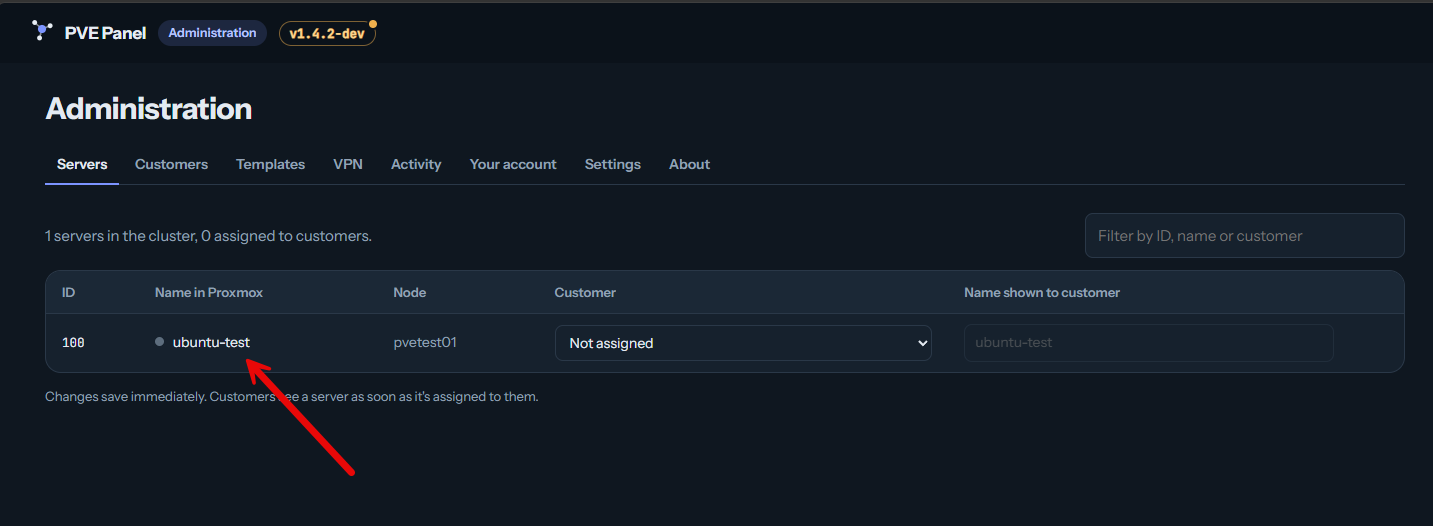
Then, once I added the VM ID 100 to the pool. I refreshed the screen and it appears there for management and assigning to a “customer”.
How do you install PVE Panel?
Like a lot of the self-hosted services that we self-host, PVE Panel can be run in a docker container container which is great and makes provisioning easy. Let’s look at the steps to get this up and running.
The first thing that you will want to do is clone down the repo for PVE Panel:
git clone https://github.com/sebastianflint/pve-panel.git
cd pve-panel
The repo contains what you need to do the Docker installation using Docker compose. You will want to copy the default.env to an .env file:
cp example.env .envThen, you will want to configure the values of the .env file with the values that work for your environment, including the PVE API token for the PVE Panel account:
# Create the first admin account on initial startup
[email protected]
INITIAL_ADMIN_PASSWORD=use-a-unique-strong-password

# Local HTTP testing
COOKIE_SECURE=false
JWT_SECRET=replace-with-a-long-random-secret

# Your Proxmox API endpoint and dedicated panel token
PVE_URL=https://<your server IP for FQDN>:8006
PVE_TOKEN_ID=panel@pve!panel
PVE_TOKEN_SECRET=your-token-secret
PVE_POOL=customers
PVE_VERIFY_TLS=false


# Leave optional integrations off for this first test
OIDC_ENABLED=false
CUSTOMER_NETWORKS=false
VPN_ENABLED=false
TAILSCALE_ENABLED=false

# The HTTP deployment does not use this for a certificate
PANEL_DOMAIN=panel.example.com
To generate your JWT secret, you can do that with OpenSSL with this command:
openssl rand -hex 48The Docker compose for the project that I settled on for my test Docker host was the following. As a disclaimer this is just the default docker compose file that is in the root of the repository.
services:
  panel:
    build: .
    image: pve-panel:latest
    init: true                     # proper signal handling / zombie reaping
    restart: unless-stopped
    env_file: .env
    environment:                   # container-specific values override .env
      HOST: 0.0.0.0
      ADMIN_HOST: 0.0.0.0
      DB_PATH: /app/data/panel.db
    ports:
      # Customer panel. With the "https" profile Caddy publishes it instead; you
      # can then remove this line so the panel is only reachable through Caddy.
      - "3000:3000"
      # Admin interface: ONLY on the Docker host itself (use an SSH tunnel).
      - "127.0.0.1:3001:3001"
      # Alternative: reachable in your LAN on the NAS's address (replace the line
      # above; set the NAS IP, and keep this port closed on your router):
      # - "192.168.1.20:3001:3001"
    volumes:
      - panel-data:/app/data
      # Own OS icons (os-windows.svg, os-linux.svg …), with BRANDING_DIR=/app/branding
      # - ./branding:/app/branding:ro
      # Proxmox CA certificate, if you use PVE_CA_FILE=/app/certs/pve-root-ca.pem
      # - ./pve-root-ca.pem:/app/certs/pve-root-ca.pem:ro

  caddy:
    image: caddy:2
    profiles: ["https"]
    restart: unless-stopped
    depends_on:
      panel:
        condition: service_healthy
    ports:
      - "80:80"
      - "443:443"
      - "443:443/udp"
    environment:
      PANEL_DOMAIN: ${PANEL_DOMAIN:?set PANEL_DOMAIN in .env, e.g. panel.example.com}
    volumes:
      - ./Caddyfile:/etc/caddy/Caddyfile:ro
      - caddy-data:/data             # certificates
      - caddy-config:/config

volumes:
  panel-data:
  caddy-data:
  caddy-config: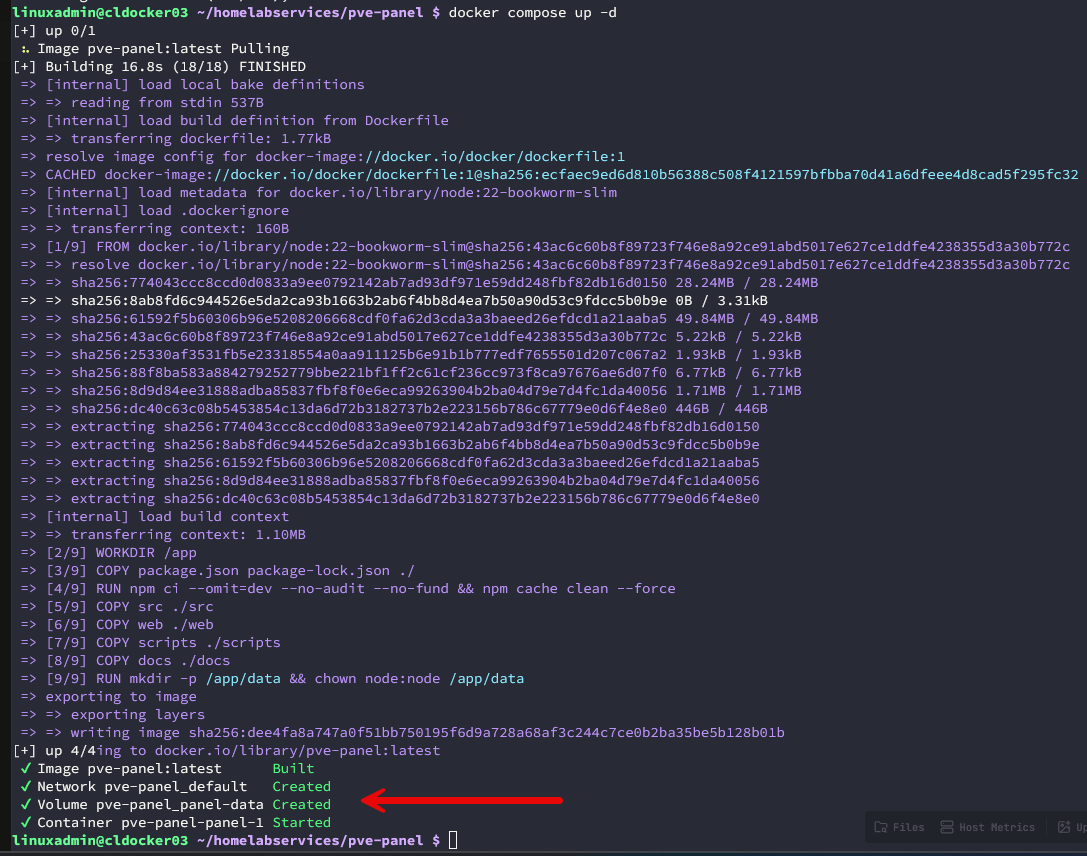
What actually runs in the lab
Interestingly, the project still supports PVE 8 and of course verson 9. It has two sides to the interface to be aware of:
- The customer interface, runs on port 3000
- The admin interface runs on port 3001
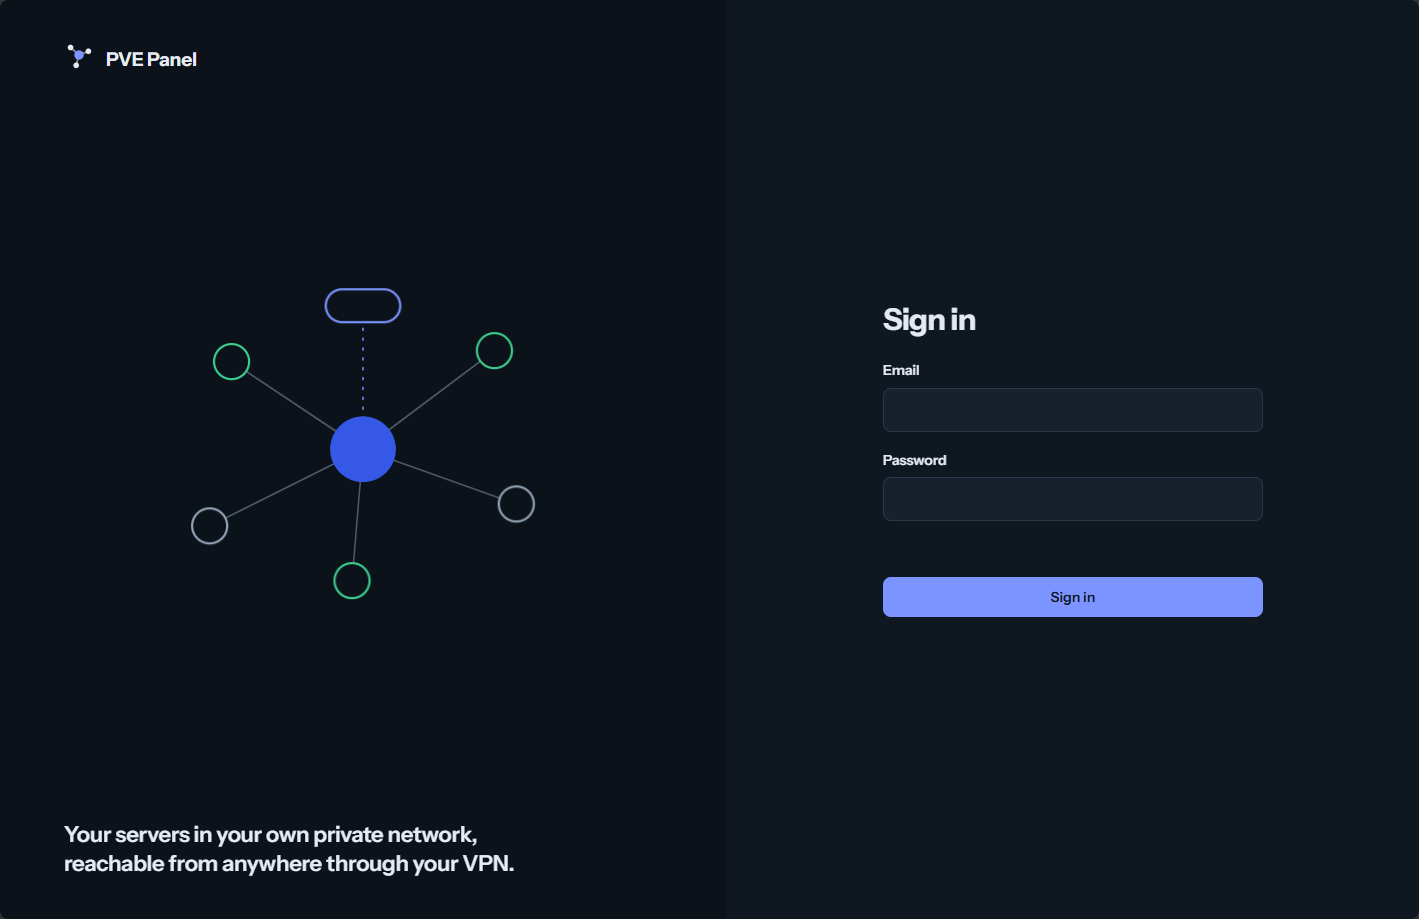
Customer portal login screen below:
It looks like the application uses SQLite for its internal state management. This includes mapping between users and assigned resources. Keep in mind that the data that is kept in the bind mount for the application needs to be protected in your backups for sure so you can recover this in a DR scenario along with any recovery notes for the API user permissions, etc.
Customer portal actions and things you can do
Below is a walkthrough on screens you see from the customer portal side of things. Here you can see the 1 server that I have been assigned and the interface. I was impressed with how everything looks and definitely a modern interface design.
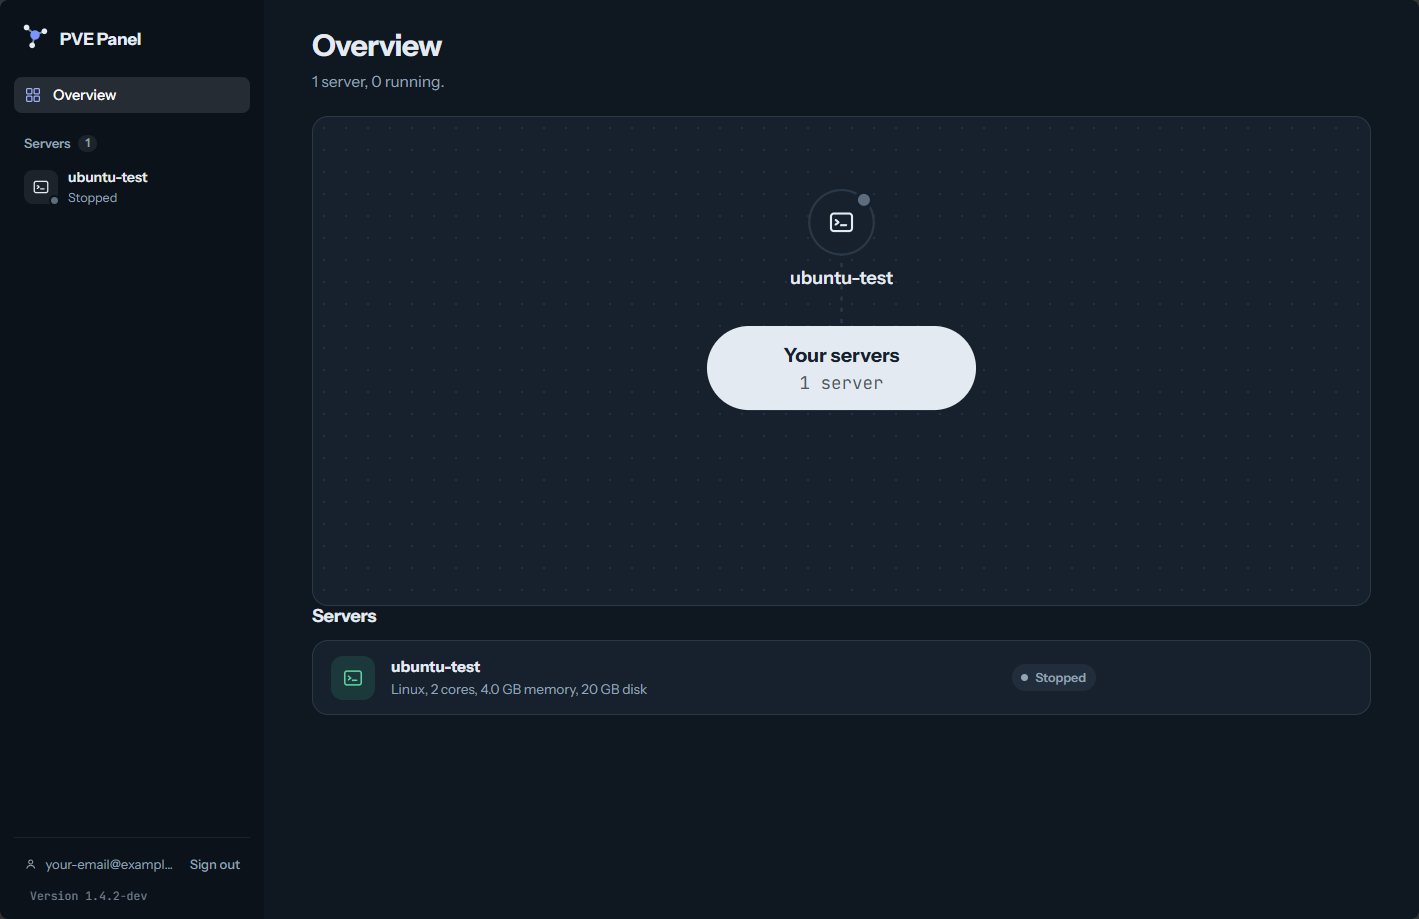
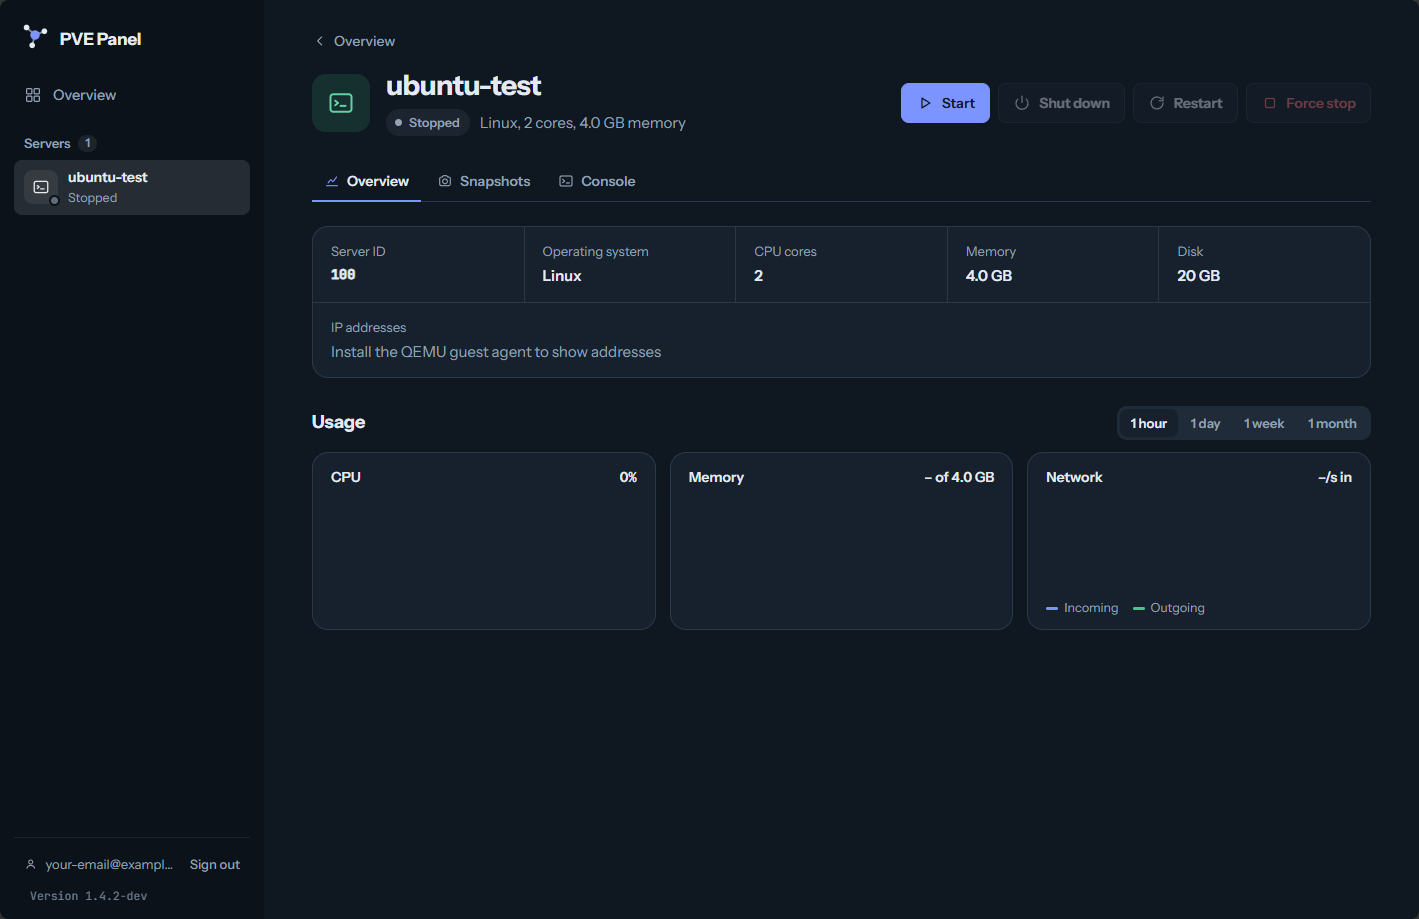
On the overview screen of the VM that has been started, you can see relevant statistics and you have the lifecycle operations you would expect, like start, shutdown, restart, etc.
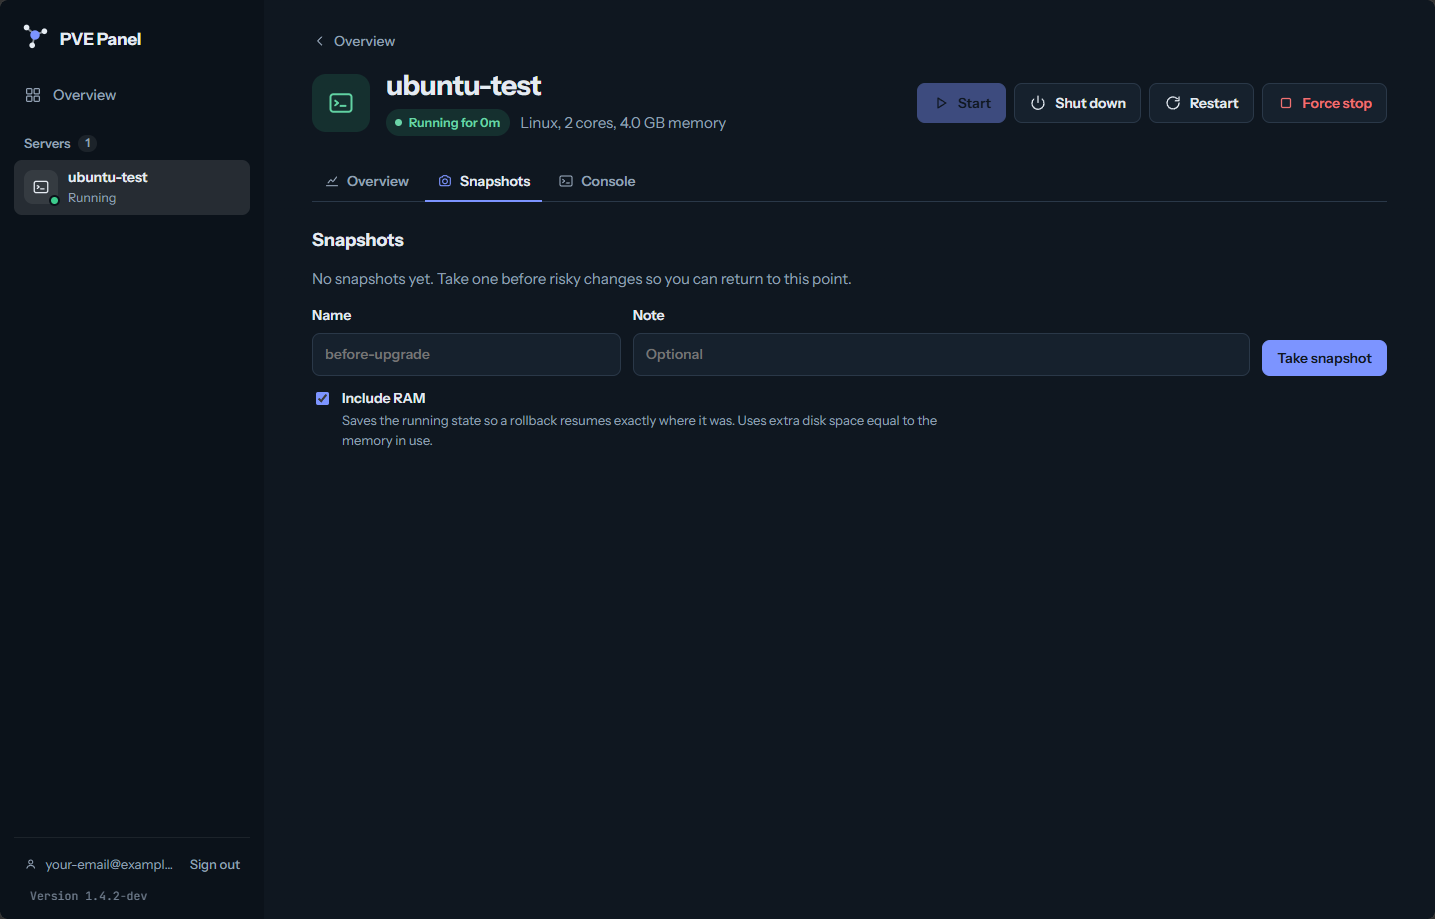
On the Snapshots screen, you can see where you can create snapshots and include RAM options, etc.
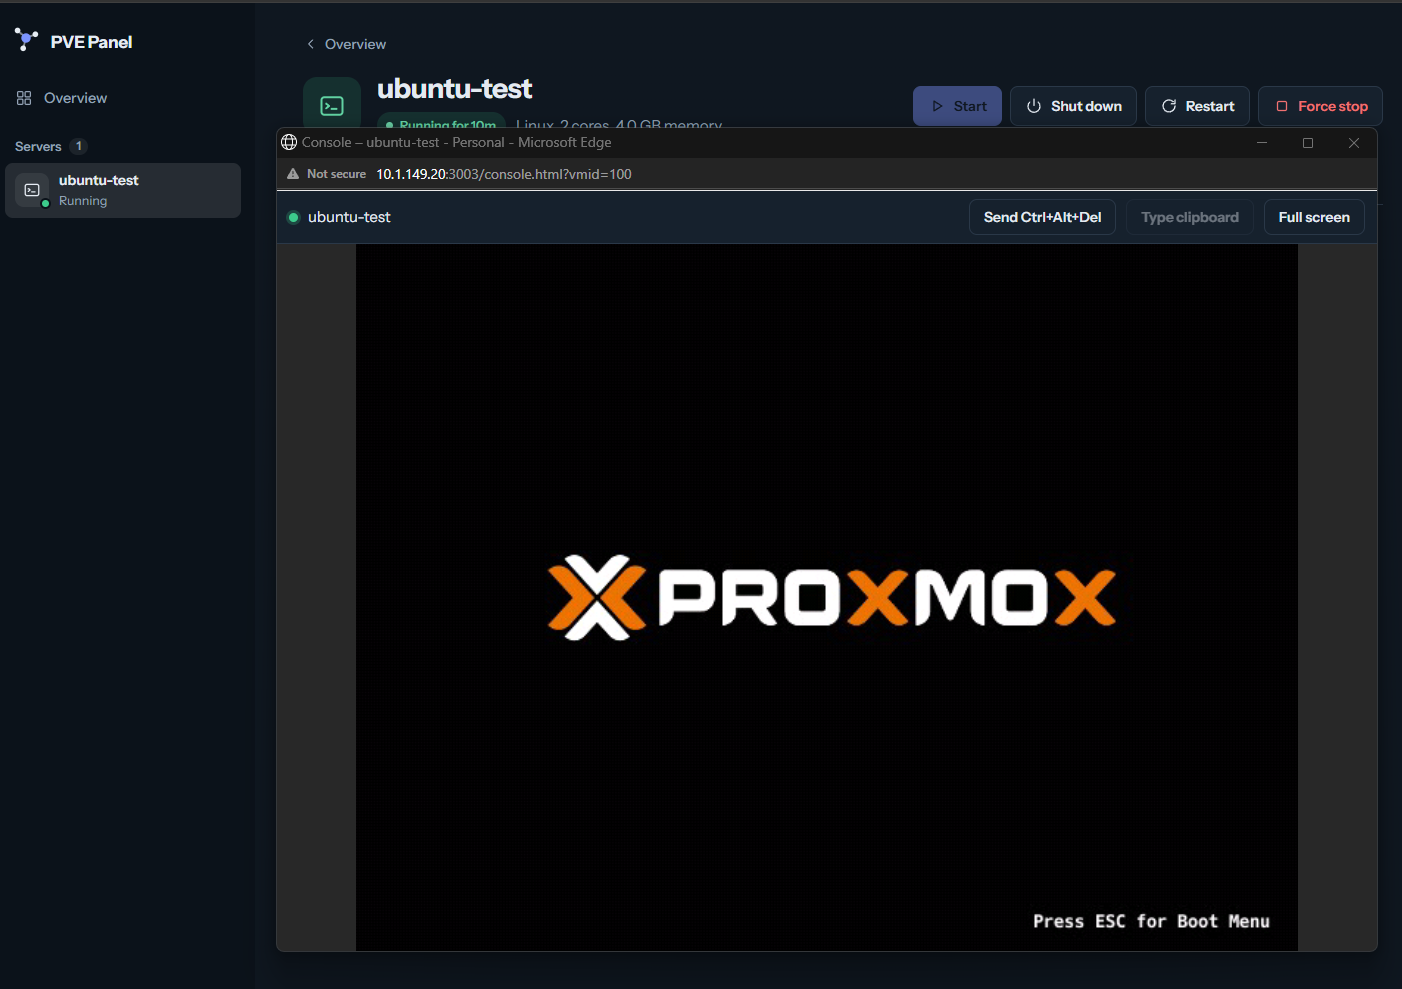
Then, on the console screen, you can open the console from here.
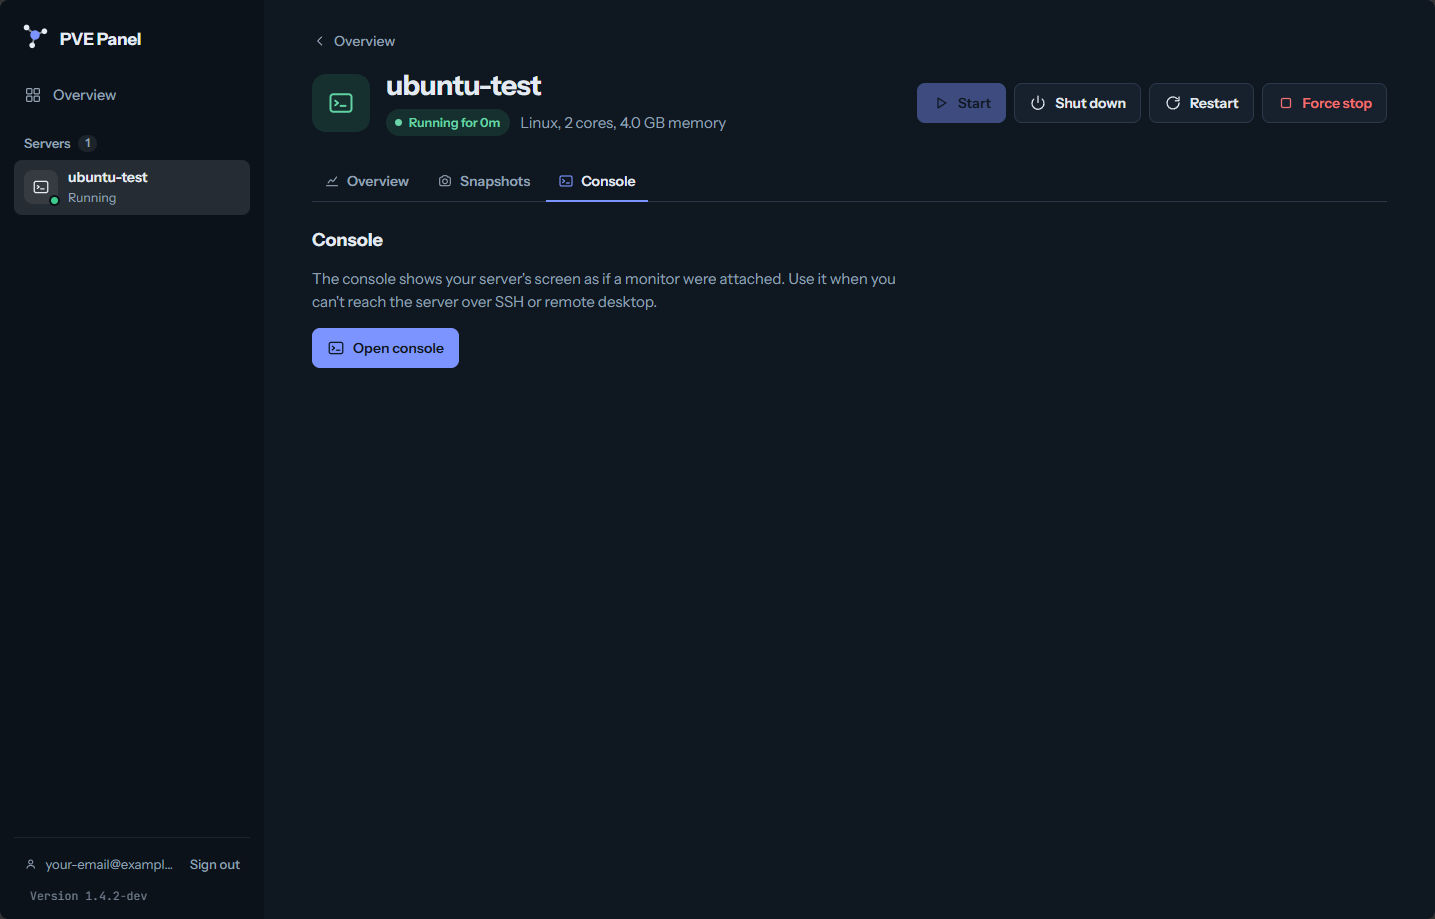
Here is what the console looks like:
Other features to note
It has an optional central Wireguard gateway that is built into the solution that can provide remote access into each customer’s private network. I like this feature as it will make it easier to provide access to shared resources without having to expose the solution to the Internet with the challenges that come with doing that.
Customers can add VPN devices and download the Wireguard configuration files, including scanning Wireguard QR codes to make linking much easier. They can also monitor their connection states and remove devices when needed.
It also provides Tailscale integration. Customer accounts can connect their individual servers to their own Tailscale accounts with the support for single server or private-network gateway. PVE Panel installs Tailscale using the QEMU Guest Agent.
Wrapping up
This project has really gotten my attention as it is a solid idea and I can see this being very helpful in different use cases where you want to provide that “as a service” solution for certain use cases without granting access to the Proxmox console and trying to figure out permissions there. This makes it so much easier to do that. I also like that it looks like security has been thought about the right way. You have segregated pools for resources that you want PVE Panel to be able to manage and then the permissions aren’t permissive from the looks of it that you assign to the user. What about you? Could you see using this for providing access to a Proxmox server or LXC container to a friend or family member who might need something for a specific use case? Let me know in the comments.
More in this topic

Google is updating how articles are shown. Don’t miss our leading home lab and tech content, written by humans, by setting Virtualization Howto as a preferred source.
About The Author
