
WireGuard has become one of the most popular VPN solutions around and most companies and VPN providers are building their offering based on WireGuard. But the setup can sometimes be a bit of a headache. Enter “WG Easy,” which bills itself as the easiest way to install and manage WireGuard on any Linux host. Let’s see how it makes an easy Wireguard config generator for VPN server.
Table of contents
What is WireGuard?
Wireguard is one of the most popular VPN technologies in use today. It is very lightweight so it performs really good compared to other VPN protocols. Also, it has very streamlined code so this makes it very secure compared to other VPNs that are bloated with code in the technology.
However, plain Wireguard can be challenging or complicated to implement, especially for many different clients across the board.

WireGuard Easy
WireGuard Easy, or WG Easy is an all-in-one Wireguard config generator solution that combines WireGuard with a user-friendly web UI. So it helps to solve the problem of complexity. It simplifies the VPN server setup process and is able to help users to easily list, create, edit, delete, enable, and disable clients. Additional features include displaying a client’s QR code, downloading a client’s configuration file, and providing statistics for connected clients.
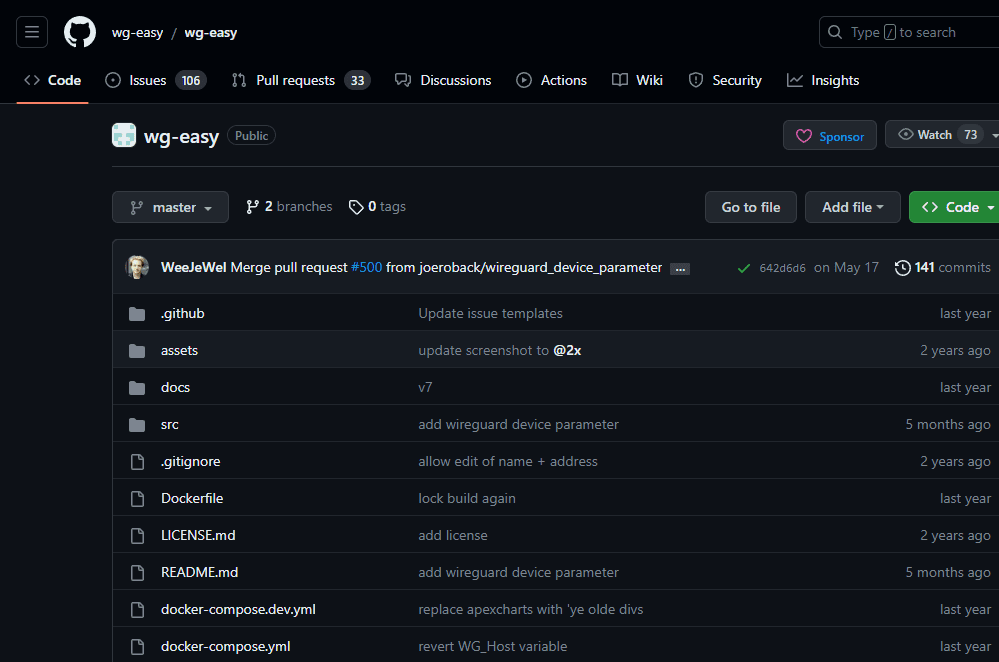
You can find the Github repository here: wg-easy/wg-easy: The easiest way to run WireGuard VPN + Web-based Admin UI. (github.com).
WG Easy Installation Process
The installation of WG Easy is a two-step process. First, you want to have Docker installed, which can be achieved by running a straightforward curl command. Once Docker is installed, WG Easy can be run using a docker run command with specific parameters.
Running WG Easy with Docker is quite straightforward. You need to replace the YOUR_SERVER_IP (public IP address of your wireguard interface name) and YOUR_ADMIN_PASSWORD placeholders with your own values.
Moreover, you can customize environment variables such as Ethernet device for WireGuard traffic, public UDP port of your VPN server, MTU, clients’ IP address range, and DNS servers. Your WireGuard server configuration files will be saved in ~/.wg-easy.
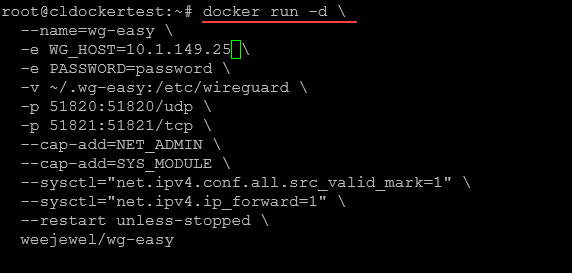
Here’s a simple example:
$ docker run -d
  --name=wg-easy
  -e WG_HOST=<YOUR_SERVER_IP>
  -e PASSWORD=<YOUR_ADMIN_PASSWORD>
  -v ~/.wg-easy:/etc/wireguard
  -p 51820:51820/udp
  -p 51821:51821/tcp
  --cap-add=NET_ADMIN
  --cap-add=SYS_MODULE
  --sysctl="net.ipv4.conf.all.src_valid_mark=1"
  --sysctl="net.ipv4.ip_forward=1"
  --restart unless-stopped
  weejewel/wg-easy
Below is a look at running the command on my test Docker host.
The container image pulls down and the new Wg Easy container is created.
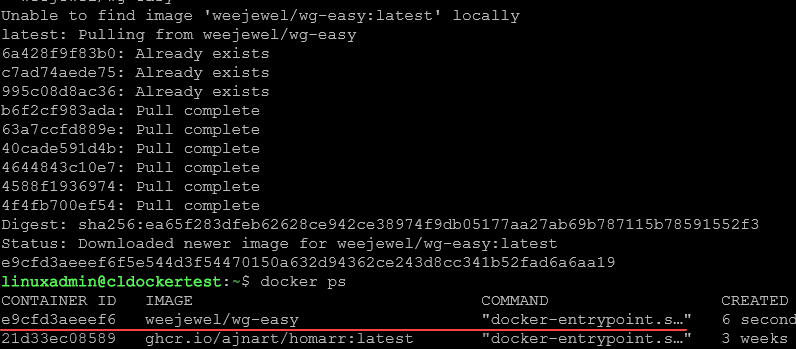
Once you run this command, the web UI will be available at http://0.0.0.0:51821. All your configuration files will be saved in ~/.wg-easy.
Running WG Easy with Docker Compose
You can also use Docker Compose to run WG Easy. Below is a sample docker-compose.yml file:
services:
  wg-easy:
    environment:
      - WG_HOST=<your_server_ip>
      - PASSWORD=<your_admin_password>
    image: weejewel/wg-easy
    volumes:
      - ~/.wg-easy:/etc/wireguard
    ports:
      - "51820:51820/udp"
      - "51821:51821/tcp"
    cap_add:
      - NET_ADMIN
      - SYS_MODULE
    sysctls:
      - net.ipv4.conf.all.src_valid_mark=1
      - net.ipv4.ip_forward=1
    restart: unless-stopped
To start the service, you run docker-compose up -d in the same directory as your docker-compose.yml file.
Updating Your WG Easy Installation
When it’s time to update your WG Easy installation, the process is as straightforward as the initial setup. The following command sequence will stop the Docker container, remove the old image, pull the new one from Docker Hub, and re-run the container with your existing configuration.
You can also use a solution like Watchtower to automatically watch and pull new container images once these are found in the repository. See my tutorial on Watchtower configuration here:
Configuring Your WG Easy Setup
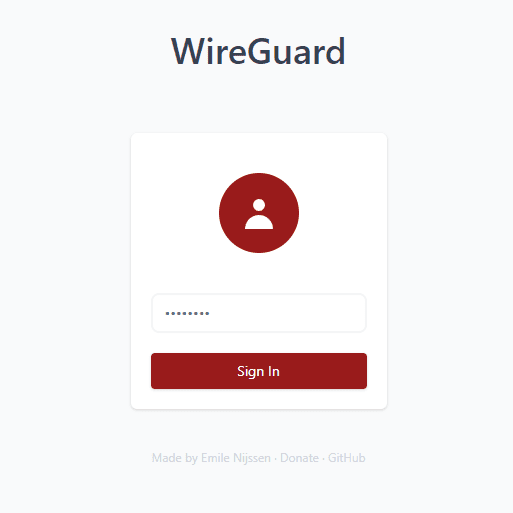
Once you’ve installed WG Easy, the next step is to configure it. You can set your server’s hostname and a password for the web UI.
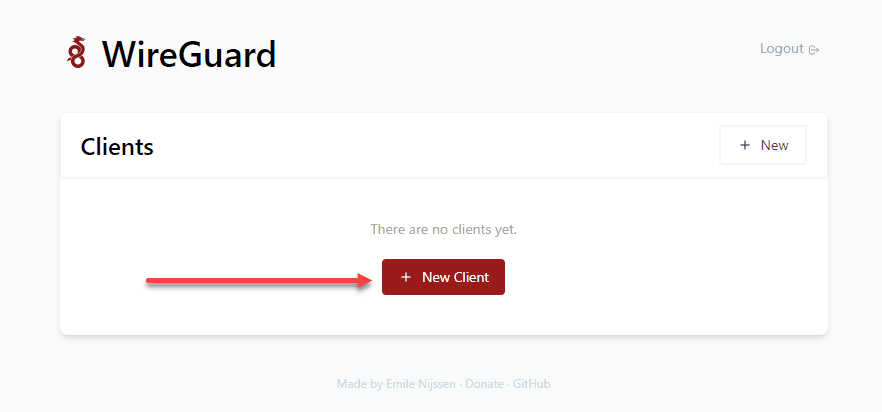
The web UI of WG Easy provides a seamless way to manage your WireGuard server. You can access it at http://0.0.0.0:51821 after running the Docker container. This web UI lets you enable and disable clients, manage configuration files, and observe real-time statistics of connected clients, eliminating the massive headache of dealing with multiple interfaces.
Login with the configured admin password.
To create a new client, click the New Client button.
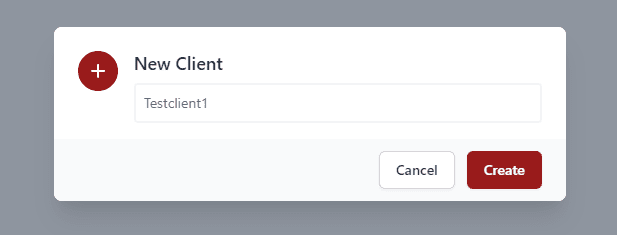
The New Client dialog box will have you name the client. Click Create.
Once you have created the new client, you will see the option to click the QR code icon which can be scanned for the configuration, click the down arrow to download the conf file or the trash icon to delete the client.
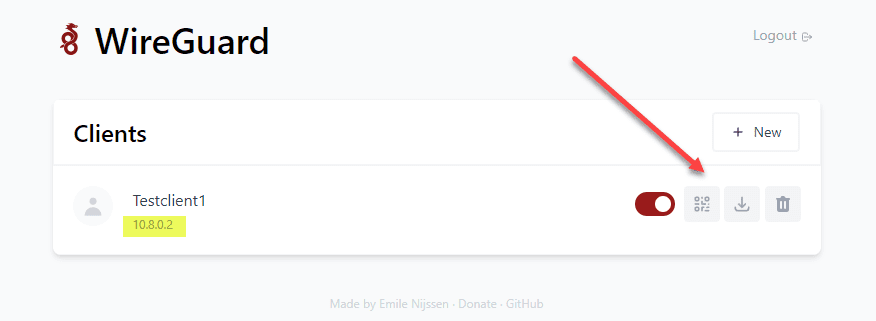
If you click the download button, a <clientname>.conf file is downloaded containing the configuration for the client configured.
Just out of curiosity, peeking inside the .conf file reveals the following. You will see:
PrivateKey
Address – The Wireguard client address
DNS – DNS server value
PublicKey – for the peer
PresharedKey
AllowedIPs
PersistentKeepalive
Endpoint – The Wireguard server
Below is the file I downloaded for the Testclient1 created above.
[Interface]
PrivateKey = cJjvMfIXWhAqjemSobuigNmoIRLh2M+Mahwk7PSBD2w=
Address = 10.8.0.2/24
DNS = 1.1.1.1


[Peer]
PublicKey = zq0n2/5v1F1UVc+llIJqKtjV9sRK7VGv9m6fAItJTjQ=
PresharedKey = 7KINJE/cSiHhMB3wgBtqPyld5Wtb1J3JdHya6bZixT4=
AllowedIPs = 0.0.0.0/0, ::/0
PersistentKeepalive = 0
Endpoint = 10.1.149.25:51820
Connecting with a Wireguard client
I have an Ubuntu 22.04 workstation that I will use to test the connection. First, let’s install Wireguard.
sudo apt install wireguard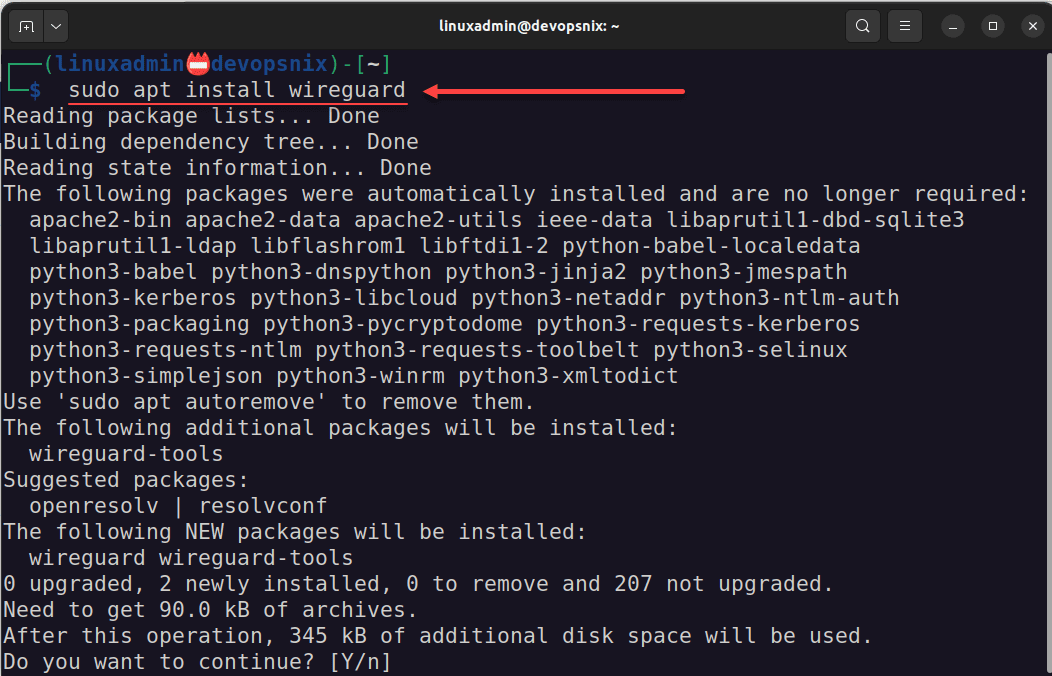
Next, we will point the Wireguard client to the configuration file from WG Easy. Here we are storing in a variable. Then running the command to import the connection.
file=~/downloads/Testclient1.conf
sudo nmcli connection import type wireguard file "$file"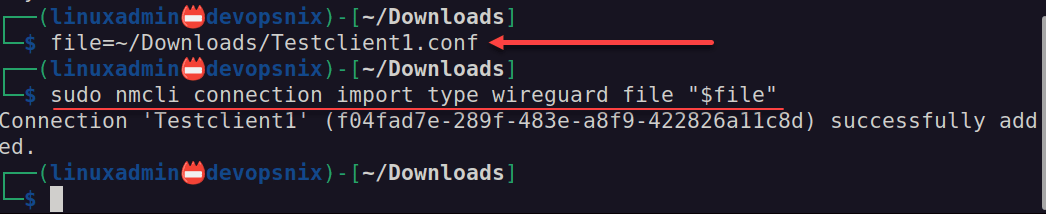
Now we can bring the connection up with the following command:
sudo nmcli connection up Testclient1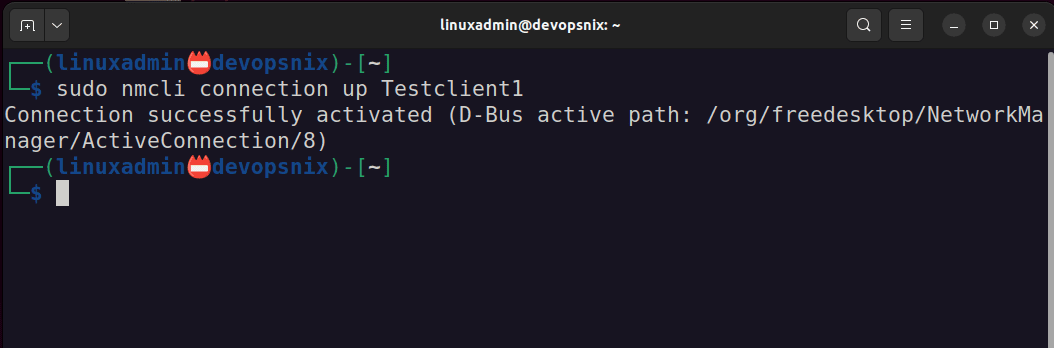
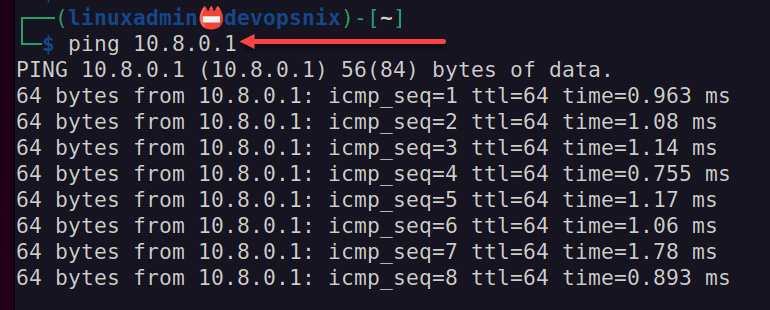
I ran a quick test to see if I could ping the Wireguard interface on the WG Easy container:
ping 10.8.0.1The ping is successful.
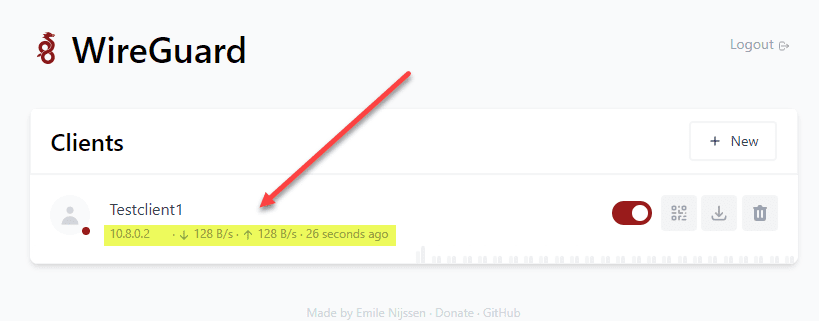
If we hop over to the WG Easy interface, we will see the Testclient1 is connected and traffic is flowing. One enhancement I would recommend for the project is to make the bubble color green instead of red, long associated with not connected instead of connected.
Integrating WG Easy with Other Applications
You can also integrate WireGuard in with other solutions that you may use, like Pi-Hole. Take a look below at the example Docker Compose code to combine WireGuard and Pi-Hole.
services:
  wg-easy:
    environment:
      - WG_HOST=<your_server_ip>
      - PASSWORD=<your_admin_password>
      - WG_DEFAULT_DNS=10.8.1.3
    image: weejewel/wg-easy
    volumes:
      - ~/.wg-easy:/etc/wireguard
    ports:
      - "51820:51820/udp"
      - "51821:51821/tcp"
    restart: unless-stopped
    cap_add:
      - NET_ADMIN
      - SYS_MODULE
    sysctls:
      - net.ipv4.ip_forward=1
      - net.ipv4.conf.all.src_valid_mark=1
    networks:
      wg-easy:
        ipv4_address: 10.8.1.2

  pihole:
    image: pihole/pihole
    environment:
      - WEBPASSWORD=<your_pihole_password>
    volumes:
      - '~/.pihole/etc-pihole:/etc/pihole'
      - './.pihole/etc-dnsmasq.d:/etc/dnsmasq.d'
    ports:
      - "53:53/tcp"
      - "53:53/udp"
      - "80:80/tcp"
    restart: unless-stopped
    networks:
      wg-easy:
        ipv4_address: 10.8.1.3

networks:
  wg-easy:
    ipam:
      config:
        - subnet: 10.8.1.0/24
If you want to learn more about Pi-Hole configuration in the home lab, check out my video here:
Wrapping up
WG Easy brings WireGuard’s powerful VPN capabilities within reach of non-technical users. Encapsulating WireGuard’s functions within a simple and intuitive web UI makes creating, managing, and securing VPN connections easy.
Google is updating how articles are shown. Don’t miss our leading home lab and tech content, written by humans, by setting Virtualization Howto as a preferred source.
About The Author


now have 15.1 version , this is old versionm please update to 15.1 version
thanks
mustafa,
Great shout and thanks for the comment, will update the compose.
Brandon