


I have been flirting around with Podman in my home lab and have been testing it more than in the past as of recently. You may have seen my recent post on Podman Quadlets which I think have started to make Podman make more sense for me: Why Quadlets Finally Made Podman Click for Me in the Home Lab. However, it is really all about the applications in a home lab. Most of us don’t play around with Docker Compose or Quadlets just for the sake of playing around with them. Our aim is to get apps up and running. Recently, I tried out an app called Yantr in the home lab. Its sole purpose is spinning up home lab apps on rootless Podman environments. Let’s check out what it is and how you get it going.
What is Yantr?
Yantr is a self-hosted app store. It is built around providing you with a catalog of apps that are familiar to most of us. These include things like Jellyfin, Nextcloud, Vaultwarden, and Open WebUI to name just a few. With the project, it documents things like configurable environment variables, multiple deployments, and a browser interface for managing your apps spun up in Podman.
Also, the app developer makes a point that this is not an “operating system” like many of the solutions are that do similar things (Umbrel and other “home lab” operating systems). The developer has built Yantr as an “app” and not an “OS”. So, your host stays untouched with this approach.
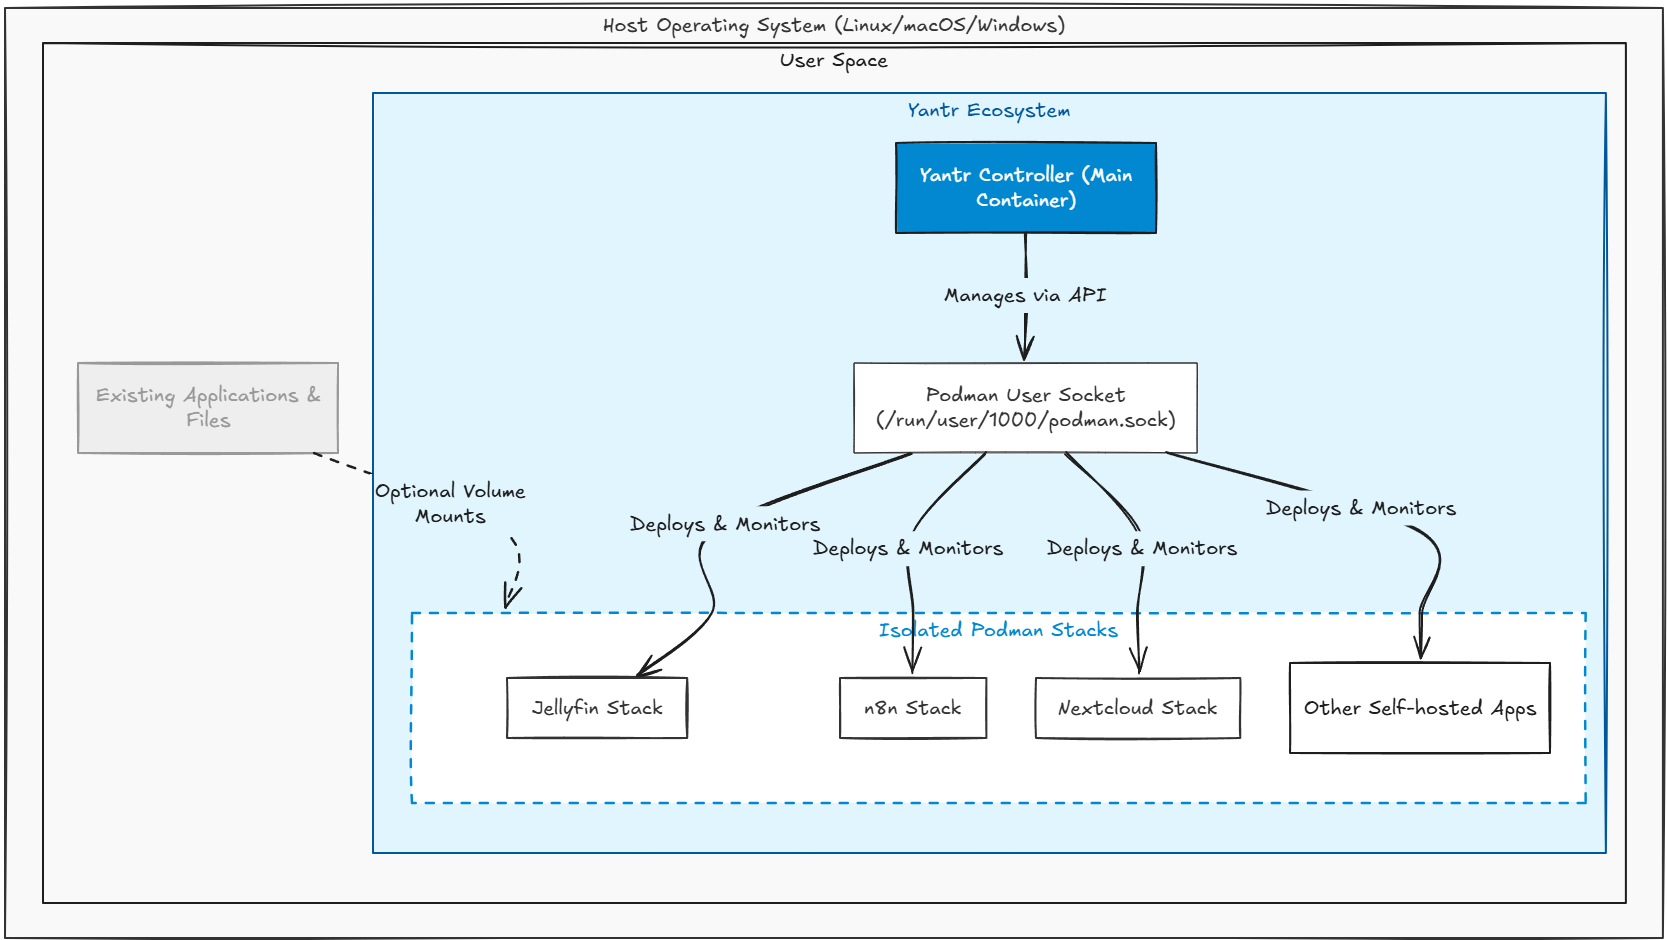
I think this architecture will appeal to most as in the home lab, most of us already have our hypervisor configured and a virtualization environment that is the platform we use to spin up other applications. So, putting another OS on top of a VM that is meant to be that “platform” so to speak is a bit redundant.
Instead, most of us need what this is trying to provide I think in an “app catalog” that helps you discover, pick, and deploy applications for our Podman environments.
Why rootless Podman interests me
This is probably one of the biggest reasons that I think most start looking at Podman seriously. It is because Podman runs as a rootless architecture, under a regular user account. It has a daemonless design. It also integrates natively with the Linux systemd construct to make it super familiar to those already familiar with systemd.
Podman provides a container command line that will look familiar to Docker users, and many operations can run under a regular user account. Its daemonless design and support for systemd integration make it worth exploring for Linux servers.
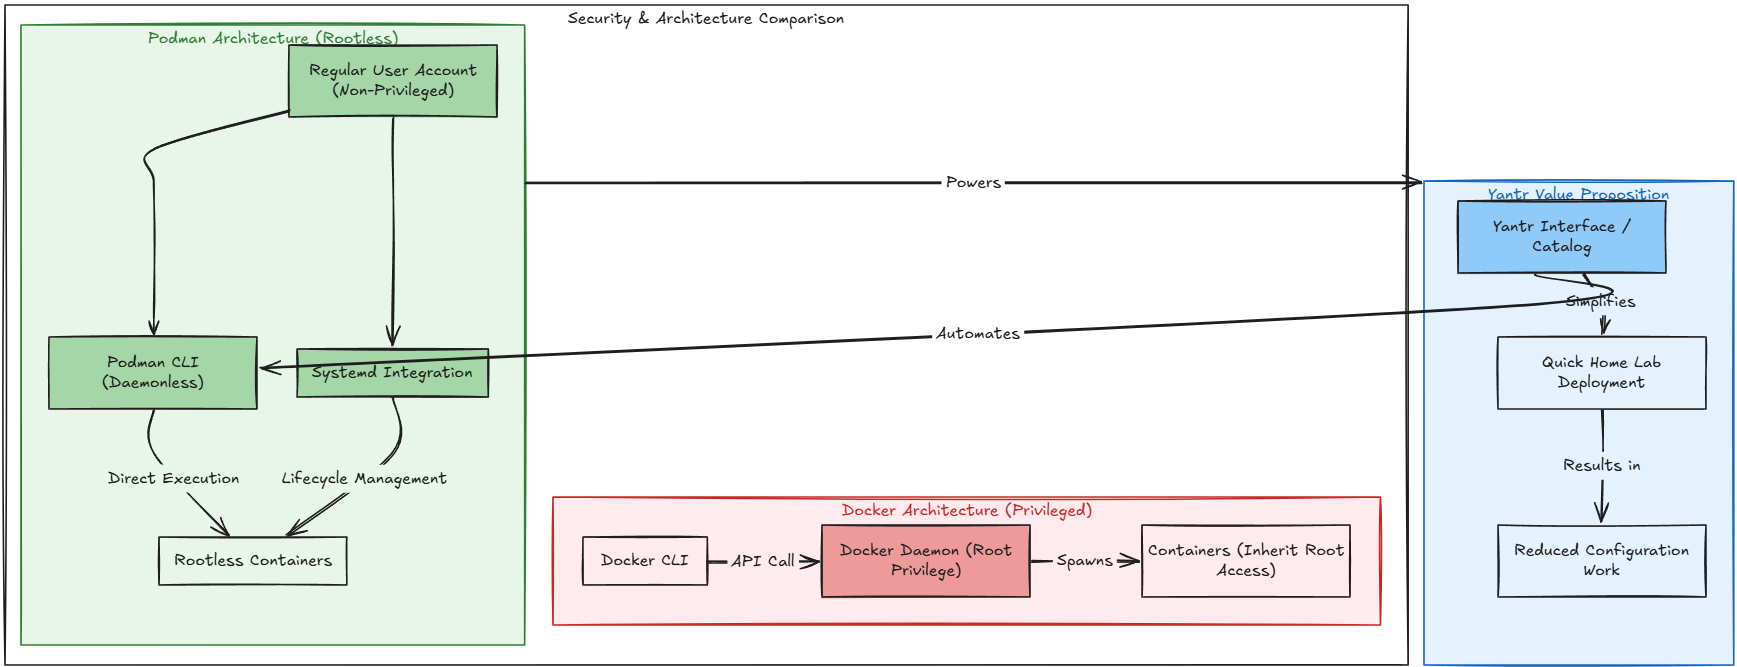
So, this is really appealing to have an application environment that doesn’t need many privileges at all. Most of us probably don’t want to have a container management context that shares a privileged account on the host. But that is often what situation we are in with Docker. This doesn’t mean I would automatically start migrating everything off Docker to Podman, but it is a good point to understand.
Yantr fits into this as I see it as a possible way to make a separate Podman environment useful to home lab environments very quickly. The catalog helps to lower the amount of work you have to do to get things setup. And, then, the command line continues to be there if you need to investigate something.
Where I am running this in relation to Proxmox
This is not something that I would install on your Proxmox host. Rather, this is something that you would install on a dedicated Linux VM on Proxmox, similar to your Docker hosts that you run. I would probably pick Ubuntu or vanilla Debian as my Linux OS of choice.
Also, it allows you if running it in a VM in Proxmox to have access to snapshots which are super powerful when it comes to testing, learning, and “rinse and repeat” operations. VMs also give you a clear boundary for testing. You can back it up, restore it, and experiment with various operating systems without affecting anything else.
You can also create a dedicated Linux account for the environment to run under which will keep the application ownership separated from other files and resources.
Installing Yantr
On the project page, it documents an installation script that configures rootless Podman and systemd Quadlet in one fell swoop. However, there is also a manual container deployment as well you can do if you already have Podman installed, which is my case.
For the fully automated install of Podman and Quadlet configuration, you can run the provided script. Here I am downloading it first. As a note, this is not the approach I used on my host since I already had Podman installed.
curl -fsSL https://yantr.org/install.sh -o yantr-install.sh
less yantr-install.sh
bash yantr-install.sh
After installation, you can check the version of the Podman engine:
podman --version
podman info
podman ps -a
If you already have Podman up and running on a host, the documentation also gives you the manual command to get Yantr up and running. This is the approach that I am using:
podman run -d \
  --name yantr \
  --network host \
  --security-opt label=disable \
  -v "${XDG_RUNTIME_DIR:-/run/user/$(id -u)}/podman/podman.sock:/run/podman/podman.sock" \
  -v yantr_data:/data:z \
  ghcr.io/besoeasy/yantr:latest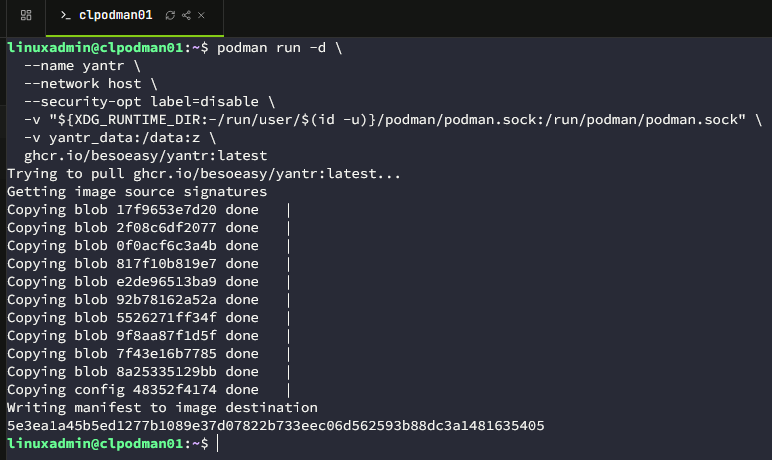
This command assumes the user socket is available. The manual container launch also does not replace a complete boot and service management configuration.
I would then browse to:
http://YOUR-VM-IP:5252Once you browse out to the web interface you will see the initial setup for your authentication. It asks for a password and a PIN code:
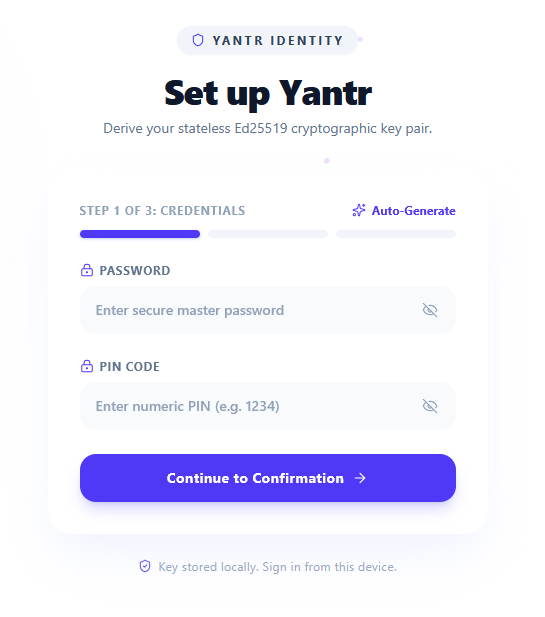
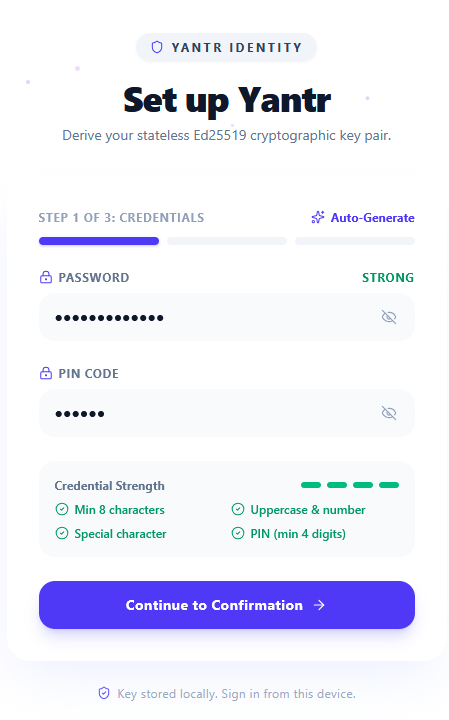
Enter the password and PIN code:
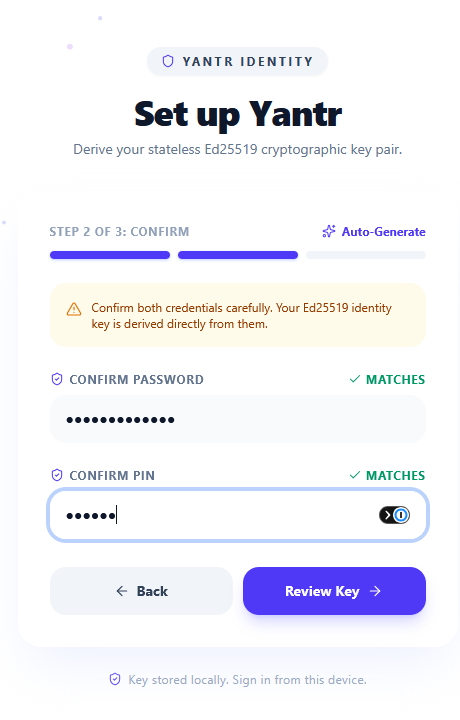
It will then have you confirm it:
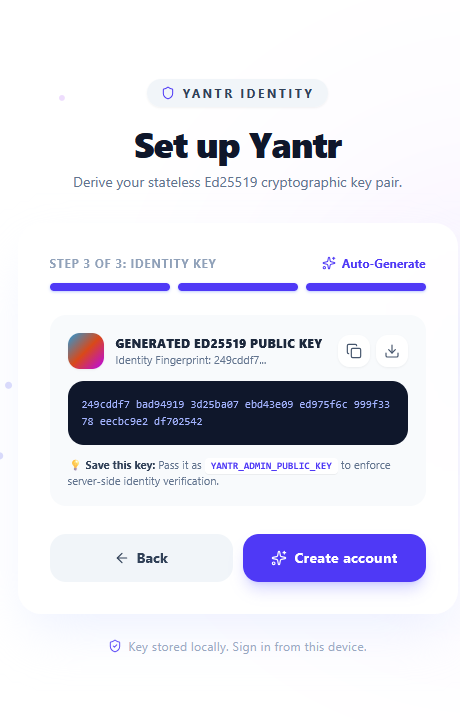
Then it will display your generated Public Key. Click Create Account.
After getting the authentication configured, you will be taken to the Yantr dashboard.
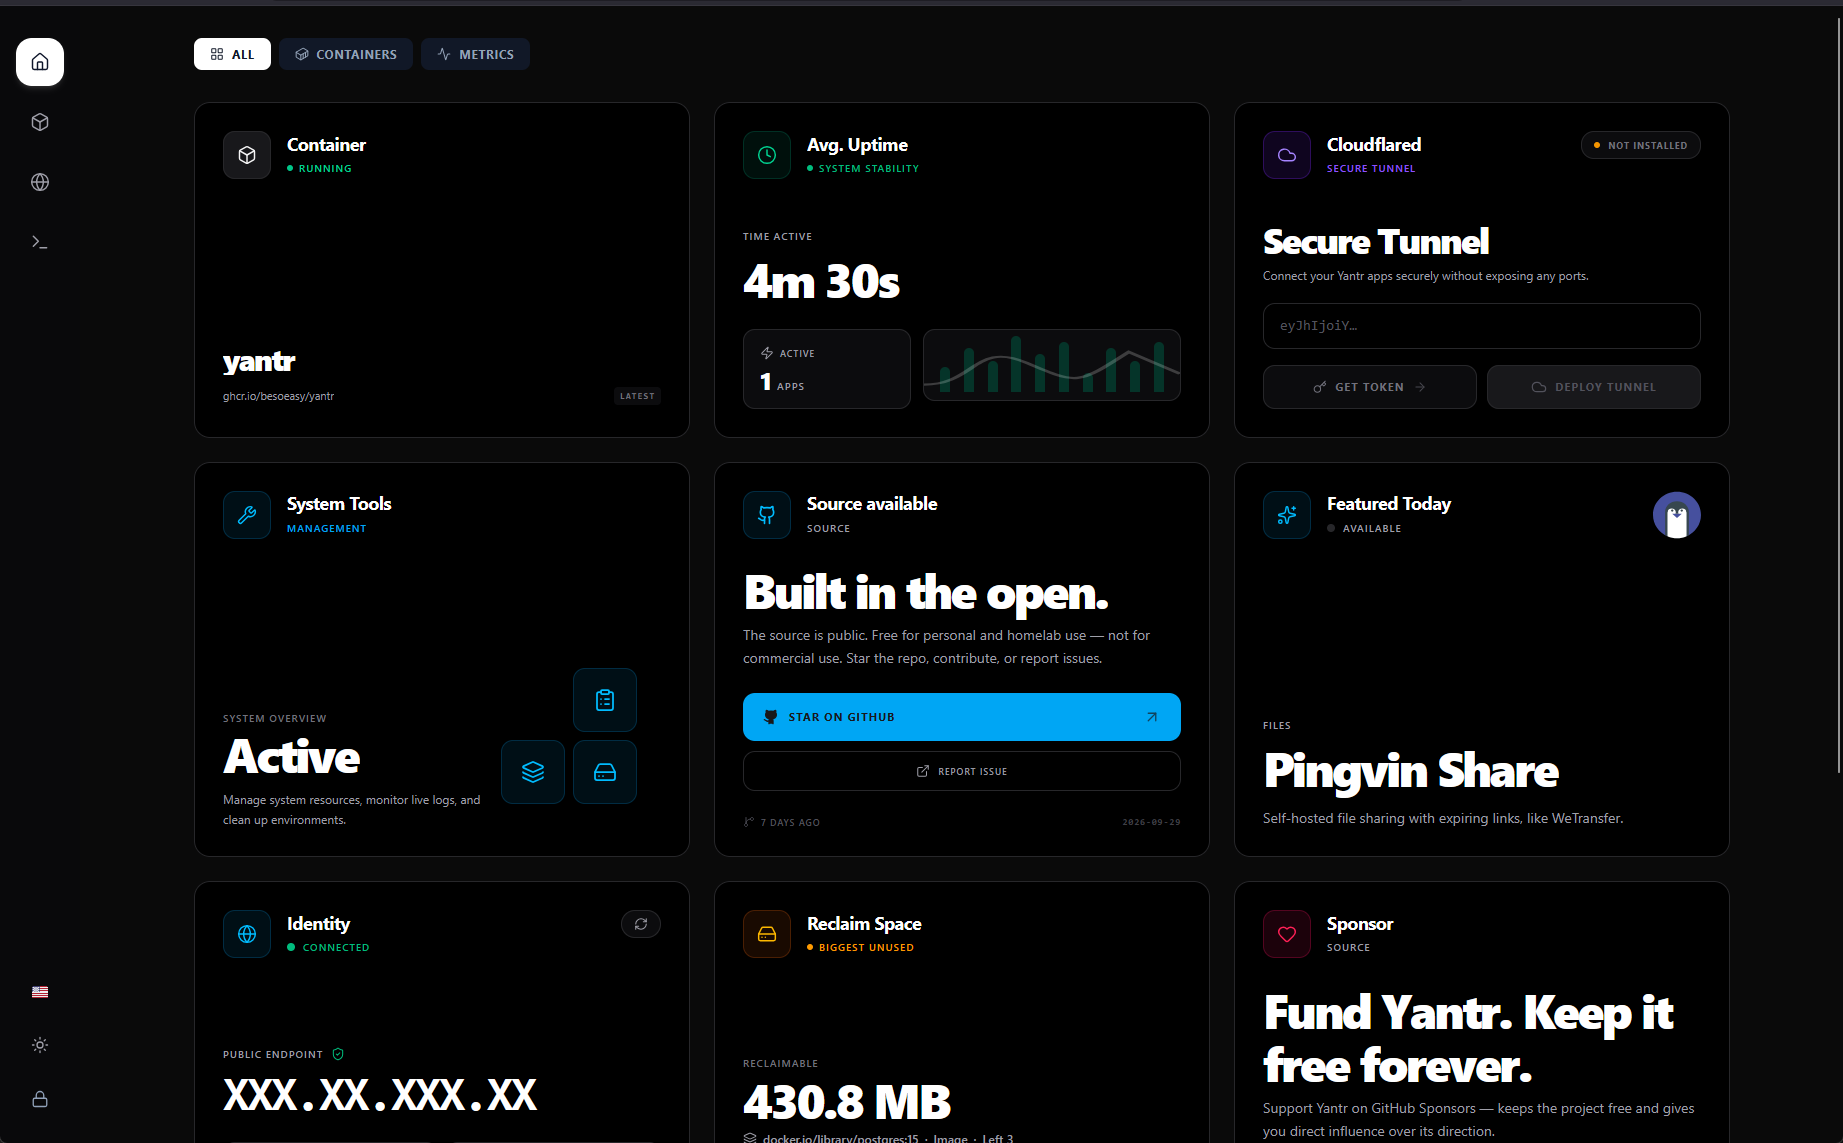
Browsing the app catalog
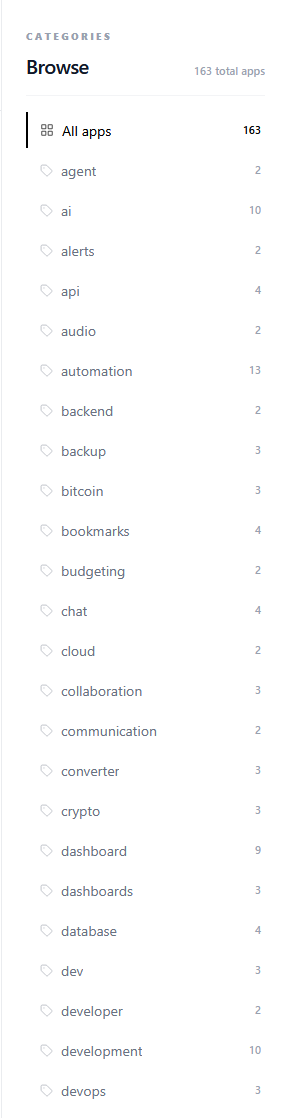
Yantr has a lot of really good apps that are part of its catalog by default. At the time of this writing, it has 163 apps in the catalog.
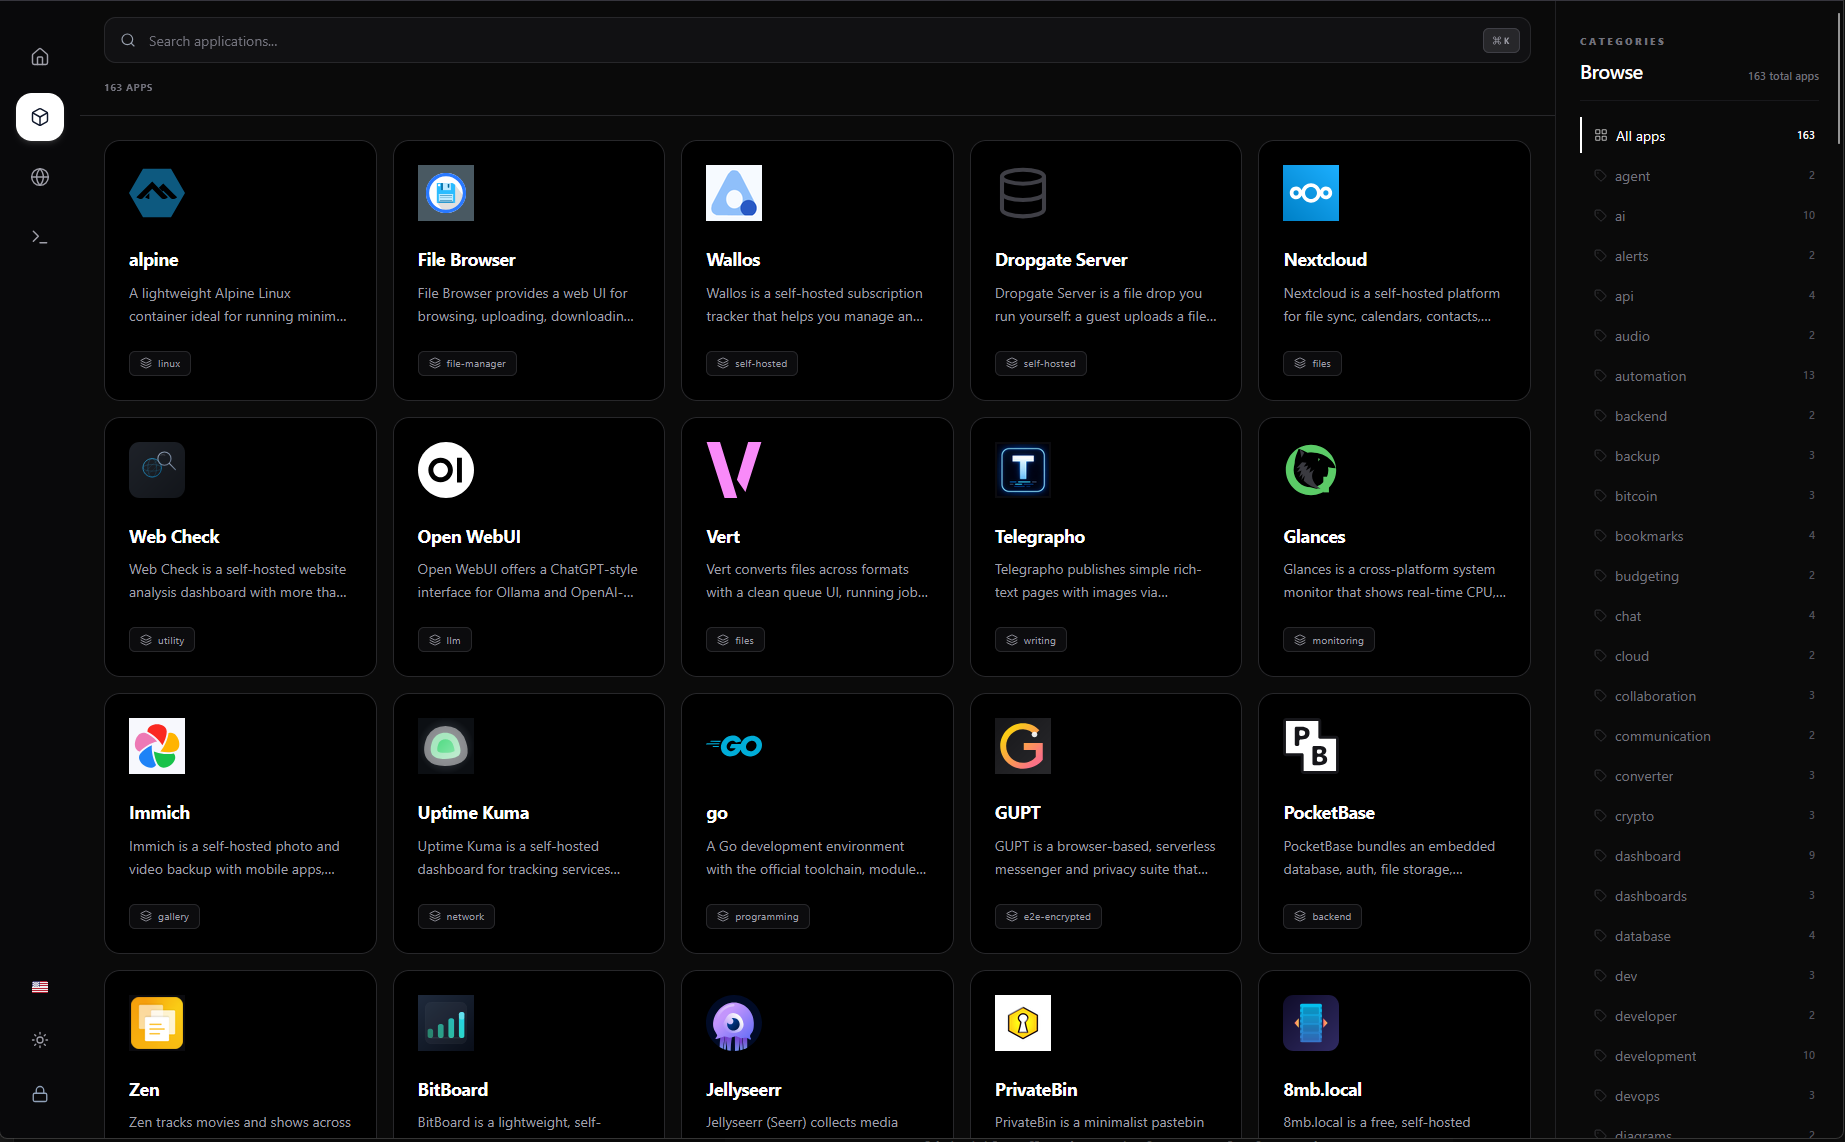
Here is the app catalog in light mode.
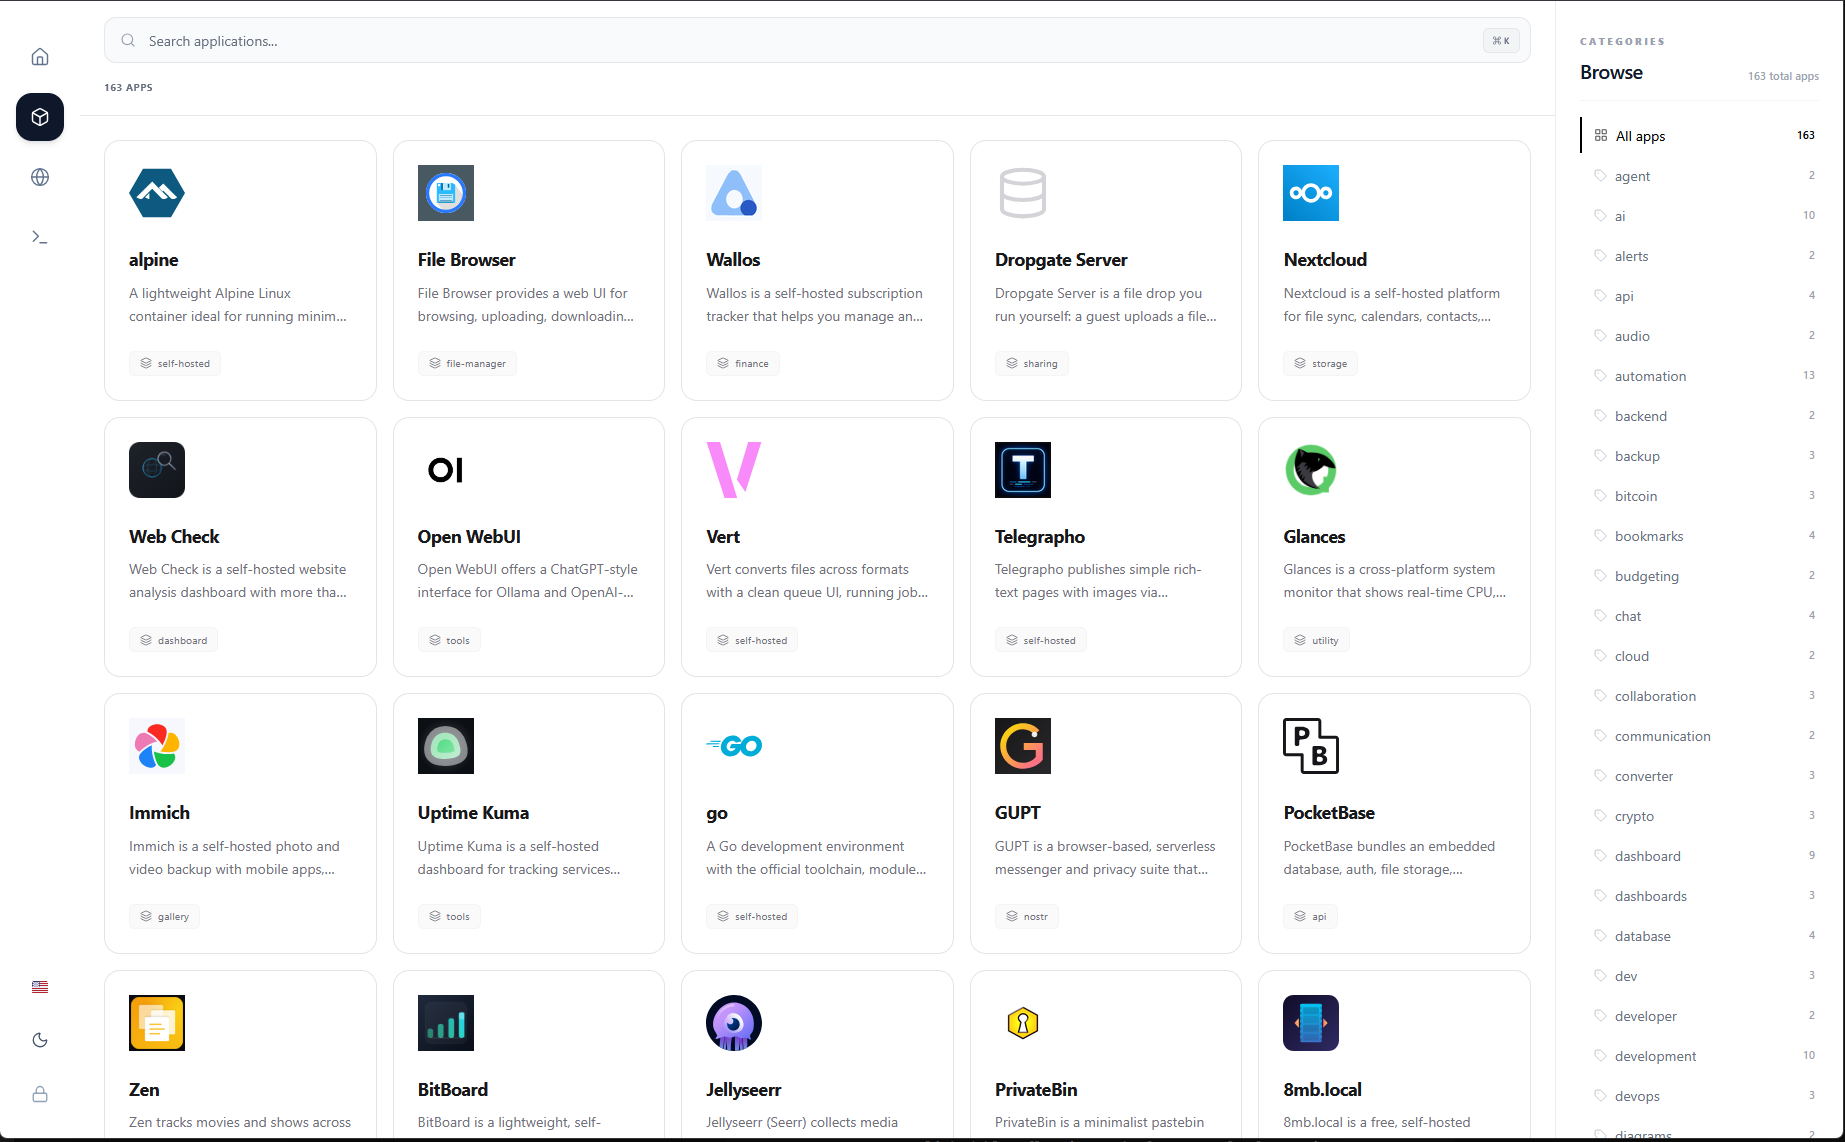
Here is a view of the side panel on the apps screen that I captured. Here you can see the total number of apps that are available at the time of writing. Also, I like how they have these automatically split up into the relevant categories to make finding the types of tools you are looking for much easier.
Temporary apps
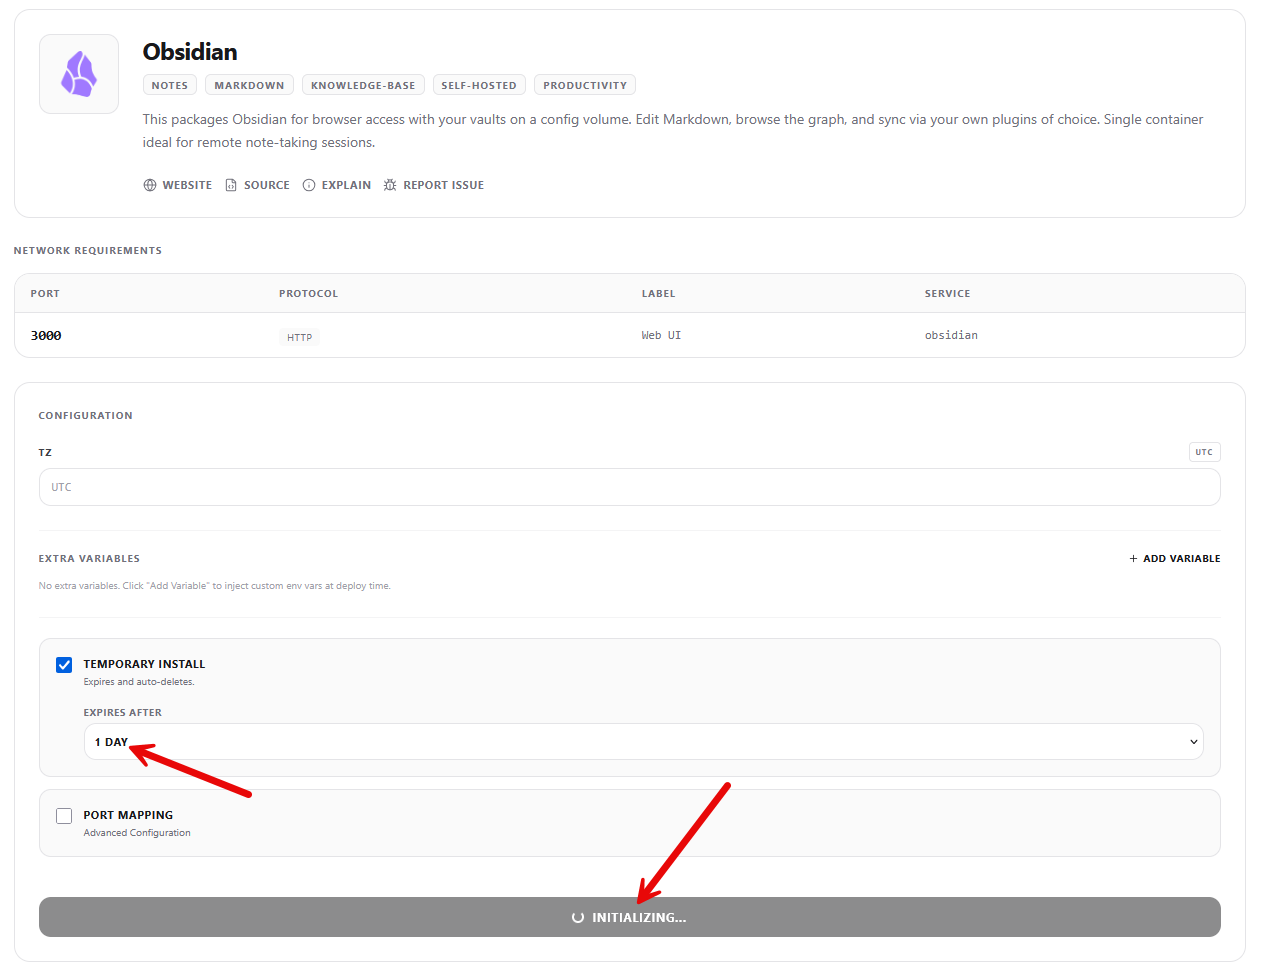
One of the cool features that I noticed with Yantr is the ability to have an app setup as temporary. In other words, you can have Yantr automatically delete the application when the time period you configure has expired. I thought this was a really cool feature.
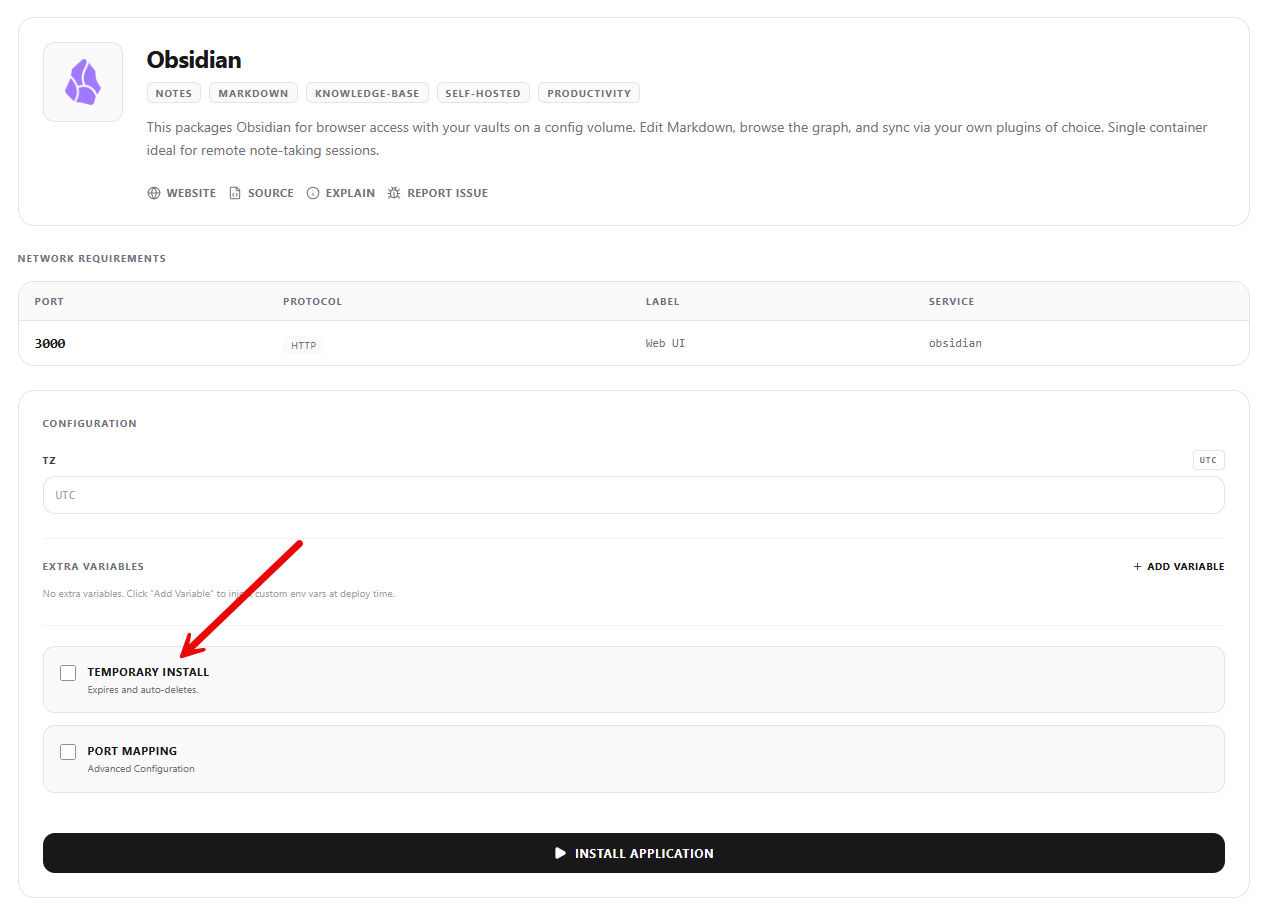
Below, you can see when installing an app, if you click the temporary install option, there is a drop down
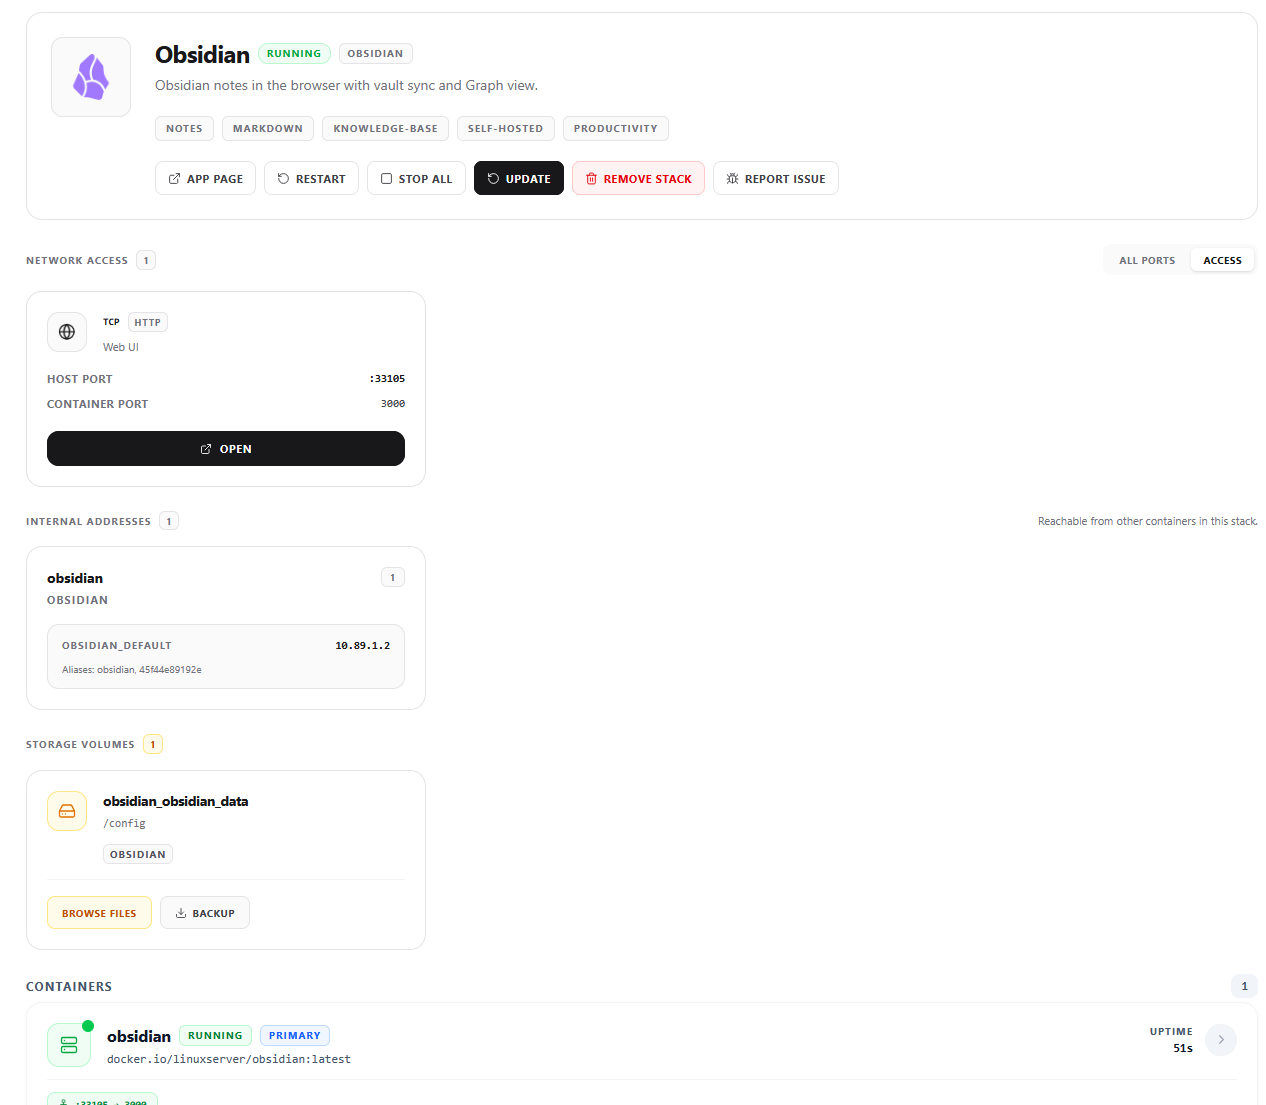
Below, you can see the Obsidian stack running that was provisioned by Yantr.
Often, I will spin up Docker apps in the home lab and forget about them after I have tested them for a couple of days and then leave them up and running for months. This is a great way to make sure you have some automated self-cleanup happen after the fact.
Rootless does not make the management interface totally harmless
Keep in mind that just because Podman containers are rootless, it doesn’t mean there aren’t security considerations. Yantr has access to the Podman API socket. According to the Podman documentation, when you have API access this allows arbitrary code execution as the user that is running the API. A rootless socket will still allow quite a bit of control over the user’s environment.
Podman’s documentation states that API access permits arbitrary code execution as the user running the API. A rootless socket therefore still grants substantial control over that user’s environment. Make sure you use a dedicated account that has restricted management access. I would treat the interface as an administrator tool, use a strong password, etc.
Just don’t assume when you hear that rootless is a promise that vulnerabilities no longer affect you. That isn’t the case.
Built-in Cloudflare Tunnel
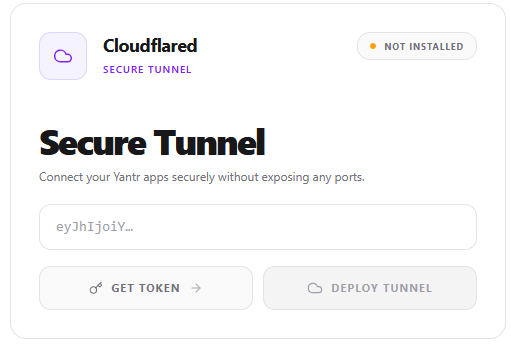
Also, a neat feature is that you can self-host any type of web resource that you run on a Podman container with the built-in Cloudflare Tunnel functionality it offers. Of source, the nice thing about this architecture is it means no port-forwarding, no dynamic DNS, and no public IP needs to be exposed to the Internet.
Backing this up
So before you move your critical data into any platform, you want to be sure you understand how you get your data back if something bad happens. Can you do that without the management interface? The cool thing with podman if you grab a backup of your host with the data mounts on the podman host, you should have a backup of your data.
But, definitely get a good inventory of the following that will be a good starting point:
podman volume ls
podman volume inspect yantr_data
podman inspect yantr
Is this free licensing?
One of the details with the project is that Yantr’s license is a PolyForm Noncommercial license. Personal and hobby use are permitted under its terms while you can’t use it for commercial use. Which this should be fine for most home lab usage.
Wrapping up
The Yantr project is pretty interesting from what I saw in my test environment. It gives you a really nice dashboard to be able to manage your Podman containers, see what they are doing, have visibility over your host, and do things like install temporary applications that auto-delete themselves after the set amount of time. What about you? Have you found something like this for Podman? What do you use?
More in this topic


Google is updating how articles are shown. Don’t miss our leading home lab and tech content, written by humans, by setting Virtualization Howto as a preferred source.
About The Author
