



For the most part for years now if I run a Docker container that houses an app, my workflow has been pretty simple. I deploy it using Docker Compose, and then I leave it running. My home lab runs 24/7/365, so the containers just stay running along with everything else. This makes sense for infrastructure services like DNS for example that needs to be available so that your infrastructure components can talk to one another. Databases are another example. But, after I spun up more and more services in the home lab, I started to wonder if really everything “needed” to be up all the time and if I could run Docker containers on demand? This led me back to a project I have stumbled on and wanted to try, called DockerWakeUp. Let me show you what this means for your home lab and how to use it.
What is DockerWakeUp?
DockerWakeUp is a tool that sits between a client and an application that the client is trying to reach in your containerized environment. The term I think best describes what DockerWakeUp is doing is it is doing something like a scale to zero in the Kubernetes world.
So, this is like a Kubernetes feature, or cloud-native platform feature that allows you to reduce replicas when demand disappears. So DockerWakeUp essentially reduces it to zero so that the container is spun down, until demand comes back.
It has an NGINX component that handles the frontend HTTPS connection. Then it routes the requests toward your DockerWakeUp container which acts as a proxy and it will decide if the target service is up and running or not. If it is already running, the proxy will just forward on the request as you would expect. But, if it is stopped, DockerWakeUp will launch the Docker Compose project. It will then wait for the target app to respond, and then it will proxy and forward traffic to it once it is up and running.
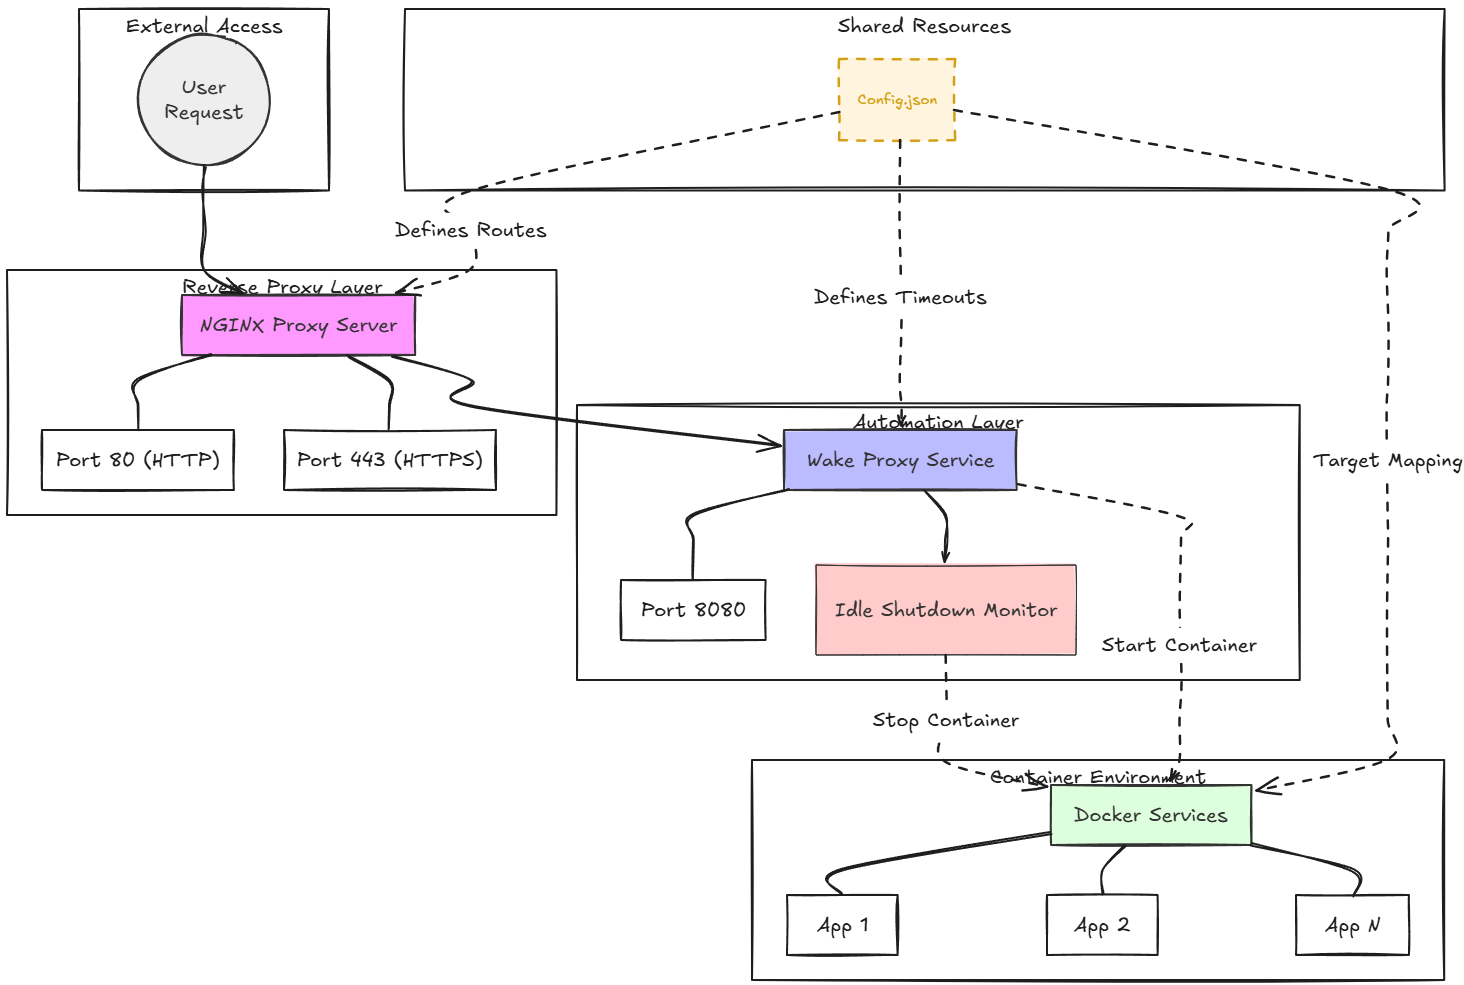
It basically keeps tabs on each configured service and how long it has been up and running. But, also, importantly, how long it has been idle. It has a built-in idle-shutdown process that checks the services every five minutes. It will stop containers when the idle time exceeds the threshold. By default, this is set in seconds to 3 days, or 259200 seconds. However, you can configure that. You could set something really aggressive for home lab if you have certain workloads that you know you don’t need for a bit.
Installed a few prerequisites as documentation a little fuzzy here
I ran through the install process on GitHub using the setup script, but found a few things didn’t really work the way the repo has the instructions written. In the defense of the developer here, the notes about needing npm, etc are in the README. But the “Quick start” guide is a little misleading as it says it has “dependency installation” which I think would make most assume that it installs everything it needs.
I found out this wasn’t the case, so I am going to paste here what I had to do to get things up and running in my test environment. You need to make sure your host already has Docker, Docker Compose, Node.js, npm, NGINX, Certbot, and jq installed.
On Ubuntu or Debian, I started with:
sudo apt update
sudo apt install -y nodejs npm nginx jq certbot
I also installed the Certbot DNS plugin for Cloudflare since I wanted to use a wildcard certificate:
sudo apt install -y python3-certbot-dns-cloudflareAfter that, I created the letsencrypt folder and a cloudflare.ini since that is my DNS provider:
sudo mkdir -p /etc/letsencrypt
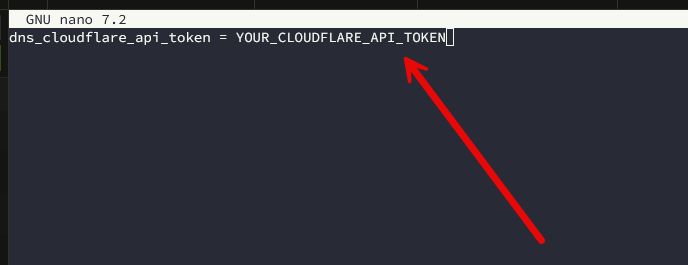
sudo nano /etc/letsencrypt/cloudflare.ini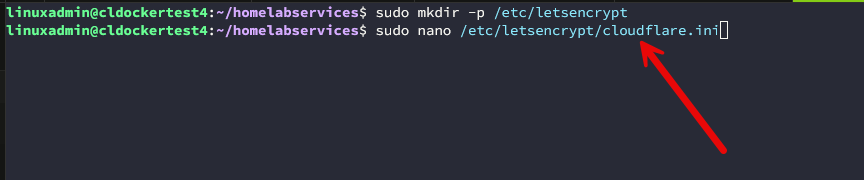
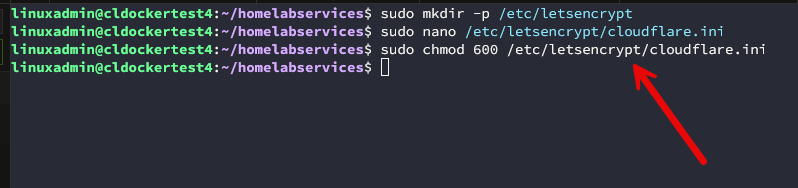
Set the permissions on the cloudflare.ini file:
Nginx doesn’t quite get configured automatically
Part of the issue I ran into at first was self-inflicted since I assumed everything was installed. So my setup script bombed since Nginx wasn’t there. However, after getting Nginx there, I assumed I was on the home stretch.
The Quick Start says that after running the setup script, the wake proxy is running with NGINX configs “generated and ready to use. And, in the automated setup section, it says it automatically generates and links SSL-enabled NGINX configs. But when you ran it before NGINX was installed, it could not actually activate those configs.
In my configuration, even after I:
- installed NGINX,
- successfully issued a wildcard certificate for my public domains
- reran setup option 4 to regenerate NGINX configs
The generated file still only contained:
server {
    listen 80;
    server_name nginx.example.cloud;
There was no:
listen 443 ssl;and no:
ssl_certificate /etc/letsencrypt/live/example.cloud/fullchain.pem;
ssl_certificate_key /etc/letsencrypt/live/example.cloud/privkey.pem;
I used Certbot with the Cloudflare DNS plugin to manually request a wildcard certificate for example.cloud and *.example.cloud. This step gives you the standard Let’s Encrypt certificate and key under /etc/letsencrypt/live/example.cloud/. Certbot also set up automatic cert renewal.
Again, I reran DockerWakeUp’s NGINX generation step (step 4) again.
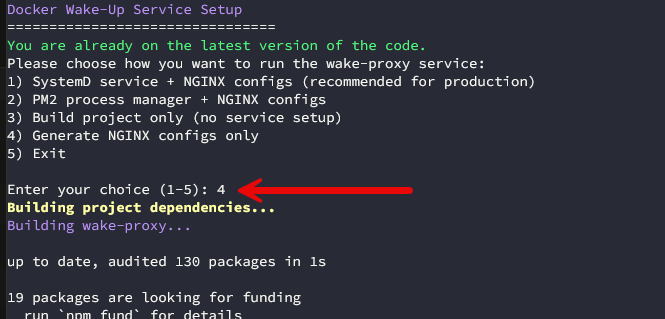
The generated config still only listened on port 80. So, I had to manually add the SSL config in the NGINX configuration. My file looked like this in the end:
# wakeup:manual

server {
    listen 80;
    server_name nginx.example.cloud;

    return 301 https://$host$request_uri;
}

server {
    listen 443 ssl;
    server_name nginx.example.cloud;

    ssl_certificate /etc/letsencrypt/live/example.cloud/fullchain.pem;
    ssl_certificate_key /etc/letsencrypt/live/example.cloud/privkey.pem;

    location / {
        proxy_pass http://127.0.0.1:8080/proxy/nginx/;

        proxy_set_header Host $host;
        proxy_set_header X-Real-IP $remote_addr;
        proxy_set_header X-Forwarded-For $proxy_add_x_forwarded_for;
        proxy_set_header X-Forwarded-Proto https;

        proxy_http_version 1.1;
        proxy_buffering off;
        proxy_request_buffering off;
    }
}
Now, installing DockerWakeUp
Now, that I had these things in place (remember I went through it once before to find out some of the above), I was able to get the DockerWakeUp solution up and running. First, clone down the repo and
https://github.com/jelliott2021/DockerWakeUp.git
cd DockerWakeUp
Then create the main configuration from the supplied example:
cp config.json.example config.jsonFrom there, edit:
nano config.json
In case you are wondering what is in that example file, when you “nano” to edit it, you will see the following:
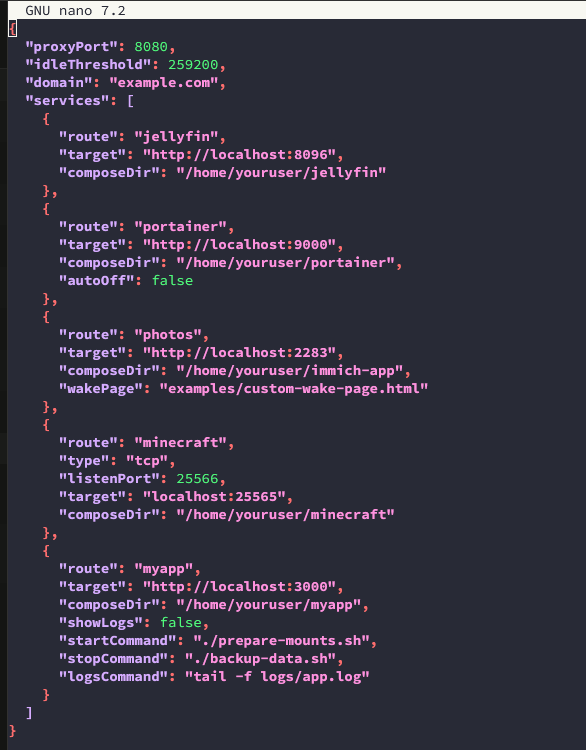
In case you are wondering, my config.json file looks like the following. I just have another NGINX container running for testing. So, this is the config file pointing to that single service. Note how you also configure the public domain as well.
The idleThreshold is the amount of seconds you want to wait before DockerWakeUp shuts the container down.
{
  "proxyPort": 8080,
  "idleThreshold": 300,
  "domain": "example.cloud",
  "services": [
    {
      "route": "nginx",
      "target": "http://localhost:8081",
      "composeDir": "/home/linuxadmin/homelabservices/nginx"
    }
  ]
}
It will combine the “route” name and prepend that on the front of your public domain. So below this will be:
nginx.example.cloudOnce you get to this point, we are ready to run the setup script that is included in the repo files. First, we need to make the script executable:
chmod +x setup-service.shThen, run the setup script:
./setup-service.sh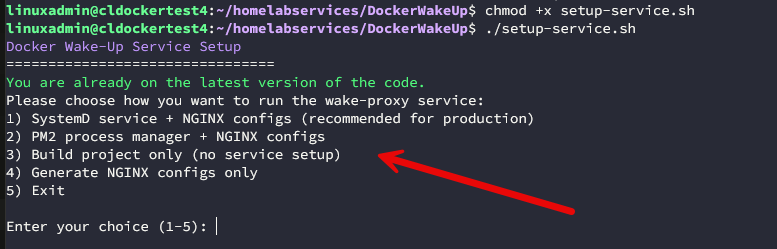
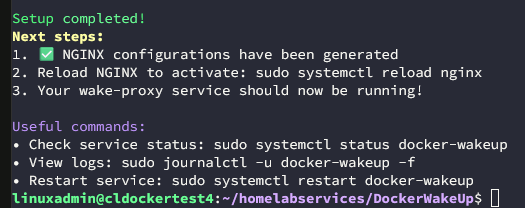
Enable the service to start at boot:
sudo systemctl enable docker-wakeup
Testing DockerWakeUp with an NGINX container
So to test this, I had a simple NGINX docker compose project on my test docker container host. What I then did is just ran a docker compose down on the NGINX stack.

After this, I ran a quick telnet to make sure the port was no longer listening that I had setup for NGINX.
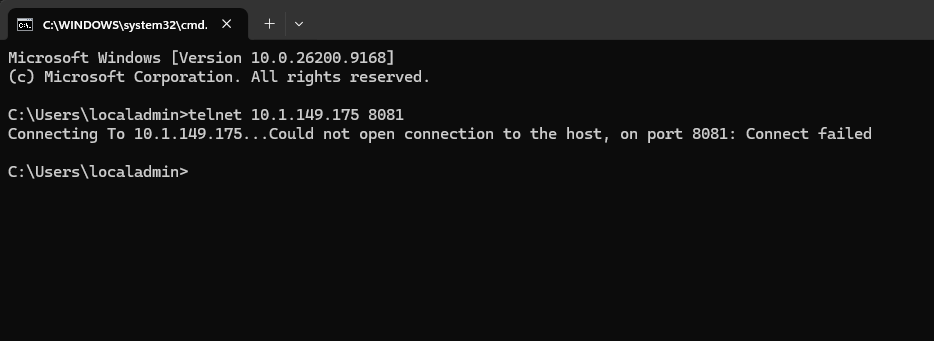
When I pulled up the domain name for the NGINX container in a browser and then I saw this:


Idle shutdowns are where you can save resources
If you are interested in something like this for saving power or physical resources, the idle shutdowns are really where you can save resources. Obviously, the more idle containers that you have running on a node, the more resources this requires and more processing power. So if you have something that is already resource constrained like maybe an ARM64 device such as a Raspberry Pi, you could have this shutdown your containers that aren’t being used.
Granted we are talking “idle” containers so hopefully not a ton of resources, but every container adds up. Especially in the middle of the night, you may not need a big GitLab instance up and running. So you can imagine this can add up.
What types of idle policies might you think about? Below are just a few ideas on what you might consider for different types of workloads and use cases:
| Workload | Example idle policy |
|---|---|
| Frequently used utility | 12 to 24 hours |
| Occasionally used application | 1 to 4 hours |
| Development environment | 30 to 60 minutes |
| Demo environment | 15 to 30 minutes |
| Game server | 15 to 60 minutes |
Security is bolstered with this as well
As you can imagine, if you are only running resources when they are needed, this is also a great capability for security purposes. Imagine drastically reducing the ports exposed and services running on your network for the majority of the day until you actually need those resources. This puts this into the realm of a “just in time” type solution where you only get the resources when you need them. But, that is a little bit of a stretch for me to put it in that category, but I do think this has a bit of a security benefit all in all.
Cold starts are the tradeoff
You have probably heard about something called “cold starts” with serverless technology. It is the amount of time for a backend container to spin up before it can start serving end users. So, obviously the same is true here. For my testing, a simple small NGINX camera spun up very quickly. But, that is just a simple NGINX container.
My GitLab server can take 2-3 minutes to get up and running. So, keep this in mind that there isn’t magic happening when it “starts” a container. It is just like you issuing a docker start command from the command line. So, if you have a container that takes a while to get fully spun up, that would be the same with DockerWakeUp.
Wrapping up
I found that DockerWakeUp is a pretty interesting tool for Docker containers on demand. I could definitely see that it would be interesting for many hyper power savers out there running home labs. Being able to spin down your containers will definitely save on processing and memory footprint across your home lab. The installation process I think is a little rough around the edges due to the documentation, but hopefully what I have shown here will help anyone get past a few of those areas of the instructions. What about you? Are you using anything like this, like a Sablier or something else? Let me know in the comments.
More in this topic




Google is updating how articles are shown. Don’t miss our leading home lab and tech content, written by humans, by setting Virtualization Howto as a preferred source.
About The Author

This is neat. I didn’t realize there were projects out there that allowed you to do these kinds of things with Docker, but now I do. Definitely trying this out. I had seen rumblings of Sablier before. But this looks simpler with your guide.
Leonard,
I was just thinking this too. I had started looking at Sablier before but didn’t get very far with it in the home lab meant to spend more time with it. I am going to try this out first though as it looks like something I can get some benefits from with running Docker in the home lab.