


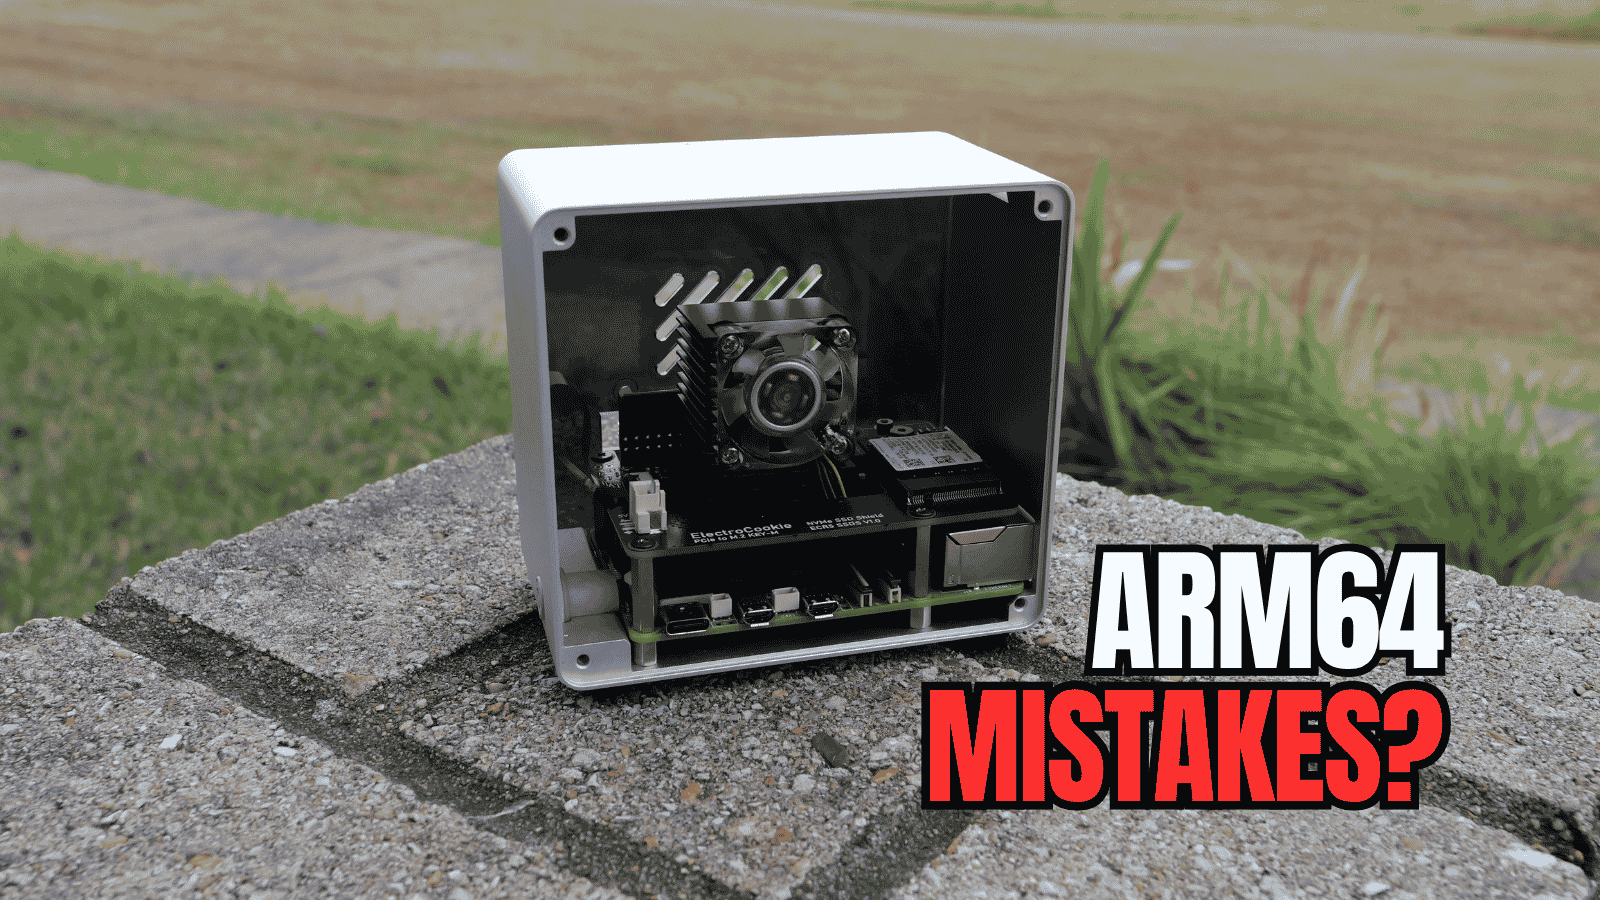
I think ARM64 has become super interesting for home labs in 2026. Everyone it seems is looking for ways to cut down on the cost of electricity spend in the home lab environment and usually ARM64 SBC devices are one of the first types of devices that you think of for a low-power home lab. I think with Proxmox now officially supporting ARM64 with the new Proxmox ARM64 release, this is going to only gain traction I believe and not lose traction. However, if I were building an ARM64 home lab from scratch today, there are some potential gotchas that can lead to mistakes. Let’s see what those ARM64 home lab mistakes are and how to avoid them.
1. Assuming ARM64 software compatibility is automatic
This one is a biggie I think especially from those of us that cut our teeth in IT and software in the era of x86. We just assume compatibility as our “muscle memory” reaction to “will it work”. With most software and apps being written for x86, we have just for years gotten used to this assumption. However, when you move over to ARM64, this can be something that can come as a bit of surprise.
What this means is that an amd64 container can’t run natively on ARM64 architecture. Usually solutions have multi-platform images that are what solves this. You will see an “architecture specific” image like linux/amd64 and linux/arm64 under the same image tag like latest. Docker will then pull the correct image for the host’s architecture.
So, one of the things to keep in mind is that before you move a certain app over to arm64, you will want to make sure there is a corresponding image for the specific architecture. There is a specific docker command you can use to see what images are available for a specific tag. Note the following command that will search for arm64 images for the tag you pass in. Change “IMAGE:TAG” to a real image and tag:
docker buildx imagetools inspect IMAGE:TAG --raw \
  | jq '.manifests[] | select(.platform.os=="linux" and .platform.architecture=="arm64")'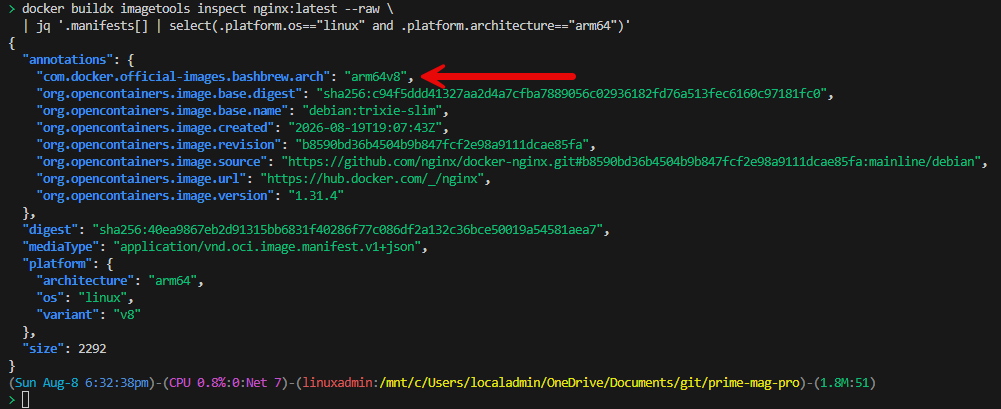
2. Buying ARM hardware because we assume it will be cheaper
This is one that sneaks under the radar a lot of times. It used to definitely be true that you could purchase an SBC for cheaper than a typical mini PC. But, that gap has certainly closed. Especially when you look at some of the extras that you might want to purchase when it comes to something like a Raspberry Pi device.
The point to realize here is that with a lot of SBCs like a Raspberry Pi, the board itself is only part of your overall cost. For instance, with a Raspberry Pi 5 today, I will probably want to purchase some of the following for configuring it the way I want it to operate, hardware-wise, in the home lab:
- Raspberry Pi 5
- Pi case
- microSD
- power supply
- active cooling
- NVMe HAT
- NVMe SSD
- Ethernet or other networking accessories depending on the build
It can sometimes be a hard sell to prefer a Raspberry Pi that is pretty low performance from compute, storage, and networking perspective, over a mini PC as mini PCs can sometimes be bought for cheap with cheap Intel N100, N150, N305, Ryzen, 2.5 GbE, an included NVMe drive and probably more RAM than the 8-16 that Raspberry Pi 5 devices are sold with.
3. Treating microSD storage like server storage
If you have played around with a Raspberry Pi board that has a microSD card for storage, you know probably from experimentation it works and there is nothing wrong with that. However, in the x86 world, we would never treat microSD cards as our main “server” class storage. At best, it may be something we boot off of or store files on, but that is it.
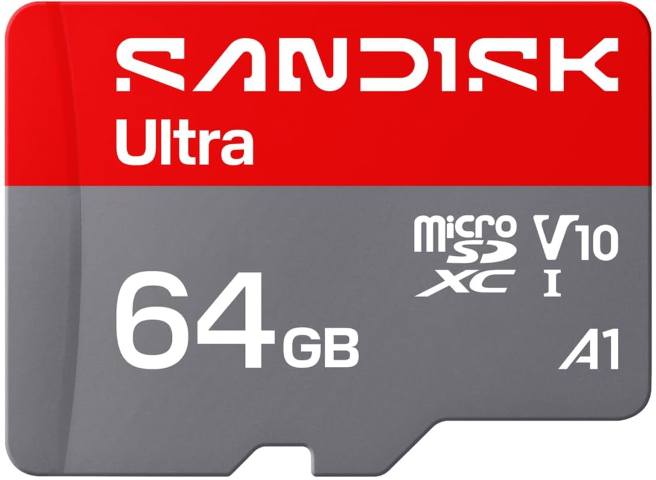
Also, the durability of microSD cards, while they have improved over the past few years, is not that great. These can easily wear out due to writes from the following types of processes:
- Docker logs writes
- Databases writes
- Package update writes
- Monitoring data writes
- Swap usage
So, for the most part, if you decide to use a Pi or another SBC that will actually be hosting data in your home lab, I would rather give it a proper SSD or NVMe storage device. The Raspberry Pi 5 has a PCIe interface and supports NVMe storage through M.2 adapters.
But, this may lead into the next mistake. Please read on!
4. Assuming NVMe on ARM is as easy as NVMe in a PC
I am used to NVMe being boring on a mini PC. On a mini, we just simply put the “bubble gum stick” NVMe drive into the M.2 slot and away we go. We don’t give it much thought. This is one of the bigger lessons I have learned with working with working with my Raspberry Pi devices.
With an SBC, making use of NVMe is a bit more “exciting”, not necessarily in a good way. We don’t want NVMe to be exiting from an “installation” and “get it to work” way.
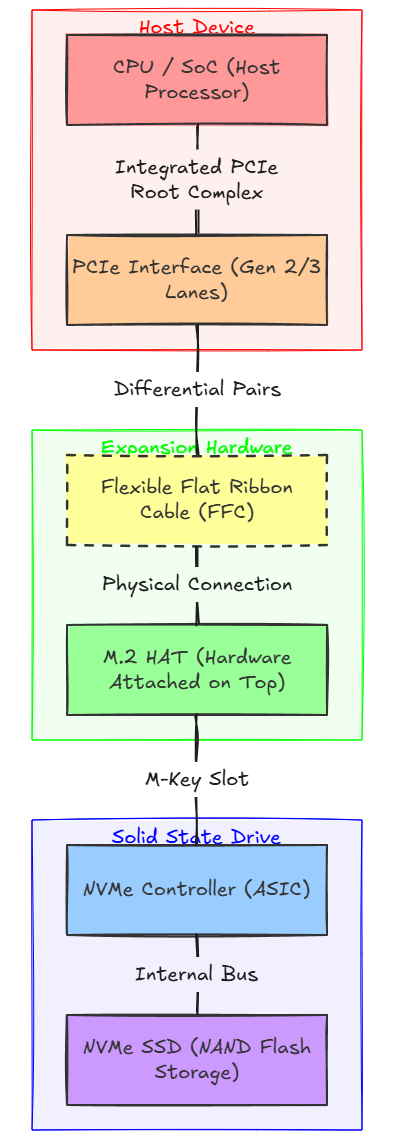
Any one of those pieces can become part of the troubleshooting process if your NVMe drive isn’t working. I have seen bad ribbon cables (FFCs) cause issues. Different hats may have their own quirks. So, it isn’t as easy as it is in a mini PC from a physical connections standpoint.
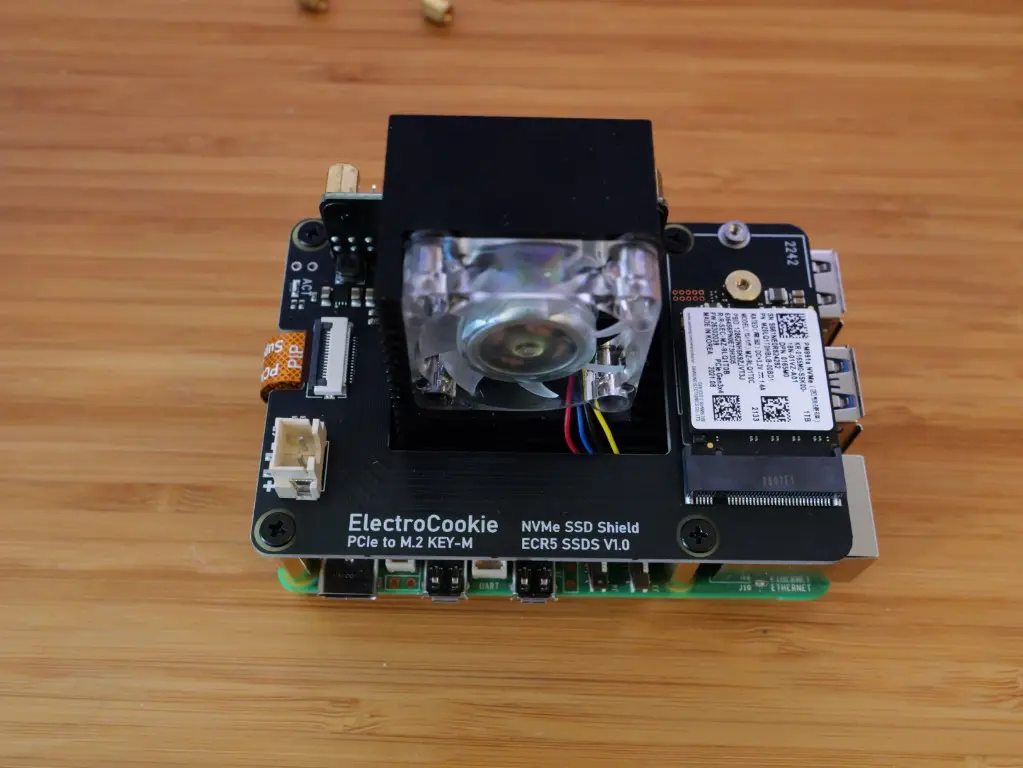
Also, there is a “software side” that you need to take into consideration, depending on the hardware configuration. Raspberry Pi documents enabling your external connector with the following config in your “config.txt” file for boot:
dtparam=pciex1

##some might need this, I did
dtparam=pciex1_gen=2
Keep this in mind as booting from PCIe can involve EEPROM boot order config. Also, with some non-HAT+ devices, you might need the parameter:
PCIE_PROBE=1Keep in mind too that PCIe Gen 3 operation is not certified on Raspberry Pi 5 and may be unstable. That last point is worth keeping in mind in the home lab. You may have a PCIe Gen 4 drive. But you don’t need to go forcing things to use that speed. For most of us in the home lab, unless we are specifically benchmark testing, stability is the name of the game.
To troubleshoot your NVMe connection, you can start with listing out your storage with the traditional command below. This will show your NVMe storage if it is connected and the SBC can “see” it.
lsblkIf you don’t see your drive, then you can run the following to get your PCI devices.
lspciAnd if you want to look at your messages to see any related to nvme or pcie in particular, you can run this:
dmesg | grep -i -E 'nvme|pcie'Here are some things to verify that I have found to be culprits in my escapades with NVMe and Raspberry Pi 5. See the full adventure documented here: I Got Proxmox VE 9 Working on Raspberry Pi 5 With NVMe Boot and the Onboard NIC.
- ribbon cable orientation – make sure gold leaves are turned “toward” the Raspberry Pi device
- HAT compatibility – Check compatibility of your particular hat
- NVMe drive compatibility – Check the compability of your NVME drive. I didn’t know this was a thing, but on my Electrocookie hat, they have a section on drives that have known issues
- EEPROM version
- boot order
- PCIe configuration – I had to enable PCIe 1 and 2 on my Raspberry Pi 5
- power delivery – Make sure you have a 5V/5A watt capable adapter and not a 5V/3A adapter
So, the biggest lesson to learn with this is that NVMe is not necessarily for the faint of heart with SBCs and ARM64.
5. Not checking your power supply
Before building out my Proxmox ARM64 Raspberry Pi 5, I had various other Raspberry Pi devices, including a Pi 3 and Pi 4. I also had accumulated various power adapters from testing different units. I first didn’t pay attention to which adapter that I had used in testing NVMe boot with my Pi 5. This led to some issues in testing.
If you do have an underpowered adapter powering your Raspberry Pi that has other devices like NVMe plugged in, you may start to see some weird issues. The system may start to throttle itself, devices may not appear (NVMe drives or USB devices), and it may not be stable under load.
For the Raspberry Pi 5, Raspberry Pi recommends you use a 5V/5A supply with a 27W USB-C power adapter. With a 5V/3A supply, there are restrictions.
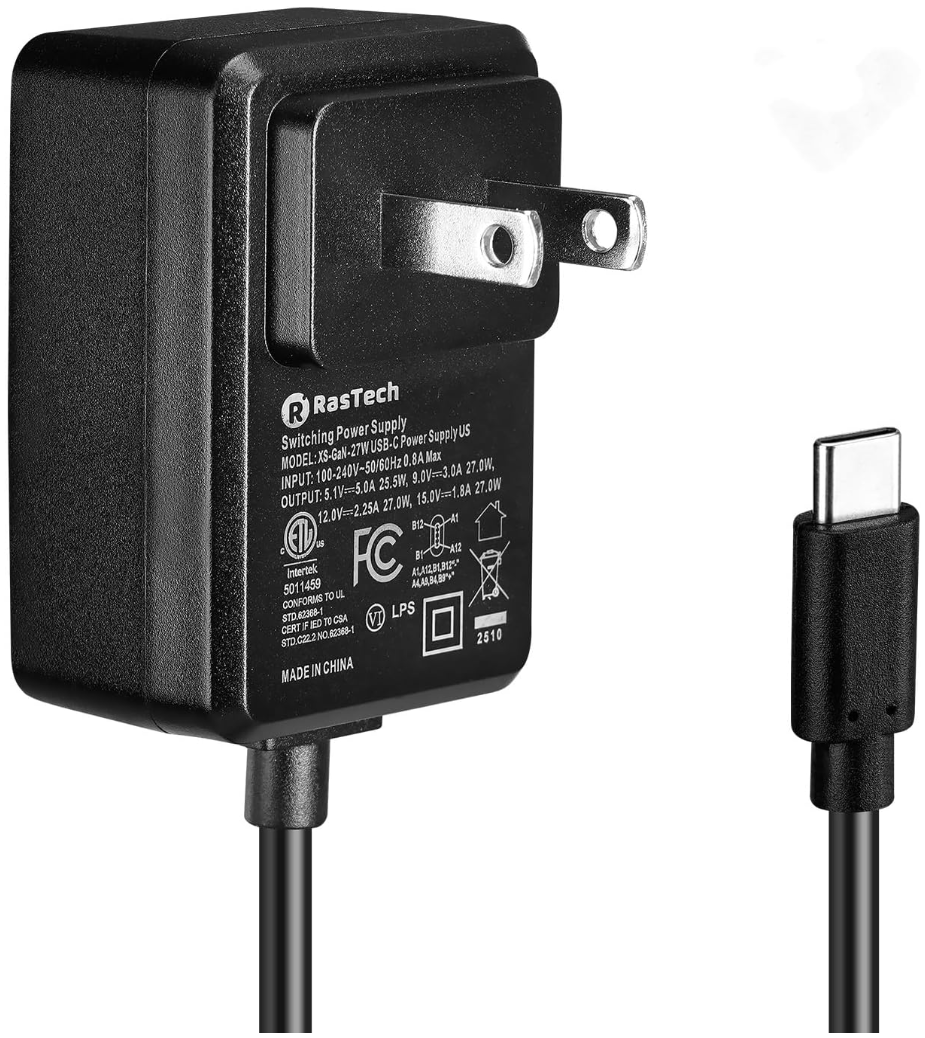
If you suspect things may be throttled or you just want to rule this out, you can use the command:
vcgencmd get_throttledA clean result looks like this:
throttled=0x0If the value is not zero, I usually will start investigating further on whether or not the machine has experienced undervoltage or throttling. You can also check things like kernel logs:
dmesg | grep -i voltageDo yourself a favor and start with a good power supply with ARM64 devices like a Raspberry Pi 5. This keeps you from chasing down weird issues, all related to not having enough power supplied.
6. Forgetting to think about cooling
ARM devices have a reputation for being super efficient and they are for a fact that. But, to avoid issues, don’t assume that it means there is zero heat. Once I start to treat a small ARM machine like it is a server, the workload starts to change. So, instead of it just sitting there idle most of the time, browsing the web, etc, if it is running continuous workloads like containers 24/7/365, those kinds of things will keep the procs under more load.
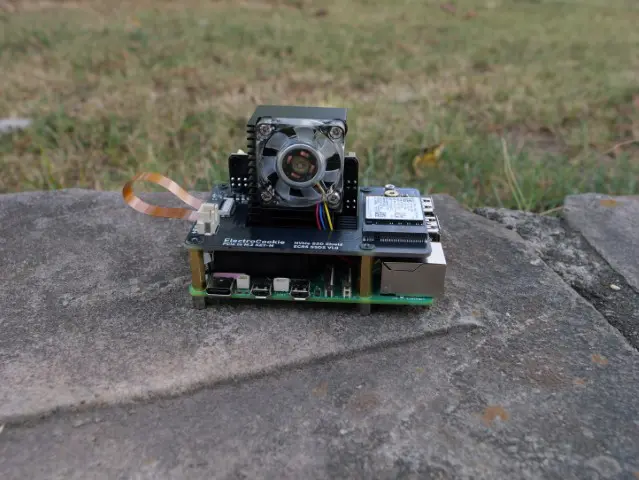
On a Raspberry Pi 5 specifically, Raspberry Pi specifically recommends active cooling for the best cooling performance, and the firmware will dynamically control fans, etc as temperatures increase. Heavy continuous load without good cooling will no doubt result in things starting to thermally throttle.
Check your temps with the command:
vcgencmd measure_tempOn standard Linux where the above command isn’t working, you can use the command:
sensors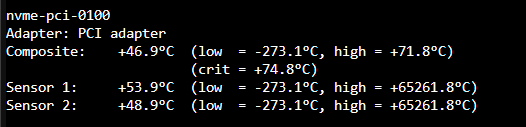
7. Expecting ARM virtualization to work exactly like x86
I think now that Proxmox ARM64 has dropped, there is going to be a more exciting conversation around ARM64 and this is great news as it gives us options in the home lab for various use cases. But even with this, running Proxmox on ARM64 doesn’t mean that you will magically see ARM hardware just turn into x86.
You will see absolutely the best results and performance when the virtualization matches the guest architecture CPU. So, this means, if you are running an ARM64 Proxmox box, you want to also run ARM64 operating systems and ARM64 apps. This will give you the best experience.
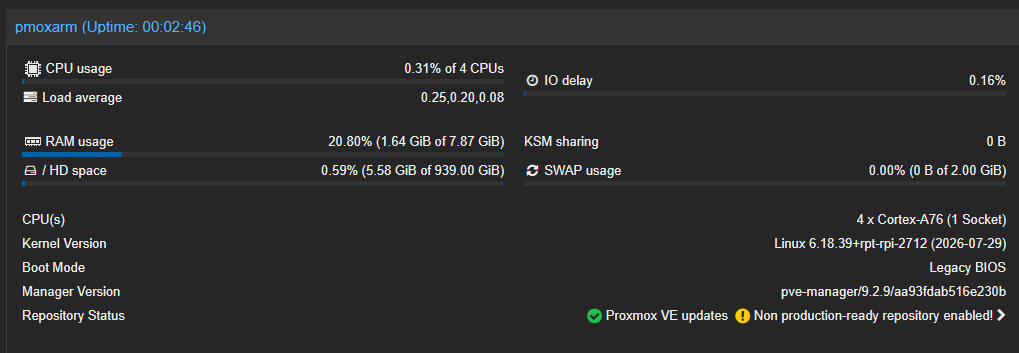
Emulation allows an abstraction layer to mimic the architecture that is expected even though the physical hardware isn’t that platform. But keep in mind that if you are having to emulate everything, you probably haven’t chosen the right platform for the job you are wanting performed.
Emulation absolutely has its place, especially for testing. But if my entire ARM strategy depends on continuously translating x86 workloads, I have probably chosen the wrong architecture for the job. Proxmox ARM64 has as a first class citizen, ARM64 KVM and LXC containers so this is all officially supported. Pick the right platform for the job.
8. Making ARM64 my entire home lab before proving the workloads
I think for me this would personally be a mistake with ARM64 right now is thinking that my “entire” home lab could reside on ARM64 hardware. I am pretty sure there would some things that probably wouldn’t run right on ARM64 quite yet. If I were starting fresh today, I would not replace every x86 server with an ARM server right from the start.
I think what I would do is do like I am doing now. Introduce a Pi 5 with Proxmox ARM64 running and start running a few of the workloads that are non critical to home lab operations or spin up something that is an extra service to bolster things I already have in place. One of my first projects is to get a DNS server running on this environment. Maybe another Technitium node so that I can have DNS also outside my main Proxmox cluster in case something happens.
Other things I think would be great is just having an ARM Docker host like an ARM64 Ubuntu server running on my Pi 5 Proxmox ARM64 environment. Also, Flatcar Linux has an ARM64 version as well. So it is great to see some of my favorites in the container space having native options here.
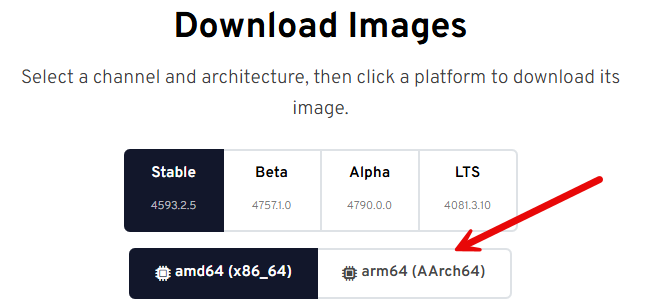
Running one of your reverse proxies on ARM would be perfect as well, or a monitoring stack. Moving services one at a time over to ARM64 would be a great way to handle a migration of sorts. And, maybe your stance like I am thinking mine will be, would be to run a hybrid environment of both. But, if you are wanting to save power, you could move the majority if suitable over to ARM64 devices and leave the ones that can’t be moved on a low power x86 platform.
| Platform | Best-fit home lab workloads |
|---|---|
| x86 Proxmox cluster | General-purpose VMs, Windows VMs, legacy apps, GPU workloads |
| ARM64 nodes | Containers, DNS, monitoring, lightweight Linux VMs, dev services, edge services |
Wrapping up
All in all, I think it is an exciting time for ARM64 home labs. We have just had a release of Proxmox that is officially supported for the ARM architecture and most apps and services now have both an x86 and an arm64 variant, whether in a container image form or an installation package. What about you? Do you see integrating and testing out more ARM64 workloads now that we have Proxmox ARM64 and also quite a variety of ARM64 SBCs?
More in this topic



Google is updating how articles are shown. Don’t miss our leading home lab and tech content, written by humans, by setting Virtualization Howto as a preferred source.
About The Author

Brandon, good one here. I have it on my list to try out Proxmox ARM64 on a Pi that I have laying around. Will take note of your list of things to avoid here too.