


If you are like me, you spend a lot of time behind the wheel of the Linux command line. I usually am connected to Proxmox hosts, Docker servers, kubernetes nodes, Linux VMs, and other types of workloads that run Linux. There are certain commands that can become almost like muscle memory and we know these commands by heart. These are commands like ls, cat, grep, ps, etc. After taking a look myself, there is a newer generation of Linux command line tools that have evolved these traditional commands into something more powerful. Here are nine modern Linux commands that you should check out.
1. I use bat instead of cat
You may like cats a lot better than bats, but when it comes to viewing the contents of files, bats might actually be better! The Linux cat command is usually one of the first commands that you might learn on Linux. If you need to look at a configuration file you can do something like:
cat /etc/hostsThat works just fine. But if you have the need to look at other config files that may be in less human-friendly formats, like YAML, JSON, scripts, or source code, cat may not be the easiest to look at.
This is where the Linux bat command comes into play. The Linux bat command describes itself as a clone of cat but with syntax highlighting and Git integrated with it. But I think that description undersells it a bit.
So instead of doing something like:
cat docker-compose.ymlYou can instead do:
batcat docker-compose.ymlIt is super easy to install as well:
apt install bat -y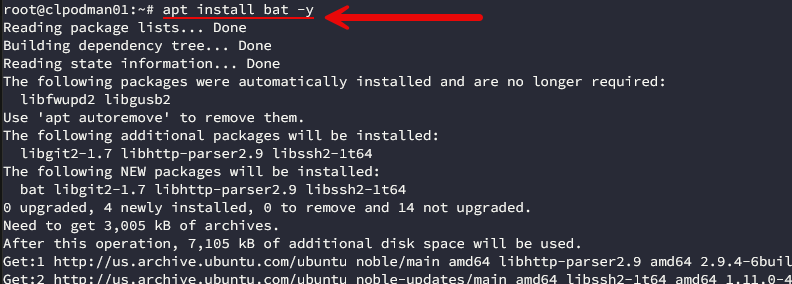
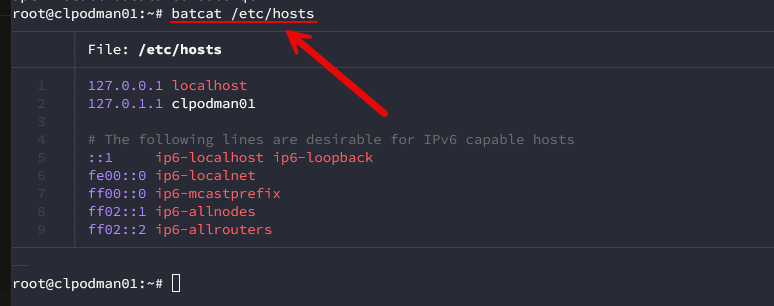
Here is what it looks like if you look at something like your hosts file. You can see everything is a lot more nicely formatted than just a simple cat output.
2. I use fd instead of find
If you are looking to find something in Linux, the traditional tool to do that is the find command. It is super powerful for what it does.
A basic search syntax if you are looking for something might look like this:
find /etc -name "*.conf"That isn’t too bad to use. But, if you want to start combining things and certain conditions, that is where the syntax for find can get extremely complicated. But this is where the more modern fd command is a lot simpler.
On Debian/Ubuntu, you can install it with this command:
apt install fd-find -y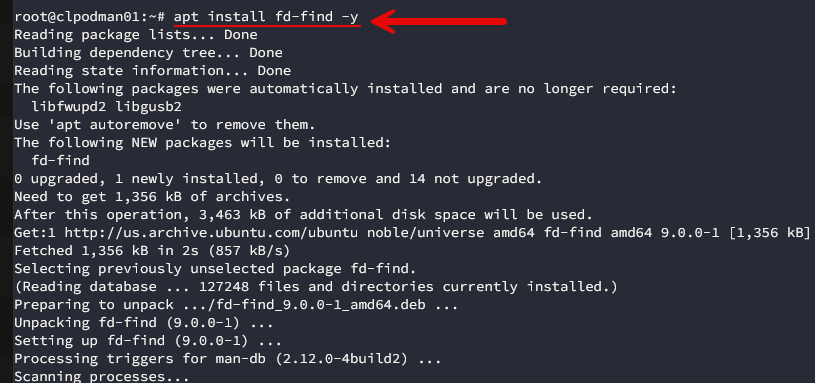
Now, you might think the command to run the new fd utility is “fd”, but just like “bat” it is different. You issue the command with:
fdfindYou can also use an alias if you want to, to make it “fd” as would be more intuitive.
echo "alias fd='fdfind'" >> ~/.bashrc
source ~/.bashrc
Now if you want to find everything that is a conf file in “/” you can do:
fdfind -t f -e conf . /If you also want to search for hidden files also, you can add the “-H” parameter like this:
fdfind -H -t f -e conf . /3. I use ripgrep instead of grep
Another well known tool that you can use in Linux is grep. You will constantly see it listed as a tool to use to find and flesh out various text/files. However, there is another tool that is a great replacement for grep that you may not have heard of and that is ripgrep.
You can install it this way:
apt install ripgrep -y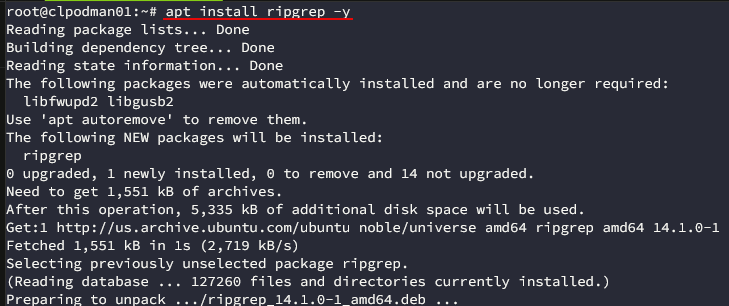
Again, even though the package is “ripgrep”, the actual command is:
rgYou can check the version after you install it with:
rg --versionNow if I want to search for a specific text in a directory, I can do this:
grep -R "10.10.10.50" .But I can do this with ripgrep:
rg "10.10.10.50"If I want to find a specific pattern and then specify the type of files to search, I can do:
rg "10.10.10.50" -g "*.txt"4. I use dust instead of du
If you are needing to see what is going on with your disk space, most of us reach for the “du” command. This is the du command that usually is a very helpful and common command to get to the bottom of disk space issues.
du -sh *But, check out the ncdu command. You can install it using the following install command:
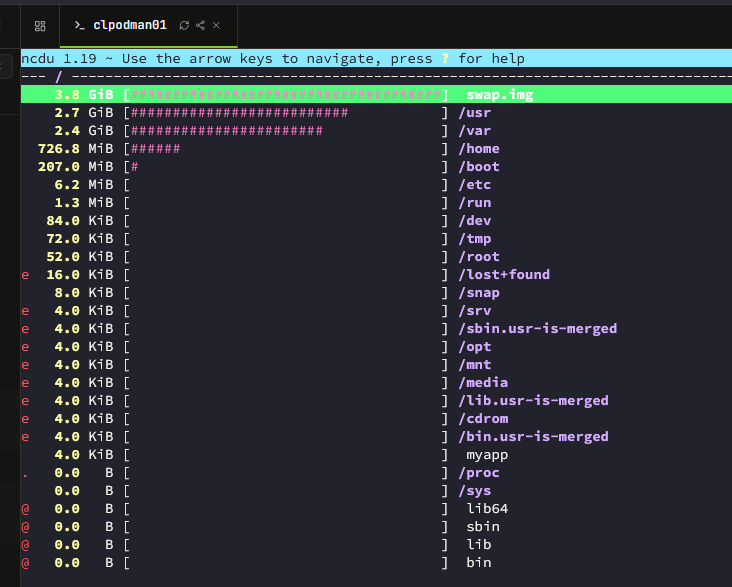
apt install ncdu -yWhichever directory you are in currently is where ncdu will start checking disk space when you launch it. For instance, I was in the “/” directory as I wanted to see everything. So you can just simply launch:
ncduIt will give you a TUI graphical display of the current disk space on your machine and what is taking the space. You can arrow between the folders and it will show you the listing of space for each directory underneath.
5. I use btop instead of top
For a quick look at the performance on a Linux system, traditionally the old school tool is the “top” command. I can’t tell you how many times I have typed:
topBut, for a more powerful tool that you can use from the command line that is a little more intuitive is btop.
You can install it with the command:
apt install btop -y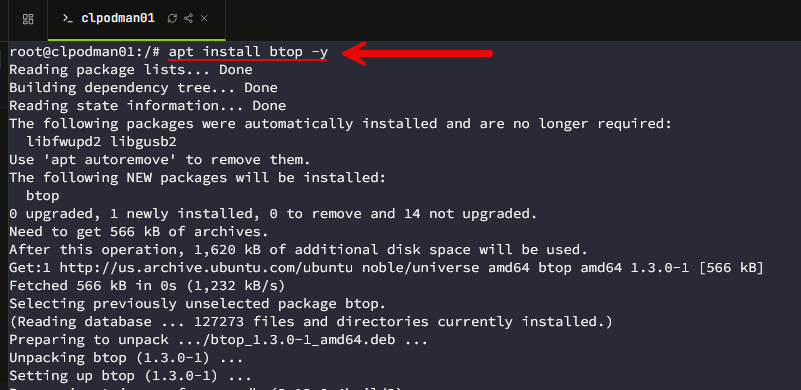
Then to launch it, you can simply do:
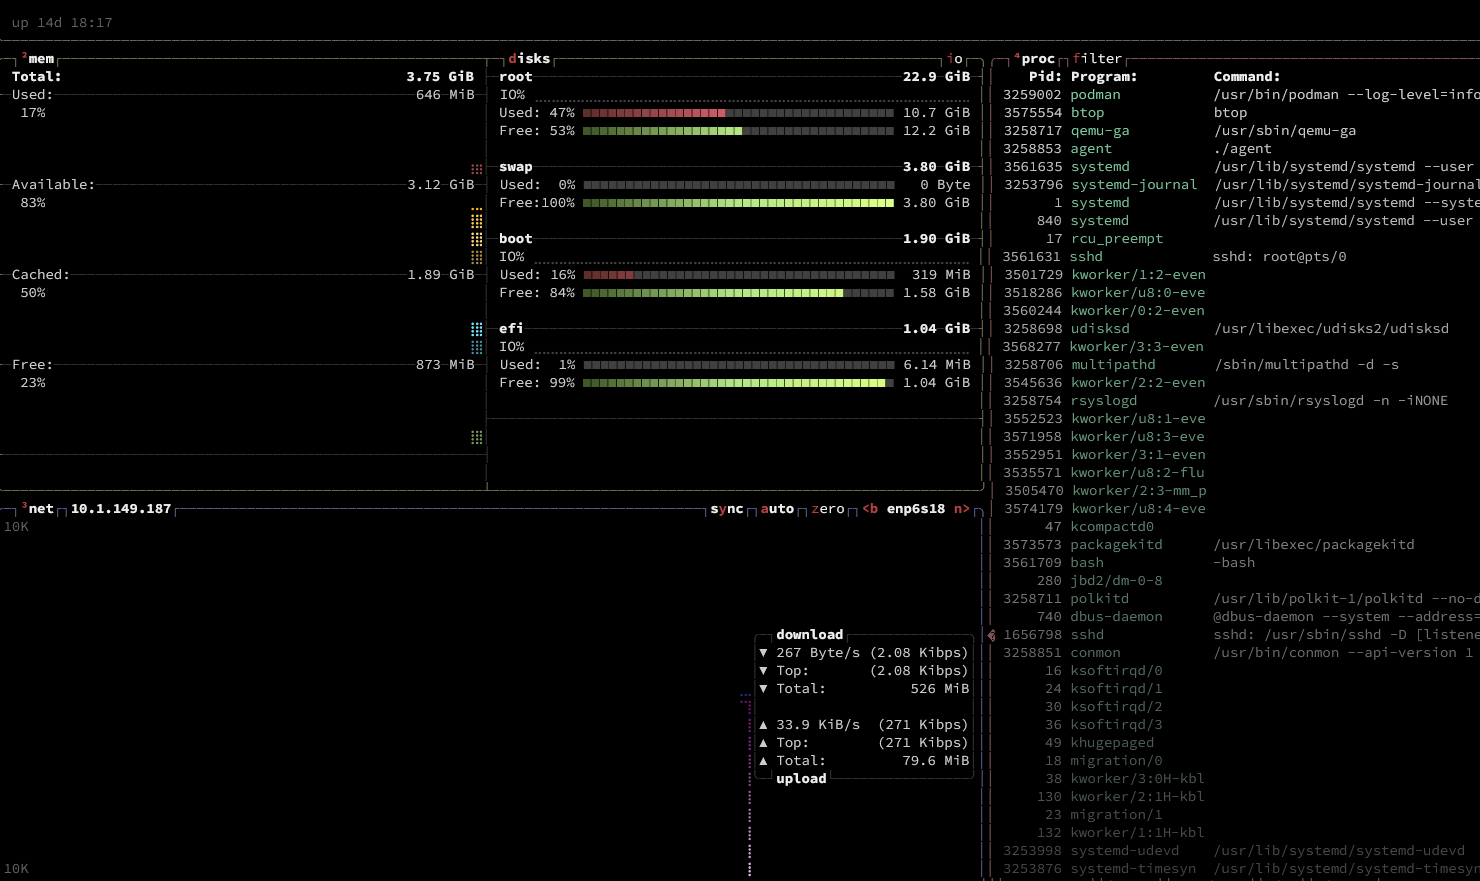
btopAs you can see, it gives you a clear view of CPU, RAM usage, networking, processes, etc.
6. I use eza instead of ls
There is no question that the traditional Linux command “ls” isn’t going anywhere anytime soon. If you are like me, I constantly type the following when looking at directory structures to see what’s in them.
ls -lahBut there is a tool if you haven’t heard about it called eza. You can install it with:
apt install eza -y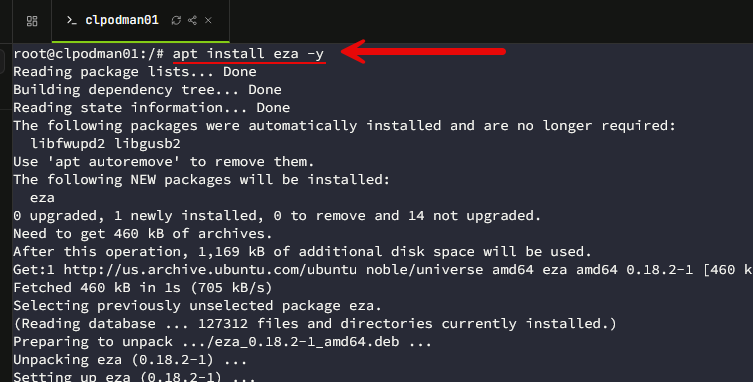
Then you can run a basic directory listing using the following:
ezaFor a detailed listing, you can add the “-lah” parameters:
eza -lah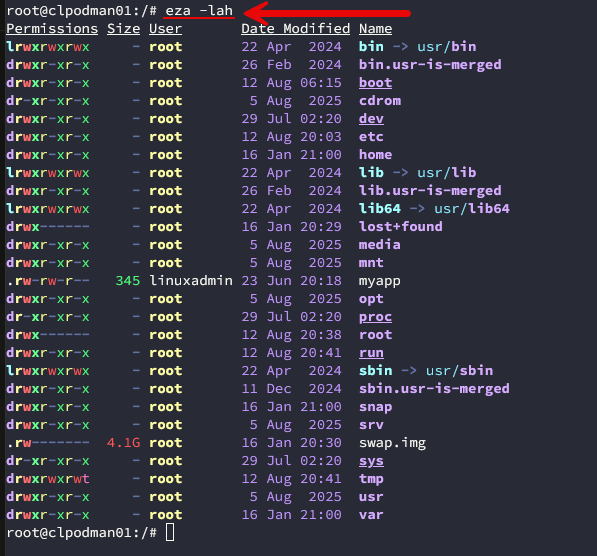
One of my favorite features is the built-in tree view:
eza --tree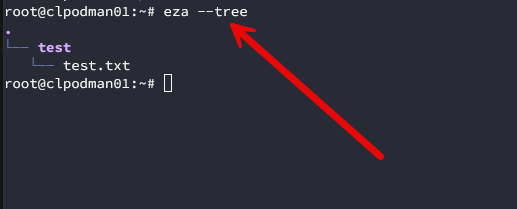
It can also display Git information if you are working with git from the command line:
eza -lah --git7. I use gping instead of ping
The ping command is probably the most universally known networking commands either in Linux or Windows. Everyone seems to know this one as this is one of the first troubleshooting commands you learn in networking or computers in general
ping 10.1.149.1But did you know there is another command that is great if you want to watch latency over time? The command you need to know is gping. You can install it with:
apt install gping -ySo, then, instead of running the traditional ping command like you normally would:
ping 10.1.149.10You can run this:
gping 10.1.149.10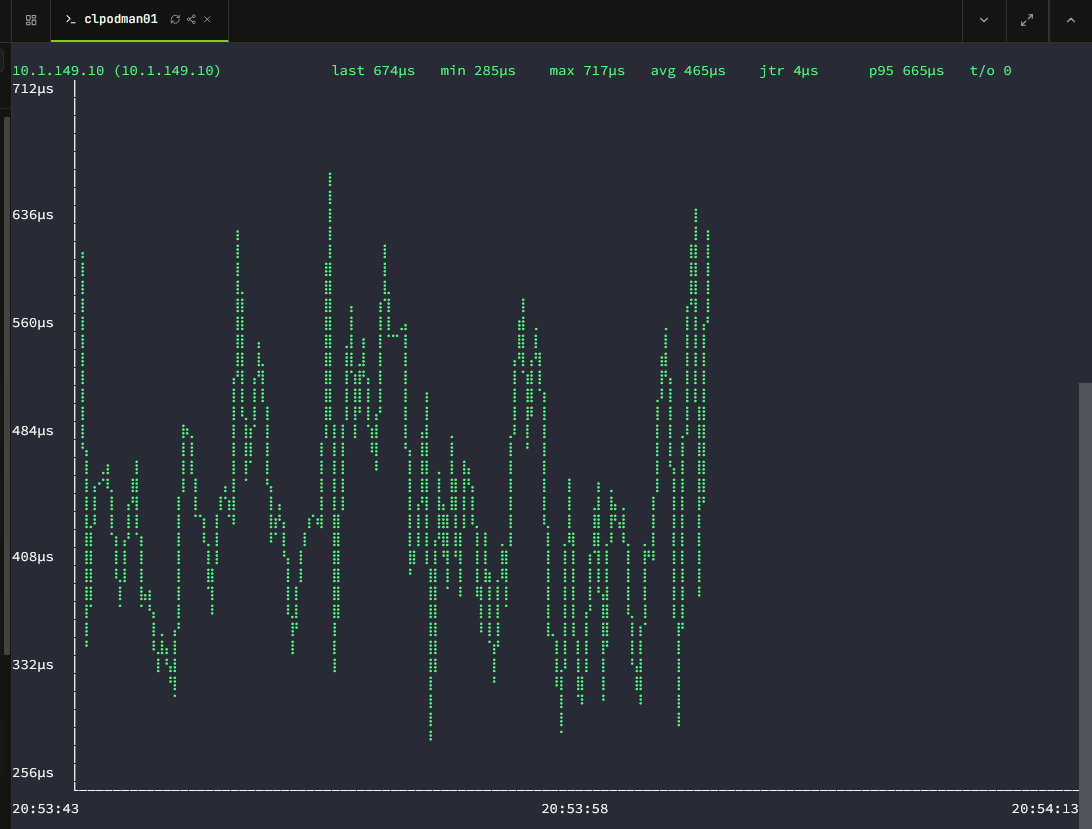
Also, very cool is that it allows you to ping and graph mutliple hosts at once:
gping 10.10.10.1 10.10.10.2 8.8.8.8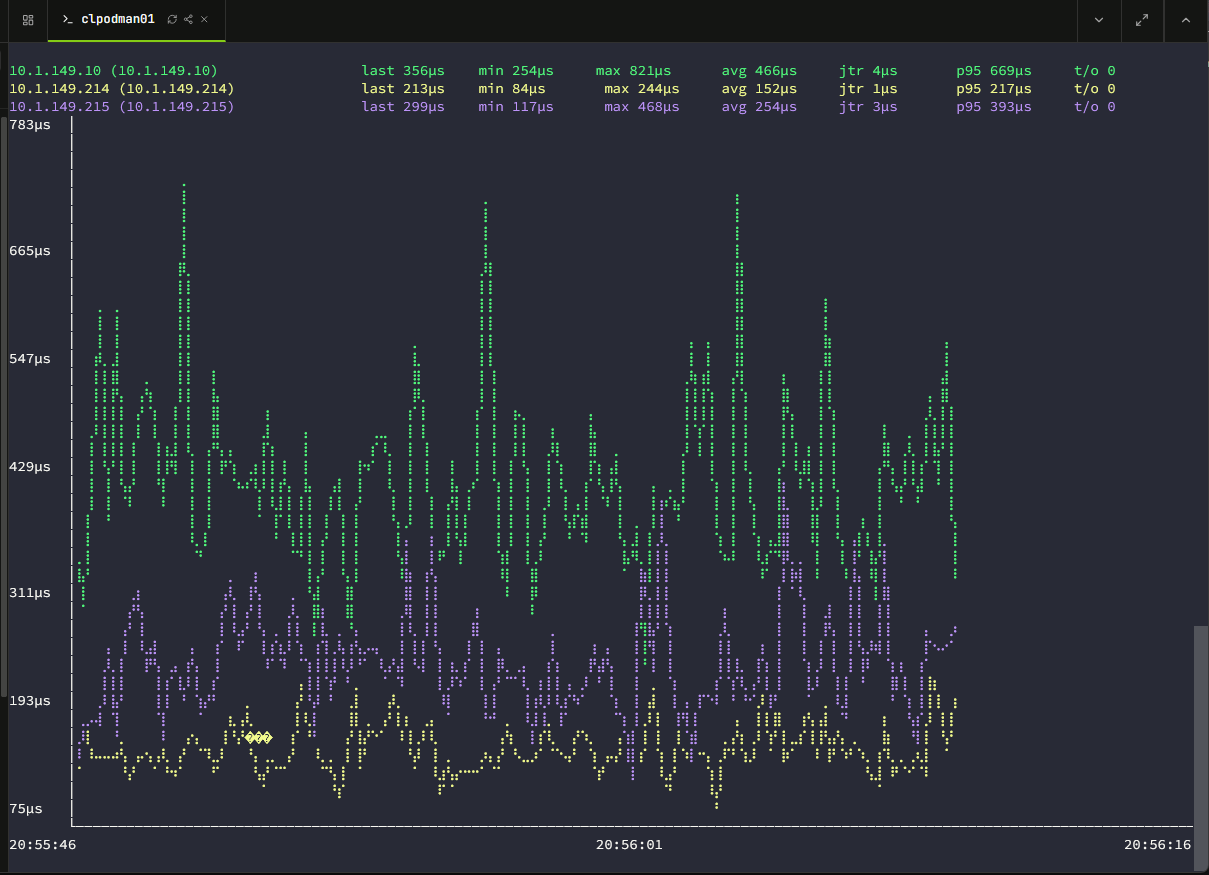
8. I use zoxide instead of repeatedly typing long cd paths
Using the cd command is one of the commands that like top or ls is just a basic tool. Granted there is nothing wrong with issuing a cd with a path like the following:
cd /var/lib/something/something-else/configBut if you are jumping between directories that are many levels deep, this can be a chore to deal with. The zoxide command makes this much easier as it “learns” the directories you use.
You can install it using the command:
apt install zoxide -y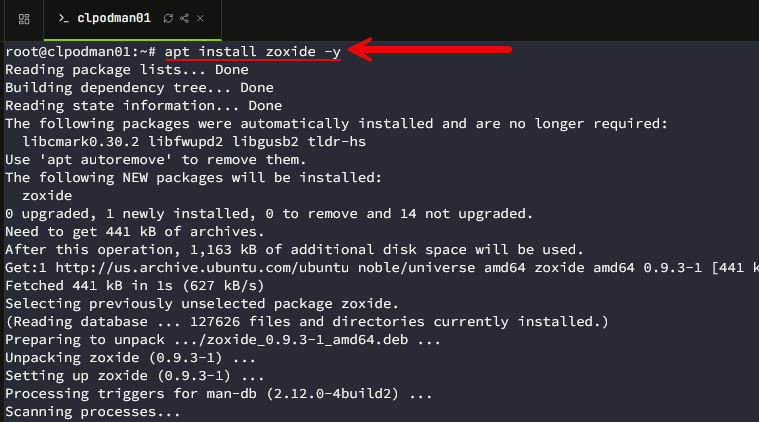
The next step is to initialize it in your shell. With bash, you can do this by adding this to your bashrc file using the following:
eval "$(zoxide init bash)"Now, you can just start “cd-ing” into directories to start building the history. Below, you see that I visit the “test” directory under my home directory. Then I go back to root and then just type:
z testIt takes me there automatically without the full path:
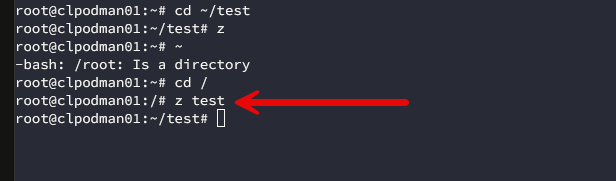
You can install almost the entire toolbox at once
One of the cool things you can do is just install this entire toolset at once. You can do that with the following couple of lines:
apt update
apt install bat fd-find ripgrep ncdu btop eza gping zoxide -y
Wrapping up
Hopefully in this list of commands that are newer and provide more functionality, you will see at least one that is useful in your home lab environment. There is nothing wrong with the traditional Linux commands. They have worked for decades and they will continue to work for decades more. But there is no harm in using commands that have built on top of the functionality provided by Linux in the box and making things easier. What about you? Have you used any of these newer commands or have a command that I haven’t listed here? Let me know in the comments.
More in this topic



Google is updating how articles are shown. Don’t miss our leading home lab and tech content, written by humans, by setting Virtualization Howto as a preferred source.
About The Author
