
Xen Orchestra (XO) is the “vcenter like” frontend tool for managing XCP-ng hypervisor. It is freely available from Vates along with the free XCP-ng hypervisor as a xen orchestra turnkey appliance (XOA). One of the extremely cool things you can also do is build and install XO from source. In this post, we will look at the steps needed to build Xen Orchestra from source code.
1. Preparing a host for your Xen Orchestra install
The first step that I took to build Xen Orchestra from source code is getting a VM in place that will house my installation. I chose a simple Debian 12 virtual machine with patches installed. You can also use Ubuntu Server if you like as well as most Linux distros will work here. There were a few tools that I went ahead and installed on the Debian VM, packages XO server needs we can use. To install you will either want to be logged in with a root user or have a sudo bash user configured.
The requirements for the virtual machine are nothing special. I just have a simple system with 4 vCPUs and 4 GB RAM.
sudo apt install git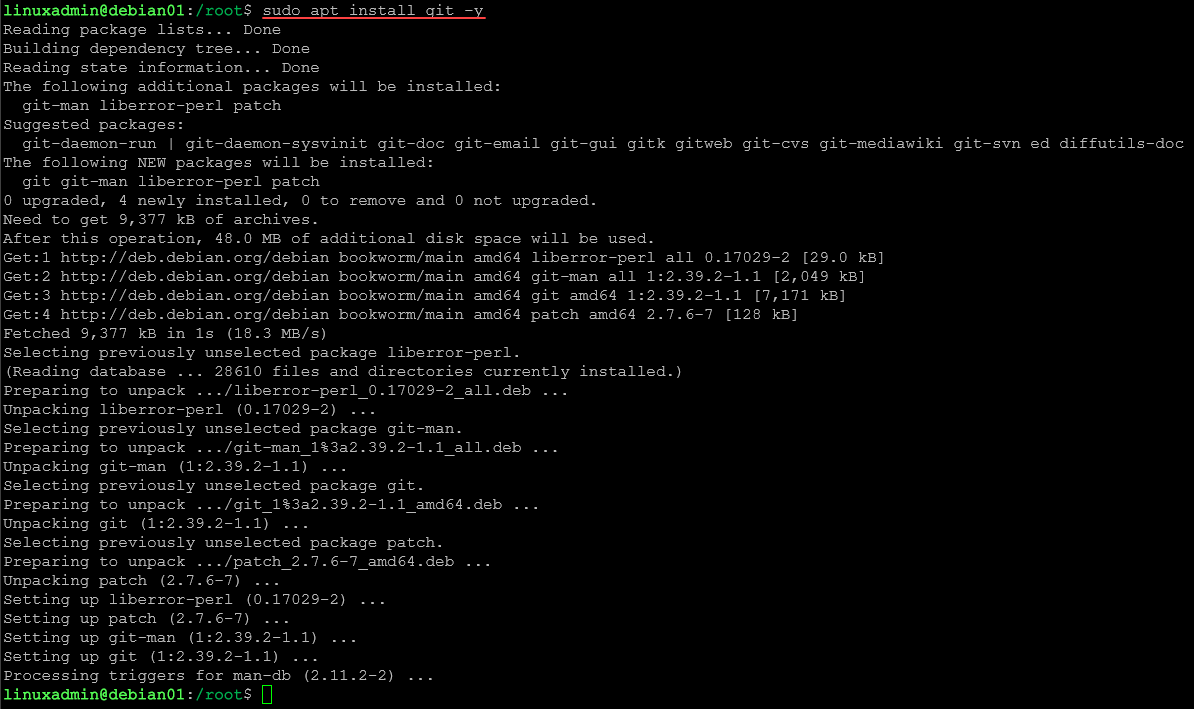
Then I installed openssl. This will be used to create a certificate and key that we will point to in the install configuration file.
sudo apt install openssl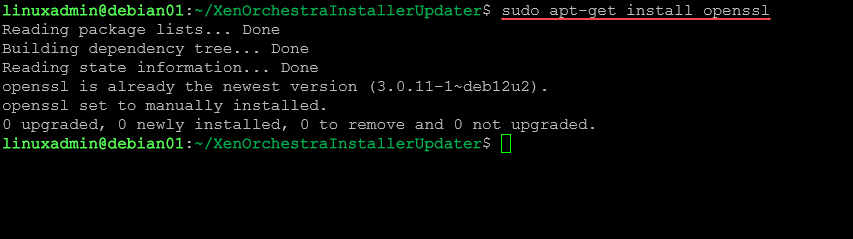
2. Clone the Xen Orchestra Repository
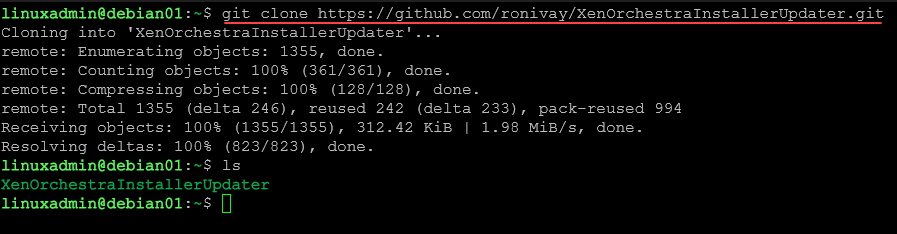
The next step that we need to do is clone the Xen Orchestra repository from Git. To do that, there is a simple command we need to run, utilizing the git command that we installed in step 1. This will clone down the Github – ronivay repo for XOinstallerUpdater.
git clone https://github.com/ronivay/XenOrchestraInstallerUpdater.gitBelow I have cloned the repo down and then we are listing out the home directory. We can see the XenOrchestraInstallerUpdater folder.
3. Copy the sample.xo-config file
Now, we need to change into the cloned down directory and copy the sample.xo-config file. There is a provided file that is used to configure the installation script. We can change things like the port, point to SSL certificates, and more.
cp sample.xo-install.cfg xo-install.cfg
Below, we can see the contents of the XenOrchestraInstallerUpdater folder.

4. Edit the xo-config file
Now that we have copied the sample to the xo-config file, we can edit this file and change a couple of things related to the SSL configuration.
First, let’s change the port to 443.
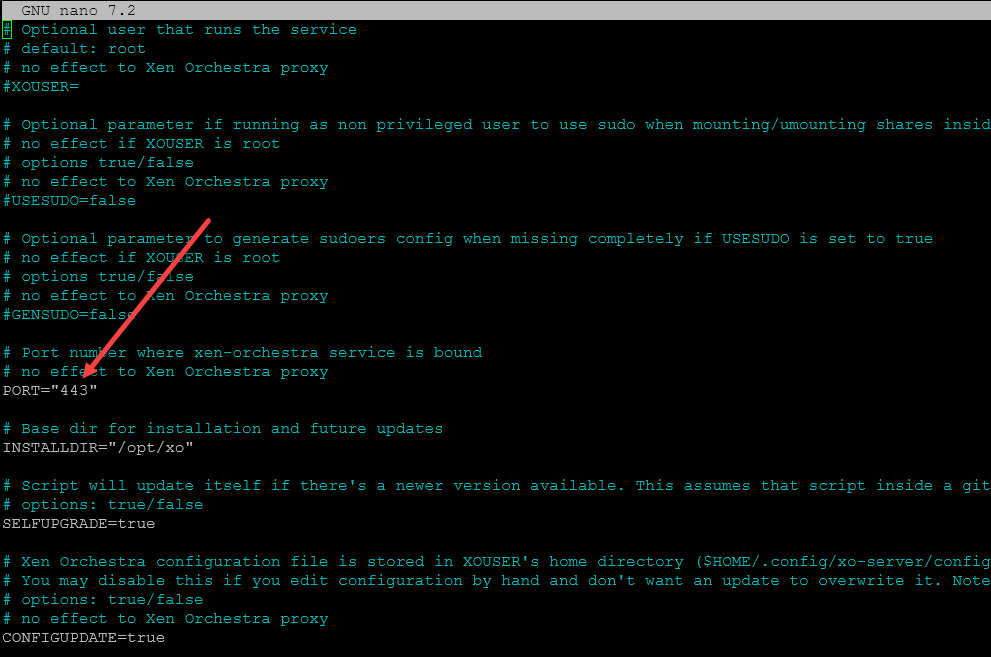
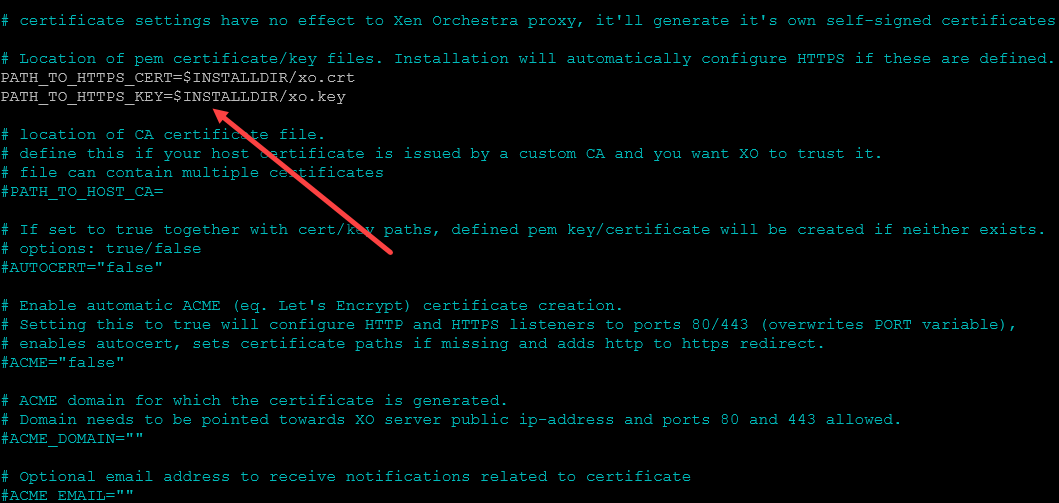
Scroll just a little ways down in the file, and you will see the following. Uncomment out the paths to the xo.crt file and the xo.key file. As you can see, by default, it will use the $INSTALLDIR variable, which points to the /opt/xo directory. However, you can change this to any directory you want to use to house the certificates, such as the etc ssl directory.
5. Generate a self-signed certificate and key file
Now that we have edited the install configuration file, we need to create the certificate and key file the install config points to. We can do this easily since we have installed the openssl command on our Xen Orchestra host.
sudo openssl req -newkey rsa:4096 -x509 -sha256 -days 3650 -nodes -out /opt/xo/xo.crt -keyout /opt/xo/xo.key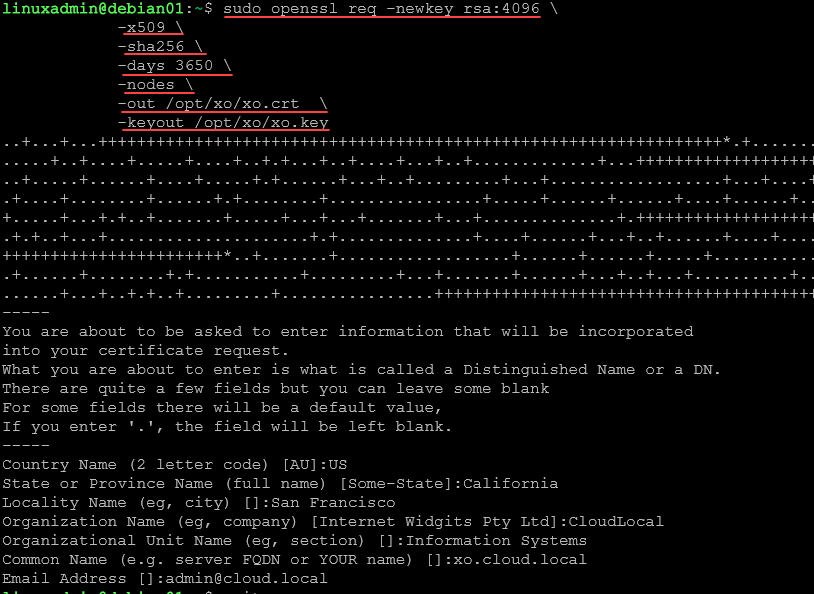
6. Run the installation script
Now that we have all the pieces in place, we can run the installation script.
sudo ./xo-install.sh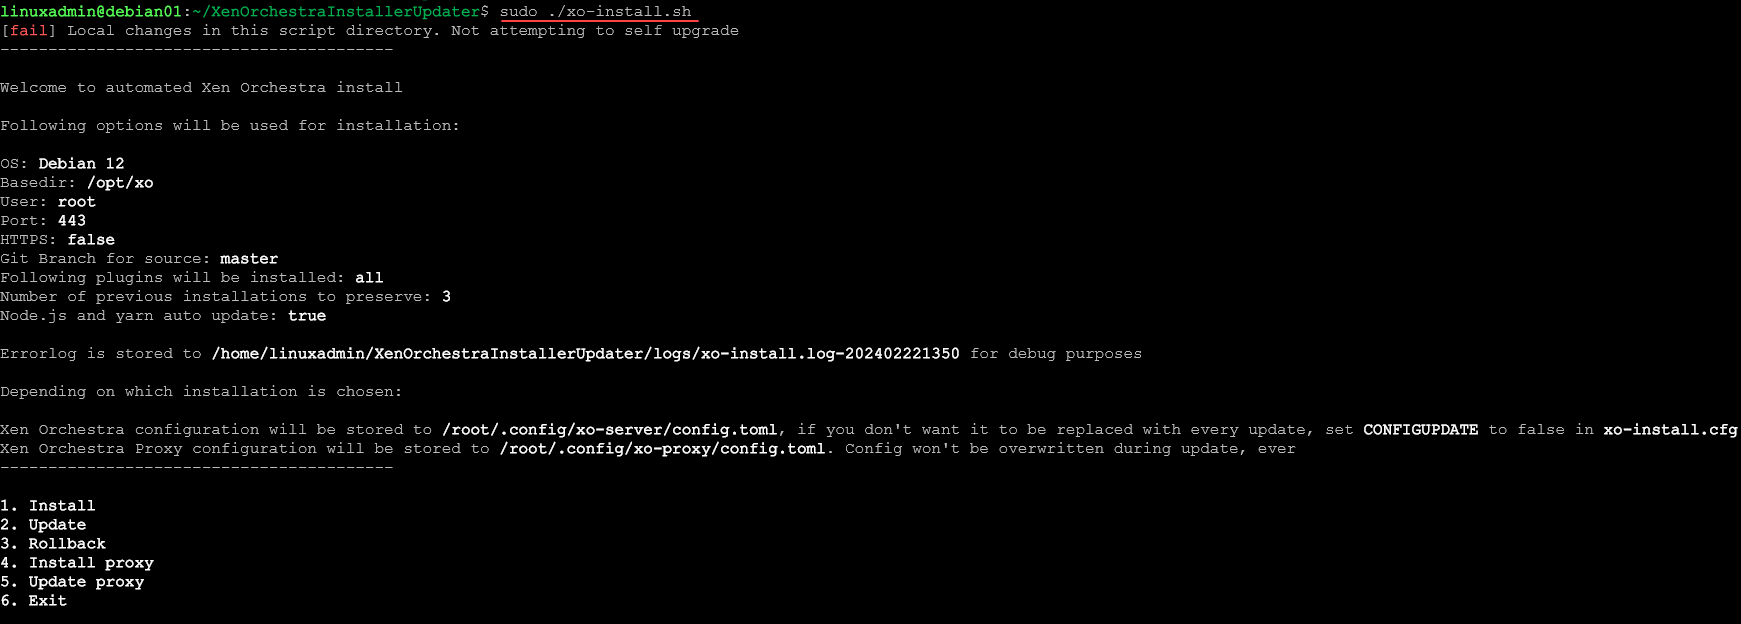
Since this is a new installation, we will choose the Install option.
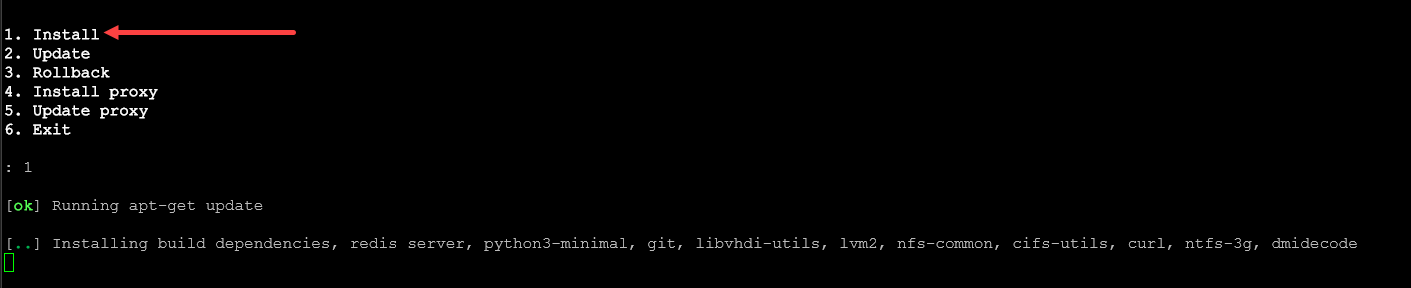
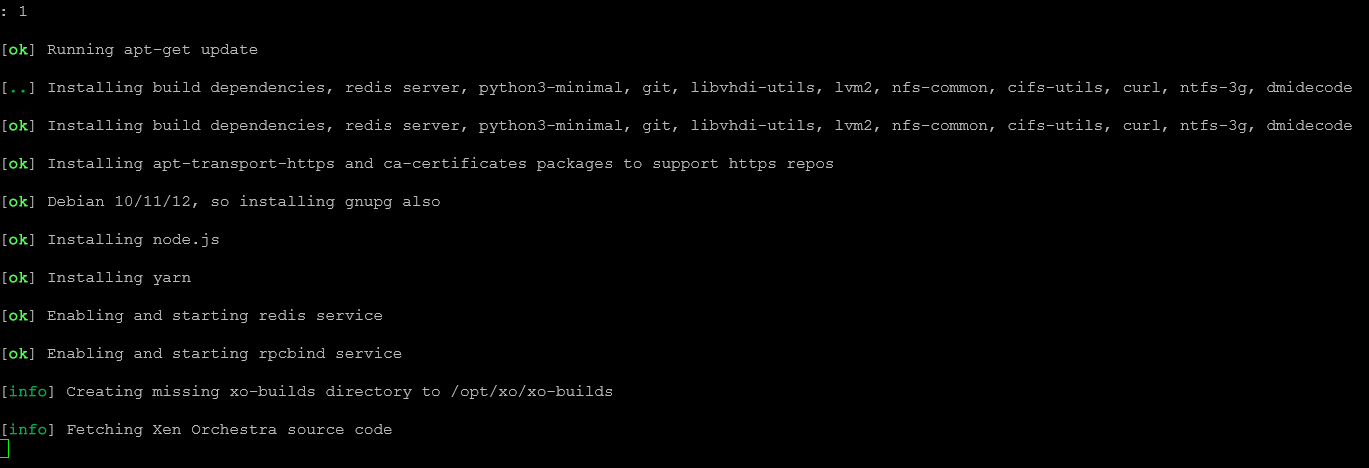
It will install some dependencies as part of the first leg of the process, including node.js, yarn, redis, and others.
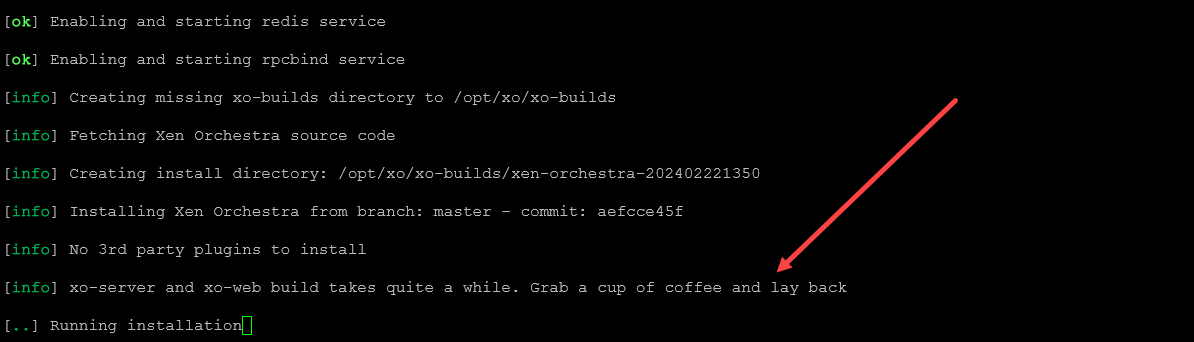
The longer part of the installation begins where it builds from source. This is where you will benefit from assigning a few vCPUs to your VM to help with the compile and make speeds for building the software.
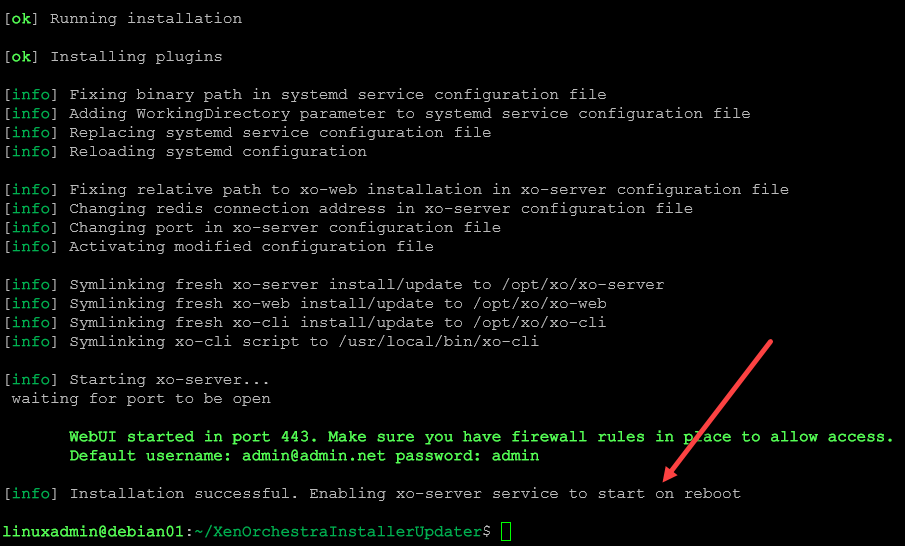
The installation completes successfully. You will see the message that it is enabling xo-server service to start on reboot.
7. Log in to your new Xen Orchestra install
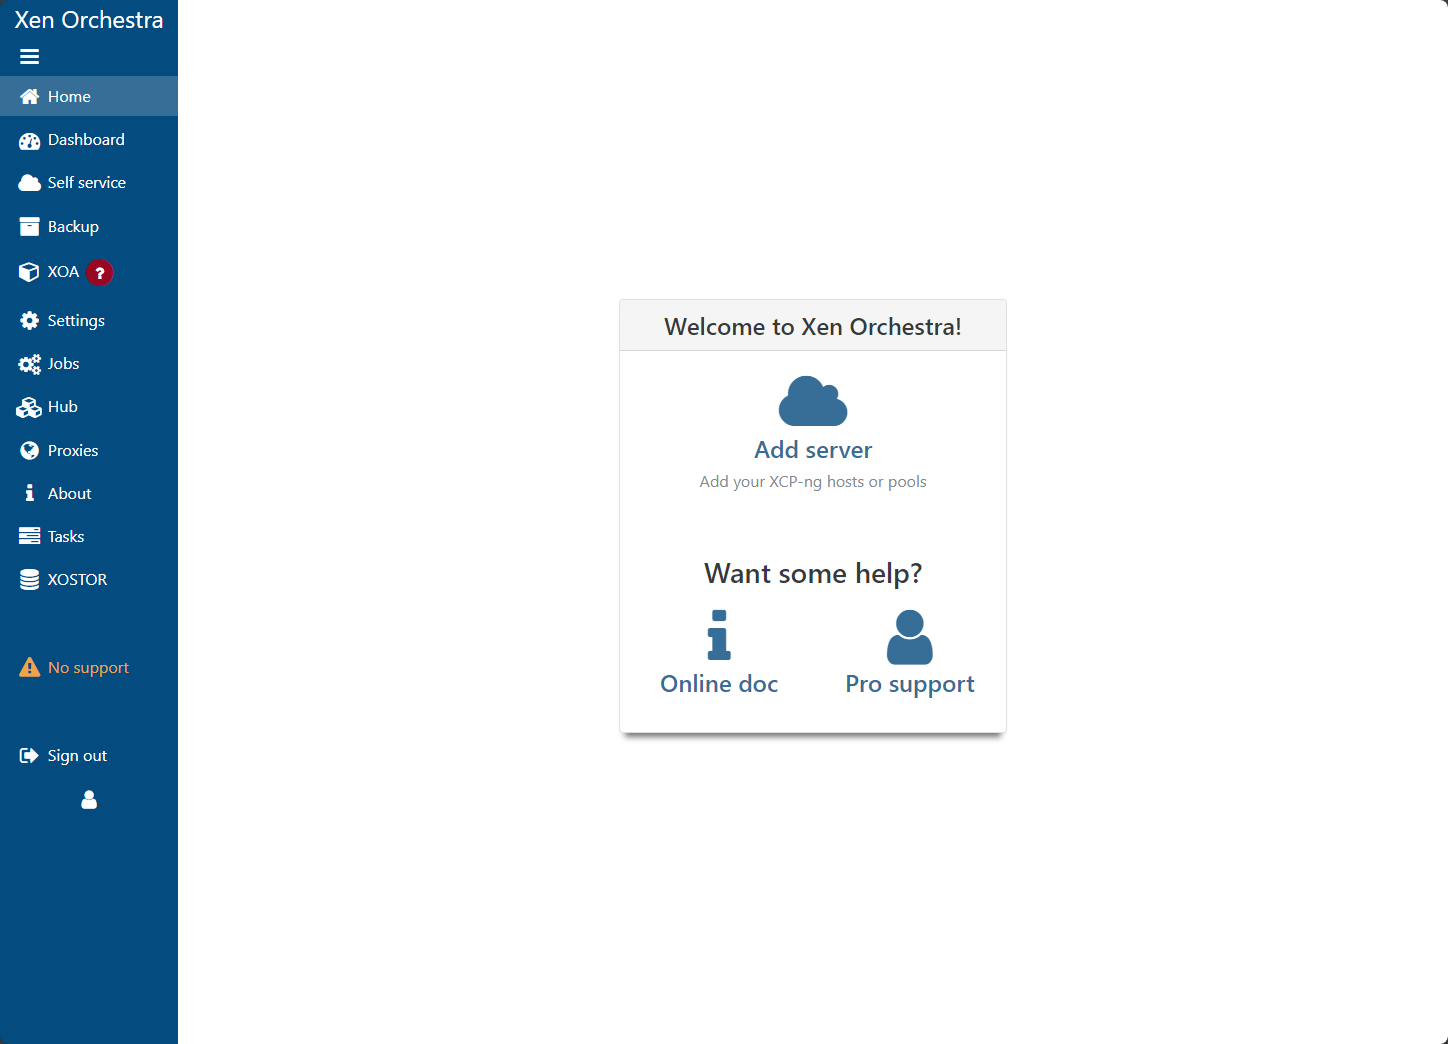
Once the installation finishes, we can browse out to the web interface of the Xen Orchestra host in a browser. You will be able to login using the credentials noted at the end of the installation script:
user: [email protected]
pass: admin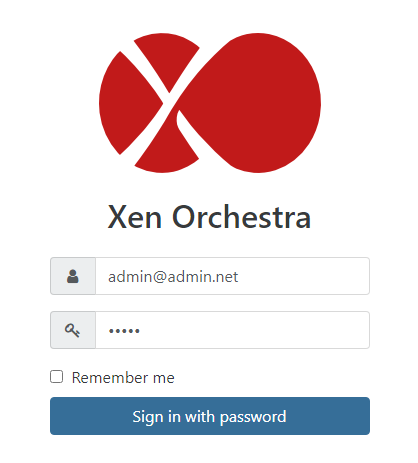

Successfully logged into Xen Orchestra dashboard interface for management and ready for configuration.
Configuring the XO Server
Post-installation, configuring your XO server is the next step. This involves changing the default password out of the manual build of XO in the configuration file and adding your XCP-ng host or hosts, among other things. You can set up your plugins you would like to use in XO, etc.
Advanced Configuration and Tips
Beyond the basic setup, advanced configuration options can be used to optimize Xen Orchestra’s performance. You can adjust vm image settings and secure your connections with valid, trusted certificates.
Updating your Xen Orchestra installation
To update Xen Orchestra you can use the same script as an update script to ensure your installation remains up-to-date. When you choose to update your appliance, it will apply the latest updates from the GitHub repository to spin up the newest version of XO. Regular updates introduce new features and address security vulnerabilities.
Resources
A great resource for all things XCP-ng in the community is Tom Lawrence from Lawrence systems. He is a wizard with XCP-ng. Most likely if you have a challenge with XCP-ng or a problem you are working through, Tom has likely written about it or created video content around the subject. Take a look at his YouTube channel here:
Wrapping up
The process to build Xen Orchestra from source code allows having the latest and greatest patches and bug fixes available in your Xen Orchestra installation. While this provides a free version of Xen Orchestra, the Xen Orchestra appliance is also free, including the backup solution that is built into the appliance.
You can read the official documentation to learn more about the features included in Xen Orchestra. Whichever installation method you choose, Xen Orchestra from Vates is a great solution to manage XCP-ng and virtual machines for a production virtualization environment that is very similar to many of the things you can do in vCenter Server with VMware.
Google is updating how articles are shown. Don’t miss our leading home lab and tech content, written by humans, by setting Virtualization Howto as a preferred source.
About The Author


You had one minor gripe! Section 4 you didn’t identify step by step how to get to the editor! Short of that its going smooth!
Kris,
Thanks so much for the comment and pointing this out. I will get this corrected.
Brandon