Install Pi-Hole in Ubuntu 24.04 LTS

Pi-Hole is arguably one of the most popular ad-blocking solutions for home networks and home labs. Likewise, Ubuntu is one of the most popular Linux distros around. While Ubuntu 24.04 LTS is still in beta, let’s look at installing Pi-Hole on Ubuntu 24.04 LTS and see what we need to do to get Pi-Hole installed.
Table of contents
Install Ubuntu 24.04 LTS Server
The first thing you need to do is install Ubuntu 24.04 LTS Server. This process is straightforward and involves installing a physical or virtual machine as the platform for installing Pi-Hole. You can download the Ubuntu 24.04 LTS Server ISO here: Ubuntu 24.04 (Noble Numbat) Beta.
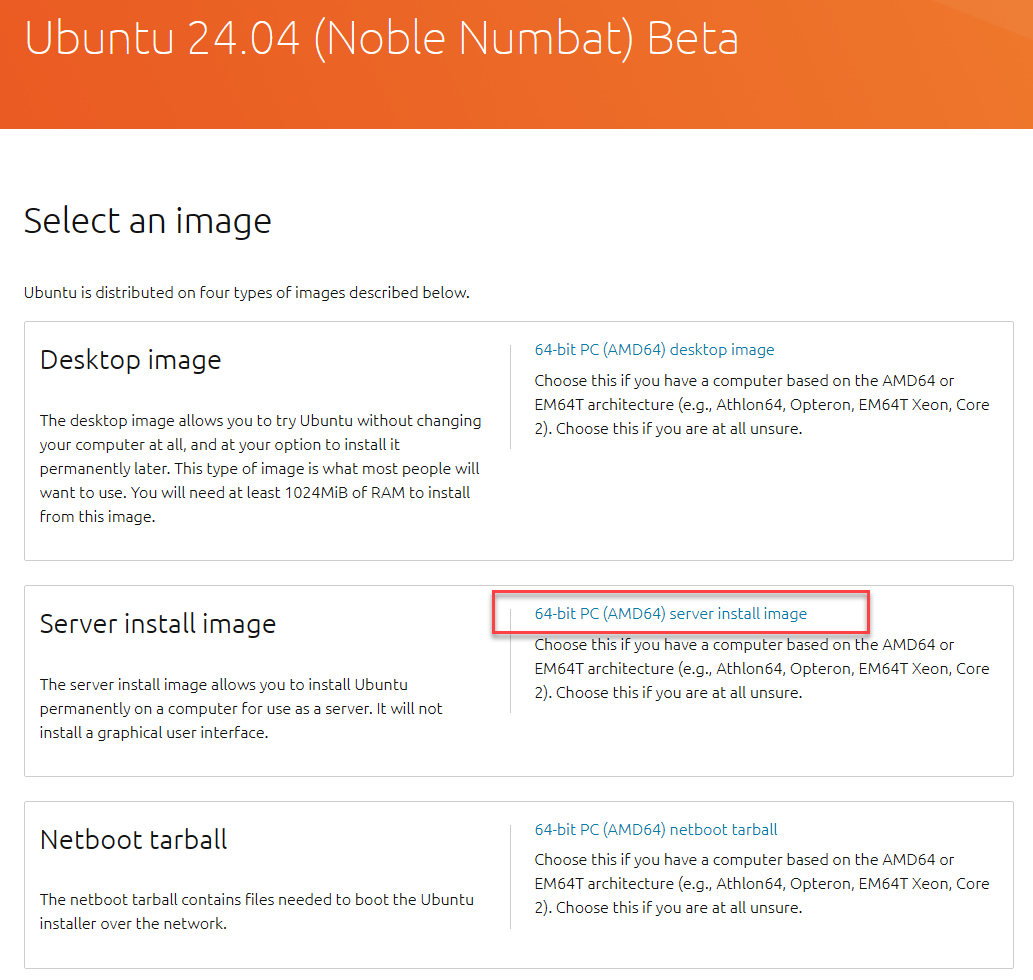
Once you have the machine up and running, we can get started installing Pi-Hole in Ubuntu.
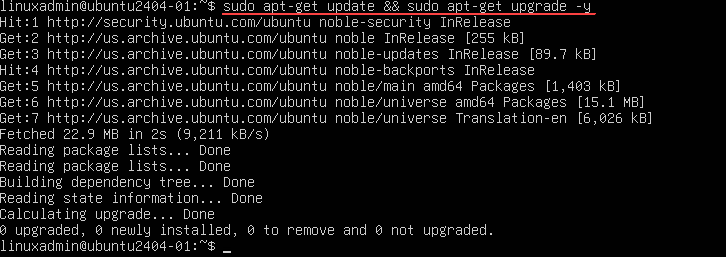
I went ahead and checked for Ubuntu updates, even though this is a beta release. You can do that with:
sudo apt-get update && sudo apt-get upgrade -yAs you can see below, running the update and upgrade command shows there are no updates available. This is due to the fact in this case that we have installed a beta release.
Not supported
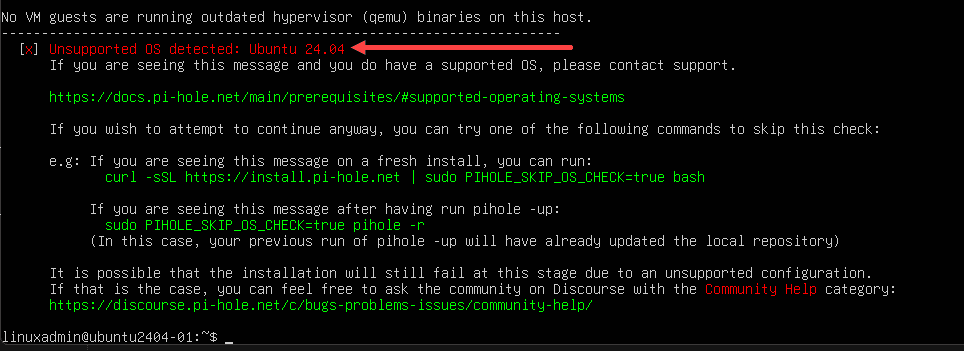
Since Ubuntu 24.04 LTS is still beta and not supported as of yet, we need to do something special to get Pi-Hole installed on Ubuntu 24.04 beta.
To install Pi-Hole normally, you run the following:
curl -sSL https://install.pi-hole.net | bashHowever, you can see we get the following error message.
Workaround
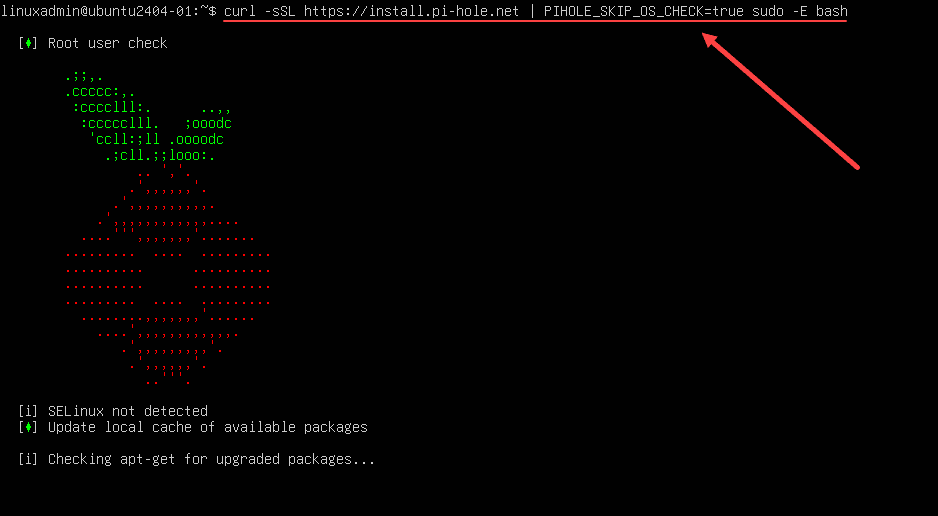
We need to apply a command line parameter to install Pi-Hole for testing on Ubuntu 24.04 LTS beta:
curl -sSL https://install.pi-hole.net | PIHOLE_SKIP_OS_CHECK=true sudo -E bashWhen we do this, it skips the OS check and will begin the installation.
Install Pi-Hole in Ubuntu 24.04 LTS
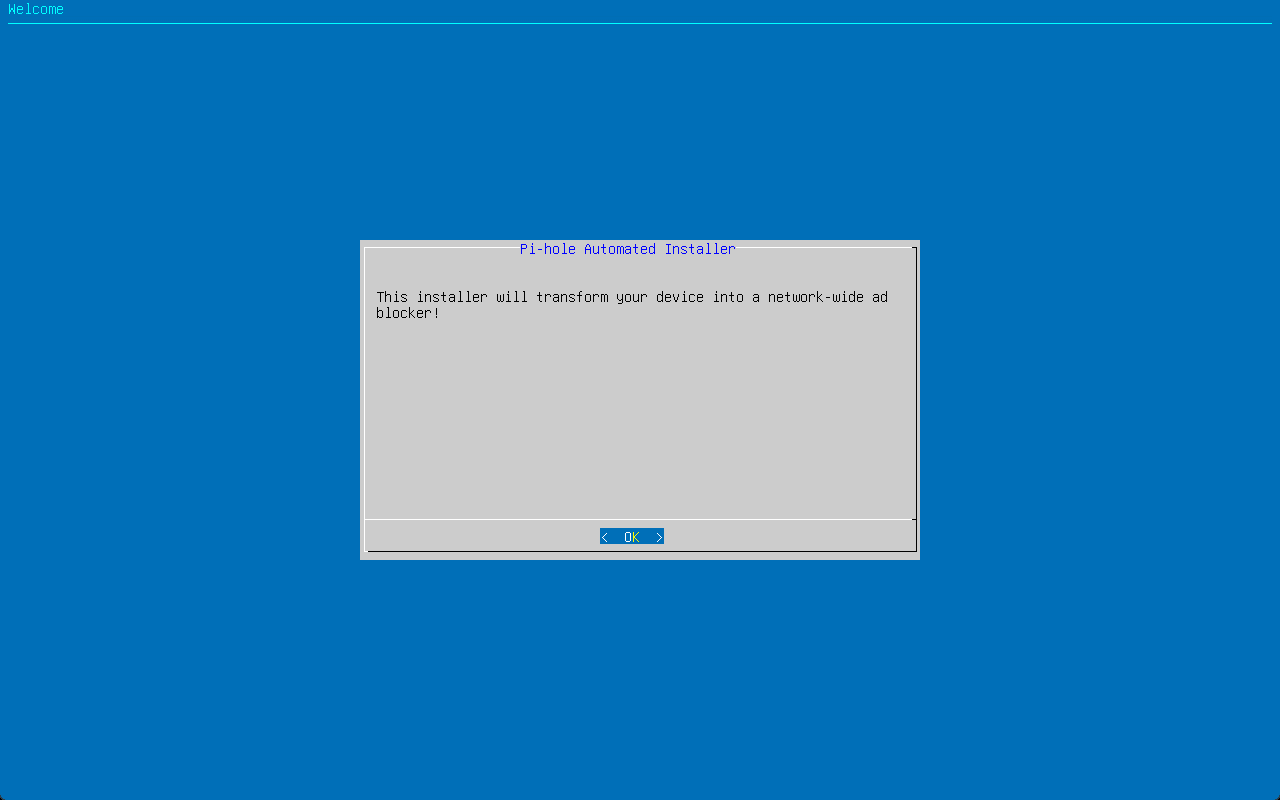
Now, that we have run the command line switch, we can install Pi-Hole on Ubuntu 24.04 LTS. Let’s look at the screenshots of the installation.
You will see the following splash screen after getting pas the OS check.
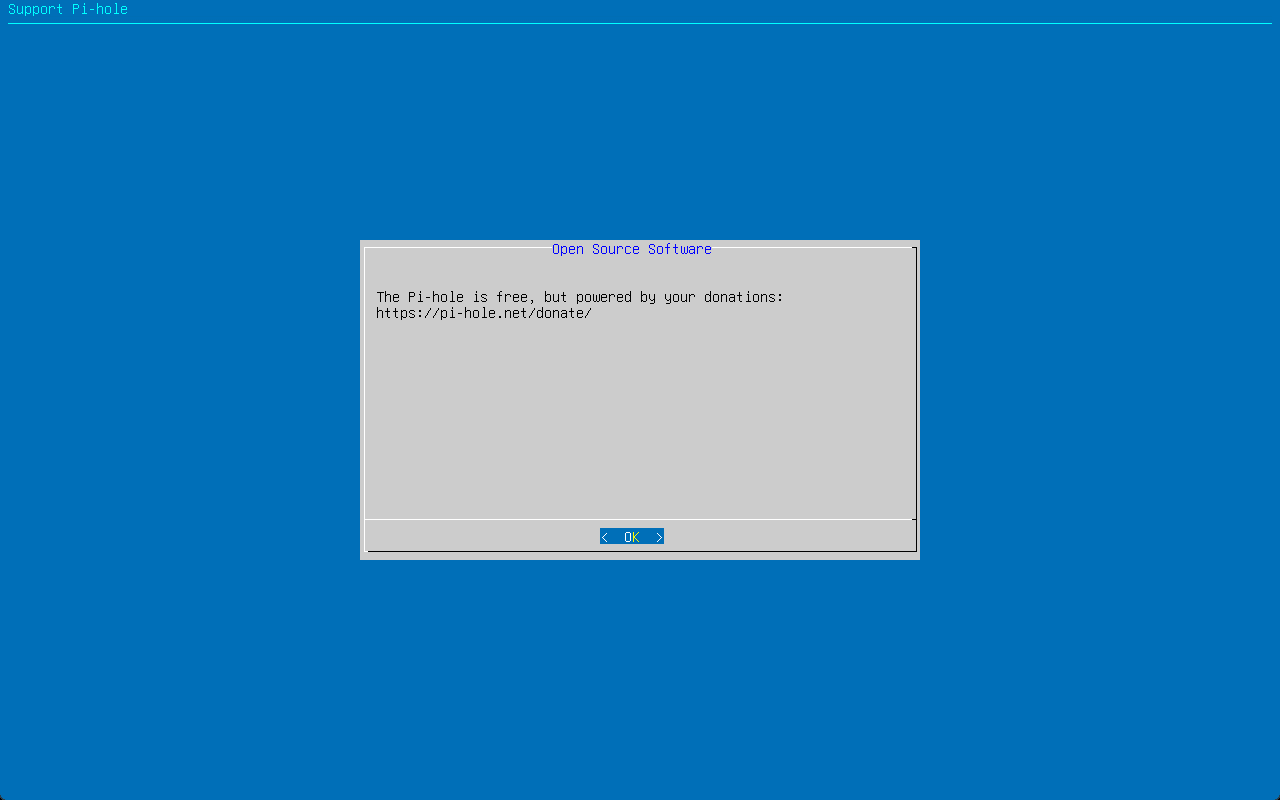
Pi-Hole is an open source solution.
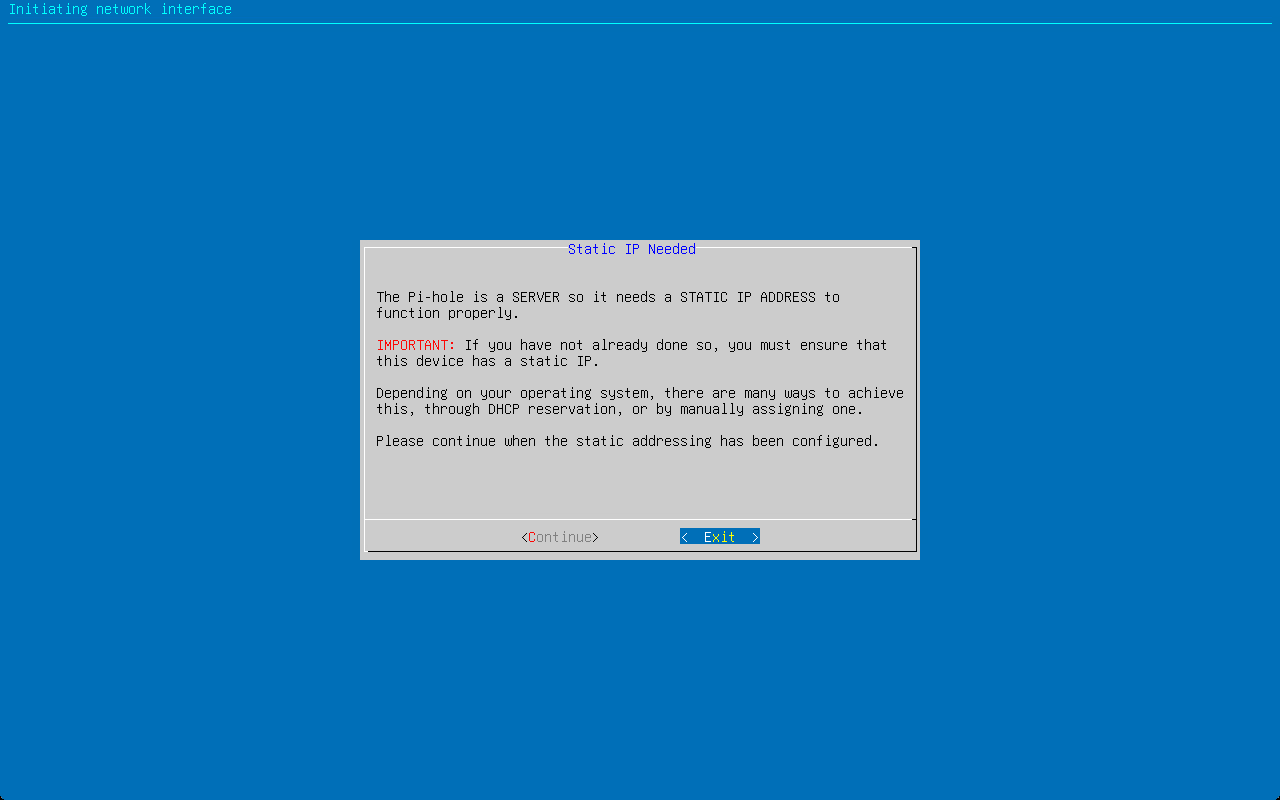
Static IP address needed.
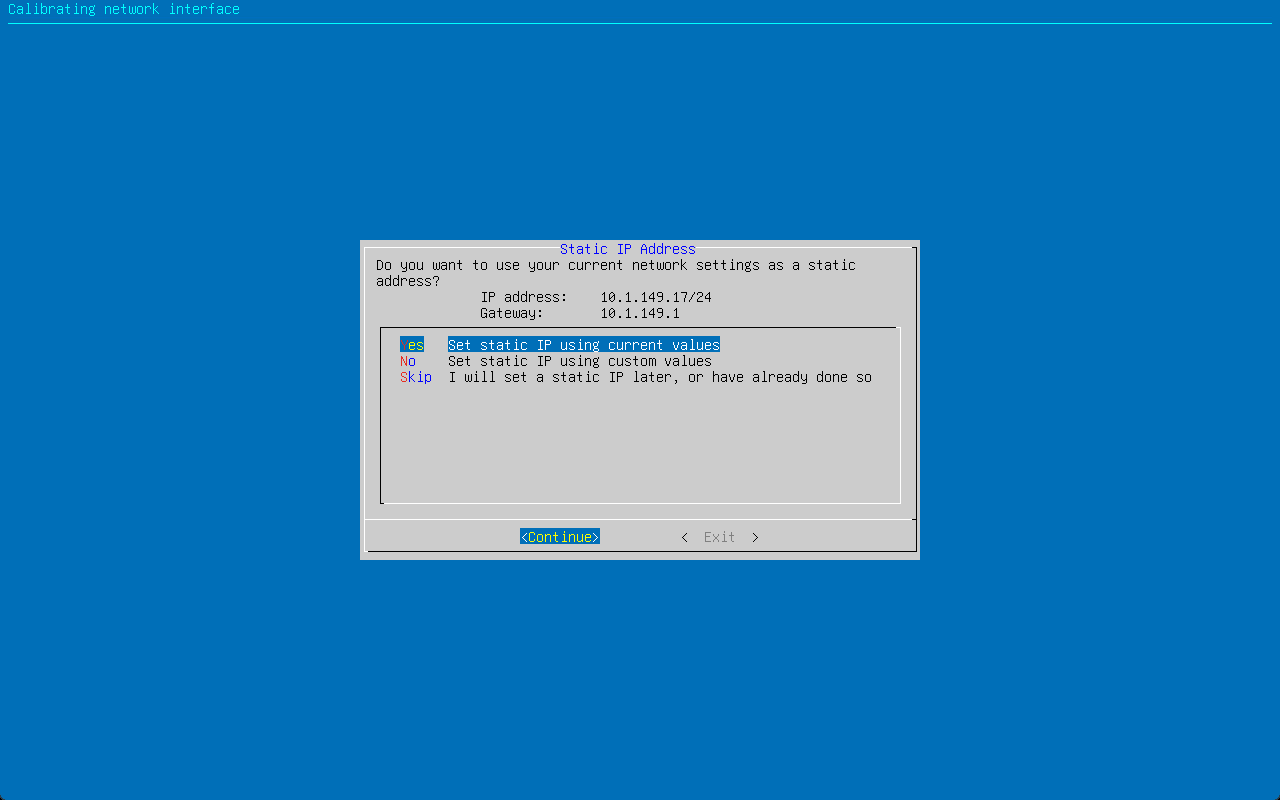
You will see your current IP address configured displayed. I have a static IP address configured. It will display that and ask you if you want to use the current settings or set a new static IP address.
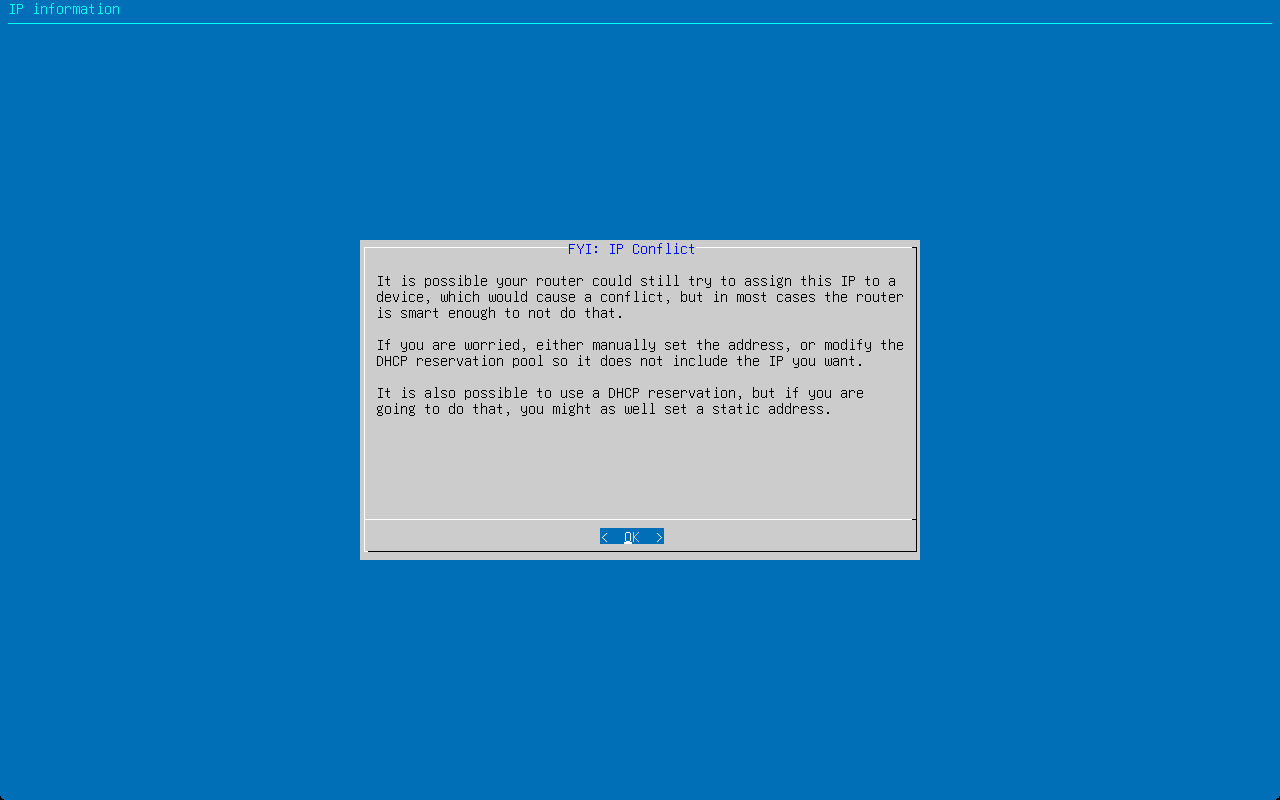
You will see the following notice about any possible IP address conflicts. Pi-Hole is here just saying if you configure a static IP address, you need to make sure if it is within a DHCP range that you have a reservation for that IP address or there will be the potential for IP address conflicts.
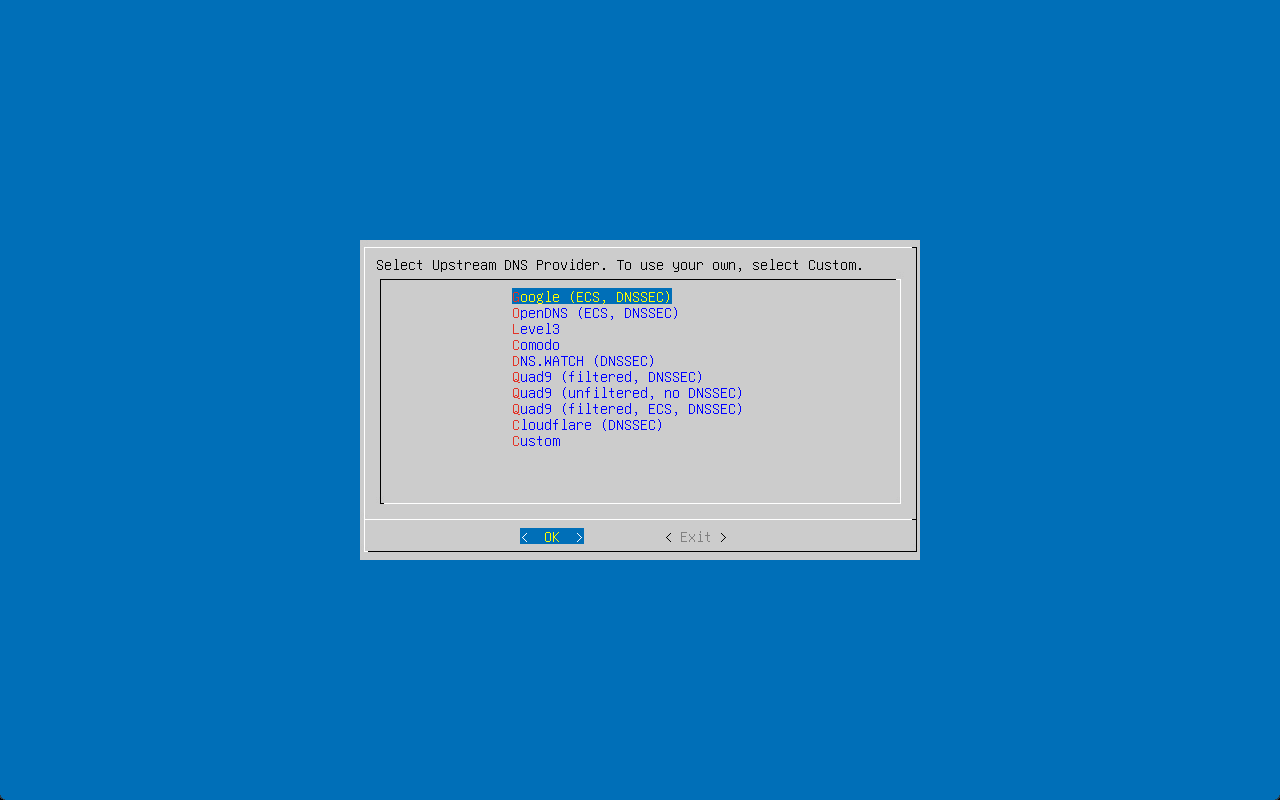
Configure your upstream DNS provider. Pi-Hole comes out of the box capable of configuring the following DNS providers:
- OpenDNS
- Level3
- Comodo
- DNS.WATCH (DNSSEC)
- Quad9 with DNSSEC
- Quad9 without DNSSEC
- Quad9 filtered ECS, DNSSEC
- Cloudflare (DNSSEC)
- Custom
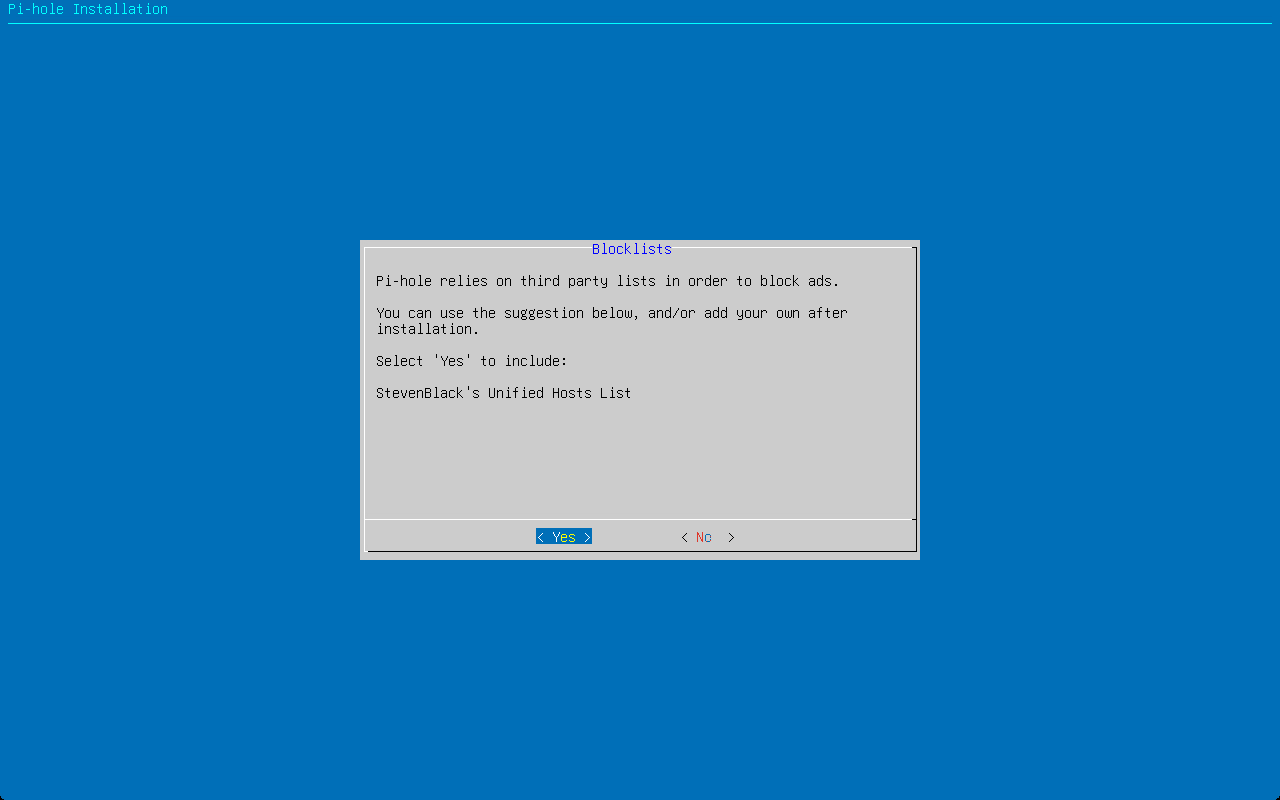
You will see the next page noting that Pi-Hole relies on third-party block lists. It will install StevenBlack’s Unified Hosts List by default if you select Yes.
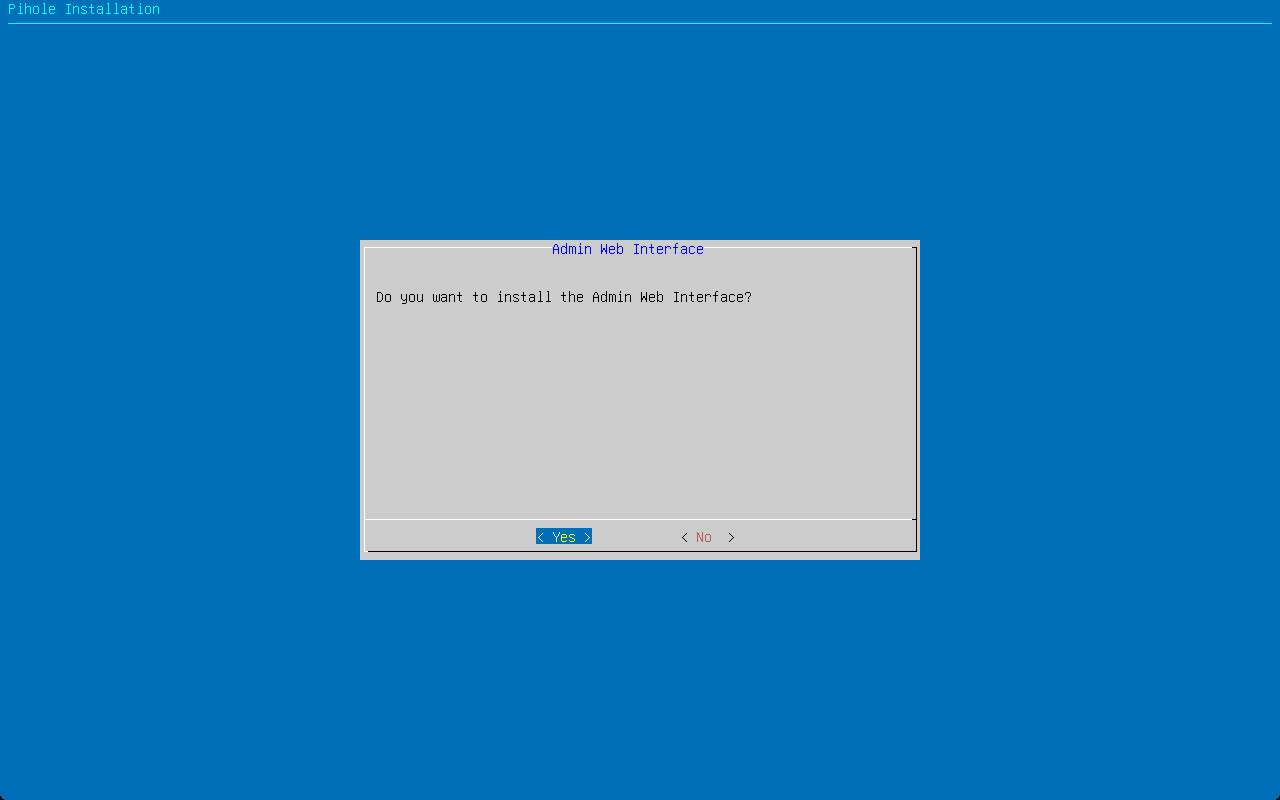
You can choose to install the admin web interface.
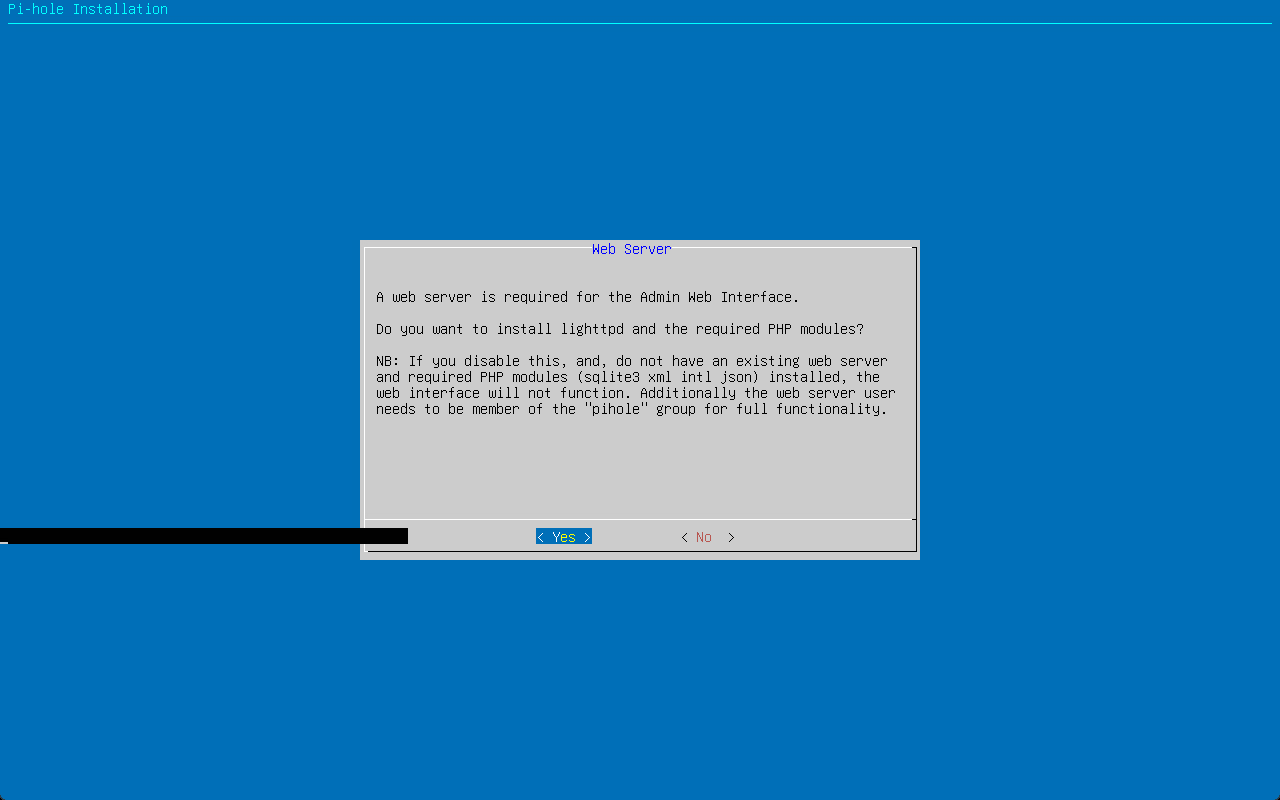
When you choose to install he admin web interface, you will get the notice that lighttpd will be installed, along with the needed PHP modules.
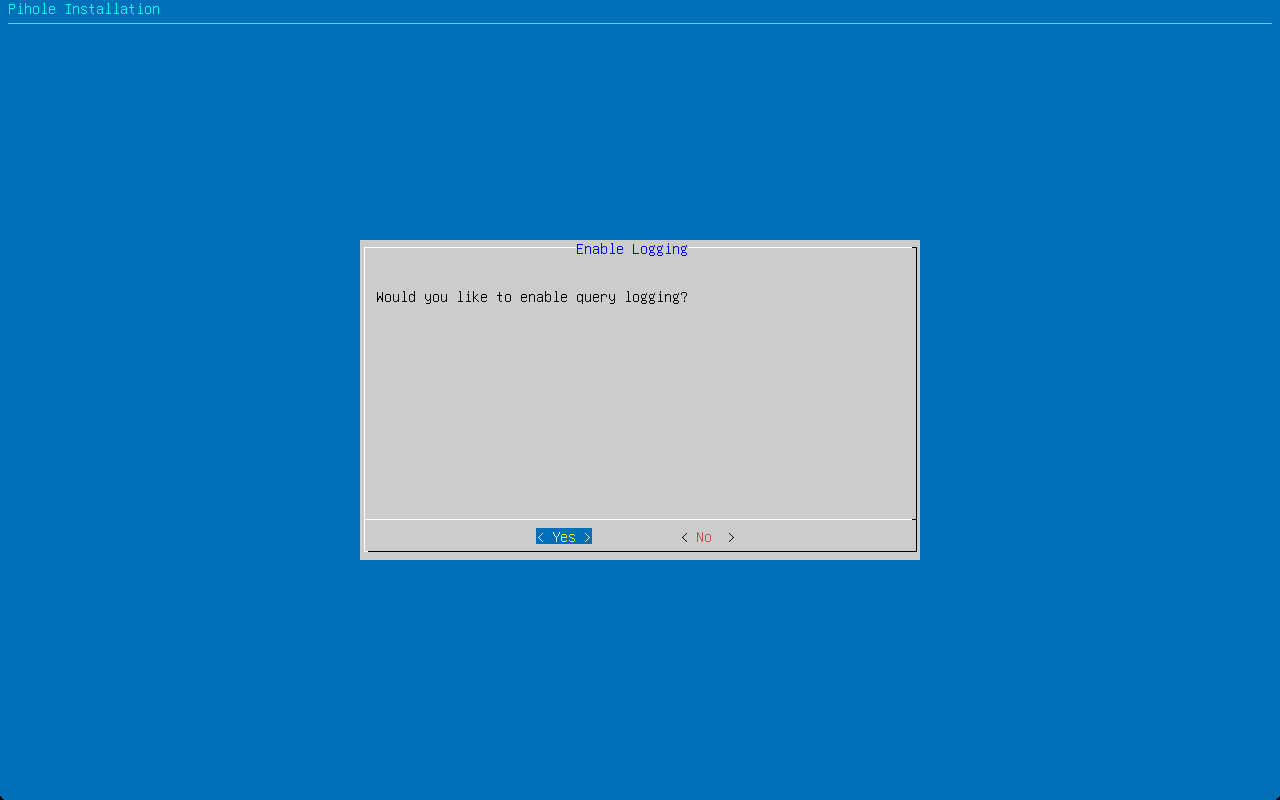
You will also be able to enable query logging.
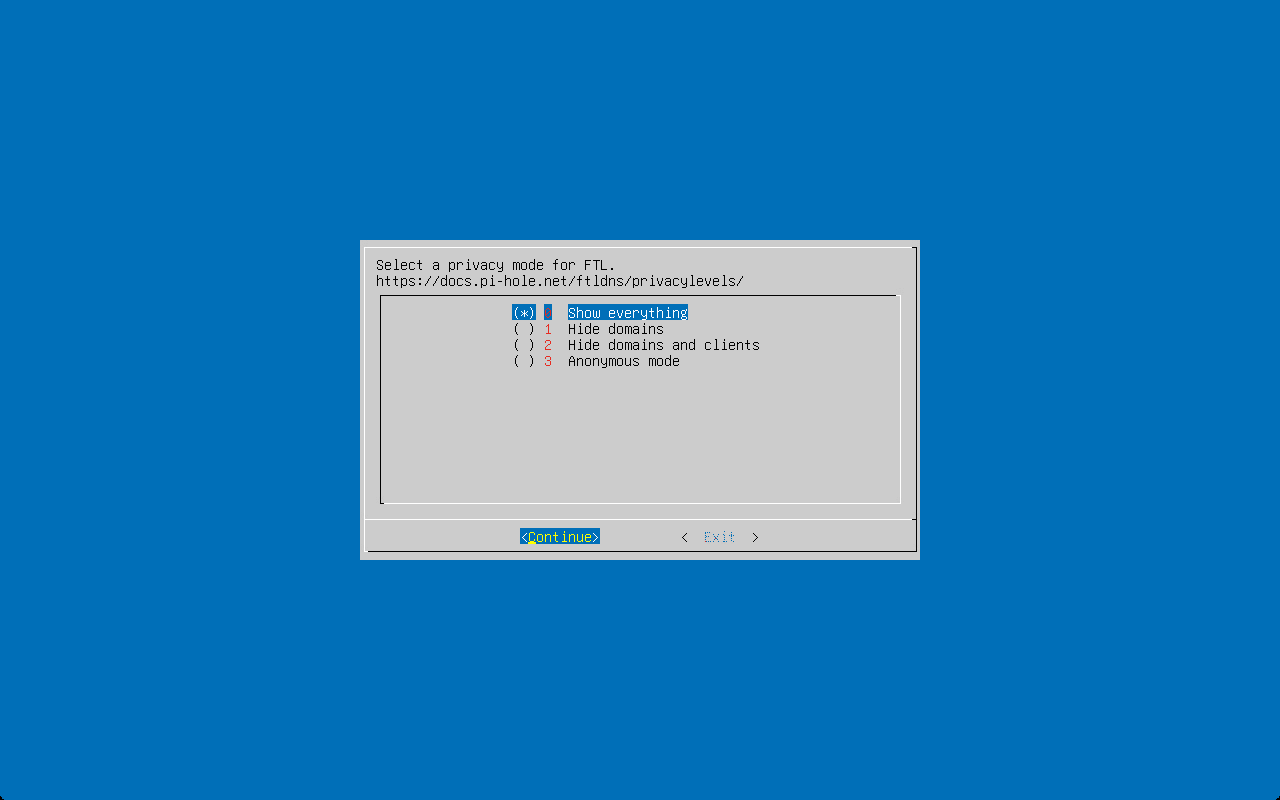
Select the privacy mode you want to enable for FTL (faster than light) DNS.
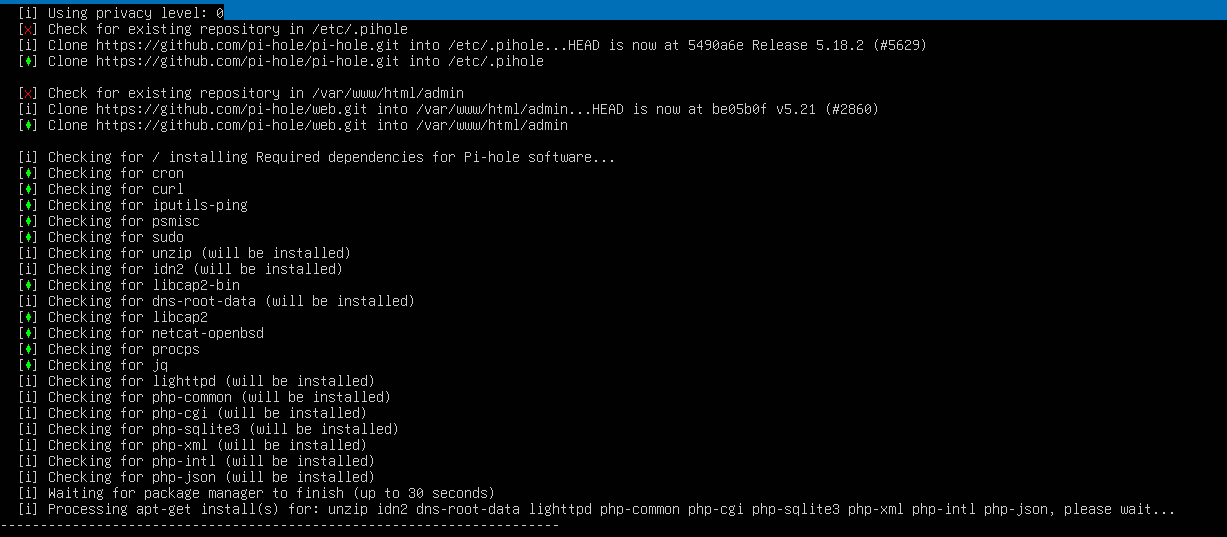
When you hit continue, you will see the installation begin installing the components needed.
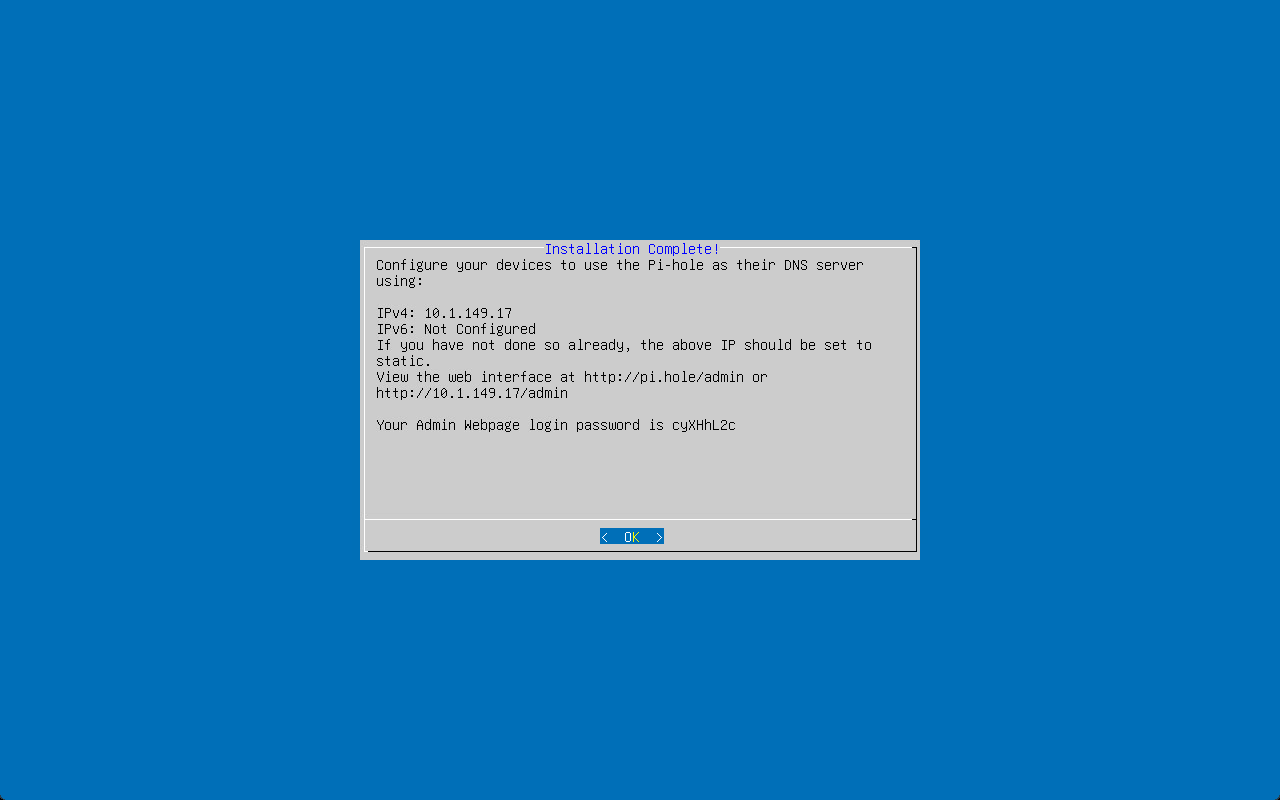
After the installation completes, it will display a GUI showing the connection information, including IP address, web interface URL and the initial login password is shown.
When you click OK, the command line will display similar information.
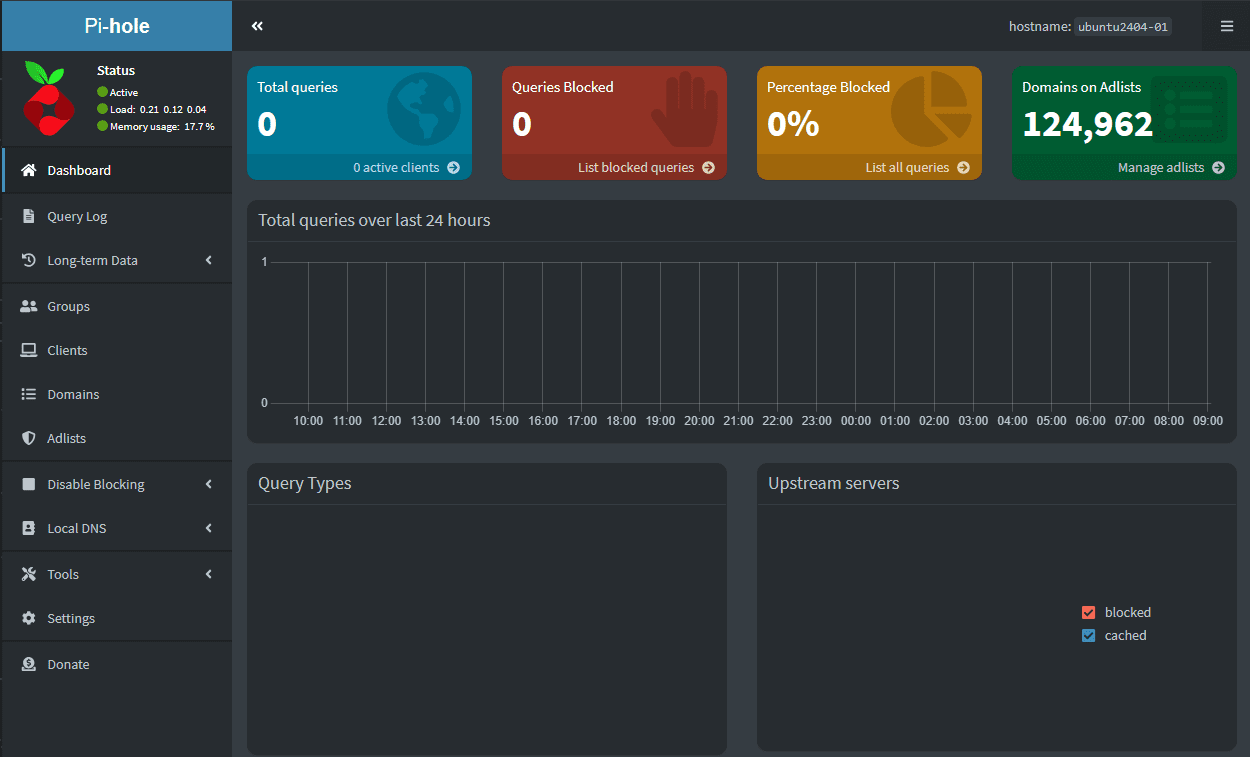
You can start configuring your Pi-Hole installation on Ubuntu 24.04 LTS by browsing to your Pi-Hole web admin dashboard.
Ultimate Pi-Hole configuration with certificates, etc
Wrapping up
Pi-Hole is a great solution that I use in my home network on the LAN side of things to do most of my filtering and DNS security. It looks like installing Pi-Hole in Ubuntu 24.04 LTS is going to be straightforward. You can download the Ubuntu 24.04 LTS beta ISO and install it like any other Ubuntu distro. The Pi-Hole installation is straightforward once you add the skip os check parameter from the command line installation. Let me know in the comments if you are playing around with Ubuntu 24.04 and Pi-Hole.


