More are looking to learn Kubernetes and spinning it up in the home lab is a great way to do that. There are other tools that you will need to know about that can make Kubernetes much easier to work with. Let’s take a look.
Table of contents
1. K3s
K3s is a lightweight Kubernetes distribution that will do just about anything you need it to do. It is a single binary that you download for installing your Kubernetes cluster so the install is super easy. Even though it is totally meant to run in production, it also makes it a great choice for home lab environments where hardware resources are in short supply.
Check out one of my posts on K3s here: K3s dashboard install and configuration.
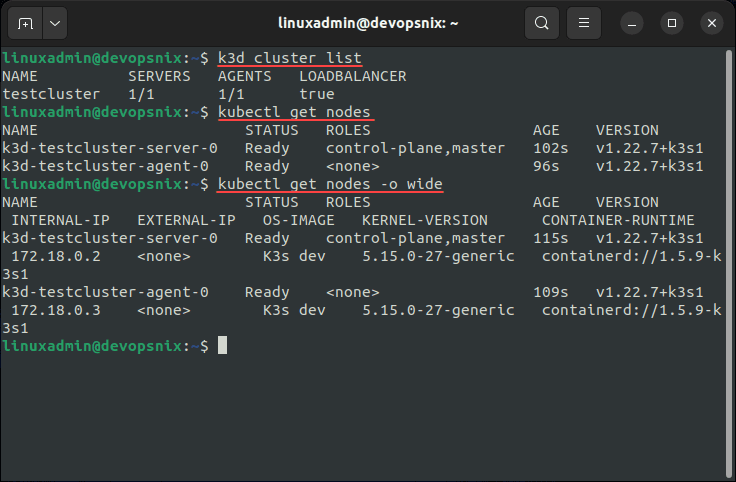
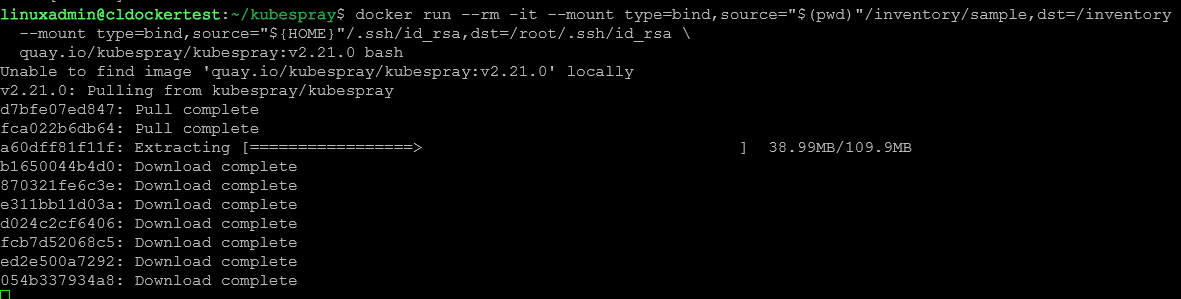
2. K3d
K3d is a tool for helping deploying K3s clusters within Docker. It provides an easy way to create Kubernetes clusters using Docker containers.
With the create command in k3d, you can configure the number of worker nodes, designate a master node, and set up the load balancer to manage the nodes’ traffic. A simple K3d setup for a home lab has you creating multiple virtual machines that act as Kubernetes nodes.
Check out my post on K3D here: Install K3s on Ubuntu with K3D in Docker.
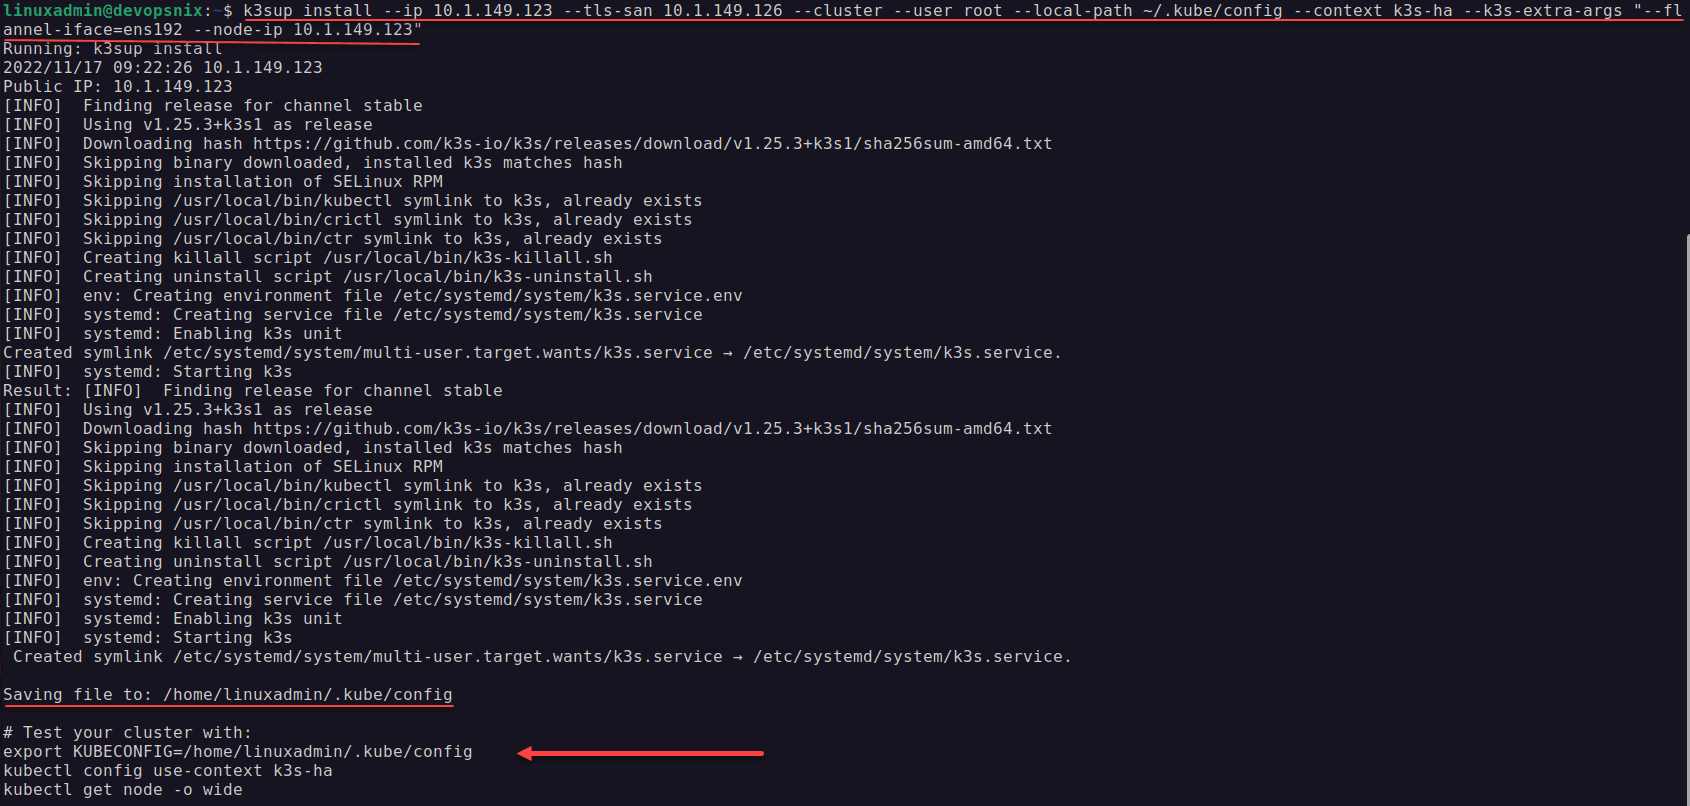
3. K3sup
K3sup (pronounced ‘ketchup’) is a utility for allowing you to quickly setup Kubernetes clusters using k3s. It provides a portable kubectl for macOS, Linux, and Windows.
It allows you to spin up K3s on any local or remote virtual machine with SSH access. This makes it a simple but very handy utility in a Kubernetes home lab setup where you may be spinning up multiple Kubernetes nodes across different machines or operating systems.
K3sup also allows you to easily deploy Kubernetes apps within your K3s cluster. It has an app install feature where you can install and update deployments on your cluster.
See how to use K3sup here: K3sup – automated K3s Kubernetes cluster install.
4. KubeVIP
KubeVIP is another open-source project that allows you to spin up Kubernetes services with load balancing and Virtual IP addresses to have a simple highly available Kubernetes cluster.
The KubeVIP project makes it simple to set up a load balancer solution and assign a virtual IP address to your Kubernetes cluster. HA is great from the sense that if a node fails your management is still up and running.
Check out my walkthrough of KubeVIP here: Kube-VIP configuration for K3s control plane HA.
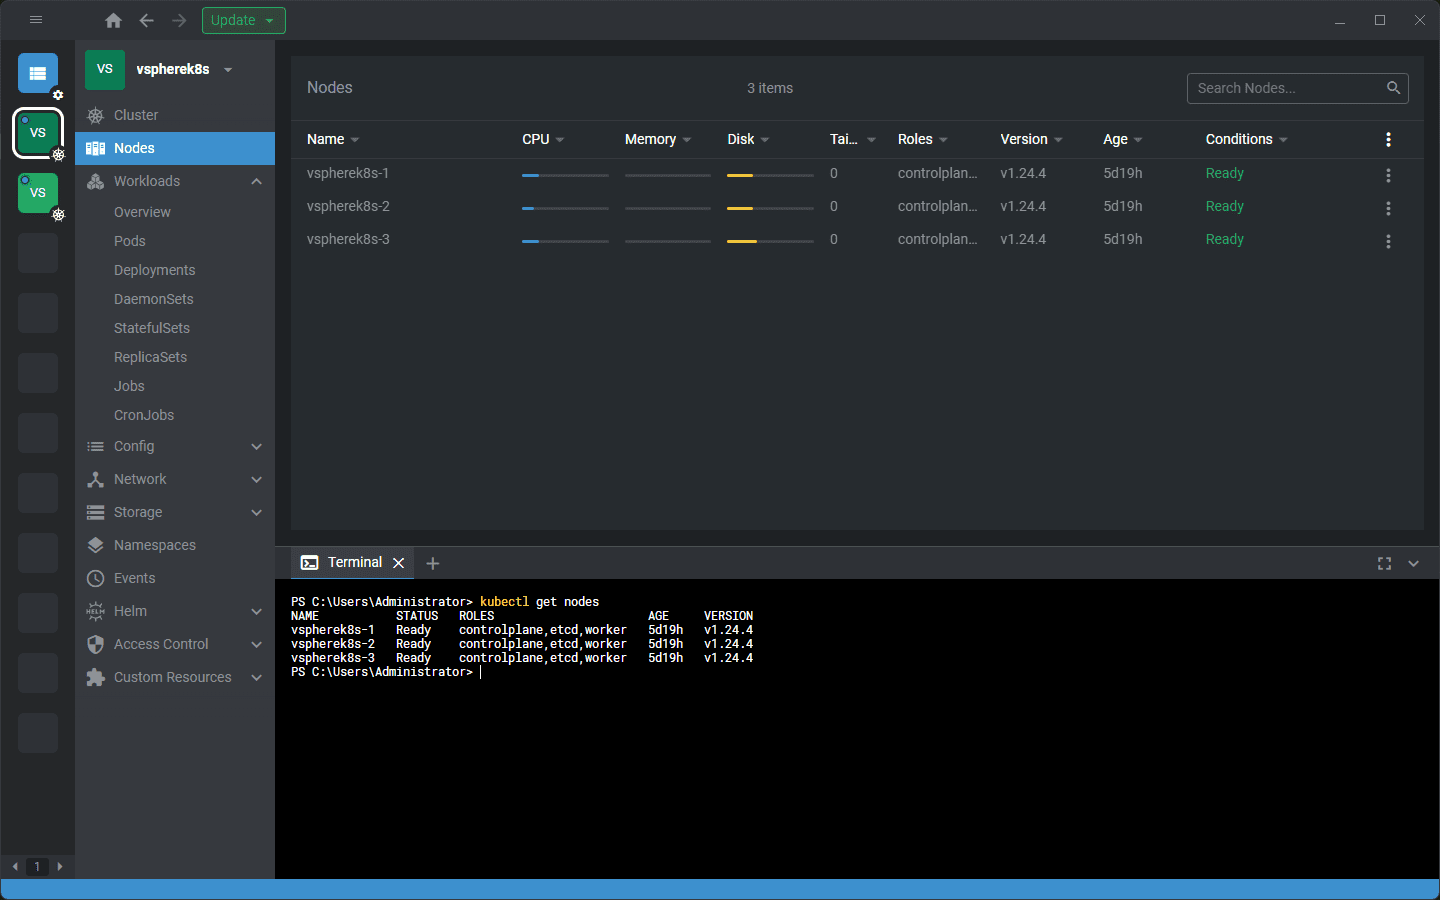
5. Kubespray
Kubespray is a set of Ansible scripts to automate the deploying of production-ready Kubernetes clusters.
Kubespray automates the provisioning process with Ansible playbooks and makes deploying these out of Kubernetes clusters as simple as running a command. It also supports cloud providers like Google Cloud, so really cool.
It’s almost perfect for those critical home lab projects. With the use of Terraform provider configurations, you can let Kubespray handle the Kubernetes setup.
Look at my recent post covering Kubespray here: Kubespray: Automated Kubernetes Home Lab Setup.
6. Microk8s
Microk8s is a minimal Kubernetes distribution designed for developers and IoT devices. It’s lightweight and doesn’t consume a lot of resources.
If you want a minimal Kubernetes cluster Microk8s may be the perfect fit for a small-scale Kubernetes home lab setup.

See my walkthrough of Mikrok8s and Portainer (following section) here: Mikrok8s Automated Kubernetes Install with new Portainer Feature.
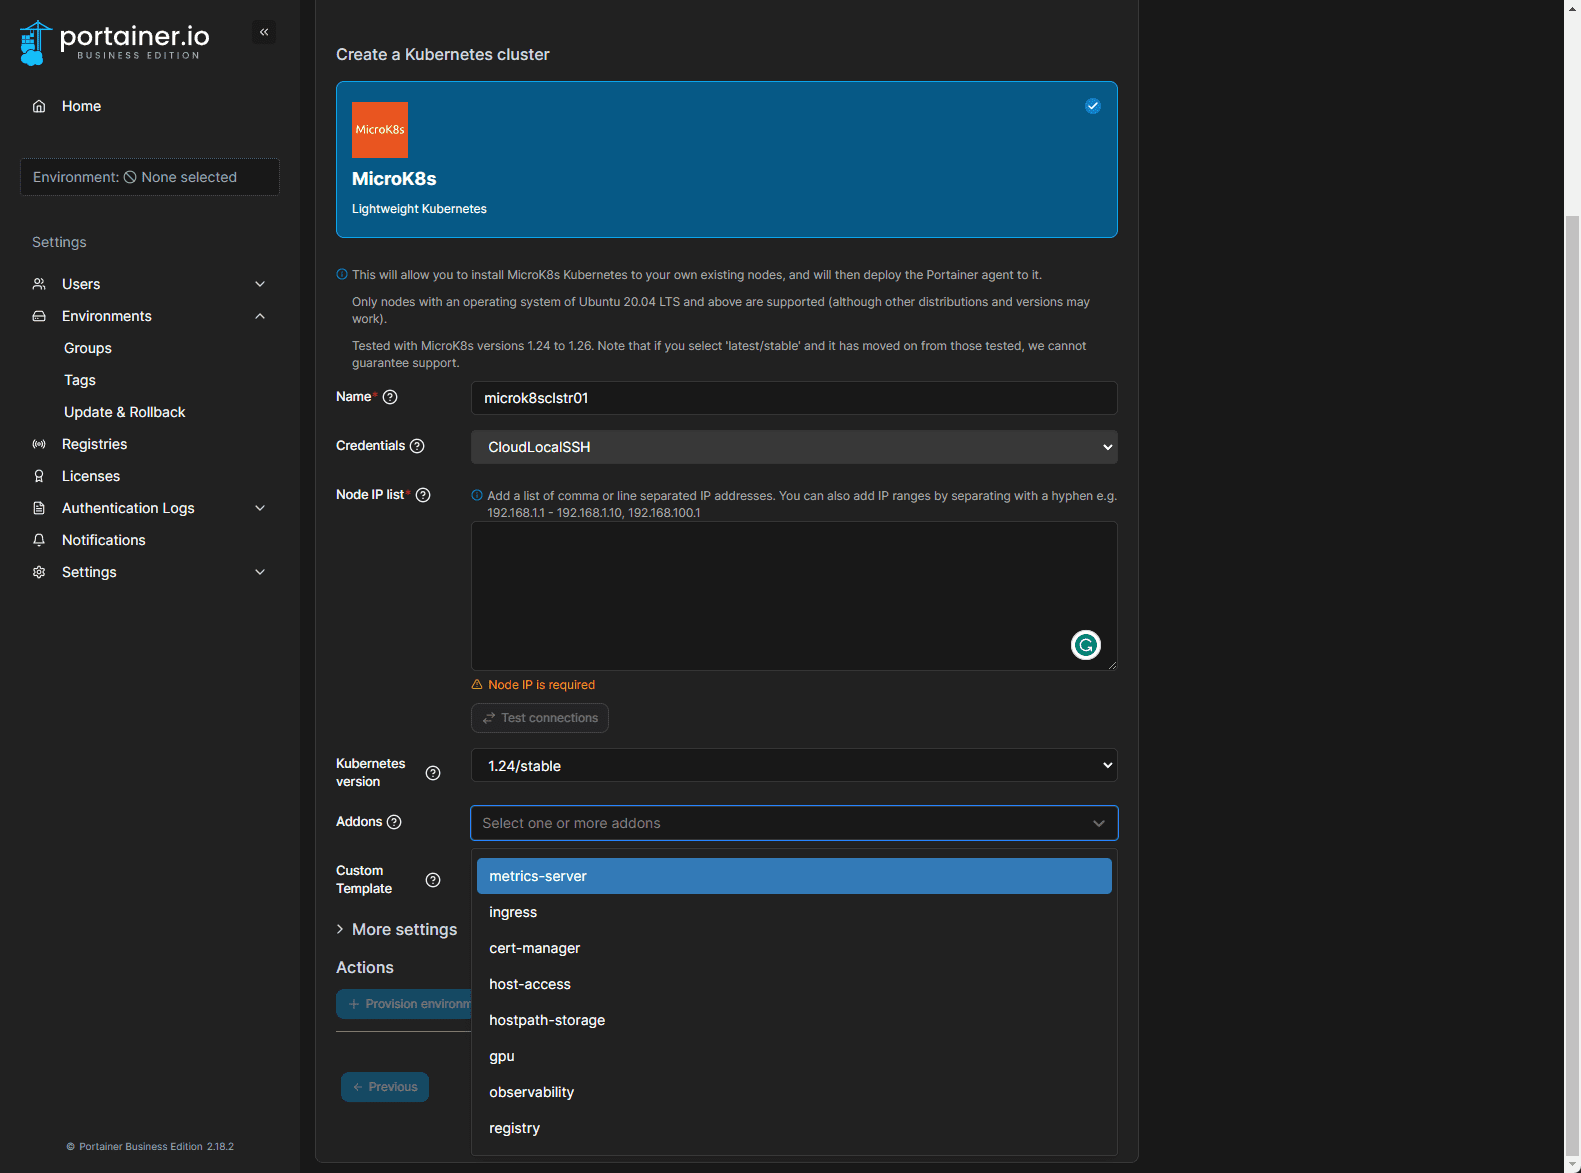
7. Portainer 2.19+ with Automated Microk8s
Portainer is an open-source tool that is a management interface for Docker, Kubernetes, and other container technologies like Podman. The 2.18+ version provides automated deployment of Microk8s which is really awesome.
If you want a GUI user-friendly dashboard to interact with your Kubernetes clusters, Portainer can easily do that for you.
8. Minikube
Minikube is a tool that lets you run Kubernetes locally. It runs a single-node Kubernetes cluster on your computer or even WSL if you would like and is ideal for users who just want to try out Kubernetes or need a cluster to develop against.
Installation is simple, and it allows you to control the resource allocation to the virtual machine that runs the Kubernetes node.
Take a look at my walkthrough on how to install Minikube in Windows Server 2019: Install Minikube in Windows Server 2022 using Winget.
9. Openlens
Openlens is a multi-cluster Kubernetes IDE that allows you to manage and control your Kubernetes clusters effectively.
It is a free and open source equivalent to the commercial Lens product that you can download and use. It doesn’t have the nags in it like Lens about the commercial product and you can use it to manage your K8s clusters with an easy tool.
Learn more from my OpenLens post here: Openlens Kubernetes IDE – Opensource Lens Desktop.
10. MetalLB
MetalLB is a load balancer implementation for bare metal Kubernetes clusters. It allows you to assign external IP addresses to services running in your cluster.
MetalLB provides a solution by implementing a network load balancer for your Kubernetes clusters. With a few simple configuration steps, you can assign an external IP to your services, making them accessible outside of your home lab.
MetalLB supports Layer 2 (ARP, NDP) and Layer 3 (BGP) networking, allowing you to choose the one that best suits your home lab setup.
Take a look at how to Install MetalLB Loadbalancer: Kubernetes Install MetalLB Loadbalancer.
11. Traefik
Traefik is an open-source edge router that automates all your network tasks. It is fully compatible with Kubernetes and provides dynamic application load balancing.
With Traefik, you can automatically route traffic to your applications and it can detect changes in your cluster and adjust the routing rules.
Take a look at all my Traefik related posts here: VirtualizationHoto traefik posts.
12. Prometheus with Grafana
Prometheus is a monitoring and alerting tool that integrates really good with Kubernetes. Grafana is a visualization platform. When you put them together they do a great job monitoring your Kubernetes cluster.
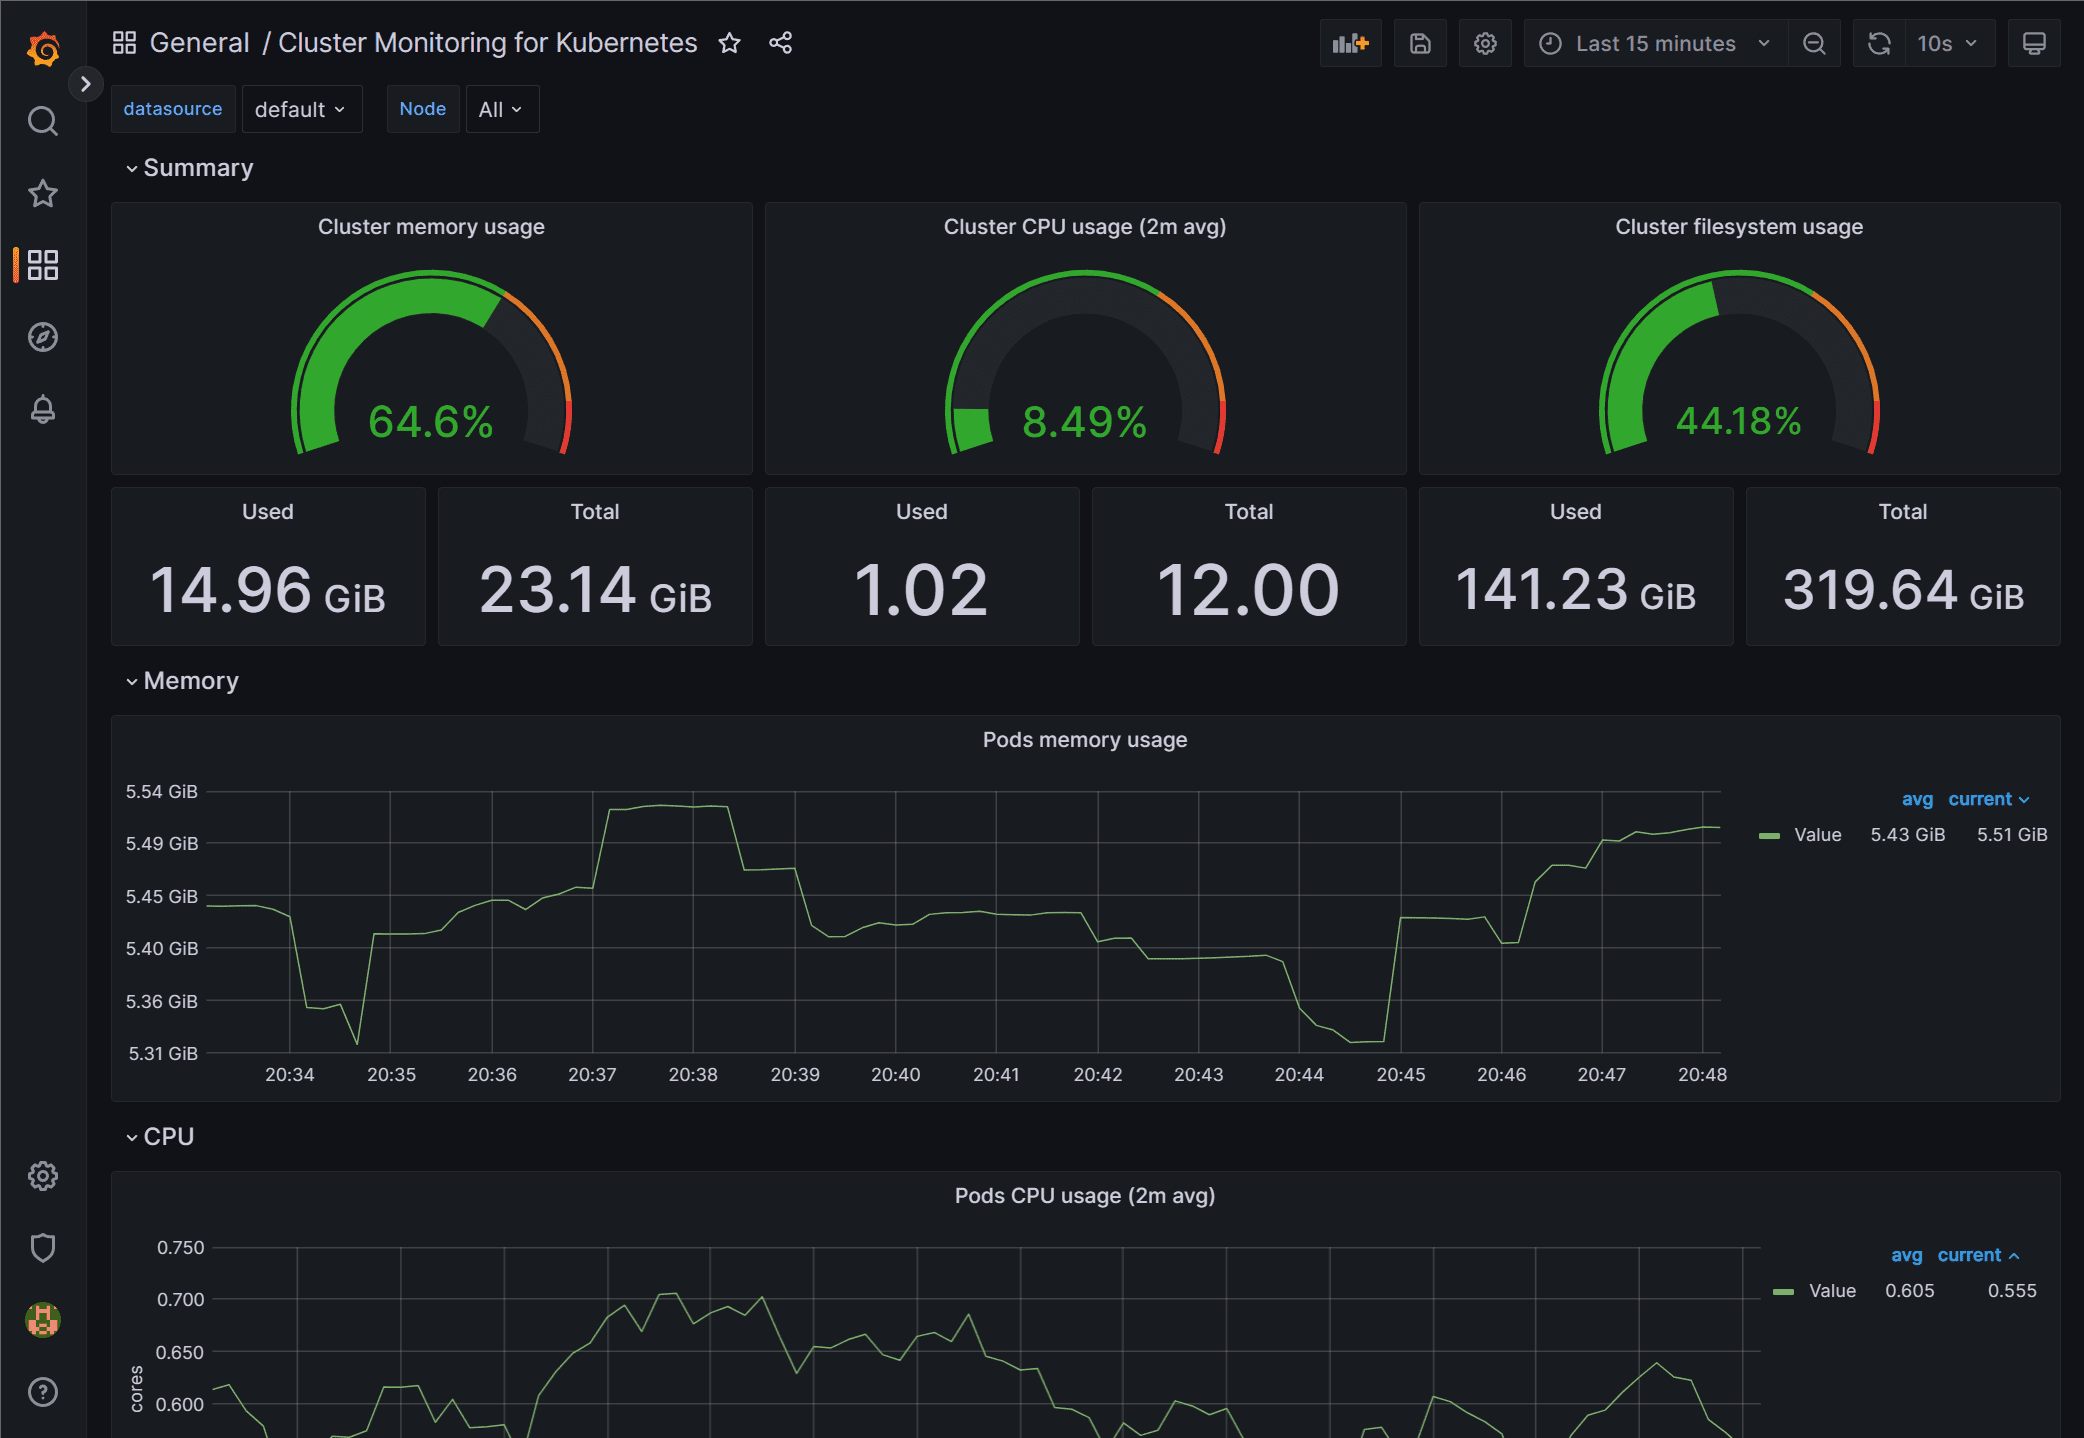
Check out and learn how to setup Prometheus and Grafana to monitor Kubernetes: Kubernetes Monitoring Tools with Prometheus and Grafana.
Wrapping up
All of these tools are really great tools to help with managing monitoring, configuring, and troubleshooting Kubernetes. The tools are all free and open source and are a great way to run Kubernetes in the home lab without any cost of software or other fees or subscriptions.
Google is updating how articles are shown. Don’t miss our leading home lab and tech content, written by humans, by setting Virtualization Howto as a preferred source.
About The Author