Kubespray is a tool designed to simplify setting up a Kubernetes cluster. It’s an open-source project under the Kubernetes sigs, and it uses Ansible playbooks and inventory to automate cluster deployment.
Table of contents
What is Kubernetes?
Kubernetes is the standard of how businesses can run containers with high availability, etc. It allows you to scale and run containers so that like a hypervisor cluster, if a node goes down, your workloads (pods) can be spun up on a healthy host.

What is Kubespray?
Kubespray handles the tasks of standing up a Kubernetes cluster with K3s using Ansible playbooks. It supports multiple Linux distributions, including Ubuntu and Debian Bullseye, among others and it is compatible with various cloud providers and on-premise servers, even on bare metal.
Prerequisites for Kubespray
There are just a few prerequisites with Kubespray. You will need something like virtual machines to use as your Kubespray target nodes that will be used for the control plane and worker nodes. Make sure you also have network connectivity between where you are running kubespray and the target machines.
Installing Ansible
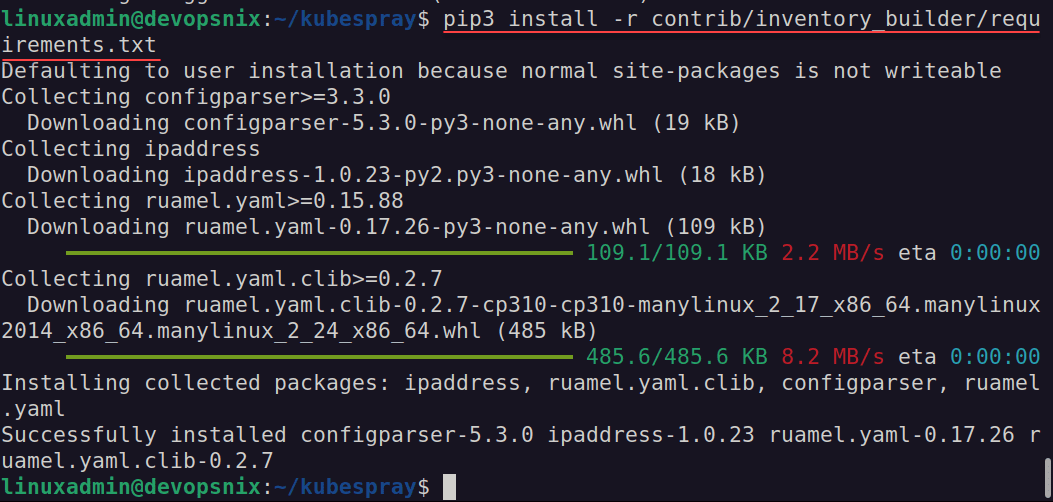
You’ll also need to have Ansible installed on your control node. If you don’t already have Ansible, you can install Ansible with the command sudo pip install ansible.
You’ll also need Python and the appropriate Python dependencies installed. If these are not already installed, you can use sudo pip install -r requirements.txt to install Python dependencies.
According to the Kubespray documentation, you can install Ansible using the steps below. You will want to ensure you are using a supported version of Ansible.
Check the latest Kubespray Ansible installation guidance here: kubespray/ansible.md at master · kubernetes-sigs/kubespray · GitHub.
They recommend installing Ansible in a Python virtual environment, which you can do below:
VENVDIR=kubespray-venv
KUBESPRAYDIR=kubespray
ANSIBLE_VERSION=2.12
virtualenv  --python=$(which python3) $VENVDIR
source $VENVDIR/bin/activate
cd $KUBESPRAYDIR
pip install -U -r requirements-$ANSIBLE_VERSION.txt
After you install Ansible and the requirements, you can proceed to follow the directions for setting up your Kubespray environment, including creating the hosts.yaml file as per below.
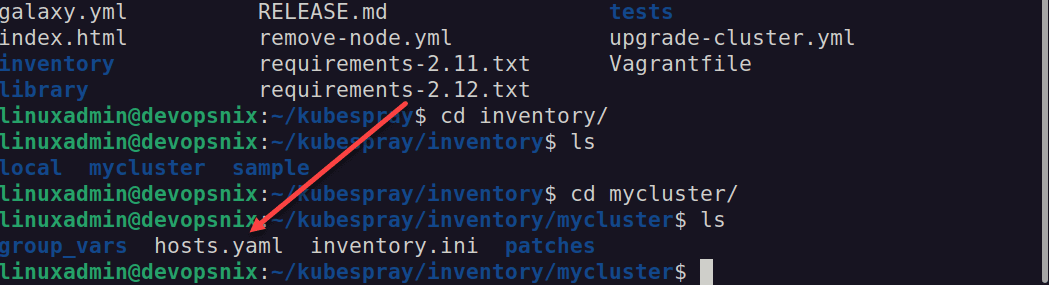
# Copy ``inventory/sample`` as ``inventory/mycluster``
cp -rfp inventory/sample inventory/mycluster
# Update Ansible inventory file with inventory builder
declare -a IPS=(10.10.1.3 10.10.1.4 10.10.1.5)
CONFIG_FILE=inventory/mycluster/hosts.yaml python3 contrib/inventory_builder/inventory.py ${IPS[@]}
# Review and change parameters under ``inventory/mycluster/group_vars``
cat inventory/mycluster/group_vars/all/all.yml
cat inventory/mycluster/group_vars/k8s_cluster/k8s-cluster.yml
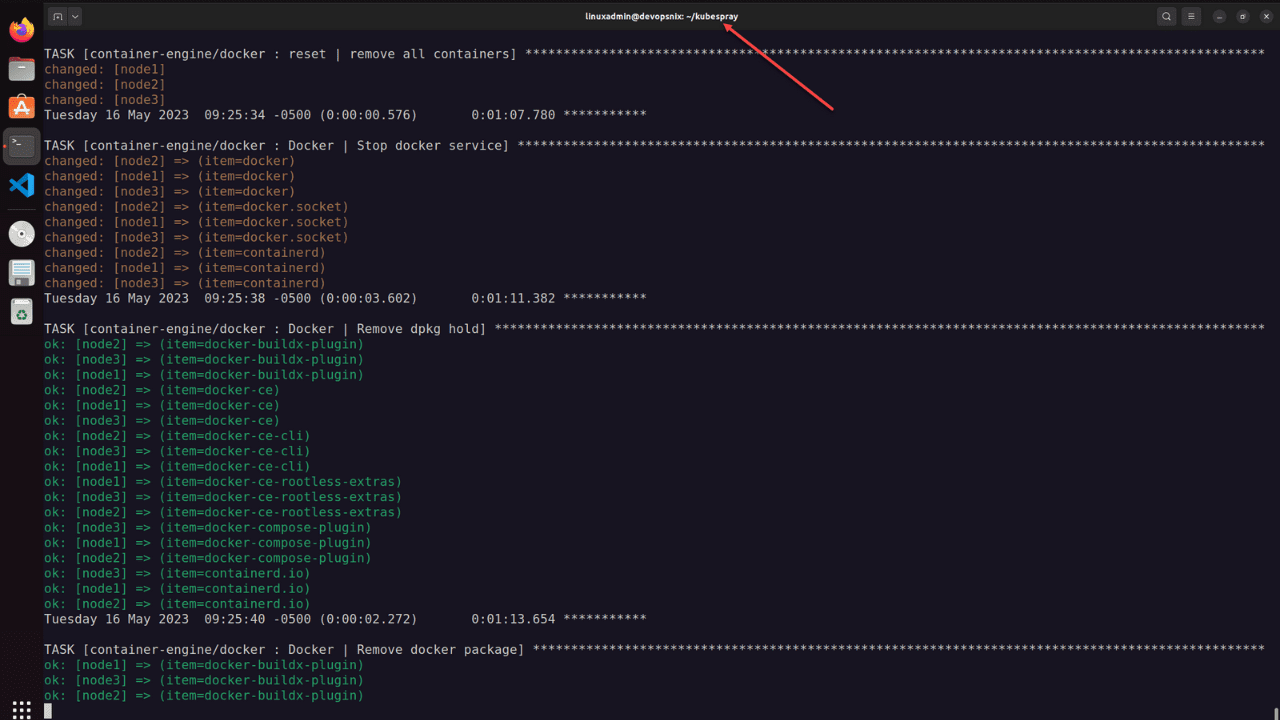
# Clean up old Kubernete cluster with Ansible Playbook - run the playbook as root
# The option `--become` is required, as for example cleaning up SSL keys in /etc/,
# uninstalling old packages and interacting with various systemd daemons.
# Without --become the playbook will fail to run!
# And be mind it will remove the current kubernetes cluster (if it's running)!
ansible-playbook -i inventory/mycluster/hosts.yaml --become --become-user=root reset.yml
# Deploy Kubespray with Ansible Playbook - run the playbook as root
# The option `--become` is required, as for example writing SSL keys in /etc/,
# installing packages and interacting with various systemd daemons.
# Without --become the playbook will fail to run!
ansible-playbook -i inventory/mycluster/hosts.yaml --become --become-user=root cluster.yml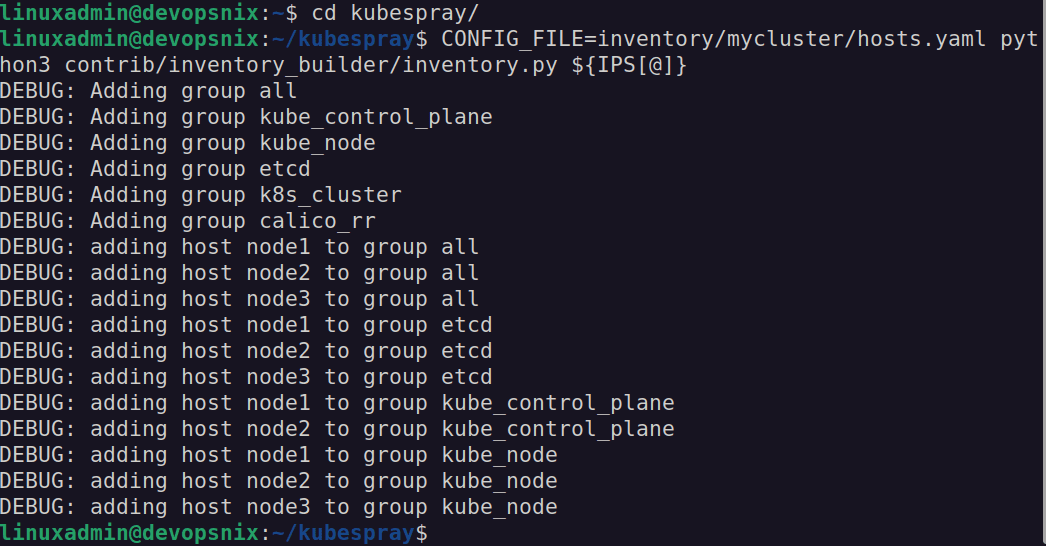
The Easy Way – Use a Docker container
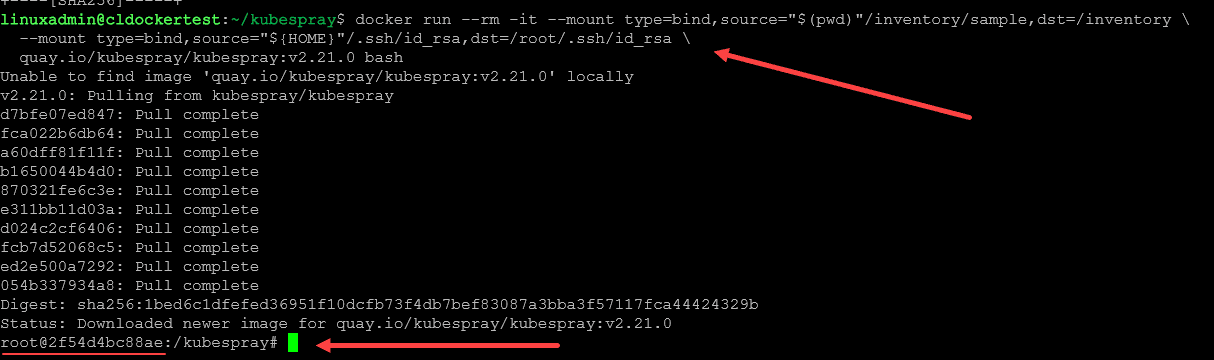
There is a really easy way to ensure you use a supported version of Ansible. There is a prebuilt Docker container you can find here: https://quay.io/repository/kubespray/kubespray?tab=tags.
To spin up an interactive container with the tools needed for Kubespray, use the following (replace with the current tag found from the link above):
docker pull quay.io/kubespray/kubespray:v2.21.0
docker run --rm -it --mount type=bind,source="$(pwd)"/inventory/sample,dst=/inventory
  --mount type=bind,source="${HOME}"/.ssh/id_rsa,dst=/root/.ssh/id_rsa
  quay.io/kubespray/kubespray:v2.21.0 bash
# Inside the container you may now run the kubespray playbooks:
ansible-playbook -i /inventory/inventory.ini --private-key /root/.ssh/id_rsa cluster.yml
Create your Bind mount and make sure you have generated an SSH key
The above command expects you to create a directory structure to pass into your Docker run command. Also, you must ensure you have generated an SSH key for your user.
You can do that with the command:
ssh-keygen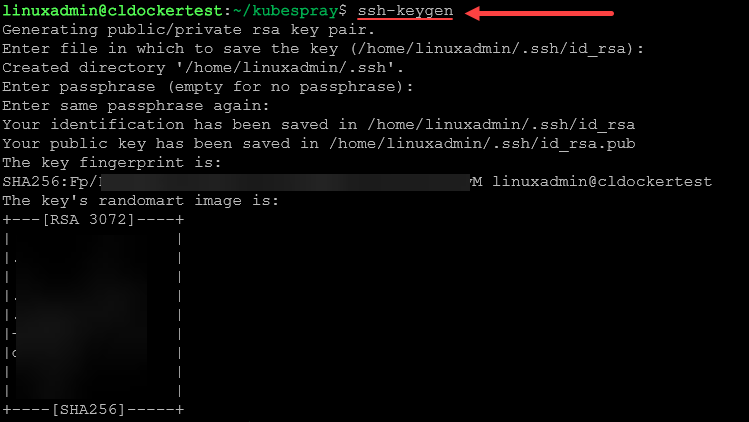
After creating the directory structure and generating your SSH key, you can run the container interactively.
Setting Up Your Inventory File
The inventory file is a crucial component of Kubespray. This is where you list the IP addresses of your Kubernetes nodes. You must specify which nodes will be your control plane and worker nodes. For example, if you are using the Oracle Cloud Infrastructure, you’ll use the IP addresses assigned by Oracle.
You can also specify additional configuration options in the inventory file, such as the network plugin you want to use. Kubespray supports several network plugins, including the generic CNI plugin and Kube-router. Choose the network plugin that best suits your needs.
Below is a sample Ansible inventory file that I have modified with my three hosts:
# ## Configure 'ip' variable to bind kubernetes services on a
# ## different ip than the default iface
# ## We should set etcd_member_name for etcd cluster. The node that is not a etcd member do not need to set the value, or can set the empty string value.
[all]
node1 ansible_host=10.1.149.123  # ip=10.3.0.1 etcd_member_name=etcd1
node2 ansible_host=10.1.149.124  # ip=10.3.0.2 etcd_member_name=etcd2
node3 ansible_host=10.1.149.123  # ip=10.3.0.3 etcd_member_name=etcd3
# node4 ansible_host=95.54.0.15  # ip=10.3.0.4 etcd_member_name=etcd4
# node5 ansible_host=95.54.0.16  # ip=10.3.0.5 etcd_member_name=etcd5
# node6 ansible_host=95.54.0.17  # ip=10.3.0.6 etcd_member_name=etcd6

# ## configure a bastion host if your nodes are not directly reachable
# [bastion]
# bastion ansible_host=x.x.x.x ansible_user=some_user

[kube_control_plane]
node1
# node2
# node3

[etcd]
node1
# node2
# node3

[kube_node]
node2
node3
# node4
# node5
# node6

[calico_rr]

[k8s_cluster:children]
kube_control_plane
kube_node
calico_rr
Deploying Your Kubernetes Cluster with Kubespray in Docker
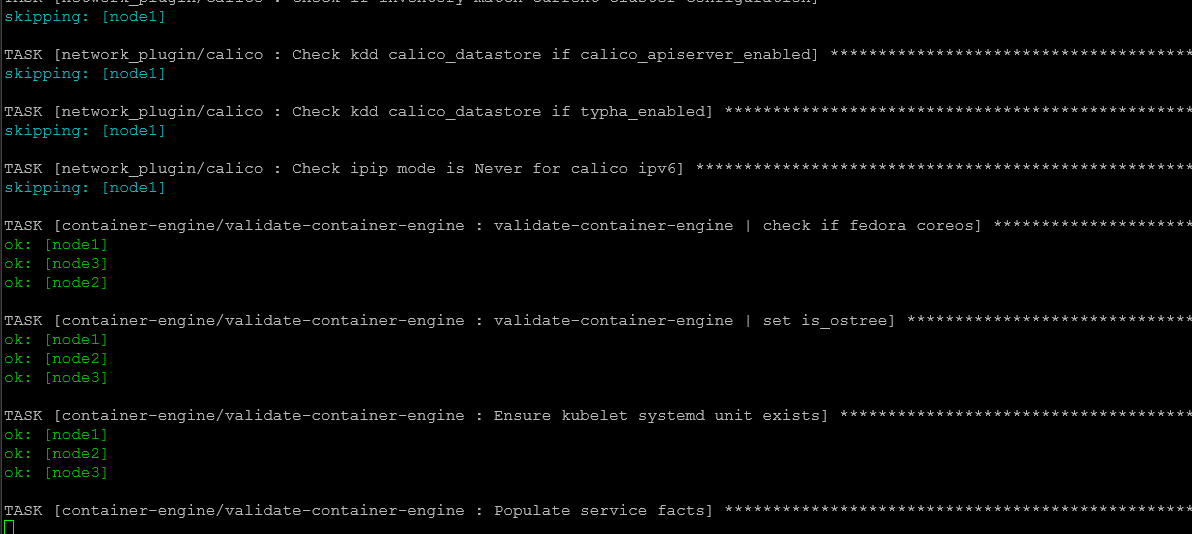
Once your inventory file is set up, you can deploy using the Ansible playbook command. The command to deploy your Kubernetes cluster is the following:
ansible-playbook -i inventory/mycluster/hosts.yaml cluster.ymlThe ansible-playbook -i inventory part of the command tells Ansible to use the specified inventory file. The cluster.yml file is the main playbook file provided by the Kubespray project.
While deploying, Kubespray will pull Docker images, set up the control plane, configure the worker nodes, and ensure the appropriate routing for your cluster.
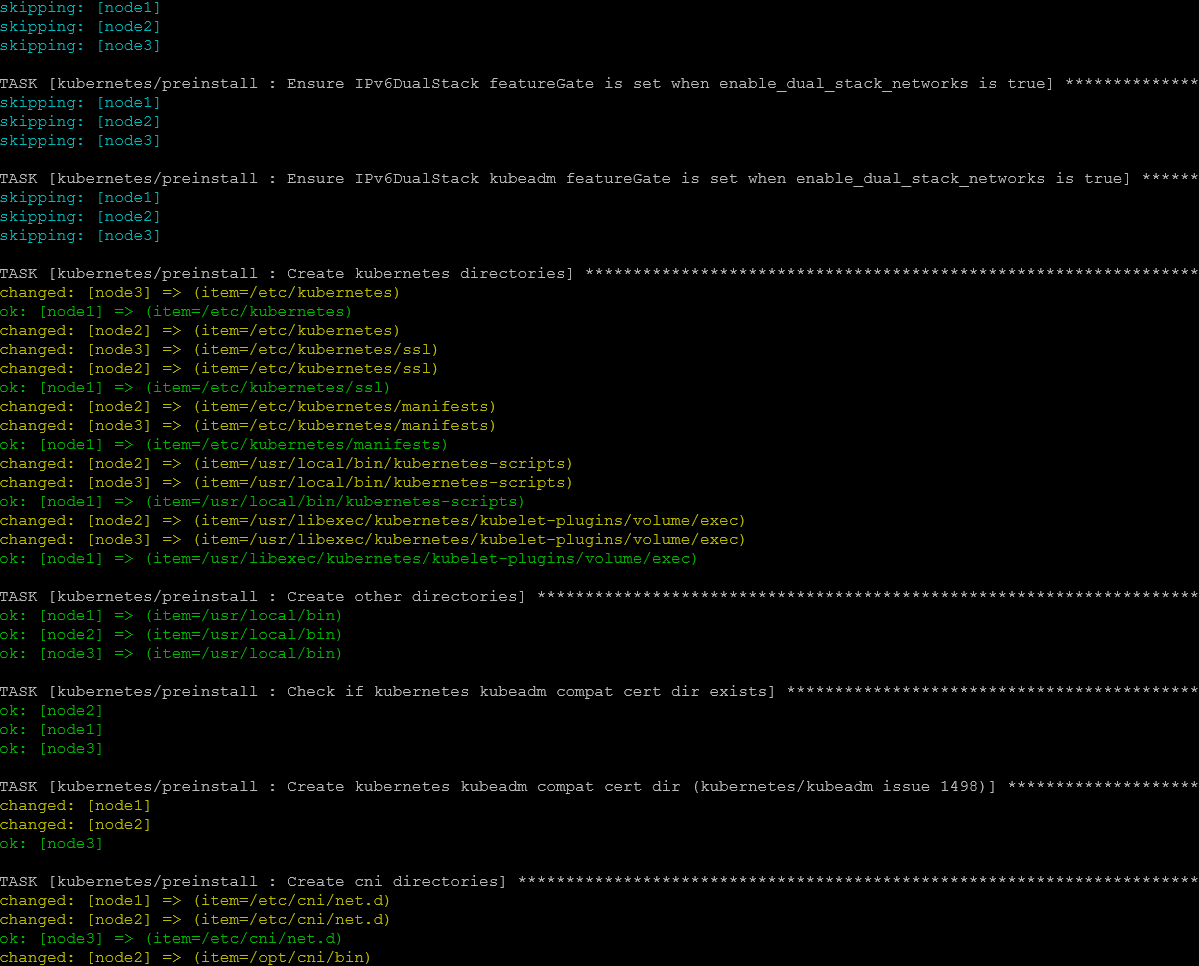
Continuing to run the tasks.
Checking your Kubernetes Cluster
To check and make sure your Kubernetes cluster is up and running, you can do this by running the kubectl get nodes command. This command will display all your Kubernetes nodes, and you should see that all your nodes are in the Ready state.

If you see errors or you have any issues, you can diagnose cluster problems by running kubectl cluster info dump. This command will output a lot of information that can help you troubleshoot any issues with your cluster.
Adding and Removing Nodes in Your Kubernetes Cluster
Kubespray makes it easy to add or remove nodes from your Kubernetes cluster. To add worker nodes, you must update your inventory file with the new node’s IP address and rerun the cluster playbook.
To remove a node, you can use the remove-node.yml playbook. The command to remove a node is ansible-playbook -i inventory/mycluster/hosts.yaml remove-node.yml -e node=node_name. Replace node_name with the name of the node you want to remove. Remember to update your inventory file after removing nodes.
Updating Your Kubernetes Cluster
Kubespray also provides a way to update your Kubernetes cluster to a new Kubernetes version. Before proceeding, make sure that the new version is compatible with Kubespray. You can check the Kubespray project’s GitHub page for compatibility information.
To update your cluster, you’ll use the upgrade-cluster.yml playbook. Like deploying the cluster, you’ll need to specify your inventory file with the -i inventory part of the command. The full command is ansible-playbook -i inventory/mycluster/hosts.yaml upgrade-cluster.yml.
Wrapping Up
Kubespray is great since it provides an automated way you can use with Ansible to stand up a k3s-based Kubernetes cluster on your own nodes. Since it automates the process, it is easy to repeat and make sure you don’t make any mistakes in installing everything manually.
Google is updating how articles are shown. Don’t miss our leading home lab and tech content, written by humans, by setting Virtualization Howto as a preferred source.
About The Author


Thanks for highlighting this very cool way to lower the barrier to entry for those not yet proficient with Ansible and still need to use it to perform a usually-complex task.