Avi Load Balancer VMware Standalone Install
The “software-defined” revolution has transformed just about every area of the data center in the past few years. One of the latecomers to the game has been the load balancer. However, Avi Networks has now transformed the load balancer in the enterprise data center as well. Now, Avi is part of VMware and provides a best-in-breed solution for software-defined data centers delivering modern applications to customers and business stakeholders. I have started to play around with the Avi load balancer in the home lab to deliver load balancing to various applications for testing, etc. The Avi Load balancer is now packaged as the NSX Advanced Load balancer. Many may not realize, but you can stand up the Avi load balancer without NSX-T running in your environment by simply connecting the AVI controller to your vCenter Server and your vSphere environment. Let’s take a look at the Avi load balancer VMware standalone install and see how this can be done.
What is the Avi Load Balancer solution?
Load balancers are a critical component of the enterprise data center that ensures application availability. Traditional load balancers often undermine the efforts to automate your infrastructure. When you take a look at the modern data center, compute and storage are now automated. Load balancers provide both security and availability. Traditionally, pairs of active/standby hardware or virtual appliances provide load balancing features. Since each traditional load balancing appliance has its own management interface it makes scalability extremely difficult. Management, upgrades, and lifecycle management can be difficult.
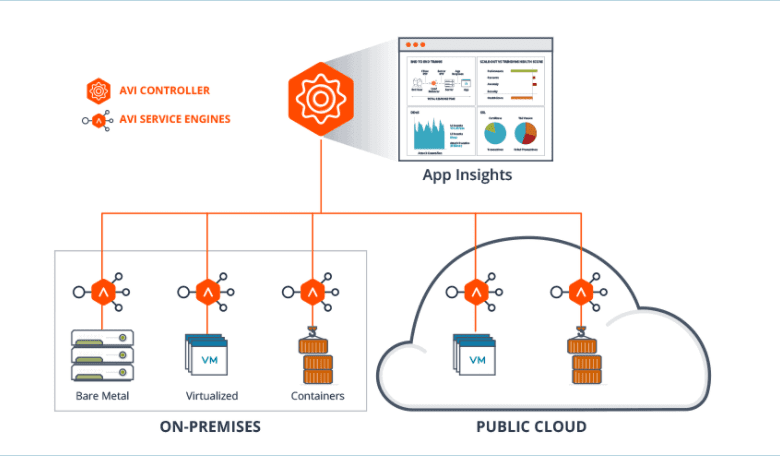
Avi Networks load balancers provide a pure software-driven solution where the control plane is separated from the data plane. This creates an active load balancing fabric. It helps to give the flexibility to deploy consistently across clouds and it enables effective self-service load balance infrastructure in your environment, built on 100% restful APIs. Avi does this by deploying what are known as the Avi Controller and the Avi Service Engines.
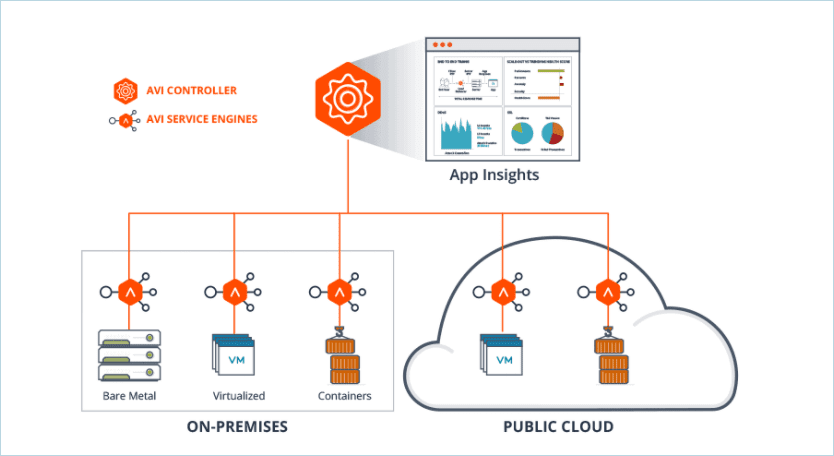
The Avi solution also goes beyond simple load balancing. It provides:
- Monitoring
- Analytics
- Application delivery
It provides the tools and capabilities to visualize and analyze the environment to optimize the delivery of applications. These features are key for building modern applications built upon infrastructure powered by Kubernetes and vSphere with Tanzu. With vSphere 7.0 Update 2, VMware now provides support for using the NSX Advanced Load Balancer (Avi Vantage) along with the HA-Proxy that was used in earlier versions. Now that Avi networks is part of VMware, your vSphere with Tanzu platform can have a native VMware stack powering your modern infrastructure applications running on Tanzu, including the load balancer solution.
Avi Load Balancer VMware Standalone Install
As mentioned in the outset, you can also turn up an Avi load balancer solution in your VMware vSphere environment without NSX-T or vSphere with Tanzu and use this as a simple software-defined load balancer solution in your vSphere environment. I have been playing around with a more traditional Kubernetes lab environment. Take a look at my Kubernetes Home Lab Setup Step-by-Step and see how I have built this out. I wanted to have a load balancer solution to play around with load balancing applications in the environment running on the Kubernetes cluster. So, this provided by use case for the Avi load balancer VMware standalone install.
First things first, what am I running this on? The below is my setup for the home lab to run the Avi Load Balancer (NSX Advanced Load Balancer).
- VMware vSphere Update 2a
- Avi Load Balancer 20.1.6 (current) – at the time of this writing
- Download size is 3.8 GB
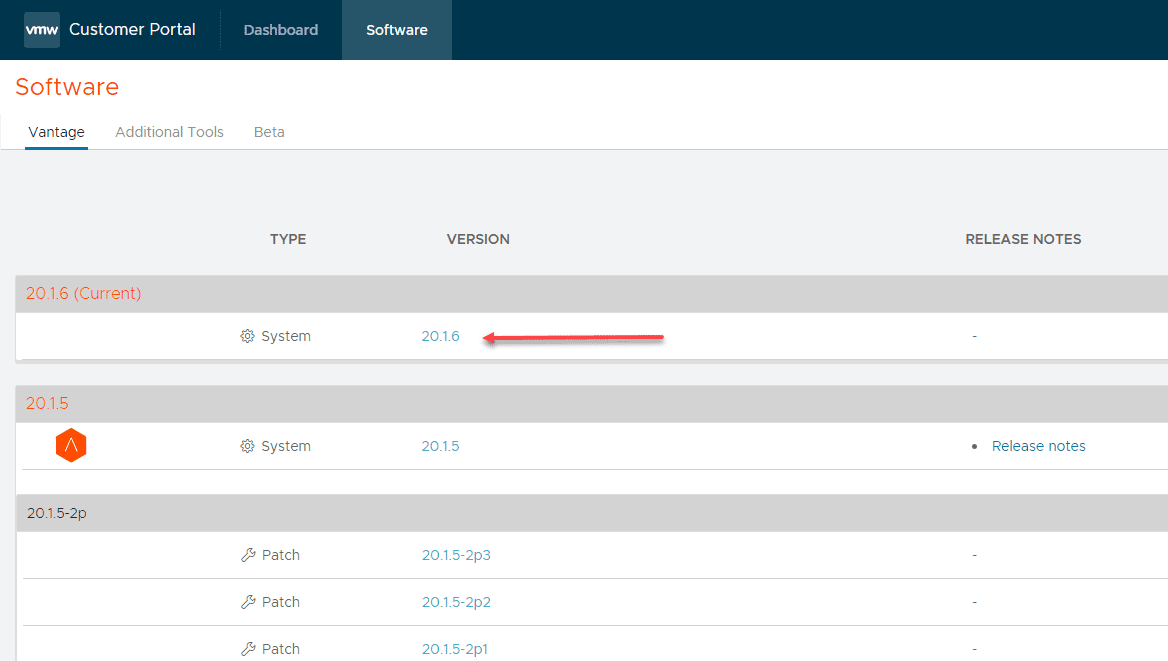
To download the Avi Load Balancer, follow the link to the portal:
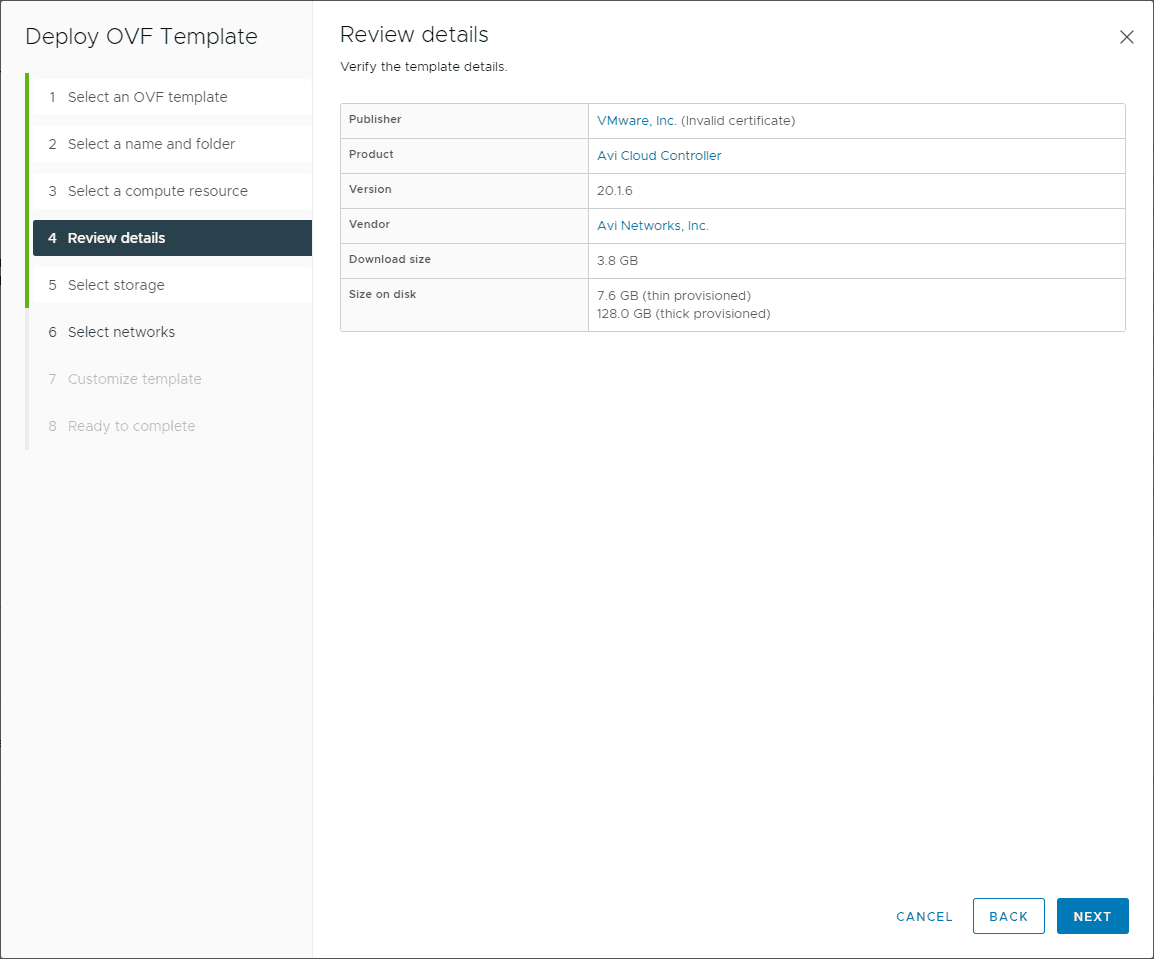
Deploy the Avi Load Balancer OVA appliance
The Avi Networks Load Balancer OVA appliance is deployed in the same way as any other OVA in a vSphere environment. You will need to choose storage and network configuration options among other things, again as you would in a typical OVA deployment. As a note, you do not have to fill in the NSX-T details while deploying the OVA appliance. These can be left blank. This will allow performing a standalone deployment of the Avi Load Balancer.
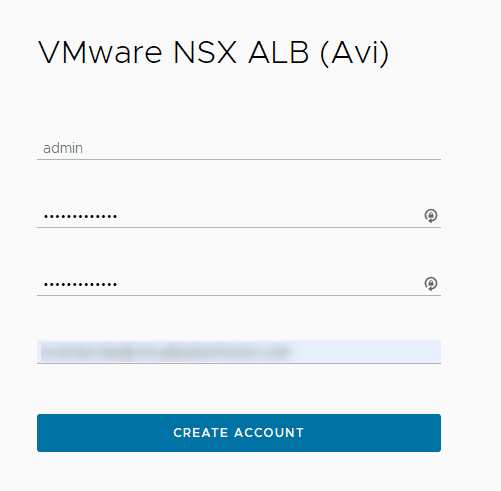
Once the appliance is deployed, you will be able to browse to the HTTPS port of the management IP address you set during the OVA deployment. This management interface is the Avi Controller. You will need to create a password for the admin account.
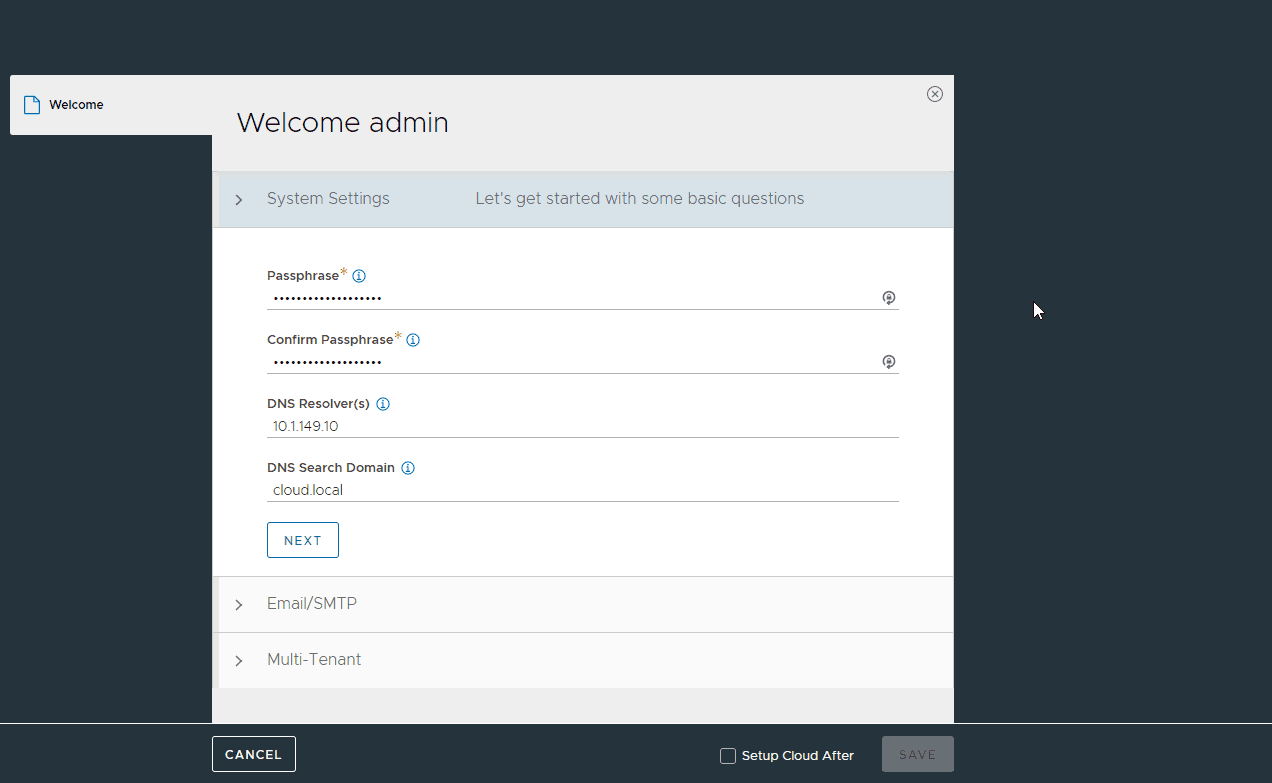
Create a passphrase. This is for backup operations, etc.
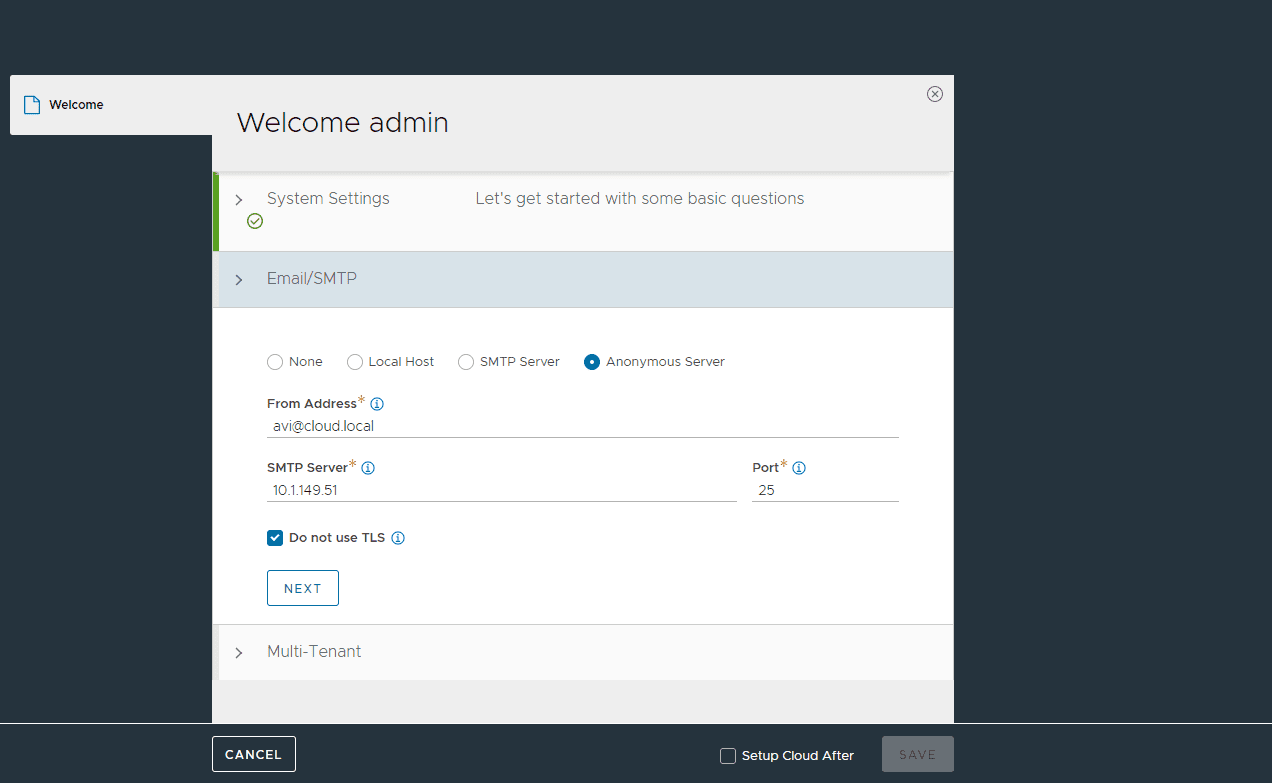
Configure your Email/SMTP configuration for the Avi Load Balancer controller.
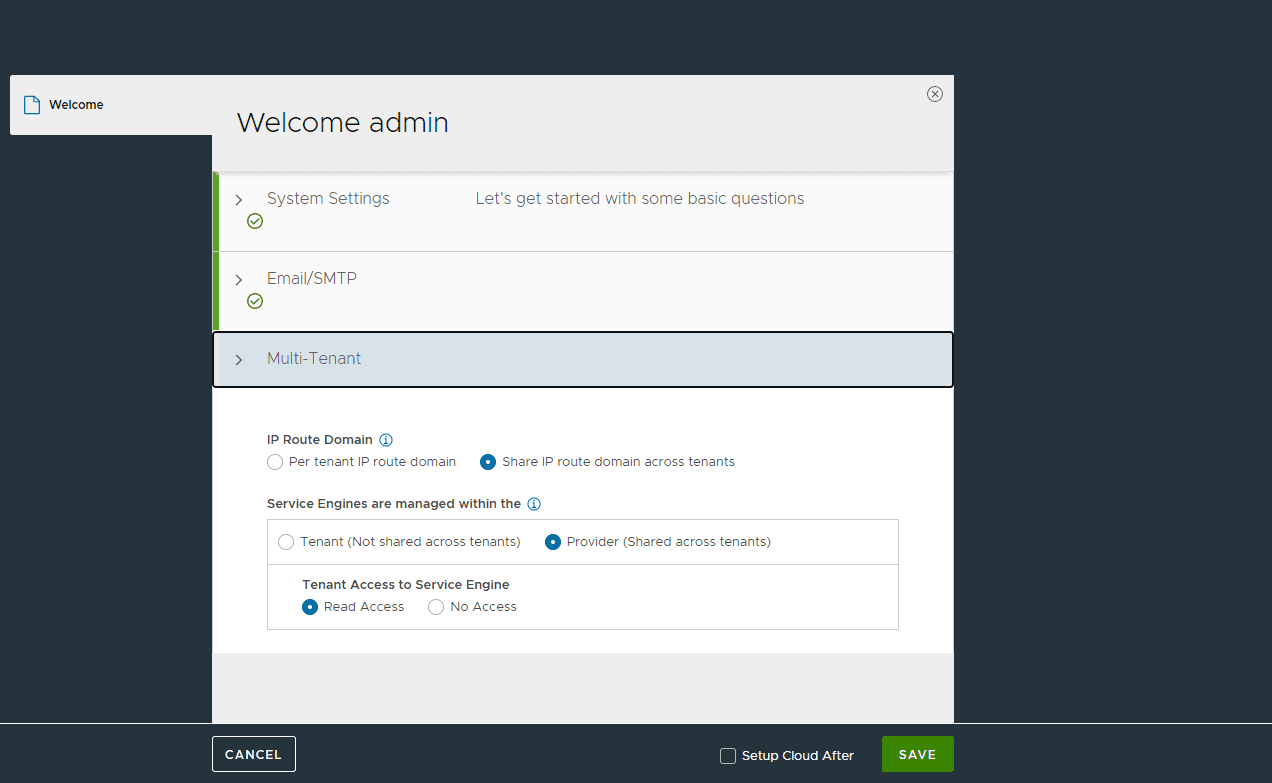
Multi-tenant configuration in the Avi Controller.
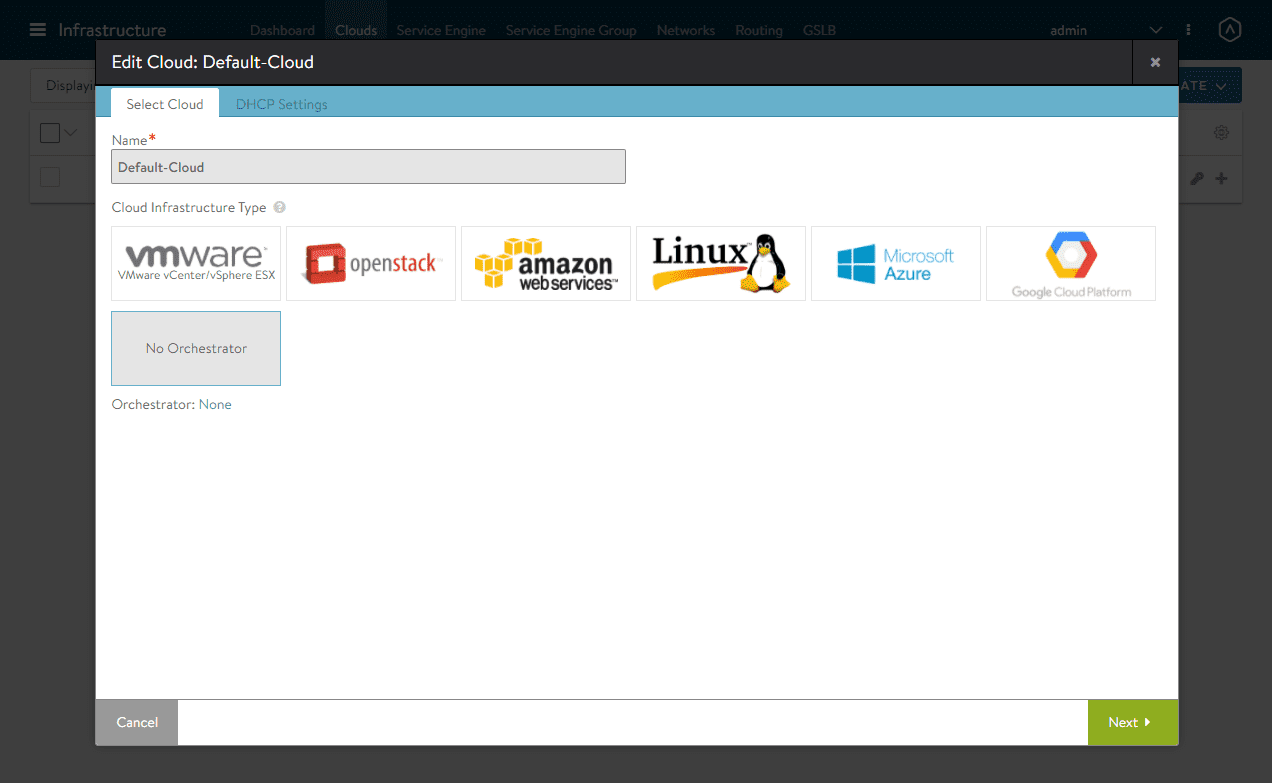
The Default Cloud screen appears. Here I am targeting a VMware vSphere environment. So, I am choosing the option VMware vCenter/vSphere ESX. Again, this is a straight vCenter Server connection without NSX-T.
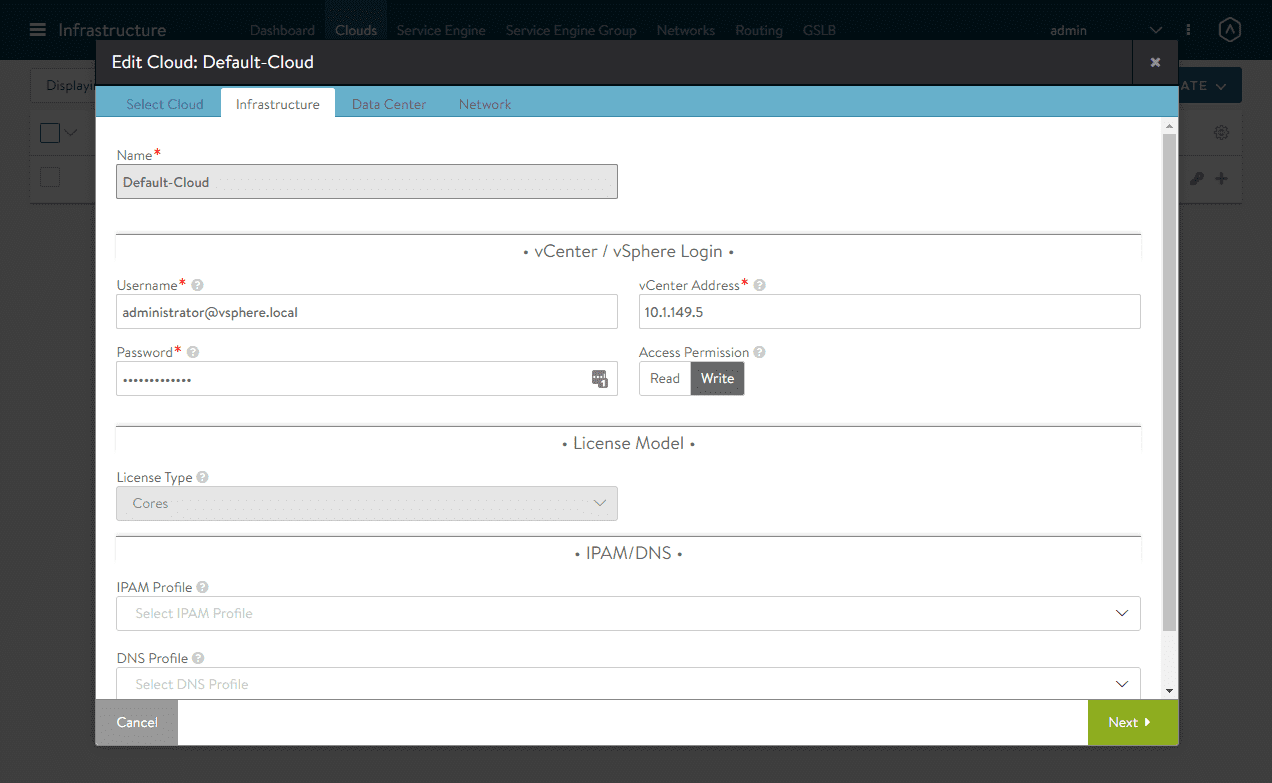
Enter the details of your connection to vCenter Server. As you can see, this only requires a vCenter Server connection and no NSX-T details.
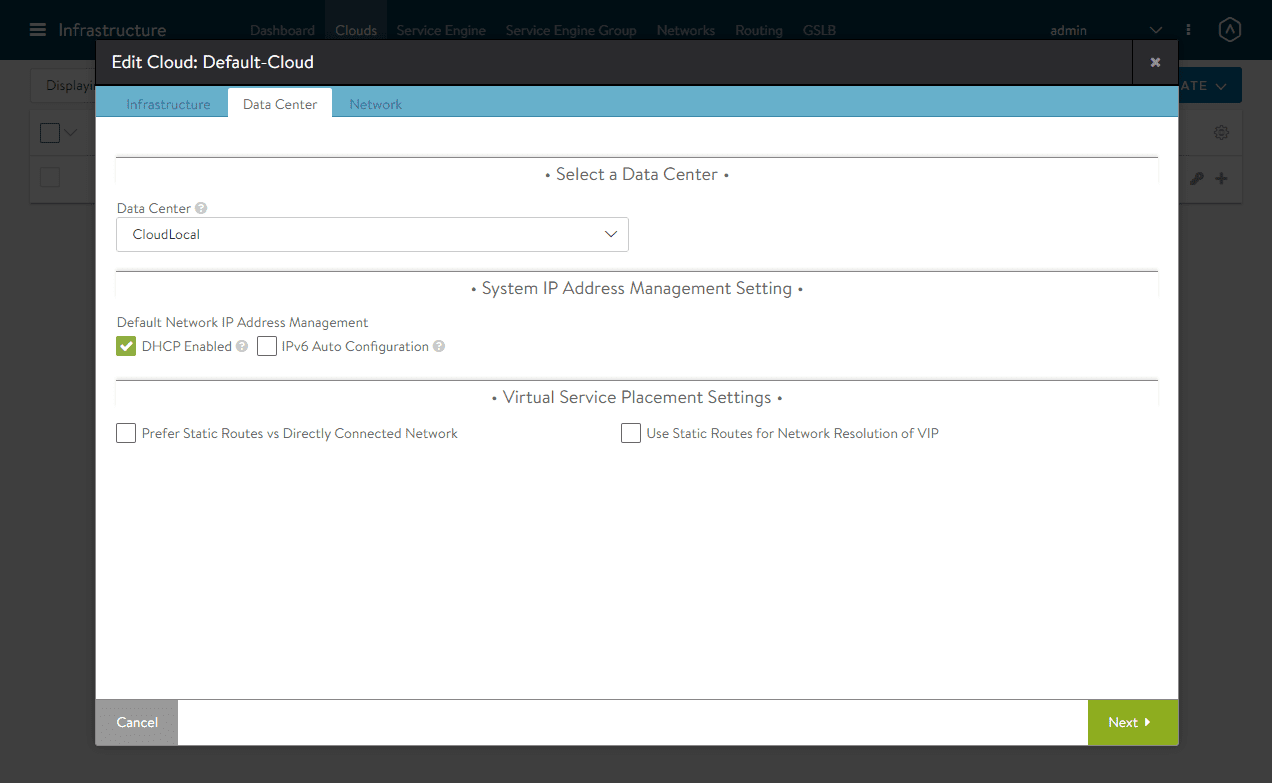
Configure your data center IP Address configuration.
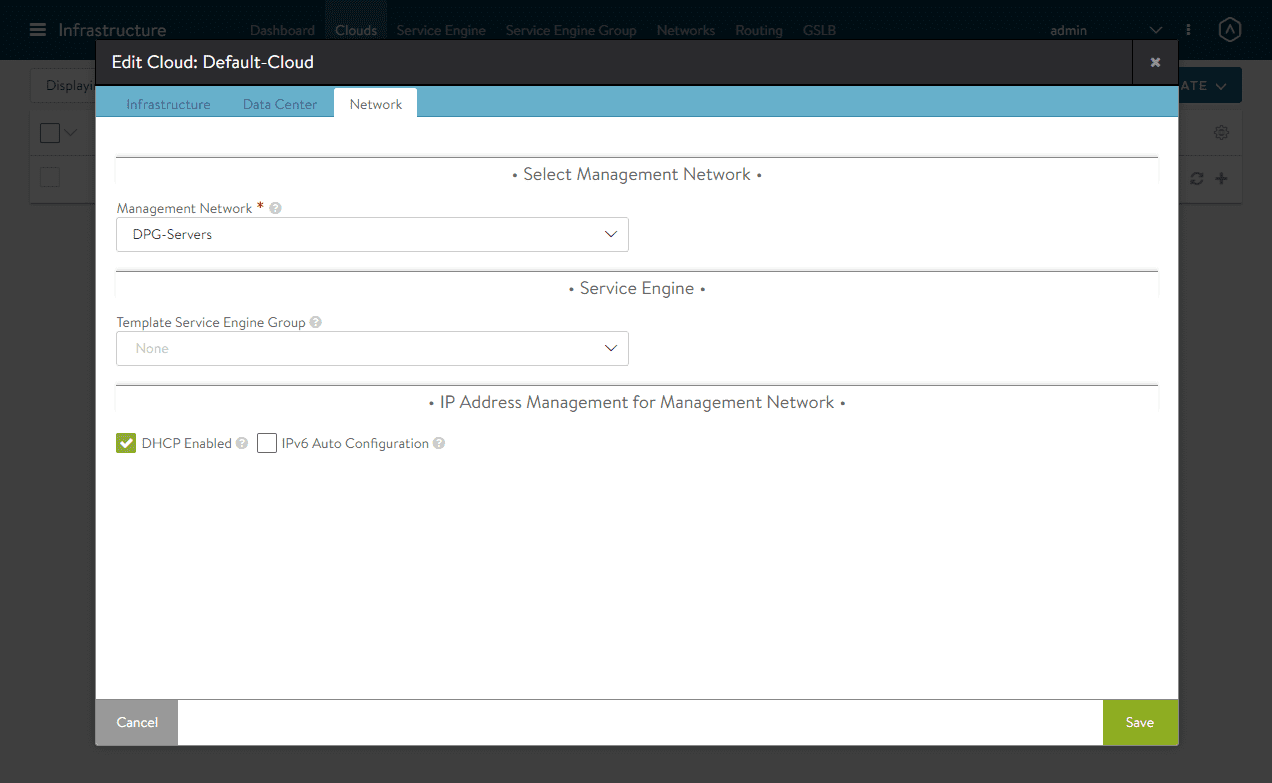
Select the management network that will be used for the Avi Service Engines when they are deployed.
Setting up an Avi Load Balancer Service
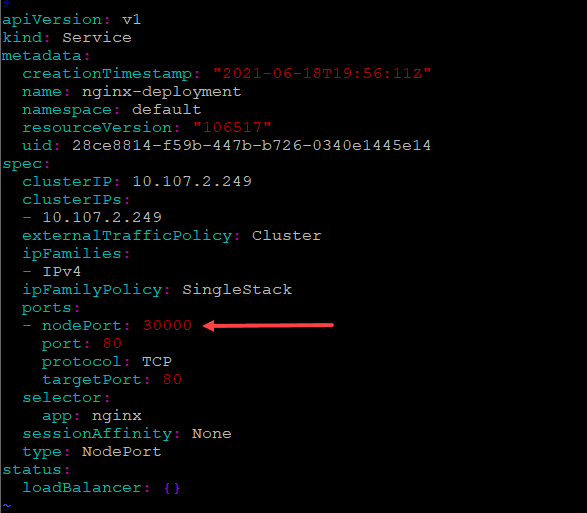
I have an Nginx Pod configured on my Kubernetes cluster that is explosed via a NodePort on port 30000. I have two replicas configured. I am going to setup load balanced connection between the two pods configured on the two Kubernetes worker nodes. As you can see below, I have the service exposed on nodePort 30000.
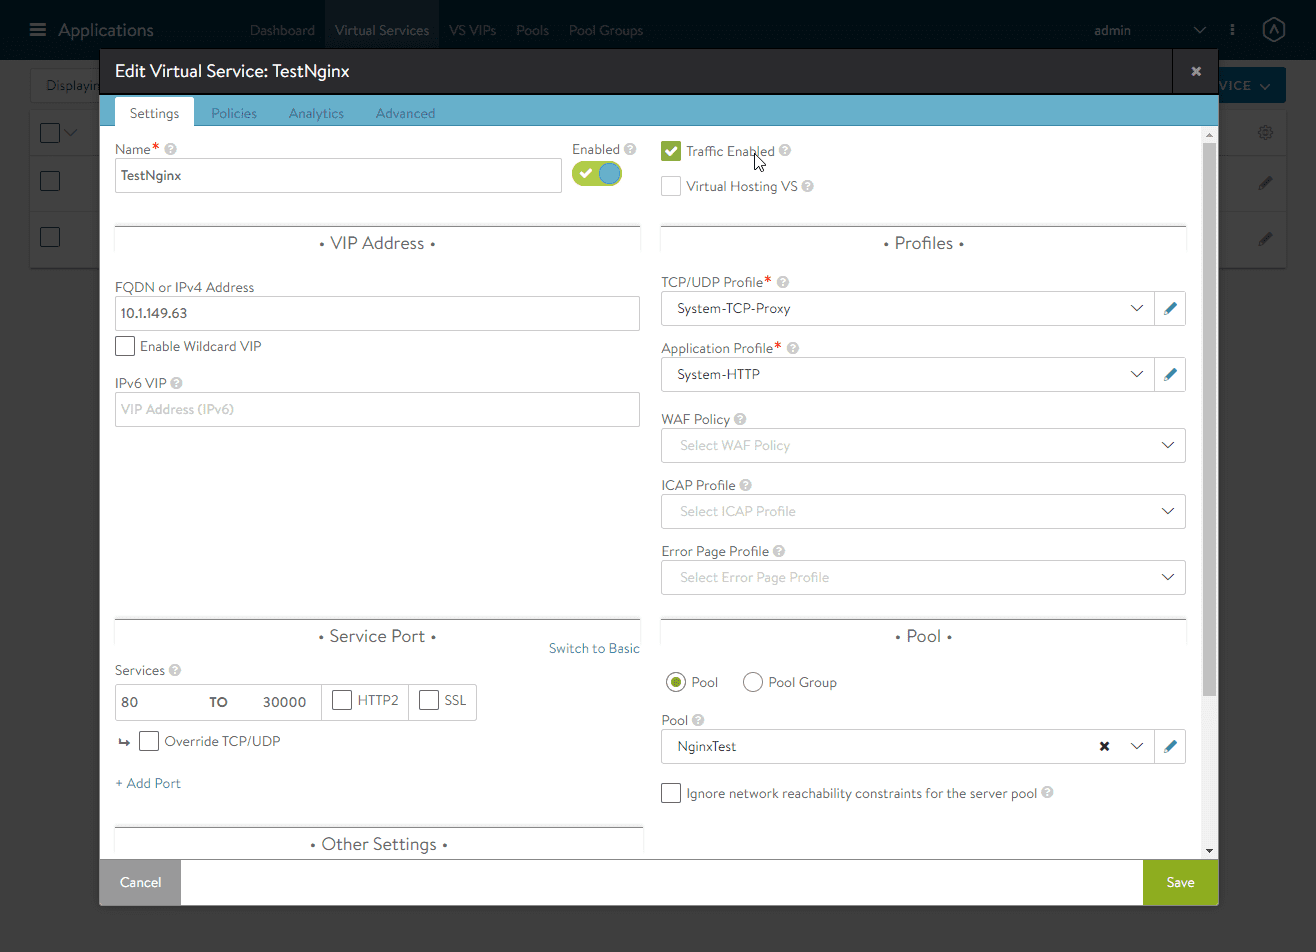
What does this look like from a Virtual Service perspective in the Avi Controller? Below, I am creating a VIP that listens on port 80 and forwards to the NodePort 30000 port on the backend. The NginxTest pool contains the two Kubernetes replica nodes for the Pod.
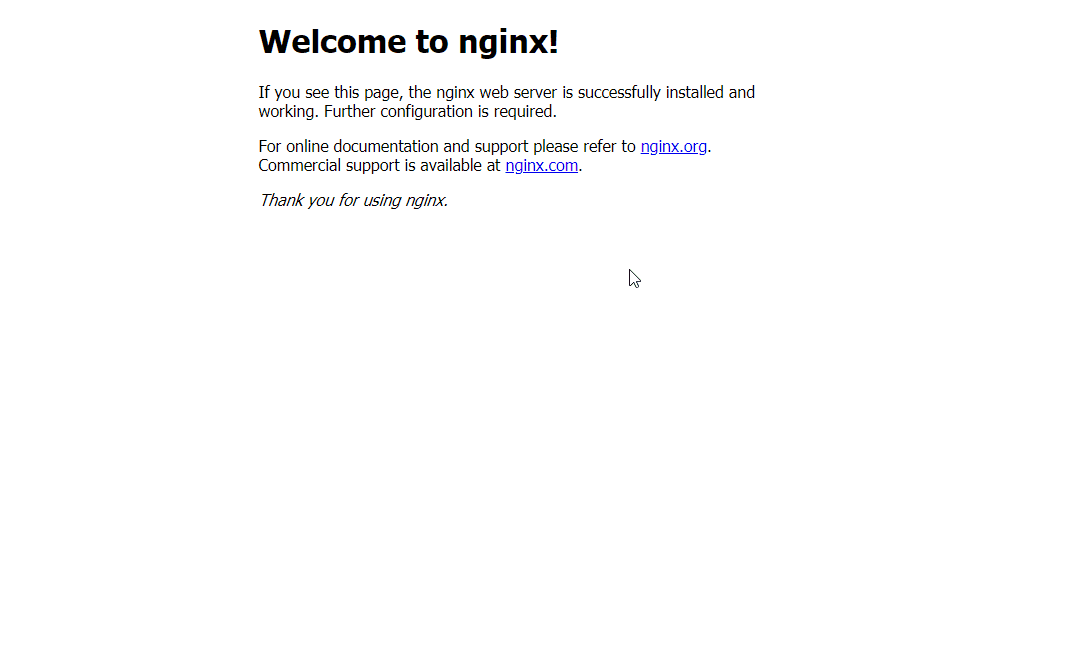
After forwarding the traffic using the Avi Load Balancer, I can now successfully get to the Nginx web server.
Tremendous visibility of the Avi Load Balancer
One of the things you will be struck by is the visibility you are provided with the Avi Load Balancer. It will detail the virtual service, the virtual infrastructure, the traffic, the experience, security, and many other points of interest for the load balancer. If you expand each virtual application, you will see:
- Application name
- Pool
- Virtual network
- Nodes to which the application services are forwarded
- Avi Service Engine
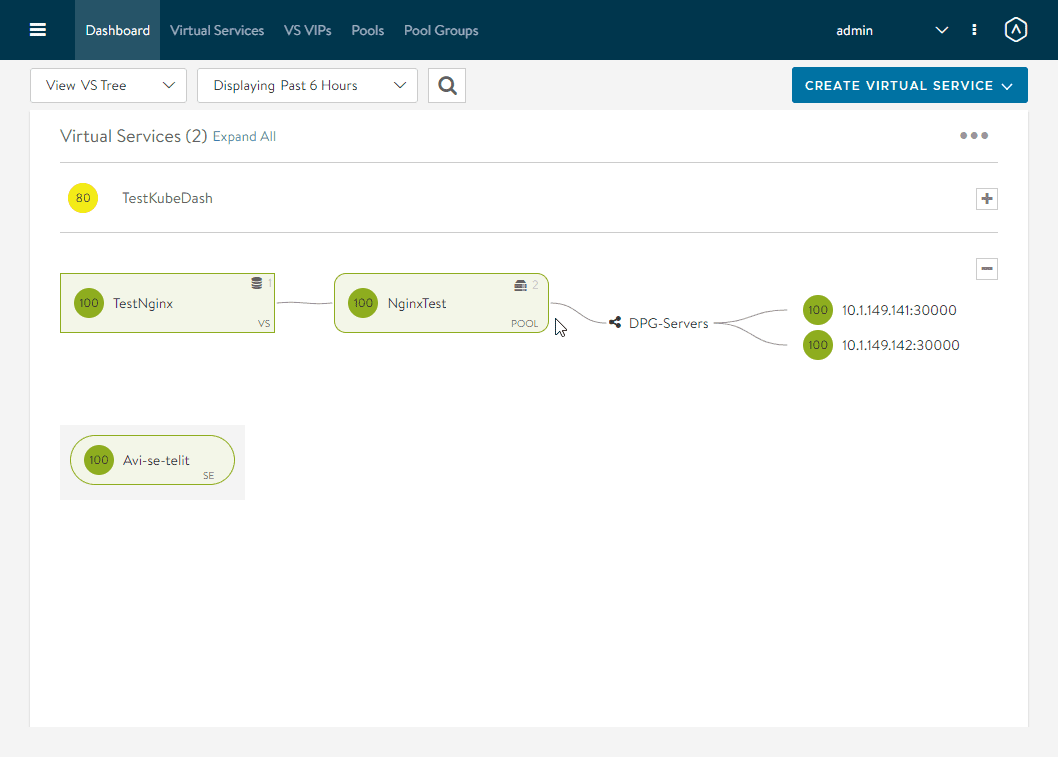
All of these elements are clickable and you can drill into each one to see various metrics, including performance.

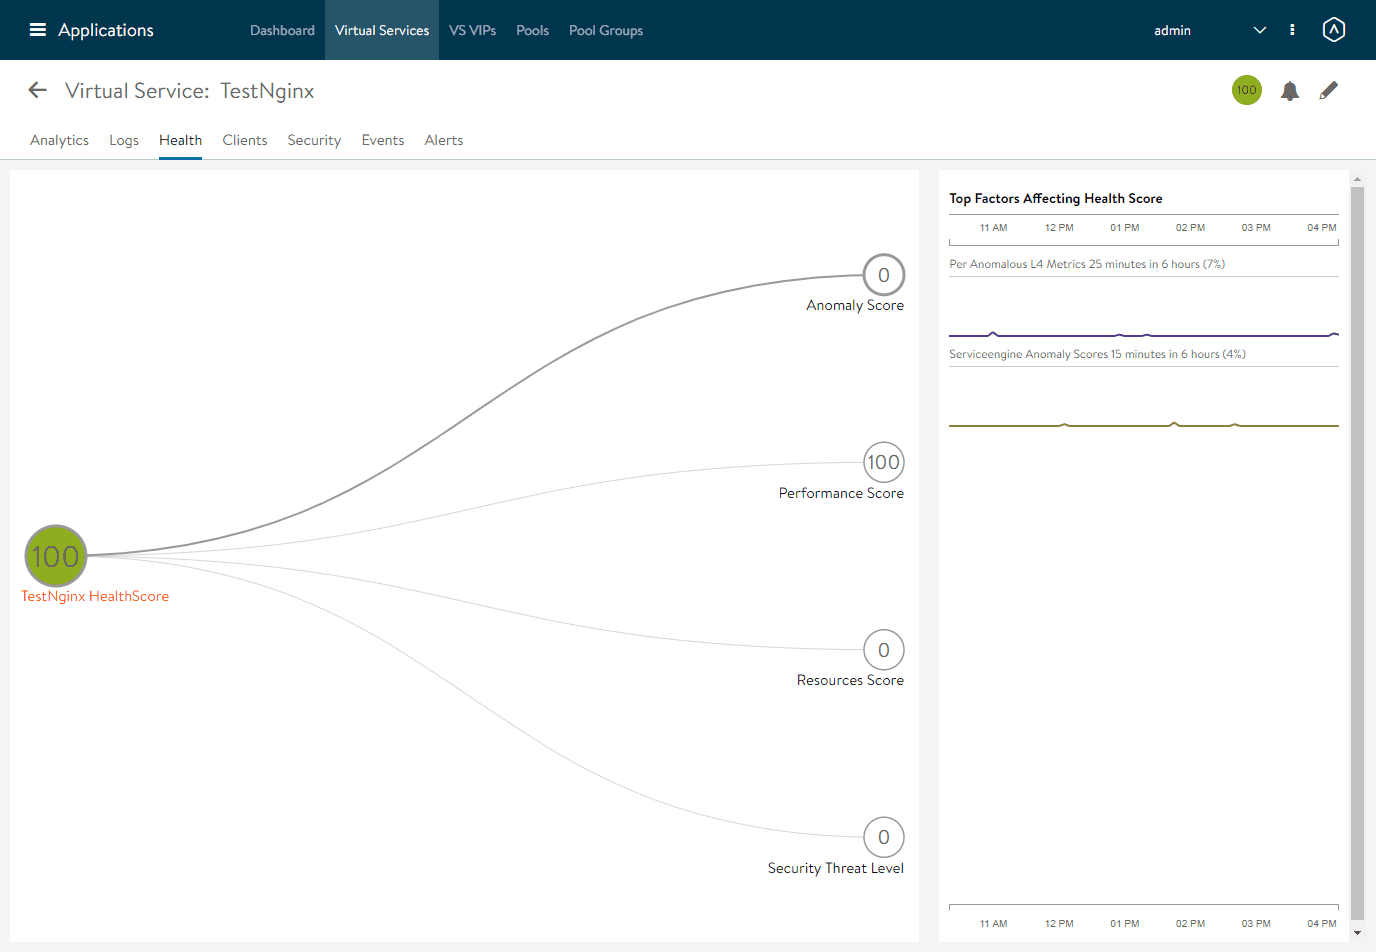
Below, I have clicked the name of the virtual service > Health. This shows the health of the application.
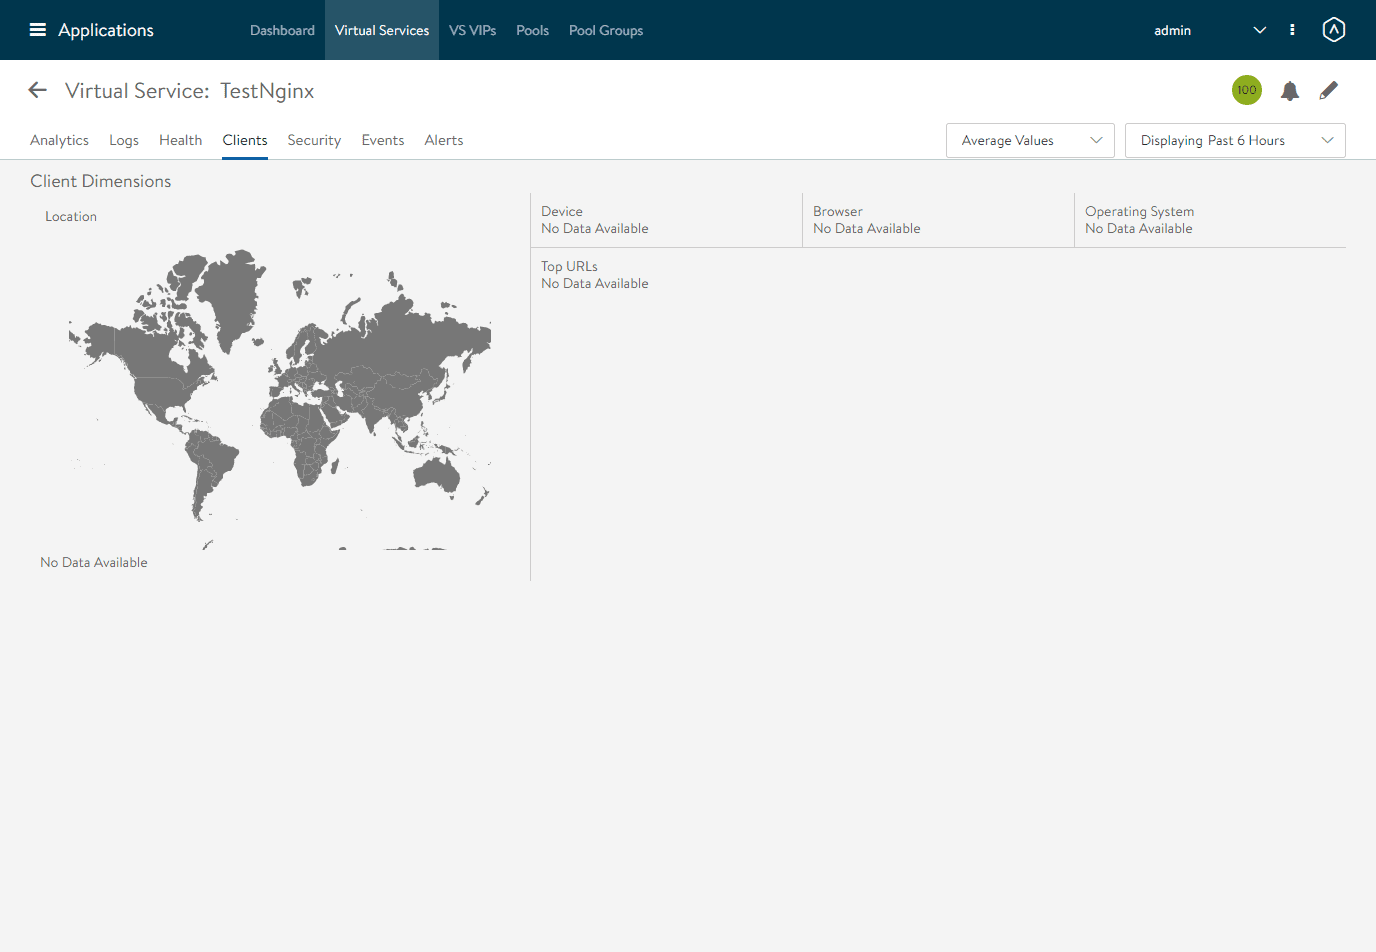
You can easily see which clients are connected and from which geolocation.
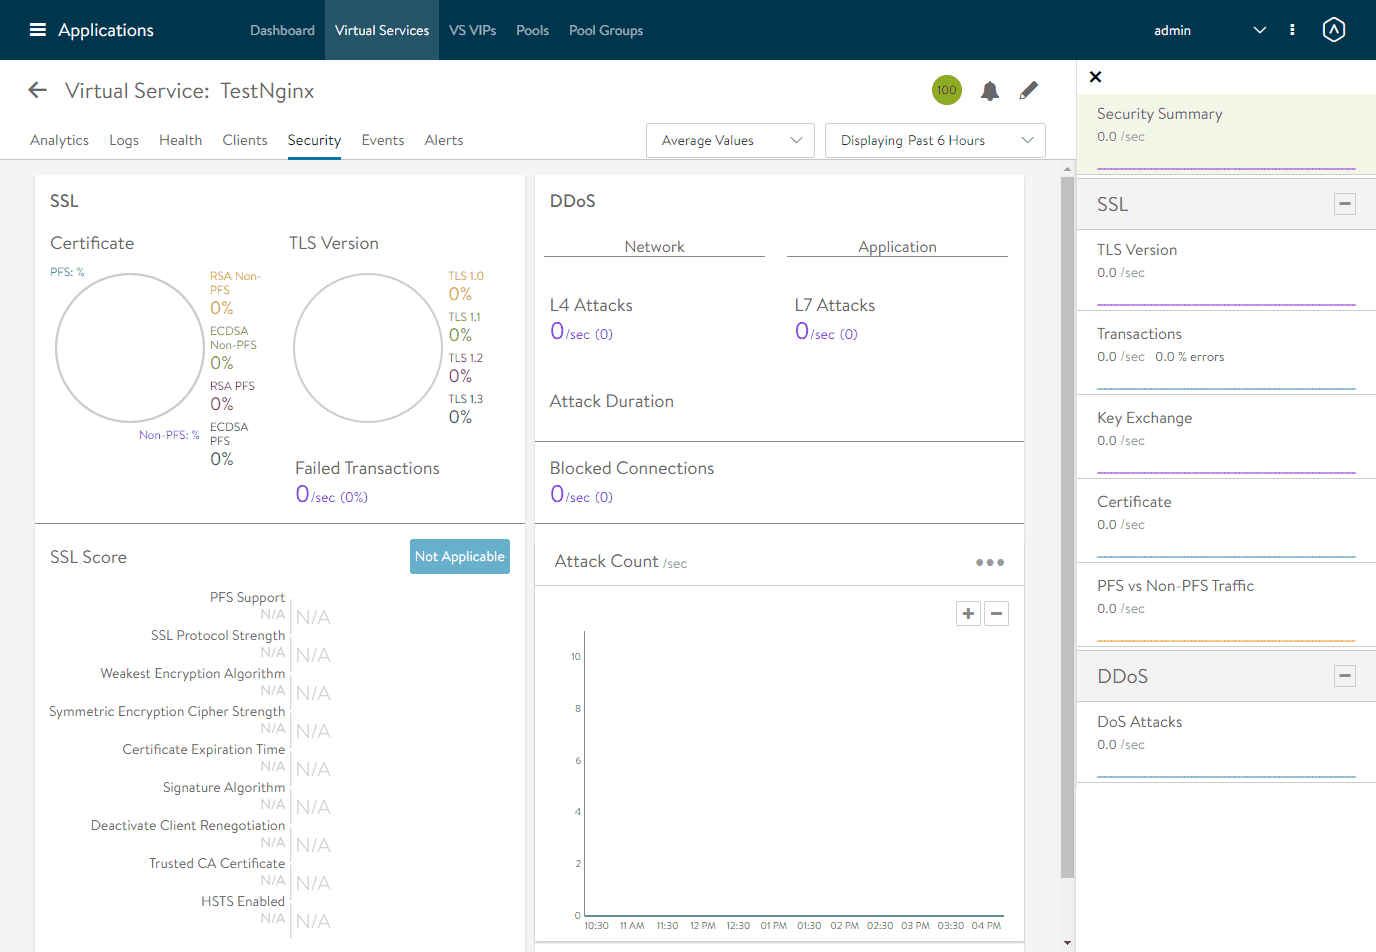
What about security? You can see an overview of the security of the service on the security tab. This displays information about the SSL and the score of the SSL connection.
Concluding
The Avi Load Balancer VMware Standalone Install is easily accomplished by deploying the AVI OVA appliance, configuring the installation of Avi and then setting up the Virtual Service to forward traffic to your endpoints. Avi provides some of the best visibility you will see with rich analytics and metrics all viewable from the Avi Controller interface.


