Remote Desktop Gateway Server 2016 or 2019 Configuration
There is no question, there have been a lot of organizations that have had to shift their focus to remote working over the past few weeks/months. If you are a Windows Server shop and also maintain Windows clients for your end users, one of the easiest ways to extend remote work from home is to setup a Remote desktop gateway server 2016 or 2019 to allow remote workers to access a desktop environment to run their normal business applications. If in a panic or a hurry you simply “poked a hole” in your firewall for RDP services directly to a server, now is the time to revisit that solution and make things more secure. Folding RDP services back in to the internal network and only exposing a remote desktop gateway server 2016 or 2019 to the perimeter is by far the better solution. In this post, we will take a look at remote desktop gateway server 2016 or 2019 configuration and see how you can easily stand up a server in the perimeter with the gateway services running that will proxy RDP traffic inside to your internal RDP resources.
Remote Desktop Gateway Server 2016 or 2019 why?
Before we get into the technical details of the solution, let’s look at this question a bit further. Why do you want to go through the trouble to stand up an additional layer in front of your RDP servers? In short, exposing an RDP server directly to the Internet is dangerous. There have been countless RDP flaws that have been revealed over the past few years and these will no doubt continue, especially with the current remote work situation.
Microsoft has a built-in solution in the Remote Desktop Gateway services role that allows proxying these incoming connections over a secure SSL 443 tunnel connection to the Gateway server over which the RDP connection is established to the internal RDP servers that house the actual resources and applications you want your end users to be able to use.
This is way more secure and keeps the highly problematic RDP protocol concealed on the inside underneath a separate layer of security that can be applied with the Remote Desktop Gateway server 2016 or 2019. Let’s take a look at installing a remote desktop gateway server 2016 or 2019 in front of your Remote Desktop Session Host (RDSH) servers internally.
Remote Desktop Gateway Server 2016 or 2019 Configuration
Let’s look at the steps to configure our Remote Desktop Gateway Server (RDGW). The steps for Remote Desktop Gateway Server 2016 or 2019 configuration involve the following:
- Install the Remote Desktop Services role on your 2016 or 2019 server you are going to use for the Remote Desktop Gateway server.
- Configure the Network Policy Server
- Configure an SSL certificate for the Remote Desktop Gateway server
- Configure your client connection to use the Remote Desktop Gateway Server 2016 or 2019 for connecting to internal RDP resources.
Installing the Remote Desktop Services Role in 2016 or 2019
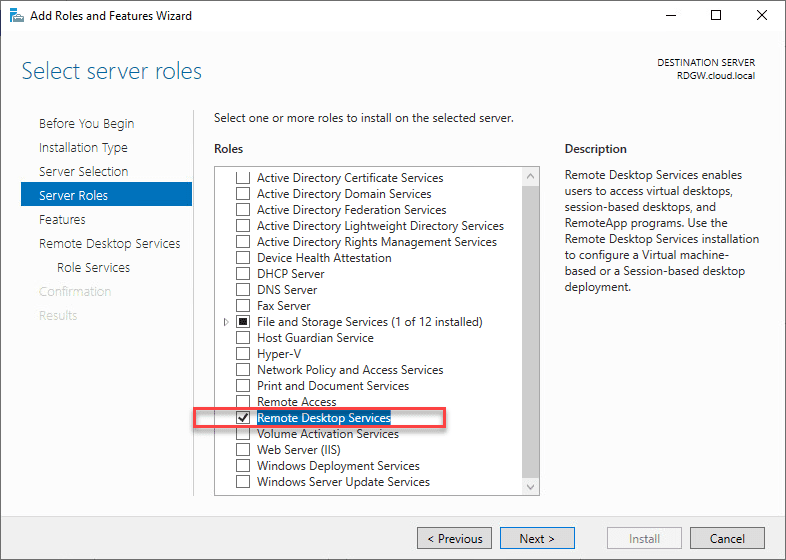
The first thing we need to do is install the role for Remote Desktop Services. You can easily do this in the Server Manager Roles and Features wizard.
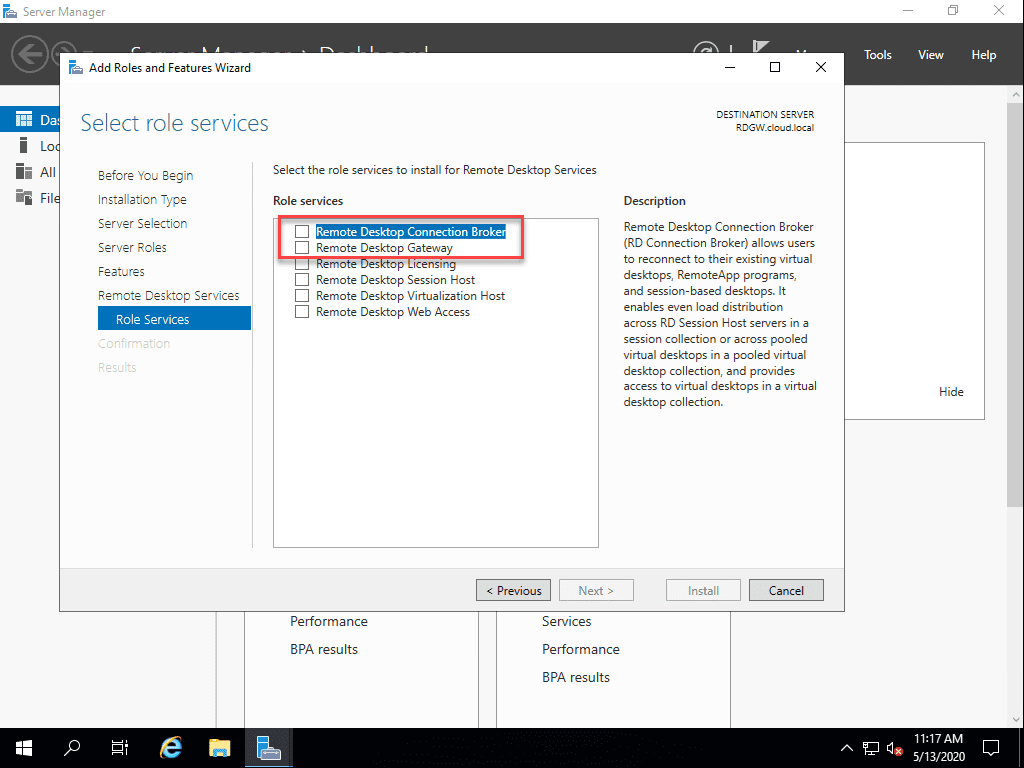
The Select role services wizard will ask which specific Remote Desktop Services will be installed.
The Network Policy and Access Services is installed in the installation of Remote Desktop Gateway services.

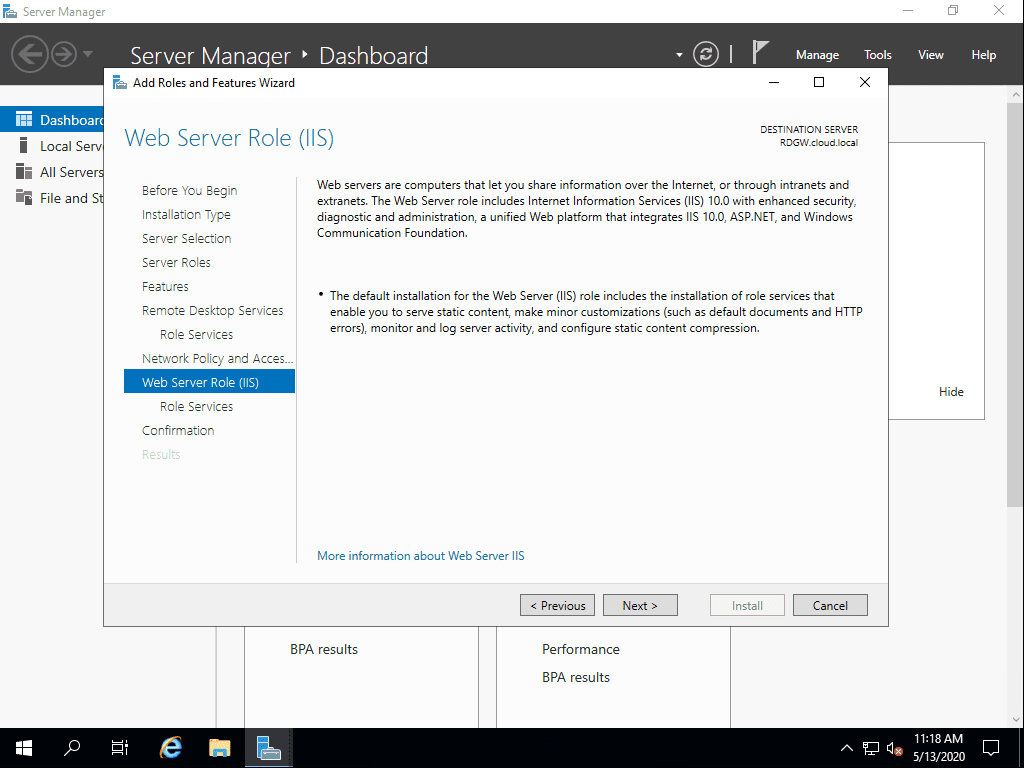
The Web Server Role (IIS) is installed along with the Remote Desktop Gateway role service.
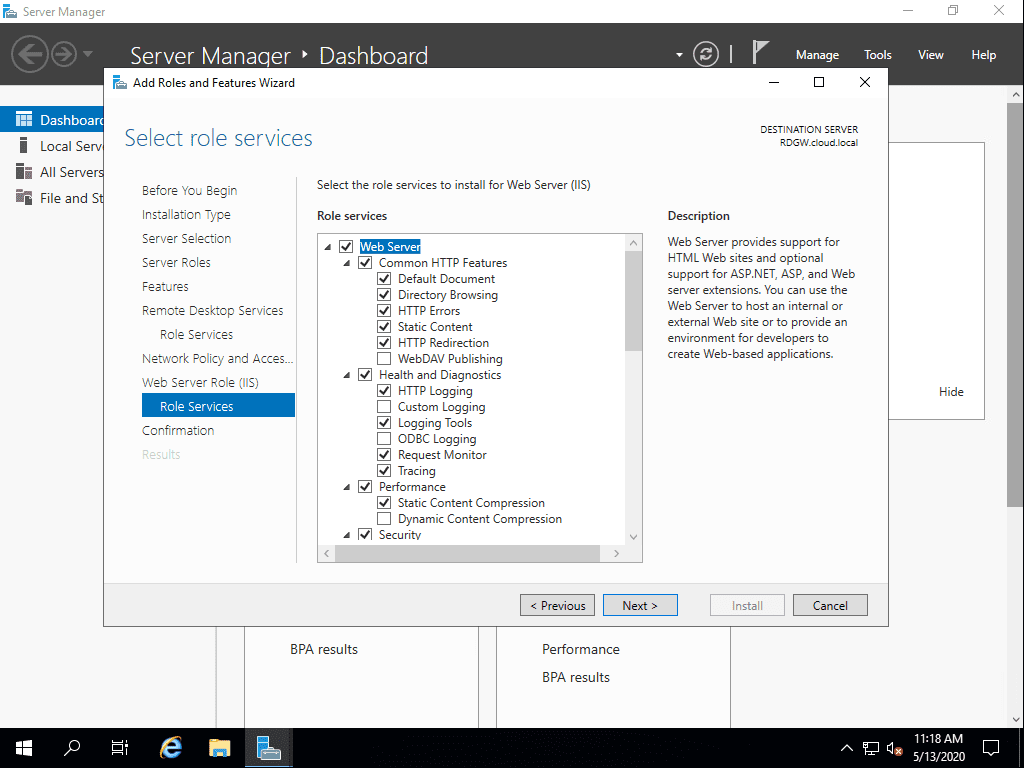
The Web Server role services that will be installed in the process.
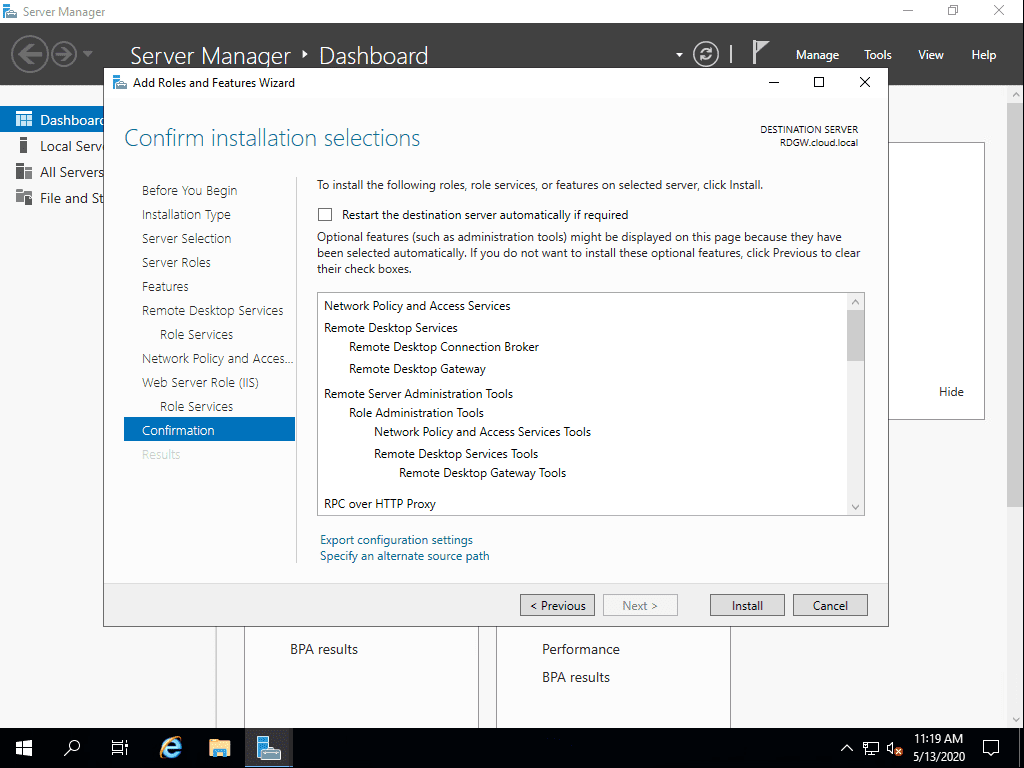
Confirm the installation of the selected services supporting the Remote Desktop Gateway role.
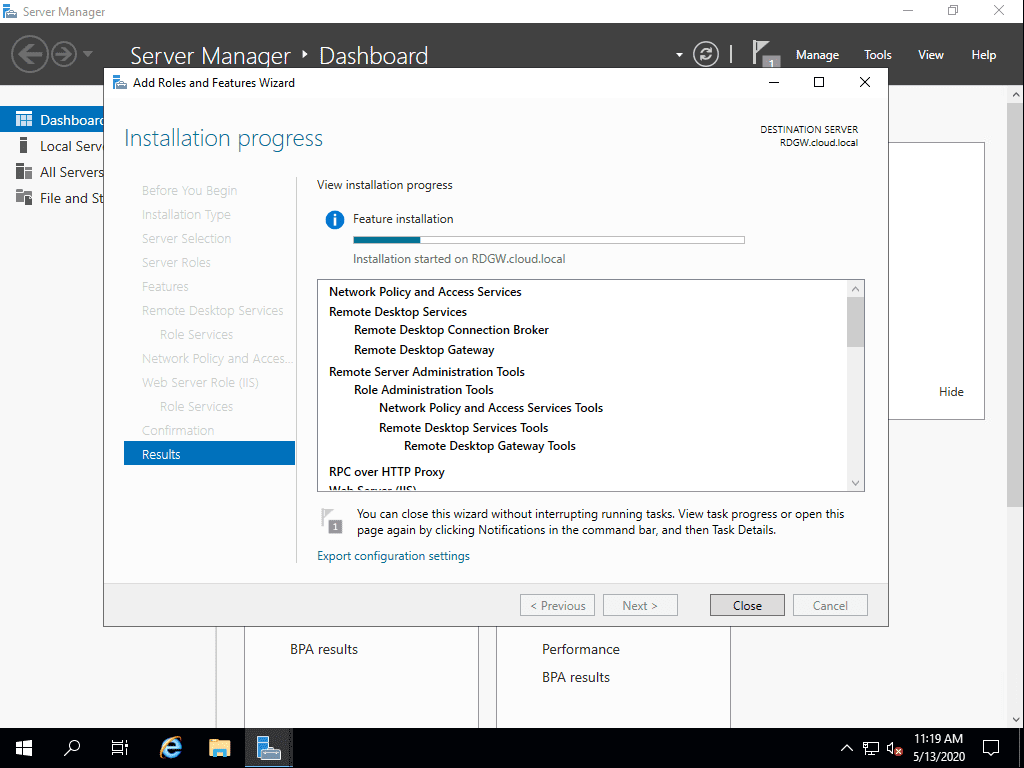
The Remote Desktop Gateway role service is installed along with the NPS role and Web Server IIS role.
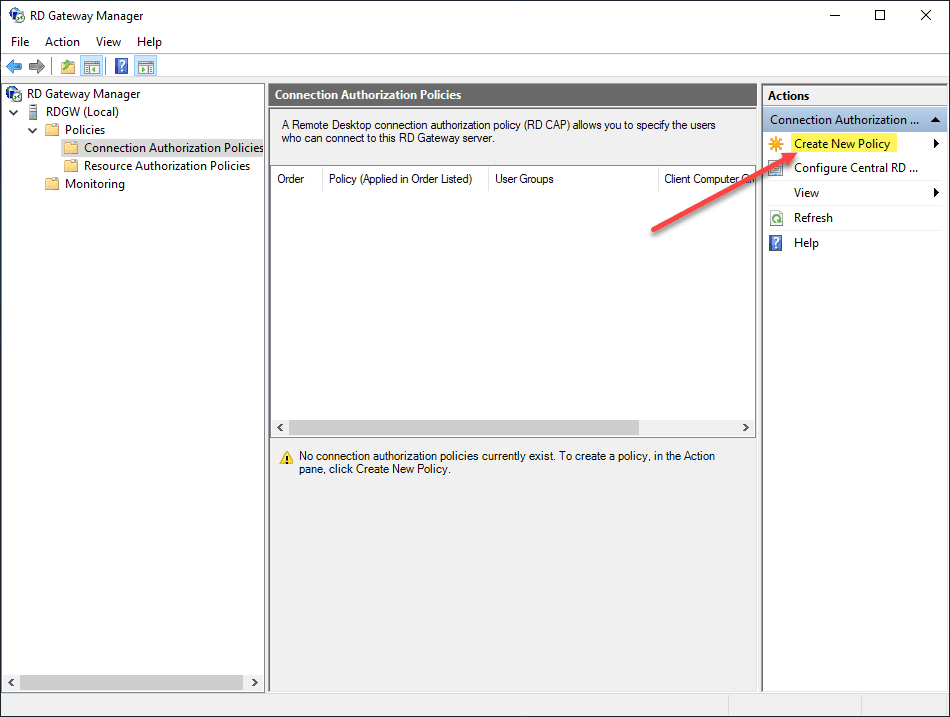
After installation, launch the RD Gateway Manager console. You will need to create new policies for:
- Connection Authorization
- Resource Authorization
Create a Connection Authorization Policy
Create a New Policy under the Connection Authorization Policies.
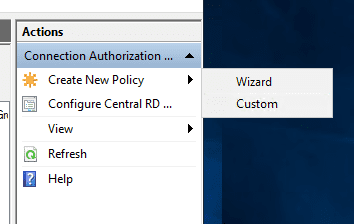
You have the choice to use a wizard or custom creation for the authorization policy.
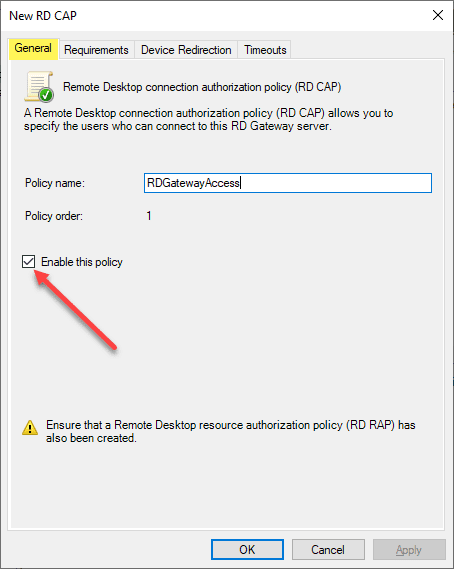
Below is the custom creation of the connection authorization policy. First, name the policy and make sure it is enabled (it is by default).
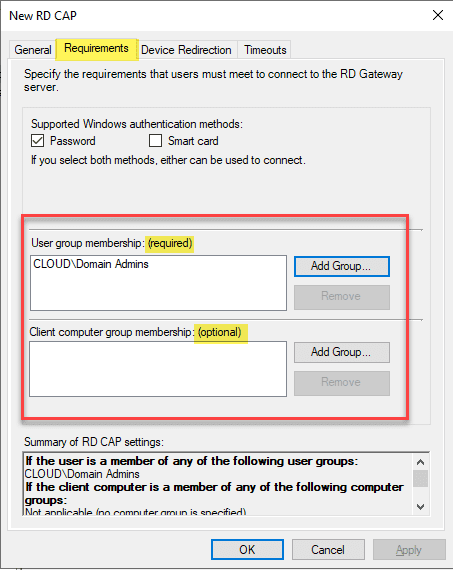
Under the requirements tab, add the group that will be allowed to connect. This is a required configuration. You can also add a computer group that is optional which defines the computer group allowed to connect.
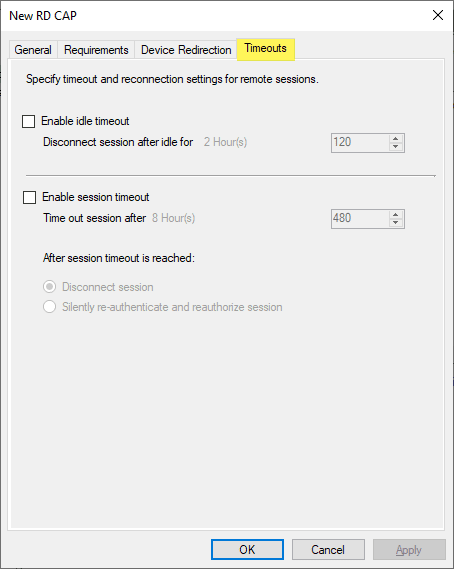
There are Device Redirection and Timeouts options that can be configured.
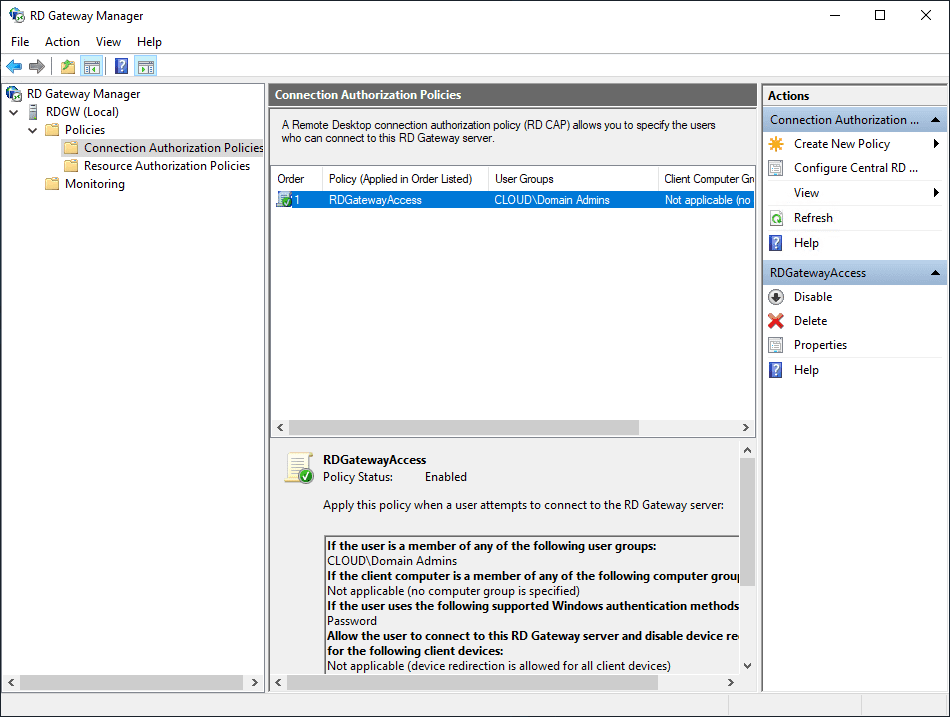
The Connection Authorization Policy is created successfully.
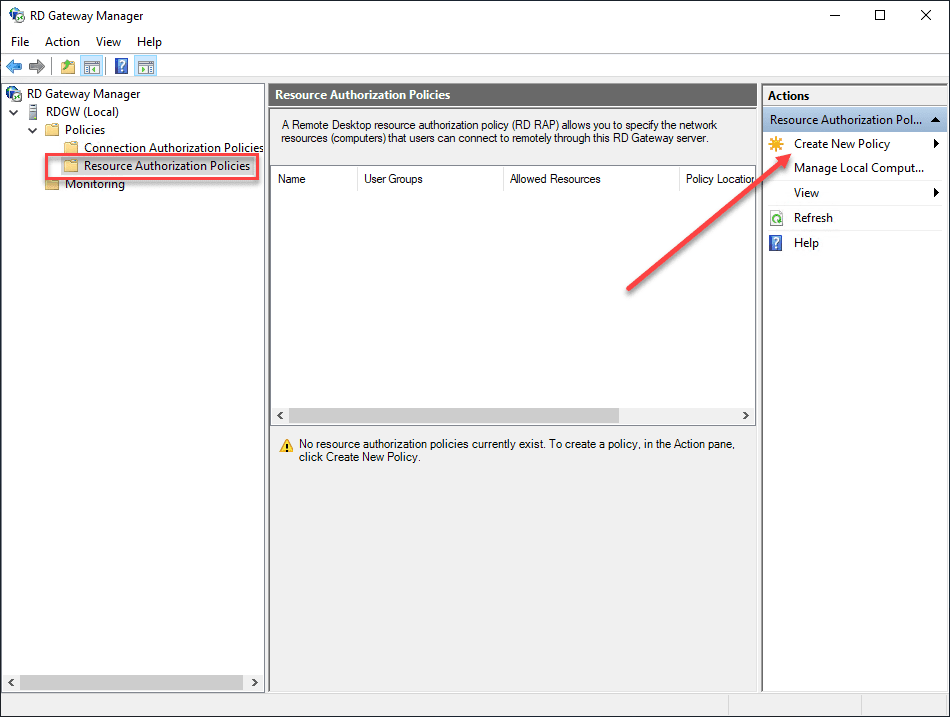
Create a Resource Authorization Policy
Create the Resource Authorization Policy. Click the Create New Policy.
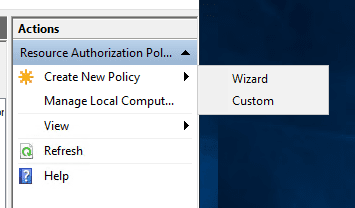
Create the New Policy using the Wizard or the Custom option.
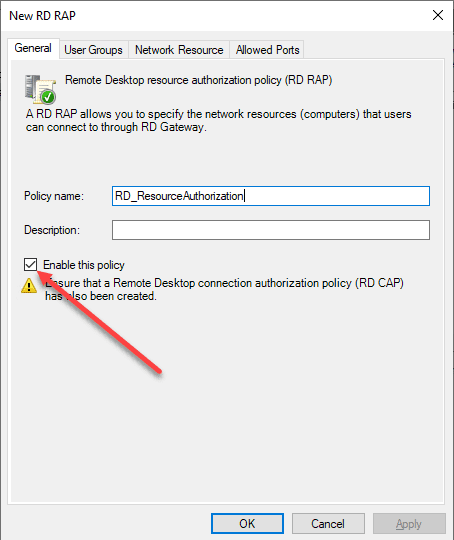
Name the Resource Authorization Policy (RAP) and make sure it is enabled (it is by default).
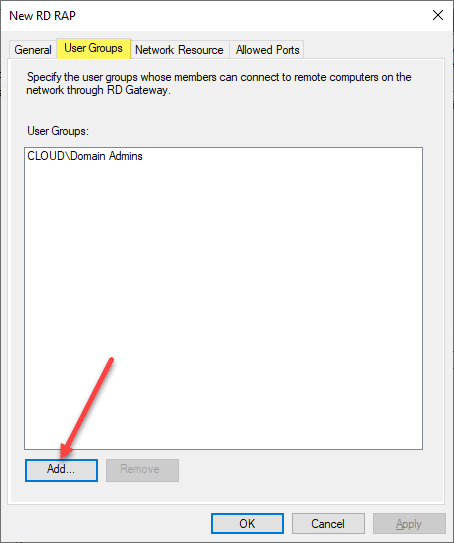
Add the user groups whose members can connect to the remote computers on the network through the RDGW.
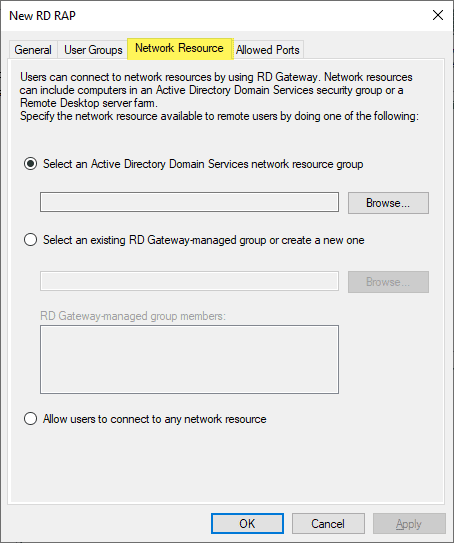
Configure which network resources the users are allowed to connect to. You can select a group that contains the computers that authenticated users are allowed to connect to. Also, you can select to Allow users to connect to any network resource.
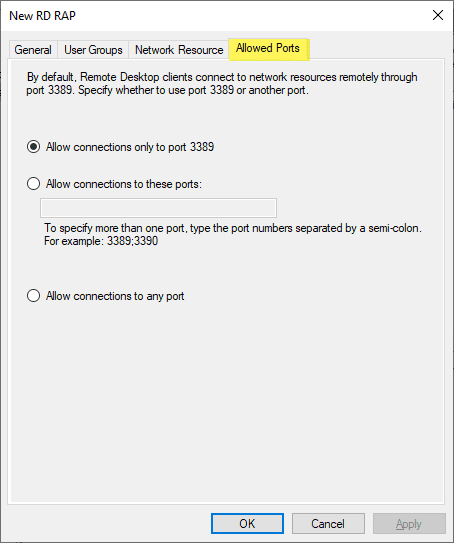
Allowed ports allows configuring a different port besides 3389 if desired.
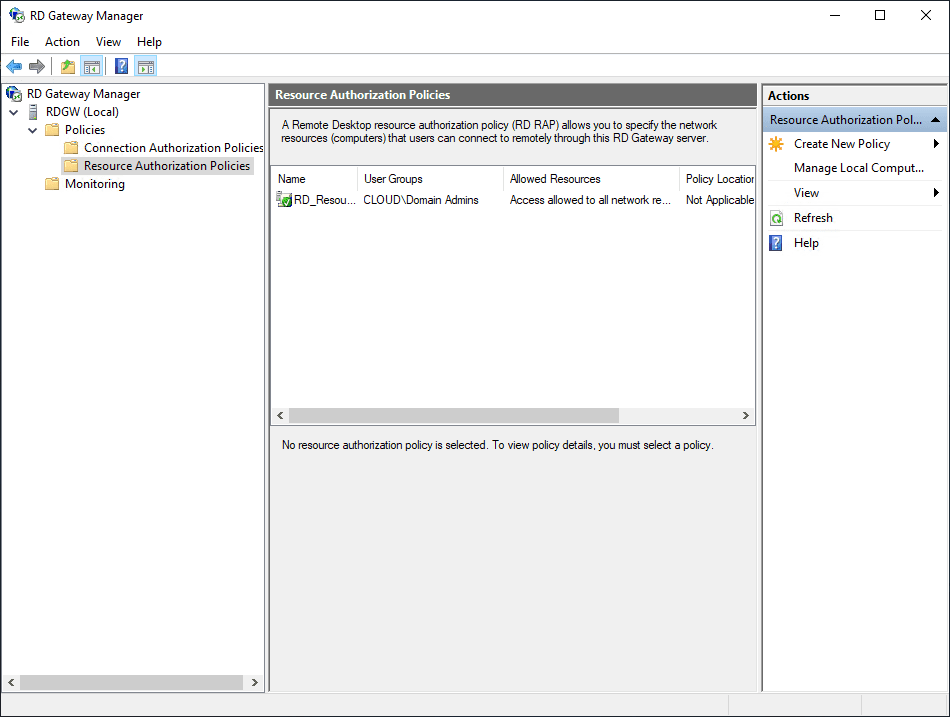
The resource authorization policy is created successfully.
Install an SSL Certificate on the Remote Desktop Gateway Server
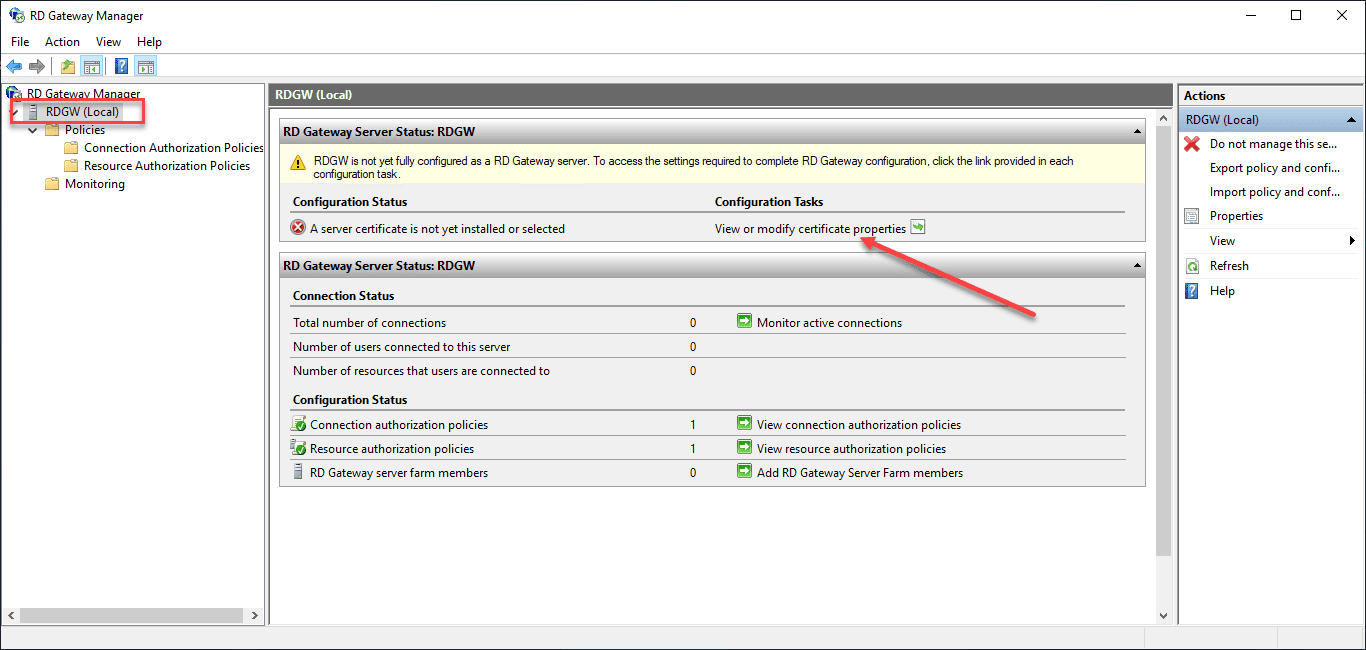
Aside from creating the connection authorization policy and the resource authorization policy, the Remote Desktop Gateway Server needs an SSL certificate installed. Click the View or modify certificate properties.
For production systems, you need to install a trusted SSL certificate from a certificate authority. However, the great thing about the RDGW properties under the SSL Certificate tab, there is a means to Create and Import Certifiate which allows creating a self-signed certificate.

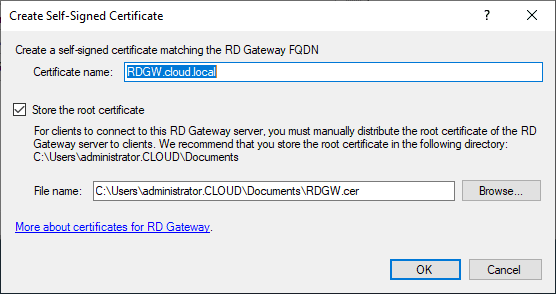
The Create Self-Signed Certificate dialog box will automatically create the certificate and export the self-signed certificate out so you can import on client machines that will be connecting to the Remote Desktop Gateway 2016 or 2019 server.
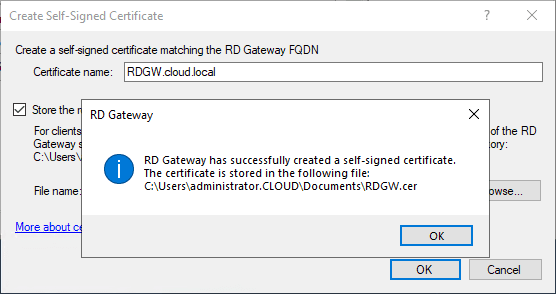
The certificate is successfully installed and exorted.
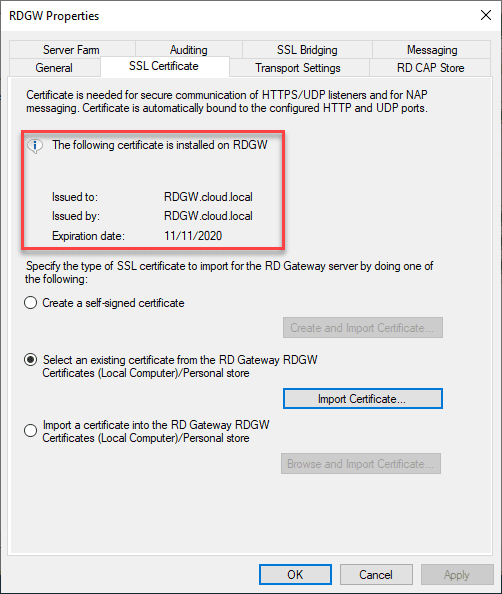
Now, under the tab, you will see the following certificate is installed on RDGW.
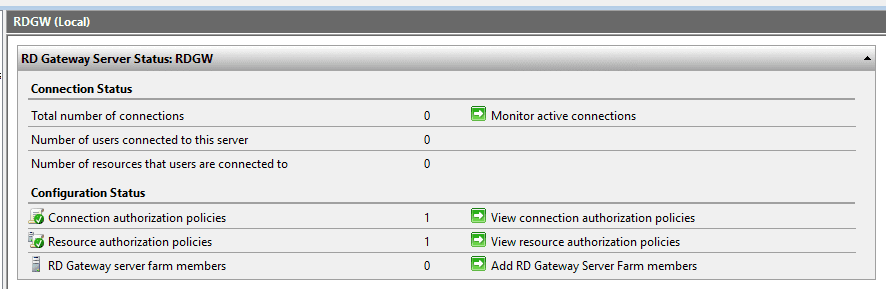
All of the statuses now show green and ready.
Connect to RDSH with Remote Desktop Gateway Server
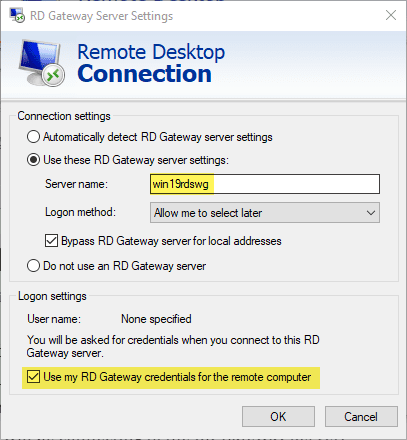
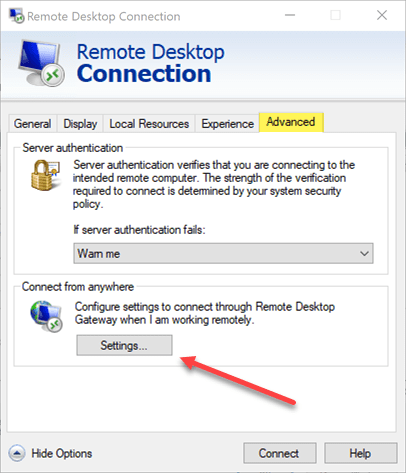
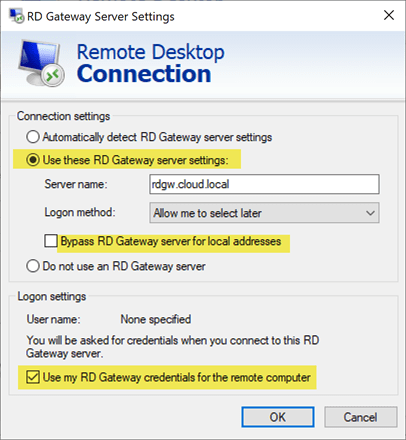
On a client the mstsc client for Remote Desktop Connection under Advanced > Settings is where you set the Remote Desktop Gateway server.
Enter the Remote Desktop Gateway address under the Use these RD Gateway server settings. You can also set or unset the Bypass RD Gateway server for local addresses as well as the Use my RD Gateway credentials for the remote computer.
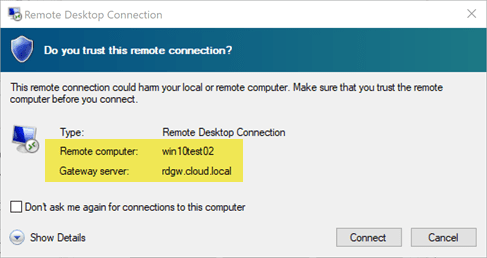
If a client does not have the certificate trusted on the client machine, they will see the following message. If you are using a self-signed certificate, the certificate will need to be imported on the client machine.

Once you hit Connect you will be successfully connected to your remote desktop through the proxy of the Remote Desktop Gateway Server 2016 or 2019.
Final Thoughts
Remote Desktop Gateway Server 2016 or 2019 Configuration is a straightforward process involving a few steps. This involves installing the role services needed, setting up the Network Policy Server authorization rules, installing the SSL certificate, and then configuring the end user client including installing the certificate.
For those looking for a secure solution to access remote desktops, the Remote Desktop Gateway server is the secure way to do this. For those that may have direct RDP access enabled, pulling back and installing a Remote Desktop Gateway server 2016 or 2019 in front of your RDSH servers will help to secure your remote RDP access.