One of the really great benefits of the vExpert program is having free access to many different vendor programs, services, software, and other tools and utilities. One of the benefits that is extended is access to the Oracle Ravello Cloud Service that allows running nested VMware vSphere ESXi installations on top of the Ravello cloud. The Oracle Ravello Cloud Service is a really unique and interesting offering for both vExperts as well as production, test, DR or other environments. Kicking the tires on the service has been on my list of things to do in the past few weeks and I finally had a chance to get started with a nested vSphere ESXi 6.7 installation running on top of Ravello. Let’s take a look at installing VMware vSphere ESXi 6.7 in Ravello Cloud Service and the ins and outs of getting up and running with a nested ESXi installation.
What is Oracle Ravello Cloud Service and What Does it Do?
The use case for Ravello Cloud Service consists of a number of use cases that are advertised – includng:
-
- PoCs and Dev/test environments
- IT operations
- Security testing
- Production enterprise applications
- Training.
It allows organizations to have the ability to seamlessly deploy VMware or KVM hypervisor based systems on top of AWS or GCP without any modification to the VMs, network, or storage. Ravello enables enterprises to leverage the public cloud for data-center applications without the need for totally reengineering systems away from their current underlying platform such as VMware.
This is accomplished by Ravello running nested virtualization (running a hypervisor within a hypervisor) and network overlay technology with their own custom hypervisor called HVX. The nested virtualization technology allows not only running VMware VMs but also layer 2 network services between on-prem and the Ravello Cloud Service.
Ravello makes use of an automated flavor of provisioning called blueprinting which allows quick provisioning and deprovisioning of resources. Also, it allows organizations to make use of any cloud region needed to provide low latency and the performance needed to deploy applications.
Installing VMware vSphere ESXi 6.7 in Ravello Cloud Service
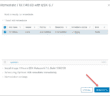
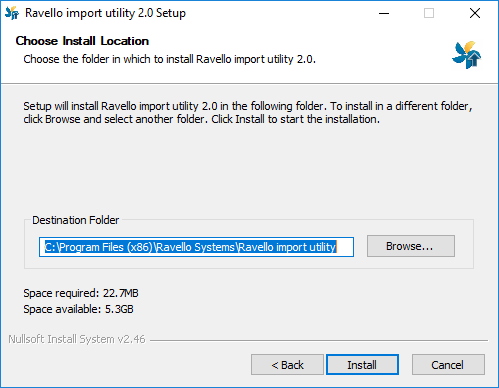
The first thing that you need to do to get ESXi 6.7 installed in a Ravello Cloud Service application is to upload the ESXi 6.7 media ISO image. To do this, Ravello has a custom uploader of sorts that you install which allows uploading the ESXi ISO image. Just a note here, you will have to download the installation media from VMware as this is not provided by Ravello due to licensing reasons.
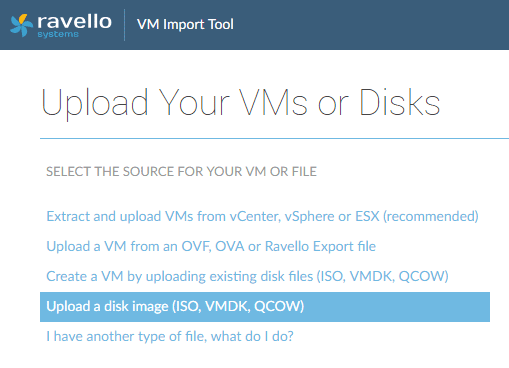
Once the upload utility is installed, select the Upload a disk image (ISO, VMDK, QCOW) which will allow you to select the VMware ESXi 6.7 ISO.
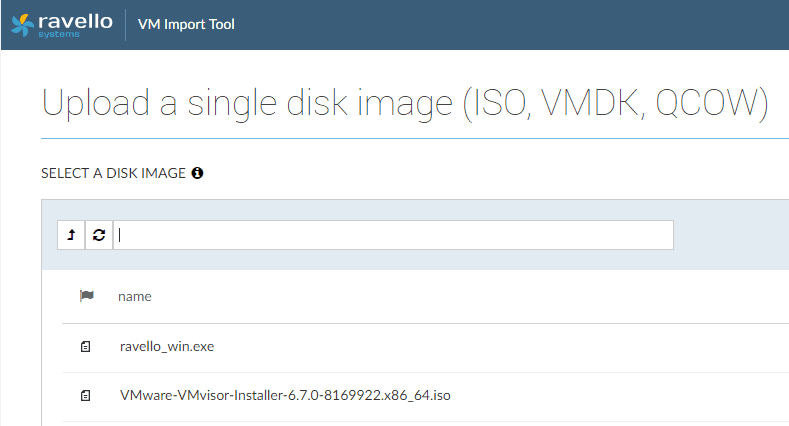
Below, selecting the VMware-VMvisor-Installer-6.7.0-8169922.X86_64.iso file.
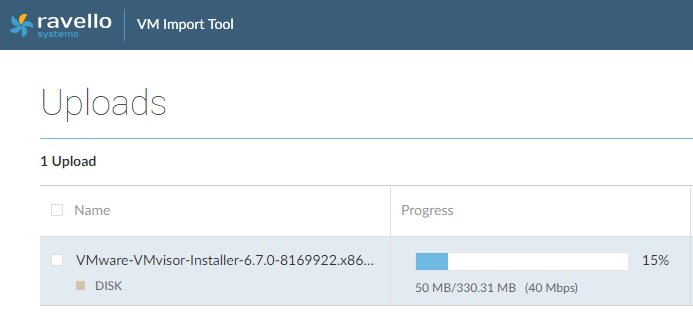
The utility will begin uploading the selected VMware vSphere ESXi 6.7 ISO to the image repository with Ravello.
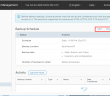
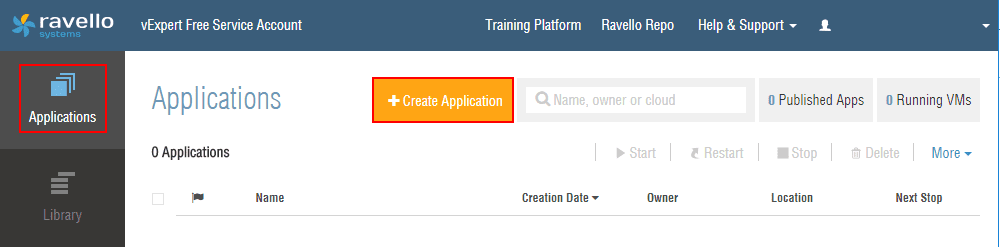
Once you have the image uploaded, the next step to getting up and running with VMware ESXi 6.7 in the Ravello Cloud is to create an Application. Click the +Create Application button.
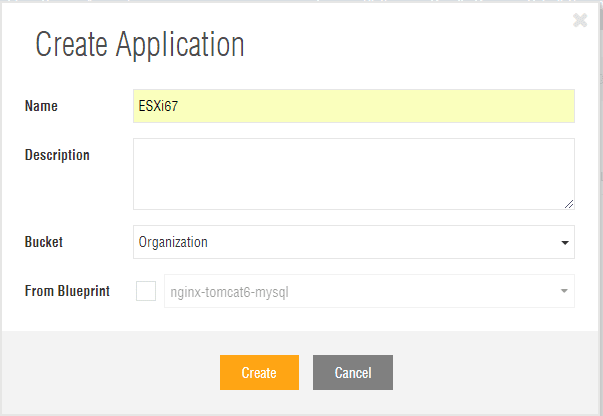
Next, name the application something intuitive and be sure not to use the From Blueprint option. We are essentially creating a blank application for the purposes of installing the ESXi 6.7 hypervisor.
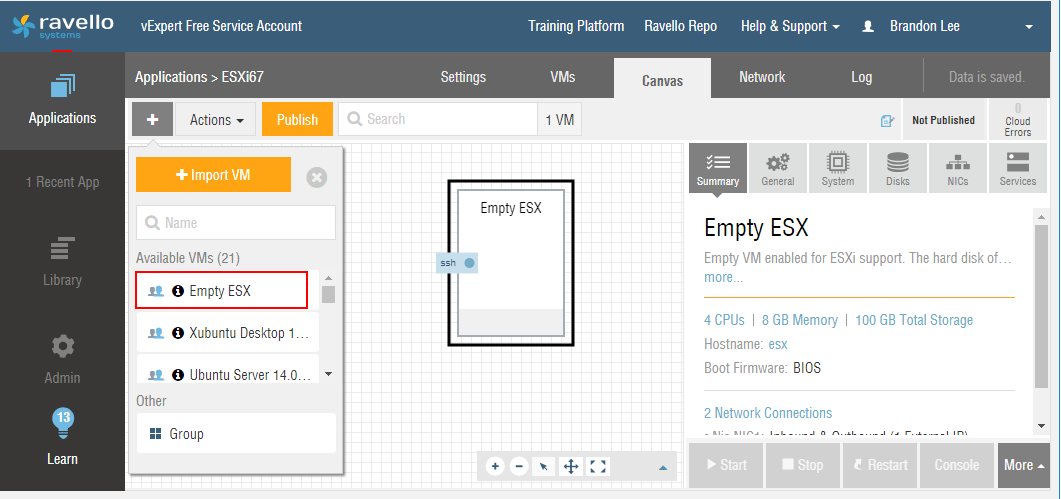
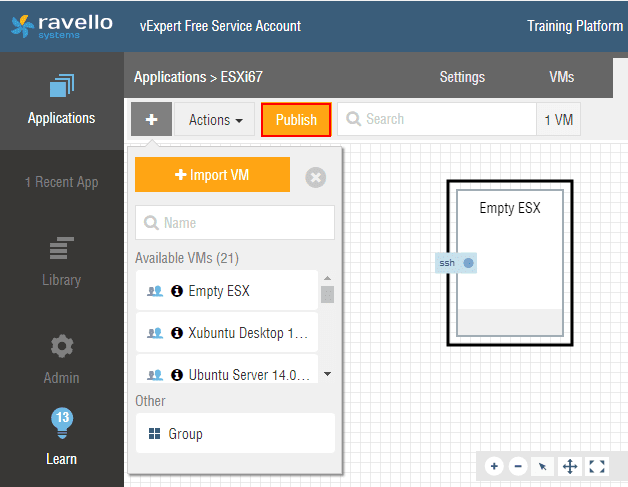
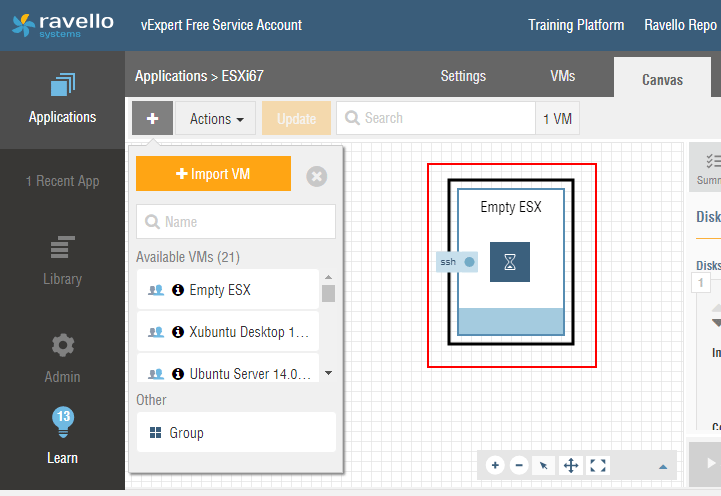
Now that we have created an empty application, choose the Empty ESX option from Available VMs which is a preconfigured container of sorts with the nested virtualization options needed for ESXi 6.7.
Ravello Cloud Service Boot Loops with ESXi 6.7
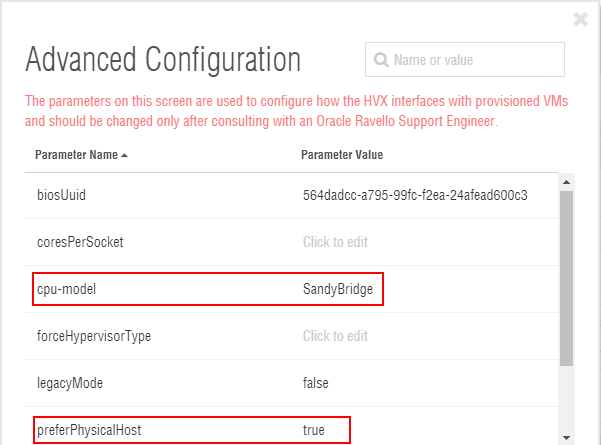
If you attempt to use the Empty ESX preconfigured VM, you will note that you will get into a boot loop when beginning the installation of ESXi 6.7. This requires some tweaking of the application before installing ESXi 6.7. If you Google the topic, there are already quite a few posts on the settings required to get ESXi 6.7 to work with the Ravello Cloud Service. Below is a walk through of those settings.
On the General tab of the application, choose the Advanced Configuration link and change the following:
- cpu-model – SandyBridge
- preferPhysicalHost – true
Save your changes.
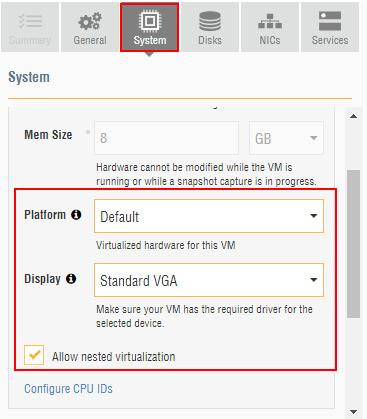
On the System tab, change the following:
- Platform – Default
- Display – Standard VGA
Leave Allow nested virtualization checked. Save your changes.
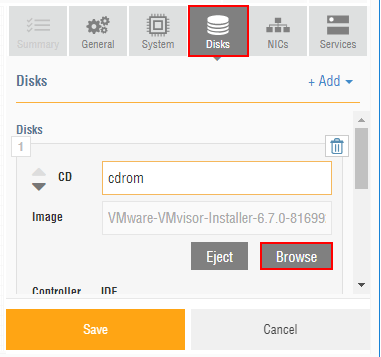
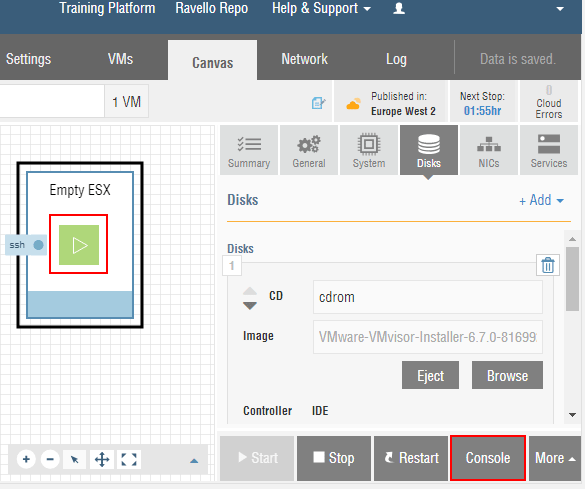
If you haven’t already done this, on the Disks tab, choose the VMware ESXi 6.7 ISO for the image path in the CD disk settings.
Now we can Publish the application. Note this will take around 5 minutes to publish according to Ravello and when I stepped through it, that seems to be about accurate.
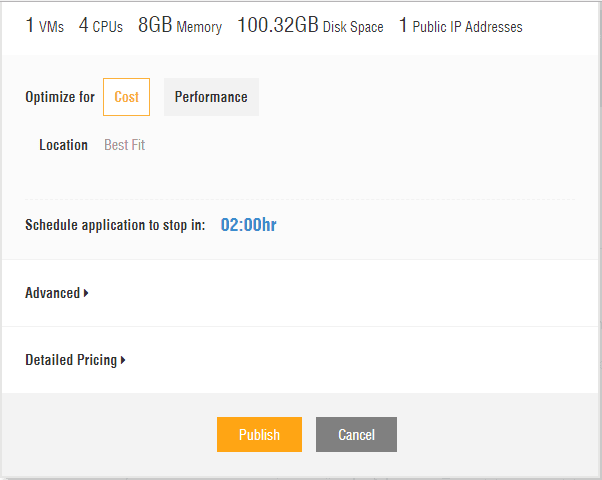
Once you click publish, you will have one more confirmation on what you want to optimize the application for. The choices are Cost and Performance. Here the default is Cost and that is what I left in my selection before publishing.
During the 5 minute wait time or so, you will see the hour glass designation on the Empty ESX application.
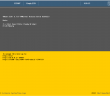
Once the application has finished publishing, it will start automatically and boot the ESXi 6.7 host. Choose the Console option to open a console to the ESXi 6.7 installation.
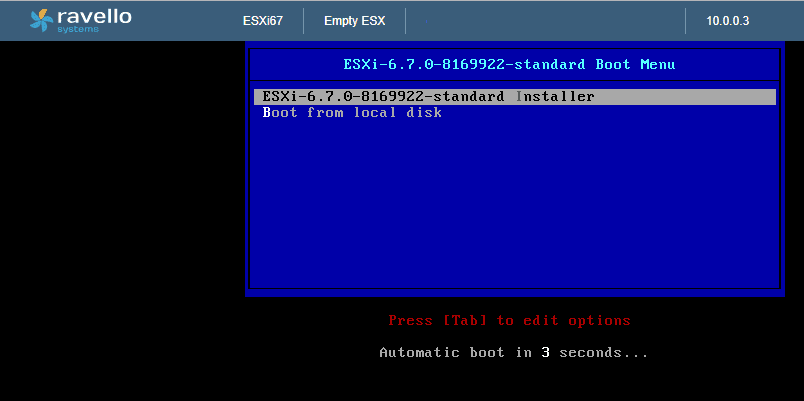
As you can see, we are ready to begin the ESXi 6.7 installation.
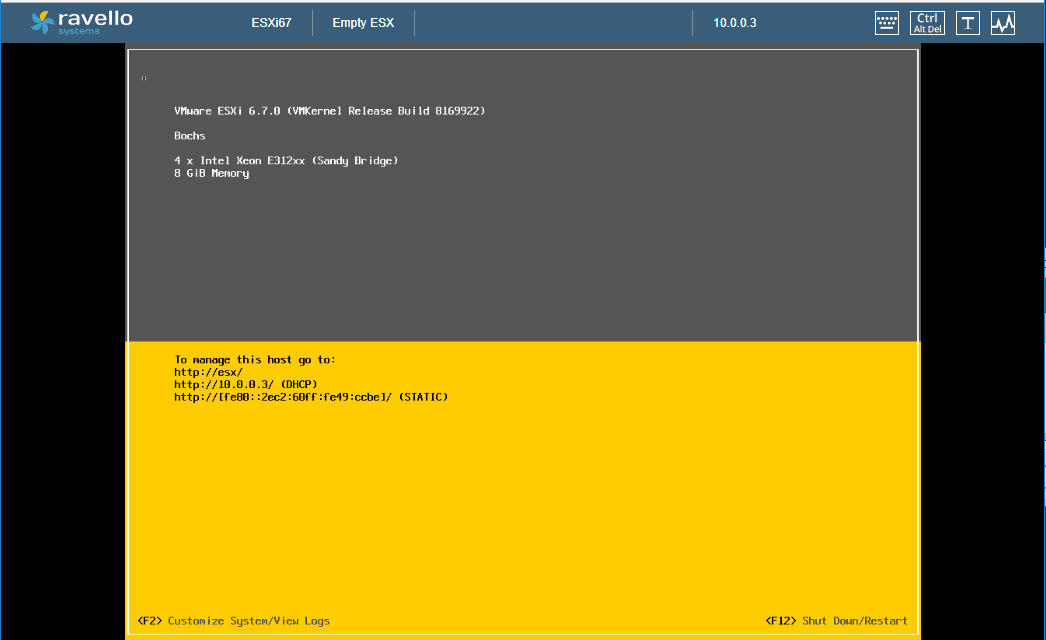
After only a few minutes, the ESXi 6.7 host is fully booted and ready for additional configuration.
Takeaways
Oracle Ravello’s Cloud Service allows essentially running enterprise applications in the cloud without any modifications whatsoever. It does this by allowing organizations to run existing virtual machines and applications that have been engineered to run on their current on-prem hypervisor such as VMware and allow these to run in the Ravello Cloud Service. With network overlays and layer 2 network capabilities, even at the network level, there is no reengineering needed. As seen, Installing VMware vSphere ESXi 6.7 in Ravello Cloud Service is a simple process that includes uploading the ESXi 6.7 ISO, creating the application and installing ESXi. The only caveat is at this time, it appears ESXi 6.7 is not quite fully supported by Ravello as it requires a tweak to the default application by making the changes shown above. Stay tuned for future Ravello posts I dig a bit deeper into the networking side of things.
Google is updating how articles are shown. Don’t miss our leading home lab and tech content, written by humans, by setting Virtualization Howto as a preferred source.
About The Author