Automation is perhaps the most exciting and most desirable skill in today’s work of infrastructure operations. Today “infrastructure as code” is a buzzword you here everywhere. If you haven’t started working on your automation skills, now is the time to do that. You can’t go wrong working on how to automate processes, provisioning, desired state, etc. There are a lot of tools out there that you can start with. One of my goals this year in 2018 is to get better with automation. A really nice platform to start with that is fairly easy to understand and that has a great learning program is Chef. Chef is a great way to run in guest customizations and maintain a desired state on a Windows or Linux platform. While Chef has some great learning modules that can be found here: learn.chef.io, I wanted to give a basic, quick overview of how to get Basic Chef Workstation and Server Installation and configuration accomplished where we are then ready to create cookbooks, upload cookbooks, bootstrap nodes, etc.
Basic Chef Workstation and Server Installation and configuration
There are two components to interacting with a Chef server. You need to have a workstation that is running the Chef Development Kit which you can download here: https://downloads.chef.io/chefdk
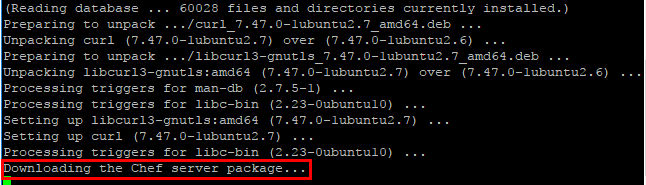
Then you need to download the Chef Server piece. What I did was stand up a very light Ubuntu 16.04 LTS server and then run the script with a few modifications that is found here: https://learn.chef.io/modules/manage-a-node-chef-server/ubuntu/bring-your-own-system/set-up-your-chef-server#/
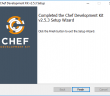
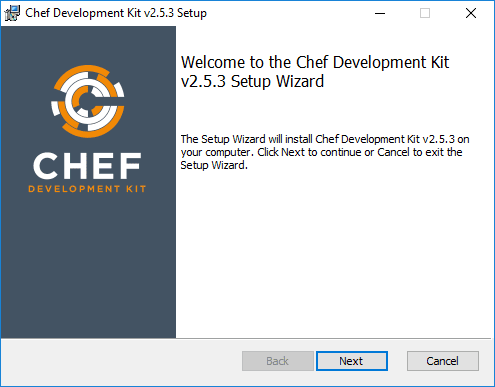
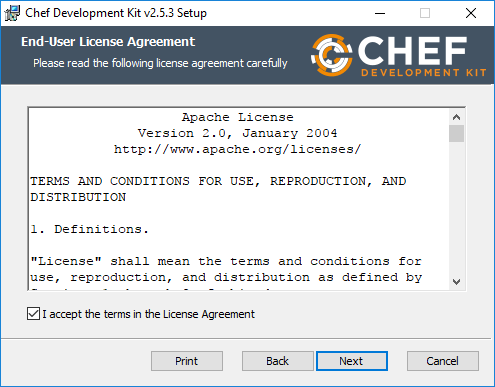
Installing Chef Development Kit on a Workstation
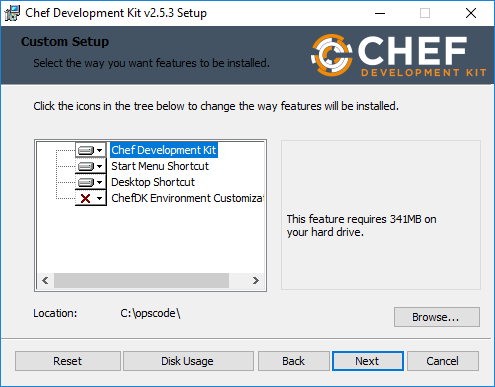
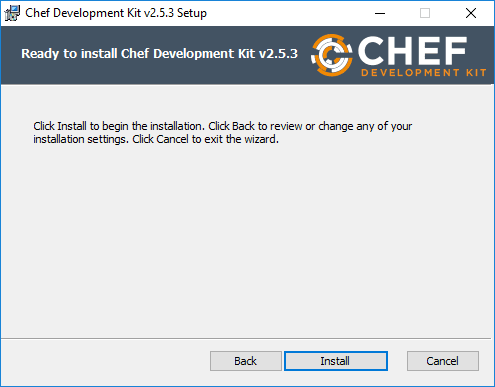
Install Chef SDK on a workstation is very straightforward and is basically just “next, next, finish”. However, let’s look at a few quick screenshots of that process.
Notice, the default location for the installation is c:opscode.
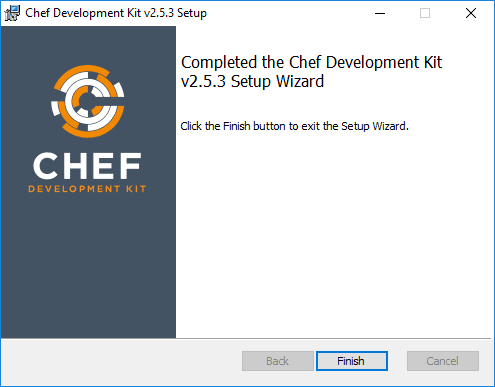
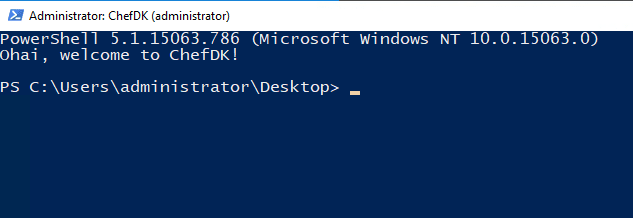
Once the Chef Development Kit is installed, you will see an icon on your desktop for the Development Kit. This amounts to a specialized PowerShell environment that has the Chef modules loaded.
Installing Chef Server
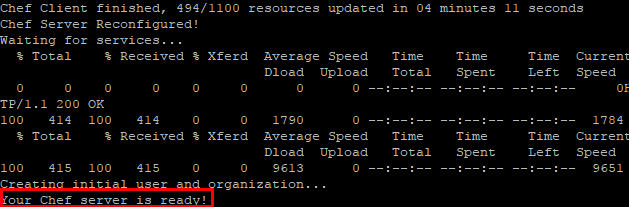
As mentioned above, I customized the install script (changed the organization, etc) for the server that is found on the page: https://learn.chef.io/modules/manage-a-node-chef-server/ubuntu/bring-your-own-system/set-up-your-chef-server#/
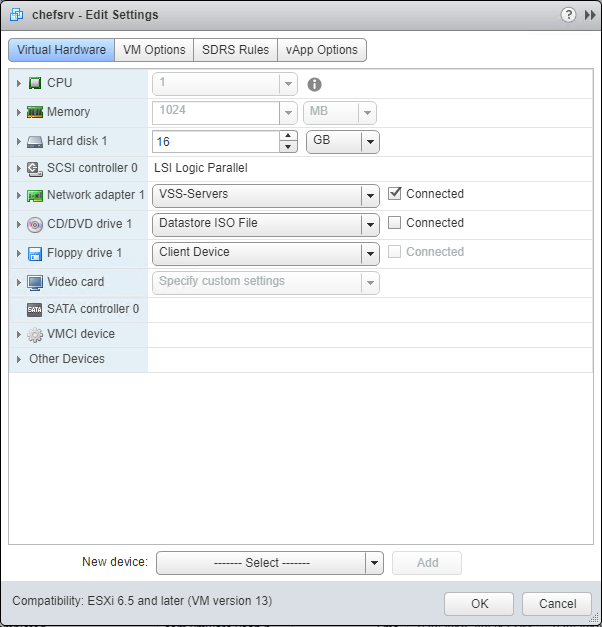
For my home lab where I was learning at least, the Chef server didn’t need much of anything. I simply stood up a very light Ubuntu 16.04 LTS server with the following modest specs:
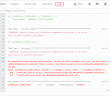
After installing the Chef Server, we need to add a couple of files to our workstation configuration to allow connecting to the Chef Server instance.
- knife.rb – configuration for the Chef knife utility
- chefadmin.pem – private key copied from the Ubuntu Chef installation

The Chef tutorials helps with the knife.rb file on the page: https://learn.chef.io/modules/manage-a-node-chef-server/ubuntu/bring-your-own-system/set-up-your-chef-server#/
A slightly modified example from what is found on the Chef site is below. I am using an on prem server and not an AWS server as shown in the example. Modify the organization name to match what you setup using the Chef server script found in the link above.
current_dir = File.dirname(__FILE__)
log_level                 :info
log_location              STDOUT
node_name                 "chefadmin"
client_key                "#{current_dir}/chefadmin.pem"
chef_server_url           "https://myserver/organizations/4thcoffee"
cookbook_path             ["#{current_dir}/../cookbooks"]
To obtain the .pem file needed, this can be downloaded from the Chef Server from the /drop directory. The .pem file will be named according to how you modified the server install script. If you left it as in the example, it will be called chefadmin.pem.
We use the knife SSL fetch to add the certificate to the trusted_certs folder in your working Chef directory.


Now that we are to this point, we should have a working Chef workstation/server environment that we can use to begin automating! We are now ready to begin working with the Chef Server – creating cookbooks, uploading cookbooks, bootstrapping nodes, etc. That will be the focus of the next post.
Thoughts
Hopefully this Basic Chef Workstation and Server Installation and configuration walthrough will help any who may want to try to get started with automating their environments or simply play around with automation in the home lab. Automation skills are highly desirable. I recommend any who want to learn a new skill in 2018, focus on learning a bit of automation along with any other skills you may want to pick up. Next, we will take a look at creating cookbooks, uploading cookbooks, bootstrapping a host, and other Chef automation.
Google is updating how articles are shown. Don’t miss our leading home lab and tech content, written by humans, by setting Virtualization Howto as a preferred source.
About The Author