Installing PowerShell Core PowerCLI 10.0 in Windows 10
Microsoft has taken PowerShell to the next level in its GA release of PowerShell Core. What is PowerShell Core? It is the cross-platform version of PowerShell that is based on .NET Core which is open source as opposed to the builtin version of PowerShell that is based on .NET Framework. The new version of PowerShell is freely downloadable from Github and can run on supported platforms including Windows, Linux, and Mac OS. PowerShell Core is definitely the way forward for Microsoft with PowerShell and companies that are integrating with PowerShell are moving that direction as well. A great example of this is VMware’s PowerCLI 10.0 which is supported now on PowerShell Core. This allows managing vSphere environments from Linux or Mac OS now with PowerCLI! How do you get started with Powershell Core? Let’s take a look at Installing PowerShell Core PowerCLI 10.0 in Windows 10 to get a feel for what the new version of PowerShell looks like and a bit of the new architecture as well as the new PowerCLI version.
Installing PowerShell Core in Windows 10
PowerShell Core is an easy installation and is a “next, next, finish” installer that installs PowerShell Core side-by-side with the builtin Windows 10 version of PowerShell that you have installed. The following are supported platforms in running PowerShell Core:
- Windows 7, 8.1, and 10
- Windows Server 2008 R2, 2012 R2, 2016
- Windows Server Semi-Annual Channel
- Ubuntu 14.04, 16.04, and 17.04
- Debian 8.7+, and 9
- CentOS 7
- Red Hat Enterprise Linux 7
- OpenSUSE 42.2
- Fedora 25, 26
- macOS 10.12+
To install PowerShell core in Windows 10, we need to pull down the installation package from the official Github repository, found here: https://github.com/PowerShell/PowerShell
For me, I pulled down the Windows x64 bit MSI installer. As you can see below the wide variety of platform installers that are available – awesome!
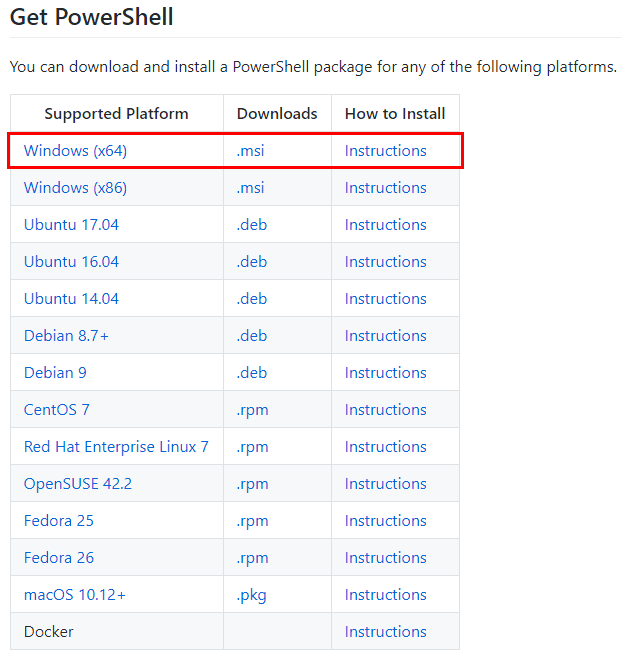
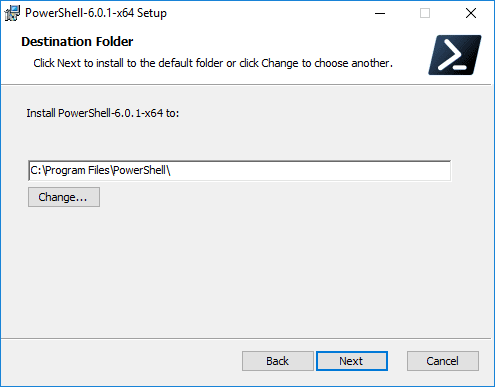
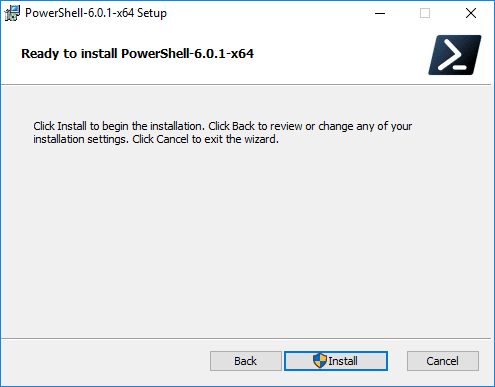
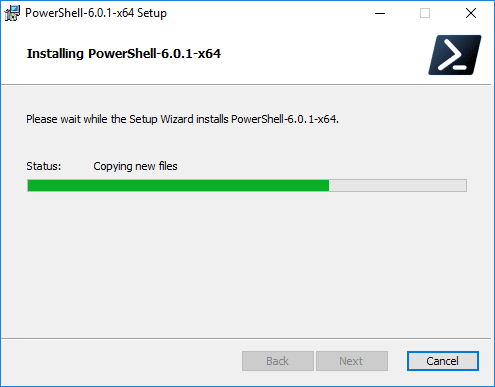
After downloading, simply run the MSI file and next through the options.
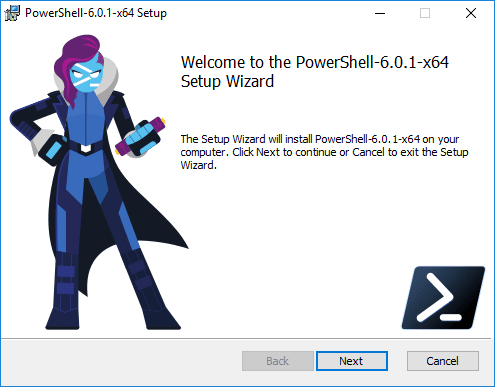
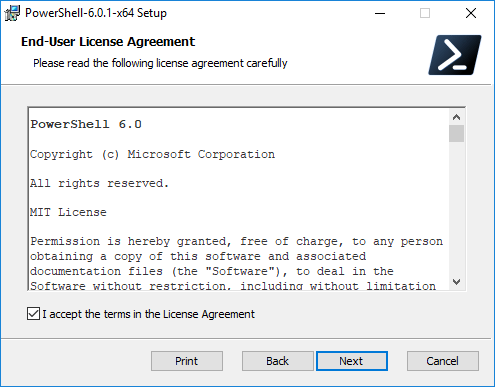
Note the new installation directory of Powershell Core.

PowerShell Core Architecture
As shown above, Powershell Core is installed by default in the C:Program FilesPowerShell directory. This performs a side-by-side installation of PowerShell Core with the default PowerShell installation built on top of Windows Management Framework.
Additionally, the new executable for PowerShell Core is pwsh.exe. The executable is found underneath a subfolder of the installation root: C:Program FilesPowerShell6.0.1
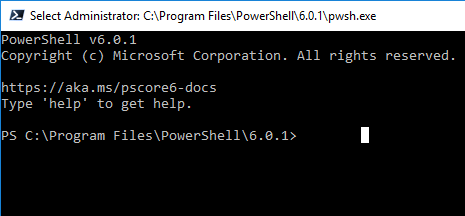
Installing PowerCLI 10.0 in PowerShell Core
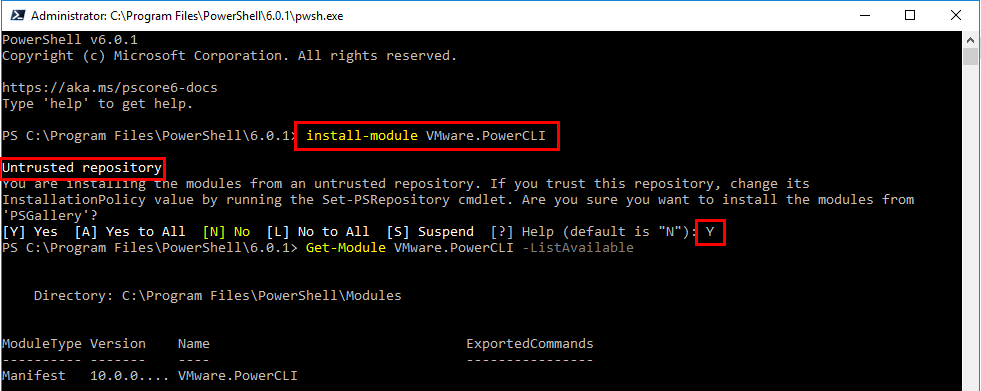
It is amazing how simple installation of PowerCLI 10.0 has gotten with PowerShell Core. Starting with PowerCLI 6.5.1 VMware introduced the module based installation of PowerCLI. This has greatly simplified the installation process of PowerCLI and improved the way the module gets updated as well. As you can see below, it is basically a PowerShell one-liner to get PowerCLI installed.
Install-Module VMware.PowerCLI
If you get the untrusted repository message, you can allow this by either Y or A answers to the prompt.
Installing PowerCLI 10.0 in PowerShell Core in Windows 10After installation you can now connect to VMware vCenter server as expected. Note One point to note, VMware has increased security with untrusted SSL certificates. To bypass the new security, run the following PowerShell command:
Set-PowerCLIConfiguration -InvalidCertificateAction Ignore
Thoughts
Microsoft has paved the way for a new age of PowerShell adoption across numerous platforms. The new Microsoft has shown itself to be a very forward thinking entity that is providing cross-platform tools to enable more powerful automation and interaction with various platforms. It is exciting to see the new PowerShell platform as well as PowerCLI 10.0 which runs on top of PowerShell Core and takes advantage of the cross-platform benefits of PowerShell Core. Happy managing VMware environemnts using PowerCLI 10.0 running on top of PowerShell Core!


