Migrate from Powershell ISE to Visual Studio Code
Most that code in PowerShell are most likely familiar with the PowerShell ISE. The Powershell ISE has been included since PowerShell 2.0 and definitely was/has been the go to tool for editing and writing Powershell code. If you are like me however, the Powershell ISE has been showing its age. Recently, I set out to look for a replacement editor to use to write and modify PowerShell code. Working on another project recently lead me to use Visual Studio Code to do some script writing. From the start, I was really impressed by the features and capabilities of this “free” tool from Microsoft. I have migrated from using PowerShell ISE to using Visual Studio Code. I will explain some of the reasons for doing so below. Let’s look at a quick post on how to Migrate from PowerShell ISE to Visual Studio Code.
Migrate from PowerShell ISE to Visual Studio Code
There is always a learning curve with anything new that we start using including software tools. This was the case for me with using Visual Studio Code. I had a lot of prior working knowledge of what I wanted to accomplish with VSS code coming from PowerShell ISE, however, had to translate this over to using the new platform. Why switch to Visual Studio Code from PowerShell ISE? As I hinted at above, Visual Studio Code is a much more modern feeling development platform for PowerShell than PowerShell ISE. While ISE has certainly been a workhorse, VSS Code feels modern and not so much a legacy platform from 2009. This includes powerful features like:
- Built-in Git integration
- Intellisense for multiple languages
- Tons of extensions that are easily installed both for Themes and functionality
- Tasks
Installing Visual Studio Code
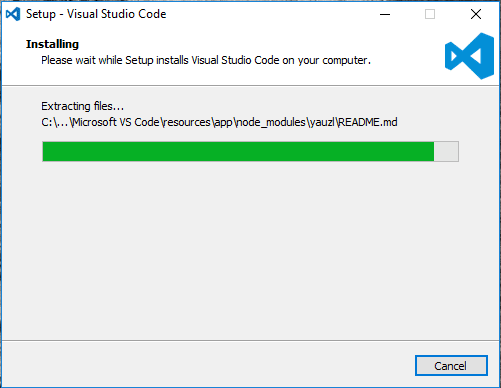
To download Visual Studio Code, go to the download page here. Once you pull down the installer, simply run through the “Next, Next, Finish” installer.
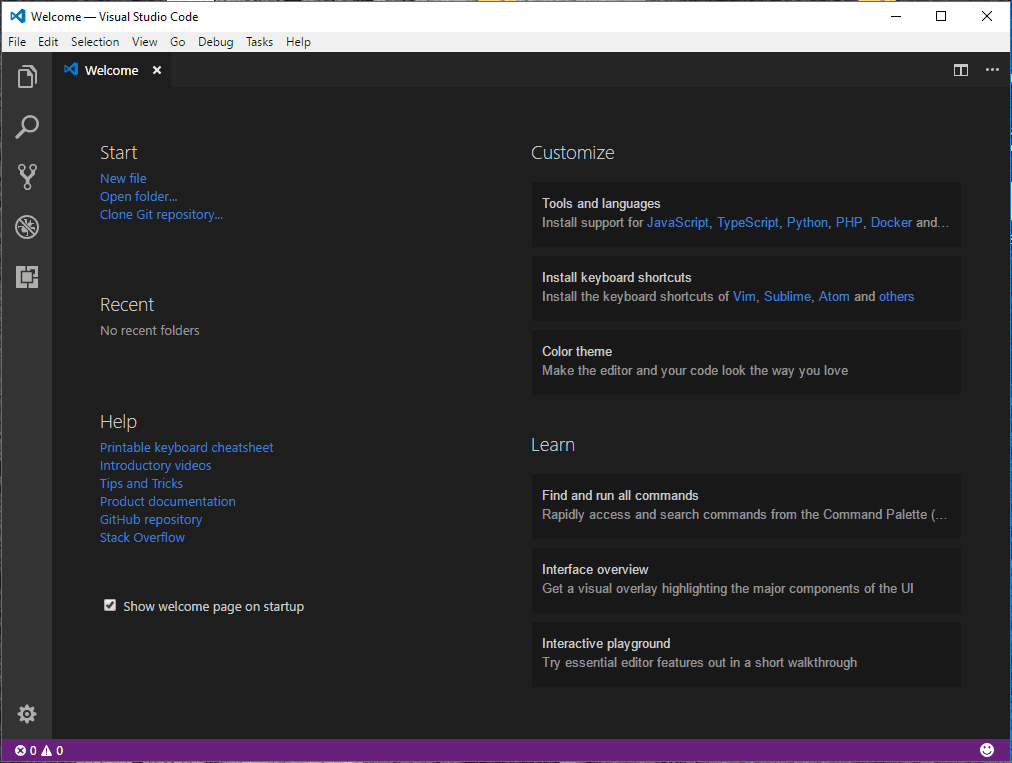
The interface is slick and snappy.
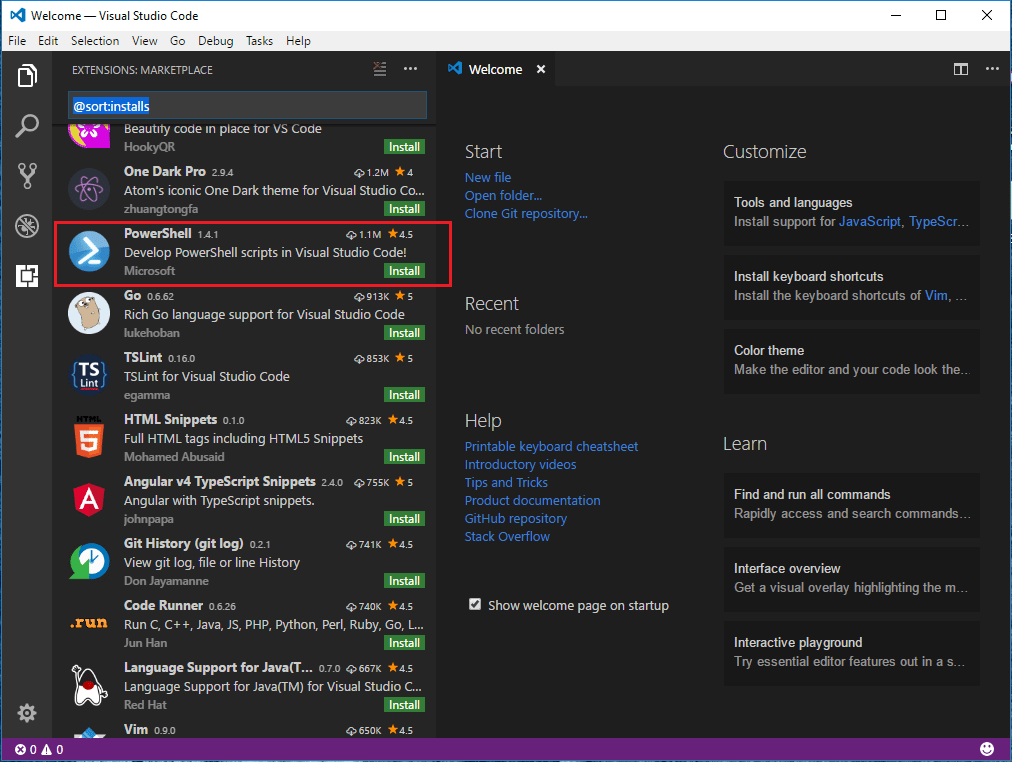
The first thing you will want to do is click on the last icon in the sidebar for the Extensions Marketplace and type in “PowerShell” or similar to bring up the available installs. Click the Install button.
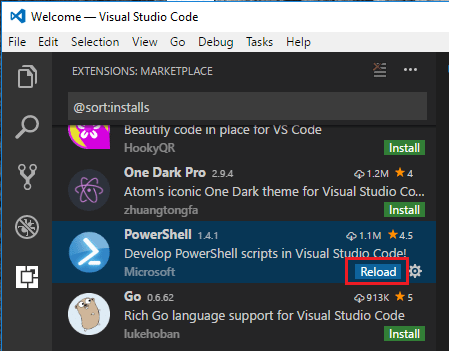
Once installed, you click the Reload button that appears after the installation is complete.
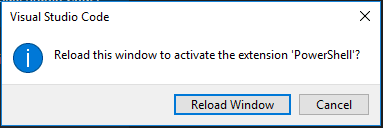
Click Reload Window on the box that pops up.
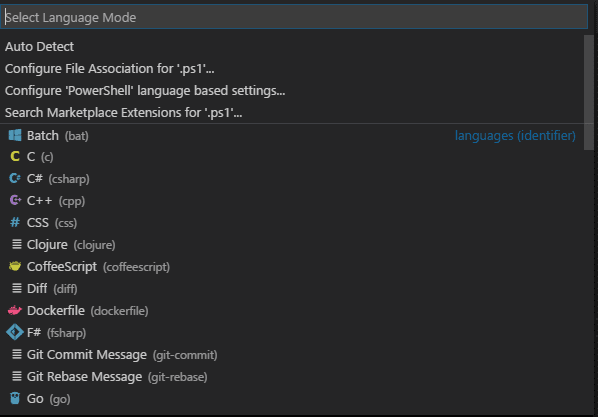
One thing that was a bit non intuitive to m was that I needed to select PowerShell as the language I was working with. This is the case if you are simply beginning a new file that has no extension as of yet. I noticed that I had no PowerShell intellisense when I started and took a bit to figure out why. Click the language at the bottom right hand corner of the Visual Studio Code window.
It will launch the Select Language Mode window. Simply type PowerShell here or scroll down to find it. After selecting PowerShell, Intellisense should work as expected. This will be on by default if you open a .PS1 file.
Visual Studio Code Git integration
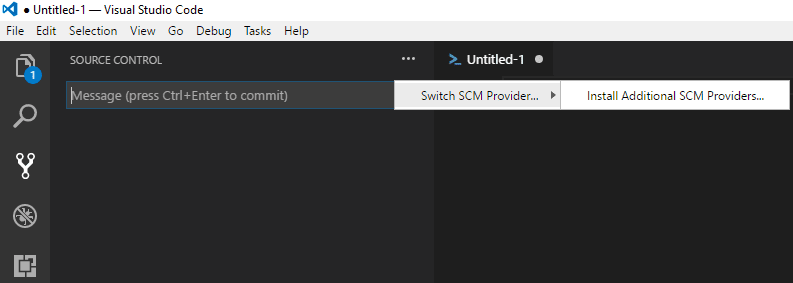
By default, out of the box, Visual Studio Code is integrated with Git without any extensions installed, etc. However, you do need to install Git on your workstation for it to integrate with it. Below is the Source Control option before having Git installed.
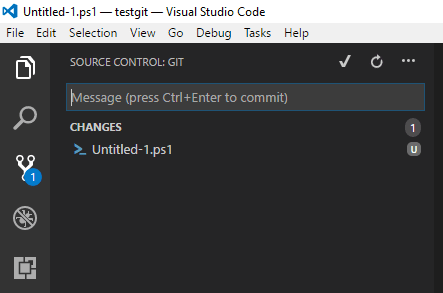
Once Git is installed, when you go back to your Source Control, you will be prompted to initialize your Git repository. After that, you are up and running with Git integration with the ability to connect to your remote Github, etc.
Visual Studio PowerShell Code Look and Feel
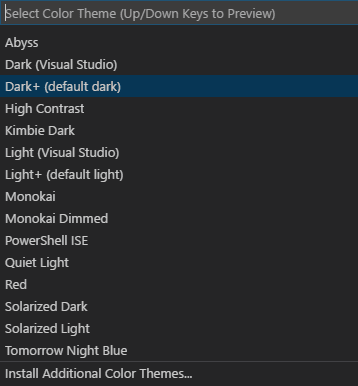
The look and feel of VSS Code is amazing. Everything looks great even in the Default theme. There are several other free themes that are amazing as well including the Atom One Dark Theme.
You can select your available themes, or you can Install Additional Color Themes.
Thoughts
So far, I haven’t missed PowerShell ISE since moving over to Visual Studio Code as my preferred editor for PowerShell code. Hopefully, the few tidbits above on how to Migrate from Powershell ISE to Visual Studio Code will help others who want to take the plunge and start using this great little free tool from Microsoft.


