VMware Horizon View 7.1 Composer Install
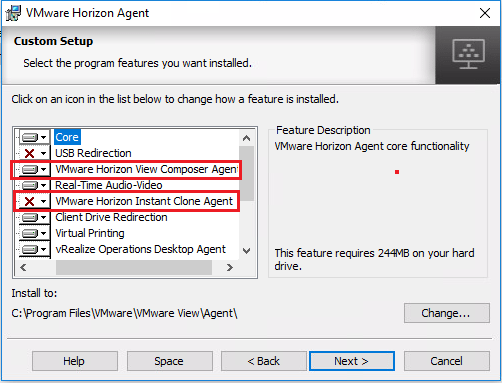
In the second of our series in the VMware Horizon View 7.1 series, we want to take a look at installing Horizon View 7.1 Composer into our Horizon View 7.1 environment. Horizon View Composer 7.1 allows us to take advantage of desktop pools in our Horizon environment and specifically the more advanced features of VMware Horizon View 7.1 environment including linked clones and the new instant clone technology which is the “VM fork” technology that allows for rapid deployment of new VMs in the desktop pool. Let’s take a look at the VMware Horizon View 7.1 Composer Install process.
VMware Horizon View 7.1 Composer Install
The first thing we need to do to prepare for the VMware Horizon View 7.1 Composer install is to prepare a database for our Composer instance. We need to create a database and data source name to store View Composer Data.
The VMware Horizon View 7.1 Composer install does not include the database. Many who still run the Windows version of vCenter may use the instance where their current vCenter database is installed to run the Composer database. However, if like many, you are now running the vCenter VCSA appliance, you will need to provision database either local to your Composer server or remotely on a Linux or Windows server installation running either Oracle or Microsoft SQL Server.
For most spinning up a simple Composer database on a SQL server in the environment will be sufficient. The Database stores information regarding the vCenter Server connections, AD connections, linked clone desktops deploy by Composer, as well as replicas that are provisioned by Composer.
Important to note is that each instance of the Composer service must have a unique Composer database.
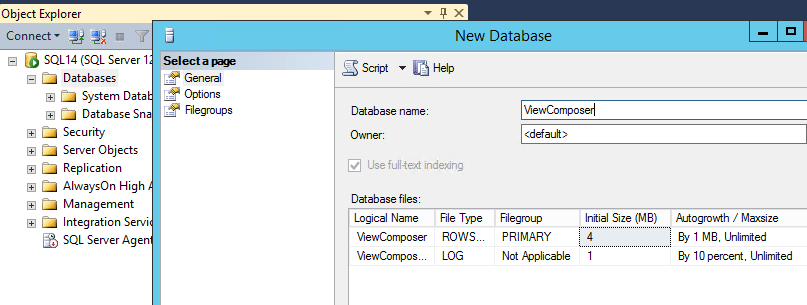
Below I simply created a ViewComposer database on a lab SQL server.
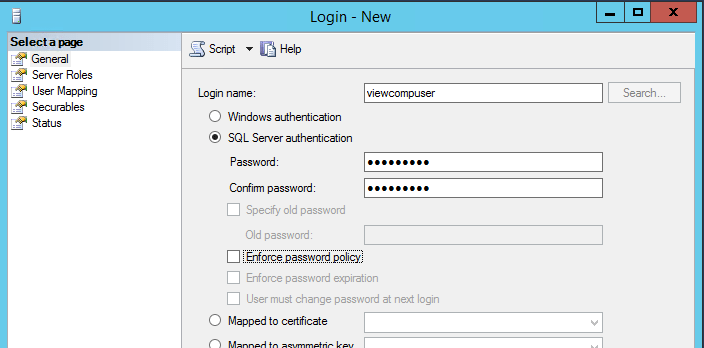
You will need to create a SQL user that is allowed access to the new database.
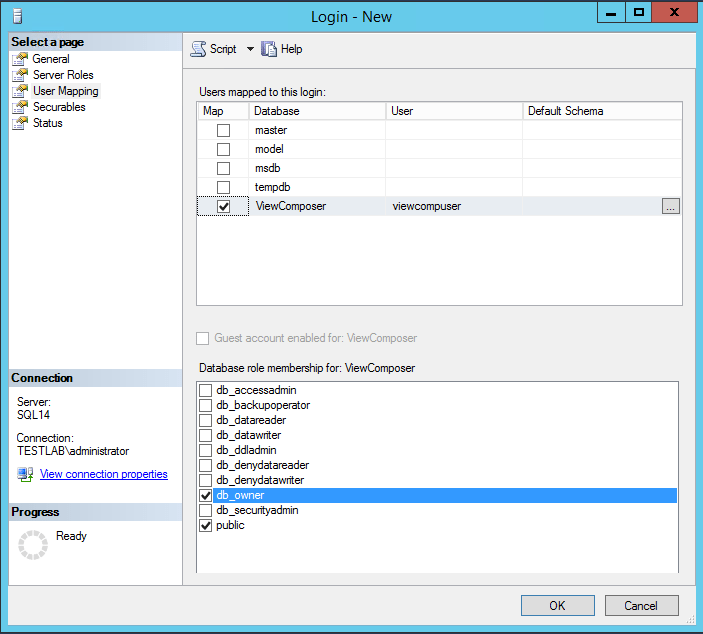
Note, here for the lab environment I was working in, I simply made the user a db_owner. However, VMware provides a SQL script that can be ran which removes the need to make the user a db_owner of the database for Composer. Simply replace your user as needed in the script. For more detailed information, take a look at the VMware link as it goes through the nuts and bolts of this.
use ViewComposer
go
CREATE LOGIN [vcmpuser] WITH PASSWORD=N'vcmpuser!0', DEFAULT_DATABASE=ViewComposer,
DEFAULT_LANGUAGE=us_english, CHECK_POLICY=OFF
go
CREATE USER [vcmpuser] for LOGIN [vcmpuser]
go
use MSDB
go
CREATE USER [vcmpuser] for LOGIN [vcmpuser]
go
Installing Composer
After we have our DB setup beforehand, we can begin the VMware Horizon View 7.1 Composer install.
The wizard begins.
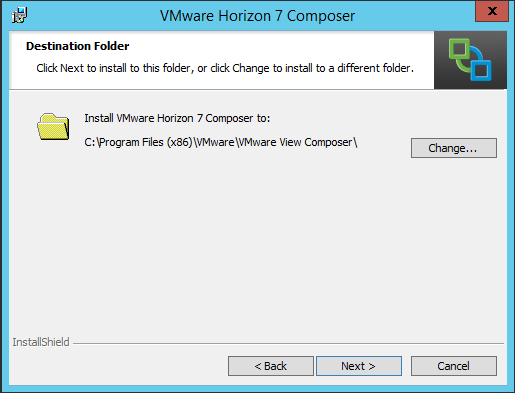
Here we choose installation path.
On the Database Information screen, click the ODBC DSN Setup button which lauches our ODBC setup utility to add our DSN.
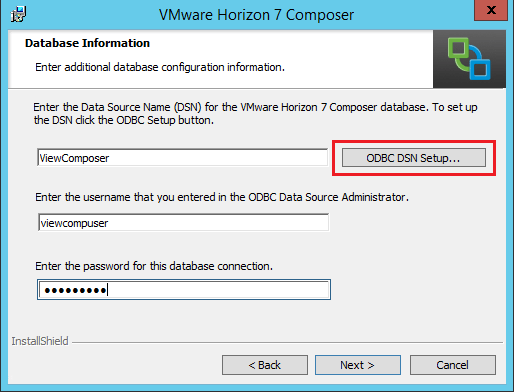
ODBC DSN Setup
With the ODBC DSN Setup, we create a Data Source entry for the SQL server and DB for Composer that we setup in the steps above.
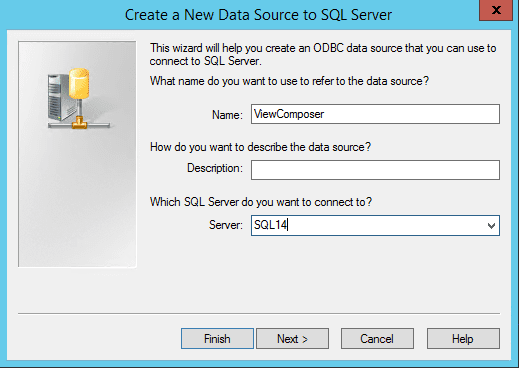
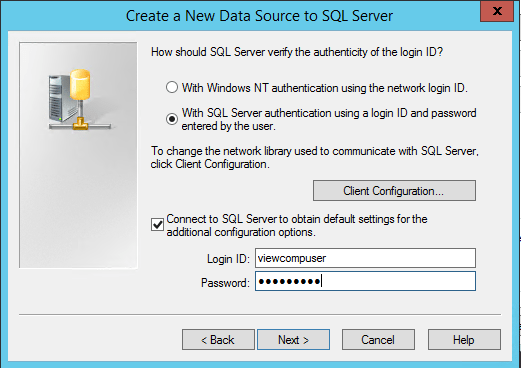
Here, I am using the user setup above as well.
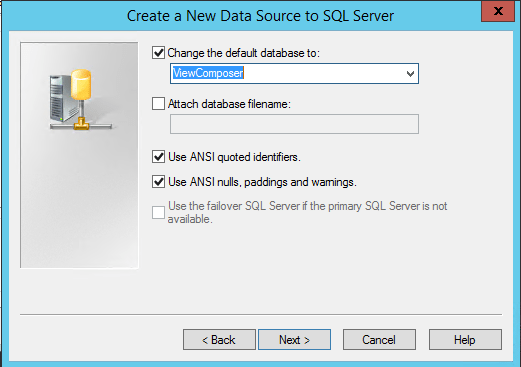
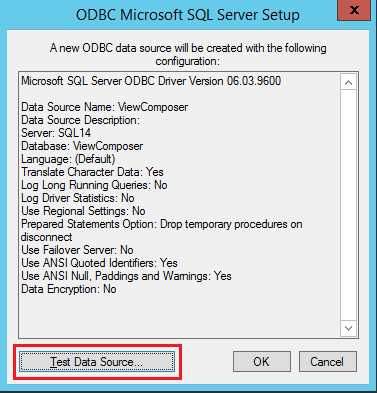
Defaults here…
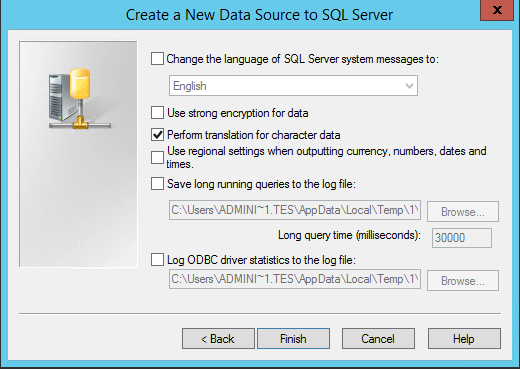
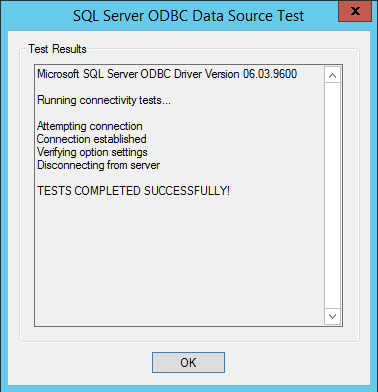
Finally, we can test our data source.
We should see a successful return.
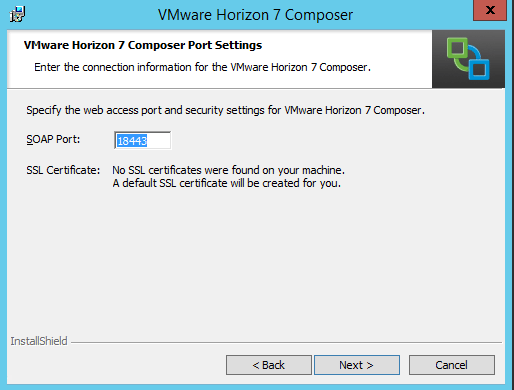
Returning to our Composer installation
After setting up the ODBC entry, we return back to the Composer installation wizard. The web access port and security settings default to 18443 and “A default SSL certificate will be created for you” if like me you are installing on a clean server without any third party certificates.
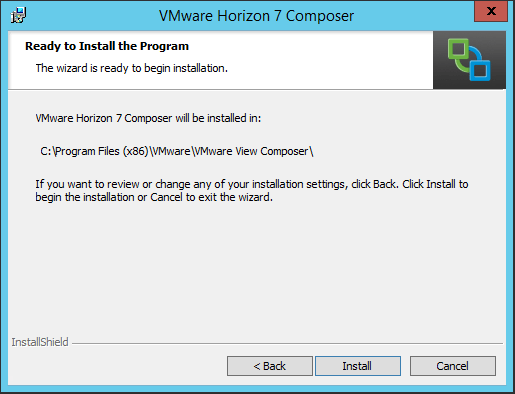
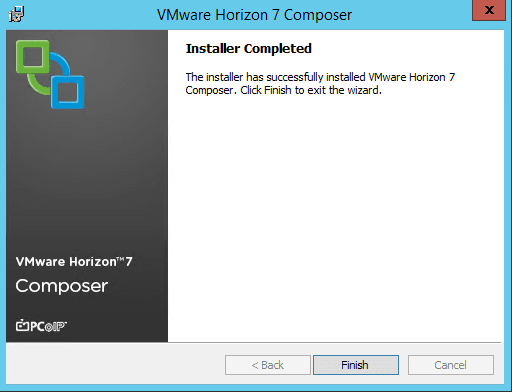
Finally, after all the configuration parameters have been set, the installation is ready to begin.
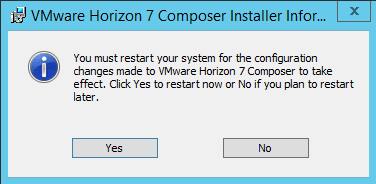
After installation, we receive a notice that we need to restart for the installation to take effect.
Thoughts
The VMware Horizon View 7.1 Composer Install process is fairly straightforward. It involves creating a DB for Composer data as well as a user account with the permissions to access the DB. The installation of Composer itself is basically just following the wizard prompts and setting up the ODBC connection. Next we will being looking at some deeper configuration with Connection Server and Composer.
Part 1 – Installing VMware Horizon View 7.1 Connection Server
Part 2 – VMware Horizon View 7.1 Composer Install
Part 3 – Setup VMware Horizon View Connection Server vCenter Connection
Part 4 – Optimize Windows 10 for VMware Horizon View 7.1
Part 5 – Create VMware Horizon View 7.1 Desktop Pool