Use VIRL Images in GNS3
In the first post of the GNS3 VM series, we looked at how to setup GNS3 VM VMware ESXi. One of the awesome features of the new GNS3 VMs is that you can actually use your VIRL images in GNS3 as well! So if you hate the interface of VIRL, you can have the best of both worlds. In this post we will take a look at how to actually get GNS3 Windows application talking to your GNS3 VM and then how to use VIRL images in GNS3.
Use VIRL Images in GNS3
There has never been a better time for network learning and simulation as there are a lot of great products out there for the prospective network engineer, virtualization engineer, or server administrator to improve his or her skills in the networking arena. I have long been a fan of GNS3 and they have certainly made some tremendous strides in improving the application and extending its functionality. When VIRL came out, I jumped on the license to obtain a copy and while I think it holds a lot of promise, it is a pain to get setup and maintain and I am not a fan of the VM Maestro interface. Alas, we can though have the best of both worlds and use VIRL images in GNS3.
Lets first look at the process to get our GNS3 Windows application pointed correctly at the GNS3 VM.
Configuring the GNS3 Windows application
Download the Windows installation and run through the setup wizard. Below, we are just showing the first and last screens of the installs as the install is pretty mindless.

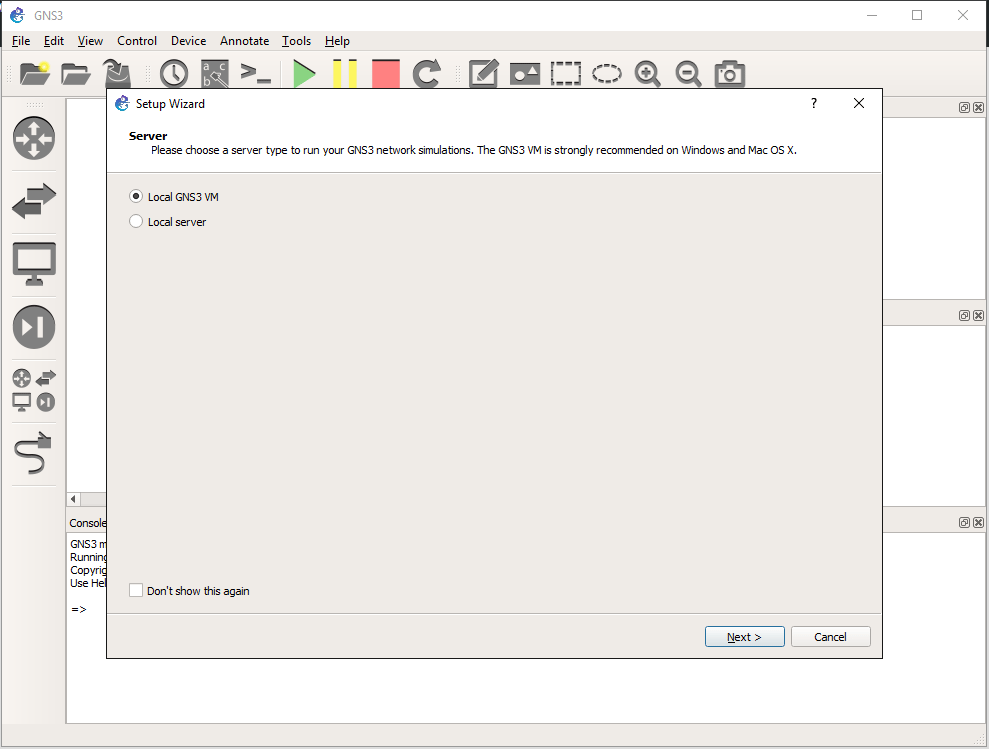
When you first launch GNS3, you will be prompted with a wizard of sorts here. One confusing thing I see with the behavior here is you have no option for remote server which is what we want to configure. The Local GNS3 VM assumes we are wanting to point to a local VM such as found in VMware Workstation.
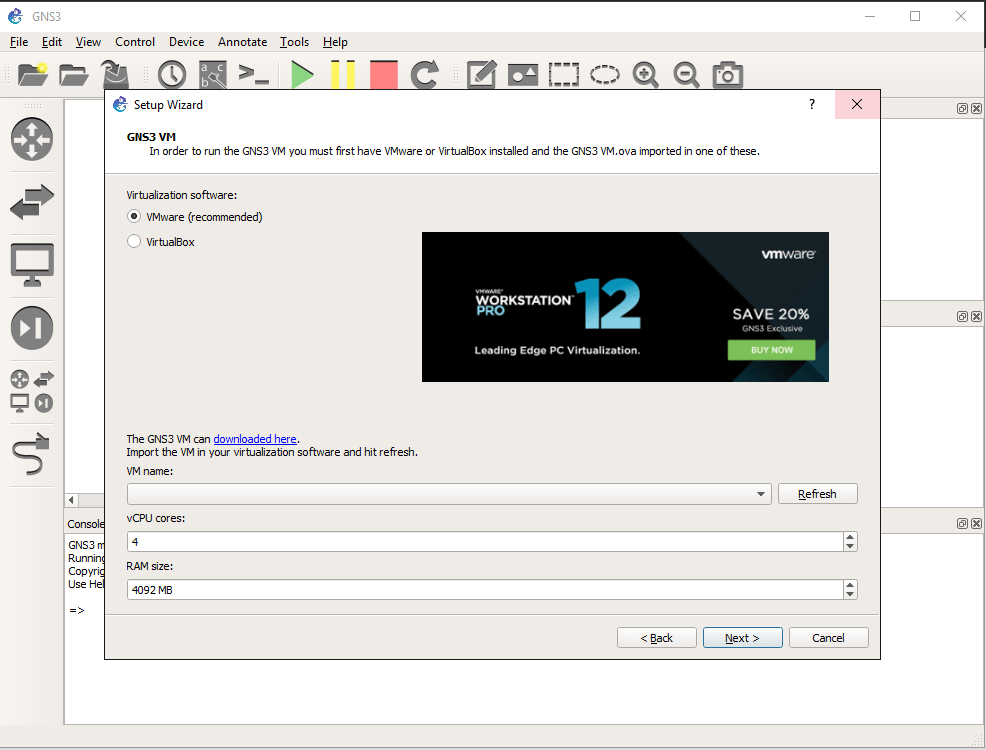
The next screen confirms our assumption here. As you can see, selecting the VMware radio button gives us an image of the VMware Workstation banner.
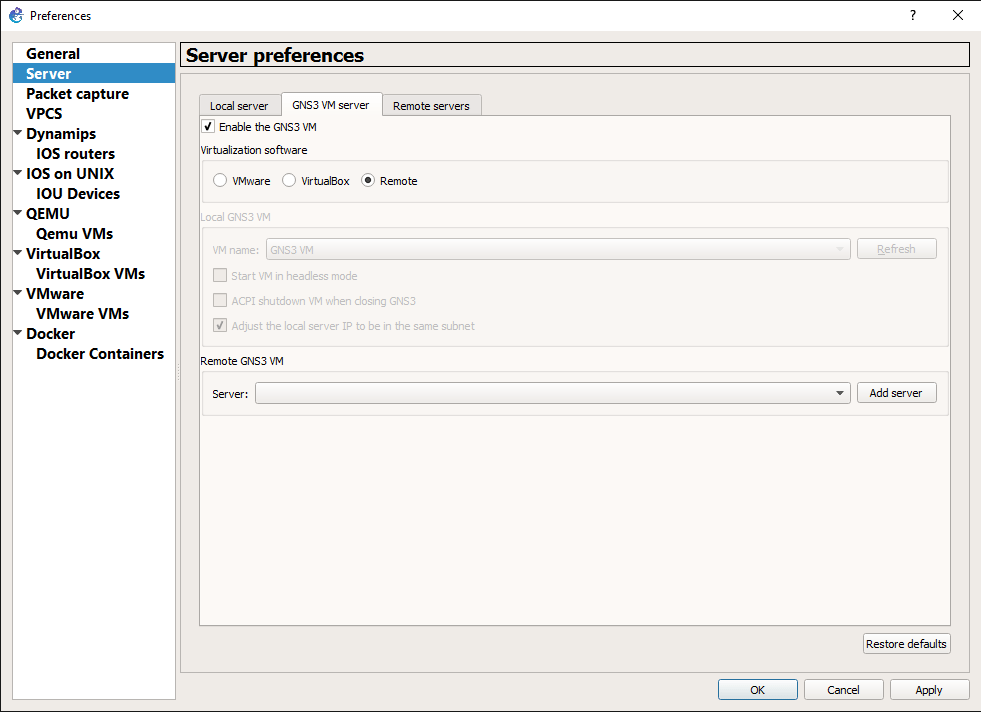
To point correctly to the remote VM, we need to go to Edit >> Preferences >> Server and click on the GNS3 VM server tab and then select the Remote radio button. Then, click the Add server button.
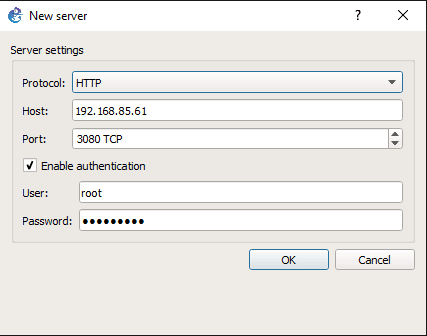
In the New server dialog. You will then fill in the IP address that was configured on your GNS3 VM. You can also enable authentication or not.
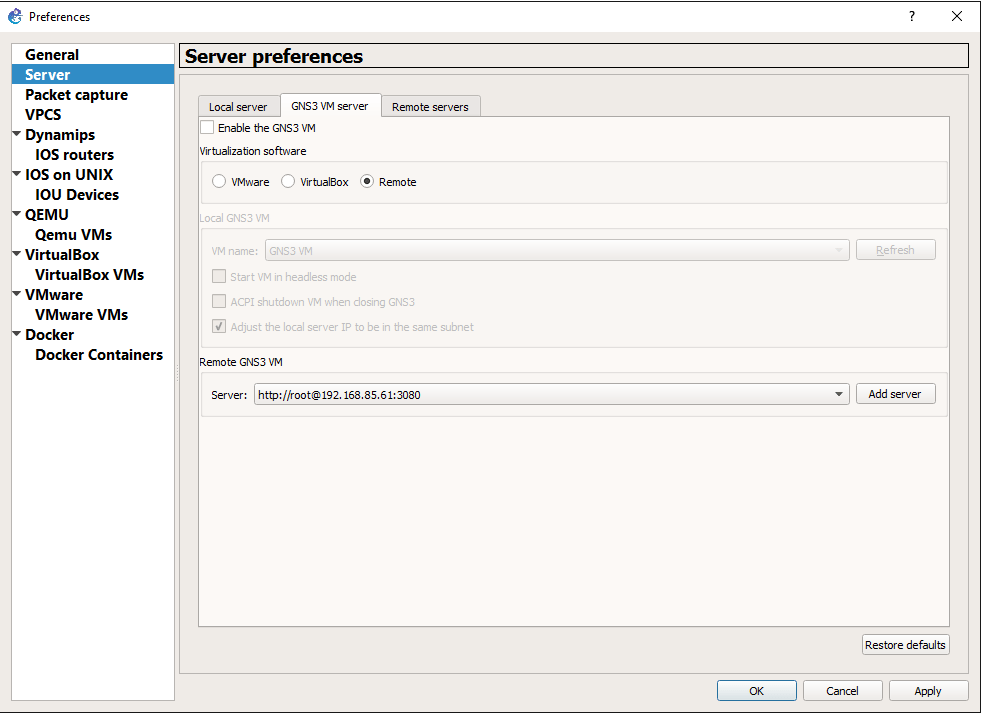
As you see below, the Remote GNS3 VM will become populated with the server information you entered above.
With the GNS3 interface, one action I have noticed to be crucial to saving your changes is hitting the Apply button and not just the OK button on these configuration dialogs. I have seen my changes wiped out otherwise.
Installing GNS3 Appliances
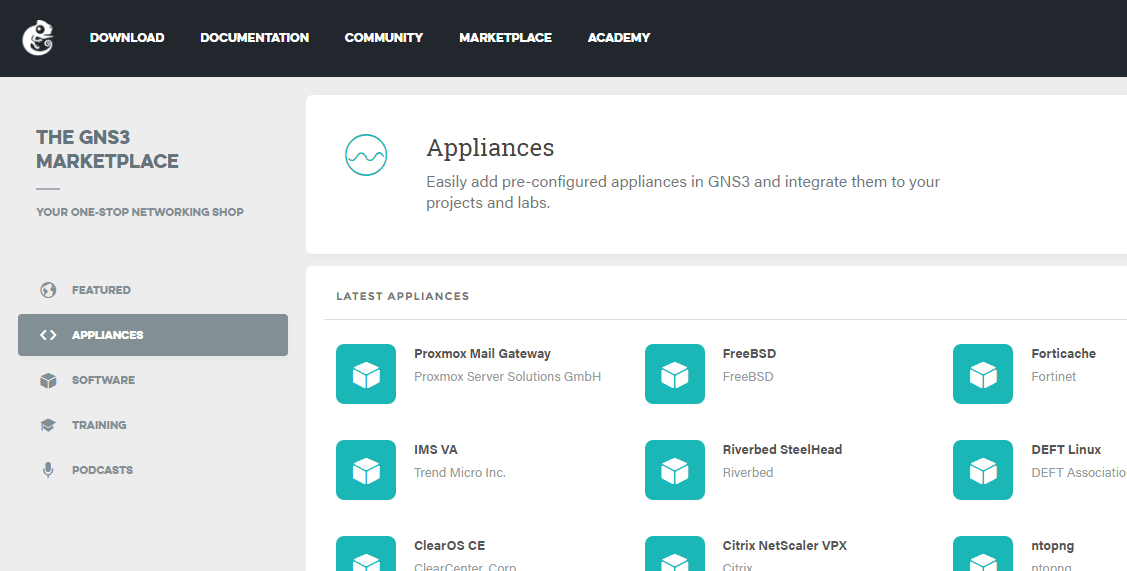
The easiest way to import your VIRL images into GNS3 is by means of the GNS3 Appliance. The appliances are basically templates that provide the framework of settings and such to GNS3 so it can correctly import various images and such.
The exciting thing about the appliances is there are tons of them. You can take a look at the appliances here. There are tons of options and a wide variety of vendors. GNS3 really shines with the vendor support and interoperability it provides here.
Appliances to import VIRL images
To import the IOSv and IOSv L2 images, simply download both of these appliances from the marketplace. These are listed as follows if I haven’t missed any:
- Cisco ASAv
- Cisco IOSvL2
- Cisco IOSv
- Cisco NX-OSv
- Cisco CSR1000v
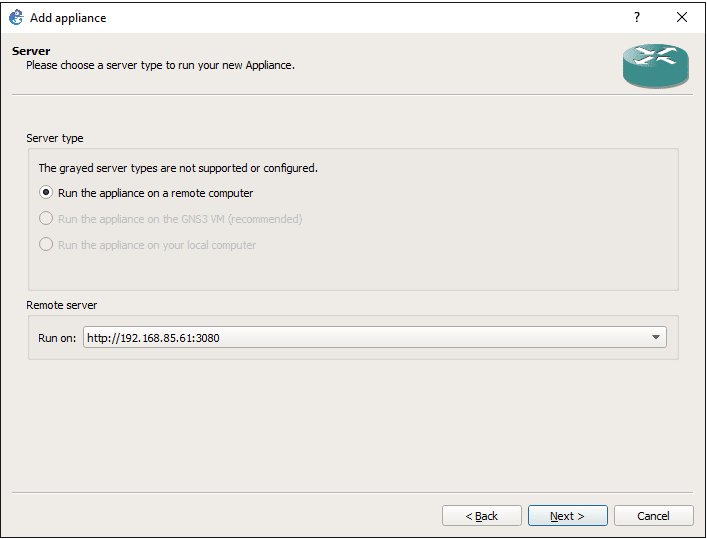
Then simply select File >> Import Appliance in the GNS3 application. This starts the Add appliance wizard. Follow the prompts here.
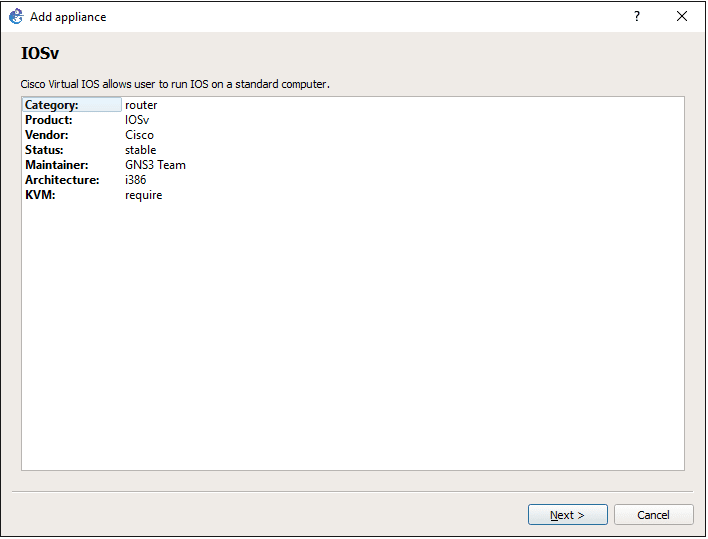
We want to Run the appliance on a remote computer. We can select the Remote server if we have more than one.
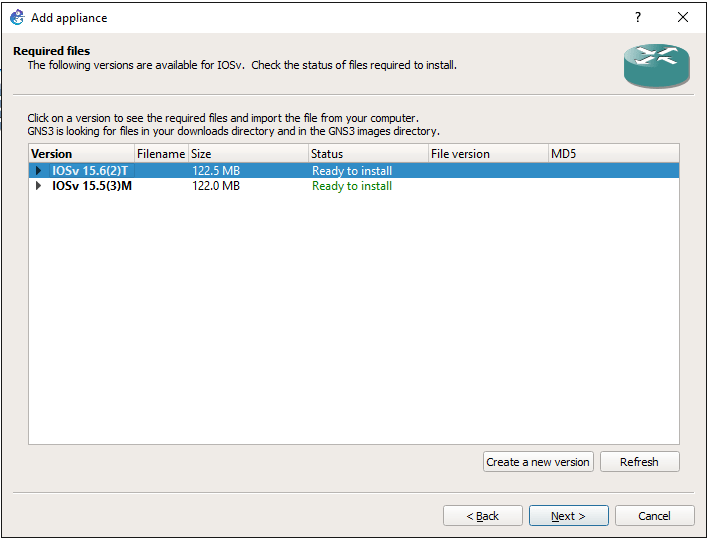
Here the wizard tells you that you are missing images. Again, the appliance is not the files needed itself, simply a framework.
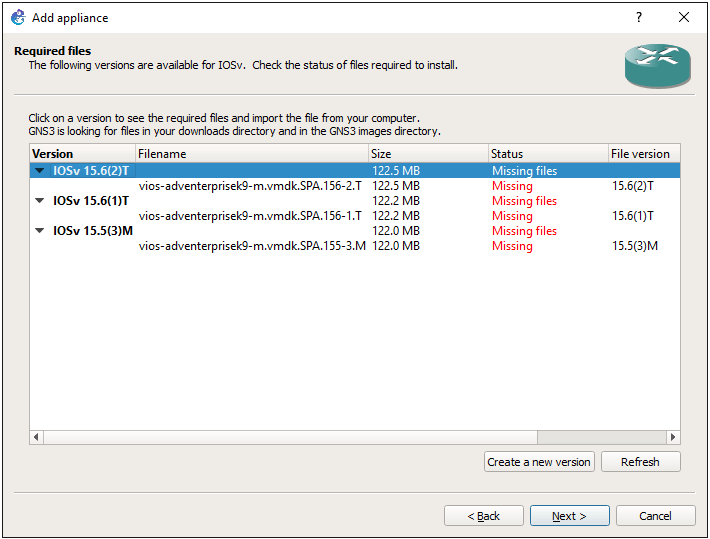
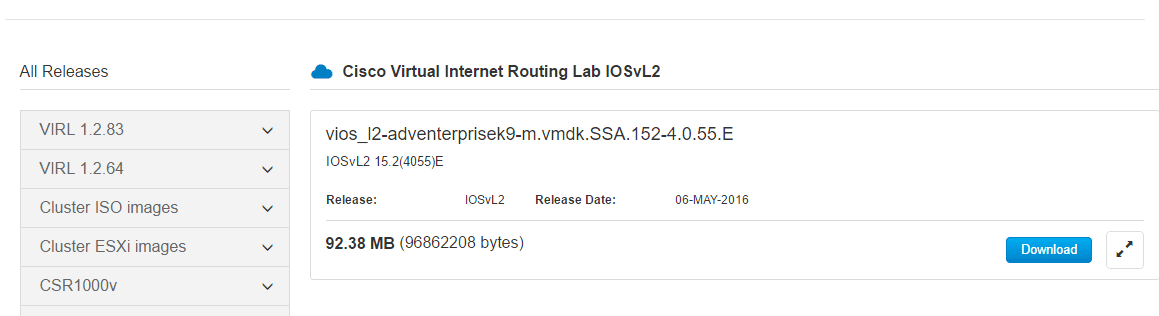
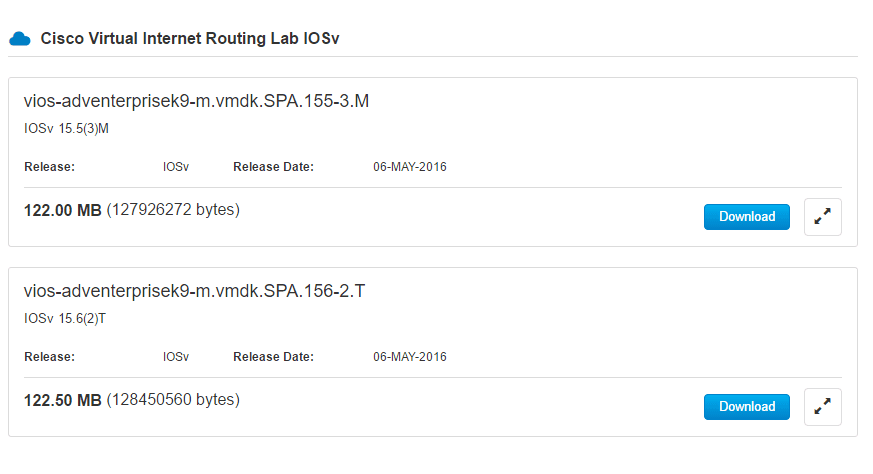
Login to your VIRL account and download the various images for L2 and L3 shown below.
I ran into an issue after logging into my VIRL account and looking for the files it required. I was not able to find the IOSv 15.6(1)T image in the available downloads. The problem is the wizard will not move forward with this error shown.

A workaround I found was that you can simply edit the .gns3a file that you download as the appliance. These are simply JSON files it looks like. What I did was simply take out the reference to the older image. The default file contained the following data.
"images": [
        {
            "filename": "vios-adventerprisek9-m.vmdk.SPA.156-2.T",
            "version": "15.6(2)T",
            "md5sum": "83707e3cc93646da58ee6563a68002b5",
            "filesize": 128450560,
            "download_url": "https://virl.mediuscorp.com/my-account/"
        },
        {
            "filename": "vios-adventerprisek9-m.vmdk.SPA.156-1.T",
            "version": "15.6(1)T",
            "md5sum": "e7cb1bbd0c59280dd946feefa68fa270",
            "filesize": 128122880,
            "download_url": "https://virl.mediuscorp.com/my-account/"
        },
        {
            "filename": "vios-adventerprisek9-m.vmdk.SPA.155-3.M",
            "version": "15.5(3)M",
            "md5sum": "79f613ac3b179d5a64520730925130b2",
            "filesize": 127926272,
            "download_url": "https://virl.mediuscorp.com/my-account/"
        }
    ],
    "versions": [
        {
            "name": "15.6(2)T",
            "images": {
                "hda_disk_image": "vios-adventerprisek9-m.vmdk.SPA.156-2.T"
            }
        },
        {
            "name": "15.6(1)T",
            "images": {
                "hda_disk_image": "vios-adventerprisek9-m.vmdk.SPA.156-1.T"
            }
        },
        {
            "name": "15.5(3)M",
            "images": {
                "hda_disk_image": "vios-adventerprisek9-m.vmdk.SPA.155-3.M"
            }
        }
    ]
}
I edited my gns3a file to look like this instead in the bottom section:
"images": [
        {
            "filename": "vios-adventerprisek9-m.vmdk.SPA.156-2.T",
            "version": "15.6(2)T",
            "md5sum": "83707e3cc93646da58ee6563a68002b5",
            "filesize": 128450560,
            "download_url": "https://virl.mediuscorp.com/my-account/"
        },
        {
            "filename": "vios-adventerprisek9-m.vmdk.SPA.155-3.M",
            "version": "15.5(3)M",
            "md5sum": "79f613ac3b179d5a64520730925130b2",
            "filesize": 127926272,
            "download_url": "https://virl.mediuscorp.com/my-account/"
        }
    ],
    "versions": [
        {
            "name": "15.6(2)T",
            "images": {
                "hda_disk_image": "vios-adventerprisek9-m.vmdk.SPA.156-2.T"
            }
        },
        {
            "name": "15.5(3)M",
            "images": {
                "hda_disk_image": "vios-adventerprisek9-m.vmdk.SPA.155-3.M"
            }
        }
    ]
}
After the edit, I no longer saw the reference to the missing files and was able to move forward.
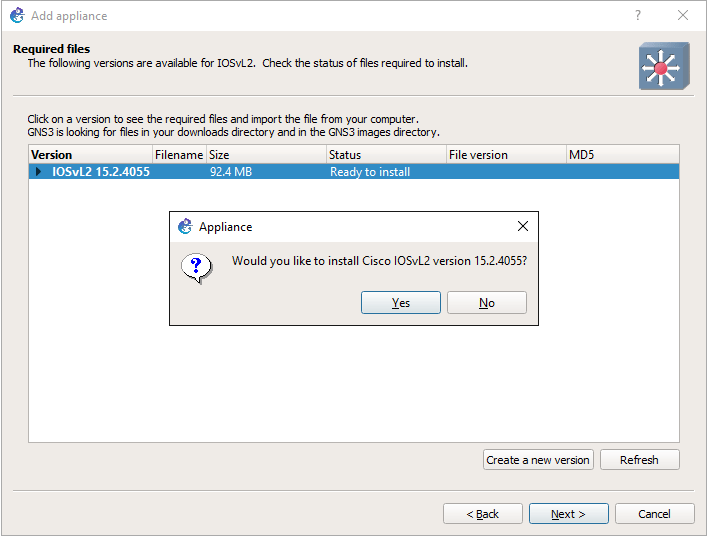
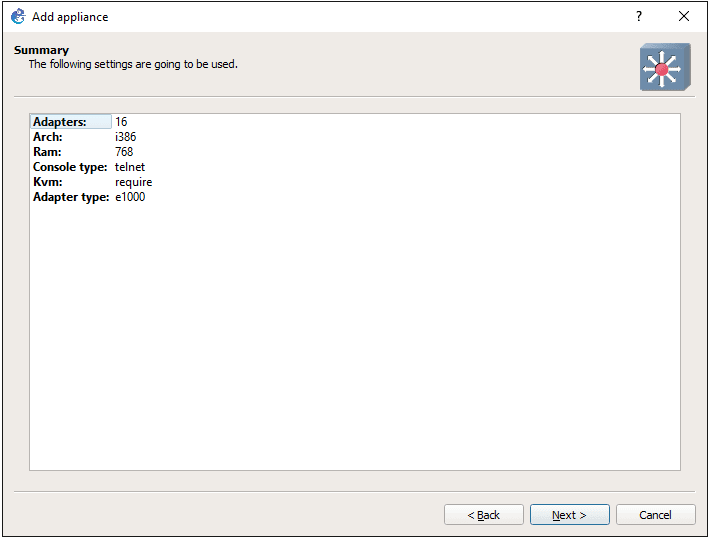
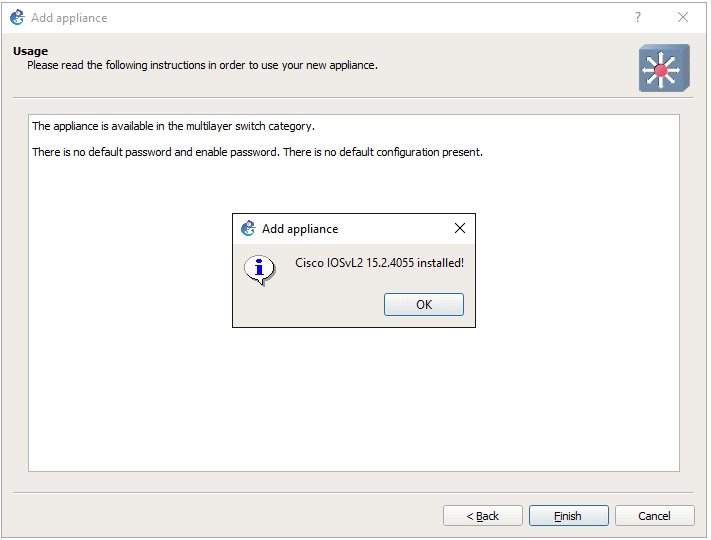
Below is the L2 wizard.
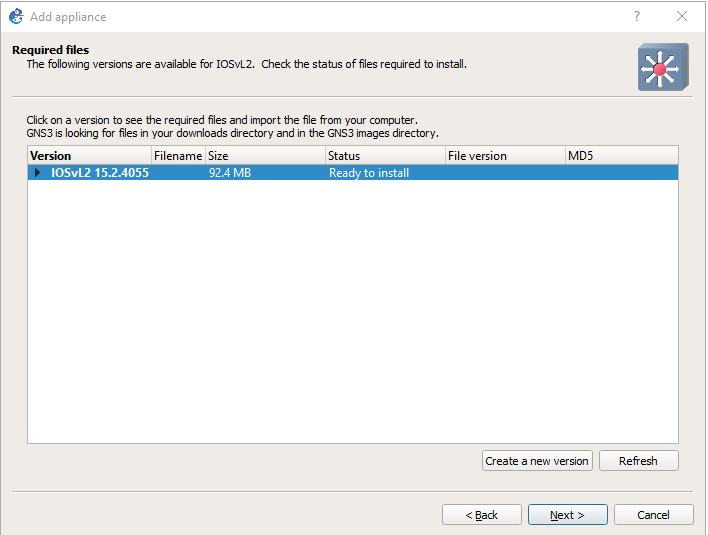
It confirms the install of the L2 image here.
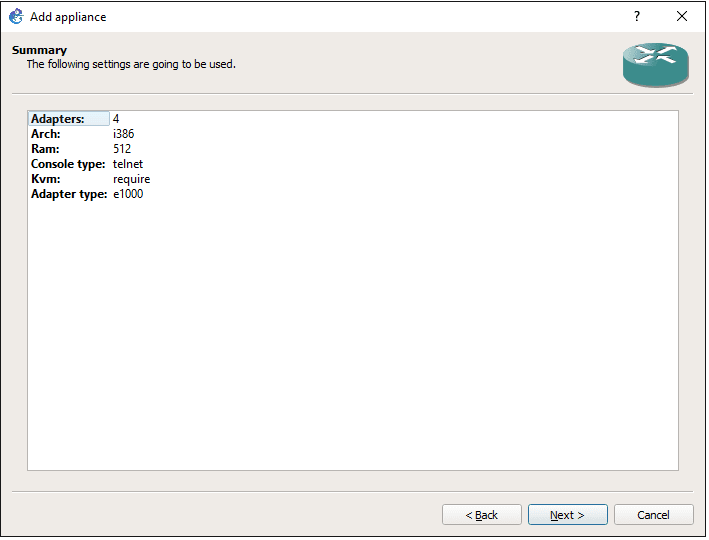
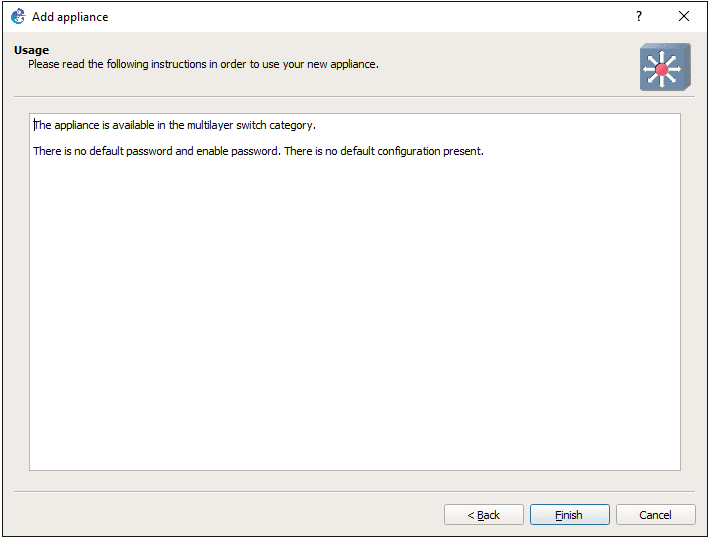
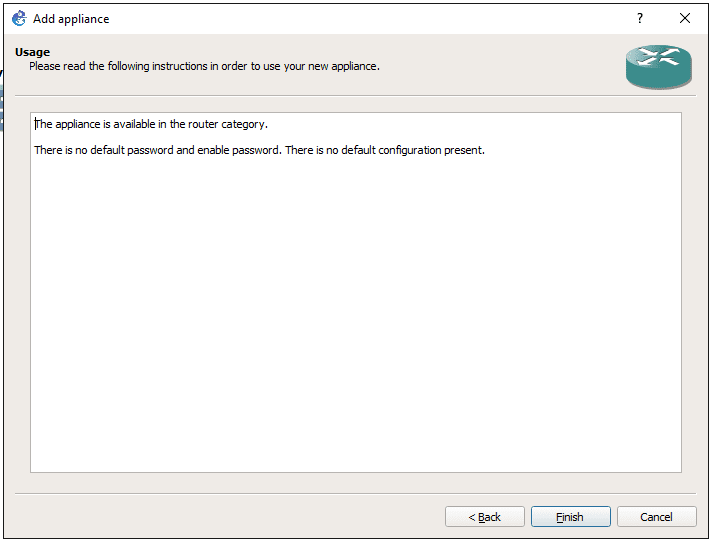
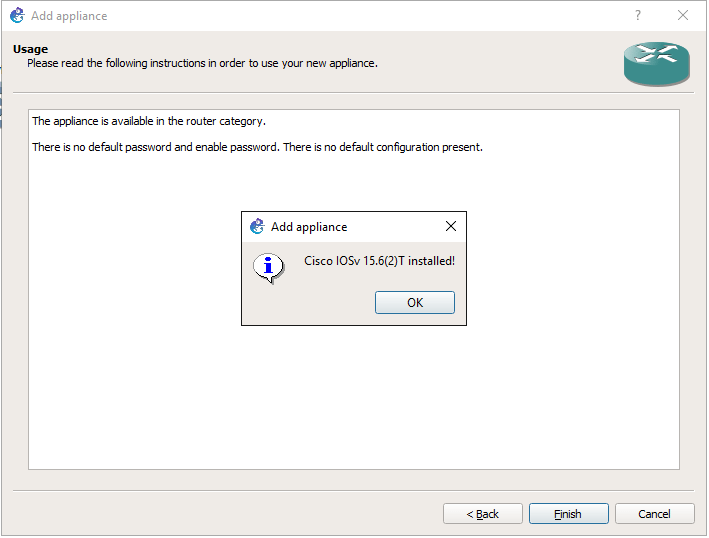
Confirming the L3 image install.
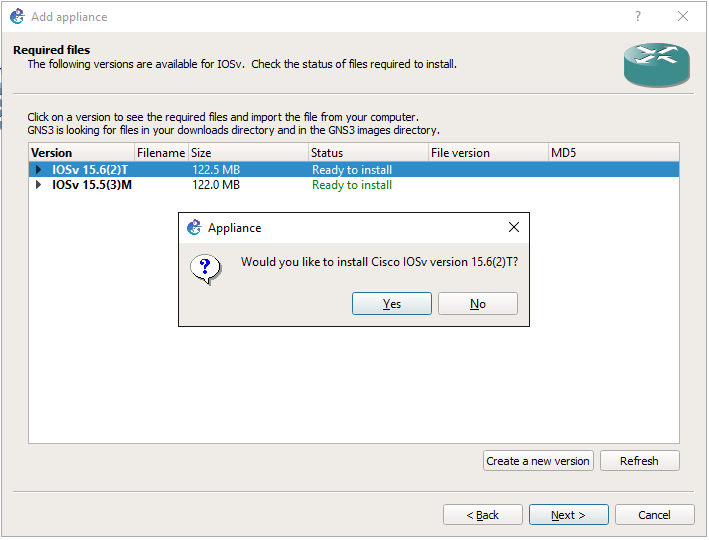
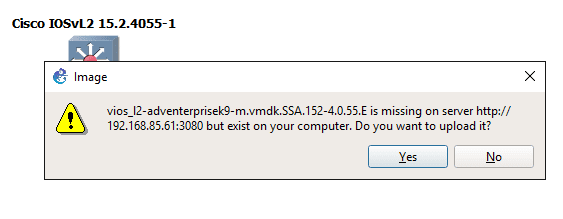
When I first tried to power on the L2 image, I received the message below. I simply hit Yes and it uploaded. I didn’t receive this on the L3 image, so not sure if the wizard didn’t import the image correctly or not for L2.
Thoughts
Now you can have all the VIRL image goodness inside of GNS3 legitimately without any hacked IOU VMs, etc. GNS3 is a great product that is truly amazing when it comes to learning. The scale and simplicity you get with GNS3 to me surpasses anything else out there. Hopefully this post on how to use VIRL Images in GNS3 will help others who like me haven’t played around with GNS3 in a while and would like to use resources they have available to them with their VIRL subscription albeit in the GNS3 interface.


can you provide a link to vios l2?
Zeeshan,
Unfortunately, these images aren’t publicly available legitimately. You will need to buy a VIRL subscription. Once you purchase the VIRL subscription, Cisco will provide access to a portal where you can download the images.