Combining TrueNAS with Proxmox is a great way for many to access virtualized storage environments. These integrations combine TrueNAS’s reliable storage capabilities and Proxmox’s virtualization features. Both of these are hugely popular. Let’s take a look at running a TrueNAS VM on top of Proxmox server.
Table of contents
What is TrueNAS?
TrueNAS is an open-source solution that can be downloaded via TrueNAS CORE or TrueNAS SCALE. Each of these is a different flavor of the solution.
- TrueNAS Core – TrueNAS Core is where the solution started. It was previously known as FreeNAS. It uses FreeBSD and the ZFS filesystem to provide data integrity and supports features like snapshots and replication.
- TrueNAS Scale – TrueNAS Scale is a Linux-based system that many are choosing now. It supports scale-out storage and clustering for larger environments. It’s well-suited for managing extensive data across containers and virtual machines. It also incorporates Kubernetes for storage integration in containerized applications.
TrueNAS can be installed on bare metal and use physical drives connected to the system to create a ZFS pool. TrueNAS can use drives that are connected to an HBA (Host Bus Adapter) controller. With an HBA controller you can multiple drives (like HDDs or SSDs). To allow ZFS to have direct access to the drives you need to configure them in IT mode (initiator-target mode) without any RAID functionality.
What is Proxmox?
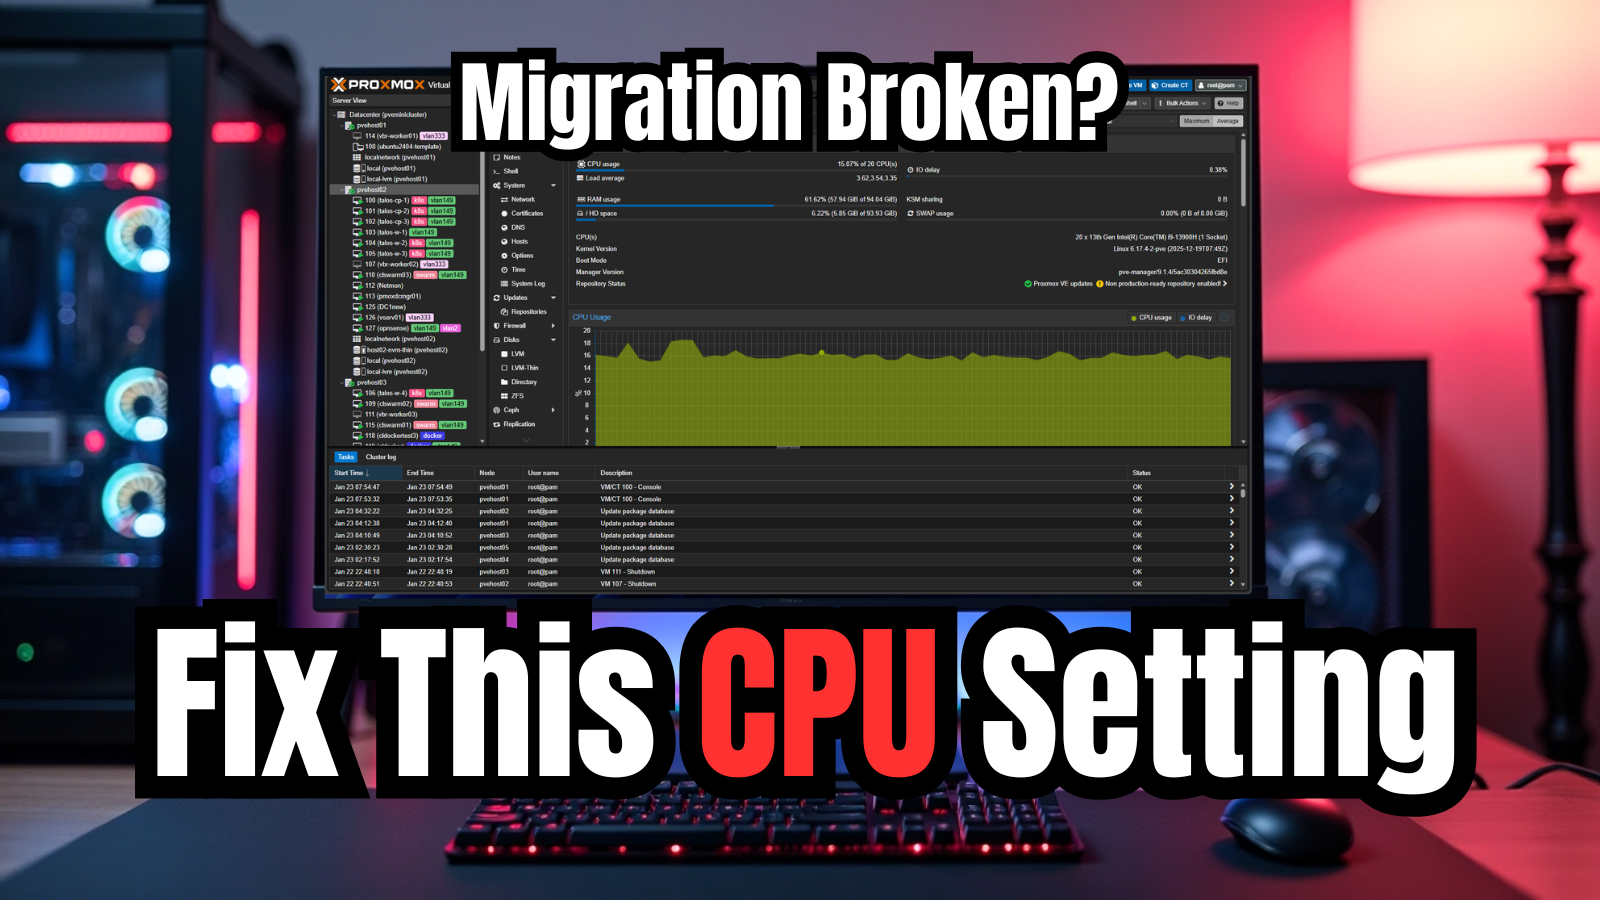
Proxmox VE is a complete virtualization management solution for servers. It has gained a lot of popularity in the home lab community and even for enterprise use cases since VMware by Broadcom price increases.
Proxmox is based on KVM and can run LXC containers, software-defined networking, software-defined storage, and has a new VMware ESXi migration wizard in Proxmox 8.2.
Why is it helpful to run TrueNAS on Proxmox?
You may wonder why we want to run TrueNAS on Proxmox when we could install it as a bare metal solution for a NAS. While you can run TrueNAS as a bare metal installation, there are advantages to running it on top of Proxmox.
These are the following:
- Proxmox is a much better virtualization platform than TrueNAS. The virtualization tools in TrueNAS are not as good.
- Also, abstracting your TrueNAS installation using a VM virtual disk gives you the option to back up your TrueNAS installation using native tools like Proxmox Backup Server.
- You can still achieve great performance with your storage pool using PCI passthrough disks in Proxmox.
Proxmox Passthrough disk for TrueNAS
It is ideal for the best performance to passthrough physical disks from your Proxmox server host to your TrueNAS virtual machine. How do you configure Proxmox Passthrough disk for TrueNAS? Check out my recent blog on this topic here:
Once you have passed through a disk or set of disks to your TrueNAS VM running on Proxmox, you are ready to proceed with the setup. However, you can also use standard virtual disks provisioned normally in Proxmox for your TrueNAS storage pool.
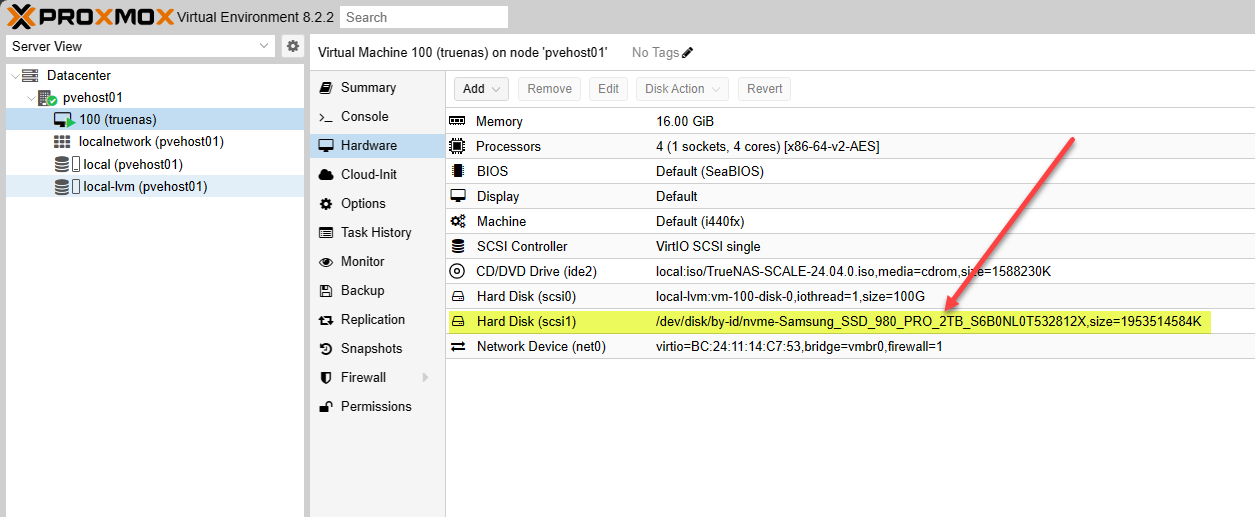
Keep in mind, though, that using a virtual drive that has the VirtIO SCSI driver as an abstraction layer does degrade performance to some degree.
Prerequisites
- Hardware Compatibility:
- CPU: 64-bit processor capable of hardware virtualization, with Intel VT-x/AMD-V support recommended.
- Memory: At least 8 GB of RAM, but 16 GB or more is recommended for better performance, especially when running multiple services or virtual machines.
- Storage: The TrueNAS SCALE OS installation requires a minimum of 8 GB of boot space (an SSD is recommended). Data requires additional storage, with ZFS typically needing at least one additional data drive.
- Network:
- Ethernet Interface: At least one Ethernet interface is required for network connectivity. Additional interfaces are recommended for configurations such as link aggregation or separate networks for management and data.
- Supported Hardware Platforms:
- Motherboards: A motherboard compatible with the installed CPU and sufficient RAM slots. Motherboards with IPMI or similar remote management capabilities provide easier administration.
- HBA (Host Bus Adapter) Cards: HBA cards compatible with TrueNAS SCALE and supported in IT mode are ideal for attaching storage drives, especially in configurations requiring direct disk access bypassing RAID functionalities.
- Software Requirements:
- Browser: A modern web browser for accessing the TrueNAS SCALE web-based user interface.
- Boot Mode: UEFI boot mode is required for systems using TrueNAS SCALE.
- Filesystem:
- ZFS: TrueNAS SCALE uses the ZFS filesystem exclusively. It is known for its data protection, snapshot, and replication features.
- Optional but Recommended:
- UPS (Uninterruptible Power Supply): This is used to prevent data loss and corruption during power failures.
- ECC (Error-Correcting Code) Memory: While not required, ECC RAM is recommended for preventing data corruption in memory, which is particularly important in ZFS environments.
TrueNAS Proxmox setup
Let’s look at the installation and configuration of TrueNAS on a Proxmox server. The process involves creating the TrueNAS virtual machine, setting up storage pools, and ensuring optimal performance through efficient hardware utilization.
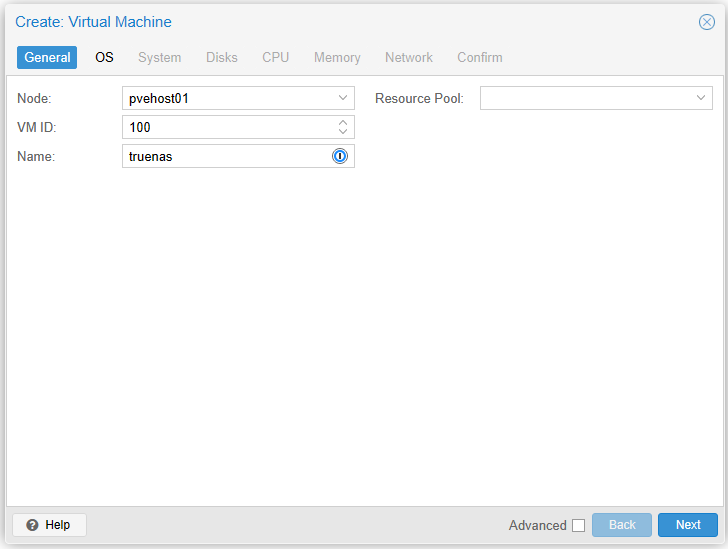
Create the TrueNAS virtual machine in Proxmox
Below, we are beginning the process of creating a new Proxmox VM for the TrueNAS installation.
Select the TrueNAS ISO image you have uploaded to your Proxmox ISO datastore.
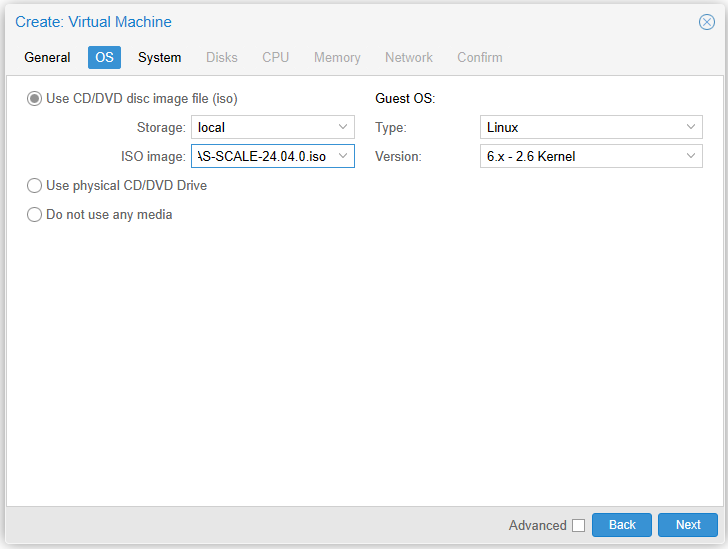
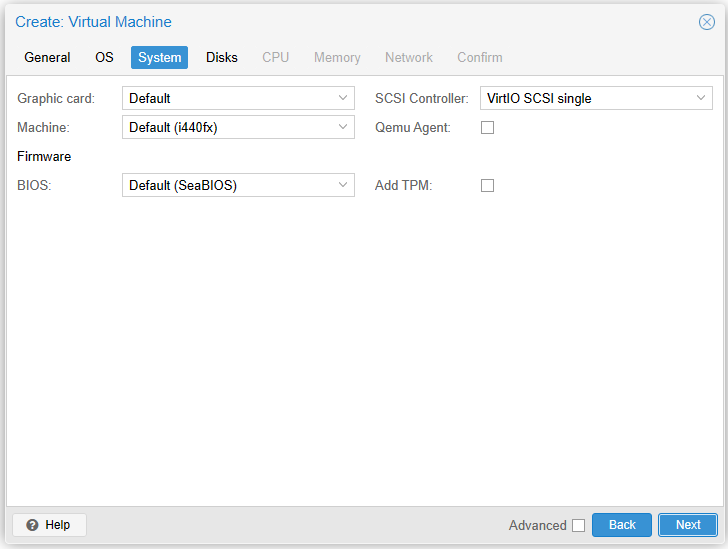
Here I am leaving the defaults.
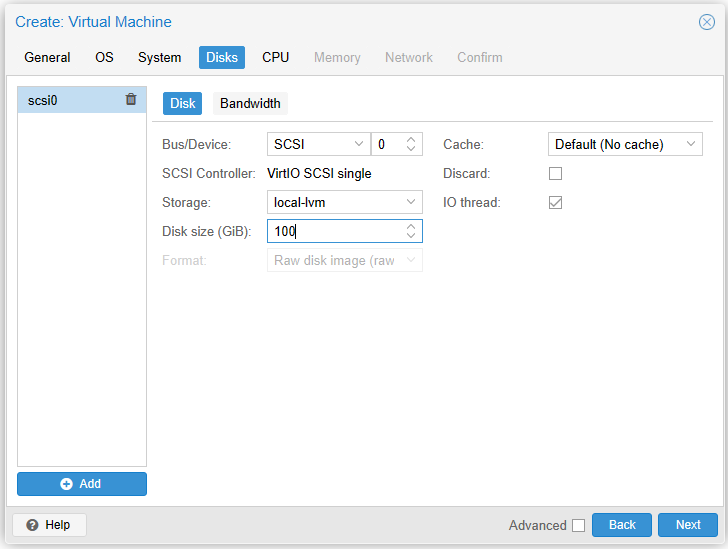
The disk created below is the installation disk for TrueNAS. We will select our physical passthrough disk to house our data in a ZFS pool.
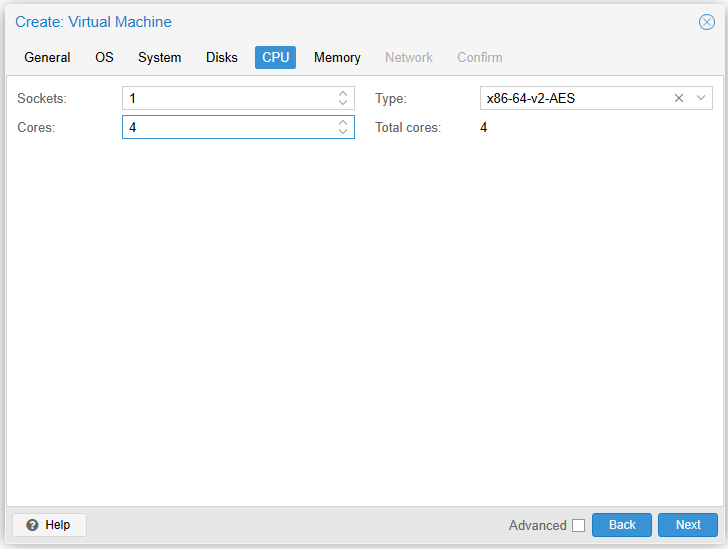
On the CPU configuration, choose the sockets and cores you want to utilize.
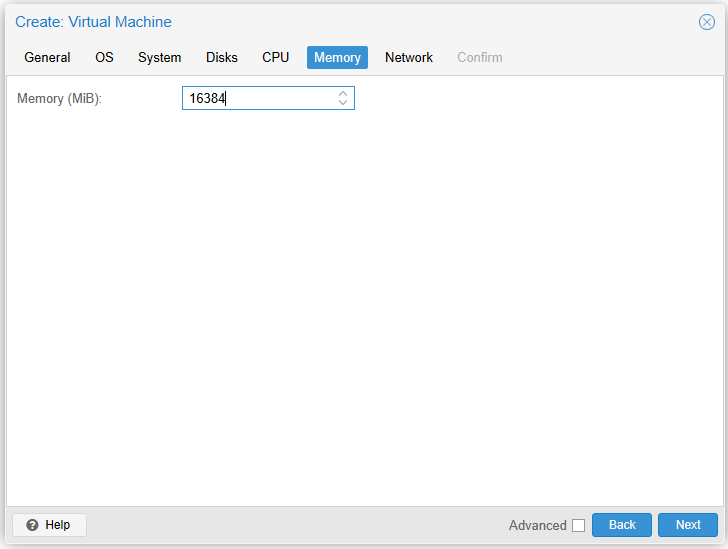
Configure your TrueNAS system memory.
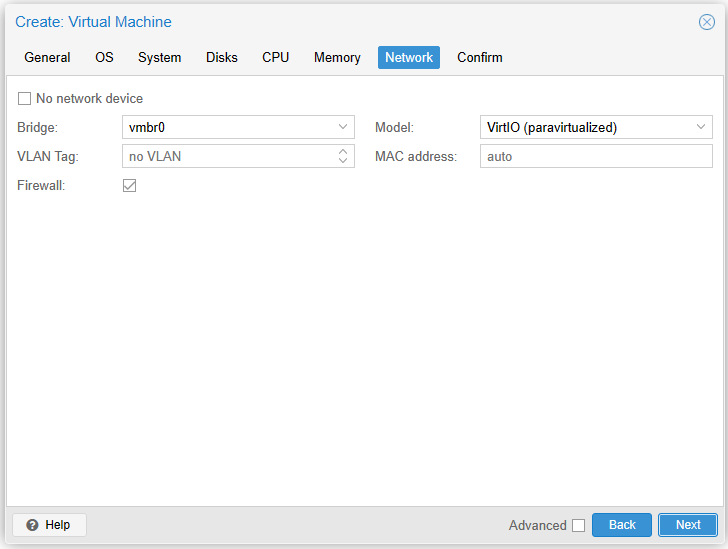
Configure your network adapter for the TrueNAS virtual machine.
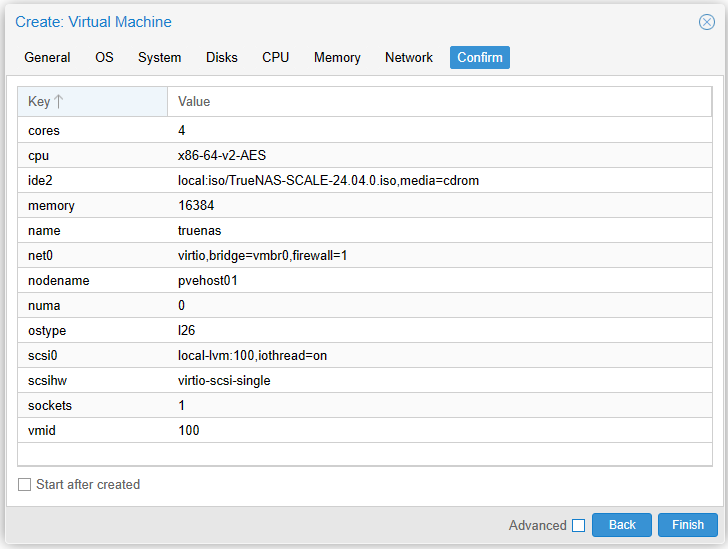
Finally, we get to the summary screen where we can confirm the configuration.
Install TrueNAS
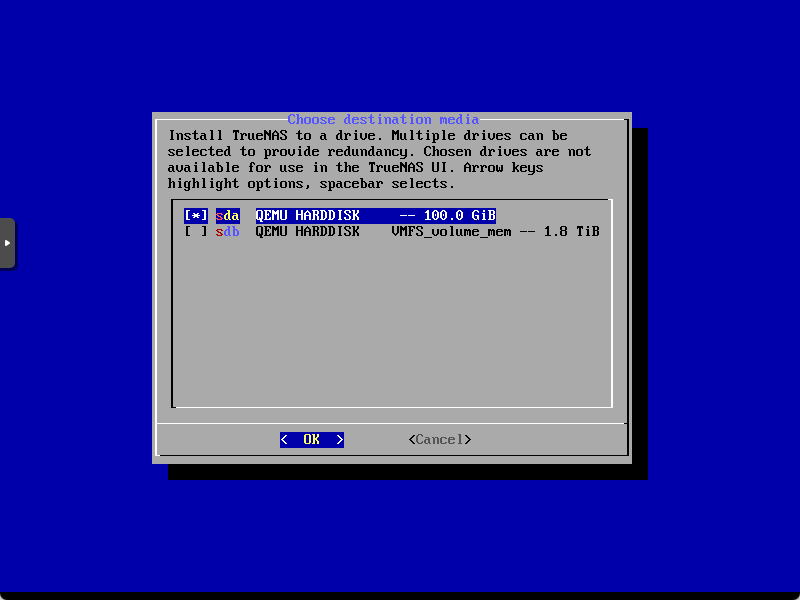
Now that we have the virtual machine ready to go, we can install TrueNAS. The steps to install the latest version in Proxmox are no different than bare metal, in VMware vSphere, etc. Below, you will see we are selecting the virtual disk for installing the TrueNAS operating system, not our passthrough disk. We want the passthrough disk reserved for the ZFS pool in our storage pool.
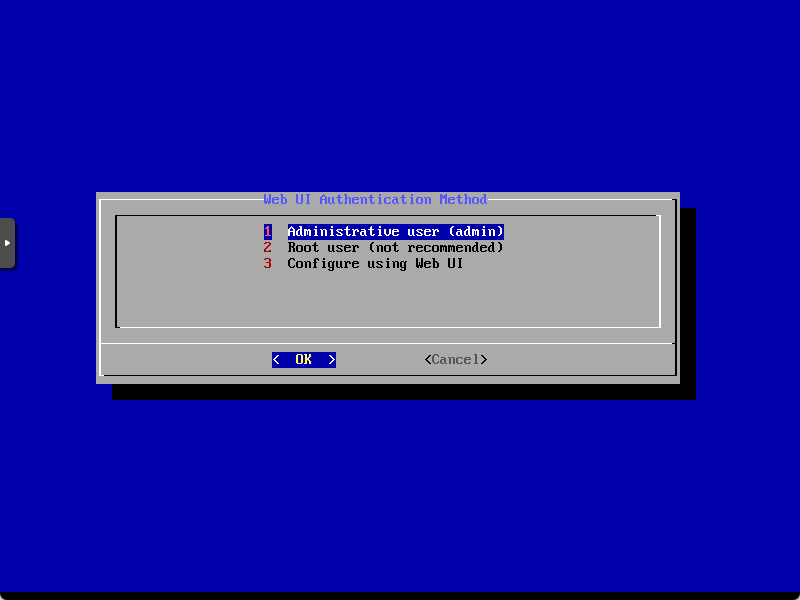
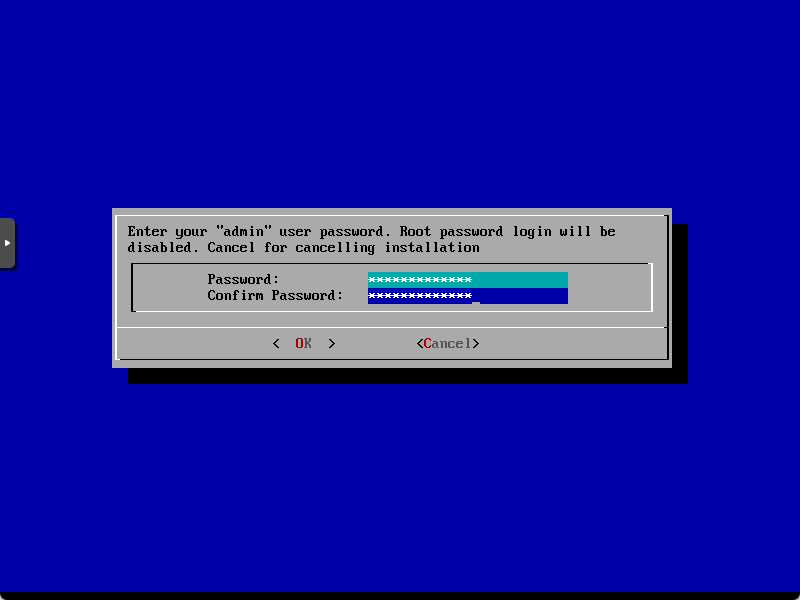
Now, select the web UI authentication method. Here I am sticking with the default of admin.
Set the password for the admin account.
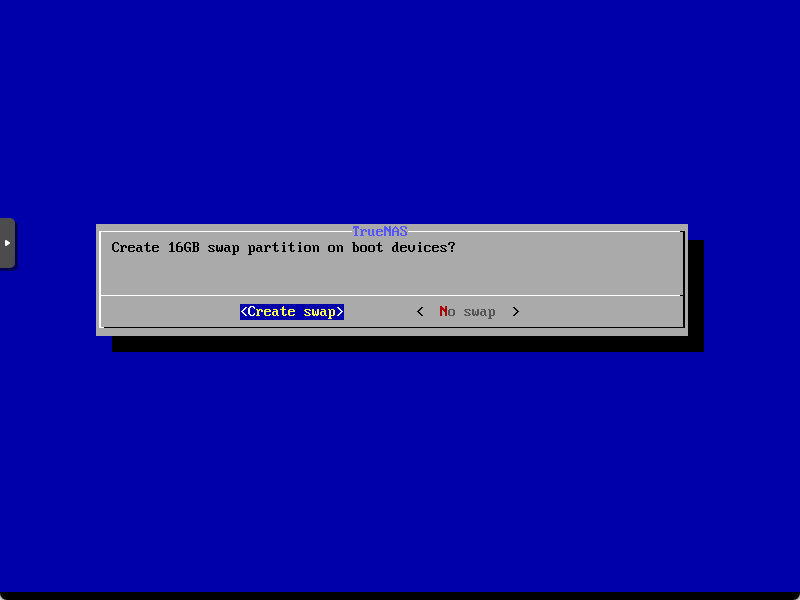
Configure the swap partition.
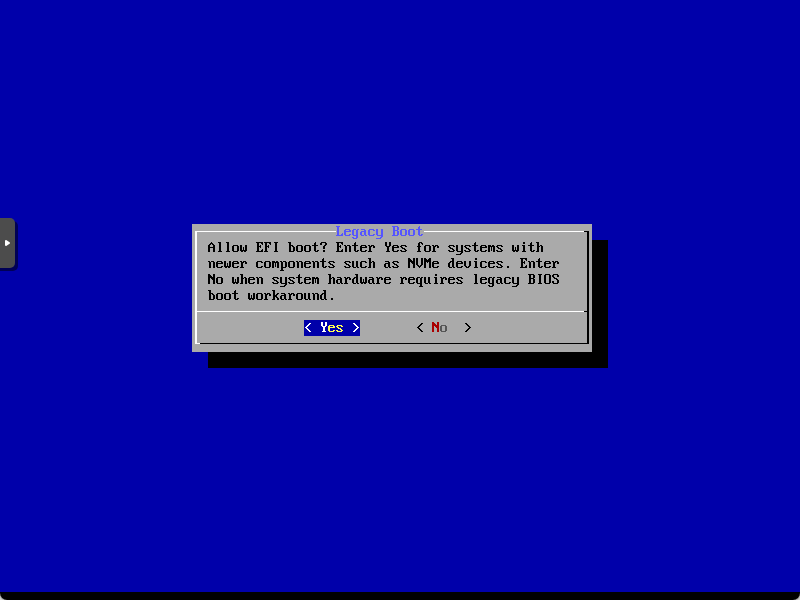
Allow EFI boot.
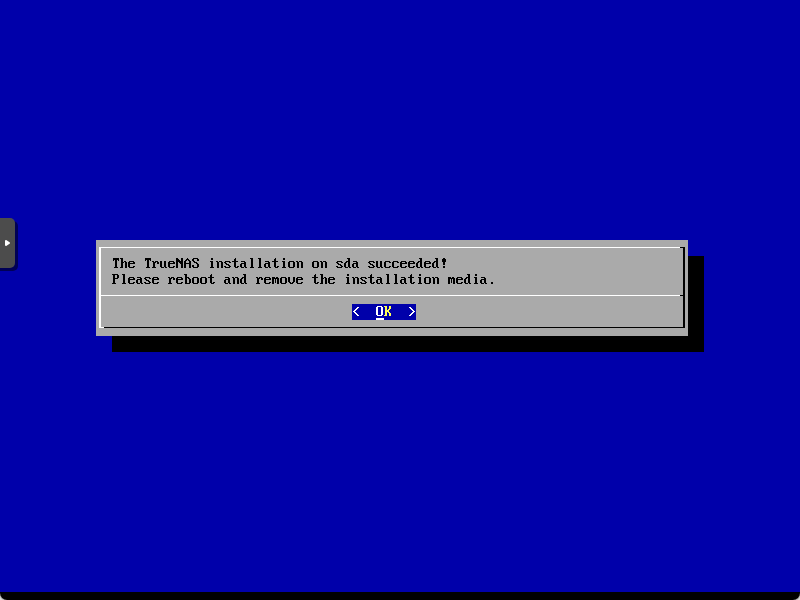
The installation succeeded.
Configuring Storage Pools in TrueNAS
After installation, configuring storage pools is next. Log into your TrueNAS installation by browsing to the web UI administration in a web browser (just browse to the IP address or FQDN of the new VM).
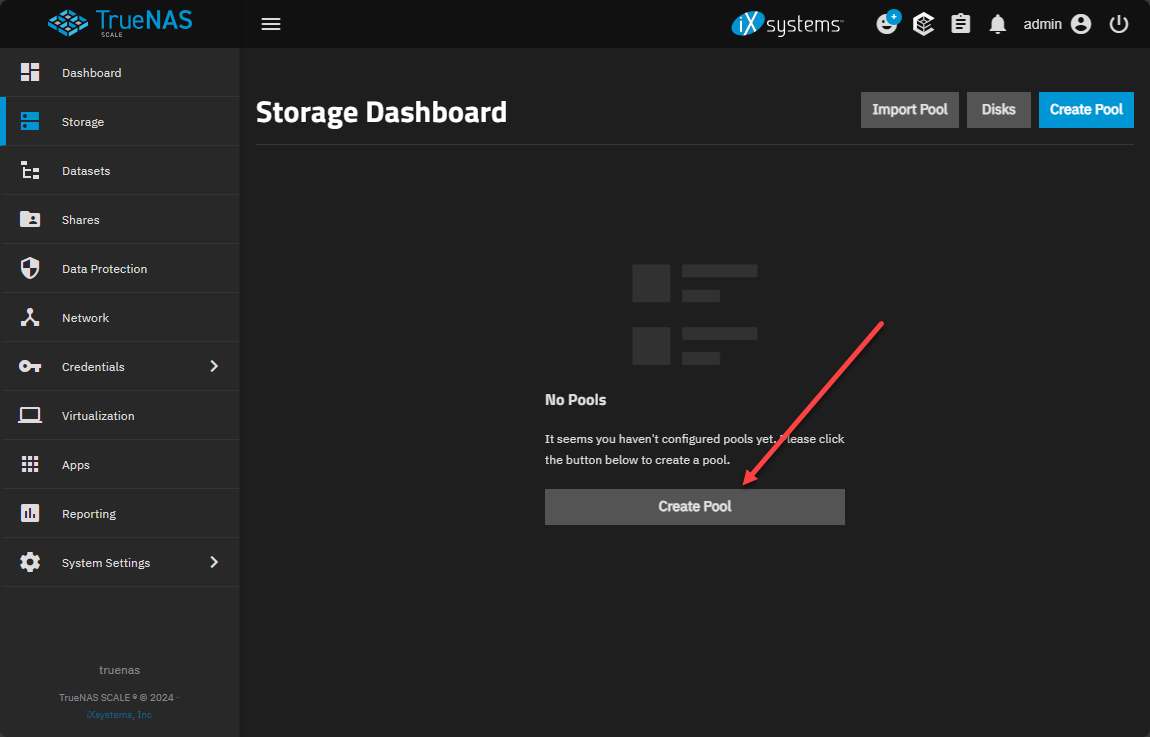
If you don’t have a storage pool yet, you will see the information box that suggests you create a storage pool. Click Create Pool.
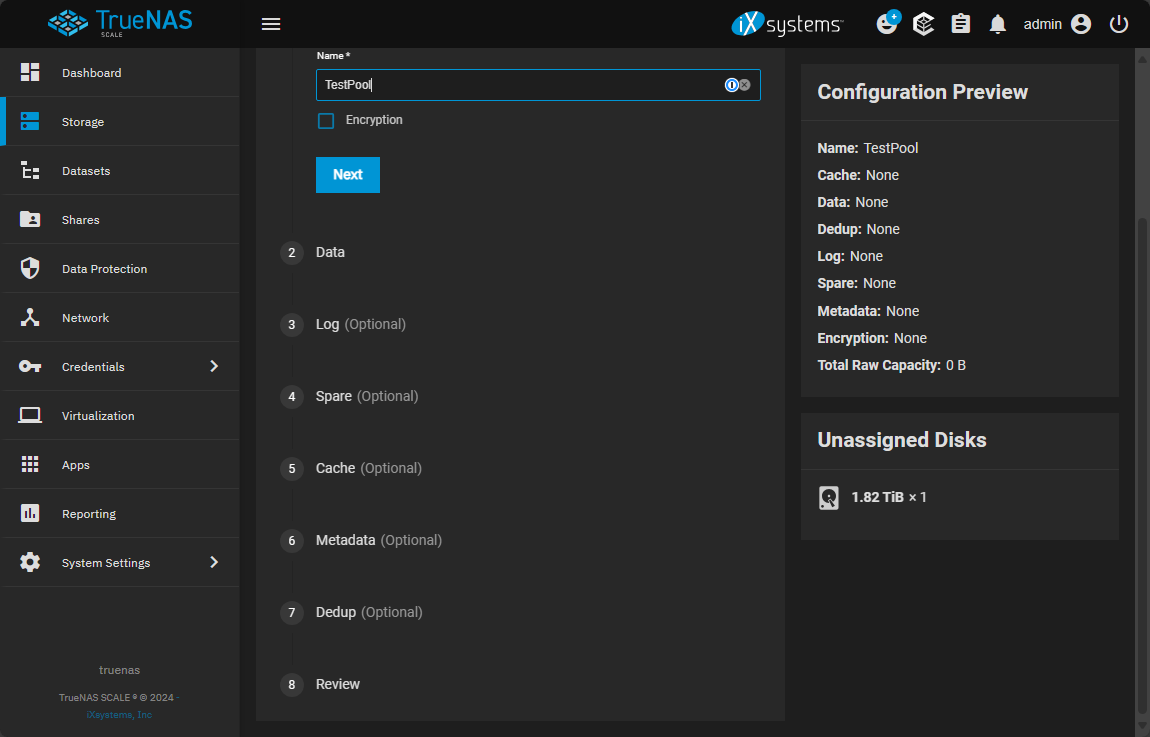
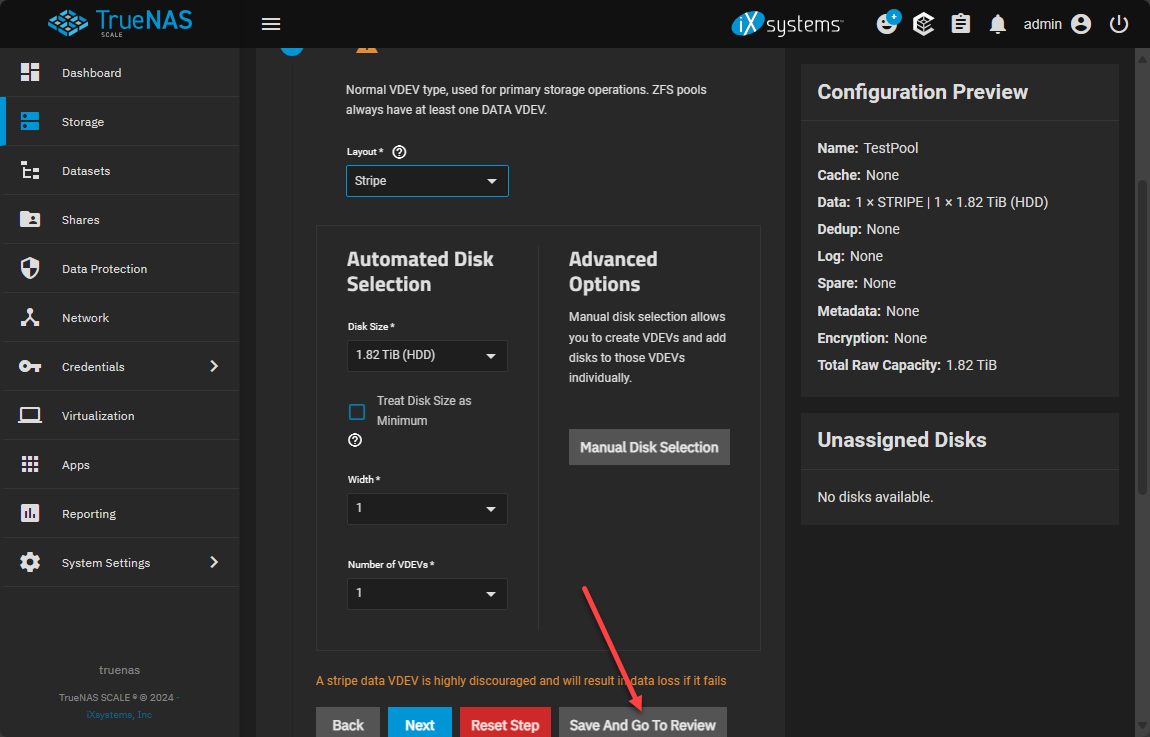
This begins the new storage pool wizard. Name the pool and follow the wizard prompts. Only the Name and Data steps are required.
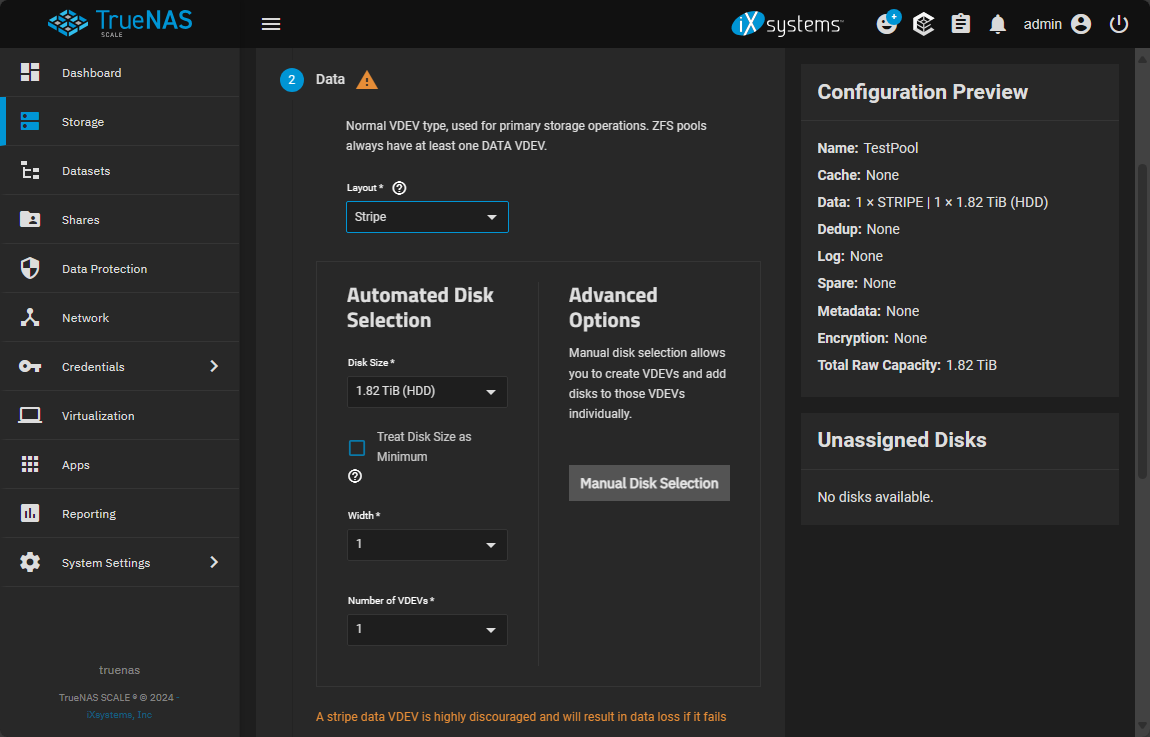
On the Data step, add your disk or disks to the ZFS pool configuration. Here for testing, I am only adding a single disk that I have passed through.
Save and Go To Review if you have no other configuration needed.
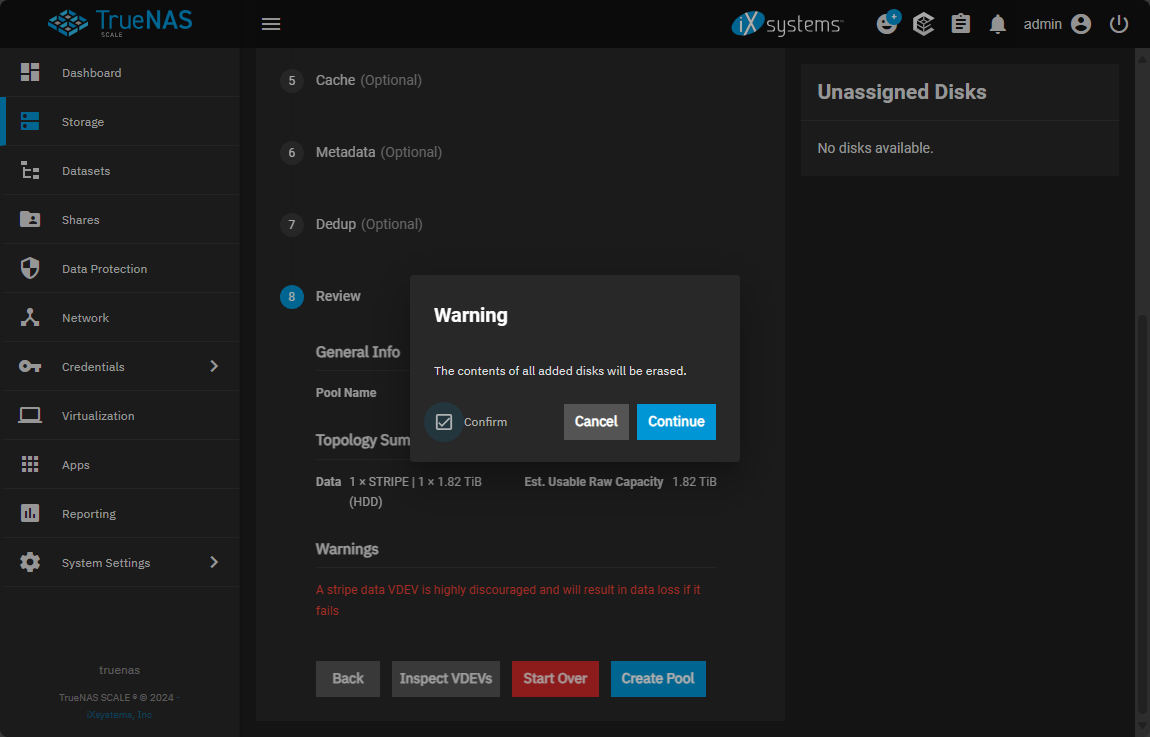
Next, select Create Pool.

You will see the warning that the disk will be erased.
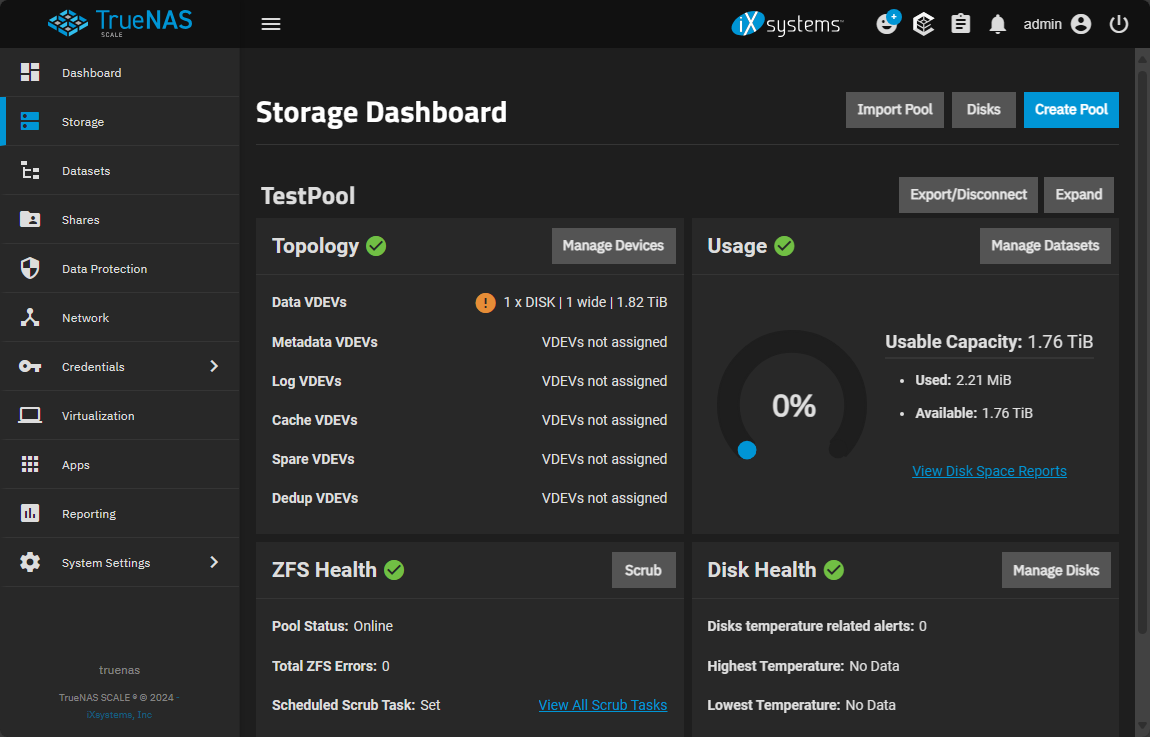
The storage pool creation with the PCI passthrough disk worked flawlessly.
Troubleshooting
Note the following troubleshooting sections to help identify and work through problems with TrueNAS on Proxmox.
Installation Issues
- Verify VM Configuration: Ensure your VM has the necessary CPU cores, memory, and disk size.
- Check Installation Media: Confirm the integrity and compatibility of your TrueNAS installation media with Proxmox.
- Console Logs: Use the Proxmox VM console to access error logs for more specific diagnostic information.
Network Problems
- Network Interface Configuration: Ensure VM network settings align with Proxmox network configurations.
- Firewall Settings: Check that the Proxmox host’s firewall permits traffic to and from the TrueNAS VM.
- Update Network Drivers: Consider updating or configuring network drivers within Proxmox and setting up a network bridge if needed.
Performance optimization and troubleshooting
- Resource Allocation: Monitor and adjust the VM’s resource allocation in Proxmox to meet demands.
- ZFS Configuration: Utilize ZFS features like compression and caching appropriately to enhance performance.
- Workload-Specific Settings: Modify ZFS settings such as enabling atime updates for environments with heavy read operations.
Data Integrity Errors
- Regular ZFS Monitoring: Regularly check the ZFS pool status for any signs of corruption or disk failures.
- Use ZFS Tools: Employ ZFS scrubbing and recovery tools to restore and maintain data integrity.
- Hardware Compatibility: Ensure all storage hardware, especially HBA cards, are compatible with TrueNAS and correctly configured.
Wrapping up TrueNAS on Proxmox
Running TrueNAS on top of Proxmox has many advantages. You will reap the benefits of Proxmox’s more powerful virtualization tools. Using passthrough disks in Proxmox for your TrueNAS VMs will still allow you to have bare metal performance for your storage data.
Are you running TrueNAS on Proxmox? Let me know in the comments or a forum post how you are liking TrueNAS and if you are running it as a virtualized instance or using bare metal.
Google is updating how articles are shown. Don’t miss our leading home lab and tech content, written by humans, by setting Virtualization Howto as a preferred source.
About The Author

Hi great work!
If I understand correctly, by using passthrough disks, we will lose the SMART capabilities. SO, how can we check if a disk is about to fail?
When a disk fails, the VM will no longer boot until we remove the failed disk, so my question is: will we actually ever see the ZFS pool state as degraded?
Or will we always see the pool as “green” until a disk fails and the VM will no longer boot?
thanks a lot
scarsaus,
thanks for the comment and that is a great question. I have not tested that unfortunately. So I am not entirely sure of the behavior there. However, I wouldn’t rely on passthrough disks being monitored entirely correctly from a system standpoint. You can throw something like Netdata on your Proxmox host and it will monitor at the hardware level, including SMART errors. They have a free license for just a few nodes. Hope this helps!
Brandon
Hi! I just read this and have a few questions:
1) Why just passthrough the disk. Why not passthrough the controller attached to the disk? Is it because you have other disks attached that you do not want to expose to TrueNAS?
2) Why no RAID 1 config of the boot disk? Wouldnt that mitigate the loss of the one drive?
Thanks,
Steve
Steve,
Exactly what you said on passing through the controller, it just allows you to pick and choose which resources you pass through to the virtual machine. You can architect your drives passed through as you would any other disk. Just a note, you would let TrueNAS configure the RAID device with ZFS mirroring instead of doing this with a RAID controller. Let me know if this helps!
Brandon
Hi – how do you do this with a virtual disk – i go through all the steps but the pool will not create.
just get the following:
Error: topology
Disks have duplicate serial numbers: None (sda, sdb).
i created a single virtual drive assigned to the truenas vm when setting up and configuring the vm for bulk storage for the vm and a separate drive to hold the os / boot drive
thanks
John