Synology QuickConnect Setup and Configuration
One of the tools that Synology owners have at their fingertips is the Synology QuickConnect utility. What is this tool and how can we set it up and configure it?
Table of contents
- What is Synology QuickConnect?
- Steps to set up QuickConnect on your Synology DiskStation
- Using Synology QuickConnect to Access Synology Services
- Synology Mobile Applications
- Official Synology Android Apps
- QuickConnect isn’t that “Quick”
- Things to keep in mind
- Dynamic DNS and Synology connections
- Figure out the port number and the IP address of the server
- Take security seriously
- Related Posts
- Wrapping up
What is Synology QuickConnect?
The Synology QuickConnect tools is a tool from Synology that helps to make the possibility of connecting to your NAS device from the internet much easier. Its purpose is to bypass the need to setup things like port forwarding on your firewall or dynamic DNS services.
This works by Synology creating a unique ID for your Synology NAS. With this unique ID, which is tied to your Synology account, the request to connect is routed through the Synology network, and the connection is established between your end-user device and the NAS.
Using this technology, it allows users to access their NAS without configuring advanced network settings or remembering their IP address.
Steps to set up QuickConnect on your Synology DiskStation
Setting up Synology QuickConnect on your DiskStation is a simple process. You just need to follow a few steps to access it remotely. Note the following steps below:
First, log in to your Synology DiskStation Manager (DSM)
Open the Control Panel > External Access menu and navigate to the QuickConnect tab. If you need an account, you can create this from the login page as well
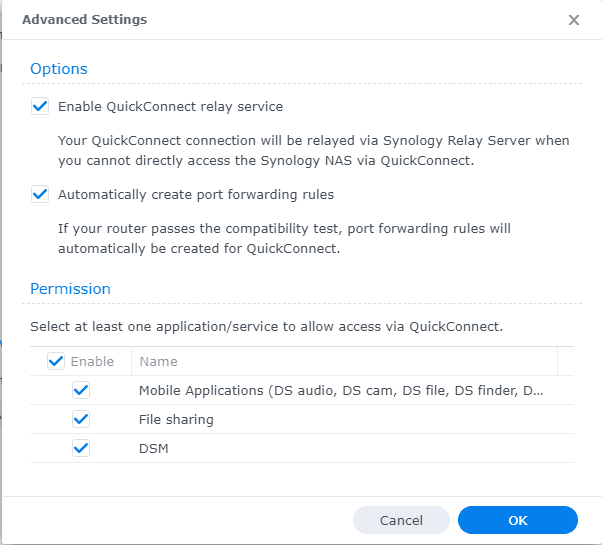
Enable Synology QuickConnect by checking the “Enable QuickConnect” box. This will launch on-screen instructions you need to follow.
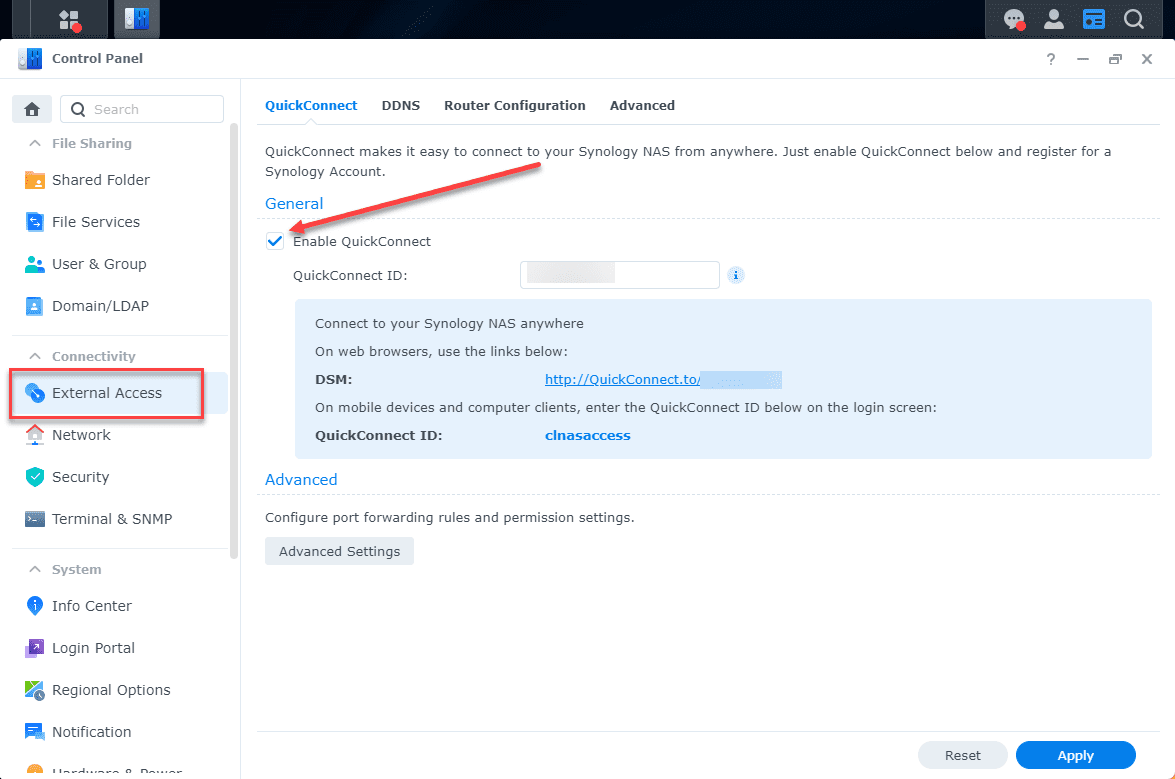
After enabling QuickConnect, you will see your unique QuickConnect ID. Take down this ID as you will need it for making remote connections to your NAS.
Disabling quick connect is just a reverse of the operation to enable it and unticking the box.
Using Synology QuickConnect to Access Synology Services
Once you have enabled QuickConnect on your Synology DiskStation, you can use the QuickConnect ID to connect to your Synology NAS services like File Station, Synology Photos, and Synology Drive. To access these just enter your Quick connect ID in the app or web browser.
To start, first, open your browser and type in the following address and make sure to put in your QuickConnectID at the end of the URL.: https://quickconnect.to/YourQuickConnectID.
It will then take you to the login page of your Synology NAS. Once there you just enter your user and password like you would if you were on your local network. Pretty cool.
Synology Mobile Applications
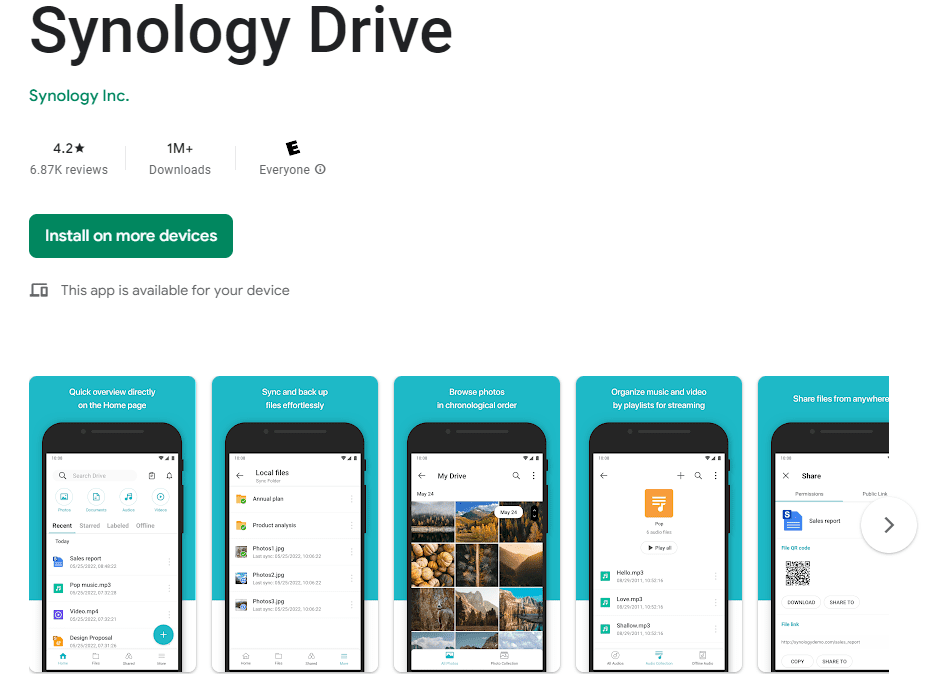
There are several popular Synology apps include DS file, DS photo, and DS audio that can take advantage of quickconnect to access your content at home.
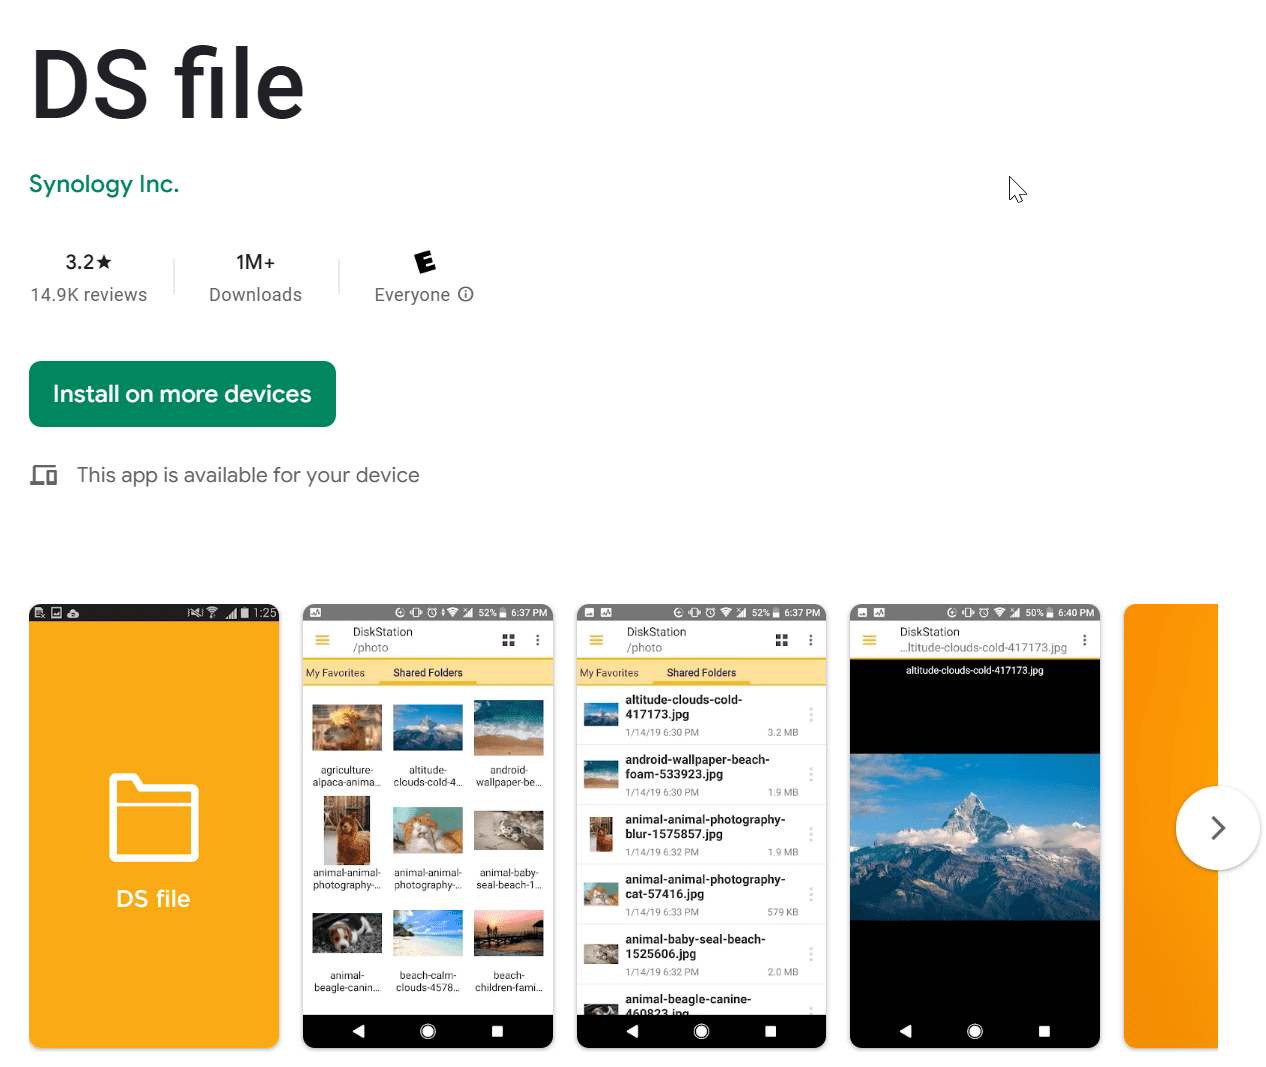
You just need to download the apps for your mobile device and enter your QuickConnectID when it prompts you for that.
Official Synology Android Apps
Just download the apps you want to use for Android and then enter your QuickConnectID when you need to. Then just login with the account user and pass to access.
It is easy to find the official Android apps from the Google Play store.
QuickConnect isn’t that “Quick”
QuickConnect works by using a relay service that funnels your Internet traffic through Synology’s network. I would imagine they have some throttling and bandwidth limits in place on their side to make sure that one customer doesn’t impact all the rest. What this means is your connection to your content, media, files, etc may not be the quickest way to access them.
If performance is absolutely the most important thing to you, you will want to setup access to your Synology NAS device using more traditional means of opening up your firewall and port forwarding traffic from the Internet into your Synology NAS.
Things to keep in mind
Keep the following things in mind with QuickConnect access:
Update your Synology NAS so you have the latest in security and other fixes that may related directly to QuickConnect
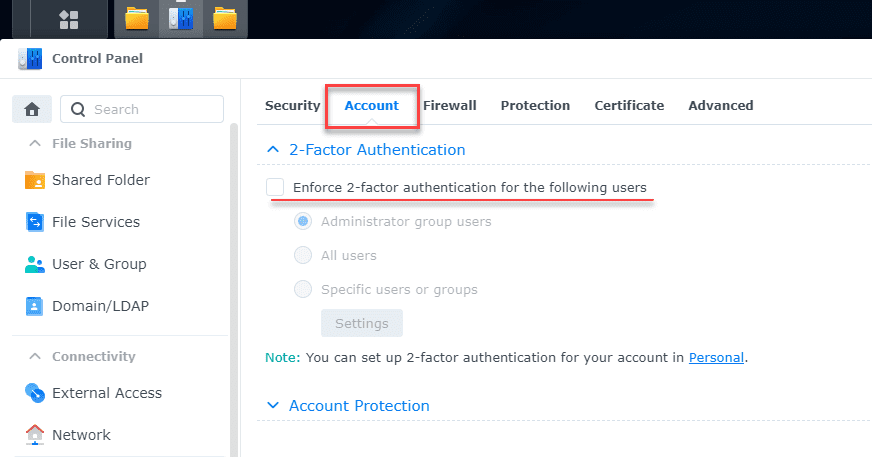
Make sure to use strong passwords
ALWAYS enable 2FA!
- Keep a watch out for suspicious activity or connections
- For the best performance, consider port forwarding and dynamic DNS and not using QuickConnect
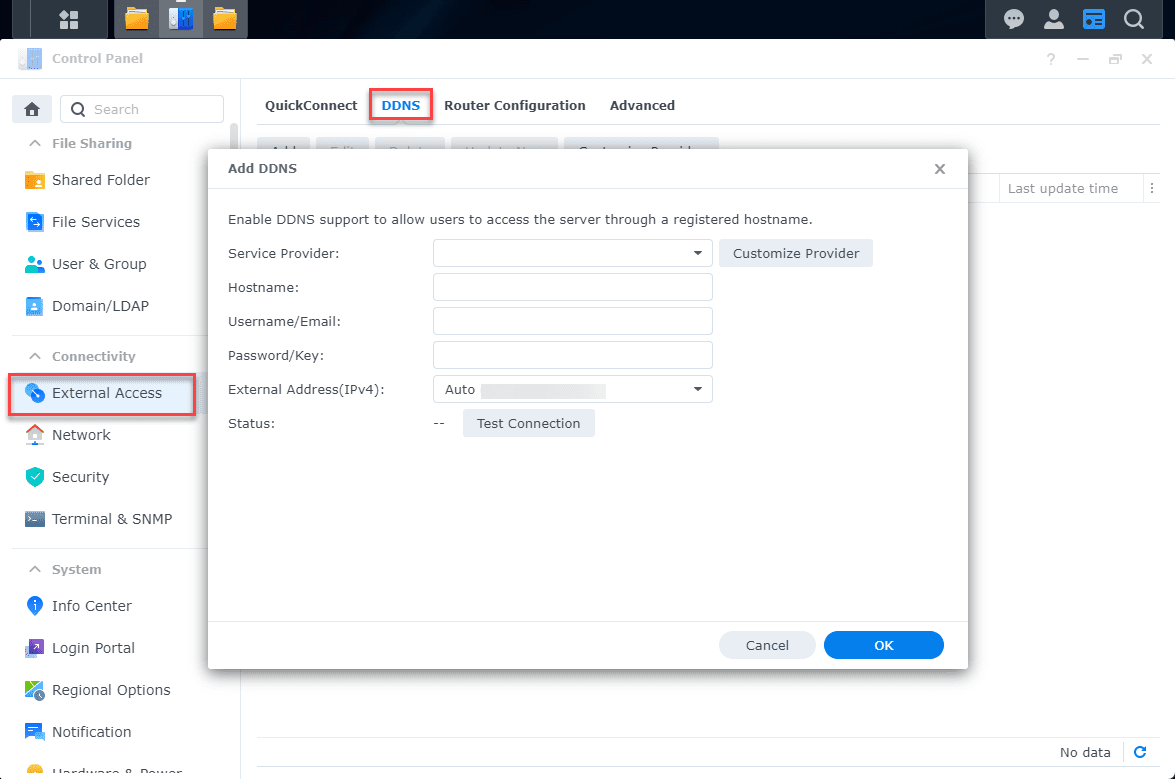
Dynamic DNS and Synology connections
Configuring Dynamic DNS (DDNS) and port forwarding on your router gives you the control over access and it will definitely perform much better than the QuickConnect connection.
To configure DDNS on your Synology NAS:
Go to the Control Panel, then go to the External Access section
Follow the instructions onscreen for setting up DDNS service. Once it is setup, you will then need to consult the documentation of your firewall vendor of choice and set up port forwarding. If you want to see my post on pfSense port forwarding, you can read that here: pfSense Port Forwarding Setup Guide
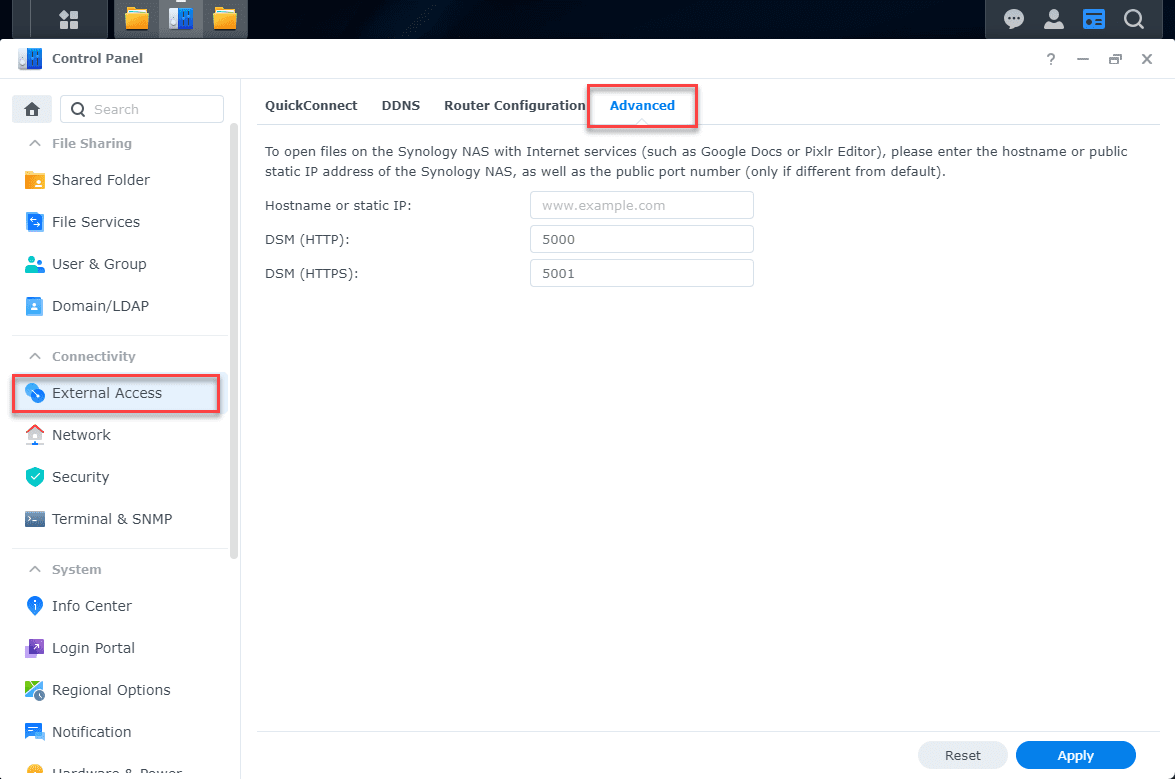
Below is the DDNS settings under the External Access tab.
Under the Advanced settings, you can set up a hostname or static IP. This will enable you to open files on the Synology NAS with Internet services like Google Docs or Pixlr Editor.
Synology QuickConnect Plex
QuickConnect does not support Plex directly so you will need to set up port forwarding rules on your router and use a DDNS service or Plex’s built-in remote access feature.
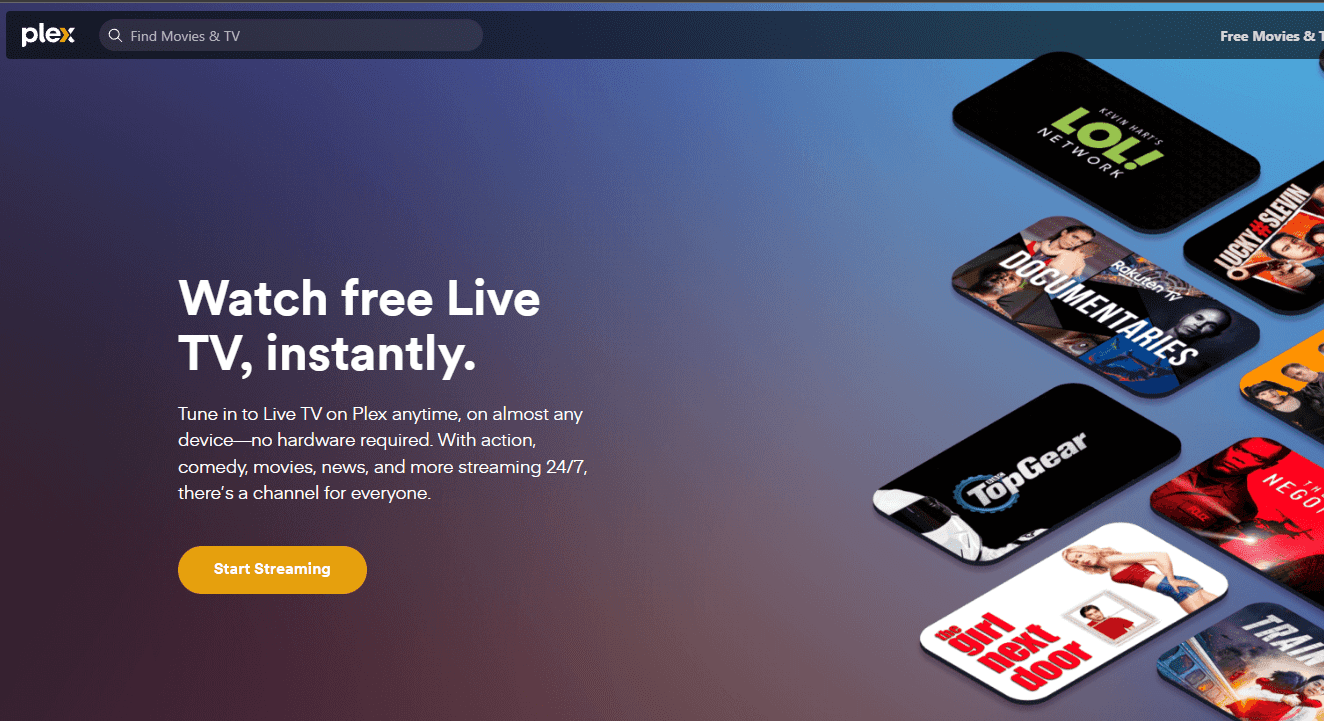
Figure out the port number and the IP address of the server
To configure port forwarding rules for your Synology NAS, you will need to know the local IP address of your NAS and the port numbers for the services you want to access remotely.
You can find the local IP address of your Synology NAS in the Control Panel under Network settings. Port numbers for various Synology services can be found in the DSM Help documentation.
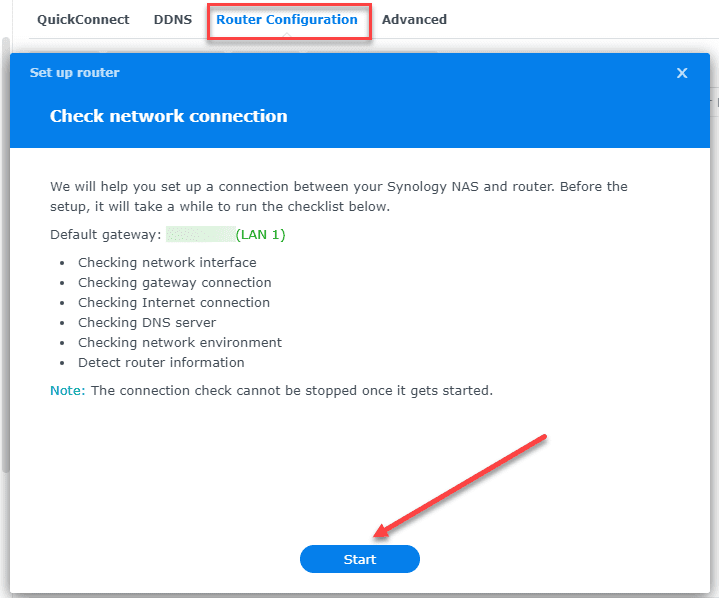
Automatically create port forwarding rules
Synology DSM has a means under Control panel to help configure the connection between your Synology NAS and your router. Navigate to Router Configuration.
Take security seriously
We can’t emphasize this enough, take security of your Synology NAS seriously. One of the things I like about Synology is the fact they are very secure by nature and have a good reputation for releasing aggressive security patches. They notify you when you have packages that need updated, etc. Still, stay vigilant and do what you need to do on that front.
ALWAYS, ALWAYS, ALWAYS, enable 2FA for better security. If someone cracks your password, they still have the layer of security that 2FA provides. Without it, they can do what they want when they have your password.
Related Posts
Wrapping up
Synology Quickconnect makes accessing your NAS from the Internet much much easier than it would be setting things up manually. However, the drawback to the convenience is that the performance suffers. Since Synology is proxying the requests to your NAS it will be much slower than configuring port forwarding.