Using Docker on your Synology NAS device is a great way to run applications in your home lab. Today’s Synology NAS devices have powerful CPUs and hardware that are essentially a server in their own right and provide an easy way to run applications. Docker Compose is a great way to spin up new containers since it allows you to configure multiple containers in a single file and as a stack.
Table of contents
Why use Synology to run Docker?
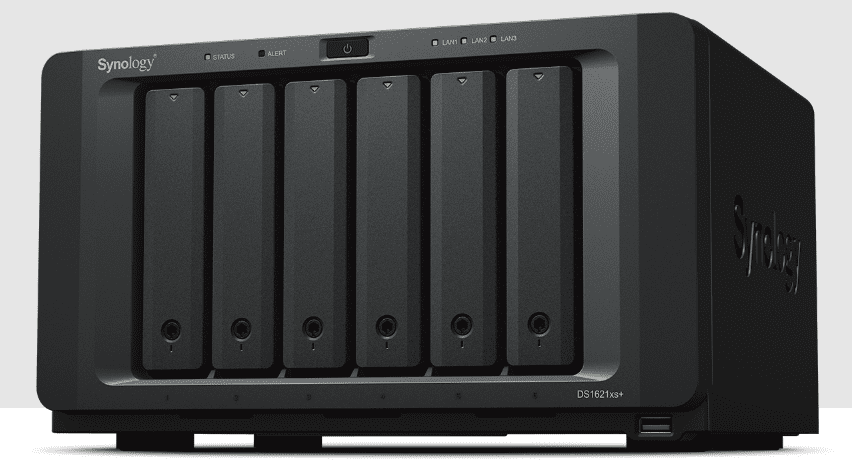
The Synology NAS is a great device that provides a solution to run workloads without a dedicated server. The reason for this is it is basically like its own dedicated server. My Synology NAS 1621xs+ has a Xeon-D processor and can hold a lot of memory.
Home lab server
You can use your Synology to run as your home lab server in many respects, including running your Synology Docker stack. The Synology Docker implementation is straightforward to run Docker app instances. Let’s see how to do this with the Synology Package Manager.
Package manager
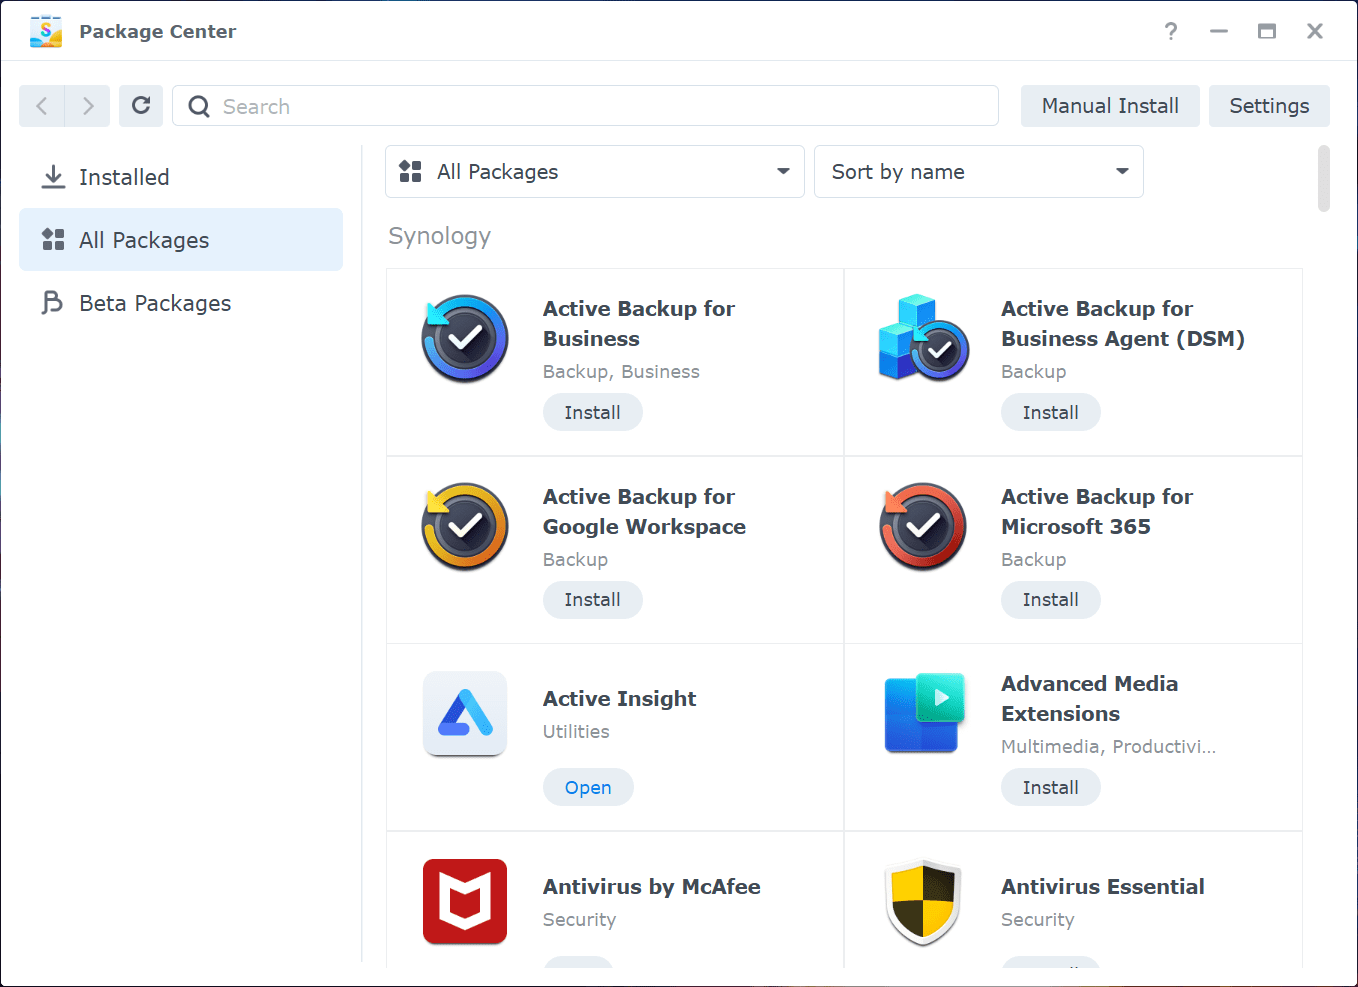
Docker package installs can be installed using the Synology Package manager. Also, you can install Docker and Docker compose Synology using an SSH connection. You can check to enable SSH service in the DSM settings.
Installing Docker Compose on Synology
You can install Docker compose on your synology NAS using the following steps:
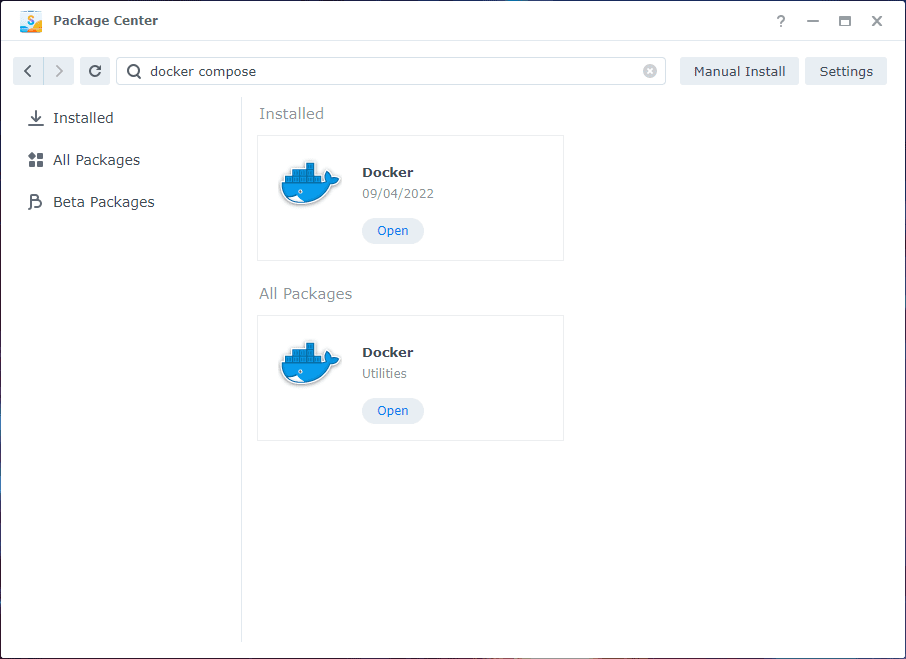
Click on the “Install” button to install Docker.
Once Docker is installed, you can now move on to installing Docker Compose.
To install Docker Compose, follow these steps:
Open the Synology Package Center and search for “Docker Compose”.
Click on the “Install” button to install Docker Compose.
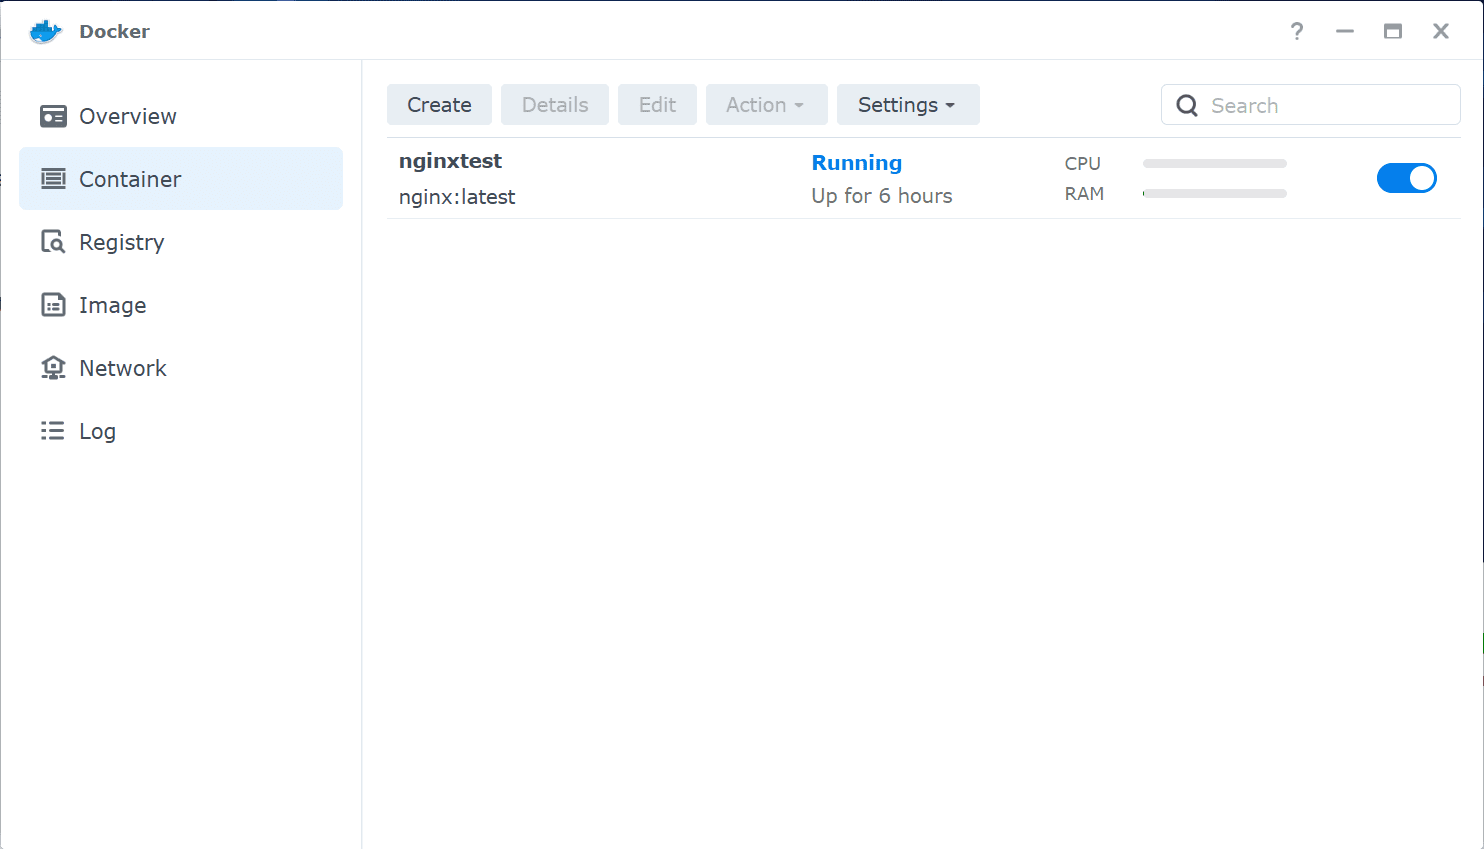
Now you can view running containers from the Synology Docker app and manage these from here. Pretty cool.
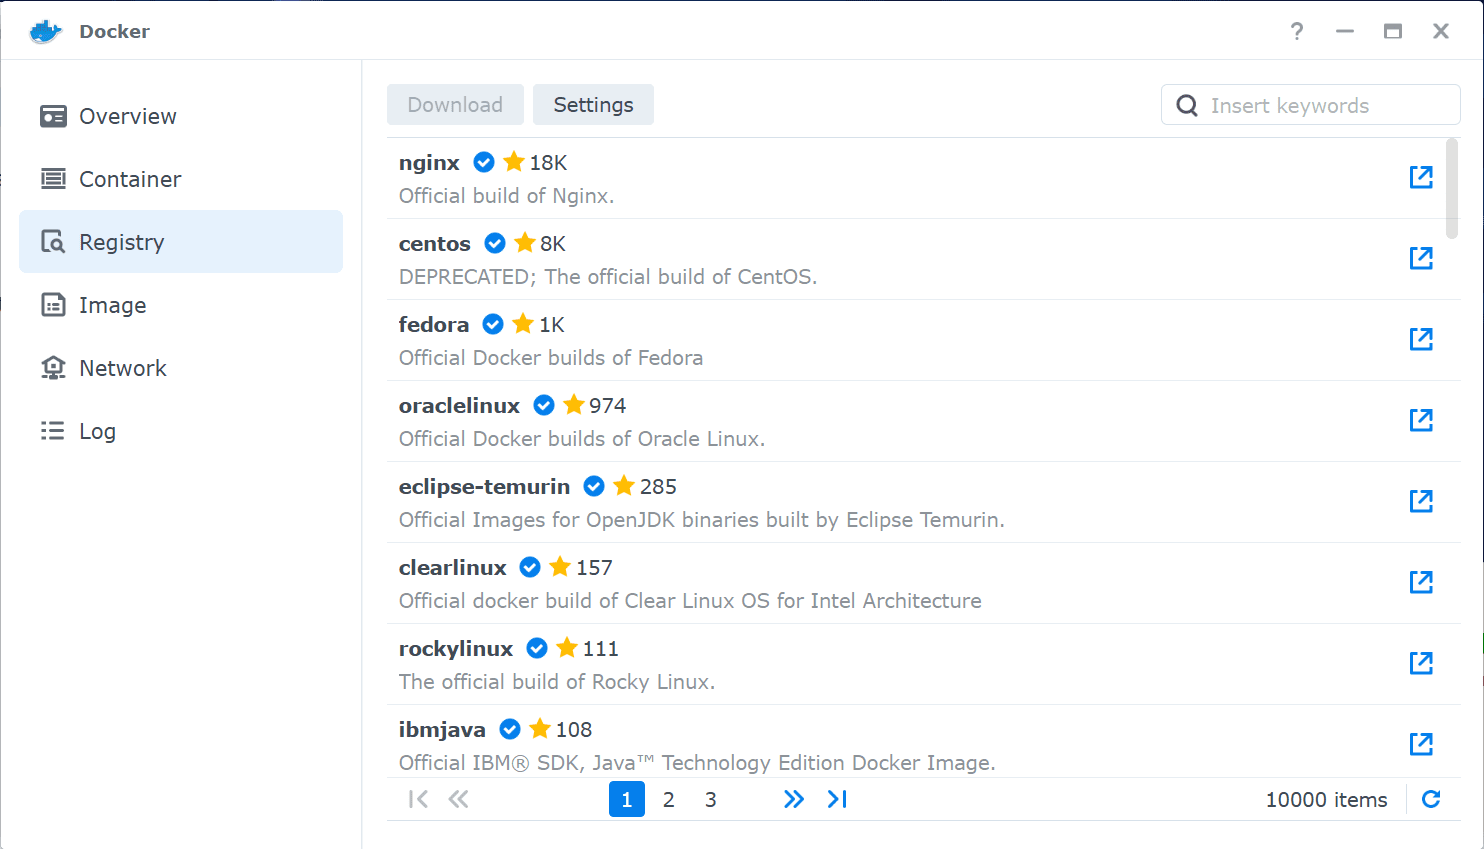
When you click on the Registry menu, you can view the Docker Registry.
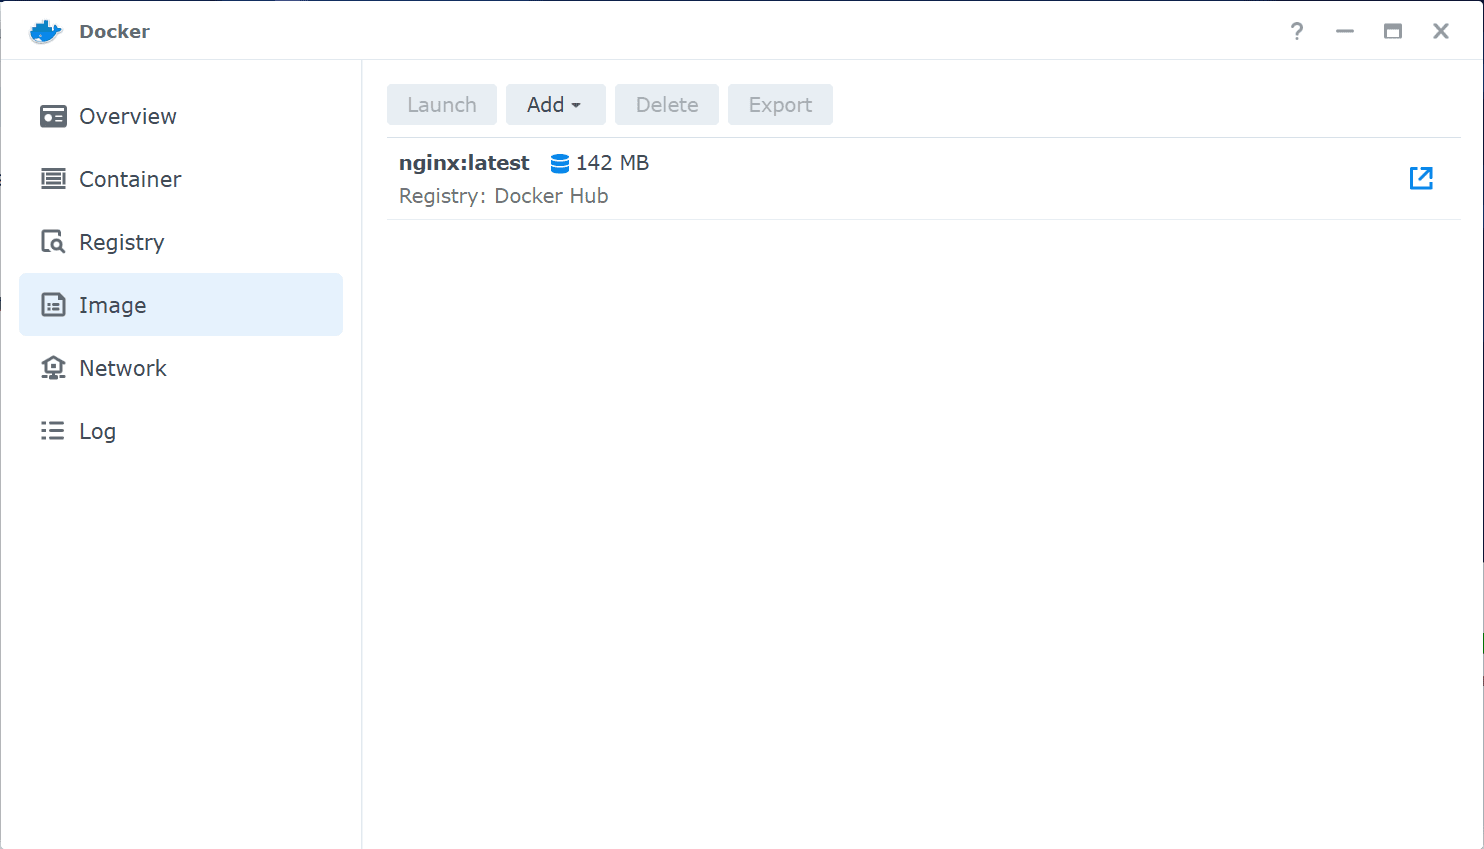
Viewing images from the Docker Synology app. This allows you to see which images you have already downloaded and manage these from here.
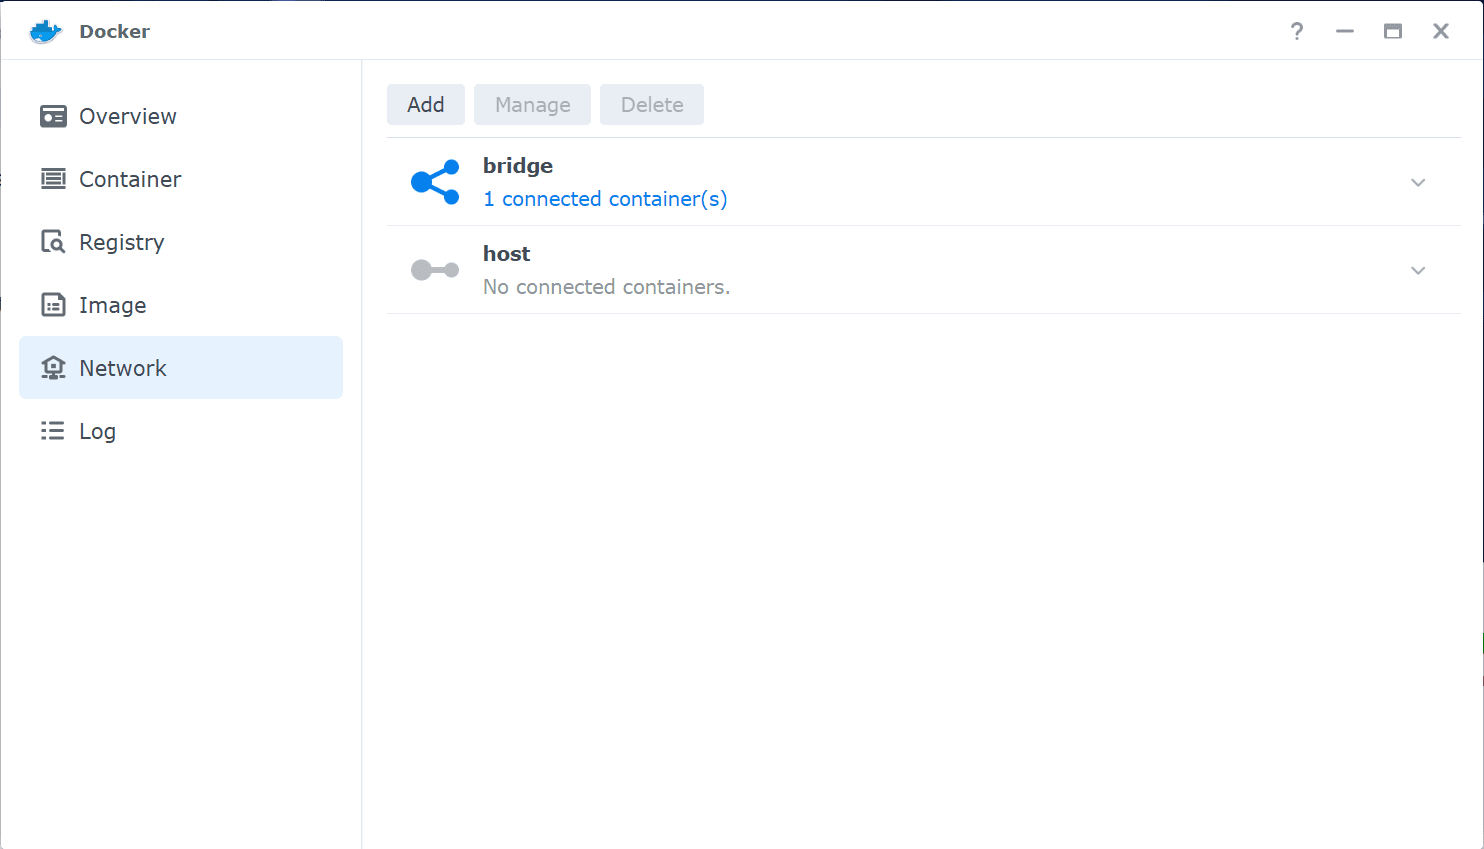
Docker networking from the Synology Docker app. You can see the default Docker bridge and the host network.
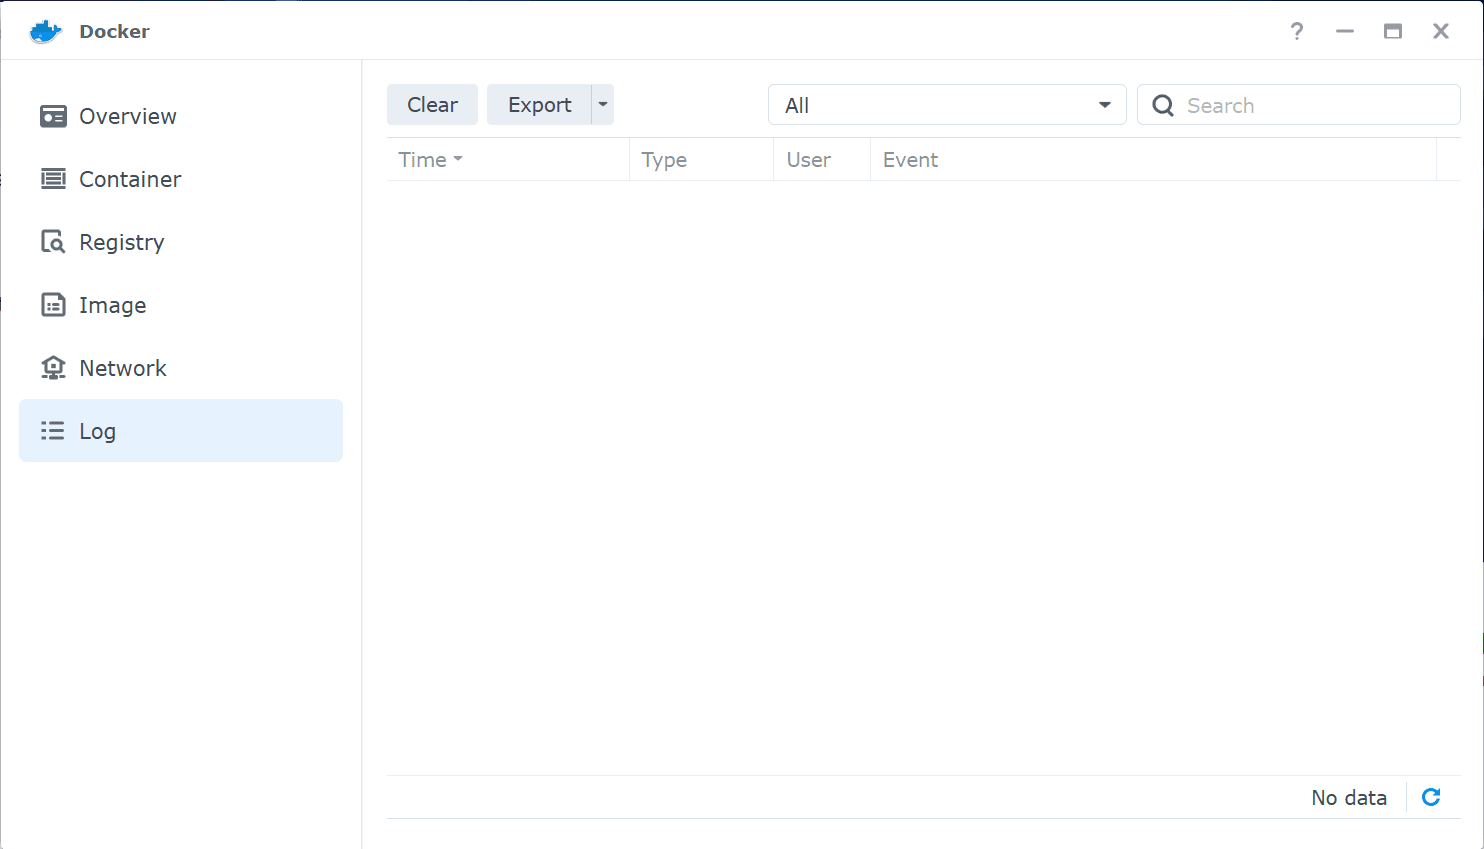
The app has a built-in way to view the logs which is a nice touch to be able to use these to troubleshoot if needed.
Accessing Docker from the command line
You can access the container you have spun up at the address of your Synology NAS device and the configured port. You can also run containers like Traefik for a reverse proxy in front of your containerized services for HTTPS and automated LetsEncrypt certificates.

Use of Docker Compose on Synology
With Docker Compose installed, you can create and manage containers on your Synology NAS. Here are some instructions on how to use Docker Compose on Synology.
Create a docker-compose.yml file. The Docker Compose file contains the definitions of your services, networks, and volumes. You can use the vim command from the Synology command line to create this file from the command line or a text editor to create it on your local machine and then copy it to the Synology
Open the Control Panel and navigate to “Docker”.
Click on the “Compose” tab.
Click on the “Add” button to add a new Docker Compose project.
In the “General” section, give your project a name and select the “docker-compose.yml” file you created in step 1.
Add any environment variables your services need in the “Environment” section.
In the “Network” section, define the network settings for your project.
In the “Volume” section, define the volumes that your project needs.
Click on the “Create” button to create your project.
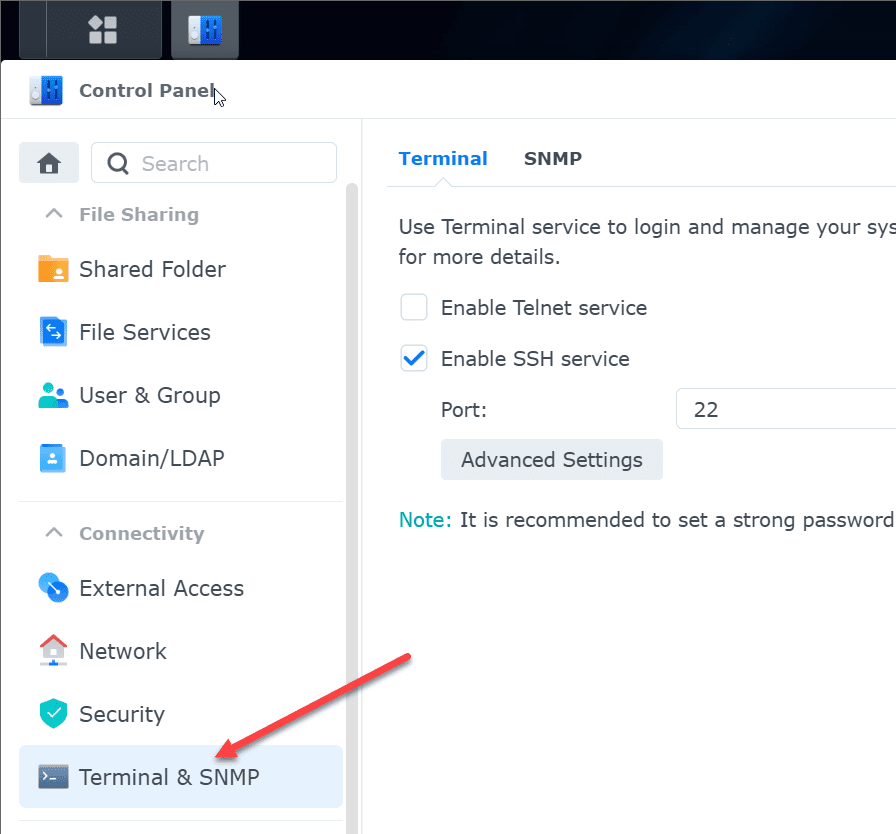
Enable SSH on your Synology NAS
To work with Docker and Docker Compose from the command line, you will need to enable SSH. You can check enable ssh service and log in as your Synology user to connect to the command line of your Synology NAS.

Open Control Panel > Terminal & SNMP, place a check next to Enable SSH service.
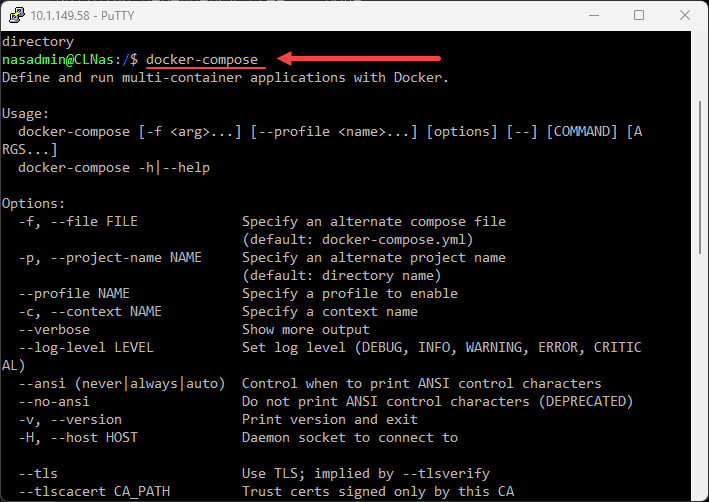
After you have installed Docker, which includes Docker Compose, you can run the sudo docker compose command from the SSH terminal. The sudo user is a member automatically of the docker group. Otherwise, you will get an error response if you do not use the sudo command.
Once you’ve created your Docker Compose project, you can manage it using the Docker Compose commands. Here are some examples of common commands:
docker-compose up: starts the containers defined in your docker-compose.yml file
docker-compose down: stops the containers and removes the containers, networks, and volumes
docker-compose ps: shows the status of the containers in your project
docker-compose logs: shows the logs for the containers in your project
docker-compose exec: executes a command in a running container
Using Docker Compose on Synology
To use Docker Compose on Synology, we must create a docker-compose.yml file that defines our services, networks, and volumes. It provides automation for Docker containers, must like a script that provides config for containers. Here’s an example docker-compose.yml file. The YML format is fairly easy to read, but can be finicky when it comes to spaces and indentions.
The below will automatically create the resources configured in the Docker compose file.
services:
  db:
    image: postgres
    environment:
      POSTGRES_PASSWORD: example
  web:
    build: .
    command: python manage.py runserver 0.0.0.0:8000
    volumes:
      - .:/code
    ports:
      - "8000:8000"
    depends_on:
      - db
This docker-compose.yml file defines two services, “db” and “web”. The “db” service uses the postgres image and sets the POSTGRES_PASSWORD environment variable. The “web” service builds an image from the current directory, runs a command to start a web server, mounts the current directory as a volume, maps port 8000 on the container to port 8000 on the host, and depends on the “db” service.
Using the Docker compose file
Once we have our docker-compose.yml file, we can use Docker Compose to create and manage our containers. Here’s an example of how to use Docker Compose to start our containers:
Create a directory for our project and navigate into it.
Create a docker-compose.yml file in this directory with the contents shown above.
Run the following command to start the containers: docker-compose up -d
This command will start the containers defined in our docker-compose.yml file.
To stop the containers, we can run the following command: docker-compose down
These are just a few examples of how to use Docker Compose on Synology. Many more options and features are available, and the Docker Compose documentation is a great resource for learning more.
Troubleshooting Docker Compose on Synology
Sometimes things don’t go as planned when using Docker Compose on Synology. Here are some tips for troubleshooting common issues:
Check if SSH is enabled: If you’re having trouble accessing your Synology NAS, ensure the SSH service is enabled. You can check this in the Control Panel.
Check if shared folders are mounted: If you’re having trouble with bind mounts or shared volumes, ensure the shared folders are mounted correctly.
Check if the port mappings are correct: If you’re having trouble accessing your containers from outside of the network, make sure that the port mappings are correct.
Wrapping up
Docker Compose is a great way to run your Docker containers. It allows you to define your containers in a single file and bring these up as a “stack”. To me, it is the best way to run containers and it is great that it works on Synology and even allows you to install Docker Compose as one of your packages in the package manager.
Google is updating how articles are shown. Don’t miss our leading home lab and tech content, written by humans, by setting Virtualization Howto as a preferred source.
About The Author