I have been playing around with Harvester by Rancher which is a pretty cool project that combines Kubernetes with Virtual Machines. For those that want to play around with Harvester and may not have a physical workstation to play around with, but you have your VMware ESXi lab, you can install Harvester inside of VMware ESXi as a nested hypervisor with nested virtualization enabled. It is pretty easy and I will walk you through the steps to get this done. Let’s look at installing harvester in VMware ESXi and see how you can setup a Harvester lab.
What is Harvester?
I just finished writing a pretty detailed blog post covering what Harvester is exactly. You can read that blog post here:
However, in brief, it is an open-source solution from Rancher that provides an HCI solution that combines the capabilities of running virtual machines and containers in the same platform. As you can imagine, since it is made by Rancher, you can integrate the solution in Rancher to have a cohesive platform to run VMs and containers. So, it is a pretty cool solution. I have written about Rancher quite a few times in the posts below:
- Install Longhorn Rancher for Kubernetes Block Storage
- Rancher Node Template VMware ESXi – Ubuntu Cloud Image
- Rancher Desktop v1.0 Features Installation and Configuration
- Create Kubernetes Cluster with Rancher and VMware vSphere
Install Harvester in VMware ESXi
The process to install Harvester in VMware ESXi is fairly straightforward and aligns with installing any other nested hypervisor installation inside an ESXi virtual machine. You need to enable a couple of things to make sure nested virtualization works with an ESXi VM, including:
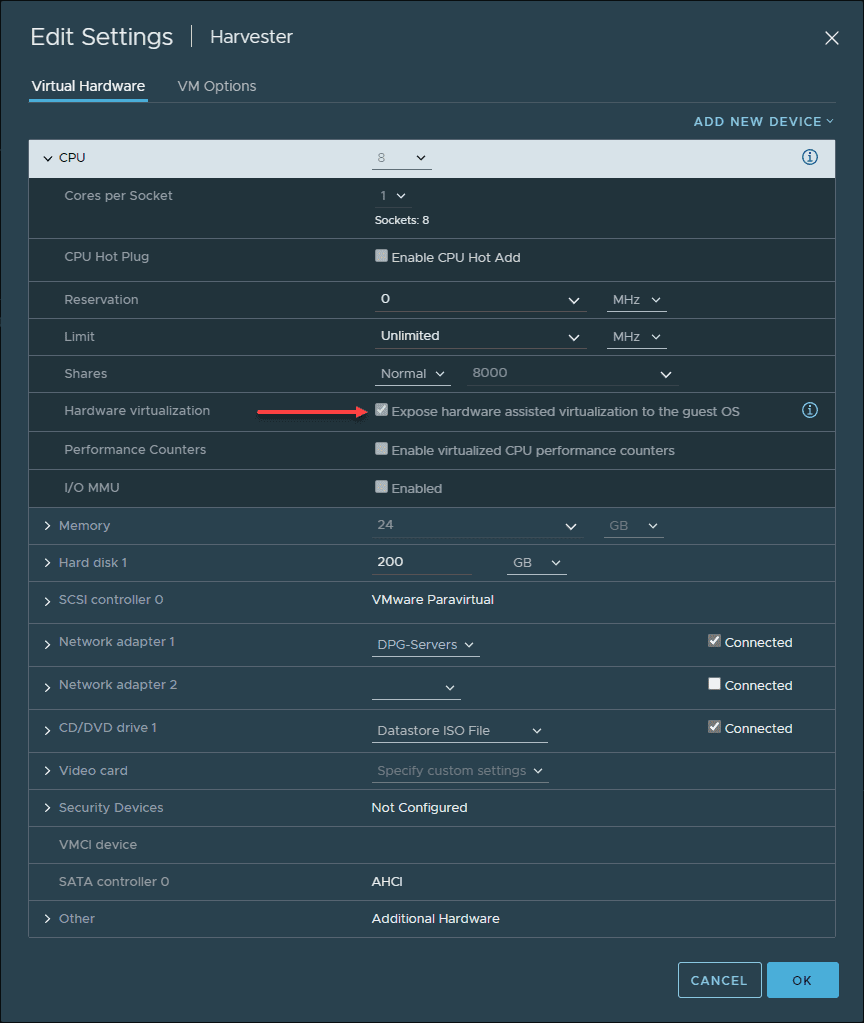
- Expose hardware assisted virtualization to the guest OS
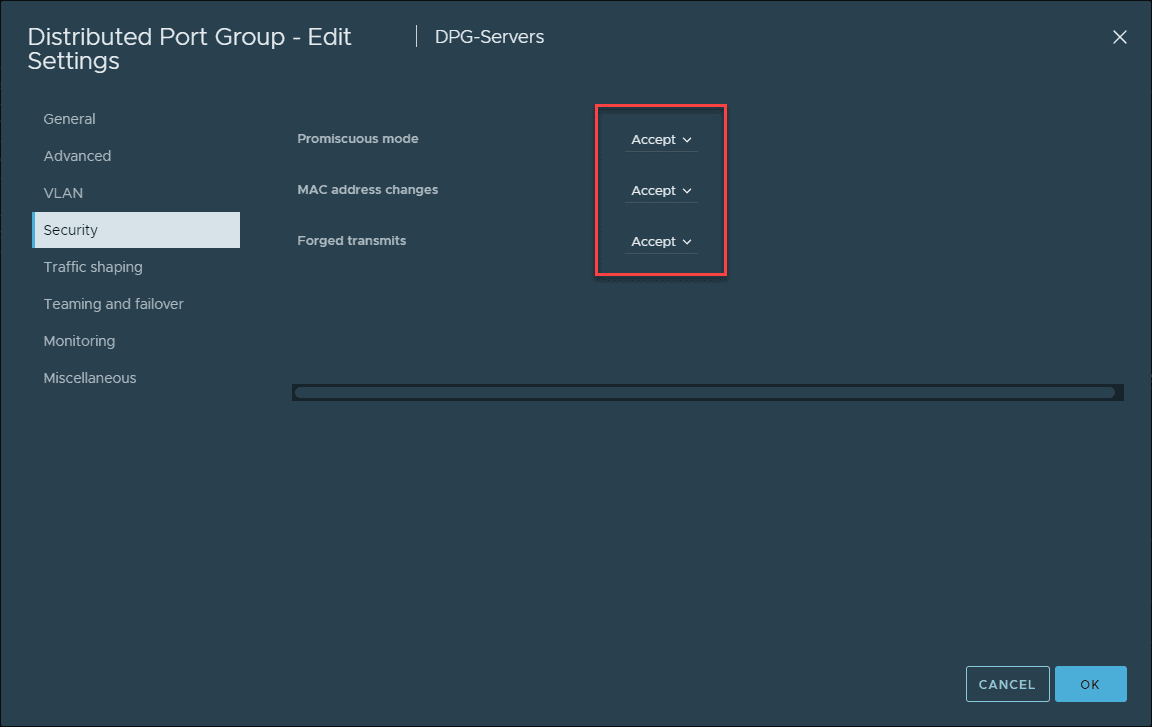
- Change security settings for your vSphere Standard or vSphere Distributed Switch
Below, you can see the details of the CPU settings I have configured for the Harvester ESXi VM. Place a check next to the Expose hardware assisted virtualization to the guest OS.
Below is an example of how you can change the security permissions for your nested virtualization VM. Under the Security option for the vSwitch, you can change the settings for promiscuous mode, MAC address changes, and Forged transmits to Accept.
Once you have the virtual machine configured, you will need to have the Harvester ISO mounted to the CD ROM drive in the ESXi VM as well. You can download the Harvester ISO from here:
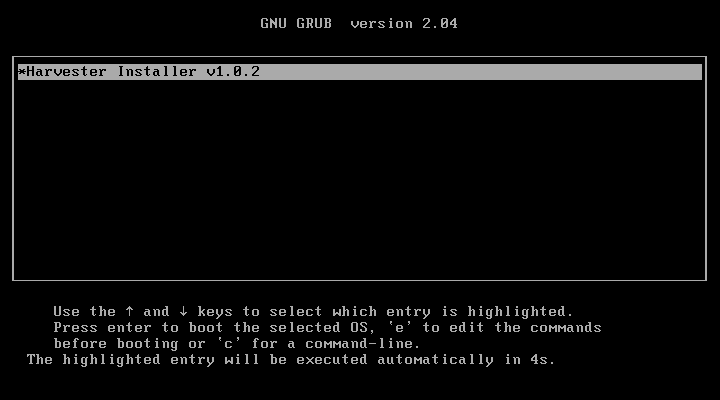
Boot the VM from the Harvester installation ISO, and begin the installation.
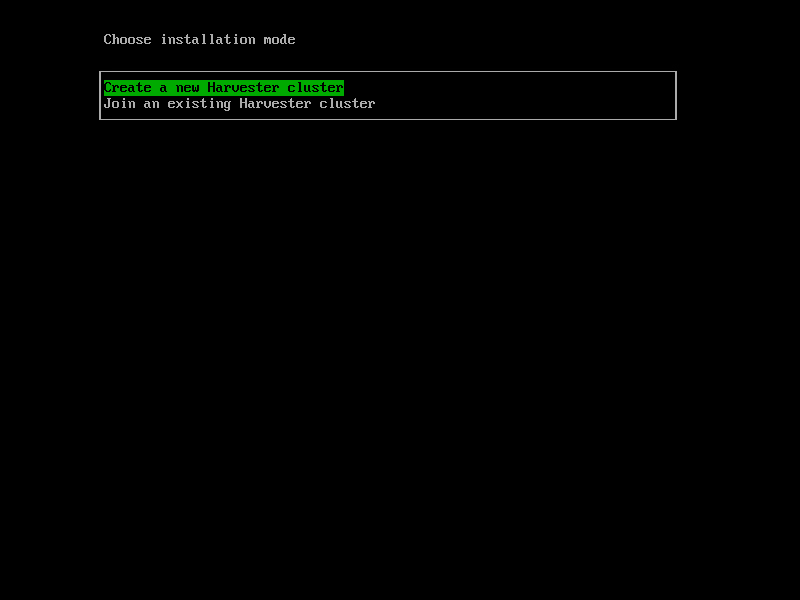
Here we choose to Create a new Harvester cluster. Even though, like me, you may just be installing a single node, it allows establishing the virtual IP address (VIP) and other configurations needed to expand the cluster in the future.
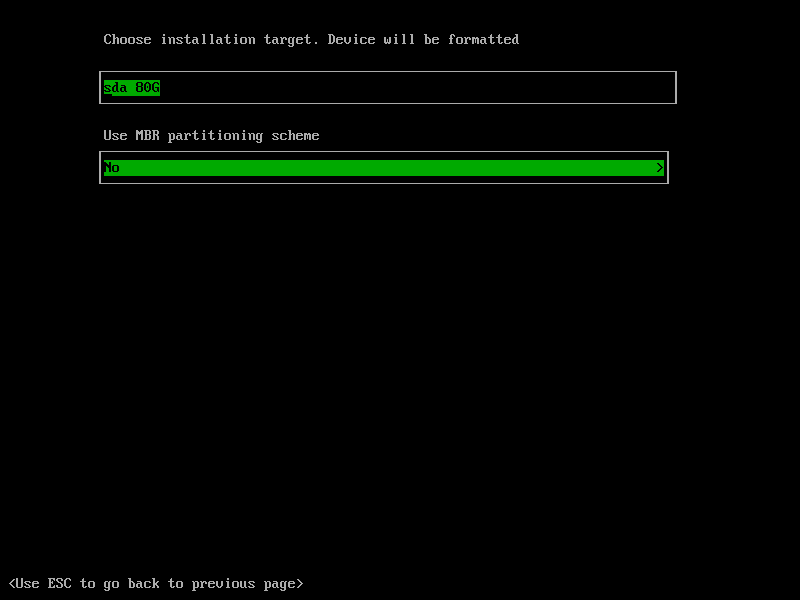
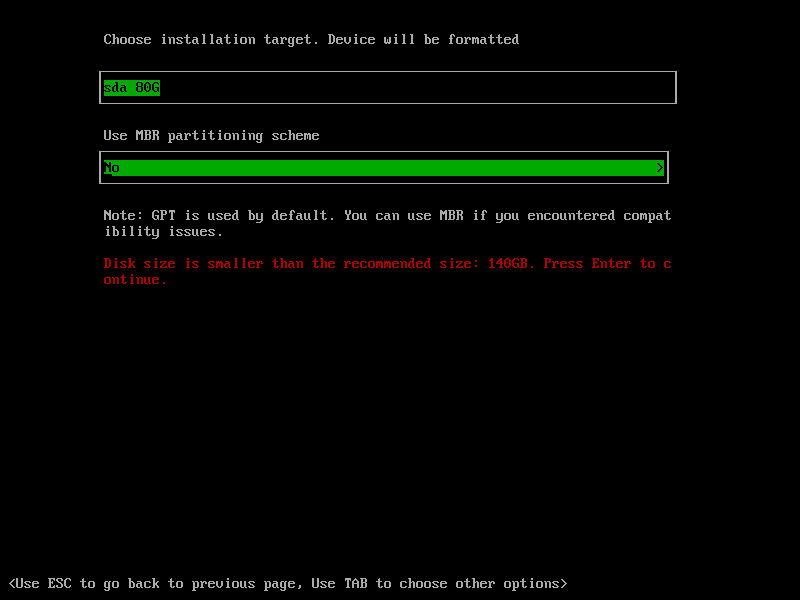
On the installation target, you will be able to select the disk you want to install Harvester on and the partitioning scheme.
I wanted to post a screenshot on this. When I was grabbing the screens for the installation, I had only configured the VM with an 80 gig disk. After seeing this error, I went ahead and installed the node. However, when trying to configure a VM, I ran into storage issues. So, I reconfigured it with a 200 GB thin provisioned disk to give more headroom. Just beware of these requirements.
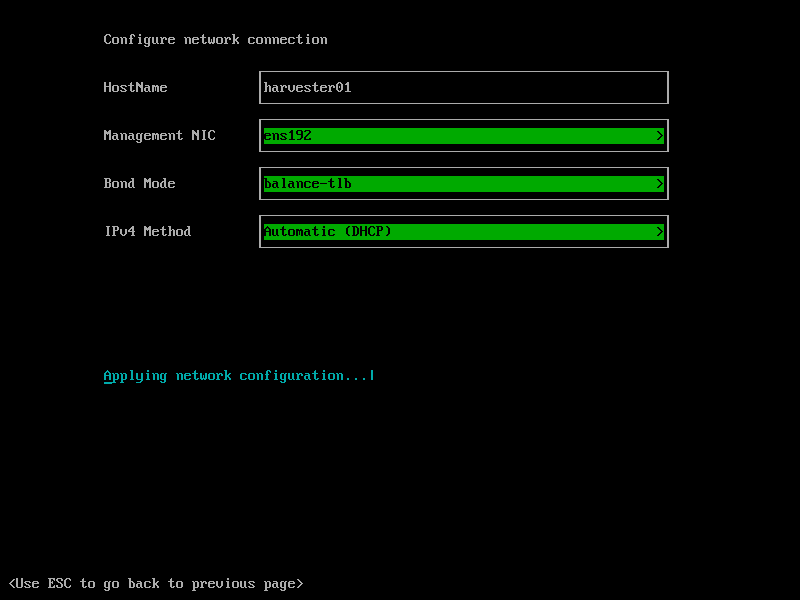
Set the hostname, Management NIC, Bond Mode, and IPv4 method.
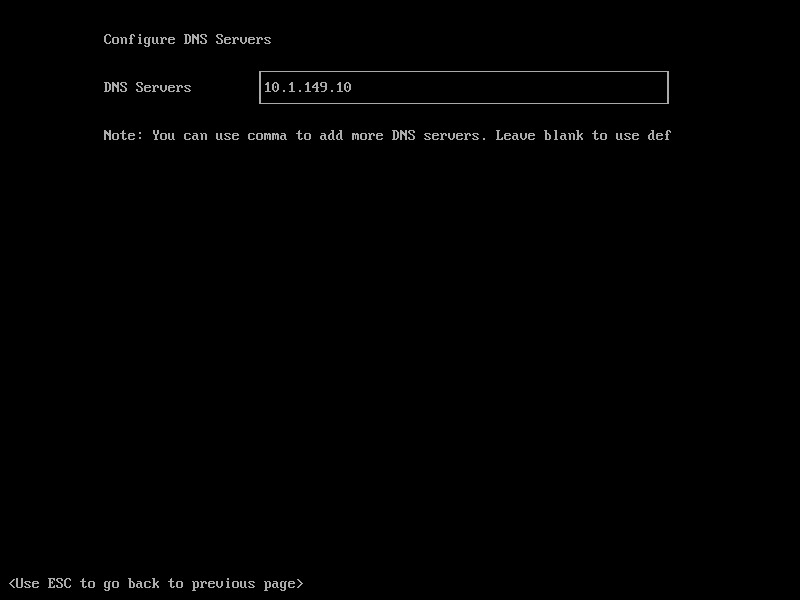
Configure the DNS servers you want to use.
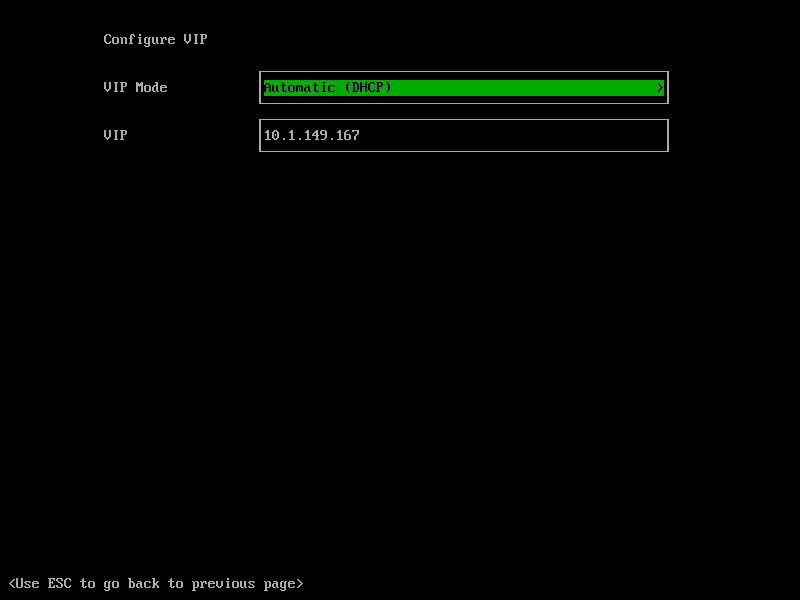
Configure the virtual IP address (VIP). This is the IP address that will be assumed by the Harvester cluster.
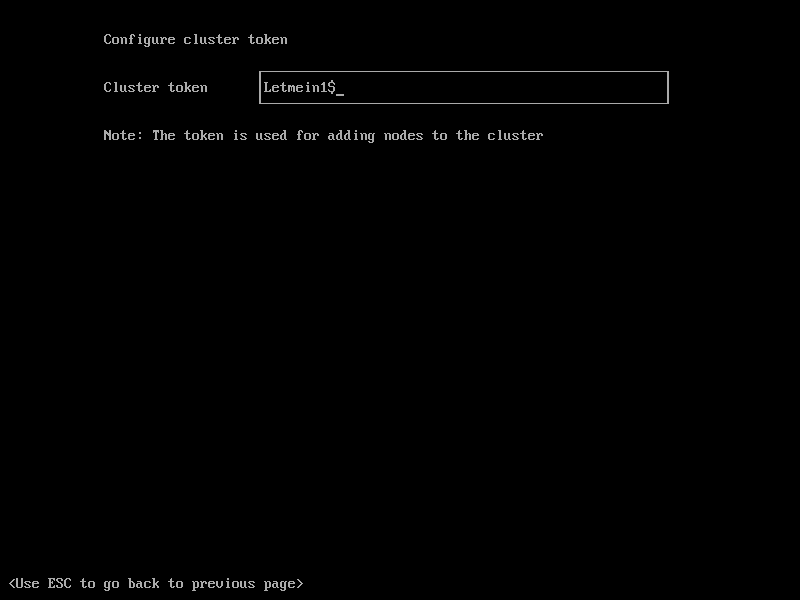
Next, you will be asked to configure a cluster token. This is the password that allows joining additional Harvester nodes to the Harvester cluster.
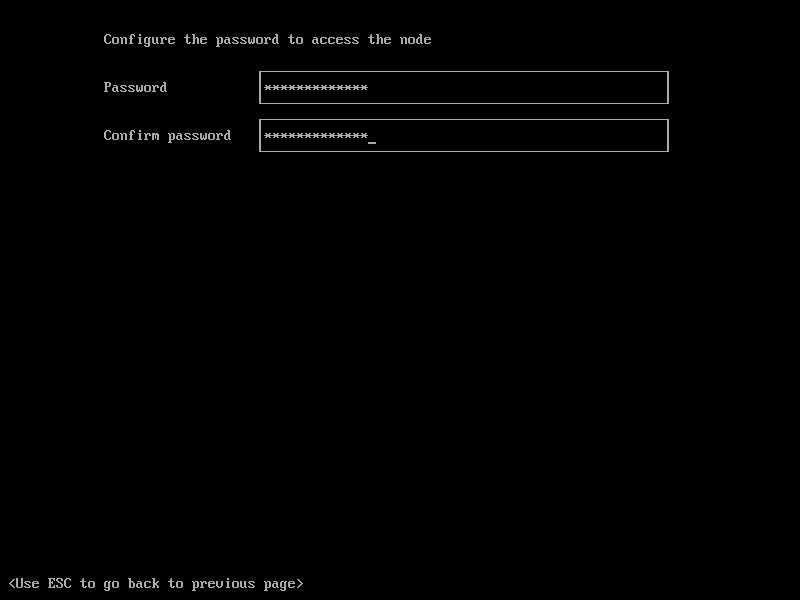
Configure your password to access the Harvester node.
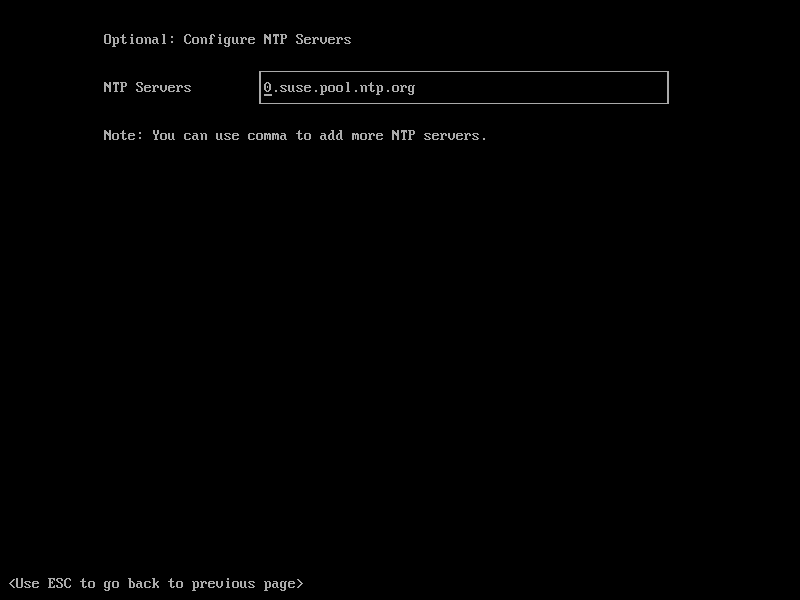
Configure NTP. Below is the default NTP server that Harvester configures. You can change this here if needed.
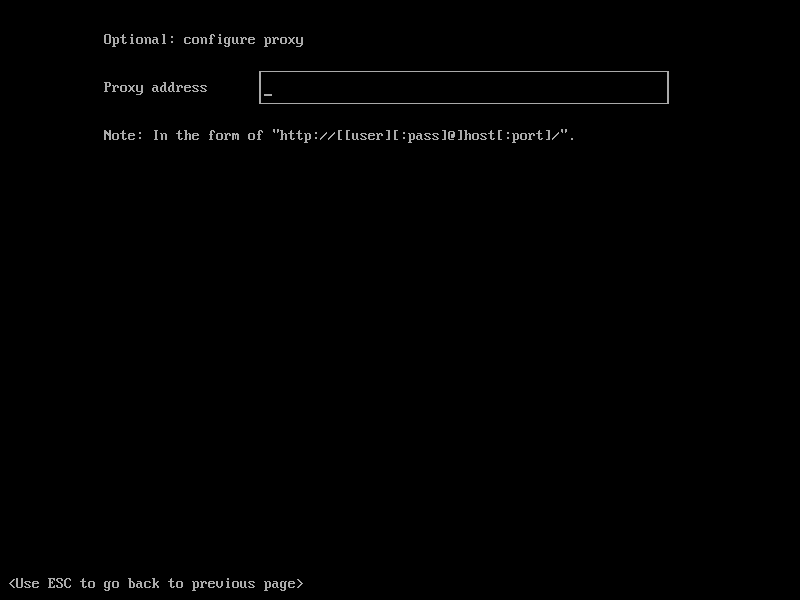
Set the optional proxy configuration if needed.
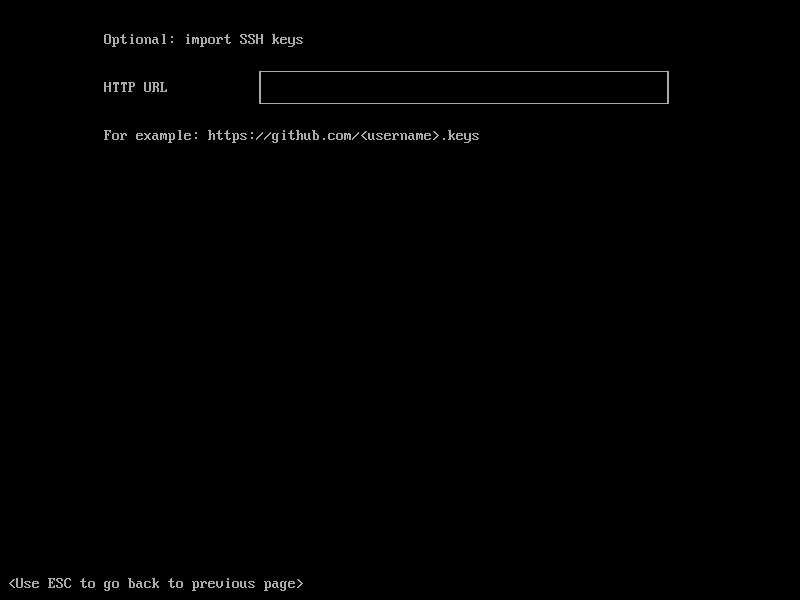
Import SSH keys if needed.
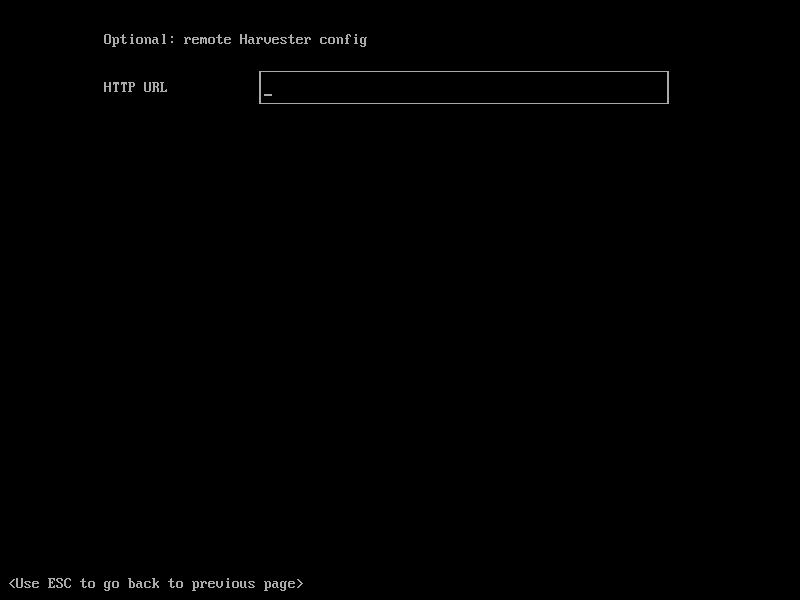
Set the remote Harvester config if you have a config you want to use that is accessible via HTTP.
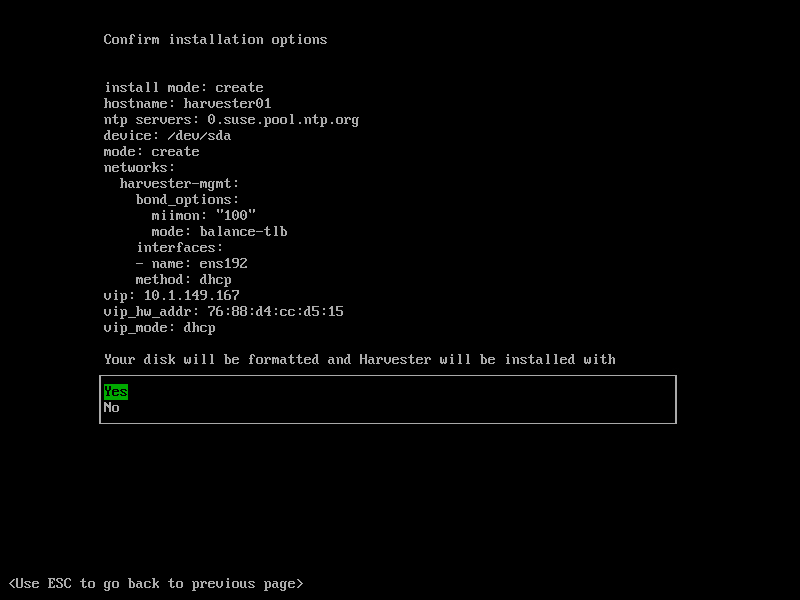
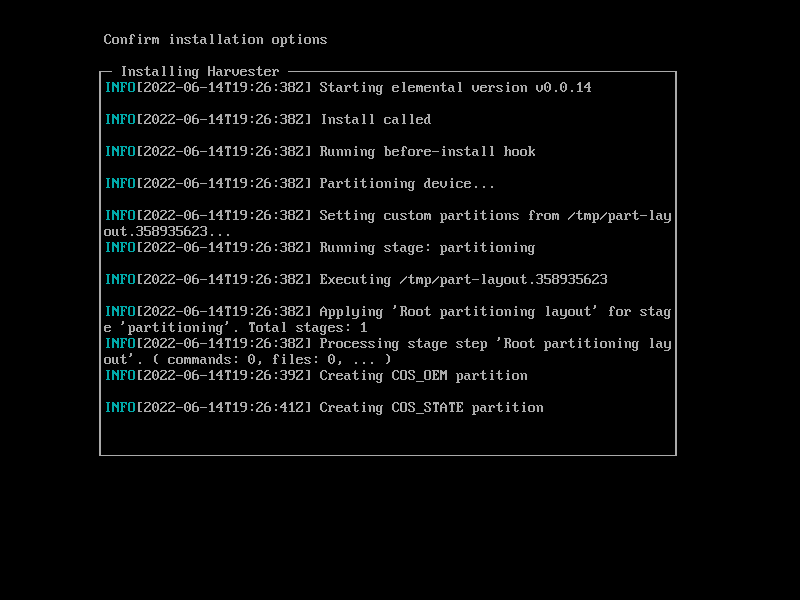
Finally, confirm your installation options. Select Yes to begin the Harvester installation.
The installation of Harvester begins.
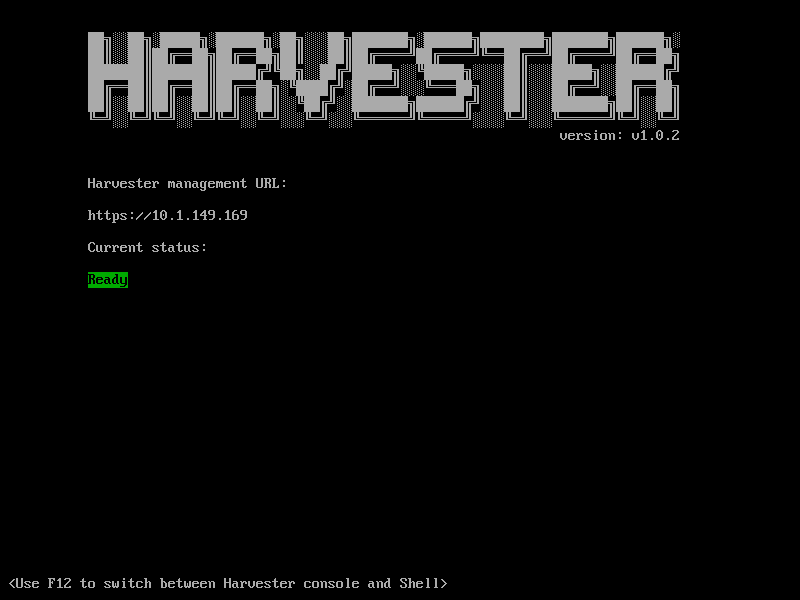
Once the Harvester installation completes, you will see the Current status change to Ready. As a note, my node took a couple of minutes to change to the Ready state.
Accessing the Harvester admin page
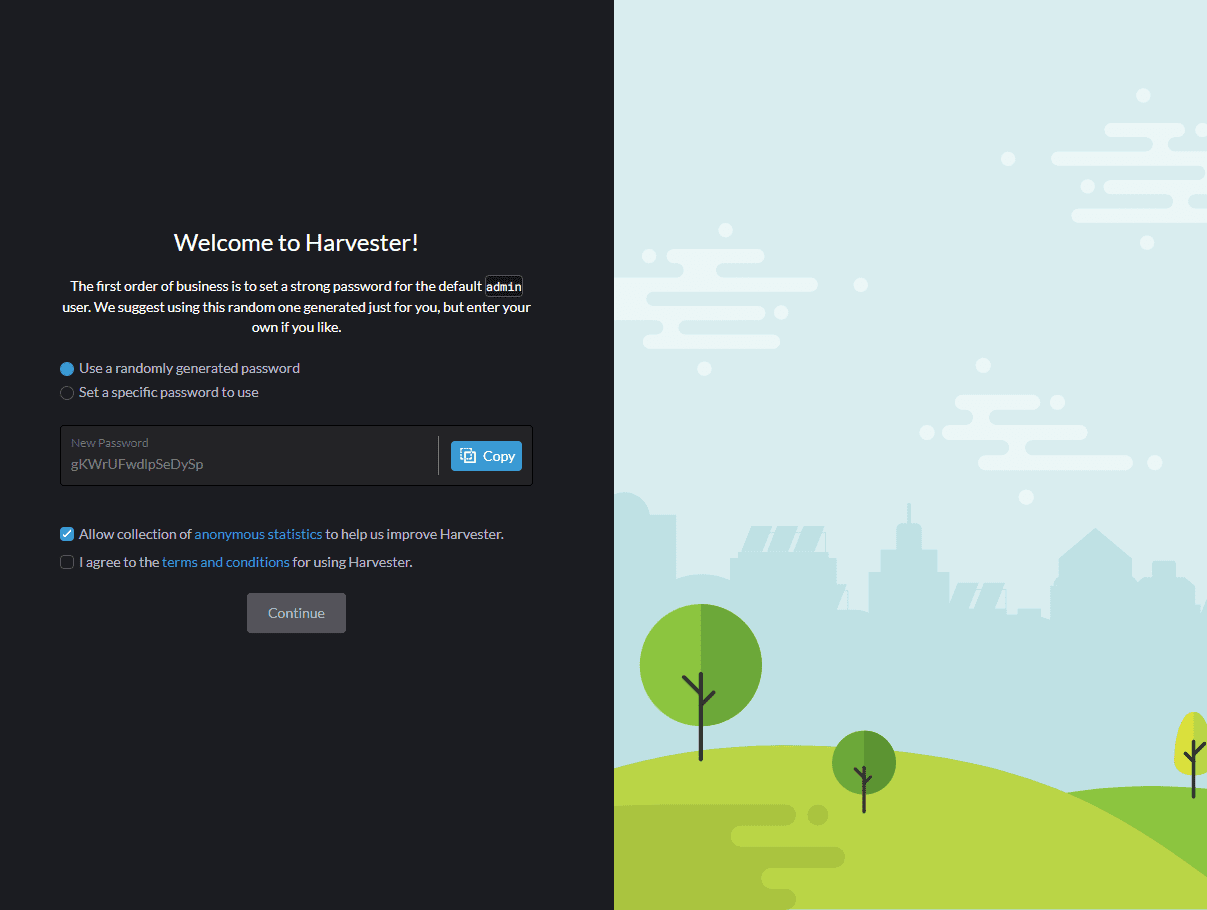
Now that we have the Harvester node in the ready state, we should be able to access the management URL by browsing the VIP of the Harvester cluster. This page looks identical to the Rancher initial configuration. It will suggest a randomly generated password to use, or you can manually set a specific password to use.
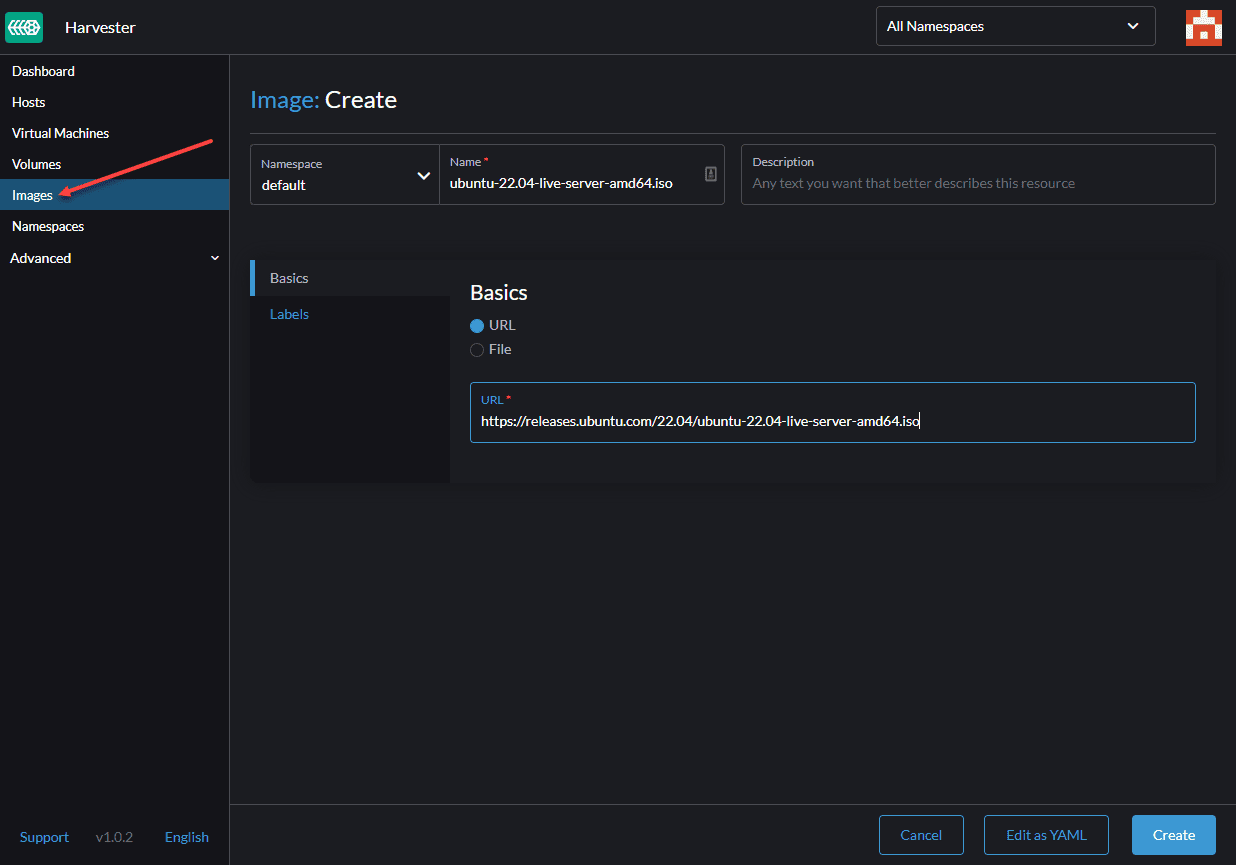
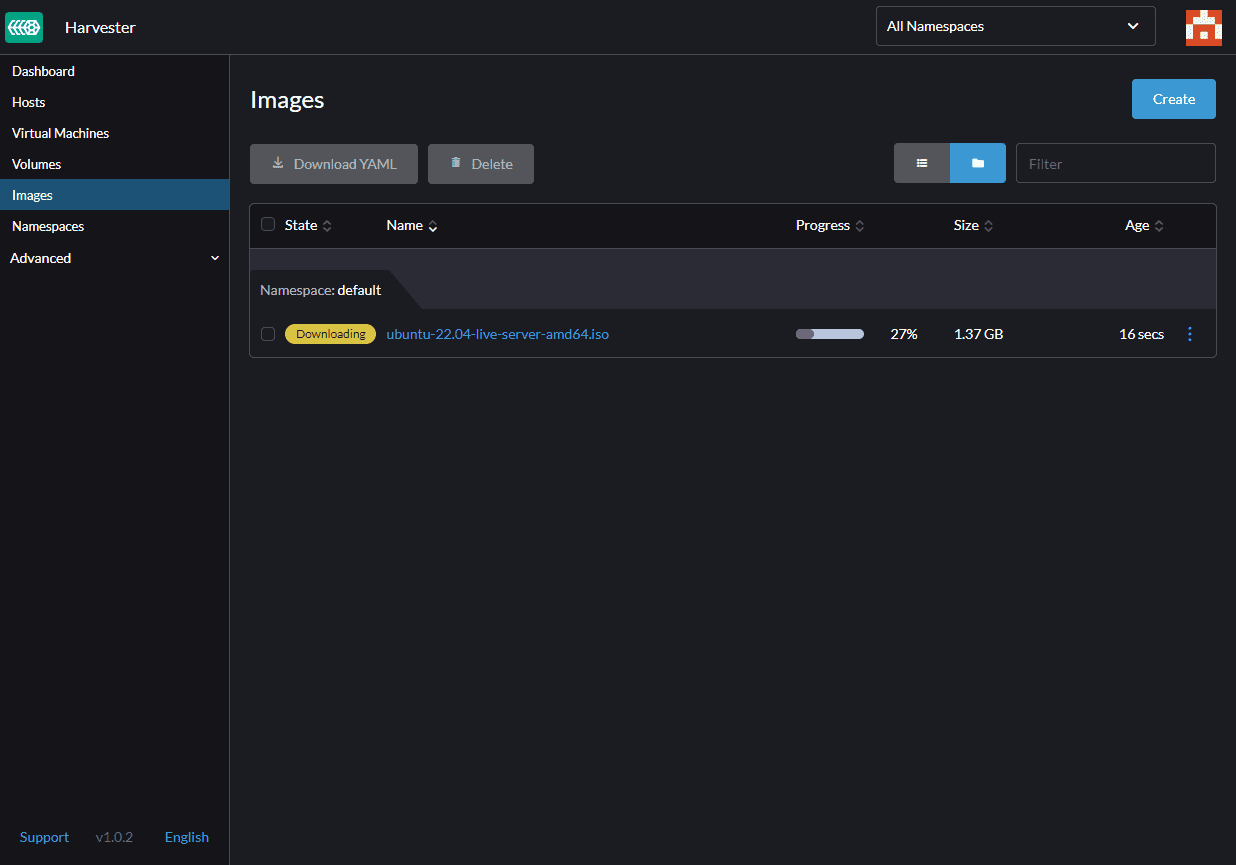
Now that we have access to the Harvester admin interface, navigate to Images. To install a virtual machine, we need to have an image to install from. Here, we can select URL and provide a download URL, such as for the latest Ubuntu 22.04 Server.
The download of Ubuntu 22.04 ISO image begins.
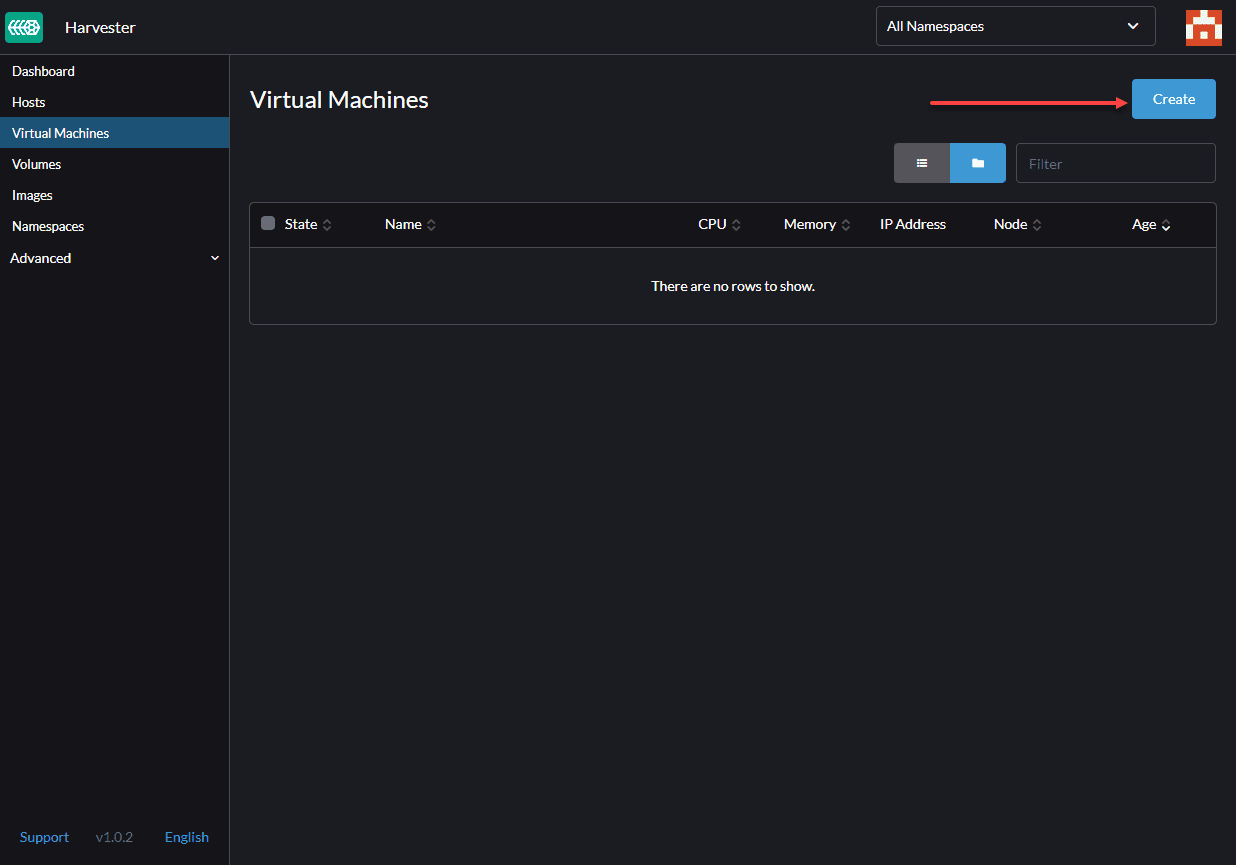
Once the image finishes downloading, navigate to Virtual Machines and select Create.
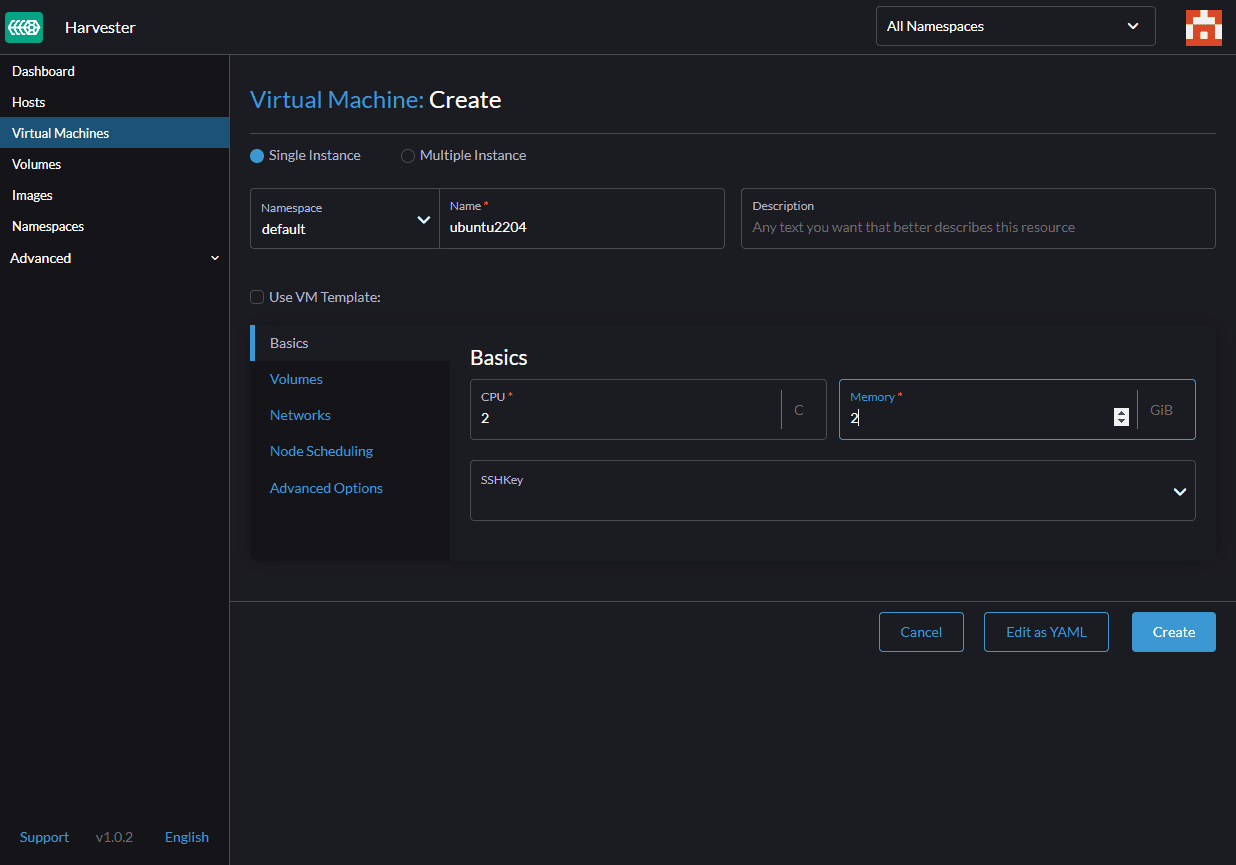
On the Basics page, name the virtual machine and set the CPU and memory configuration.
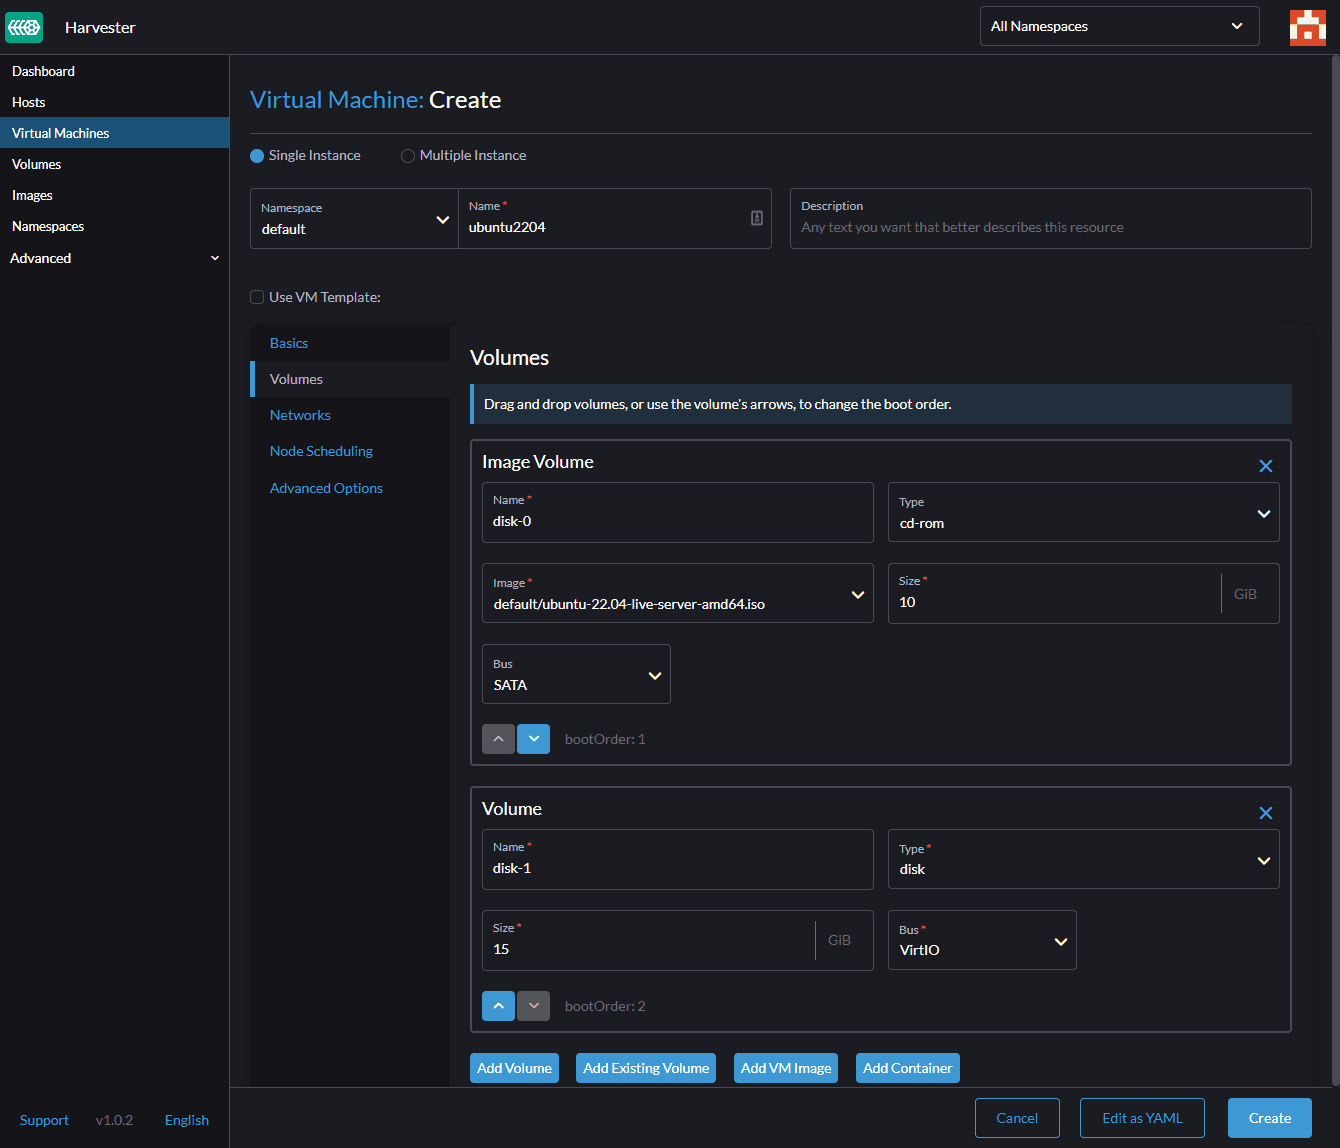
On the Volumes configuration, for the first volume, change the type to cd-rom and select the image you downloaded under Image. Add an additional volume to serve as the hard disk for the VM. Here I am selecting the defaults for the most part. I have set the size to a meager 15 gigs just for testing purposes. I left the Bus configured for VirtIO.
Under Networks, you can configure the networking for the Ubuntu virtual machine. Here I have selected Management Network to share the management network and set the type to Bridge. Model is virtio.

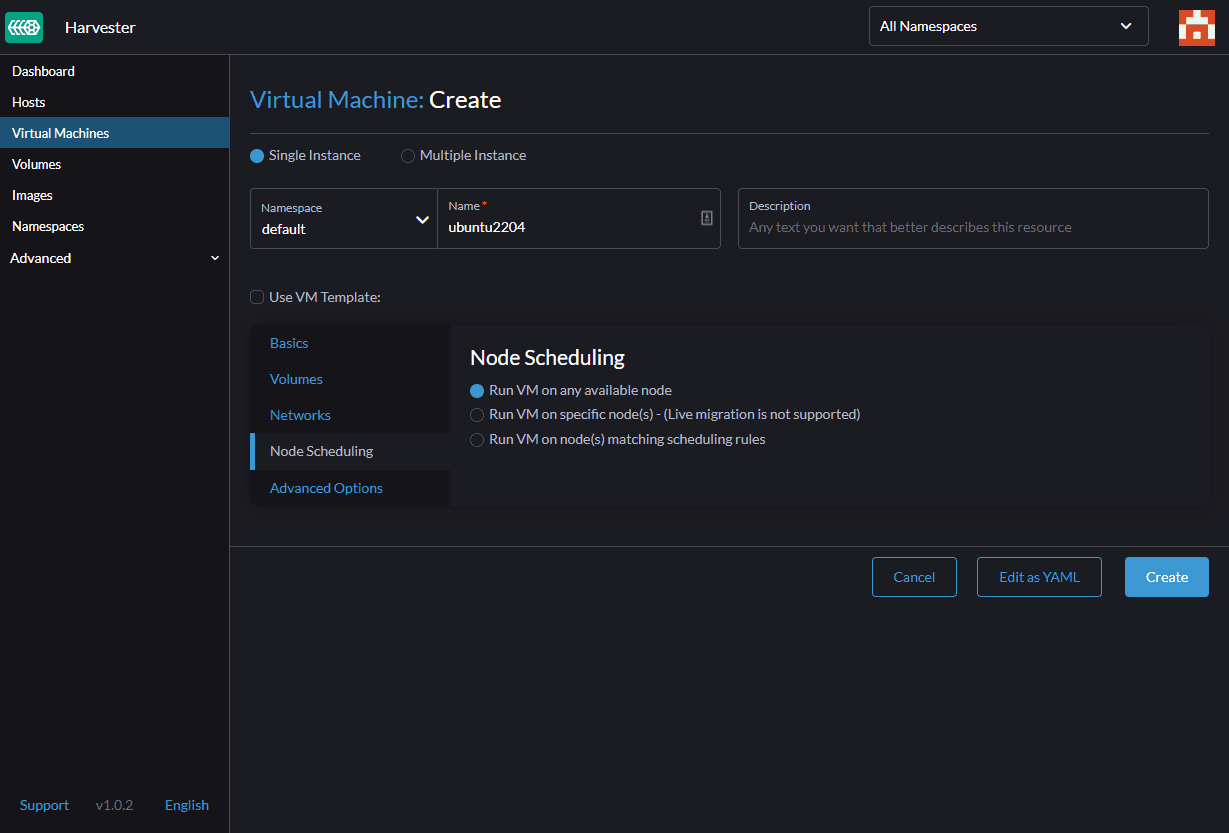
I didn’t change anything here, but if you have multiple Harvester nodes, these options are interesting. It affects how VMs live migrate or are pinned to specific hosts.
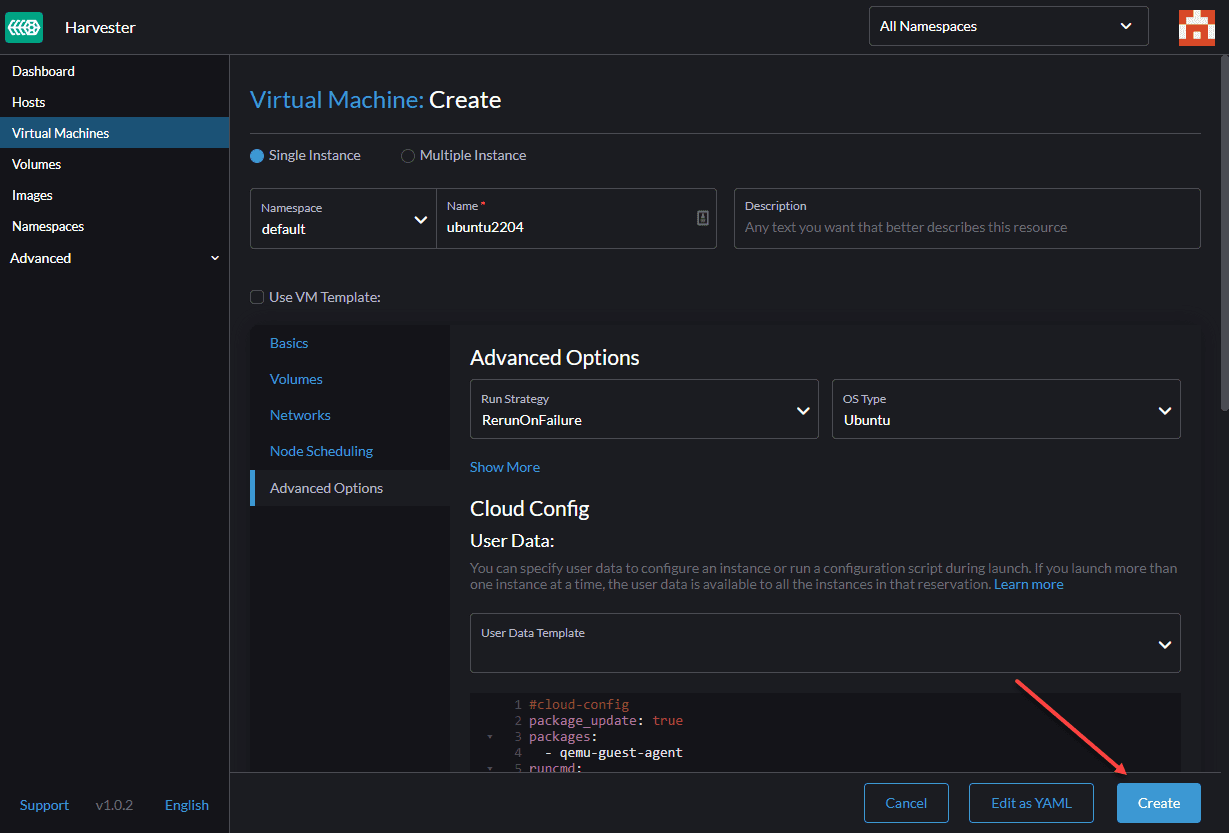
I also did not change anything in the advanced options screen, but again, lots of interesting options, including Cloud Config. When you are ready to create the VM, click Create.
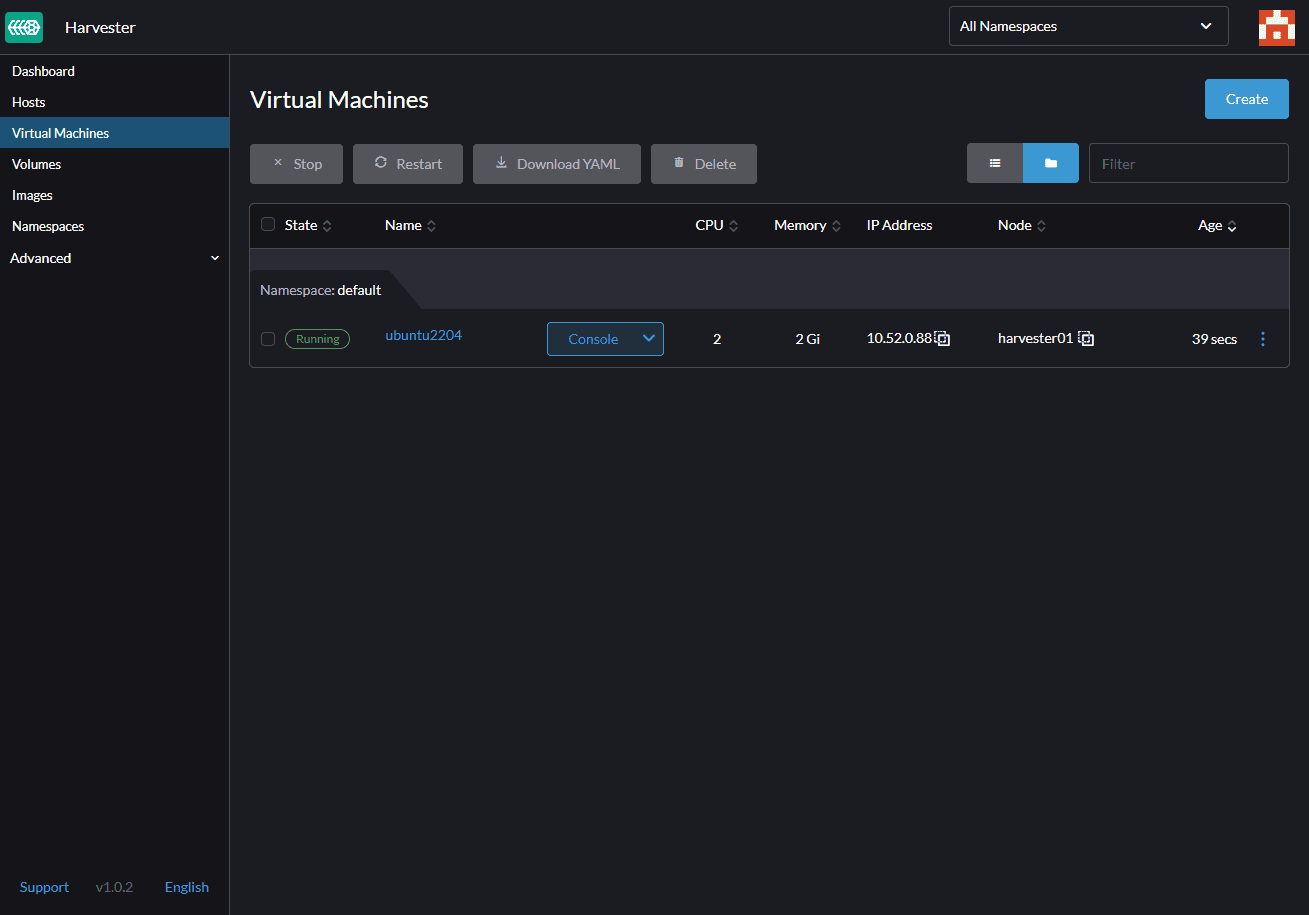
The VM starts automatically and you should see it enter the Running state.
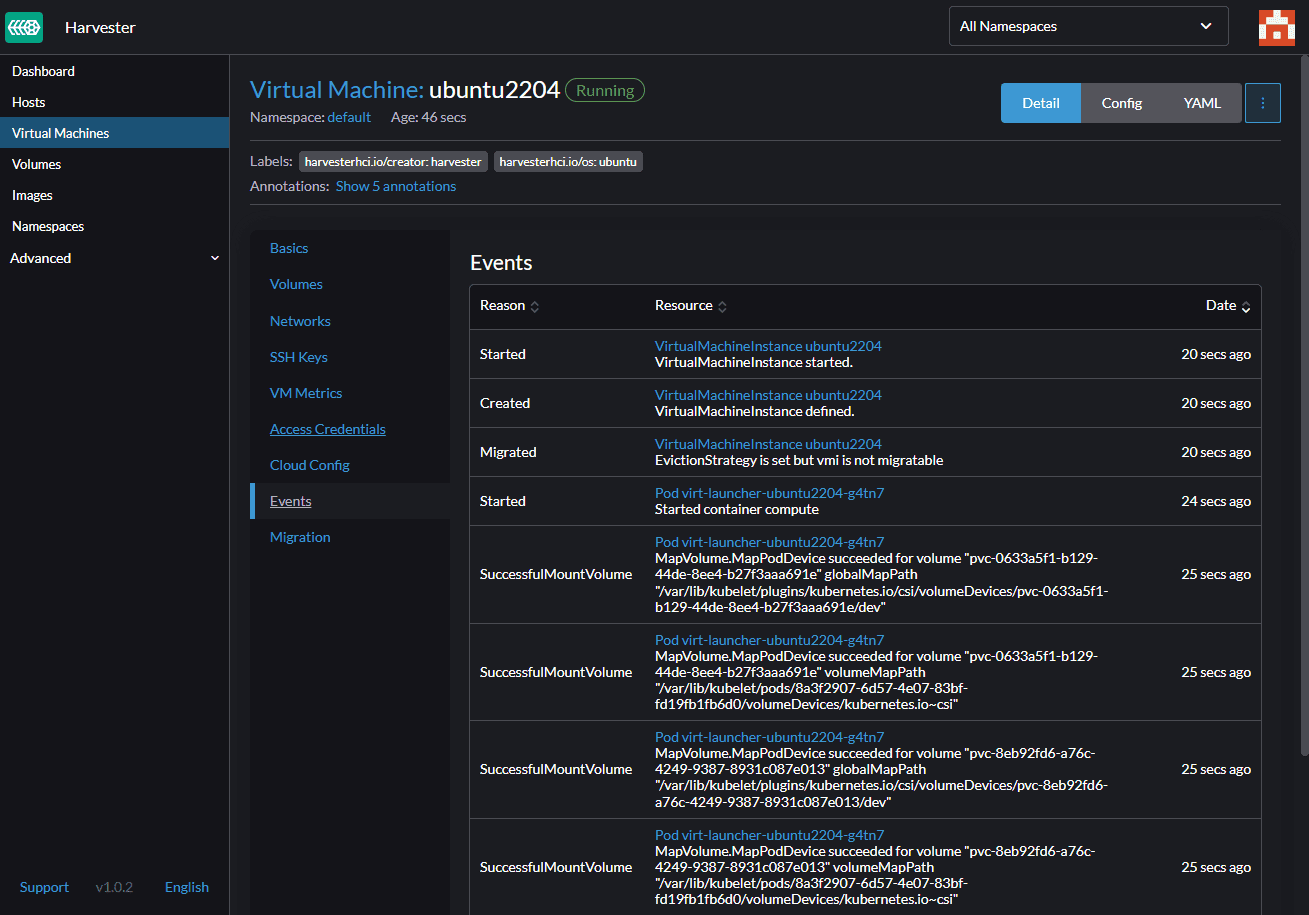
If you have issues or see your VM get stuck starting, you can navigate to the Detail > Events screen, which shows the log entries. If you have any issues, they will be listed here.
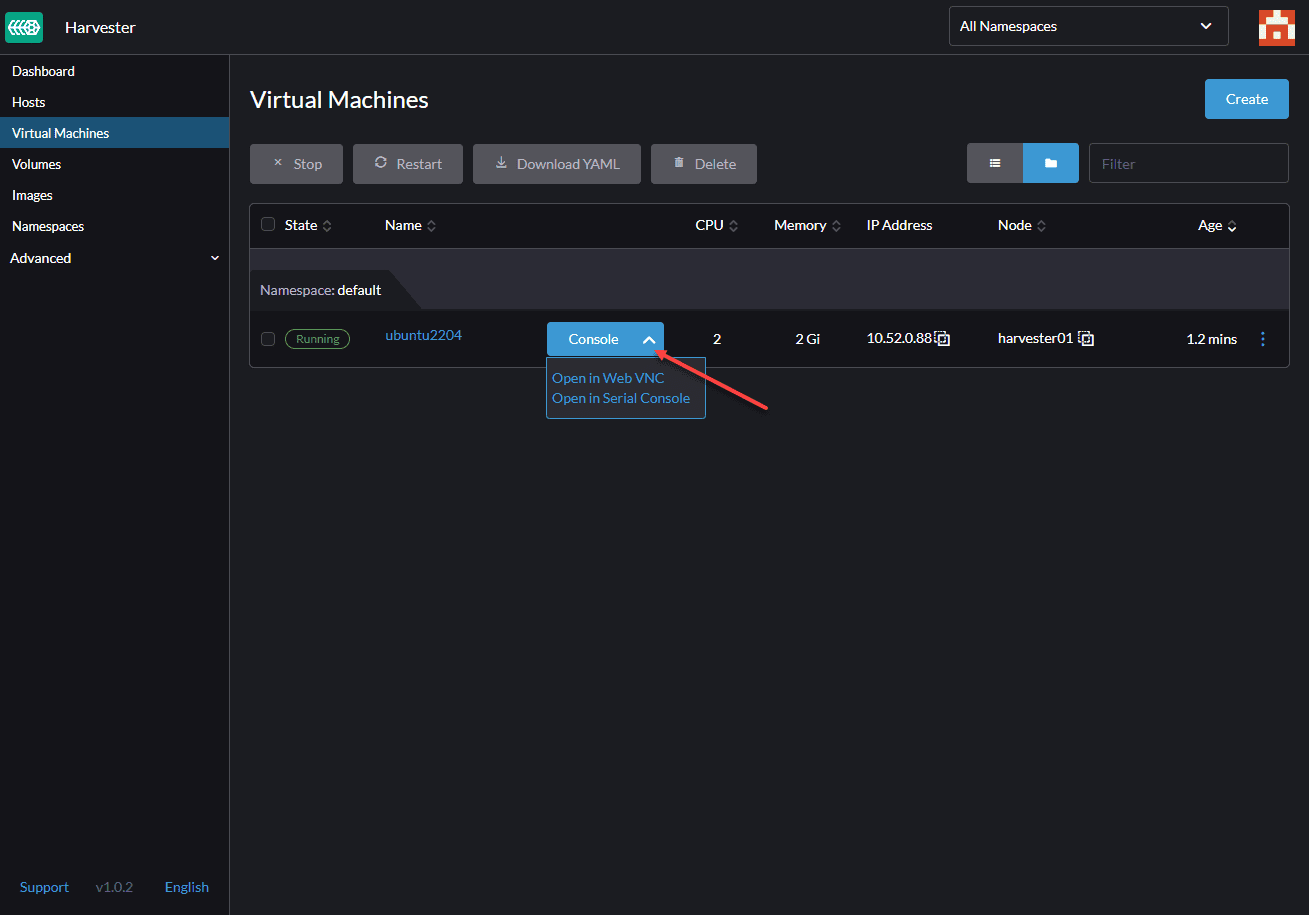
To open a console connection to your VM, go back to the Virtual Machines screen and click the arrow next to Console. You have a couple of choices here, but I am selecting Open in Web VNC.
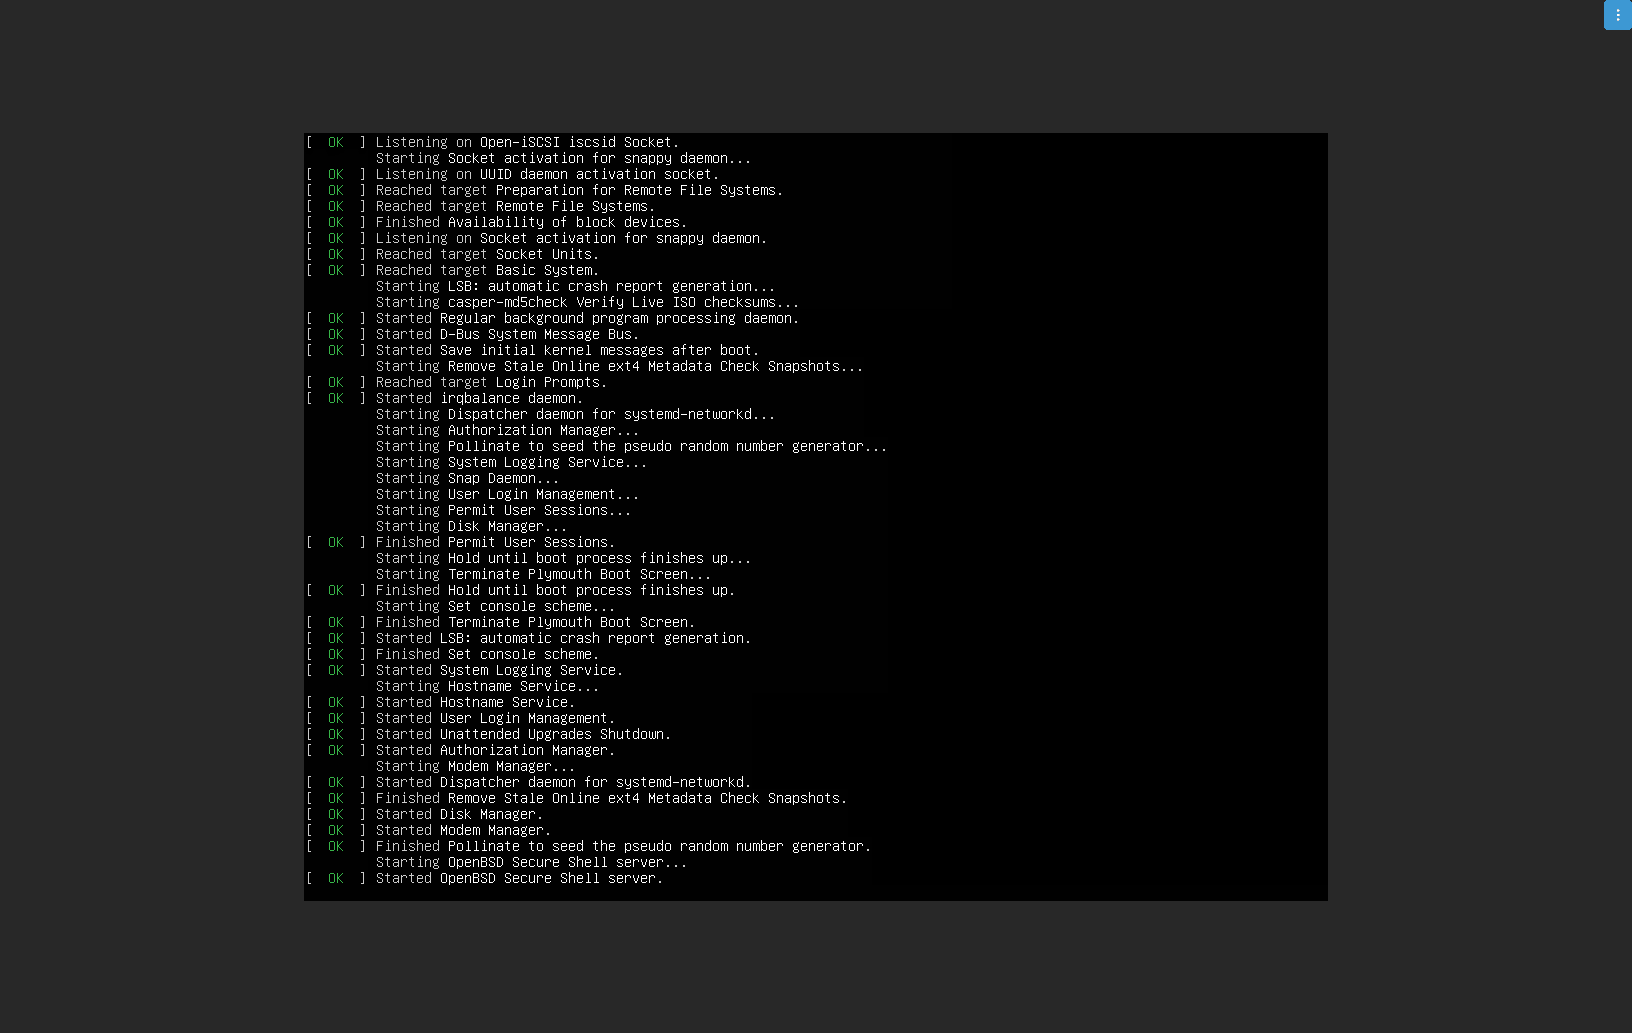
The web VNC window opens, and you now have console access to your Ubuntu VM. Cool stuff.
Wrapping Up
As shown, the process to Install Harvester in VMware ESXi is pretty straightforward. This is an interesting solution that I would like to play around with more. I think solutions like Harvester have a long way to go before offering the enterprise features and capabilities businesses are used to with a mature, robust hypervisor like ESXi. However, for organizations already using Rancher and who want to stick with open source solutions for running virtual machines, Harvester has a lot of potential with seamless integration to their cloud-native stack.
More in this topic


Discuss this in the Community
Google is updating how articles are shown. Don’t miss our leading home lab and tech content, written by humans, by setting Virtualization Howto as a preferred source.
About The Author
