Configure Windows 365 Enterprise Cloud PC step-by-step
Many organizations are looking at VDI these days. Windows 365 Enterprise may be a great fit for many organizations looking for a hosted VDI solution that provides the ability. It allows customers to integrate their VDI workstations into their existing Azure environments and have access to more advanced management and policy solutions that are not available in the Windows 365 Business offering. Let’s take a quick look at how to configure Windows 365 Enterprise Cloud PC step-by-step and see how this is done.
Configure Windows 365 Enterprise Cloud PC step-by-step
As a high-level overview, to configure Windows 365 Enterprise step-by-step, you need to complete the following steps:
- Purchase the Windows 365 Enterprise license
- Add the Enterprise Cloud PC license to the user
- Create an on-premises network connection
- Create a provisioning policy
- Provision the Enterprise Cloud PC
- Verify the user can sign into the Enterprise Cloud PC
1. Purchase the Windows 365 Enterprise license
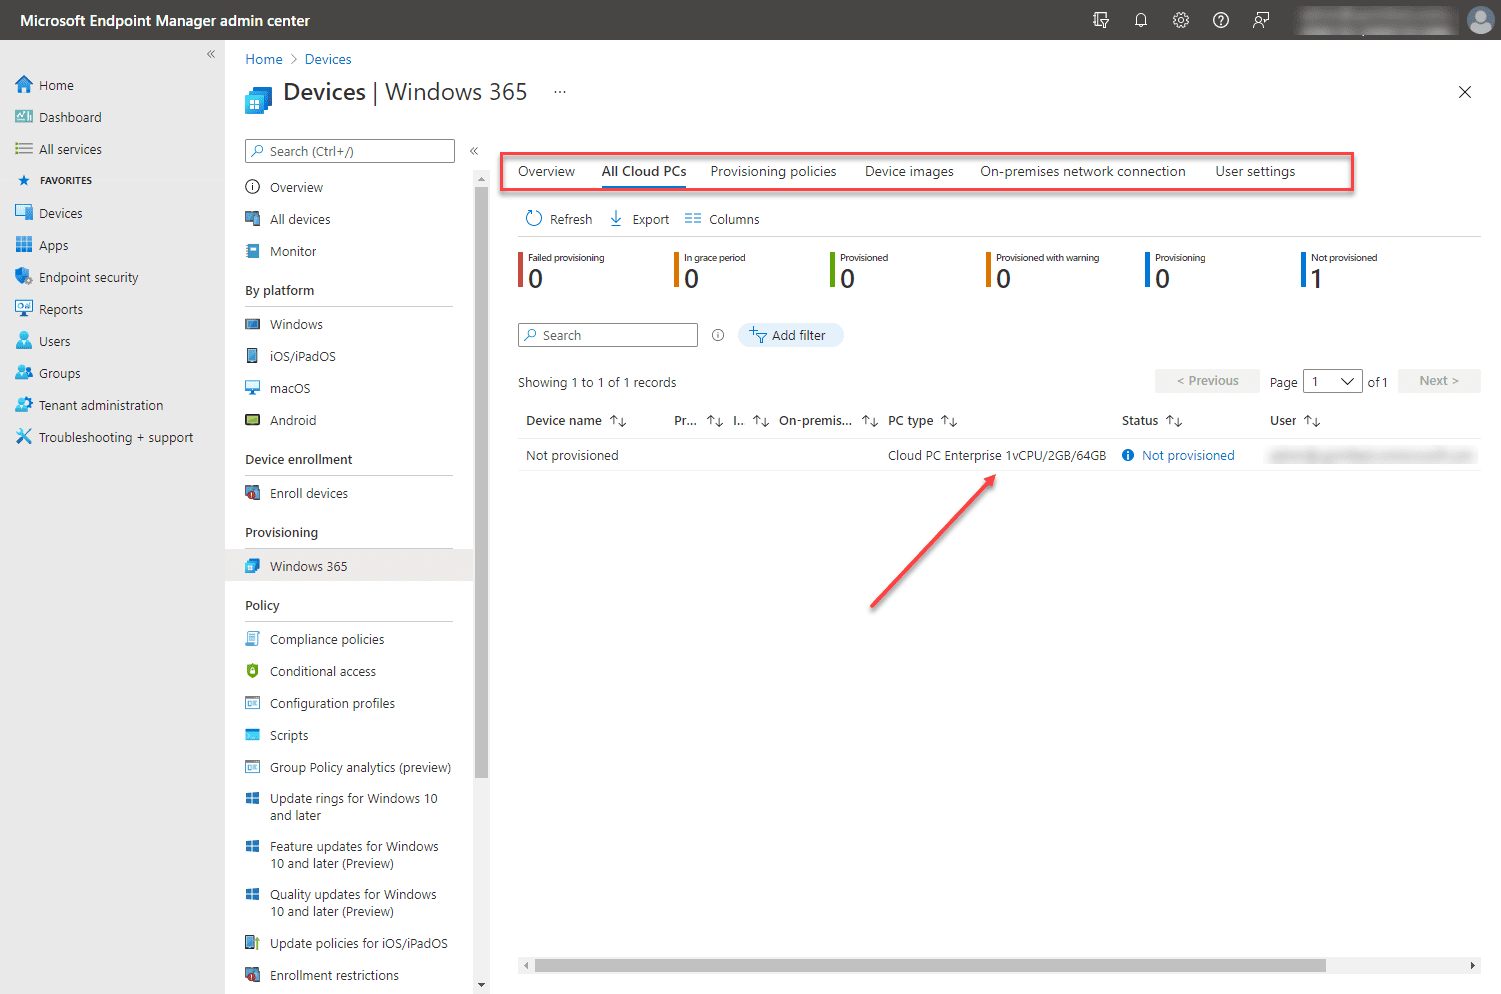
The first step you need to take is to purchase a Windows 365 Enterprise license. Visit the windows365.microsoft.com site and purchase the license and Windows 365 configuration you want to use for your end-user. After you have purchased the Windows 365 license, you will see it listed when you navigate to Devices > Provisioning > Windows 365 > All Cloud PCs in the Microsoft Endpoint Manager Admin Center.
2. Add the Enterprise Cloud PC license to the user
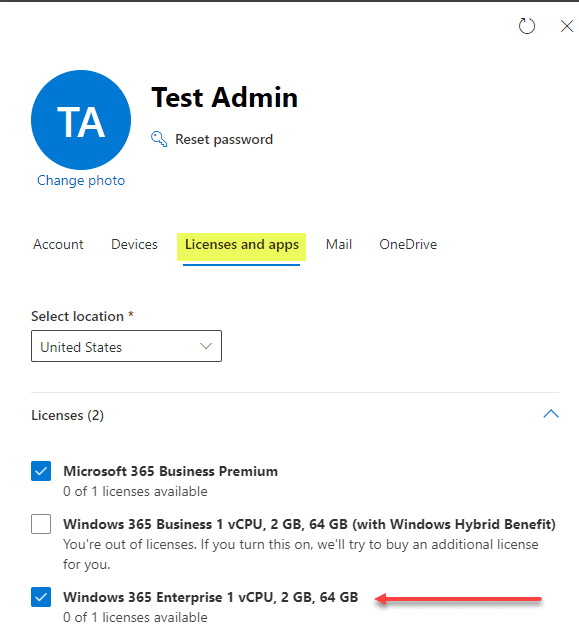
After you purchase the license, you need to add the license to a Microsoft 365 user in your organization. This is a simple check box under your admin dashboard in Microsoft 365 Manage product licenses for a user.
3. Create an on-premises network connection
From what I can tell, the create an “on-premises network connection” step is probably going to be the most confusing. What is this? Currently, the Windows 365 solution cannot natively join Azure Active Directory. So you need to have a legacy ADDS environment to join instead. This also means you need to use Hybrid Azure AD to synchronize your ADDS accounts to Azure Active Directory. The on-premises network connection checks for all of these components to be in place and will fail if these are not configured.
Windows 365 Enterprise needs a “line of sight” connection to Active Directory Domain Services for joining and precludes the need for DNS to be configured correctly to work to resolve the on-premises Active Directory domain. Once you have this configured, you can successfully create your provisioning policy that requires the valid on-premises network connection.
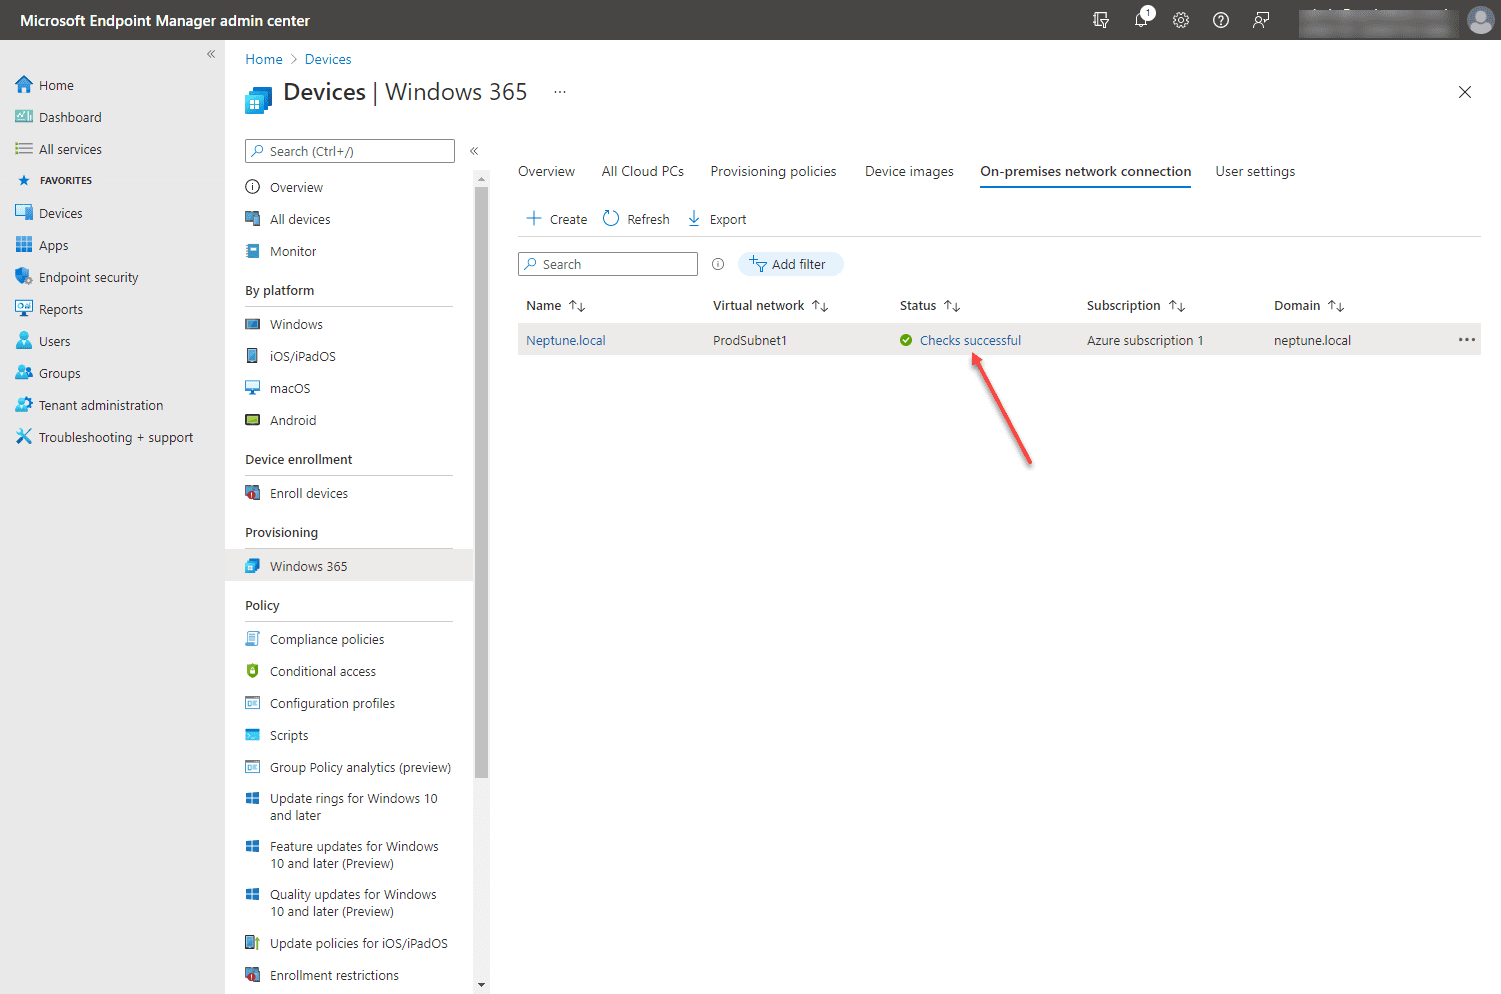
Once you have configured your on-premises network connection, you will need to ensure the checks are successful.

The checks are successful.
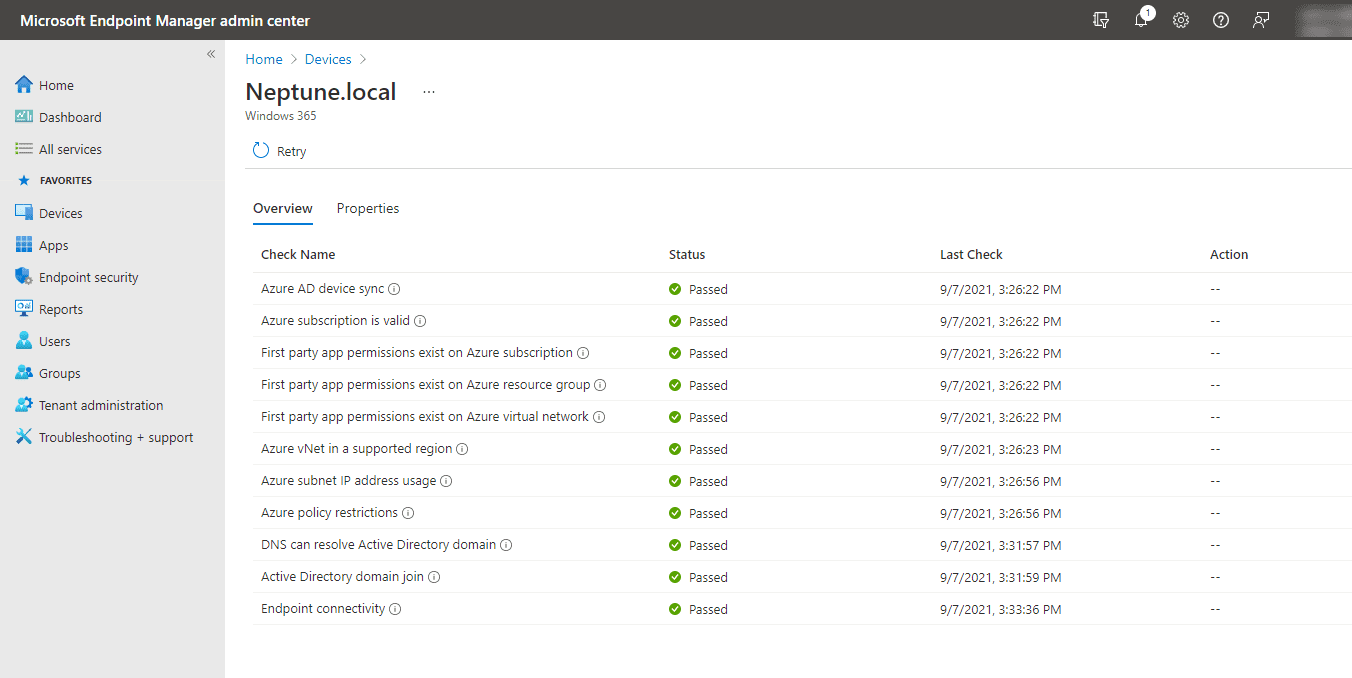
What is it checking? Take a look at the list of checks performed below.
4. Create a provisioning policy
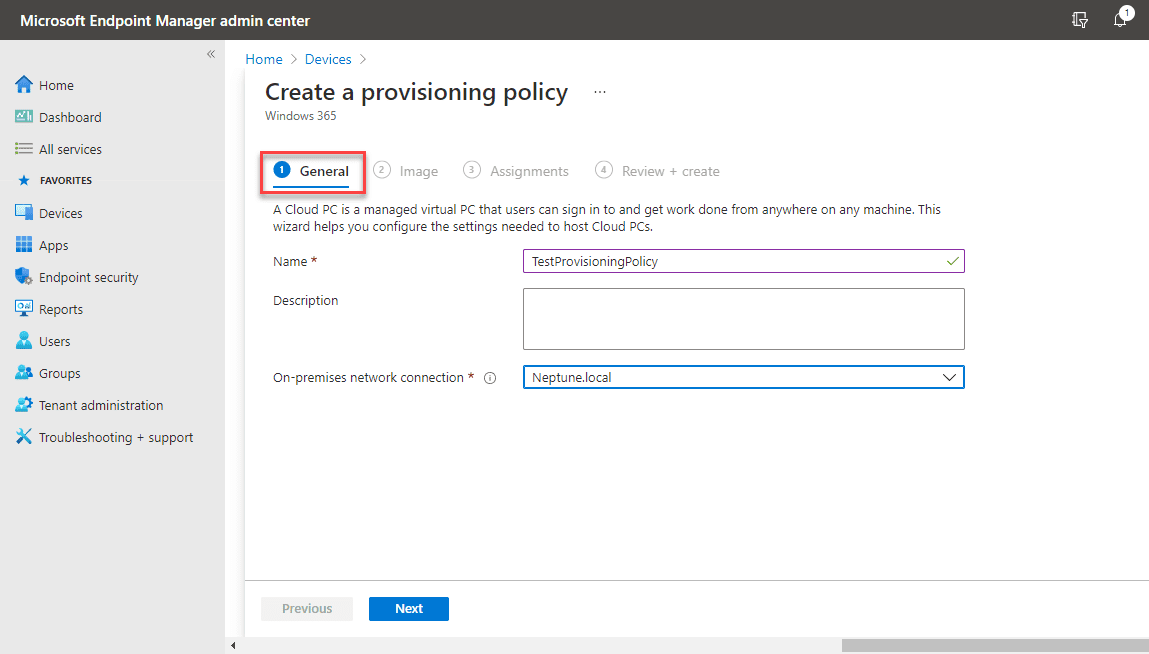
To actually provision the Windows 365 Enterprise Cloud PC, you need to create a provisioning policy. Below are the steps shown to step through the provisioning policy wizard. First, you need to name the policy and select the appropriate on-premises network connection
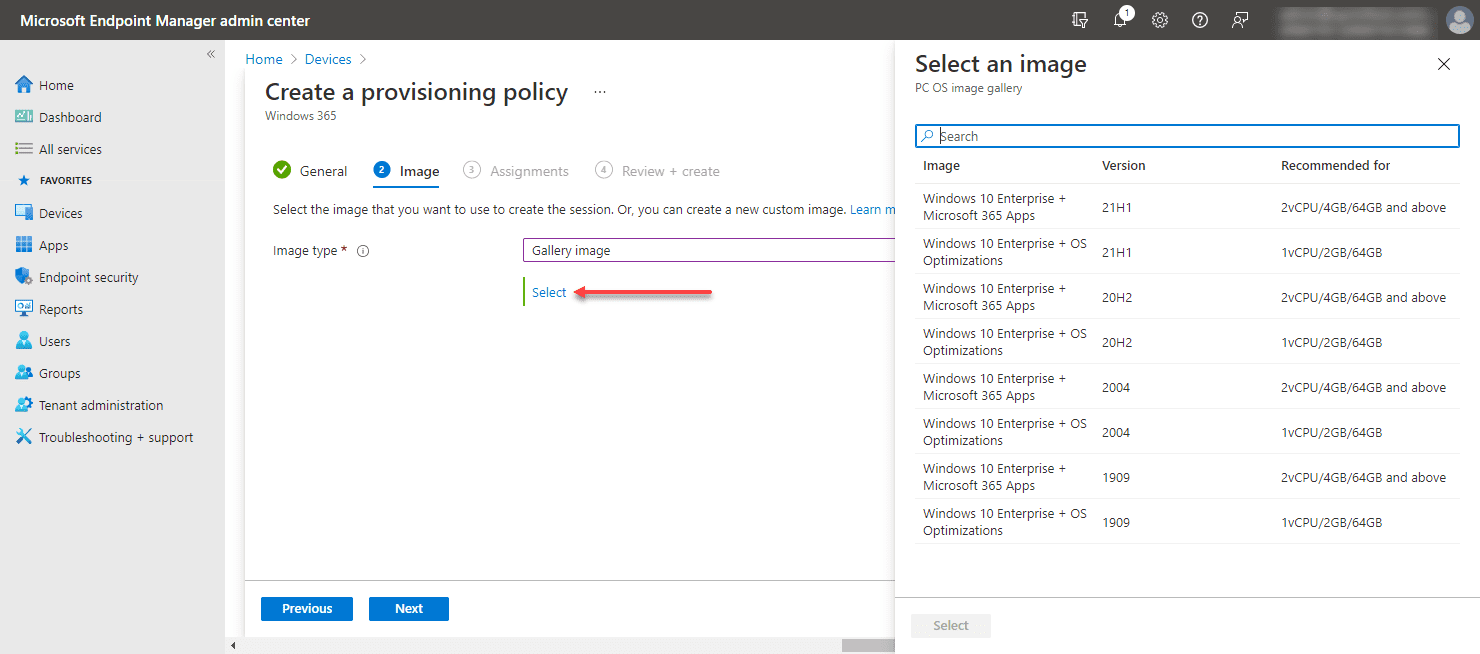
Select an image for use in provisioning the Windows 365 Enterprise Cloud PC. Note below, you can choose a Microsoft Azure Gallery image or use a custom image. Here I am selecting the Gallery image.
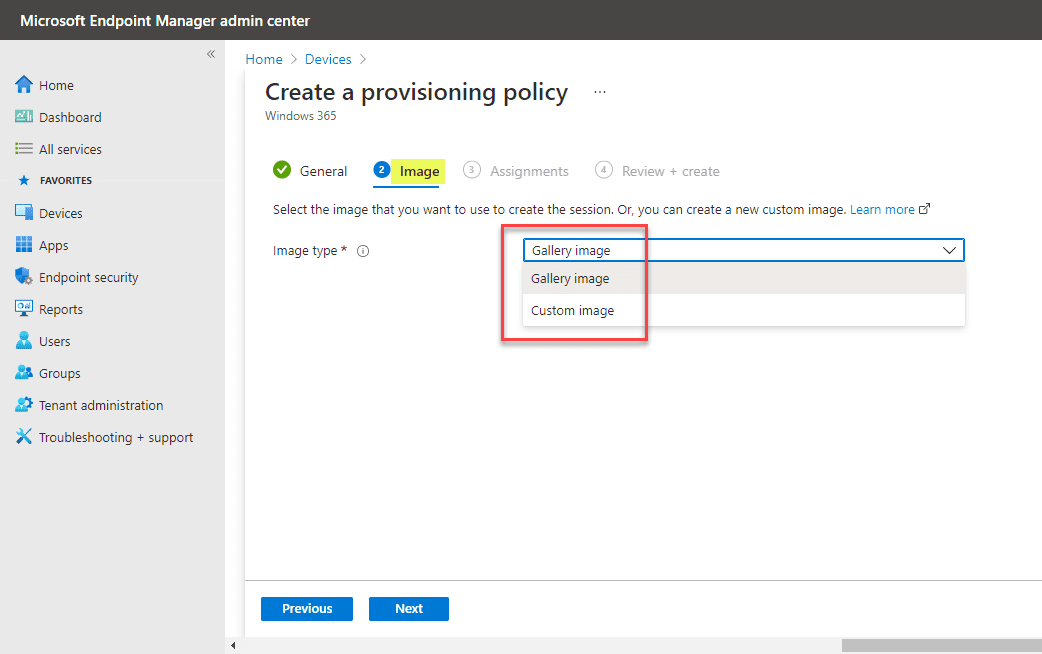
If you choose the Gallery image, you will see the Select an image dialog box to choose an image for use with Windows 365 Enterprise Cloud PC.
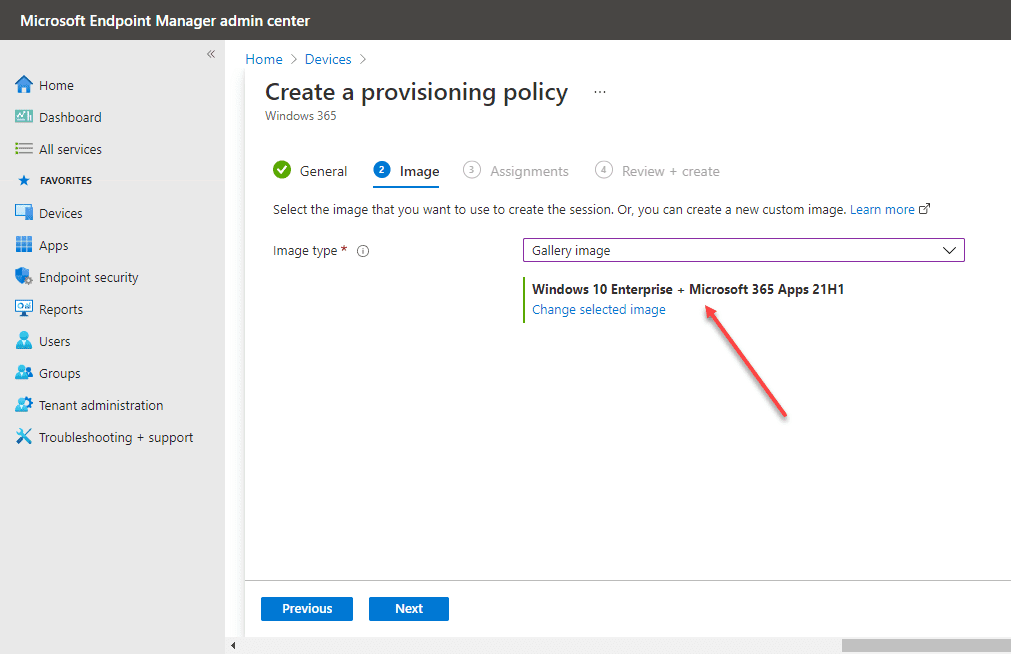
Below, the gallery image has been selected, and we are ready to proceed to the assignments.
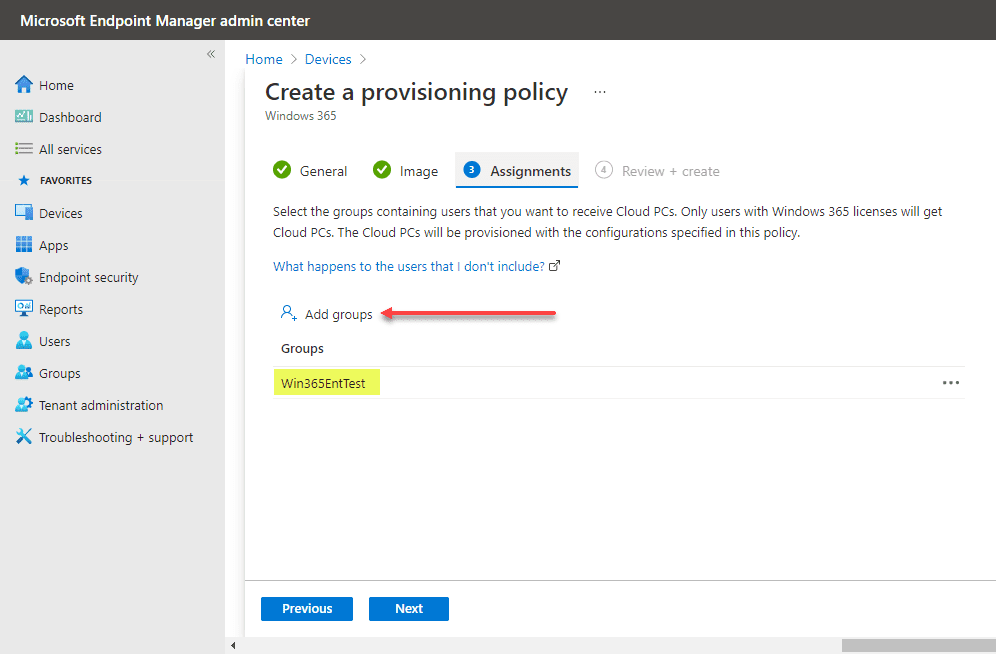
On the assignments screen, you will be prompted to select a group to assign the Windows 365 Enterprise desktop. As a note, the Windows 10 & 11 (when available) images allow multi-user connections. So, it makes sense here that you select a group, instead of a single user.
Finally, we review and create the provisioning policy.
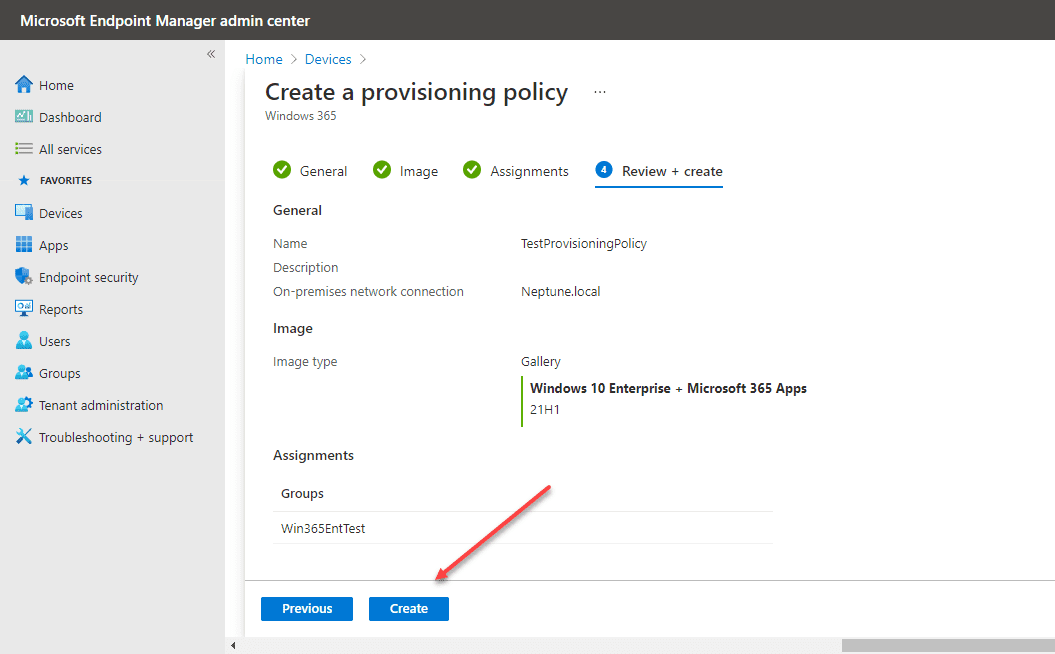
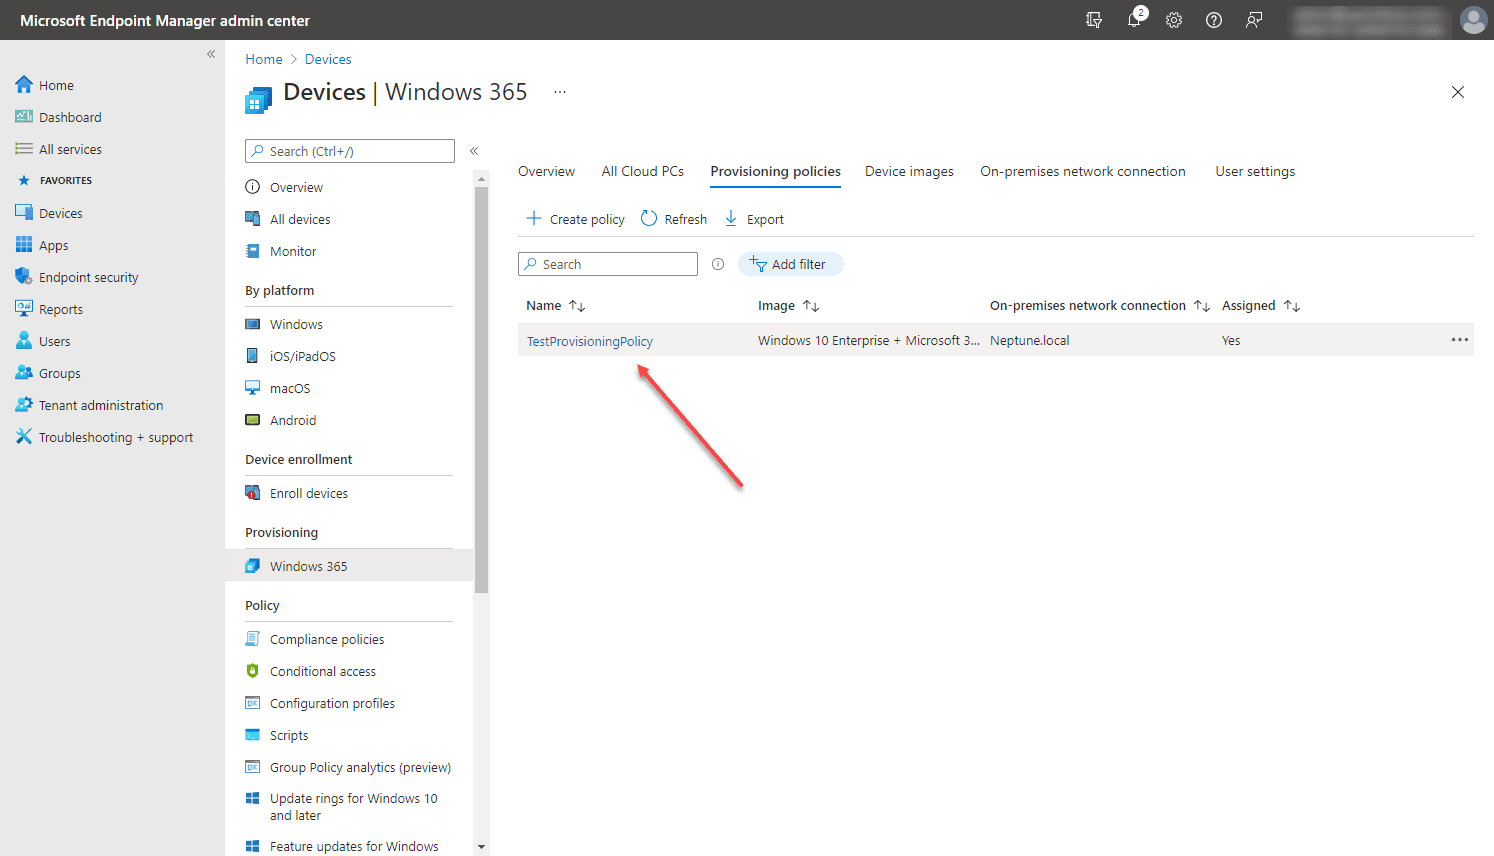
Below, the provisioning policy is fully created and listed under the Provisioning policies tab.
5. Provision the Enterprise Cloud PC
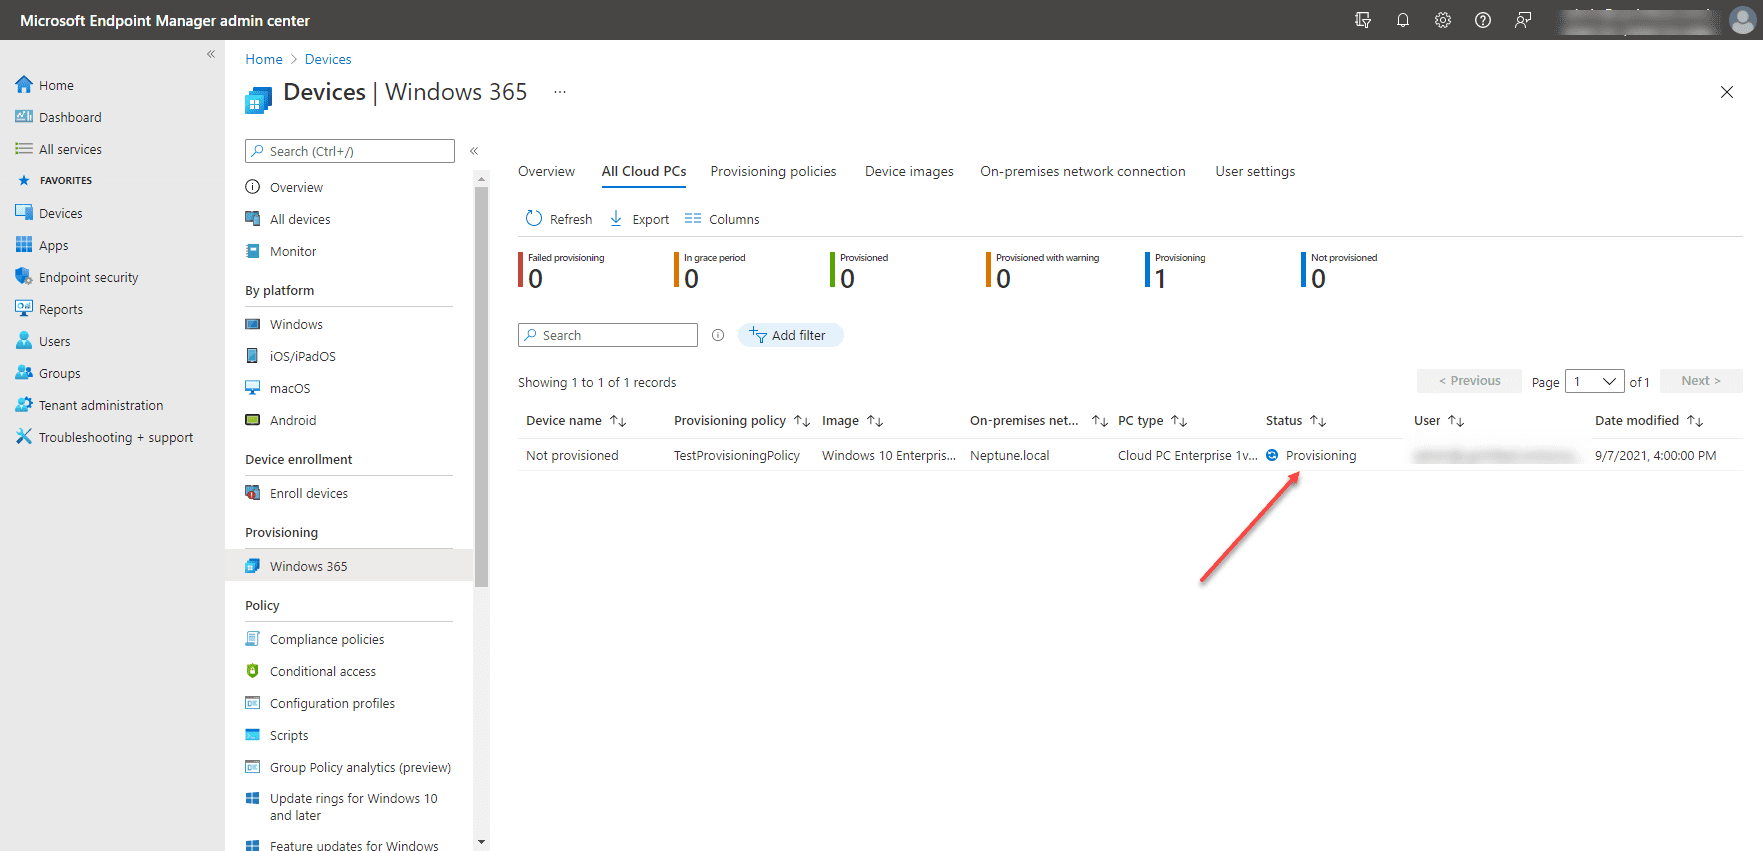
After you create the provisioning policy, you will see the status of the available Cloud PC change to Provisioning under the All Cloud PCs tab.
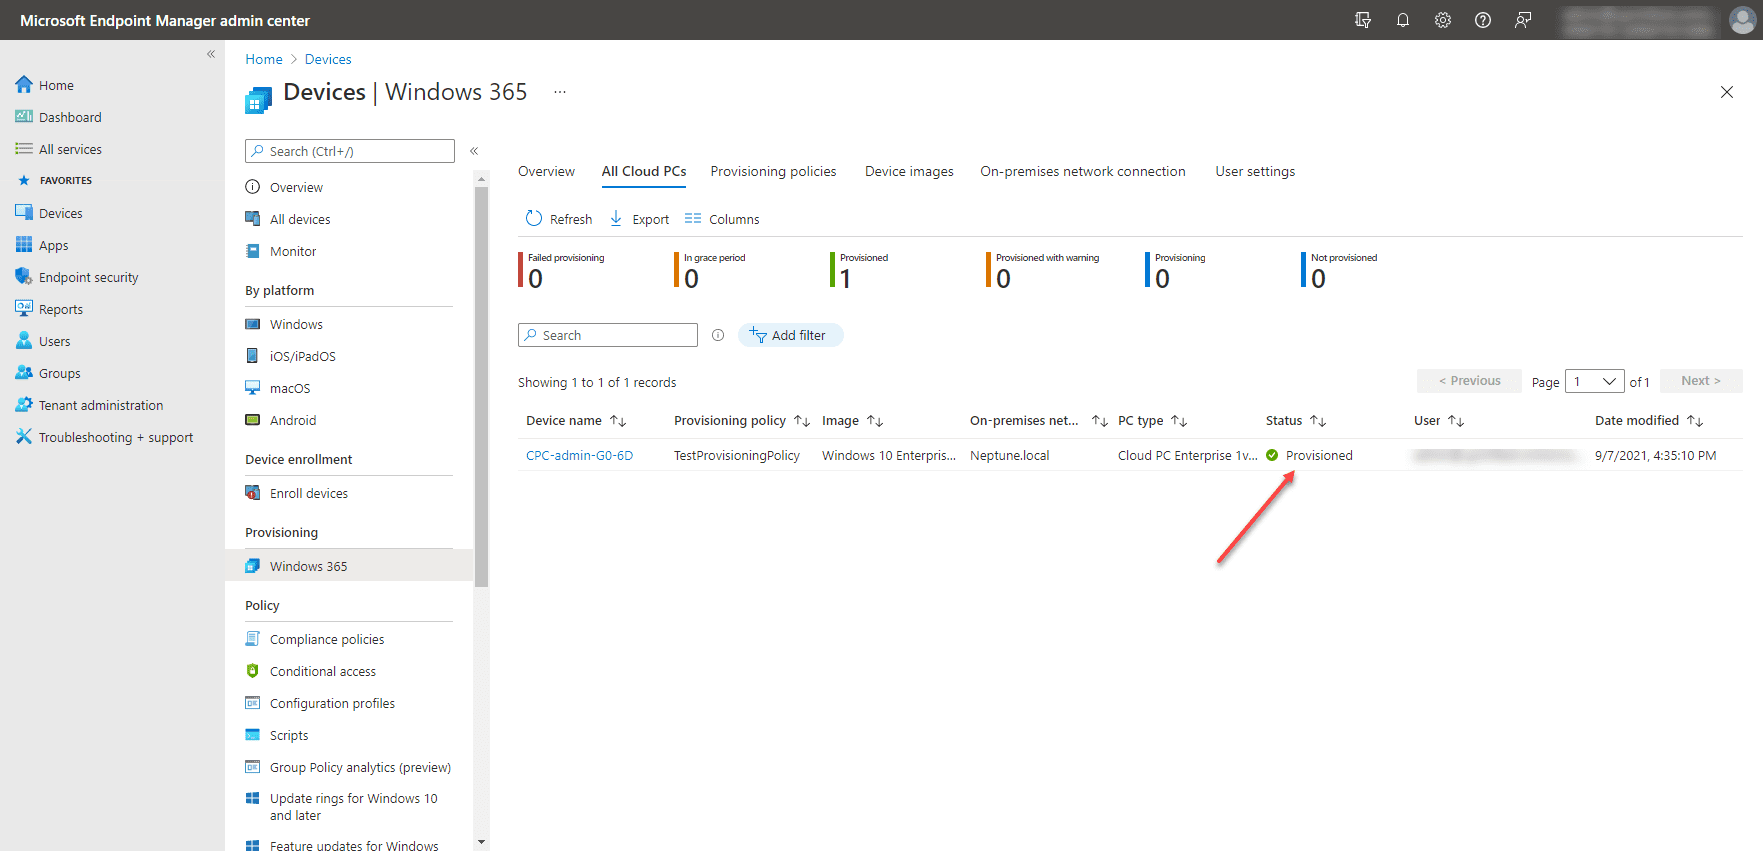
After several minutes, the status should change to Provisioned.
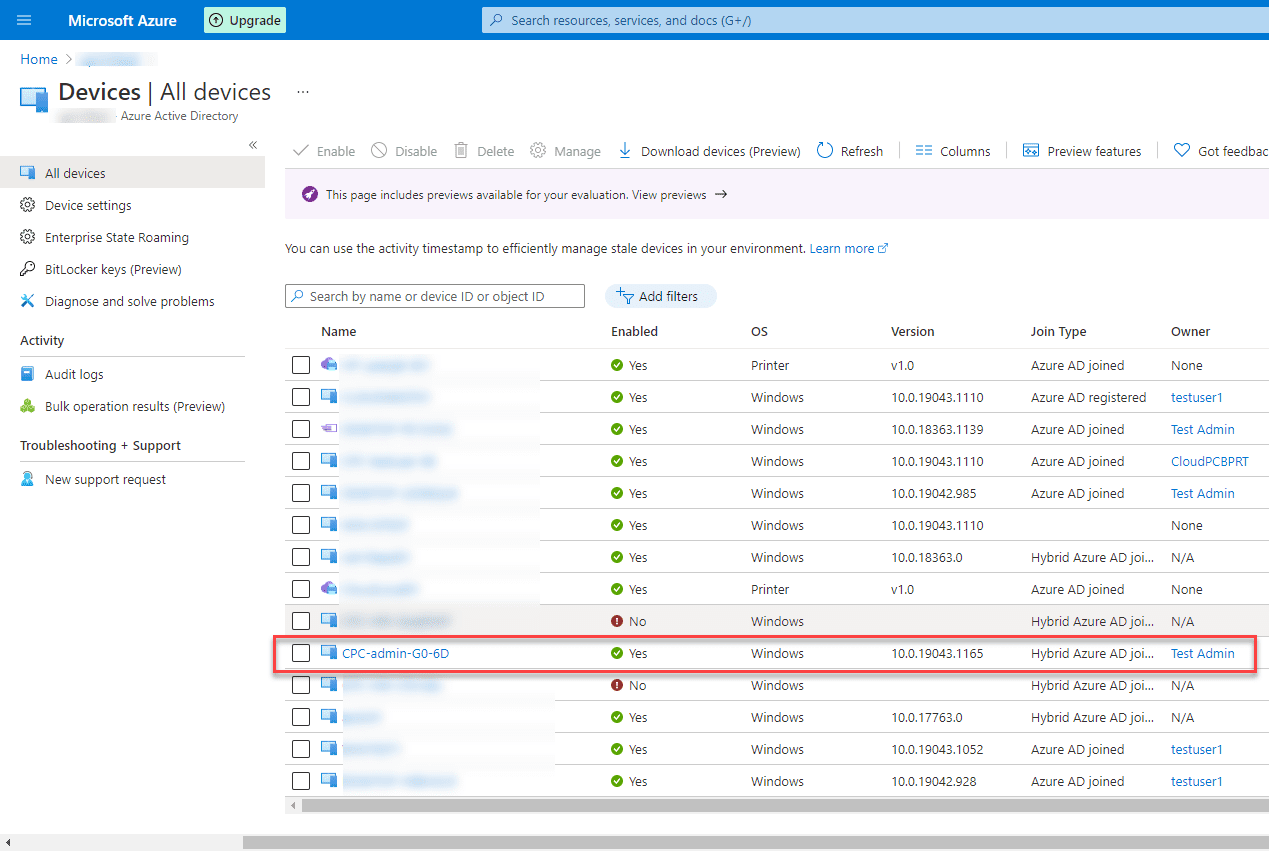
After the workstation has fully provisioned, you should be able to check and see the same Device name listed under the All devices blade of Azure Active Directory in your Azure Portal.
6. Verify the user can sign into the Enterprise Cloud PC
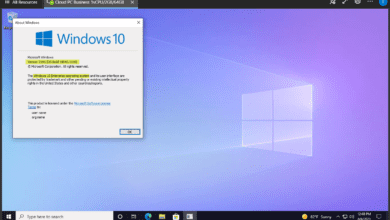
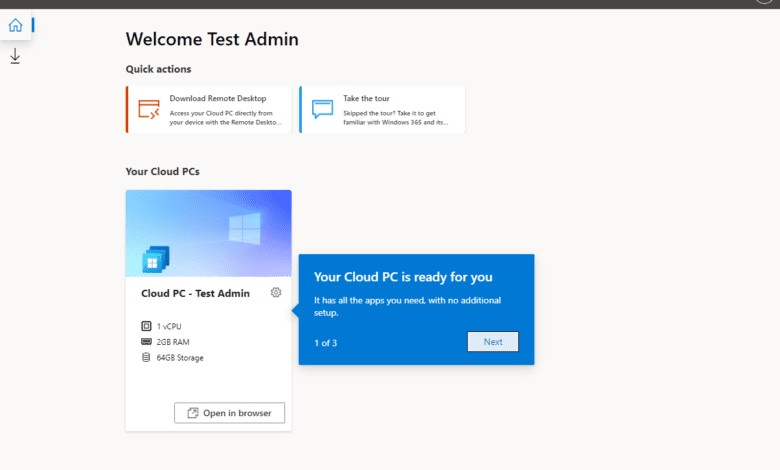
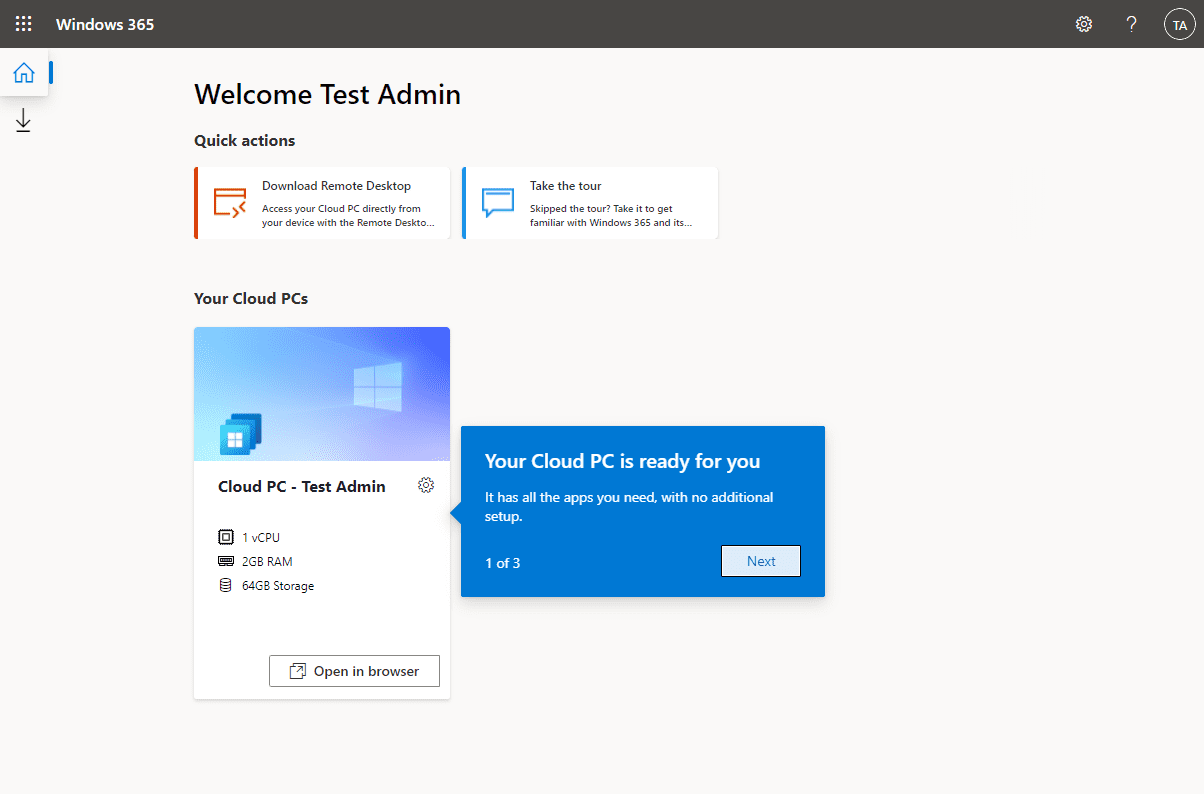
Finally, the assigned user should be able to log into the Enterprise Cloud PC through the windows365.microsoft.com portal.
Wrapping Up
The new Enterprise Cloud PC offering from Microsoft allows organizations to have the enterprise features needed to manage, configure, and secure end-user PCs in the cloud. Since it integrates with the Azure environment, the workstations have access to the network of your current Azure environment. This connection into the Azure vNet provides advantages when accessing corporate resources. As shown, the steps to configure Windows 365 Enterprise Cloud PC step-by-step are fairly straightforward to get up and running.