Just within the last couple of days, I had the USB device that one of my home lab ESXi servers was booting from become corrupt. I had noticed an issue the last time I had attempted to run VMware updates from Update Manager. The updates were failing with an error related to not being able to read/write to/from the /alt/bootbank location. The ESXi host was one of the two nodes I am running in a two-node vSAN cluster.
I had the sinking feeling that my USB device had become corrupt. Knowing that a reboot of the host would probably mean it would not be bootable again most likely, I had to coordinate my reboot time as I knew I would need to spend some time getting the host back up and running, either from a rebuild or config restore. After rebooting, sure enough, bad USB drive.
In this post, I will detail a few steps I ran into and found necessary to rebuild failed vSAN ESXi host and bring it back into my two-node vSAN cluster.
Rebuild Failed vSAN ESXi Host Steps
The following are the steps I used to rebuild failed vSAN ESXi host in my two-node cluster. They are as follows:
- Rebuild the ESXi host with media downloaded from VMware – make sure it is at the same build version as the other vSAN hosts in the cluster
- Manually configure the host networking vmnics to make use of the adapters and switchports that were already configured for management and then getting the other virtual switches provisioned. This is easier with a vSphere Distributed Switch, however, even then there can be some manual intervention as we will see.
- Make sure the vSAN VMkernel port is configured and enabled, ensure by pinging and vmkping’ing between your VMkernel IP addresses on the newly rebuilt host
- Join the vSAN cluster with the new host – most likely you will rebuild using the same name and IP address, however, the vSAN cluster will recognize the ESXi host as different and the host will need to be rejoined to the vSAN cluster once again.
- Once added back, make sure your vSAN health monitors start to level out and things start to return to normal
- Make sure vSAN datastores reflect the expected storage space
- Continue to monitor
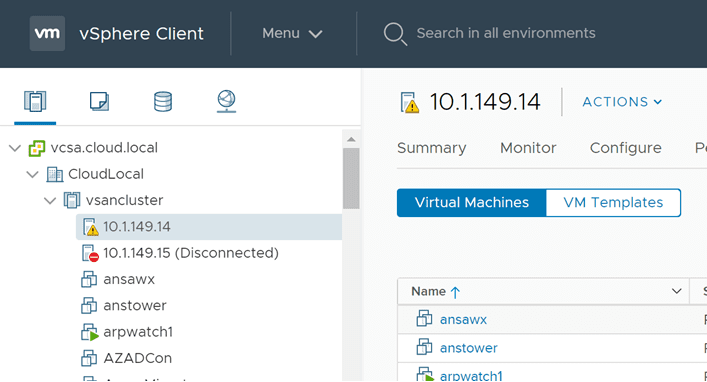
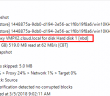
Below, the dreaded disconnected ESXi host showing in vCenter, when it is unexpected. After rebooting a host after a failed USB boot device.
Reconnecting the Failed ESXi host
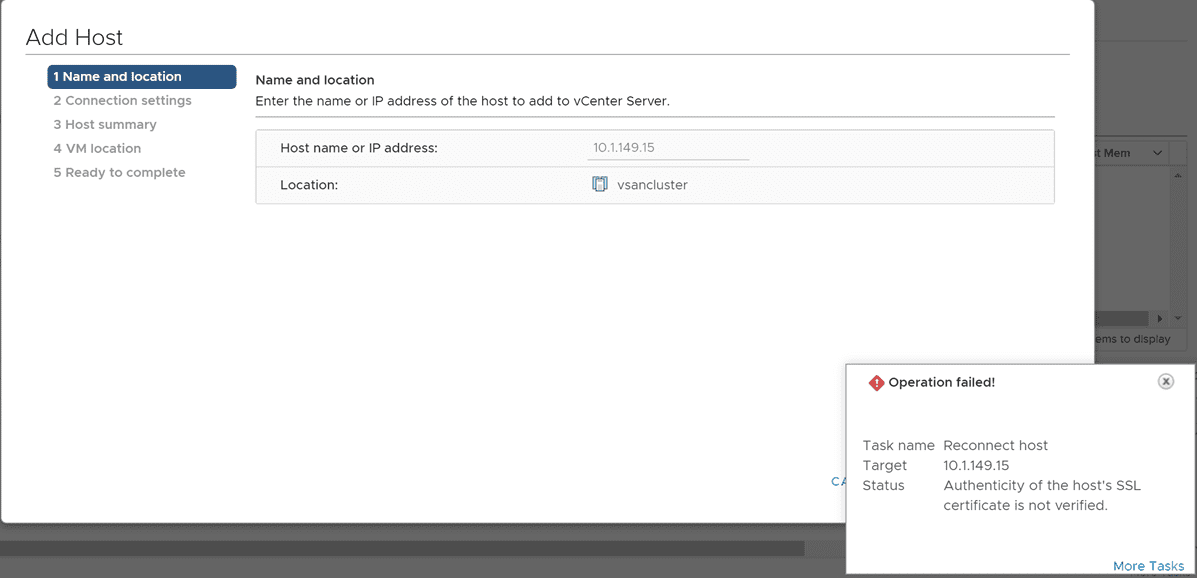
After rebuilding the failed ESXi host, I went ahead and started getting it connected to vCenter. As you have no doubt experienced before, you will note the SSL certificate is different than the expected host connection. This is why you will need to reconnect your disconnected host in vCenter to accept the SSL cert if using self-signed certificates as most do.
Reconfigure Failed ESXi Host Networking
Even if you are using vSphere Distributed Switches, you will most likely have an issue that will require manual intervention. In my lab environment, even though I had a clean, newly rebuilt ESXi host, simply adding the new ESXi host to the vSAN cluster did not correctly “reprovision” the vSphere Distributed Switch and port groups to the ESXi host.
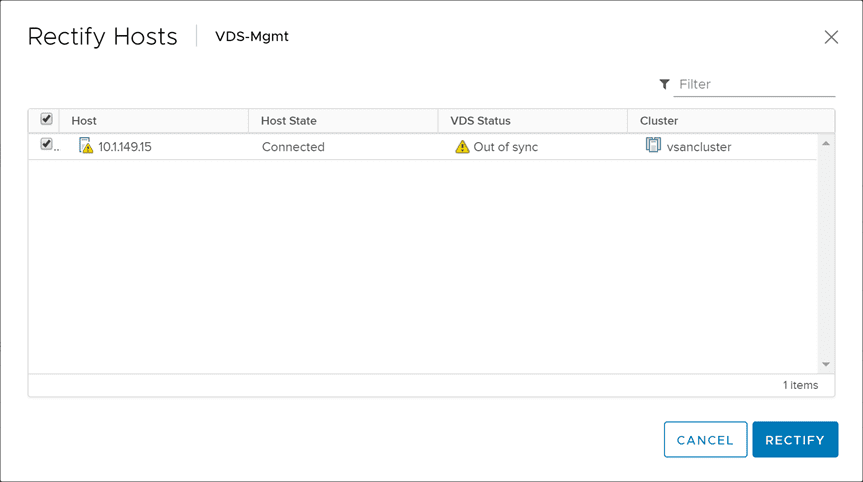
In fact, vCenter will start letting you know there is an issue, as you will see the informational warning displayed that the vSphere Distributed Switch configuration on some hosts differed from that of the vCenter Server.
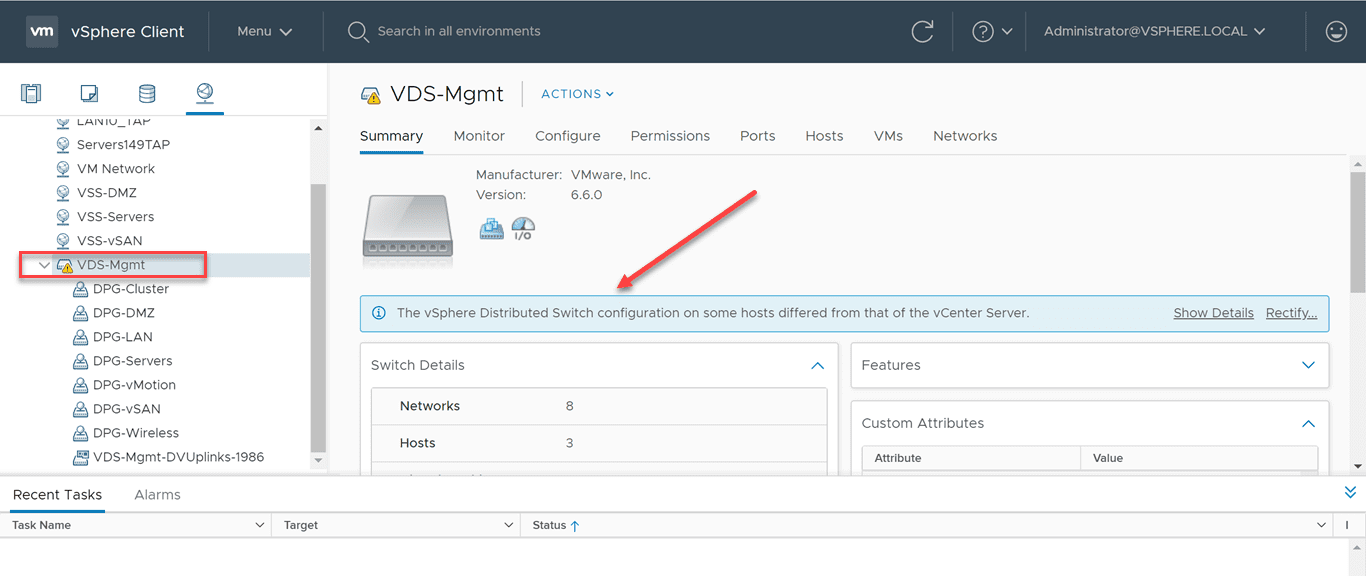
You can click the Rectify link to attempt to rectify the configuration issue. I tried this however, knowing it would most likely not work. It didn’t. This is because, the host is really different. Your vCenter Server will still see it as the old ESXi host that already has the VDS switches added to the host. However, they are not.
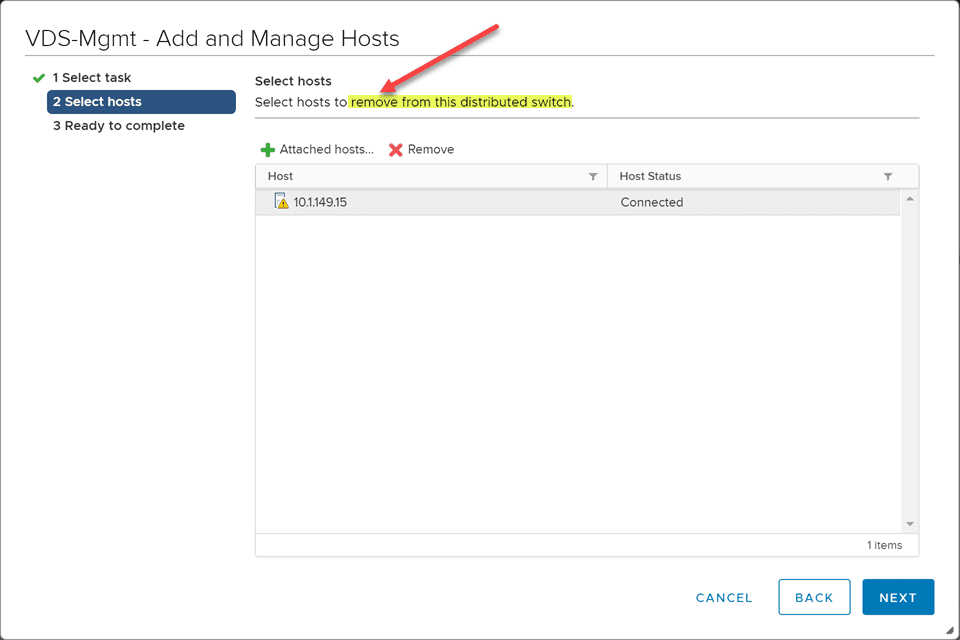
How do you get around this? You need to remove the vSphere Distributed Switch from your new ESXi host (even though it doesn’t exist) and then add the ESXi host to the VDS in vCenter. There may be a more elegant way around this, however, this worked for me and should for most. This ensures, vCenter is synchronized with the new ESXi host and correctly adds the VDS to the newly rebuilt ESXi host.
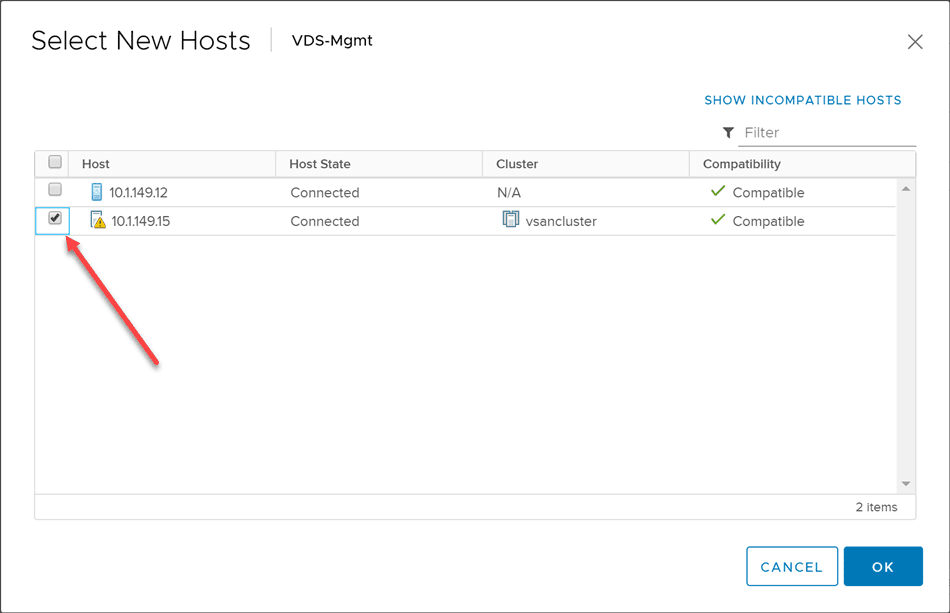
After removing the ESXi host from the VDS switch, add it back to the VDS switch.
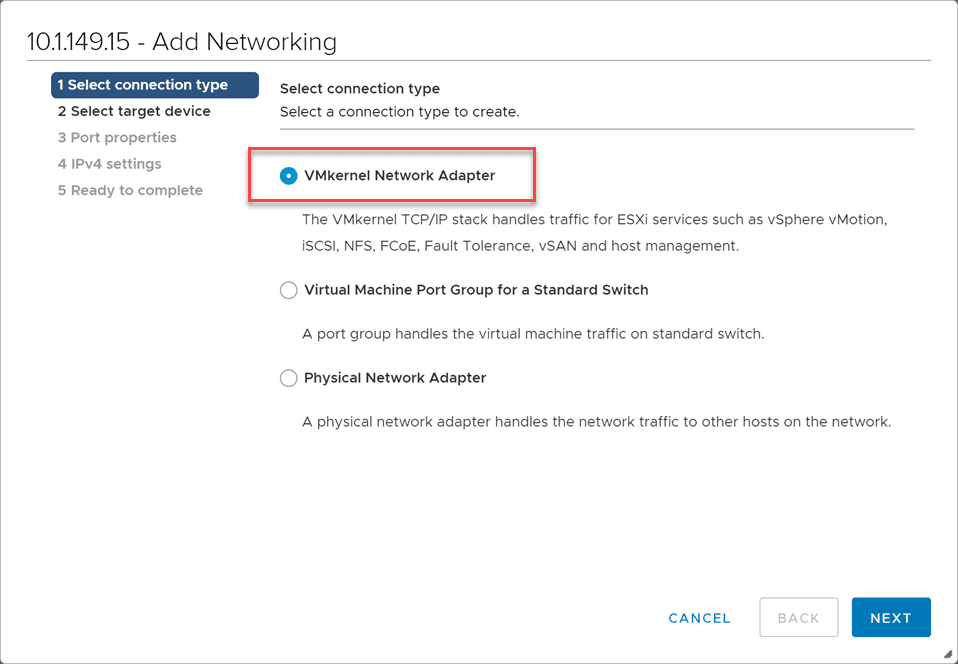
After adding the ESXi host back to the VDS switch, I added back the vSAN VMkernel port to the ESXi host.
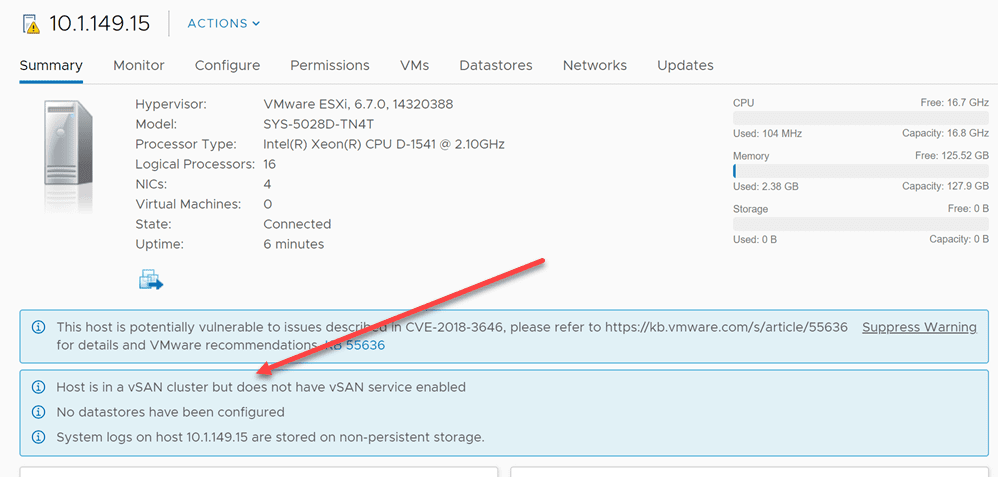
After getting the ESXi host networking squared away with the VDS now properly added and the VMkernel port configured back to the ESXi host, I still saw the following error, “Host is in a vSAN cluster but does not have vSAN service enabled“. If you Google this error, you will see most talking about not having a VMkernel port configured on the ESXi host that is enabled for vSAN. However, I had this configured correctly and could vmkping between hosts correctly and so on. However, I remembered, the vSAN cluster still had the old reference to the ESXi host.
Add ESXi Host Back to the vSAN Cluster
Once you have reloaded an ESXi host, even if you are assuming the same identity and IP address, vSAN will still view the host as different. You will need to add the newly reloaded ESXi host to the vSAN cluster.
There is an official VMware KB on how to do this:
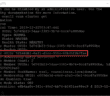
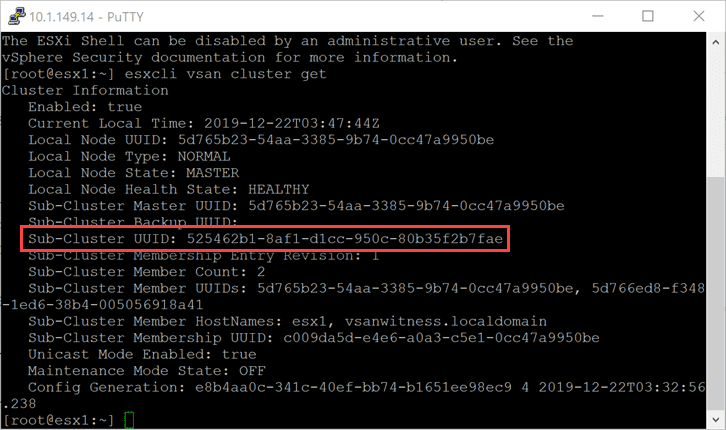
Basically, it comes down to a couple of esxcli vsan cluster commands as follows. First, you need to get the Sub-Cluster UUID.
esxcli vsan cluster get
Then, once you have the sub-cluster UUID, you add the host back to the cluster with the following command:
esxcli vsan cluster join -u <your sub_cluster_UUID>
Finalizing the ESXi Host Replacement in vSAN Cluster
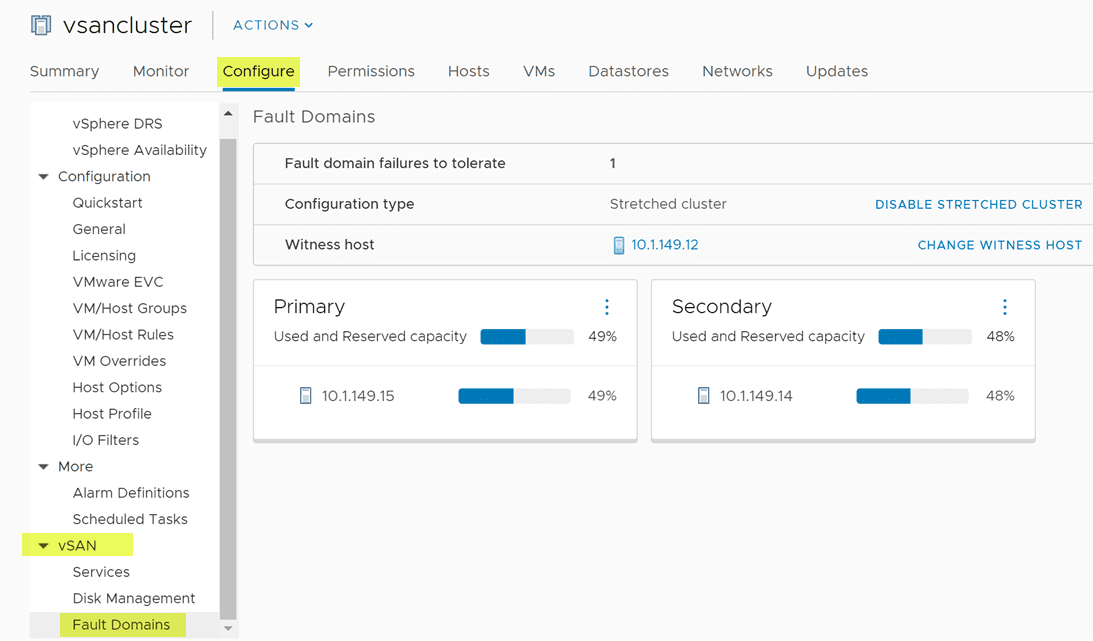
In my case, after adding the rebuilt host back to the vSAN cluster and reconfiguring my fault domains, I was able to see data start resynchronizing that needed to resynchronize and everything go back to a healthy state.
After that, I simply continued to monitor the data and as well as the vsandatastore space and everything returned to normal.
Wrapping Up
If you have to rebuild failed vSAN ESXi host, hopefully this post will help with an overview of the steps you will most likely need to take. These steps may vary depending on your vSAN environment and other factors that may be specific to your vSphere host configuration.
Google is updating how articles are shown. Don’t miss our leading home lab and tech content, written by humans, by setting Virtualization Howto as a preferred source.
About The Author


Brilliant post. Works perfectly!